Browsing Tag:

french

Baking

Spiced Apple Cider Pain au Raisin

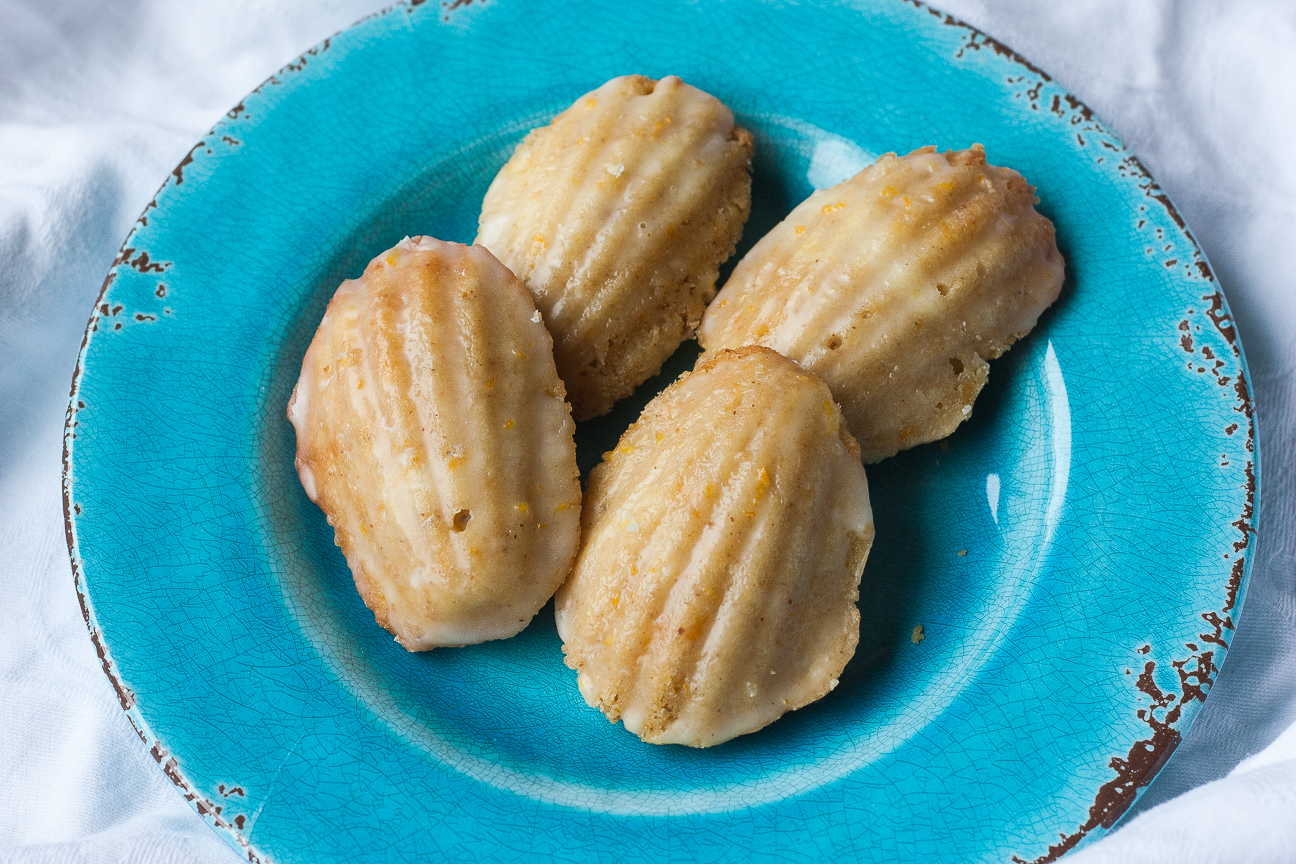
There is something special about making a fancy pastry that you normally buy in a coffee shop or bakery. It’s very satisfying to produce a baked good that looks like it came from a shop but tastes homemade. I felt this way when I baked some Apple Cider Pain au Raisin last week.

I love love love Pain au Raisin. They are not overly sweet and the combination of pastry + raisins + spiced sugar – so good! In this recipe for Apple Cider Pain au Raisin, I substituted apple cider for water. It’s not completely necessary, and if you don’t have any apple cider, you can just use water. But I liked the extra apple flavour.

apple cider pain au raisin

I made this pastry last week, as a reminder of my birthday trip to London England in February 2020. While we did see many scones and tea cakes, seeing this pastry in so many coffee shops was a surprise.

What is Pain au Raisin?

Pain au Raisin is made with danish pastry. It is rolled up with sugar and raisins and then sliced into individual pices, like cinnamon rolls. And it is glazed after baking with either a sugar syrup or strained apricot jam. It’s delicious warm or room temperature.

two apple cider pain au raisin on a plate
What is Danish Pastry?

Danish pastry is a rich sweet pastry made by layering cold butter throughout your pastry dough. It is not difficult to make, but it does take several hours.

Is Danish Pastry difficult to make?

Danish Pastry is not difficult at all. I actually find pie pastry much more difficult to make. Danish pastry is very soft and pliable and dotted with butter. While making danish pastry is not difficult, it does take a very long time to make. So, you should set aside an entire day at home to make it. You won’t be in the kitchen for the whole day, but you’ll be popping in and out every 1-2 hours.

Danish pastry dough in a bowl
To

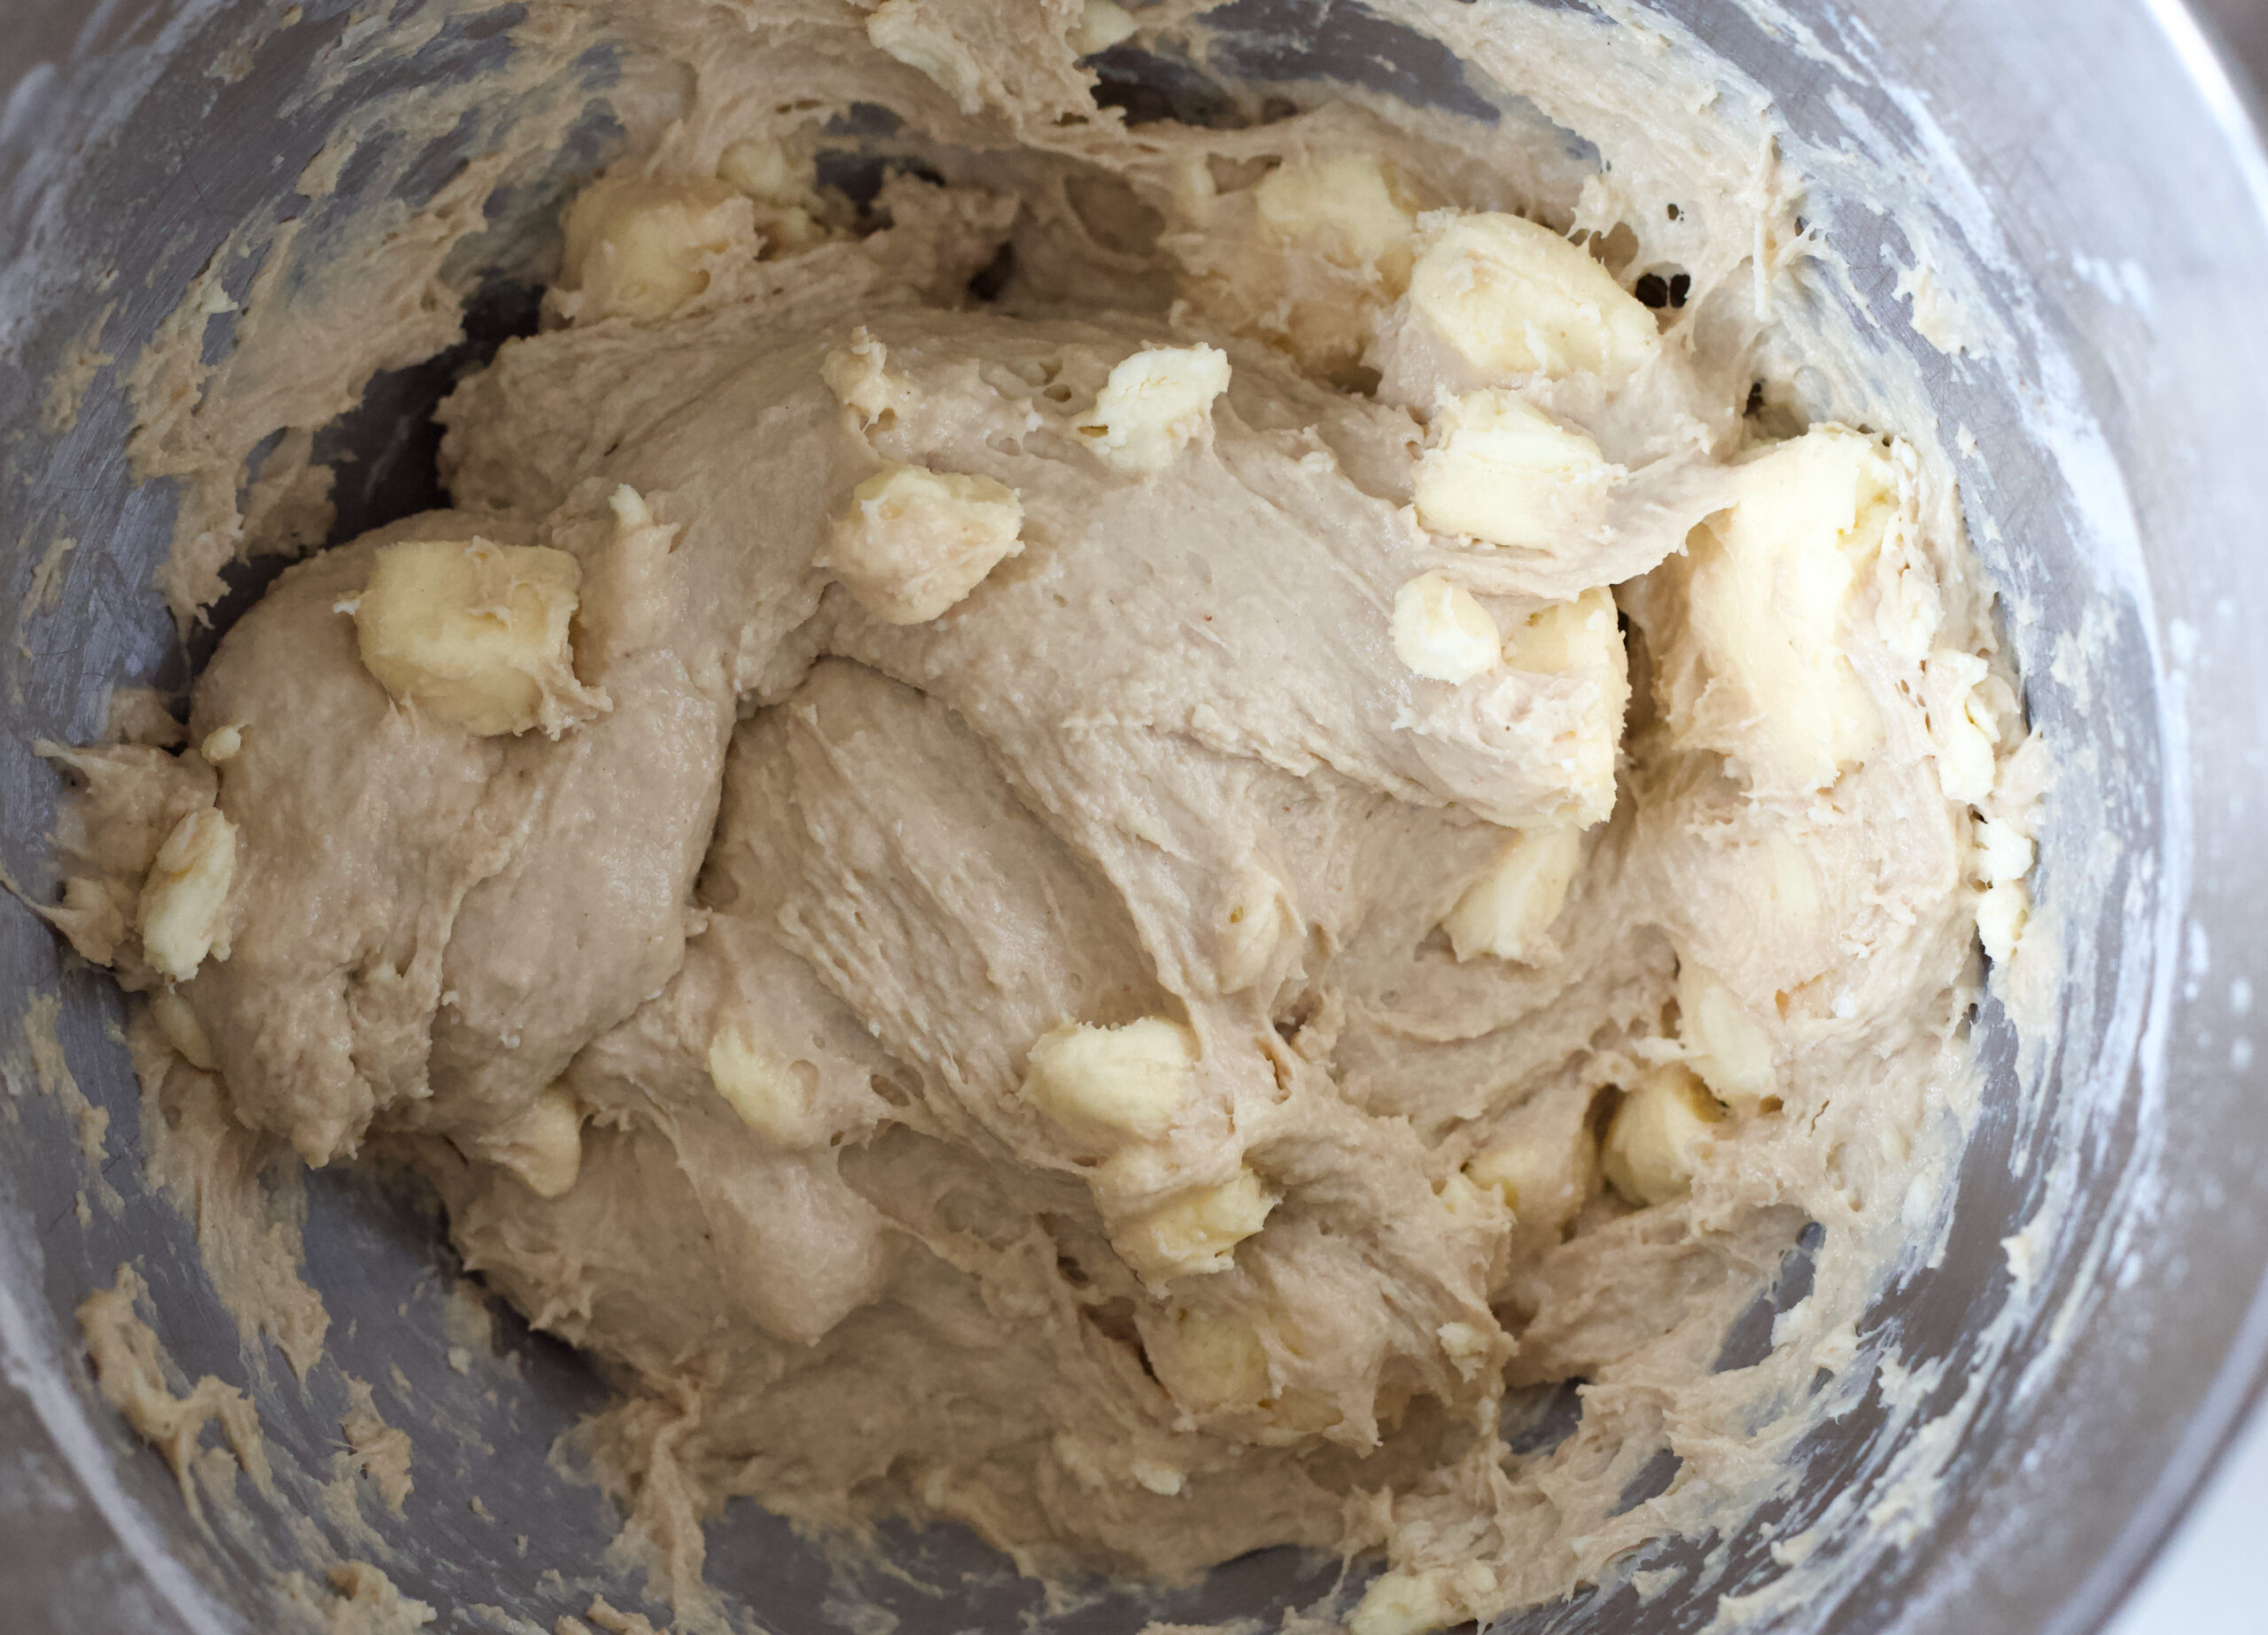
To get started, you first mix together the yeast, warm apple cider and 1 cup of flour. After that, add everything into your mixer bowl. Then, the cubed cold butter is added a few cubes at a time. But, even at the end of the mixing, you will still have large pieces of butter. That’s normal.

danish pastry dough in a glass bowl

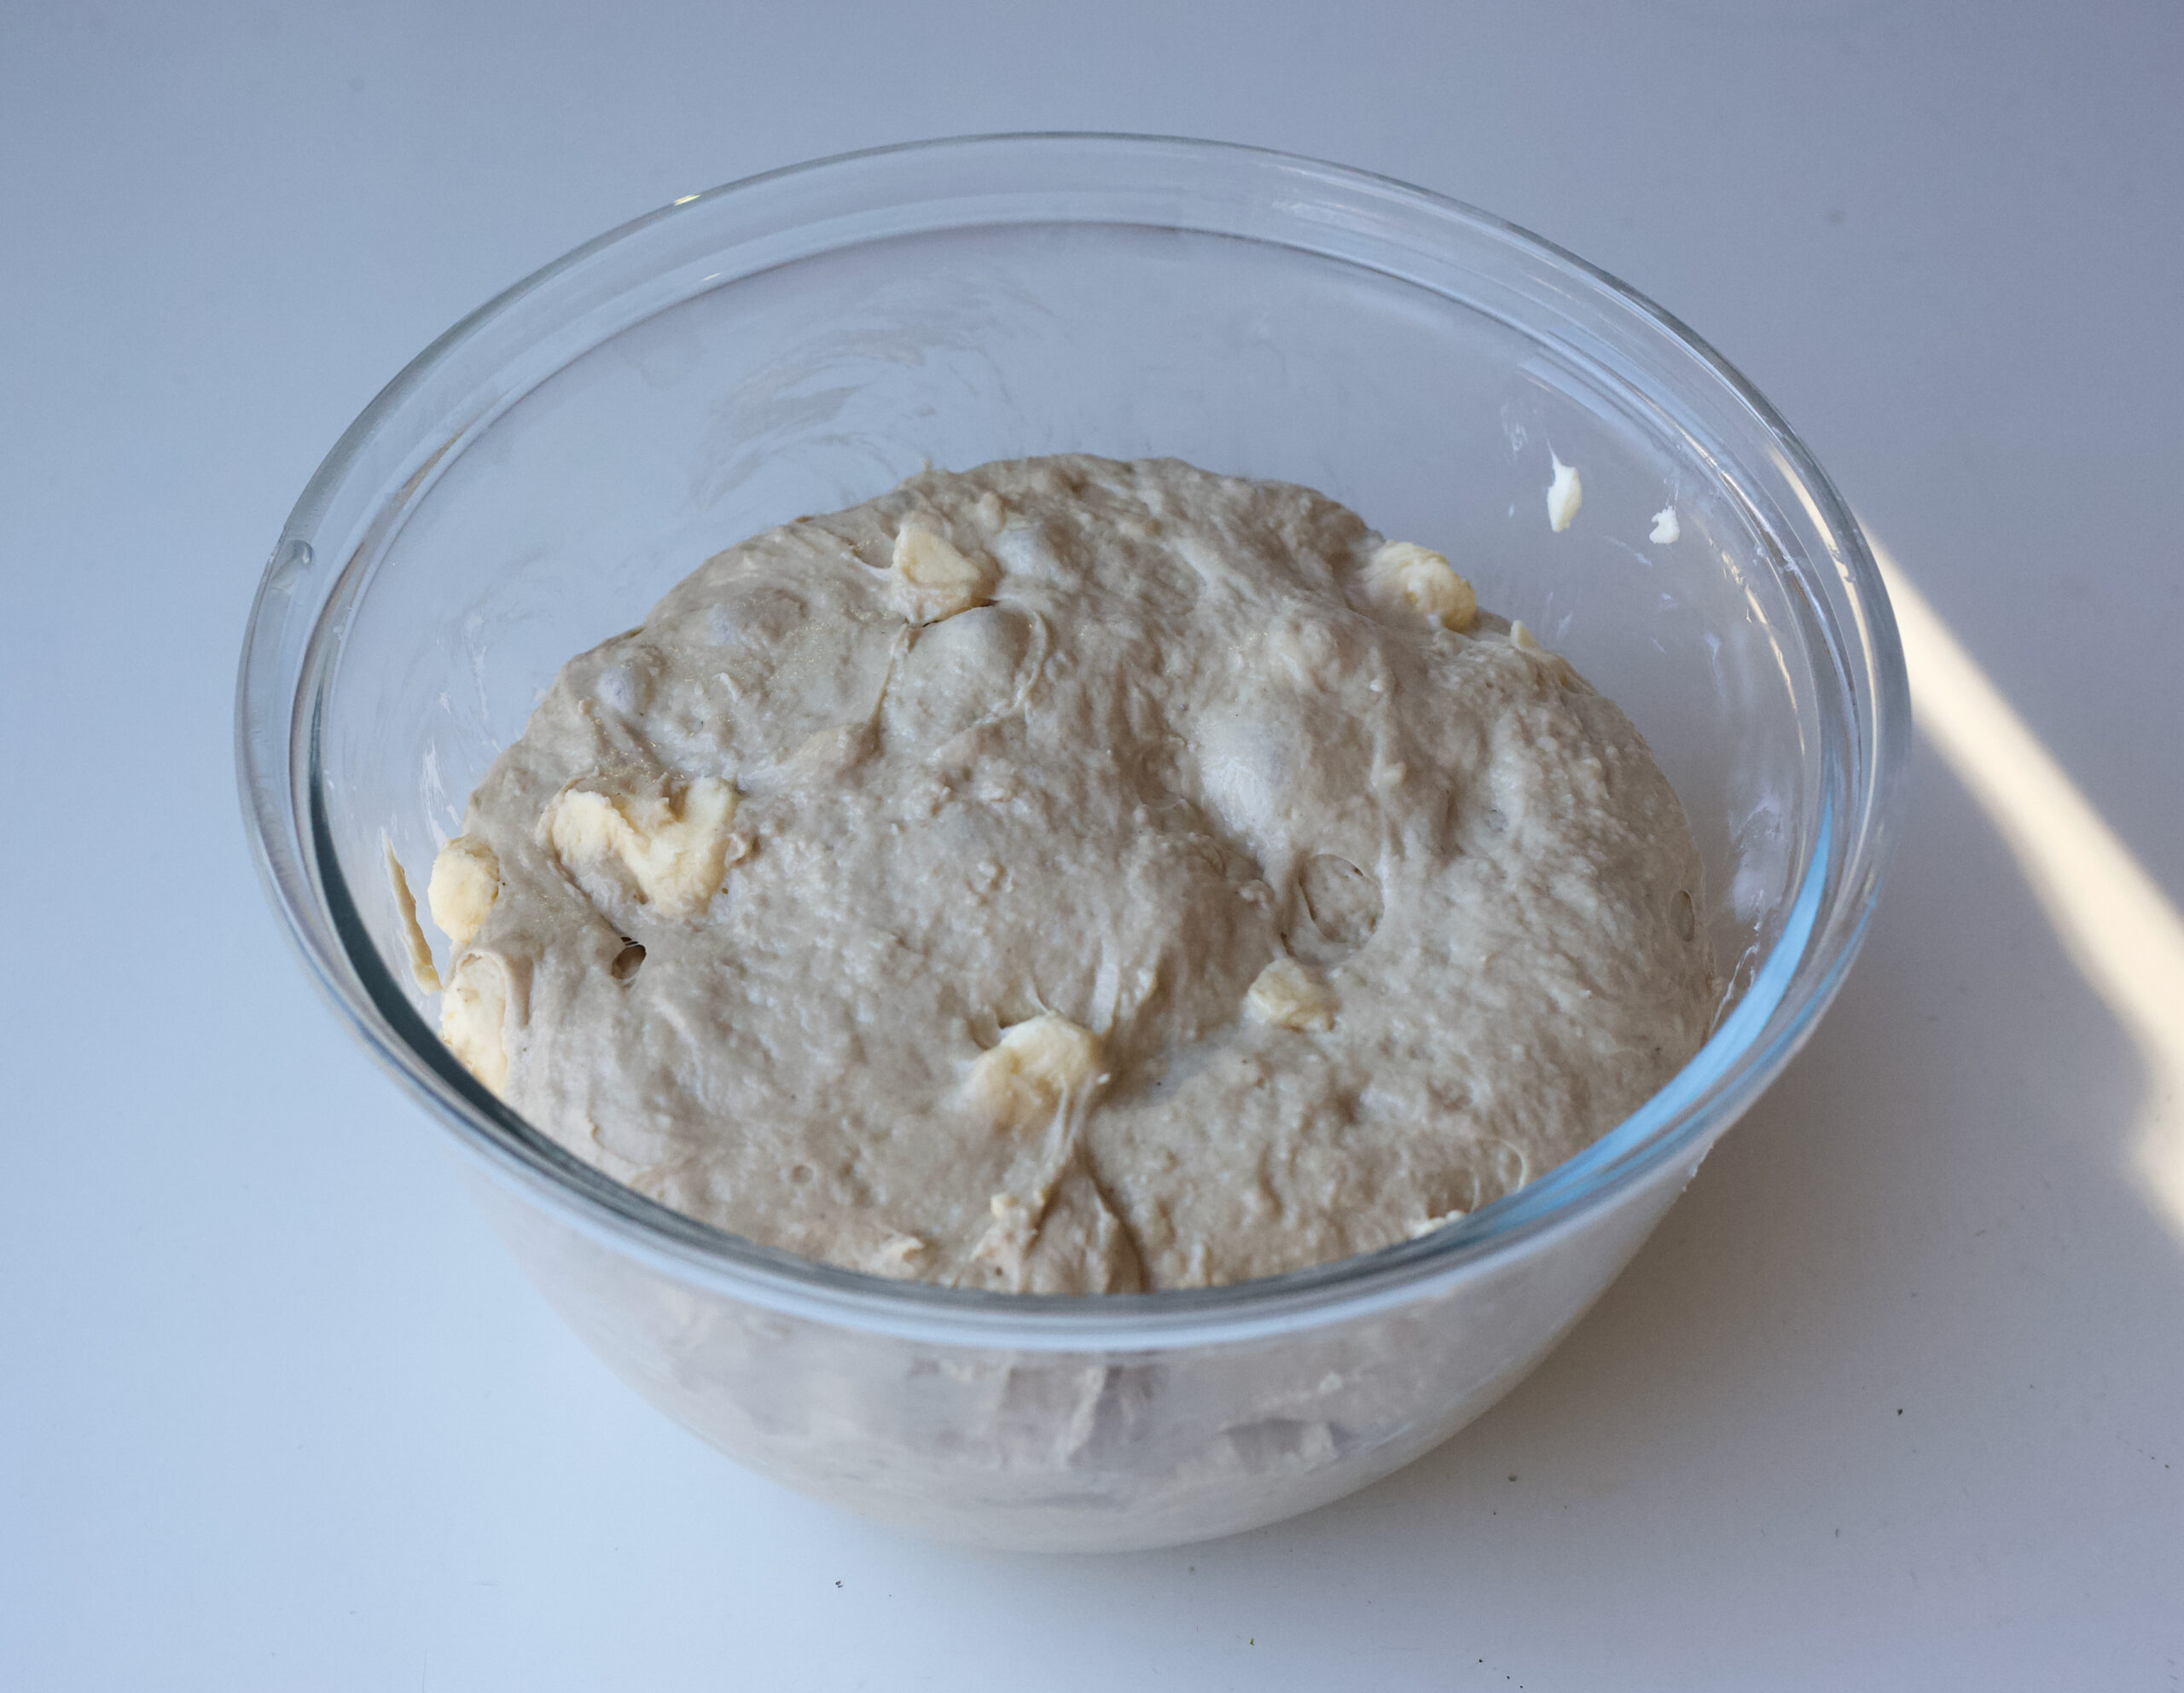
Wrap the dough and leave on the counter for 30 minutes. Chill in the fridge for 2 hours.

danish pastry dough rolled flat

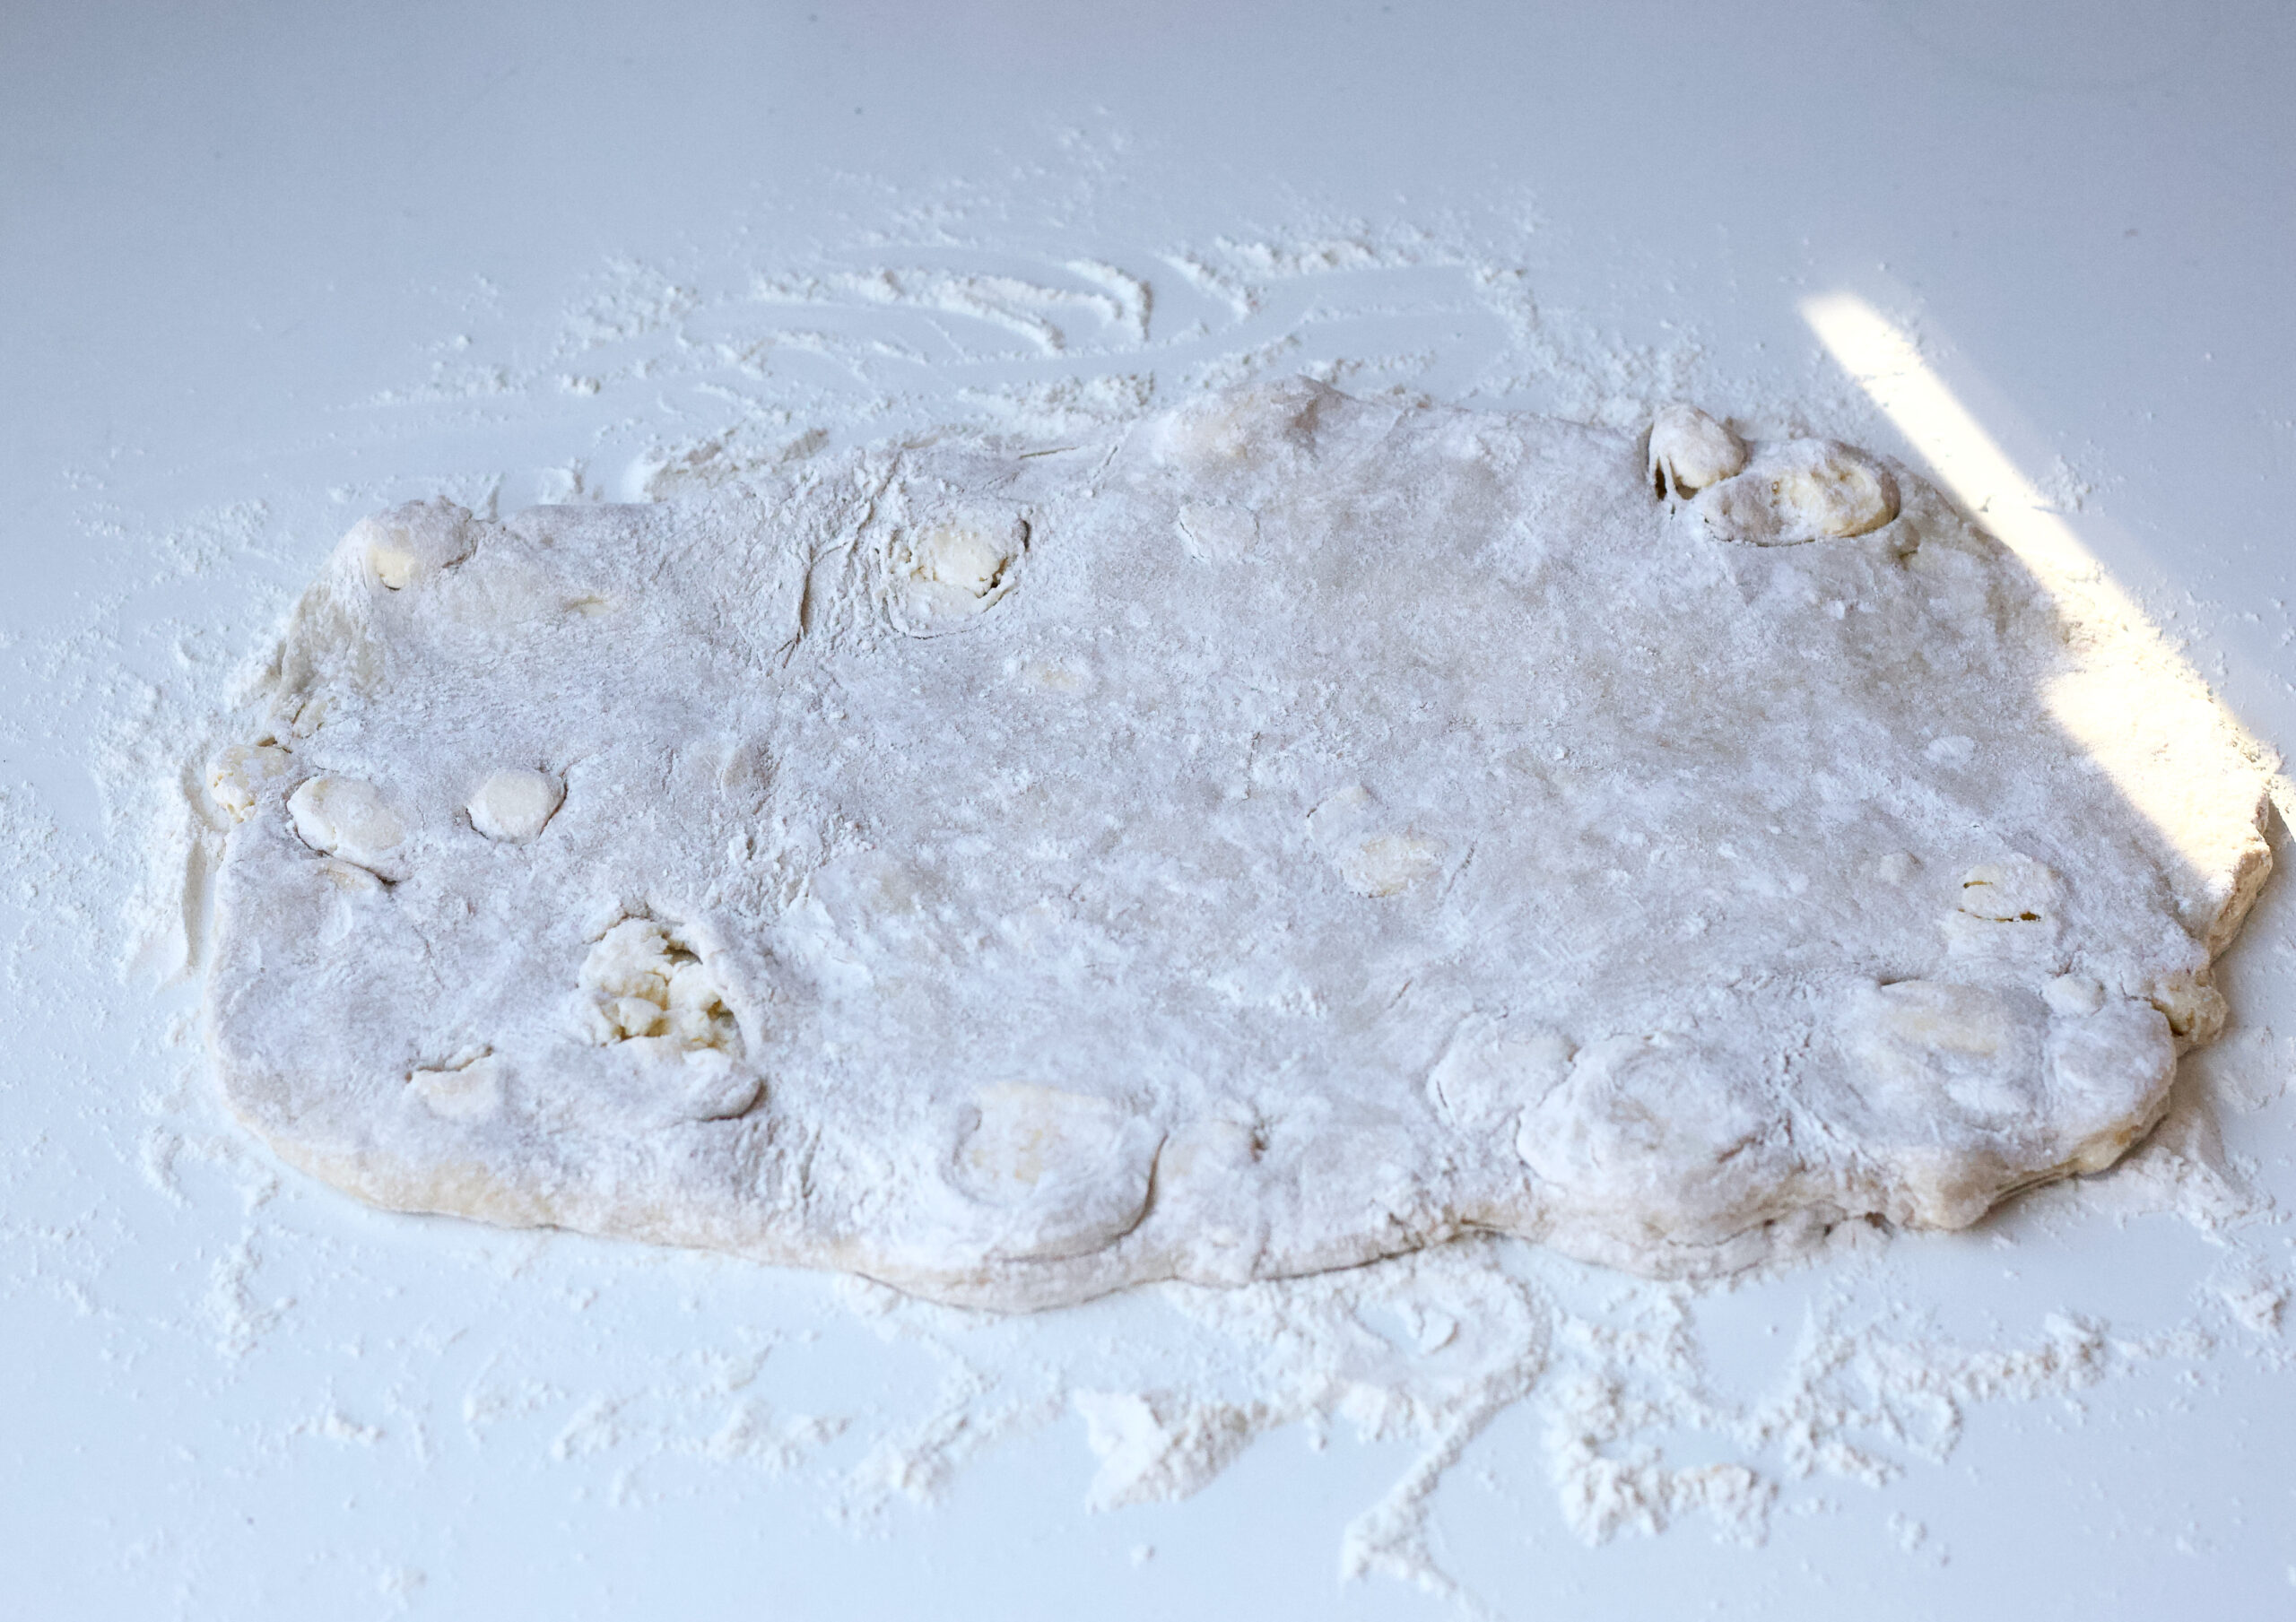
After two hours in the fridge, roll your dough out on a floured surface. It is ok if there are still large pieces of butter in the dough.That’s normal. If they are super large, you can cut them in half, and place them in the dough where there isn’t much butter.

danish pastry dough folded

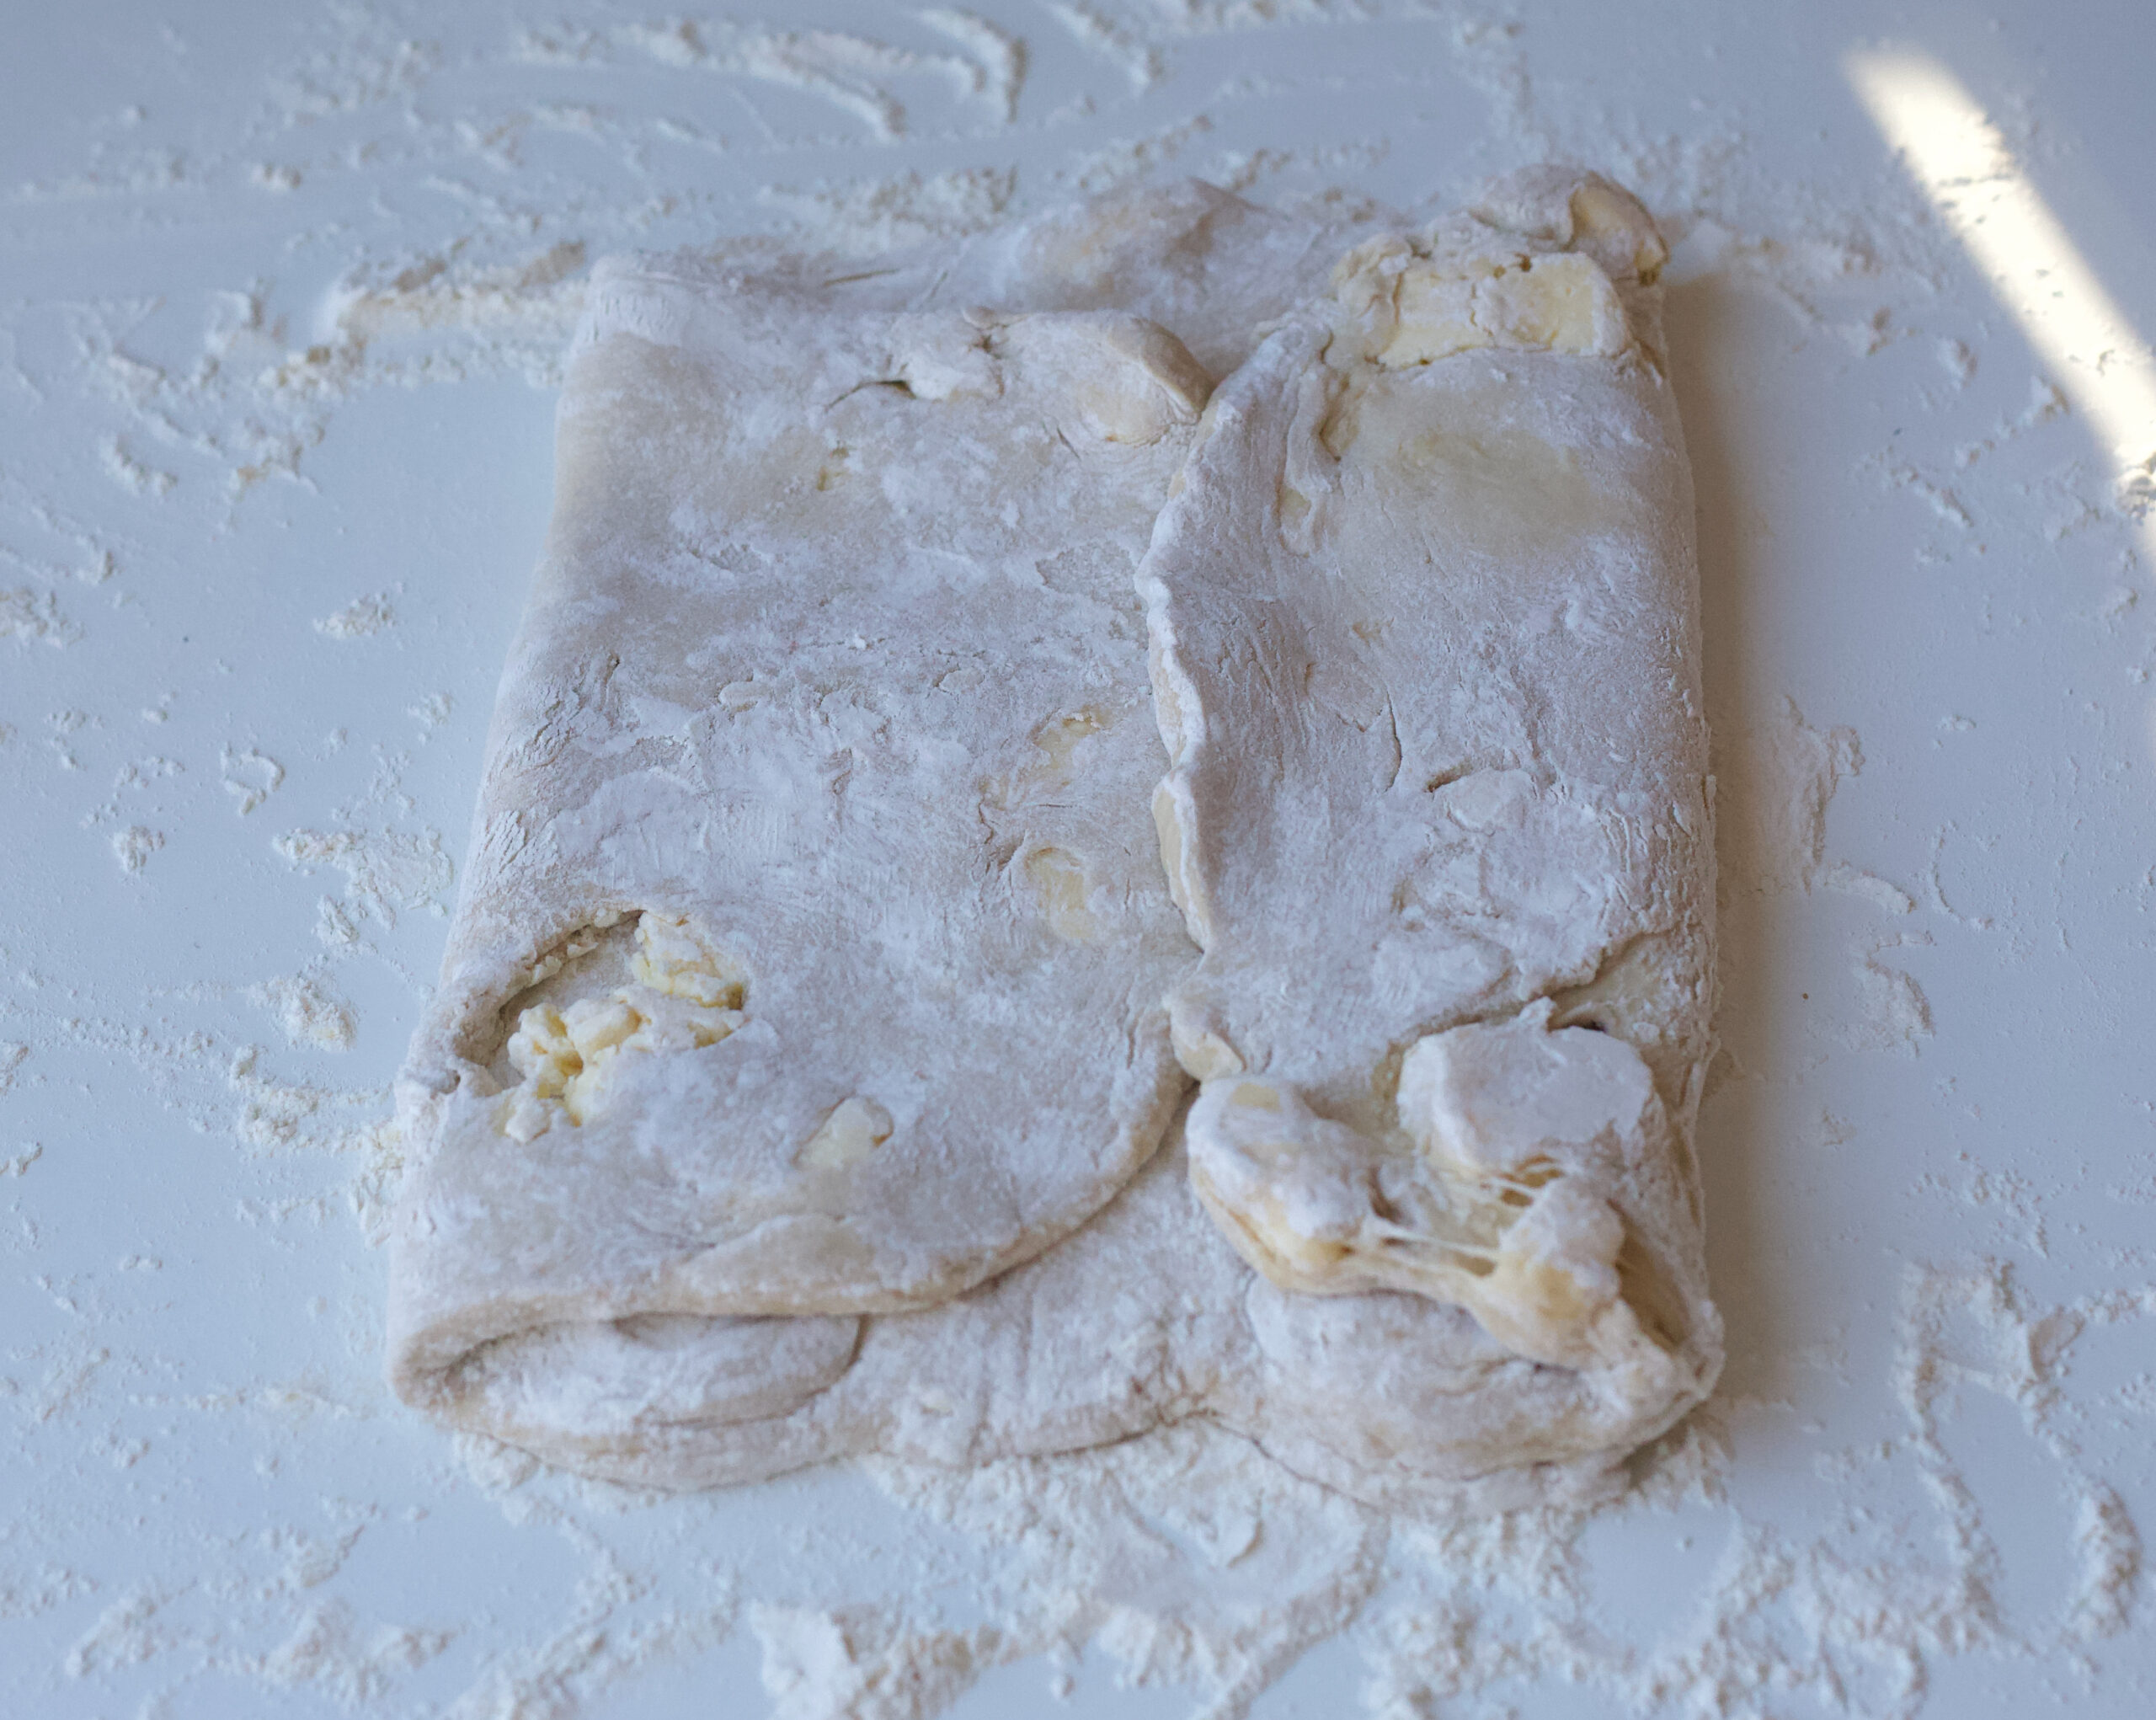
Then fold the dough using the book fold method. Fold the ends into the middle, and then one side goes on top of the other. This dough is so nice to work with. It’s very soft and will not break apart like pastry dough does sometimes. I took this photo, because I want beginners to see that it’s perfectly ok if the dough looks all lumpy at this stage. It will still turn out ok.

danish pastry dough folded

This is a book fold. Still large pieces of butter in the dough. Don’t worry, that’s normal. Wrap the dough up, and place it in the fridge for one hour.

danish pastry dough folded

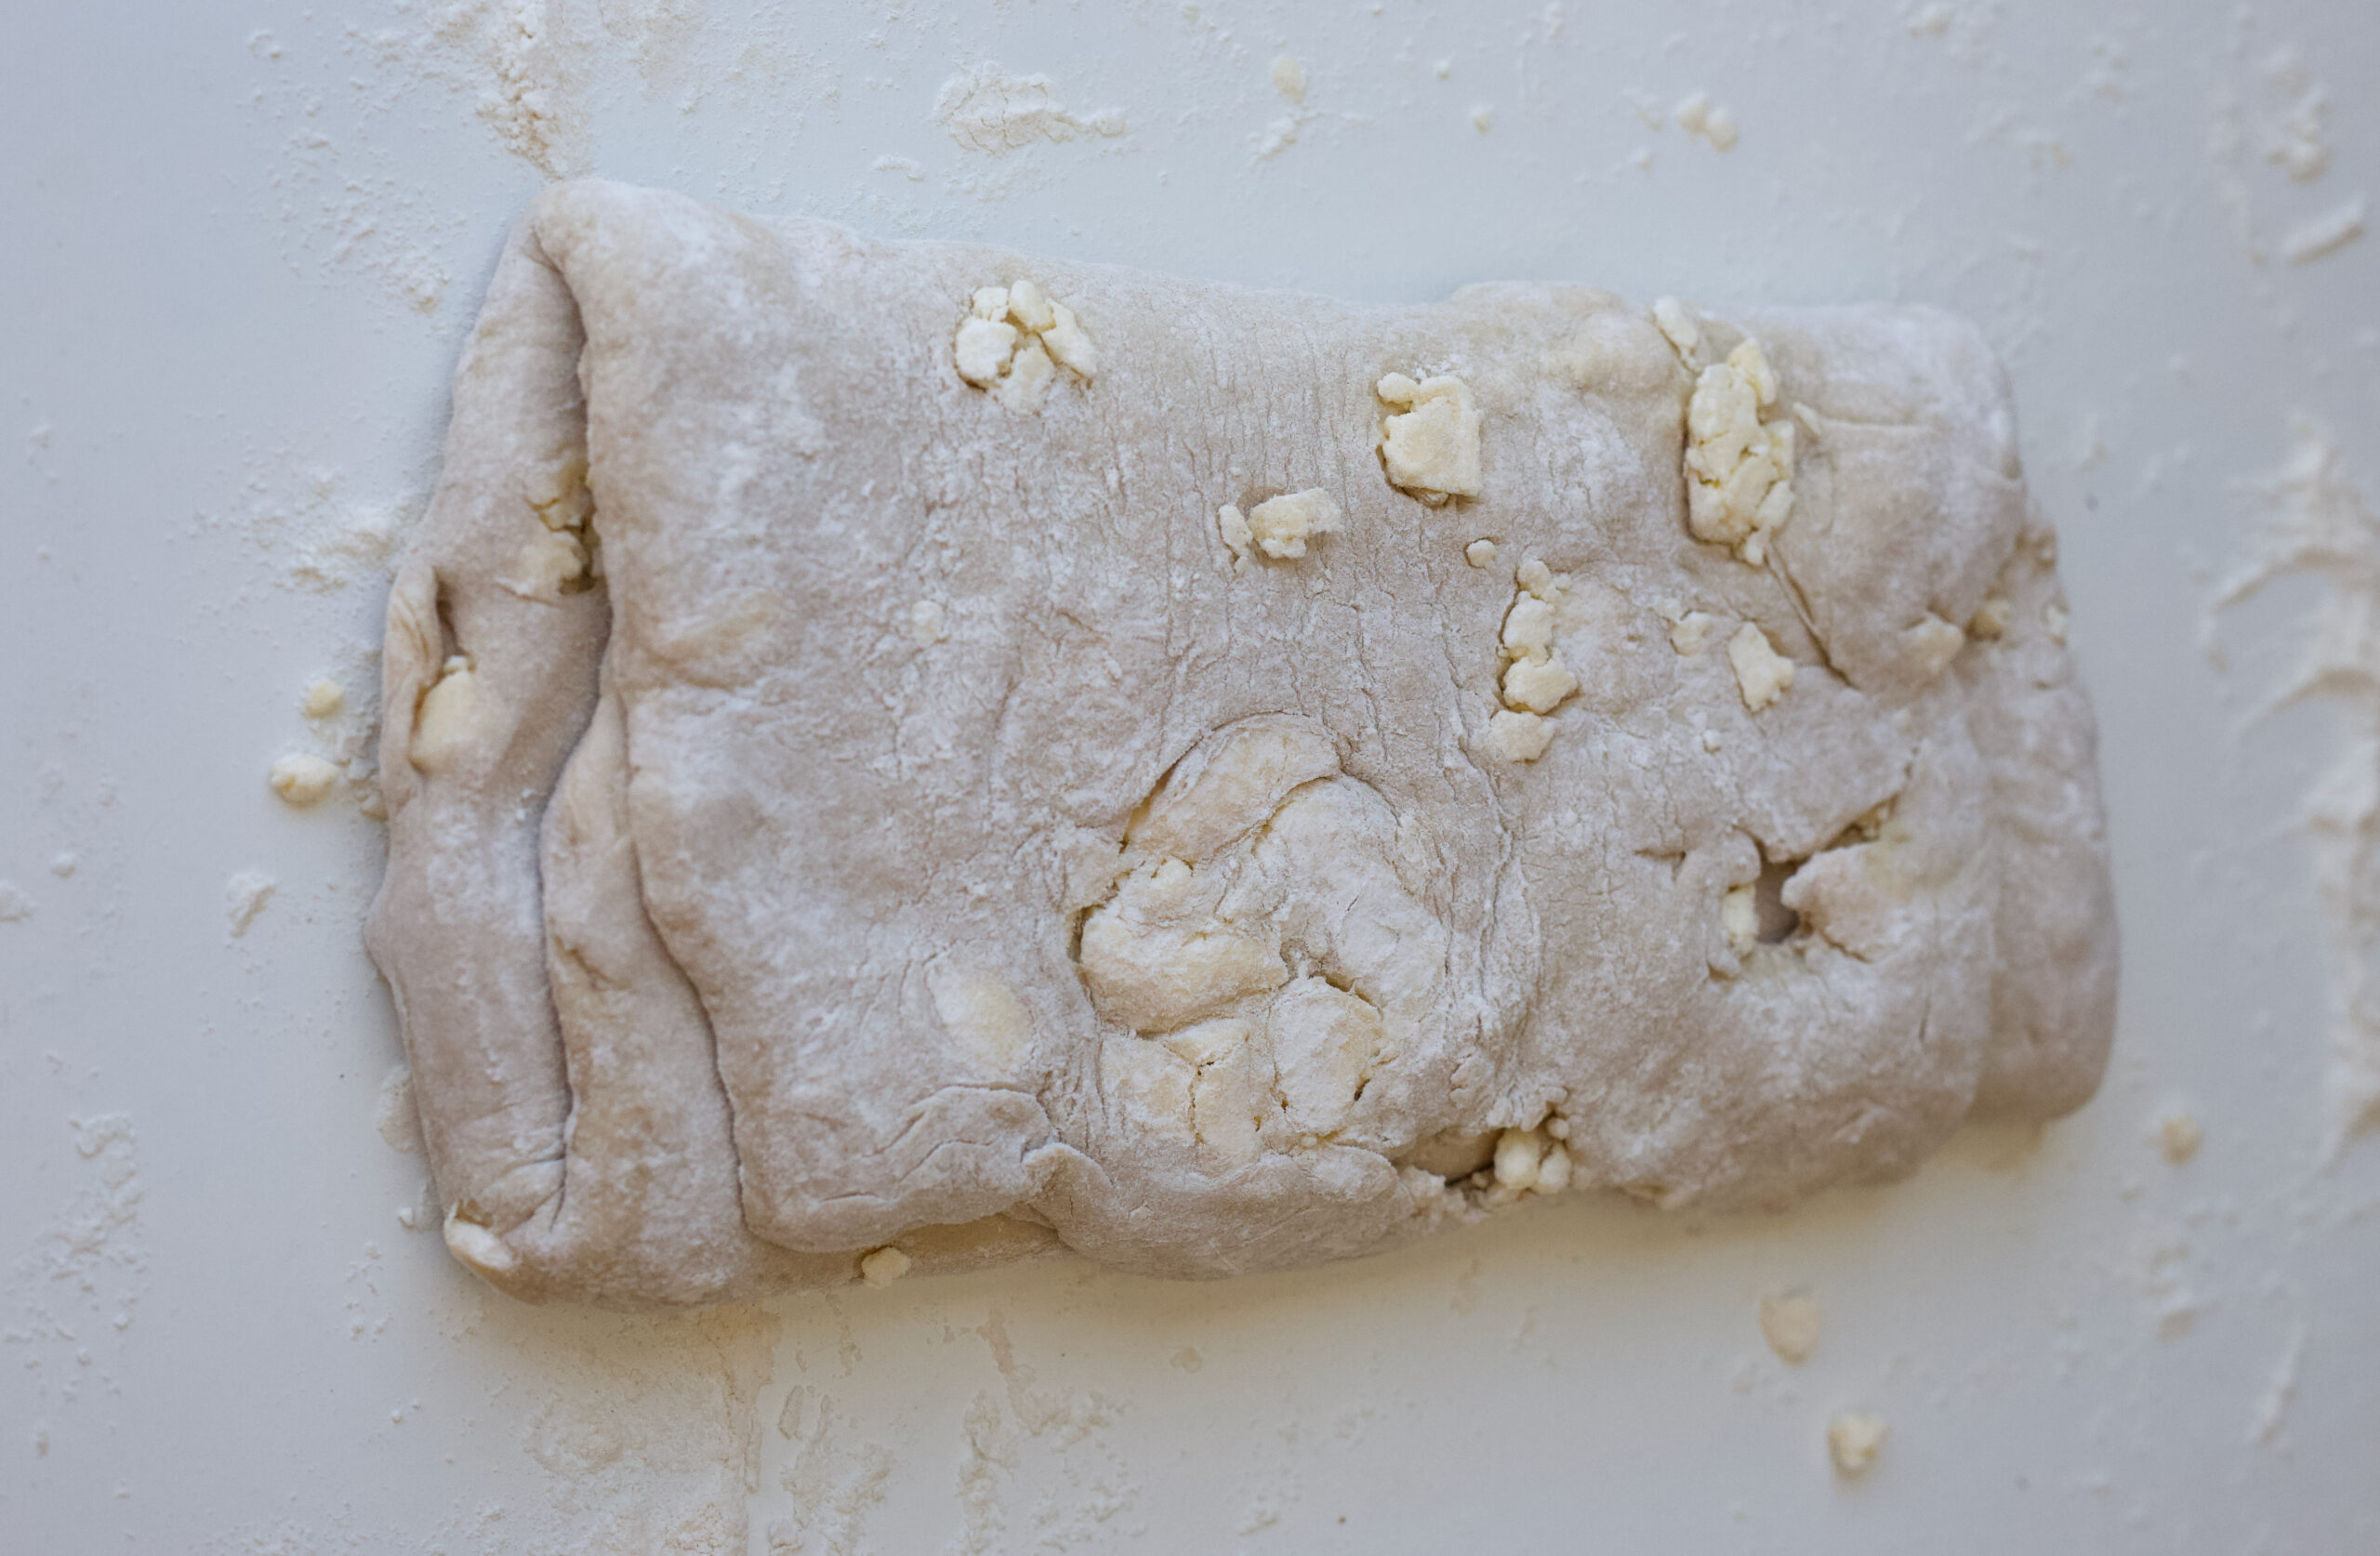
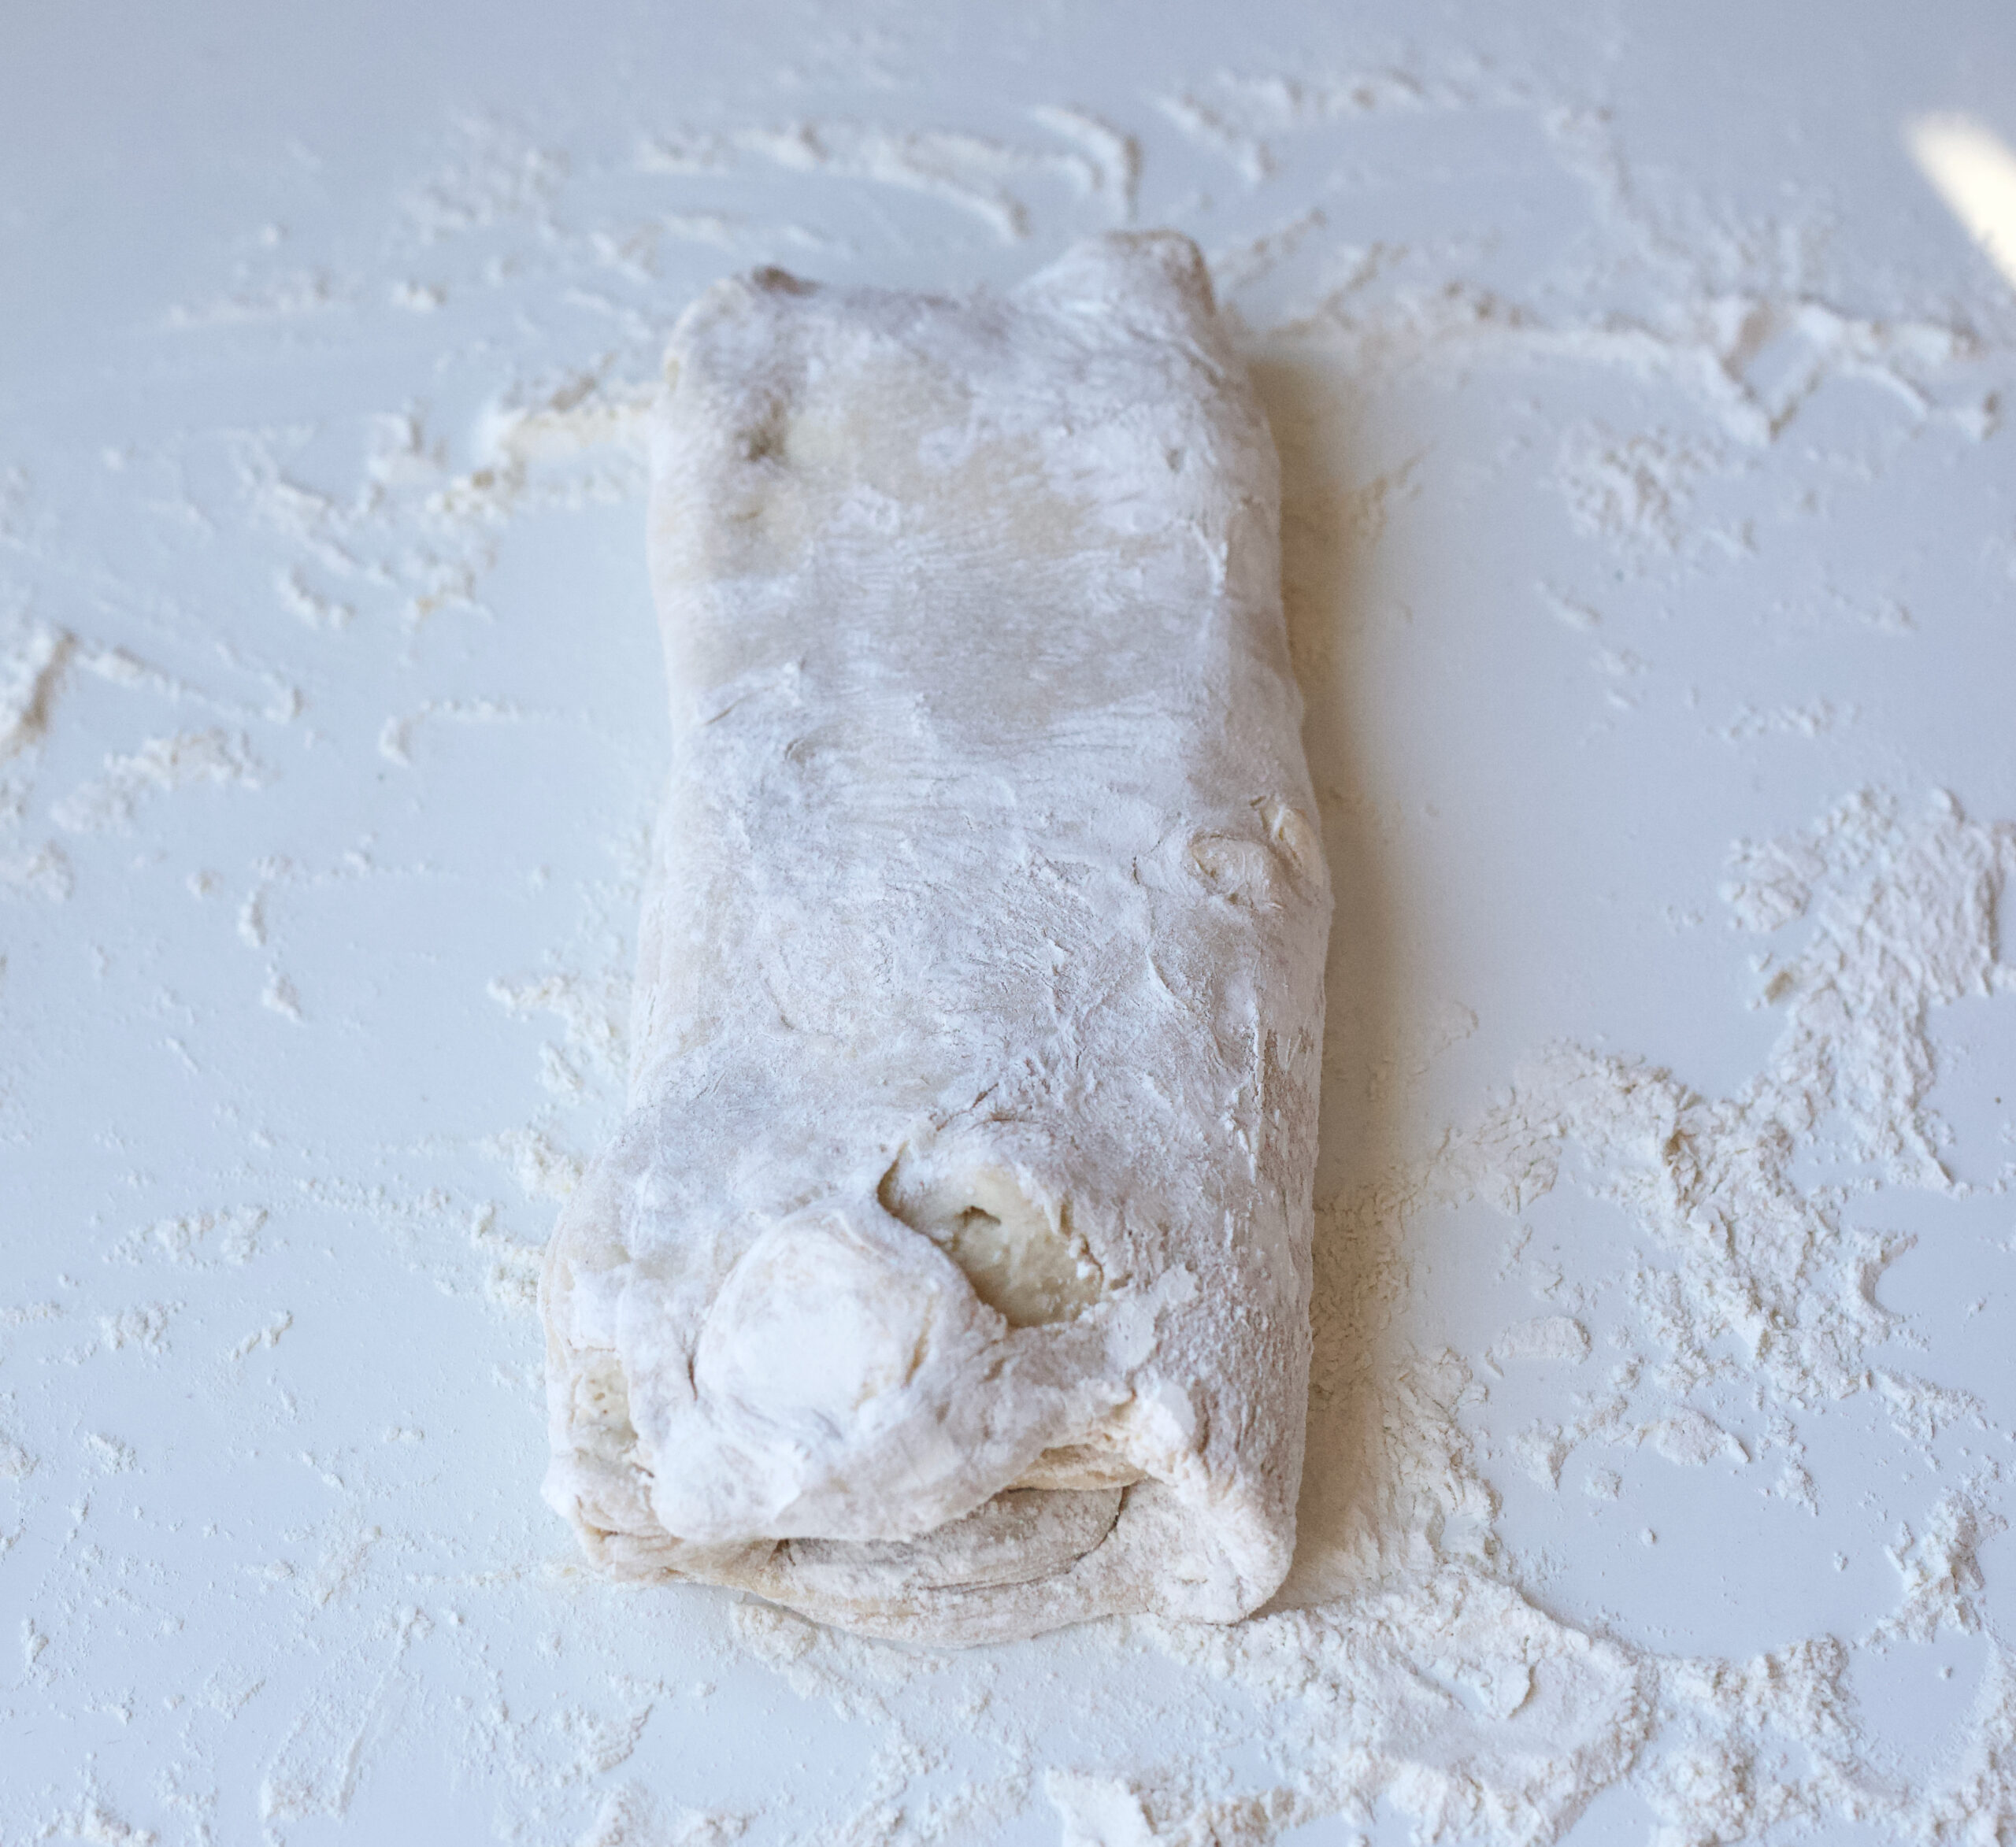
After one hour in the fridge, roll the dough into a rectangle and then fold it into thirds. iThe above photo is thirds. Fold one side into the center and the other side on top. And then back in the fridge for 1 hour. Repeat this one more time.: roll out, fold into thirds and then back into the fridge for one hour.

sugar and spices in a bowl

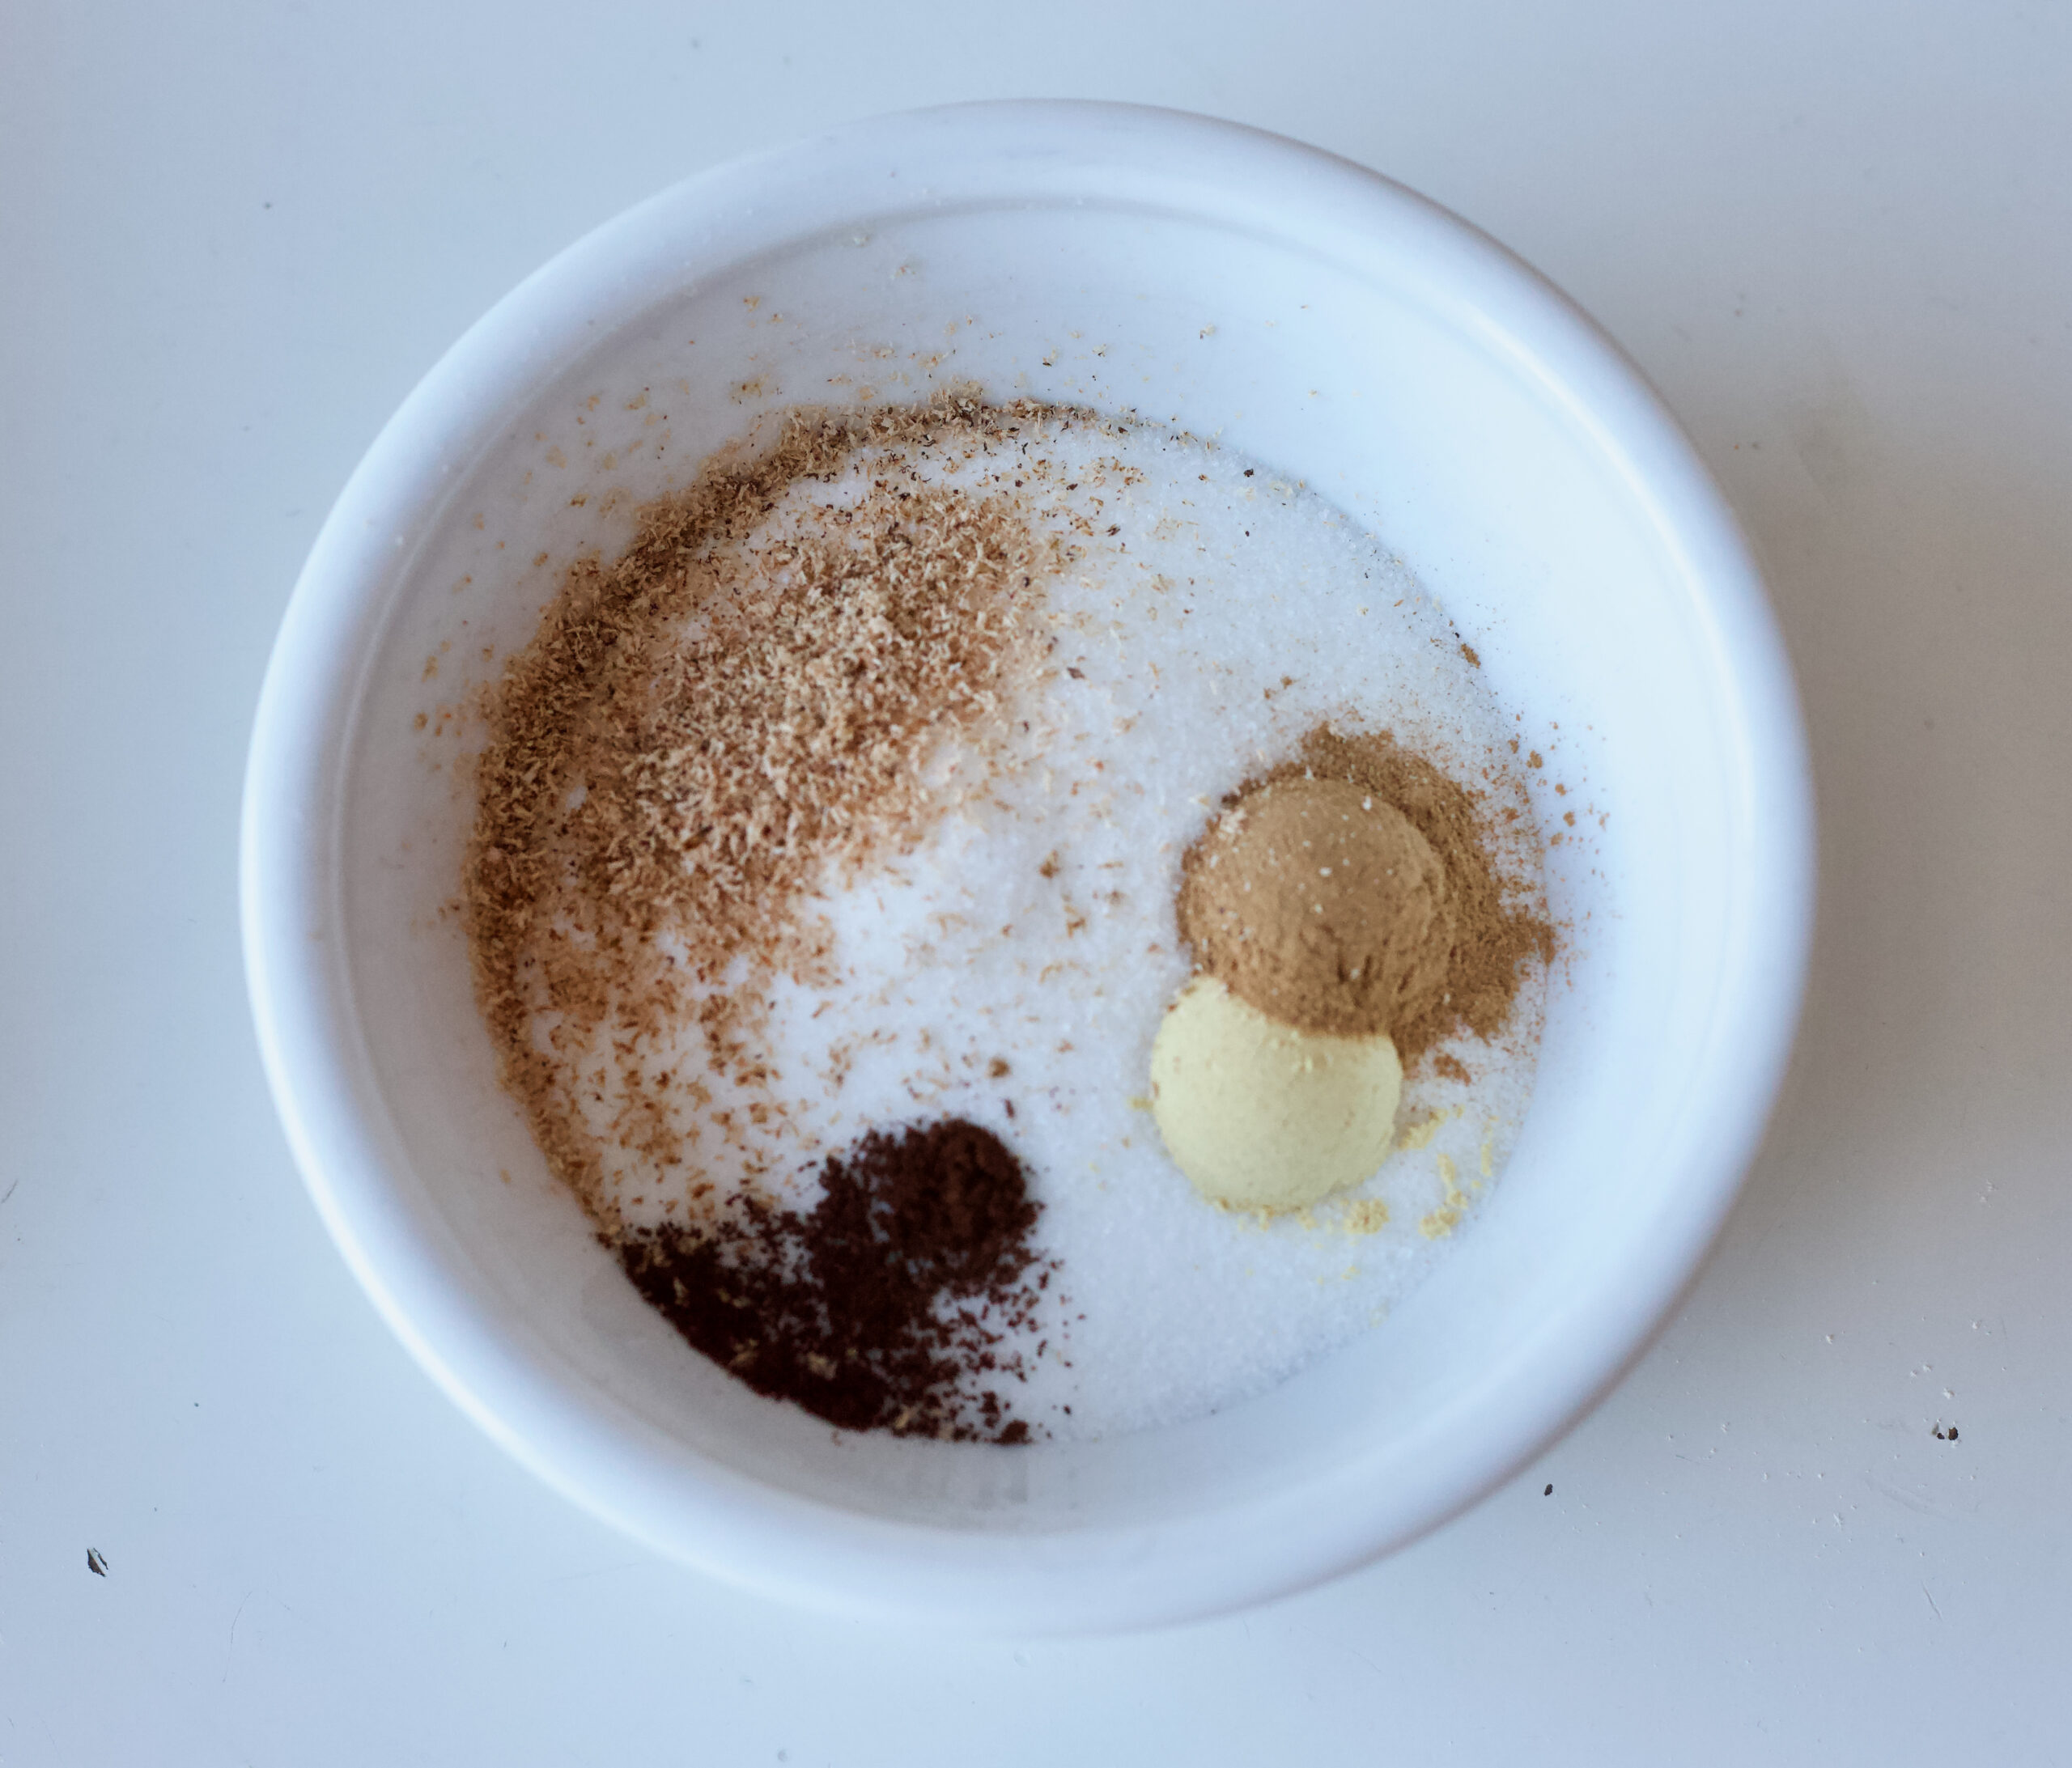
In the meantime, mix together your spice mix. Or use a store bought one, if you have one in the cupboard.

danish pastry dough rolled into a rectangle

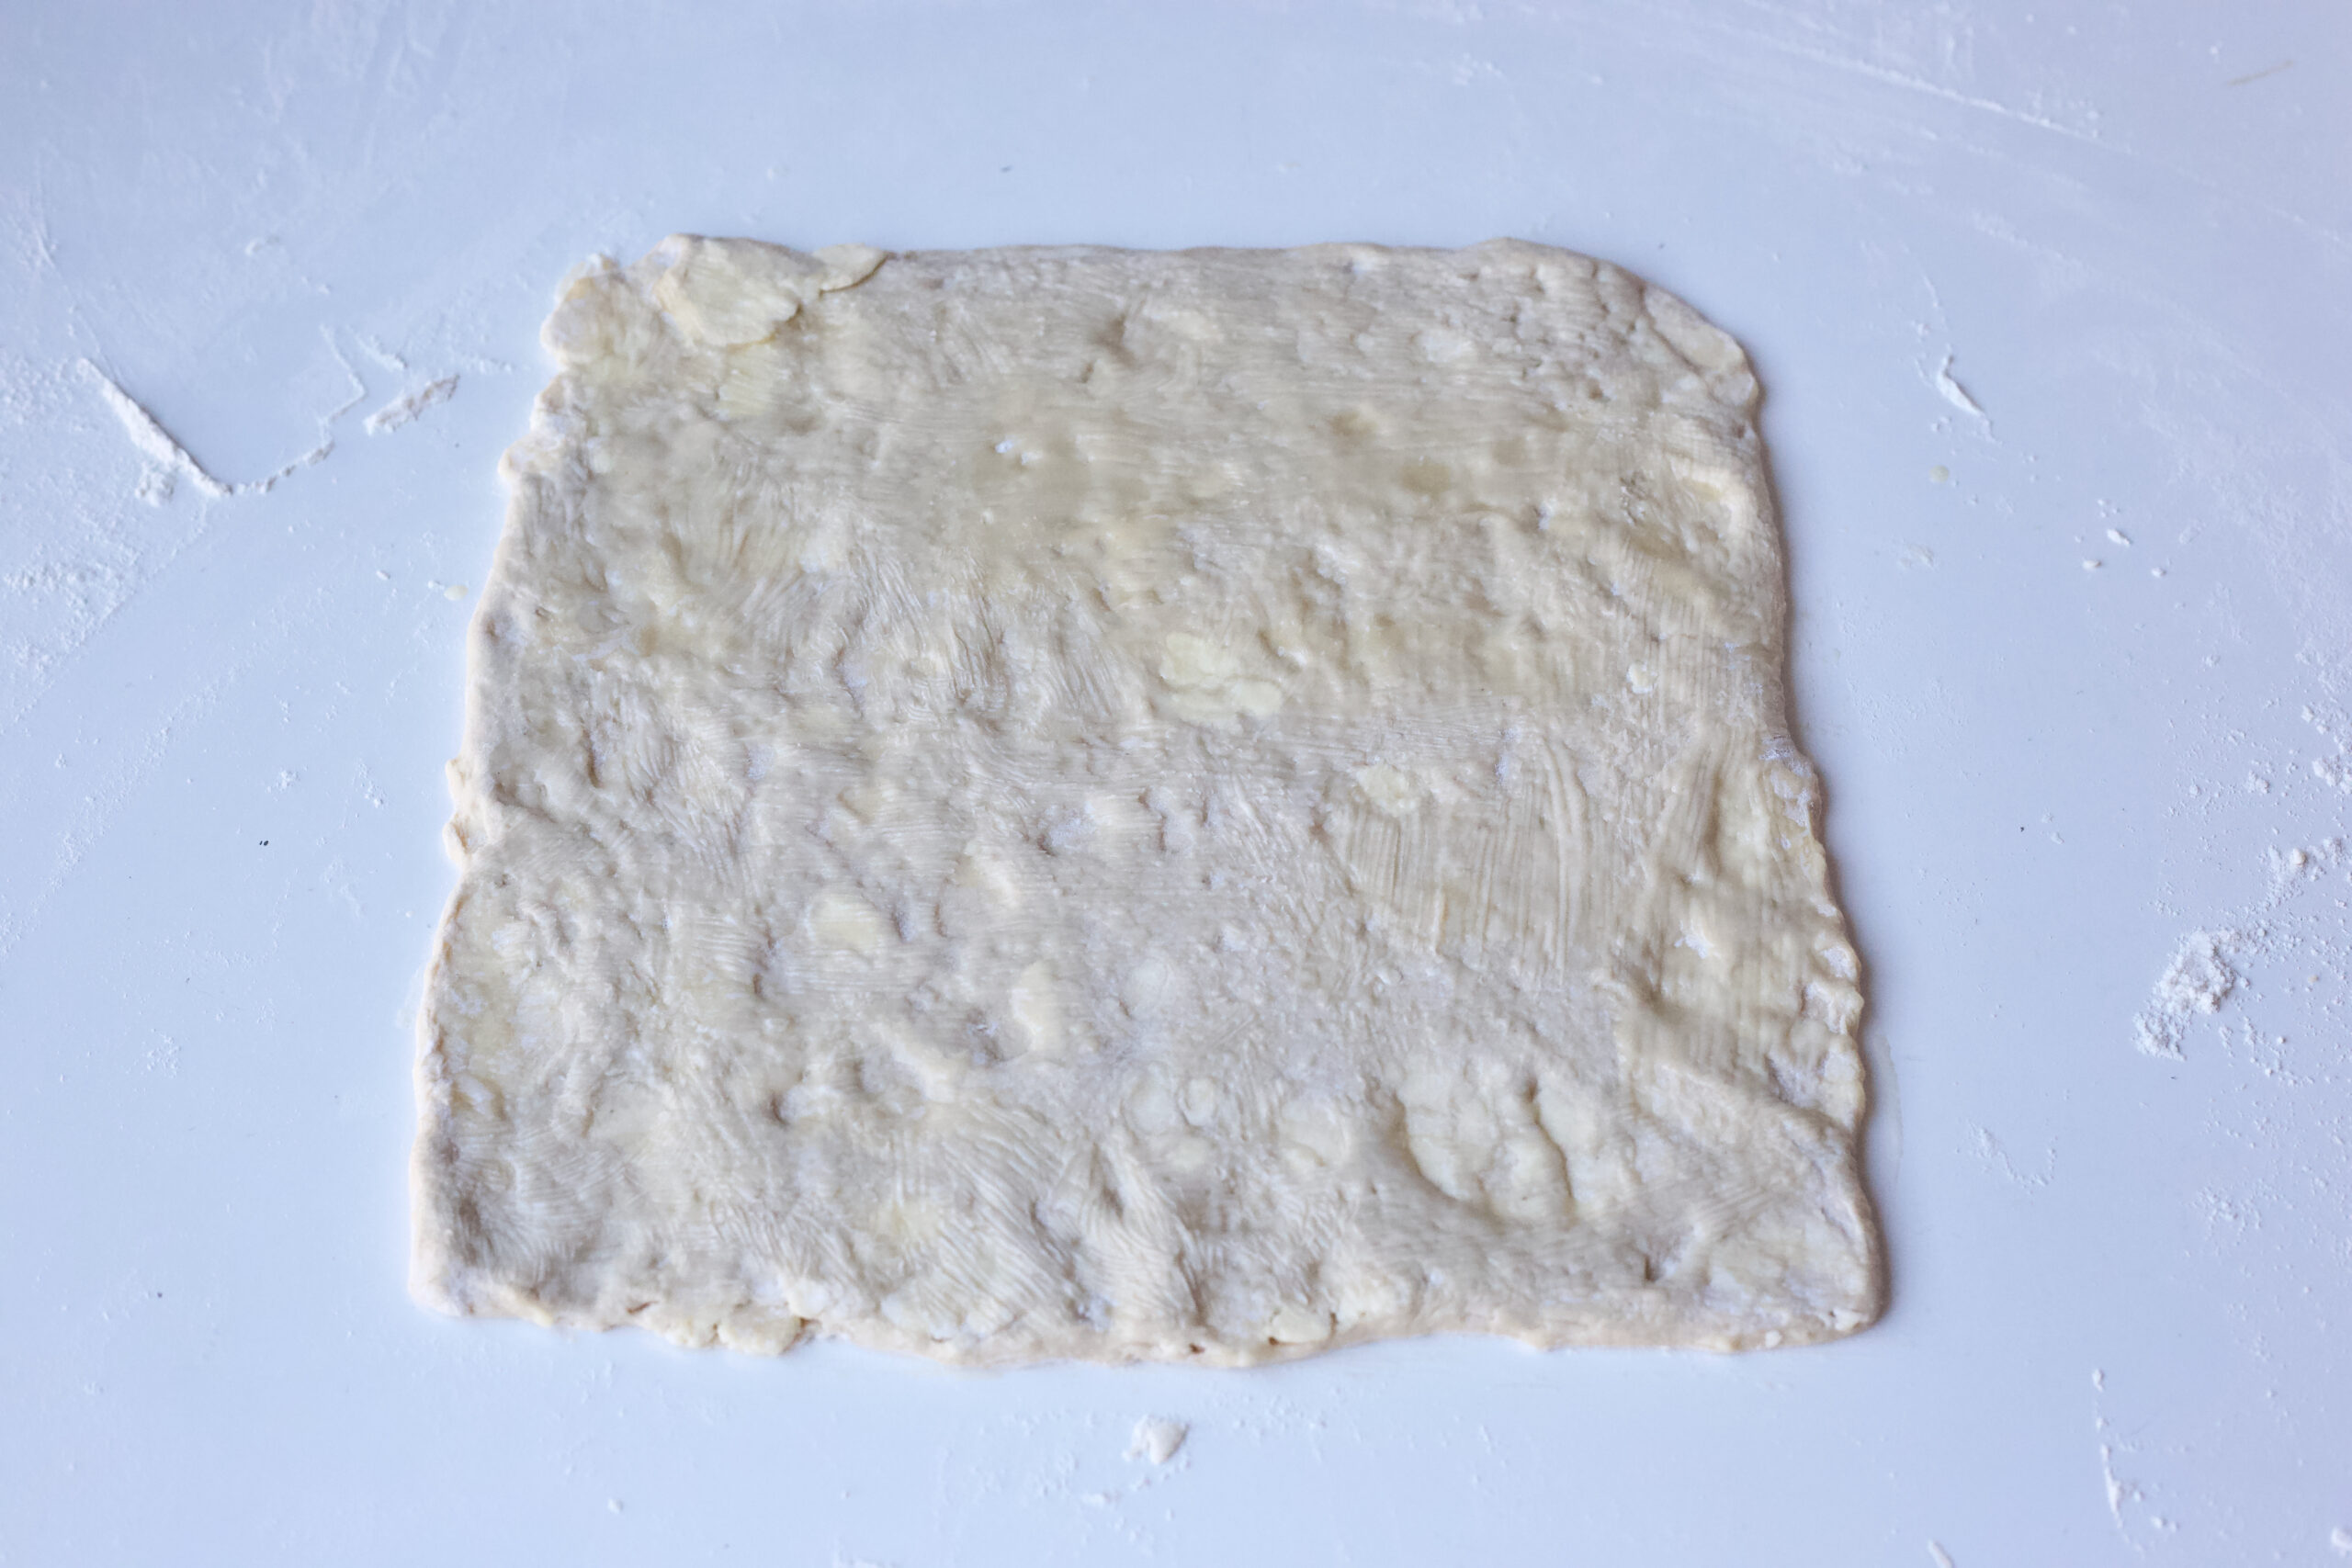
When the dough comes out of the fridge, cut the dough in half. Roll one half of the dough into a square. This will make 12 Apple Cider Pain au Raisin. You can freeze the remainder of the dough for later, or you can make 24 pastries.

danish pastry dough rolled out and covered with raisins

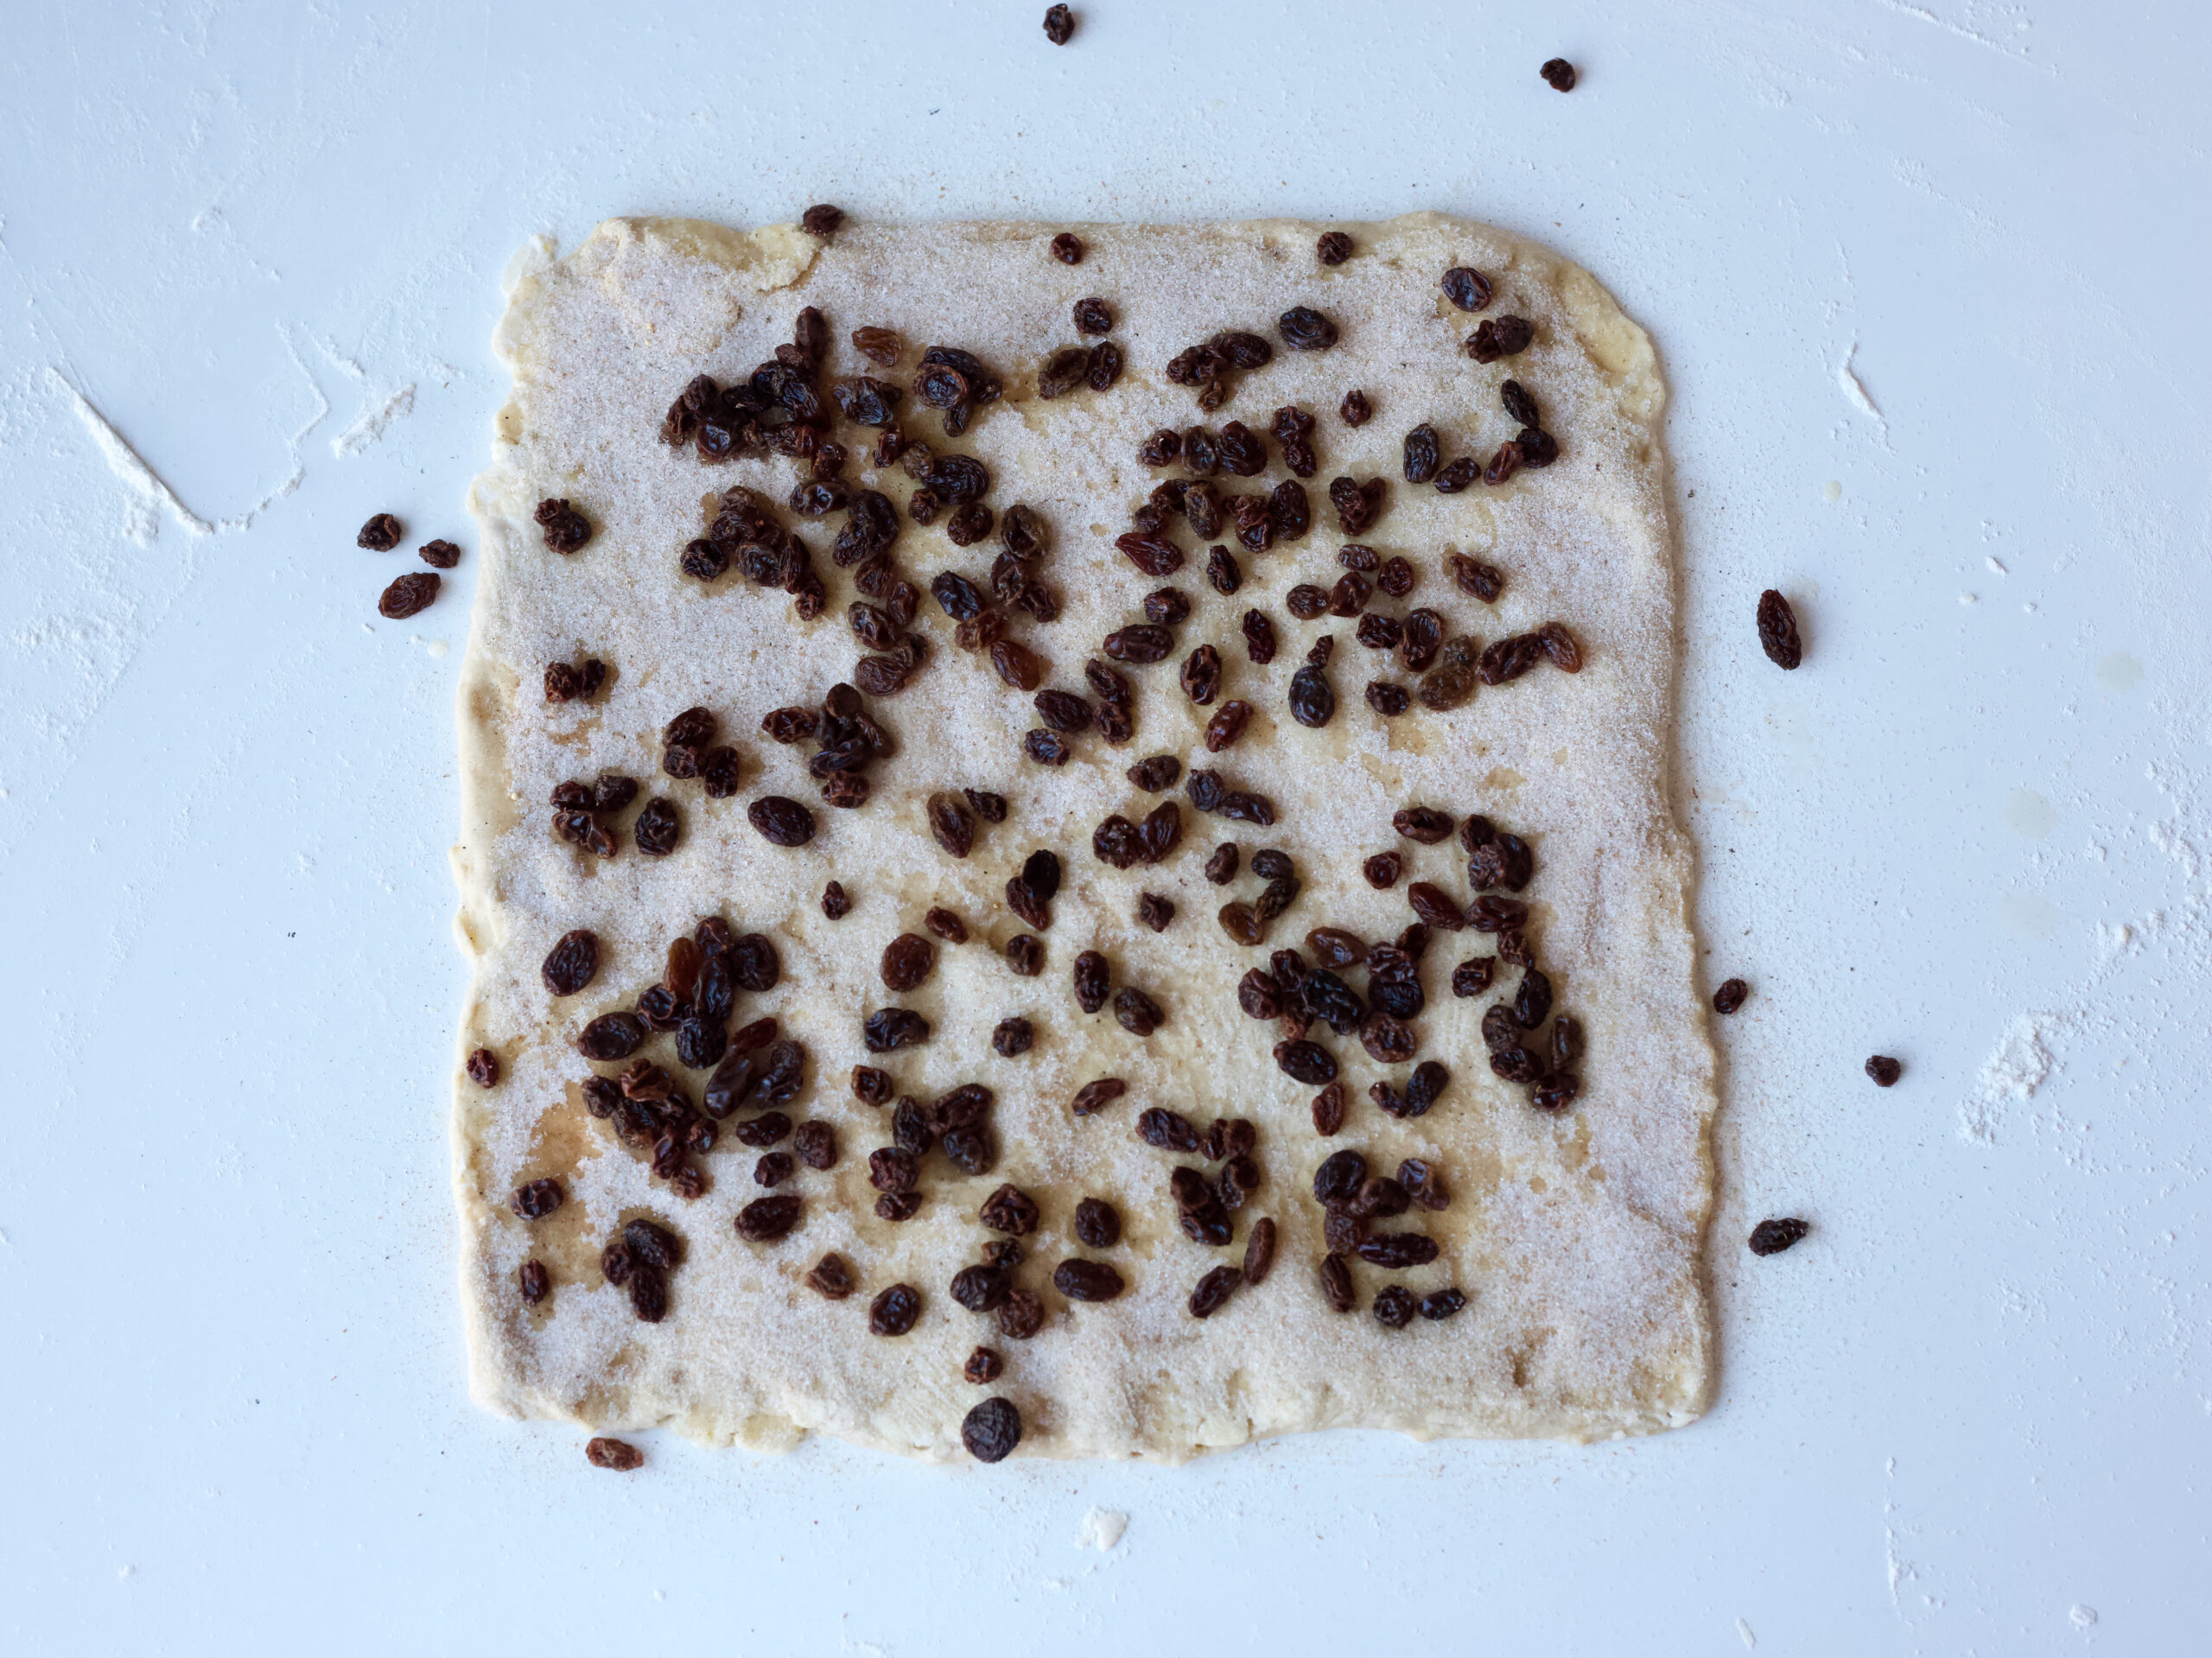
Brush melted butter on the dough, just enough to help the spiced sugar and raisins stick. Sprinkle with the sugar and then the raisins.

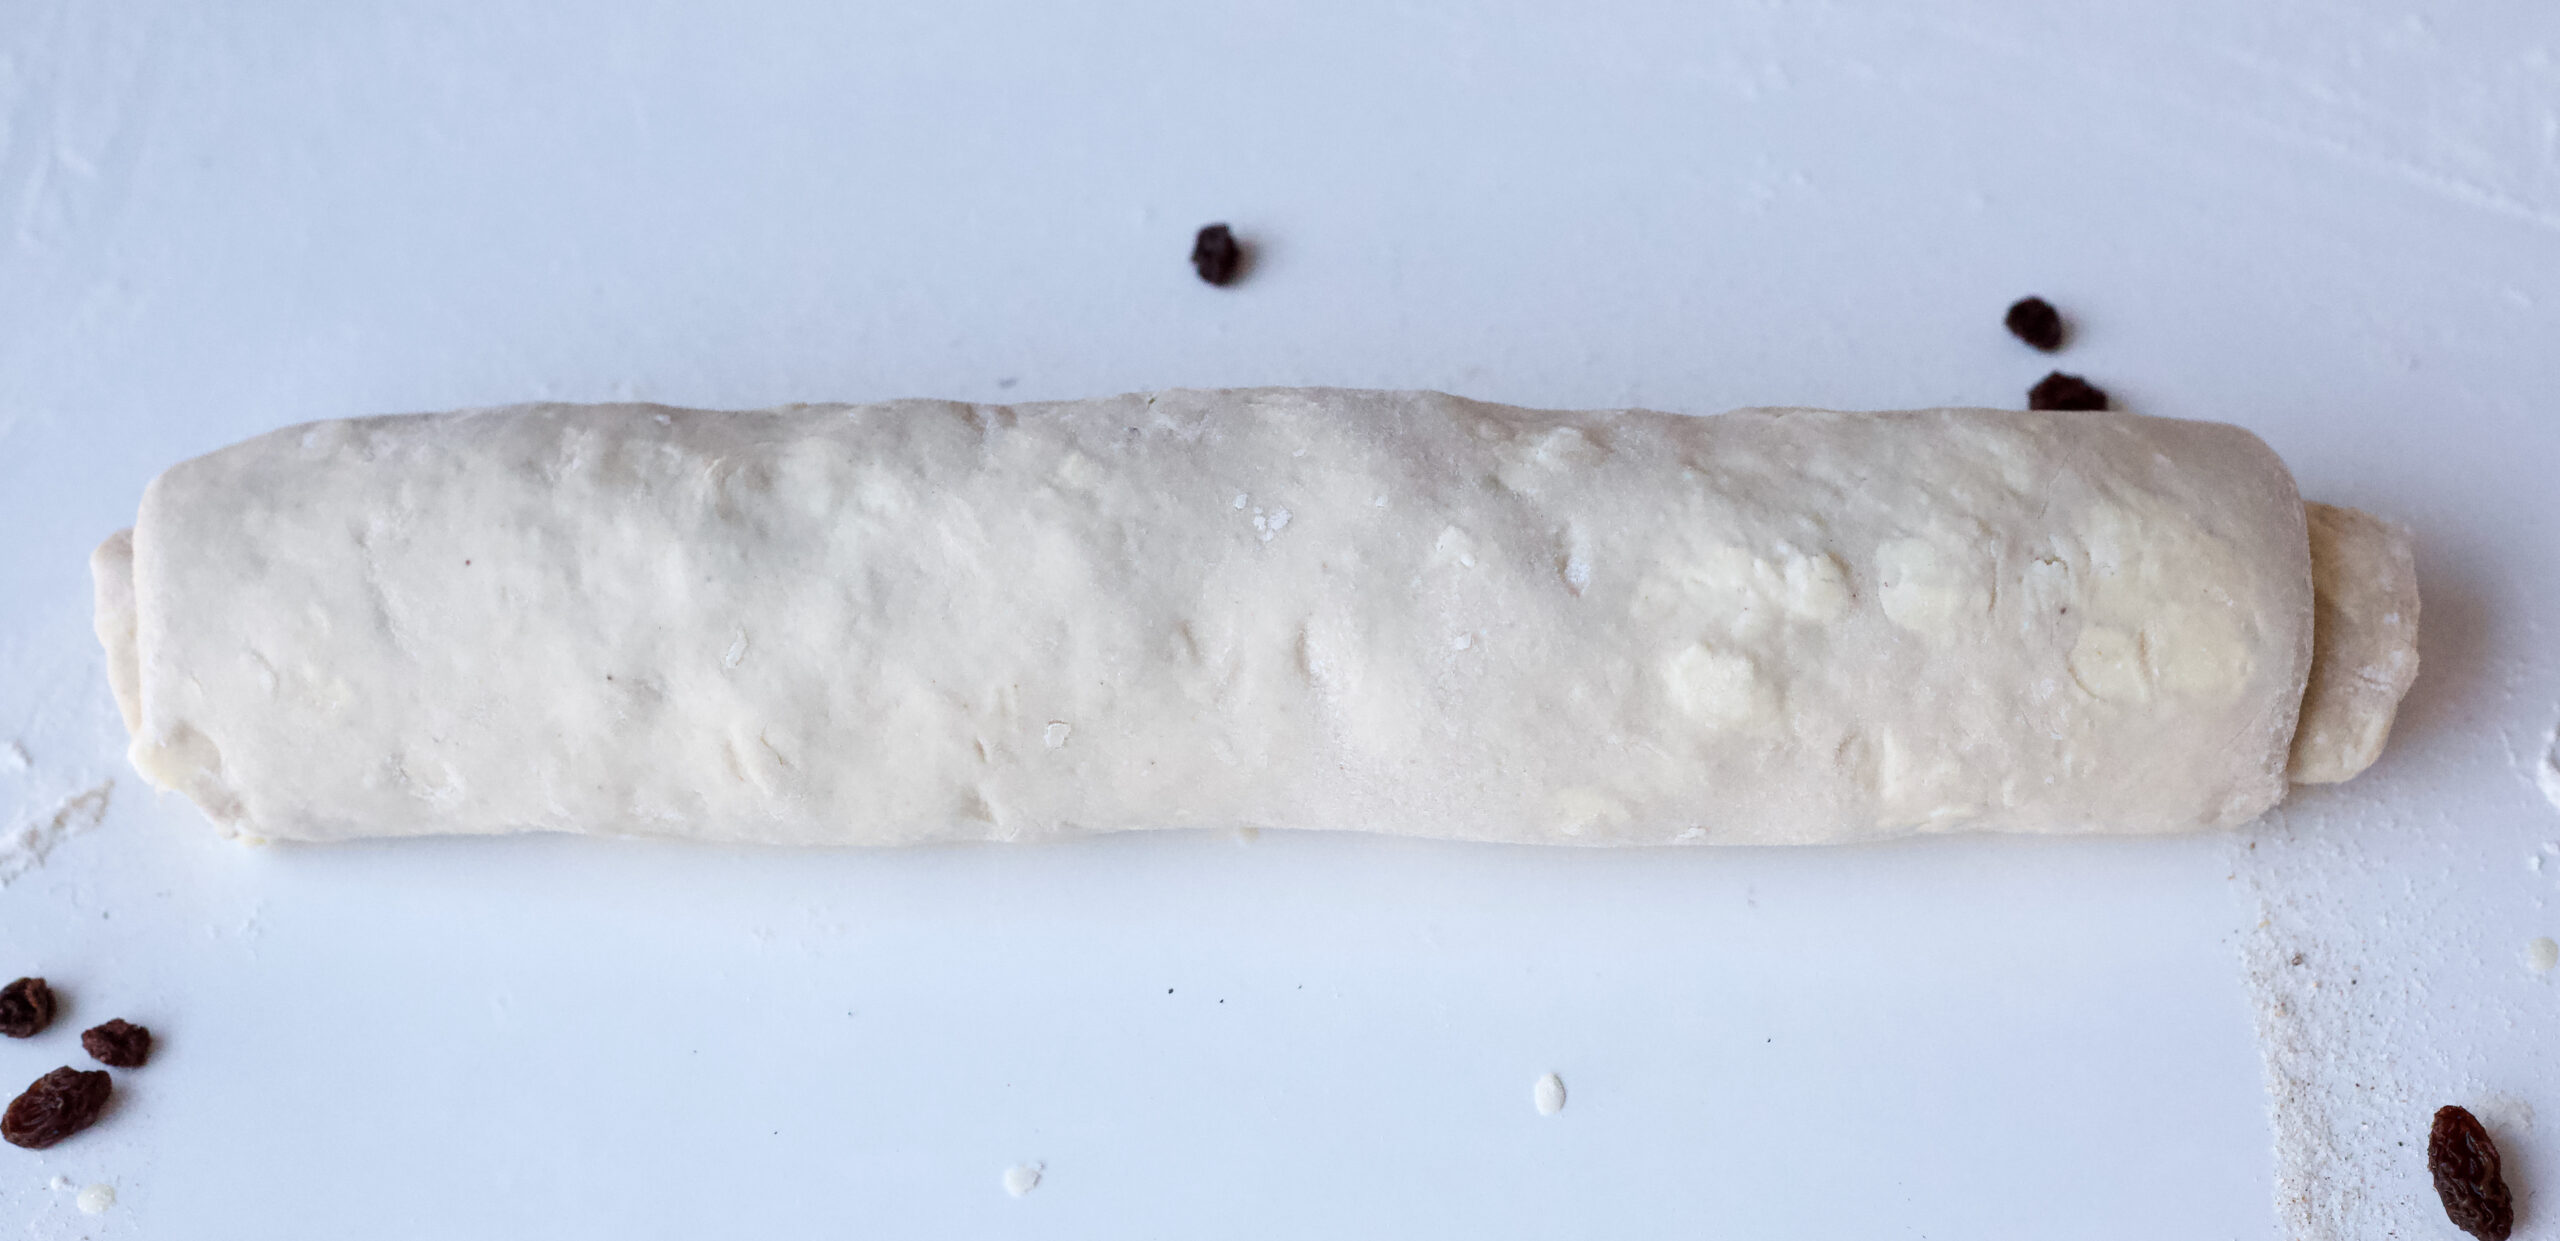
Roll the dough lengthwise, rolling it tightly as you go. You don’t want any air pockets inside.

danish pastry dough rolled and sliced

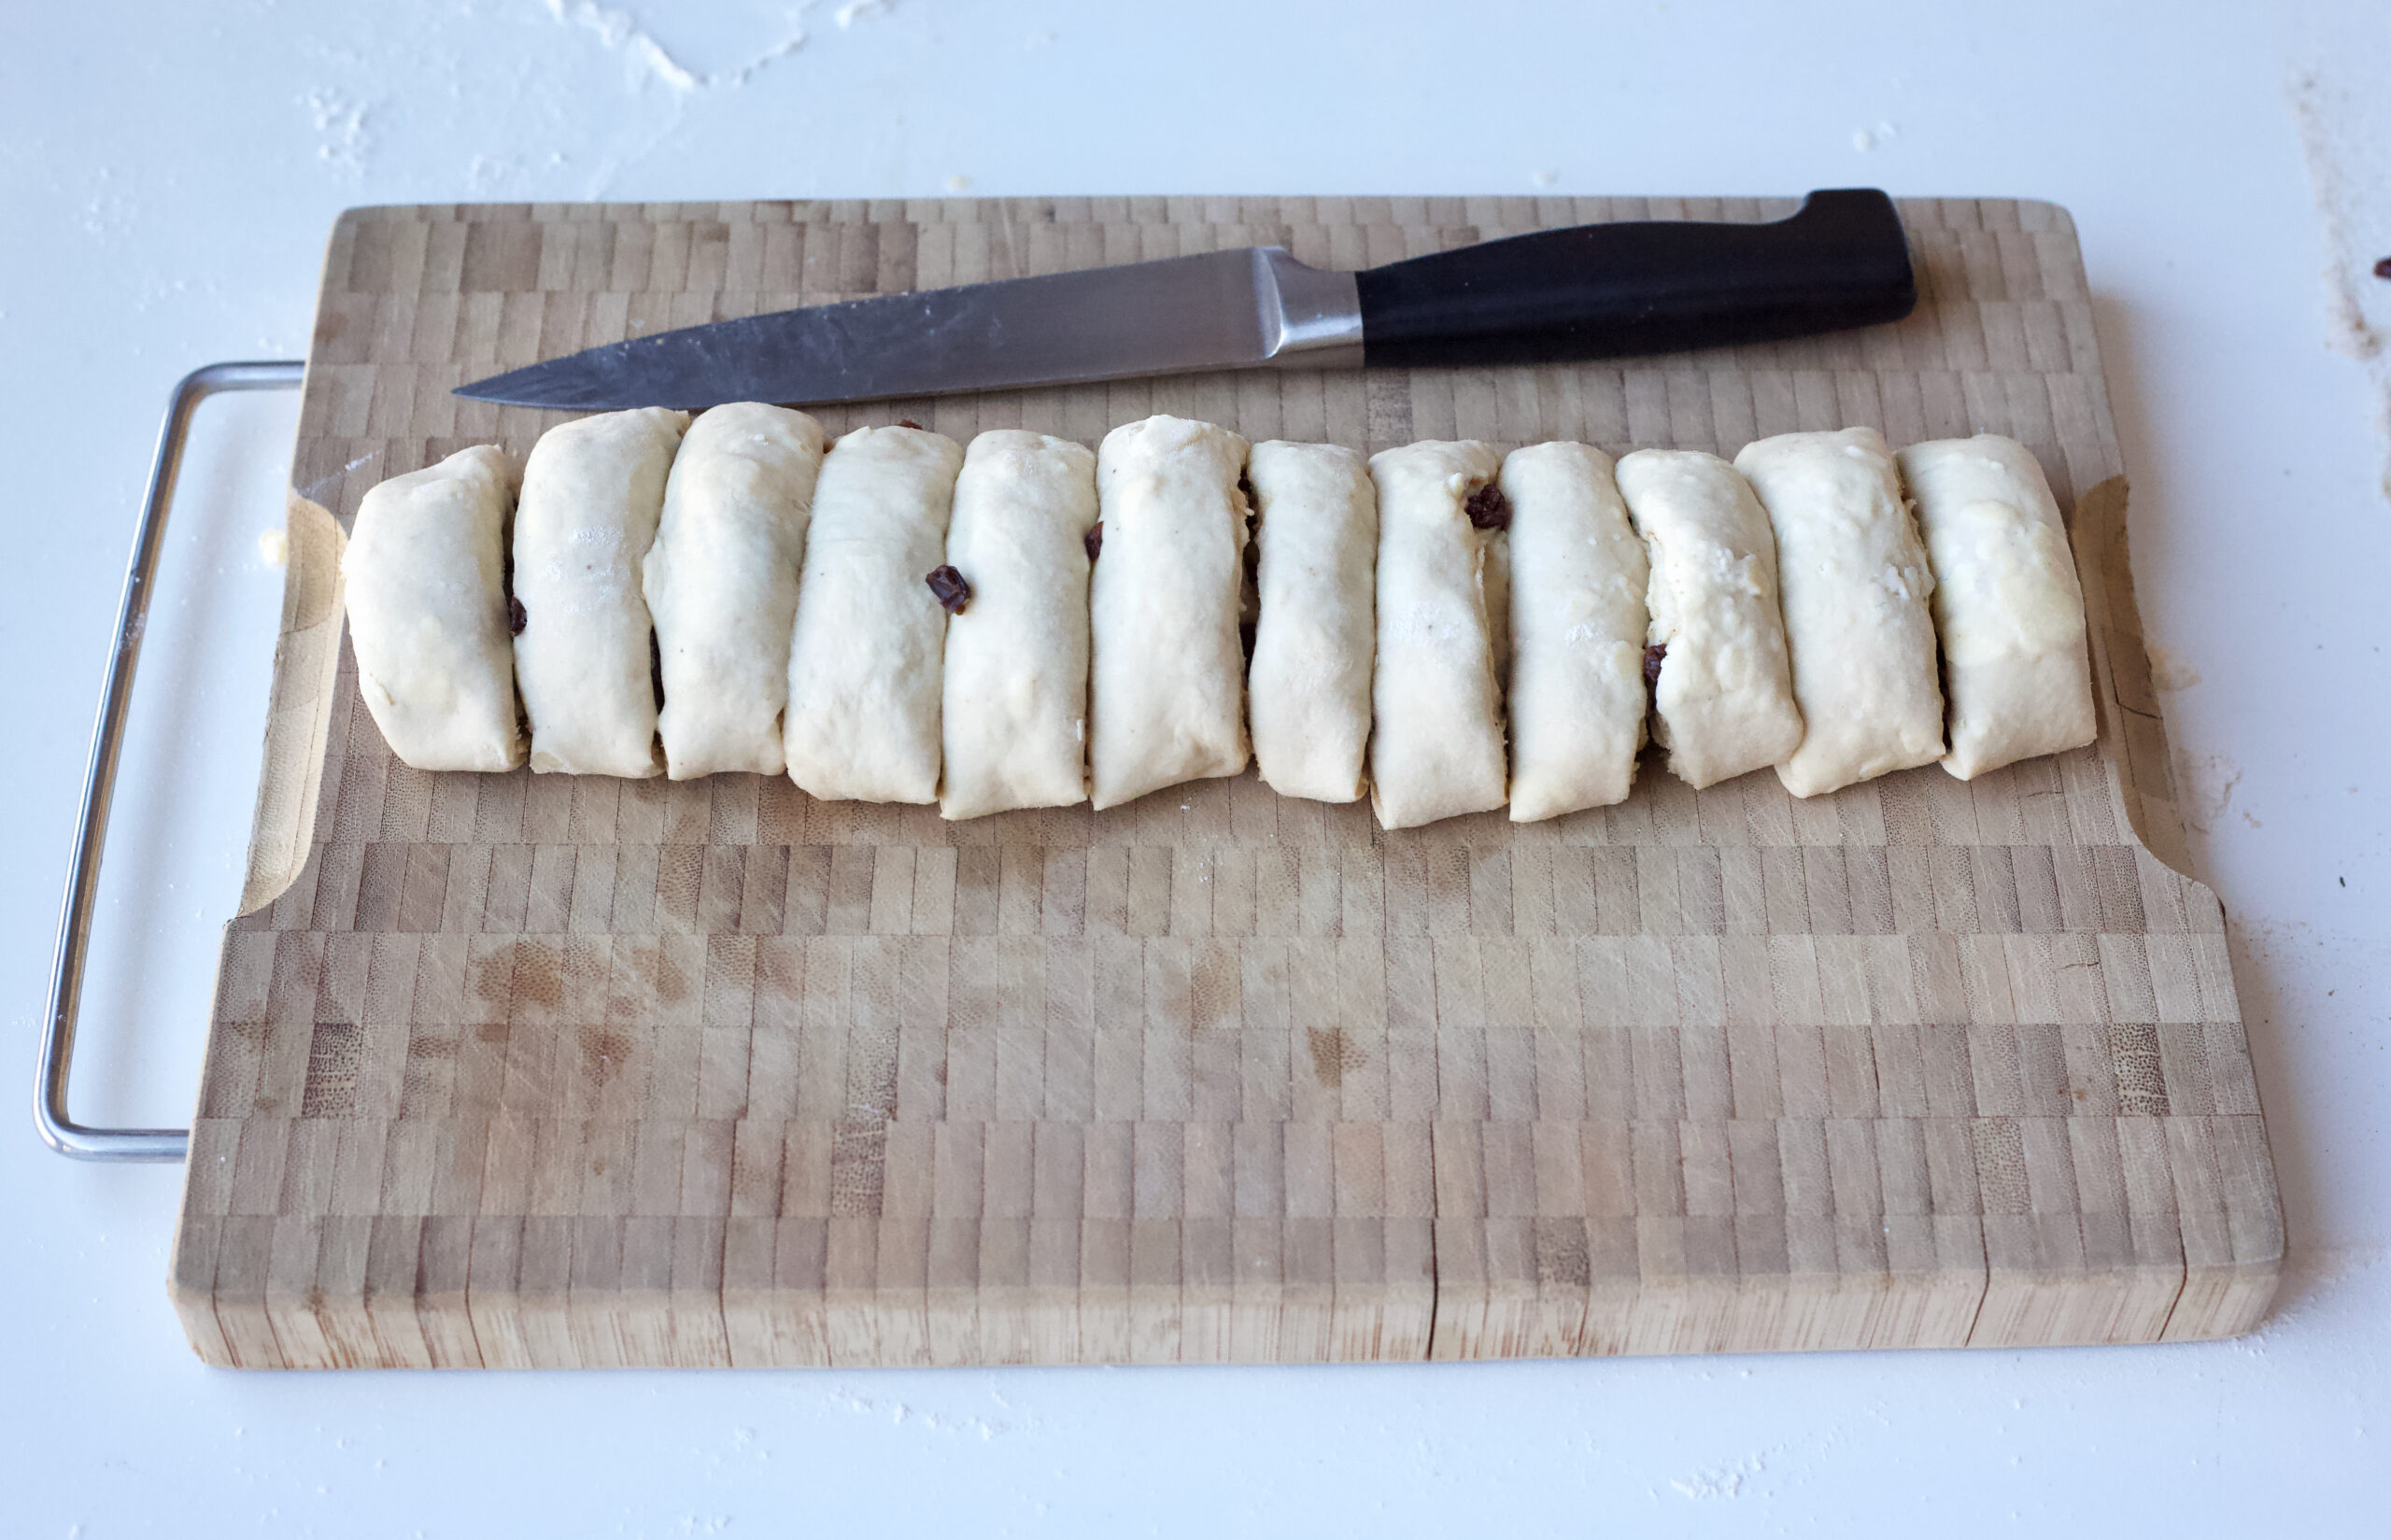
Cut the rolled dough into twelve pieces. To help you do this evenly, cut the log in half, then into quarters, then each quarter into thirds. That way each of the 12 pieces will be the same size.

apple cider pain au raisin

All ready for the oven.

apple cider pain au raisin

After they come out of the oven, brush on a sugar syrup glaze or strained apricot jam jam. It really gives them a finishing touch.

Enjoy your Apple Cider Pain au Raisin!

Suzanne

Apple Cider Pain au Raisin

Serves: 24
Cooking Time: 25 minutes

Ingredients

  • 1 1/2 cups apple cider
  • 1 Tbsp yeast
  • 1 cup flour
  • 2 3/4 cup flour
  • 1 tsp salt
  • 2 Tbsp sugar
  • 1 1/4 cup cold butter, cubed
  • melted butter to brush on the pastry (about 1/4 to 1/3 cup)
  • spiced sugar (1/2 cup sugar mixed with 1 tsp cinnamon, 1 tsp ginger, 1/2 tsp nutmeg, 1/2 tsp cloves)
  • raisins (1/2 to 1 cup)
  • sugar syrup (1 cup sugar to 1/2 cup water heated in a pot on the stove until the sugar dissolves. or strained apricot jam: heat the jam on the stove and then strain).

Instructions

1

Dissolve yeast in warm apple cider.

2

Add 1 cup of flour.

3

Stir.

4

Add the above into a mixing bowl, add the rest of the flour, salt, sugar and 1/4 cup of the cold butter.

5

Mix with your mixer using the dough hook.

6

It is done when the dough is elastic and there are hunks of butter incorporated into the dough.

7

Let this sit on the counter for 30 minutes.

8

Cover the dough with saran wrap and place dough in the fridge for 2 hours.

9

Roll the dough on your floured table into a rectangle.

10

Do a book fold. Fold the two sides into the middle and then one side on top of the other.

11

Wrap in plastic. And place in the fridge for one hour.

12

Remove the dough from the fridge and roll it into thirds; one side is folded into the middle, and the other side goes on top.

13

Place in the fridge for one hour.

14

Repeat rolling and folding it into thirds one last time.

15

Rest in the fridge for an hour or overnight.

16

Remove from the fridge.

17

Cut the rolled up dough in half.

18

Roll out one half into a square.

19

Brush melted butter over the surface. You just need enough to make the cinnamon sugar stick.

20

Sprinkle with about 1/2 cup raisins.

21

Roll the dough up tightly.

22

Cut the rolled up dough in half.

23

Cut each half in half.

24

And cut each remaining piece into thirds. So you will have a total of 12 evenly sized pieces.

25

While placing each pastry on the baking tray, place the end of the spiral underneath so that it doesn't unravel.

26

Let the dough warm up on your counter for about 90 minutes.

27

Preheat oven to 375 F.

28

Brush with an egg wash (one whole egg + 1 Tbsp of water).

29

Bake for 20-25 minutes.

30

Spread with a glaze of sugar syrup or strained apricot jam.

31

Serve warm or room temperature.

32

Enjoy,

Notes

This recipe makes 24 pastries. If you don't want to make 24, you can freeze the dough just before the pastries are shaped.

Baking

Tantalizing Brown Butter Orange Hazelnut Madeleines

brown butter orange hazelnut madeleines in the shape of an inukshuk

I made these Orange Hazelnut Madeleines for Easter this year. Madeleines are a delicate and lightly sweet mini cake (often called cookies) baked in a scallop shaped metal tray. They are ubiquitous to France and eaten almost every day: hot off the press with coffee during a morning visit to the market or later for an afternoon snack. They are so perfect when you’re craving something sweet, but only want two or three bites. I don’t know about you, but that’s me pretty well every day. I dipped my madeleines with an orange glaze, but you can eat them plain. They’re nice both ways.

Madeleines: tricky or easy?

This is the first time I have ever made madeleines. My husband bought me a madeleine mold several years ago but I had actually never used it until now. I read many madeleine recipes over the years but the thought of making homemade madeleines always sounded so tricky. So, I put off baking any for ages!! Well, that was all for nought. Sure, madeleines have specific instructions but if you follow them step-by-step they’ll work out beautifully. Promise!

I made mine with browned butter. The instructions and photos for browned butter are in the recipe for Brown Butter Finnish Cookies. The flavour of browned butter goes well with these Orange Hazelnut Madeleines.

raw dough of brown butter orange hazelnut madeleine in the madeleine tray

Refrigerator cold Madeleine batter in frozen tray, all ready to go in the oven.

brown butter orange hazelnut madeleines in madeleine tray

Soft, delicate and set madeleines just baked. The scent is divine!

brown butter orange hazelnut madeleines

Madeleines have a lovely soft crumb. Here they are dipped in orange glaze and ready to serve.

Easter Desserts

As I mentioned last year in my post on Easter Mini Simnel Cakes, my family has no favourite Easter dessert. Anything goes really, as our family has never had a traditional Easter sweet. I was thinking about what to make this year – something Scandinavian with cardamom? or Italian Pastiera di Grano? Just before Easter, our family was keeping up on the news about the fire at Notre Dame and reading about it’s lengthy history. I have very vivid memories of visiting Paris and Notre Dame Cathedral many years ago. It was hard not to reminisce about France. I don’t know about you, but a lot of my travel memories focus on food, so with France in our thoughts, I decided to bake french Orange Hazelnut Madeleines.

brown butter orange hazelnut madeleines

History of Madeleines

Madeleines have been a popular cookie/cake in France since the 17th century and are synonymous with France, much like the Notre Dame Cathedral.  There are many versions on the creation of madeleines. One popular story is that a young girl named Madeleine baked some cakes using her grandmother’s recipe, for the deposed and exiled King of Poland, Stanislas Leszczynska when he was living in Lorraine, France. He named them Madeleines and gave some to his daughter, Marie, who was married to Louis XV. She introduced them to the French court and before you knew it, everyone wanted them. There are other legends as well, but I like that one best.

Regardless of who invented the original recipe, there is one person that made them popular for eternity: Marcel Proust. He wrote in his autobiographical novel ‘La Recherche du Temps Perdu” about eating a madeleine dipped in tea and the strong memories of his childhood that it evoked.

Here is the passage describing that event. Being a real foodie, I just love it.

She sent for one of those squat plump little cakes called “petites madeleines”, which look as though they had been molded in the fluted valve of a scallop shell...I raised to my lips a spoonful of the tea in which I had soaked a morsel of the cake. No sooner had the warm liquid mixed with the crumbs touched my palate than a shudder ran through me and I stopped, intent upon the extraordinary thing that was happening to me. An exquisite pleasure invaded my senses…

And suddenly the memory revealed itself. The taste was that of the little piece of madeleine which on Sunday mornings at Combray…when I went  to say good morning to her in her bedroom, my Aunt Leonie used to give me, dipping it first in her own cup of tea or tisane…and the whole of Combray and its surroundings, taking shape and solidity, sprang into being, town and garden alike, from my cup of tea.

brown butter orange hazelnut madeleines on a teal ceramic plate

Enjoying a madeleine with a hot cup of coffee is perfect for rekindling cherished memories.

If you have been to France, maybe these petit madeleines will evoke a special memory of your visit. If you haven’t visited, I hope they will inspire you to go.

Brown Butter Orange Hazelnut Madeleines

Serves: 24
Cooking Time: 9-10 minutes

Ingredients

  • For the batter:
  • 3 large eggs, at room temperature
  • 130 grams white sugar
  • 1/3 tsp salt
  • 175 grams flour
  • zest of 1 orange
  • 120 grams browned butter (see above for link to instructions)
  • 2 Tbsp hazelnut almond butter
  • Glaze
  • 150 grams powdered sugar
  • 1 tbsp orange juice
  • 2 tbsp water

Instructions

1

Brush the madeleine molds with melted butter, then dust with flour. Place tray molds in freezer until ready to bake.

2

In a stand mixer, mix eggs, sugar and salt for about 7-8 minutes until frothy and thickened. Don't stop too early, this mixing will assist with the rising.

3

Sift flour into mixture while folding in with spatula.

4

Warm nut butter in microwave (30 seconds or so on high).

5

Add warmed nut butter and orange zest to browned butter, stir to incorporate.

6

Slowly pour the butter mixture into the batter and fold in gently. You don't want to deflate the batter.

7

Cover the bowl and refrigerate for 1-3 hours. I did 3 hours, but I have also read to refrigerate overnight. Three hours worked fine for me.

8

Preheat oven to 425 degrees F.

9

Put about 1 dessert spoon of batter into each indentation of the madeleine mold. It should fill it about 3/4 full. But don't spread it. Just scrape it in off the spoon.

10

Bake for about 9-10 minutes. You don't want to over cook them. They should feel just set, not too dry or too firm.

11

To make the glaze, mix together orange juice, sugar and water.

12

Take the cakes out of the oven and place the tray on a rack. As soon as they are cool enough to touch, slide them out onto a rack.

13

When the madeleines are still warm, but not hot, dip each side in the glaze. If you have too much, scrap off the extra glaze and then place on a rack scalloped side up. I think you could also brush the glaze on with a brush.

14

Most recipes say that they taste best the day they are made. I kept some on my counter for a few days, and they were still tasty. But they won't last longer than that. They're too good.

adapted from the Sweet Life in Paris by David Lebovitz

Cooking

Boeuf en Daube Provençale Recipe

beef stew on plate with glass of red wine

The days are getting longer and the sun warmer, but in our part of the world there is still a lot of snow on the ground, so it still feels wintery.

For our family, winter weather means hearty, comforting slow-cooking dinners. A slow-cooking stew is one of my husband’s favourite family dinners during the long cold winter days; the kind of stew that simmers away in the oven for hours filling the house with the fragrant aroma of beef, wine and aromatic herbs.

I made this Boeuf en daube Provençale many years ago for a New Year’s Eve party and everyone just loved it. It was sooo good. It was the first stew I ever made. I’ll never forget how I lingered over every detail, wanting to get it just right: from buying a nice french red wine, choosing really good stewing beef and making sure my pan was ‘hermetically sealed’ as stated in the instructions. My husband had bought this cookbook for me for Christmas that year and I couldn’t wait to make something from it right away. Even though that cookbook is a few years old now, I still love it with the photos of French vineyards, lavender gardens and braids of garlic. It certainly reminds me of my travels through France.

For me, cooking any french dish is a game-changer. The ingredients required and the techniques used are so particular, I feel as if I have to follow the instructions precisely or it just won’t be authentic, even if I have nothing to compare it to. French cooking is so different from what I grew up with.  The stew that my mom made could change on a whim. She could add a lot of potatoes or just a few, depending on how many there were in the fruit cellar. (anyone remember fruit cellars?) Sometimes she would use parsnips (my dad’s favourite) or if she didn’t have any, she would add carrots. But the ingredients for Boeuf en Daube Provençale are very specific and highlight the local produce.

In fact, Boeuf en Daube Provençale, is so unique, it is supposed to be made in a specially designed pot called a daubiere. Who knew??? A daubiere is a bulbous shaped pot that is narrow at the top and sealed tight with a concave lid. Water is poured on top of the lid, which keeps it cool, so the liquid in the pot condenses on the inside and drips back down into the bottom of the daubiere. This allows the meat to cook in a small amount of liquid without drying out. I don’t own a daubiere (but now I want one). When I make this stew, I seal the top of my pot with tin foil and then place the lid on top to make sure no liquid escapes. If you’re intrigued about the daubiere, like I am, I have listed where to purchase one, at the bottom of this post. (no one is paying me to write that…I’m just super curious about these pots now).

This stew is a very special dish. But you don’t have to wait until New Year’s Eve to try it. It would actually be the perfect dish to serve after going out for a late winter snowshoe, or hike in a park, or you could even just play a game of cards and drink cocktails in front of a cozy fire while it’s stewing.

It’s super easy to make as all the ingredients marinate together in the fridge overnight. The next day, all you need to do is just pop it in the oven and let it slow-cook for a few hours.  I love that, don’t you? And the flavours – Oh My! – succulent cubes of beef and earthy slices of carrot simmering in red wine scented with bouquet garni, aromatic spices and a thick curl of orange peel. It is the quintessential wintery beef stew. It’s so delicious, don’t count on leftovers, but if there are any, this stew is super yummy the next day.

So, before the snow melts and the bulbs pop up and we swap hearty casseroles, warming soups and rib-sticking pasta dishes for cool and refreshing veggie salads and seasonal fruits, try to get outside for one more winter activity knowing that when you get back home, Boeuf en Daube Provençale will be waiting for you.

beef stew on plate

More fun info on stews

A list of french stews to read up on

Everything you ever wanted to know about a daubiere

Paula Wolfert: The Queen of Clay Pot Cooking

Where to buy a Traditional Daubiere

Boeuf en Daube Provençale Stew Recipe

Serves: 6-8
Cooking Time: 3-4 hours

Ingredients

  • 2 kg best stewing beef
  • 20 grams (1 cup) diced bacon
  • 2 big onions
  • 3-4 carrots
  • bouquet garni
  • bay leaf
  • salt and pepper to taste
  • 1 bottle red table wine
  • 100 ml (1/2 cup) red vinegar
  • 3-5 garlic cloves
  • 1 curl of orange peel
  • 450 ml (2 cups of water)

Instructions

1

Cut the stewing beef into even-sized cubes.

2

Marinate the beef with one chopped onion, sliced carrots, bouquet garni, bay leaf, red wine and vinegar.

3

Cover the stew and put it in the fridge overnight.

4

The next day, preheat your oven to about 300 degrees farhenheit.

5

Saute the bacon and onion together.

6

Dry the pieces of beef on a paper towel and add the beef to the onion and bacon mixture to brown the beef.

7

Place a heaven iron casserole dish on the stove top. Use one that you can use on top of the stove, as well as in the oven. And the hopefully has a lid.

8

Place the bacon, onion and beef into a heavy iron casserole dish.

9

Add the marinade and all the other ingredients.

10

Add the crushed garlic and the orange peel.

11

Add some hot water until all the ingredients are just covered and bring to a boil.

12

Seal the casserole dish with tin foil and then place the lid on top. Make sure it is well sealed.

13

Cook in the oven for 4-5 hours.

14

It will be ready when the beef is very very tender.

15

Serve overtop of noodles.

Recipe adapted slightly from A Taste of Provence