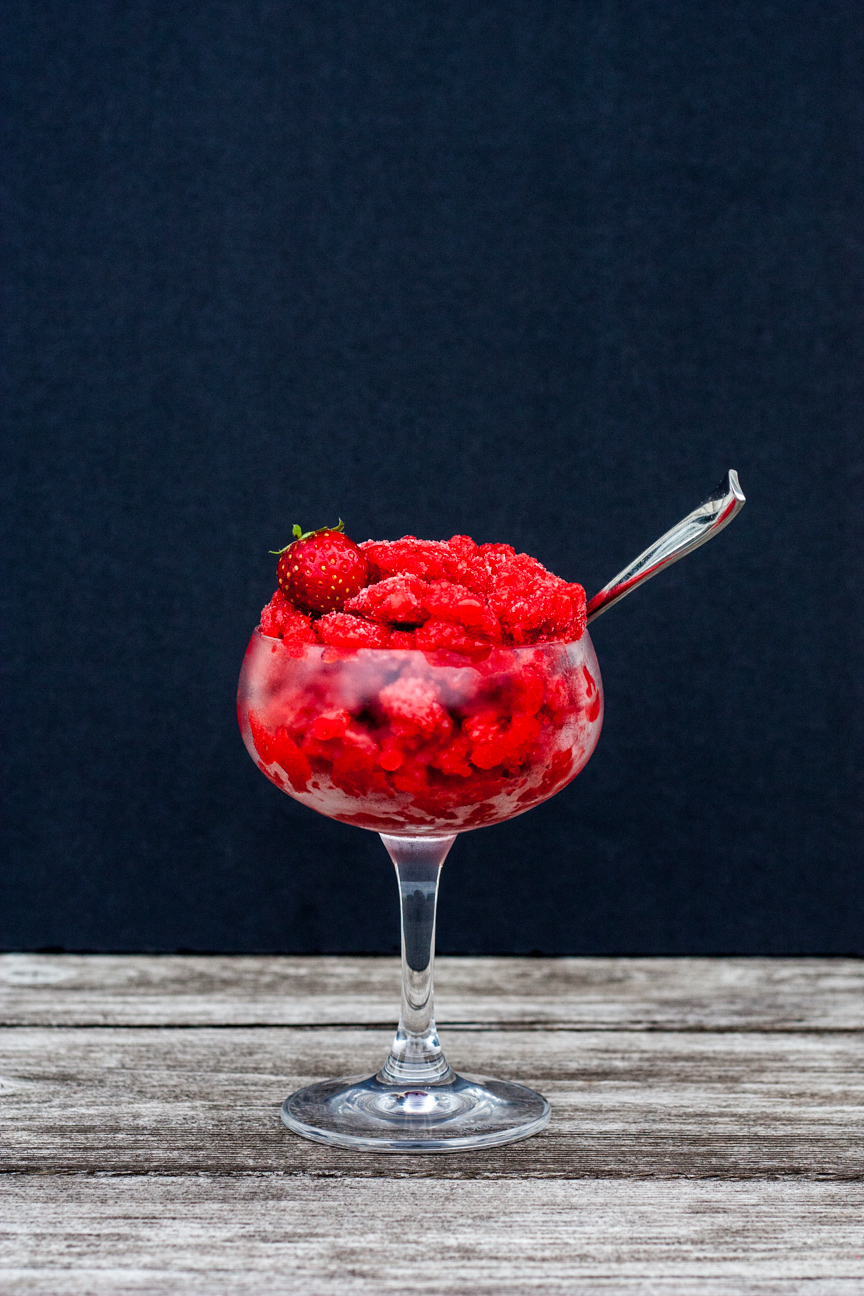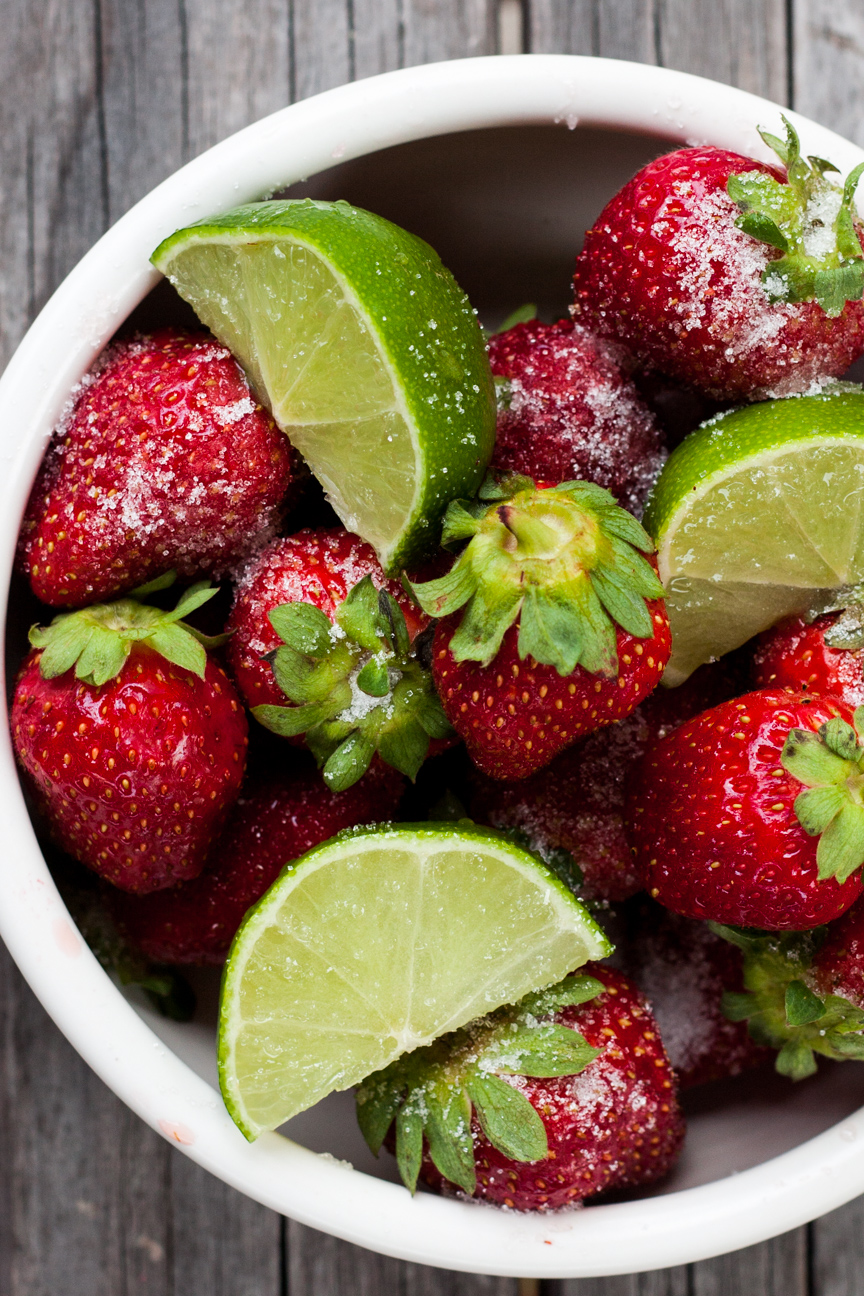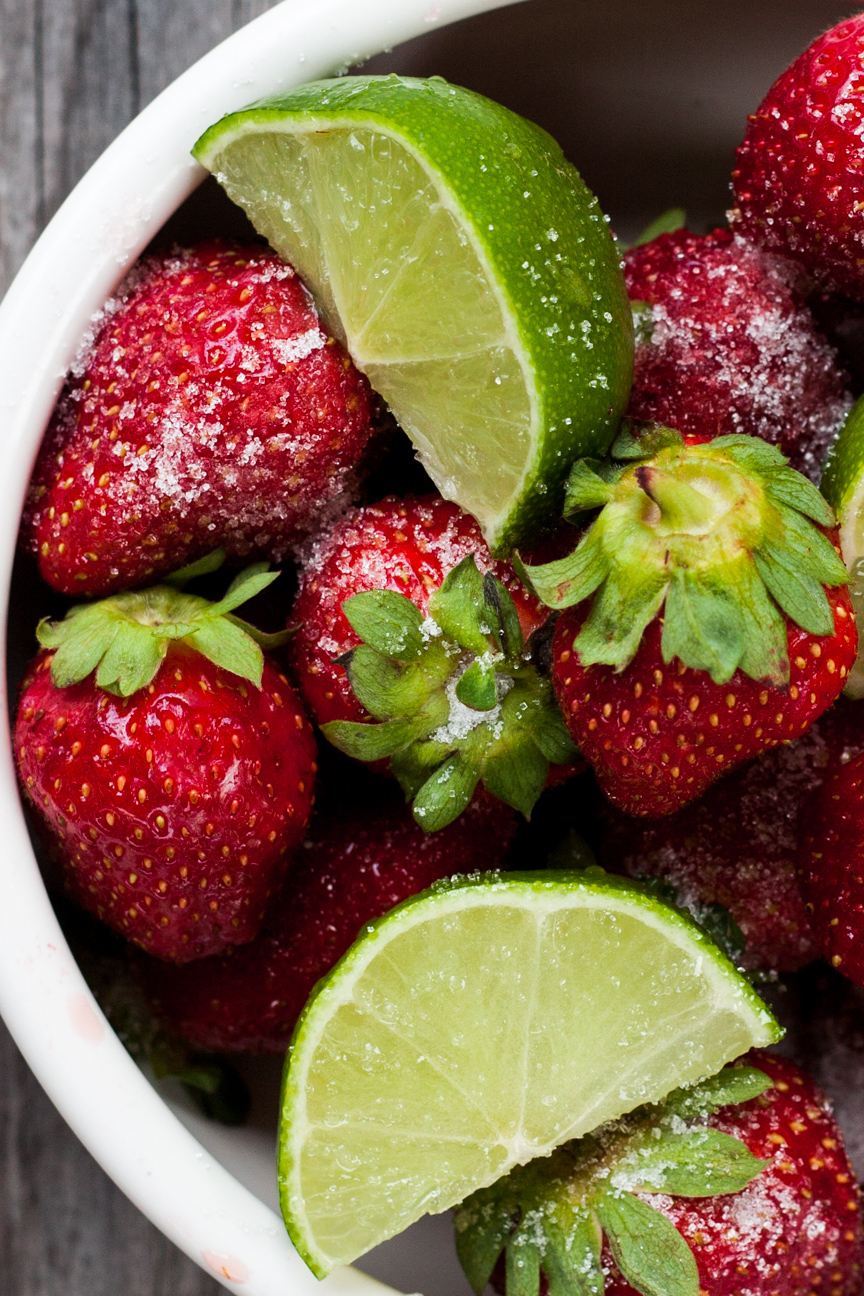
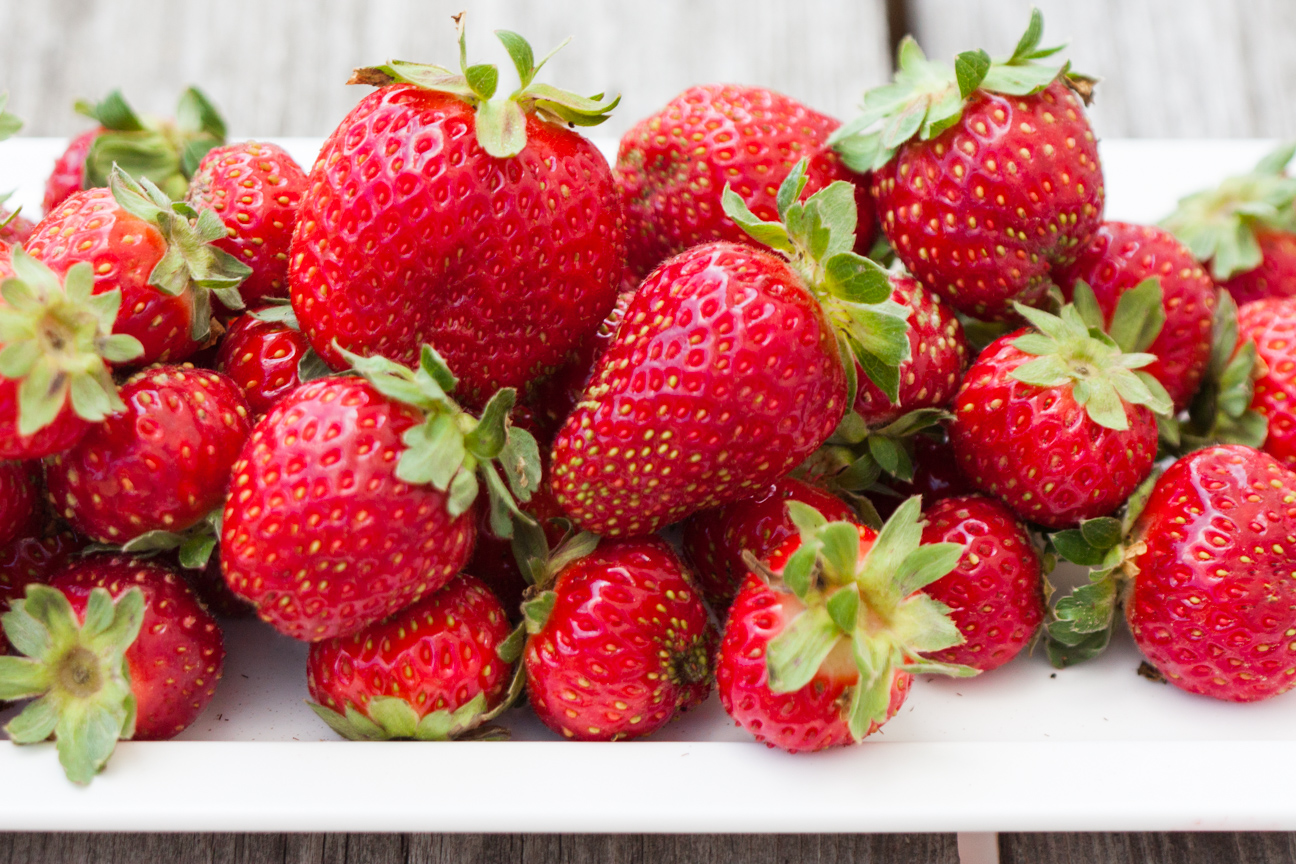
It’s Strawberry Season now, and I just love it. It’s one of my favourite times of the year! I made a few batches of this Summery Strawberry Freezer Jam recently and it is so so so good! The aroma of strawberries and sugar wafted through my kitchen and up the stairs scenting the whole house with sweet strawberries. While I occasionally buy imported strawberries from the grocery store throughout the year and also frozen berries anytime for smoothies, nothing beats fresh local strawberries. They definitely signal the beginning of summer.
I start thinking about local strawberries starting in March when the days start to get longer, the sun feels warmer and the snow finally starts to melt and when I pull out my last jar of strawberry jam from the freezer that I made the summer before. That’s when I start anticipating the beginning of strawberry season. And homemade jam.
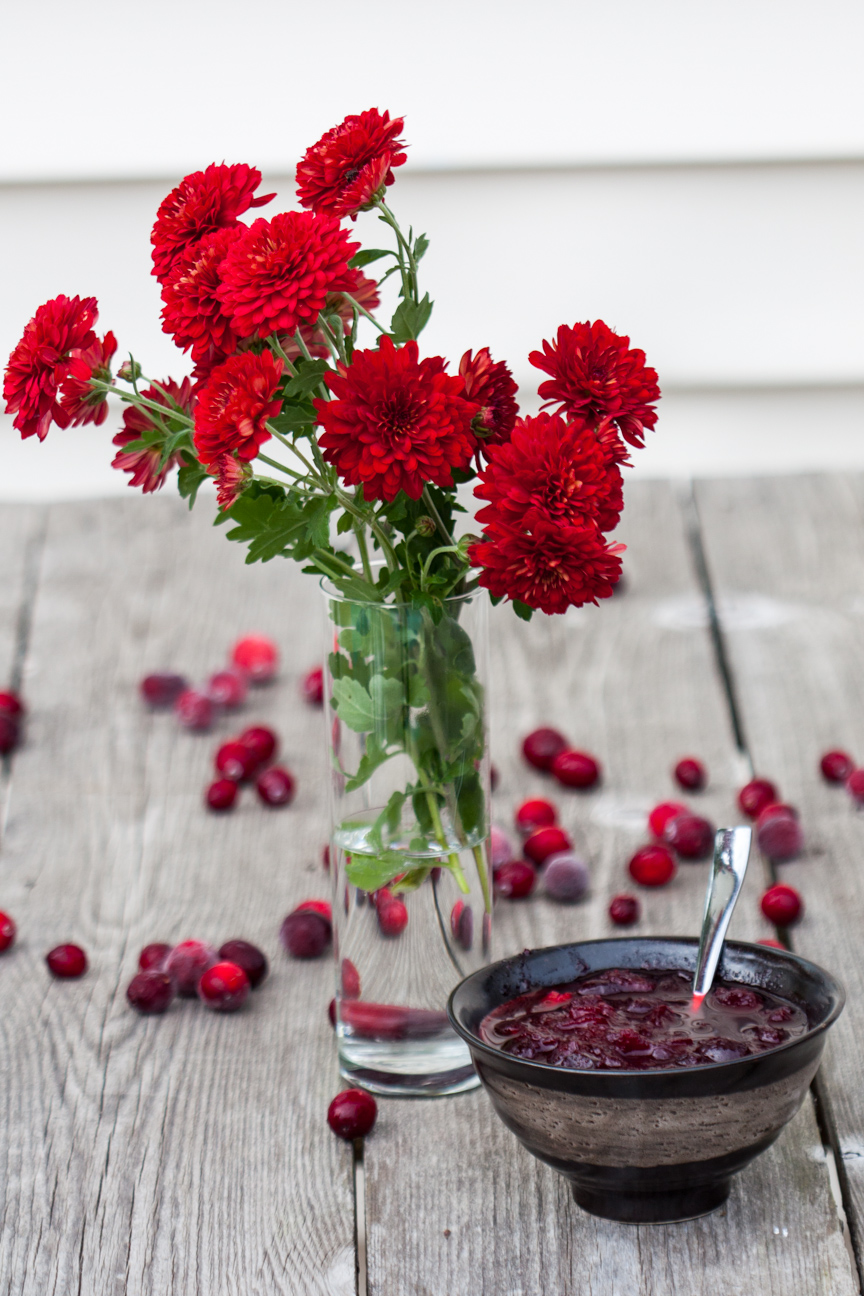
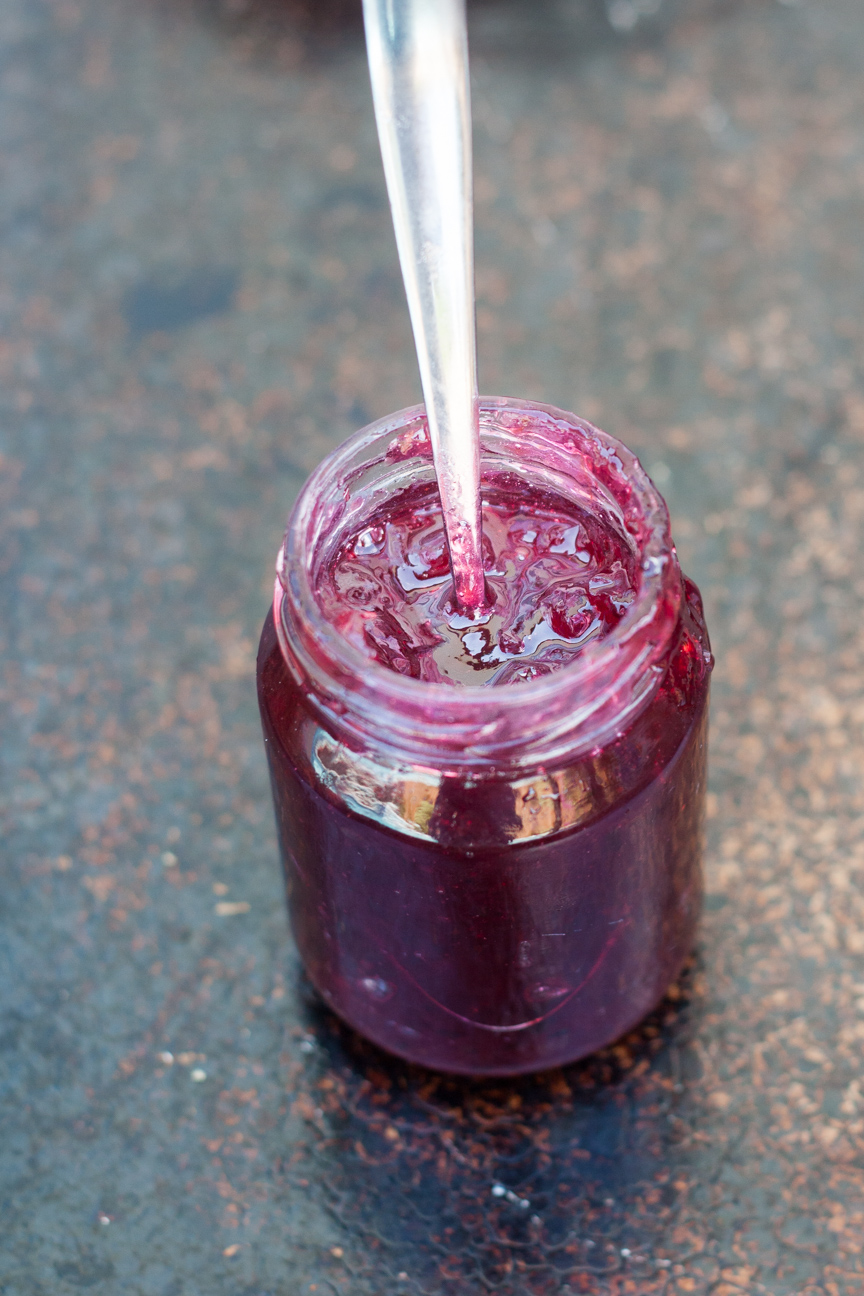
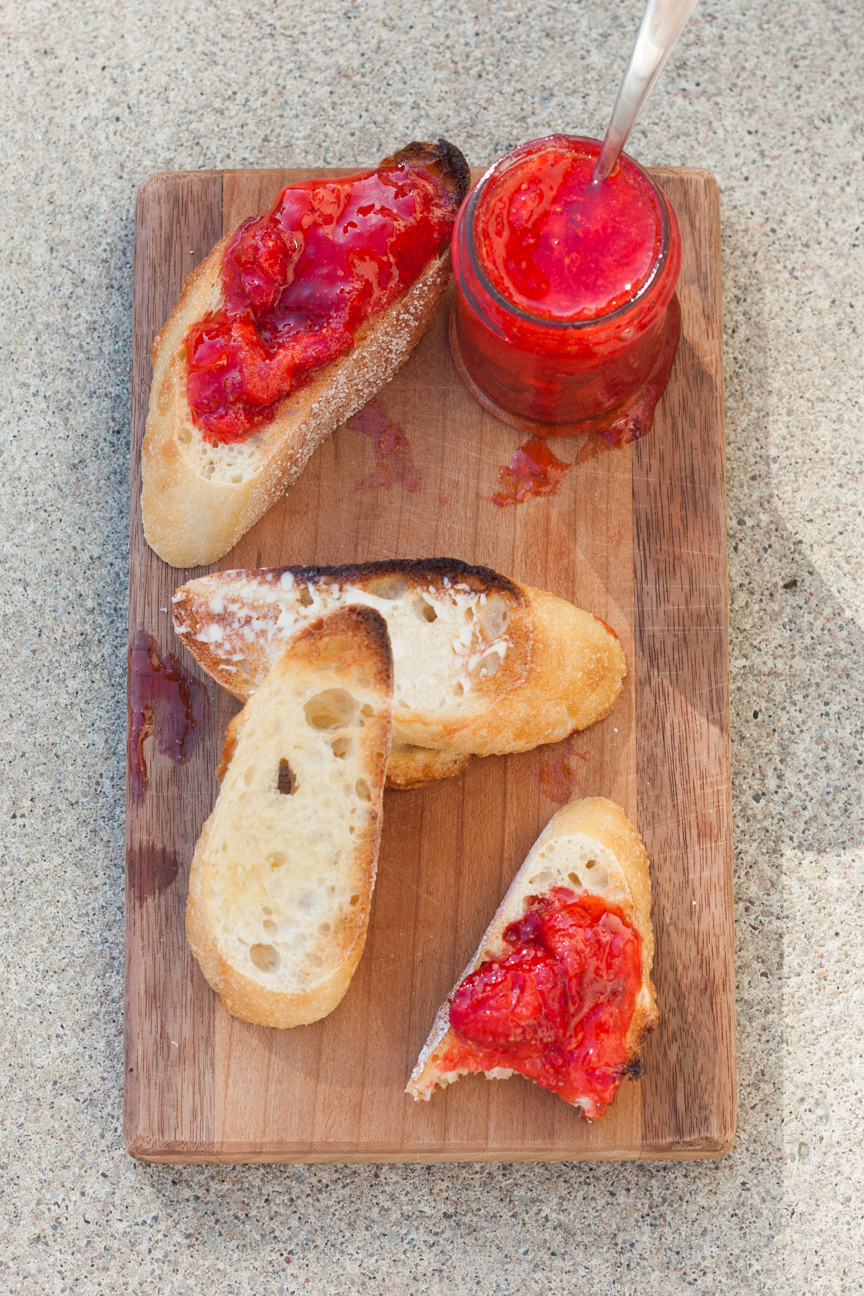
Homemade jam is so much better than store bought. I know lots of people think it’s really difficult to make. But it’s not. Especially freezer jam. I used to think that freezer jam was for people that didn’t want to spend the time making real jam. But, that’s not the case. It’s just different. Freezer jam is cooked much less than regular jam and has less sugar (though it still seems like a lot). It is a bit thinner than regular jam, but the flavour is much more fruity and intense. And the colour of the strawberries just pop out at you.
I think I love homemade jam so much because that’s all we had when we were young. My Mum loved making homemade jam, so that’s what was in the refrigerator. Each summer she would make several large jars from the raspberries that my Dad grew in the backyard. She would make 5 large jars and put each of our names on the jar (one jar was for her and my Dad to share). When our own jar was empty – no more jam. I think my sister and I kept our own jars of jam the longest, probably well after Christmas, while our brother, Dave, ate his the fastest, as raspberry jam was his all-time favourite. And Bob would be somewhere in between.
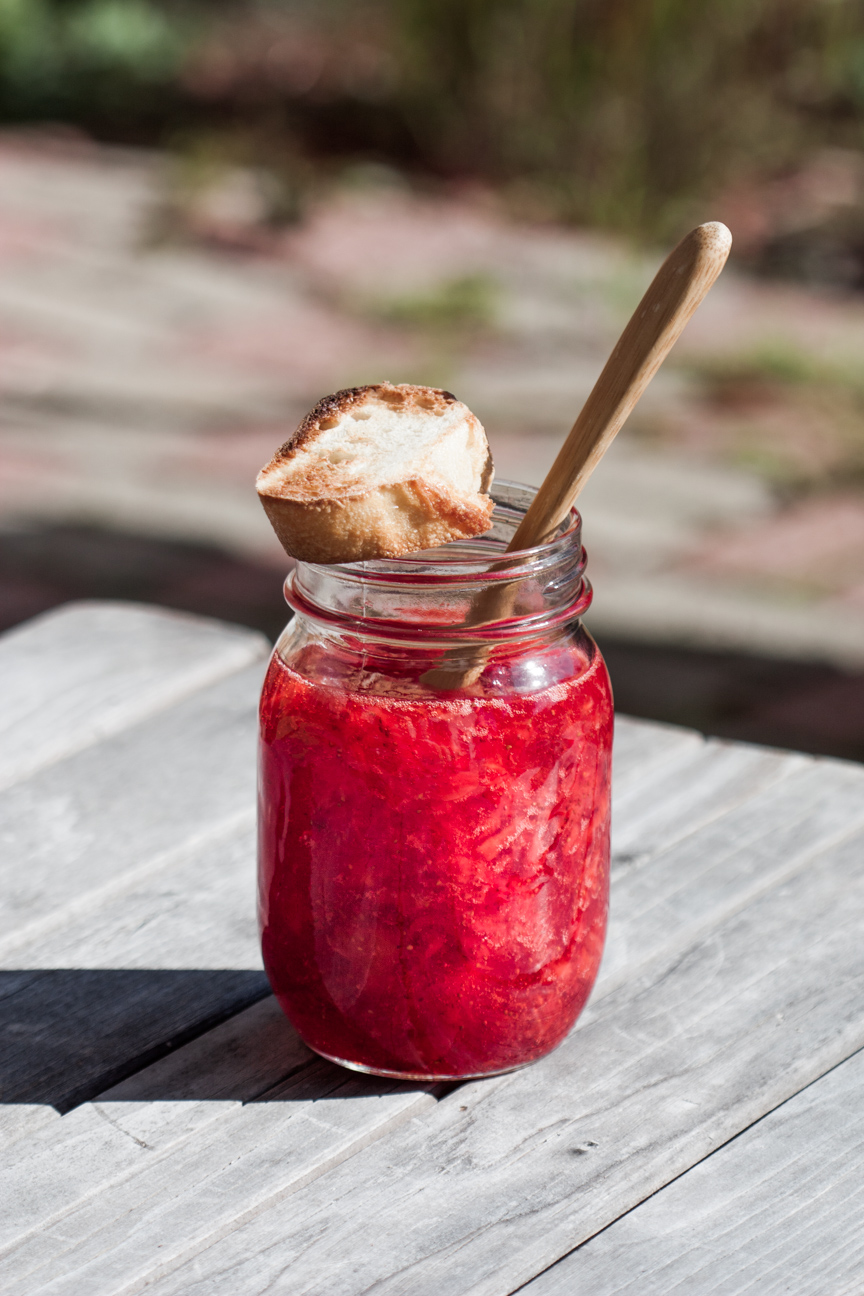
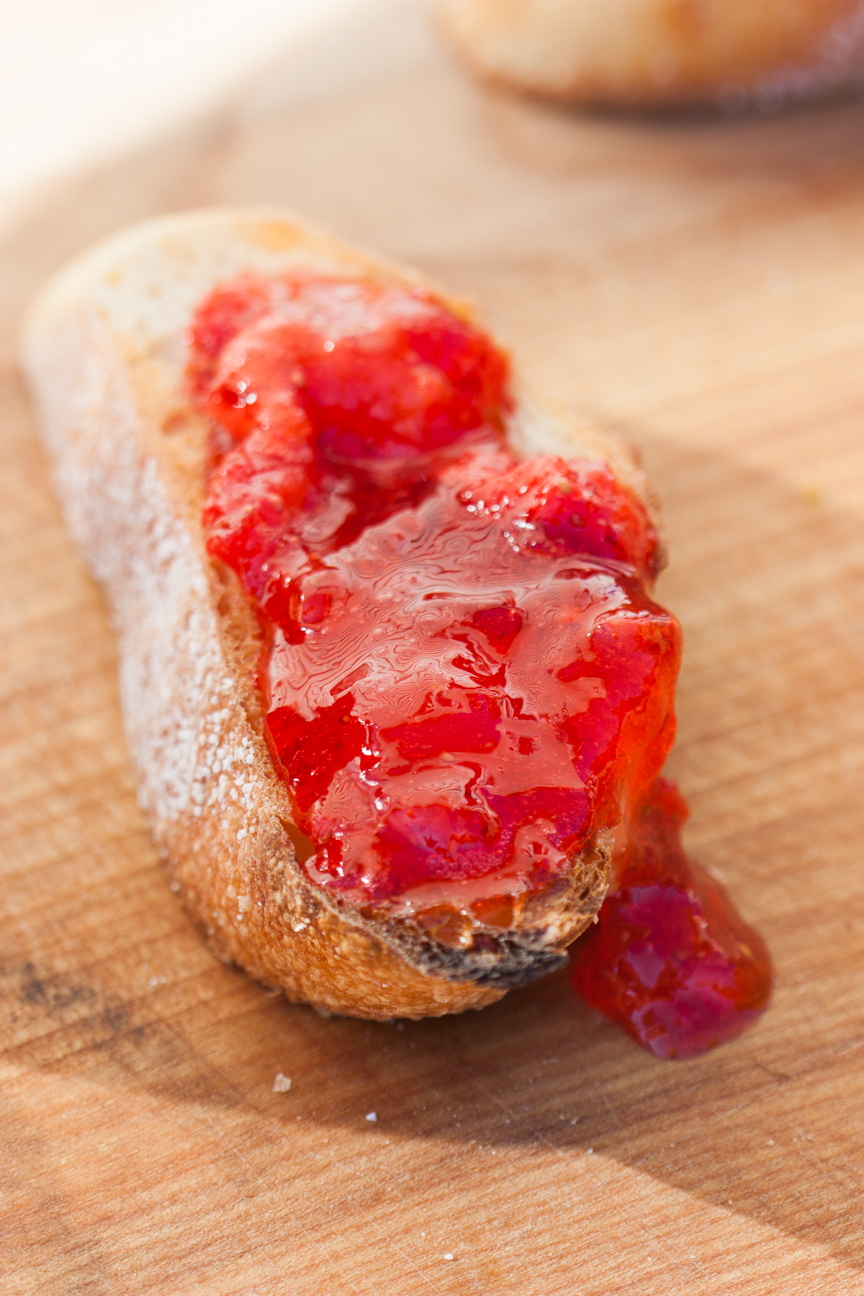
Freezer jam cooks up very quickly. It took about 20 minutes for me to make 3 jars. Done. And the jam tastes so fresh, just like local berries. I put the jam in special plastic jam jars (the glass jar photographed better) and after the jam sits on the counter for 24 hours, in the freezer they go! And oh my goodness! The fresh strawberry taste! So good!
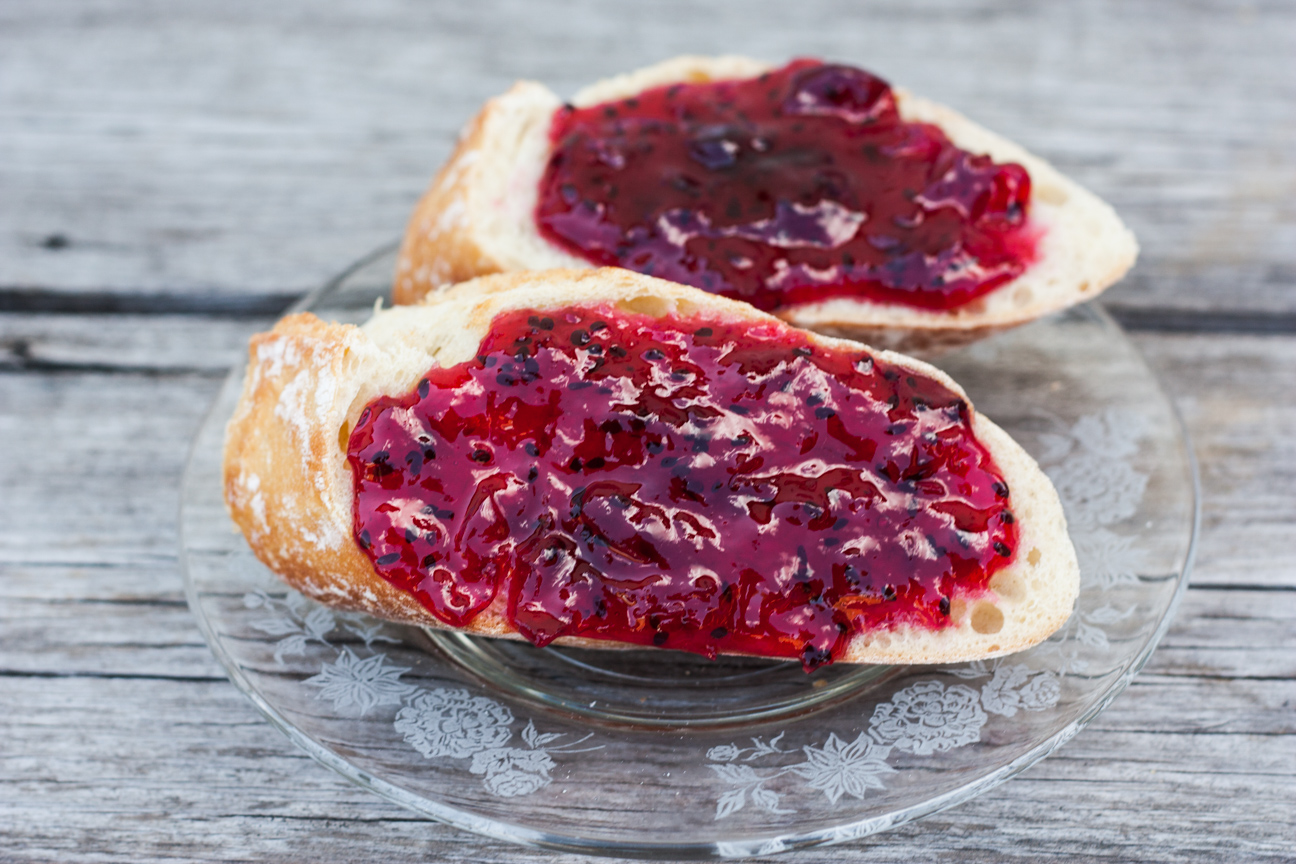
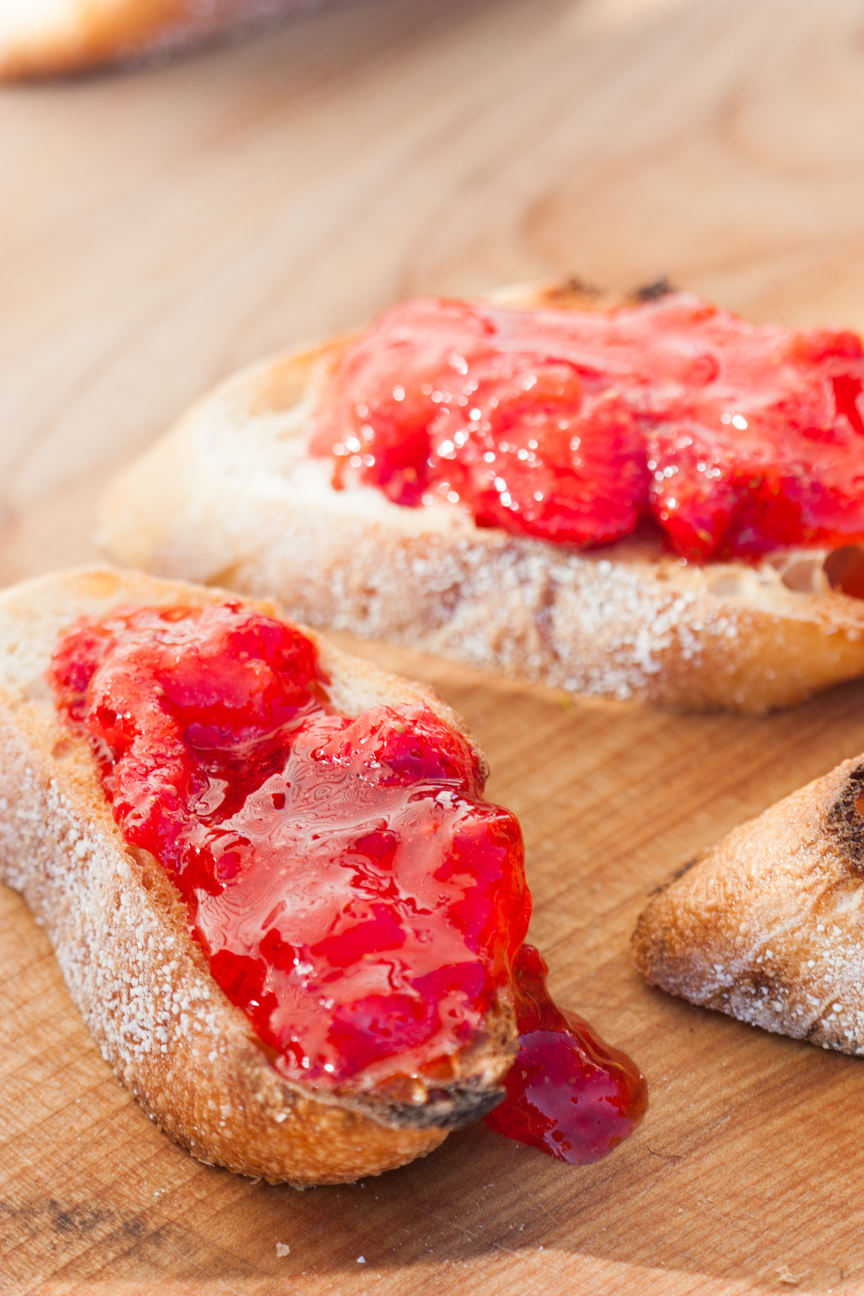
The jam tastes amazing right now, but the real treat is eating Summery Strawberry Freezer Jam on toast in February when it’s snowing outside and the temperature is -25. Just the aroma alone from the strawberries brings back summery memories in an instant and will warm you to your toes.
With all the fresh berries coming into season soon, I hope to make a lot of jam this summer.
Enjoy!
Hey! What’s your favourite jam? Send me a message. I love homemade jam.
Summery Strawberry Freezer Jam
Ingredients
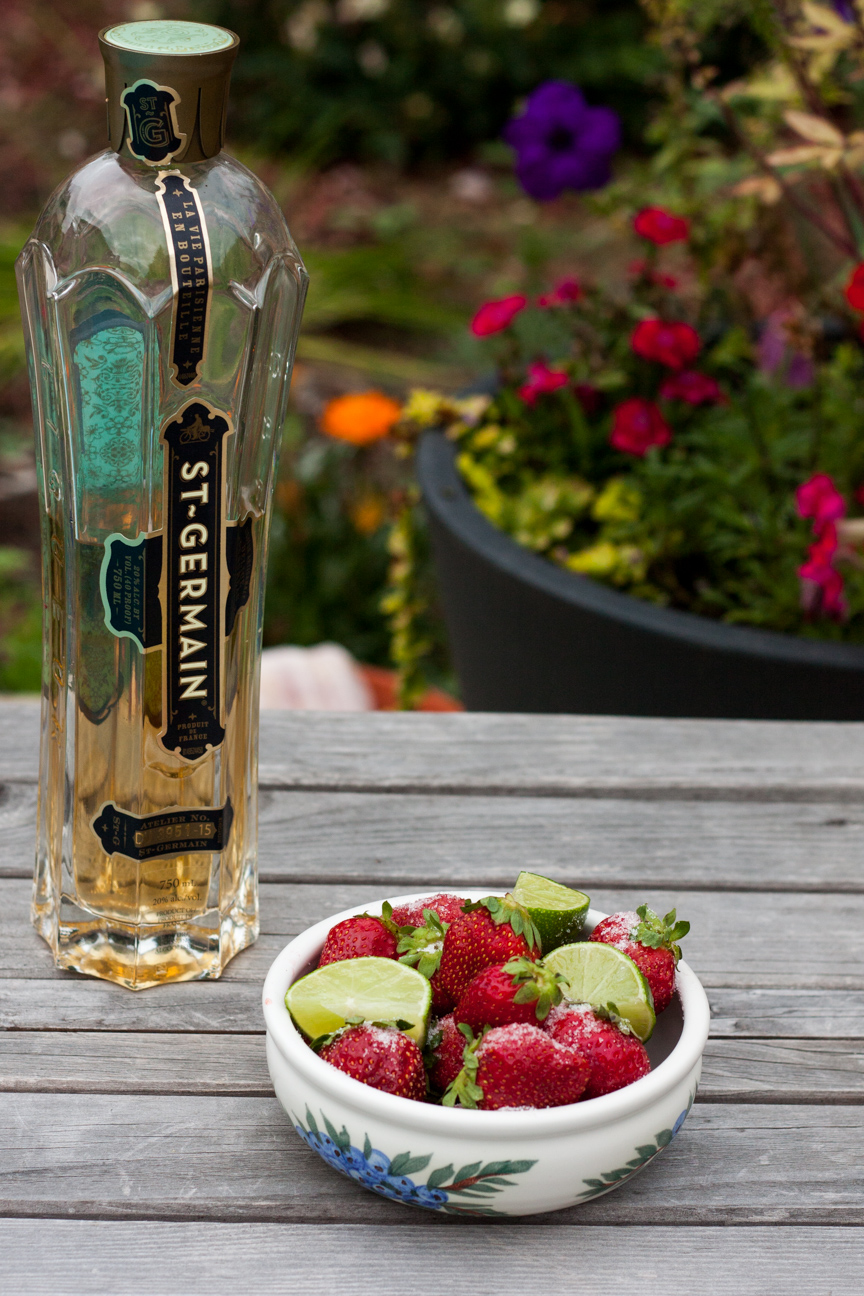
- 1 box certo
- 2 litres strawberries (to make 3 cups of crushed strawberries)
- 4 cups sugar
Instructions
You will need two pots to make this jam.
Wash and hull the strawberries. Slice them and place in a bowl or if you have an 8 cup measuring cup, that works great!
When you have one layer of strawberries, crush them with a pastry blender, or a fork.
Continue adding and crushing the strawberries until you have 3 cups of crushed berries.
Pour the berries into a large pot. Add the sugar. Heat until the sugar is dissolved.
Meanwhile, place 3/4 cup of water and one pouch of powdered certo in a small pot.
Bring to a boil, and boil for 3 minutes.
Pour certo mixture into warm strawberries and sugar..
Stir until all ingredients are well incorporated.
Bring to a boil for about one minute.
Let the jam cool down a bit.
Pour into plastic jam jars, make sure all the fruit is well distributed.
Let the jars sit on your counter for 24 hours. Then place in refrigerator or freezer.
Don't forget to label the jars with the name and the date.
Notes
These instructions are different than on the certo box, but they work the best for me.
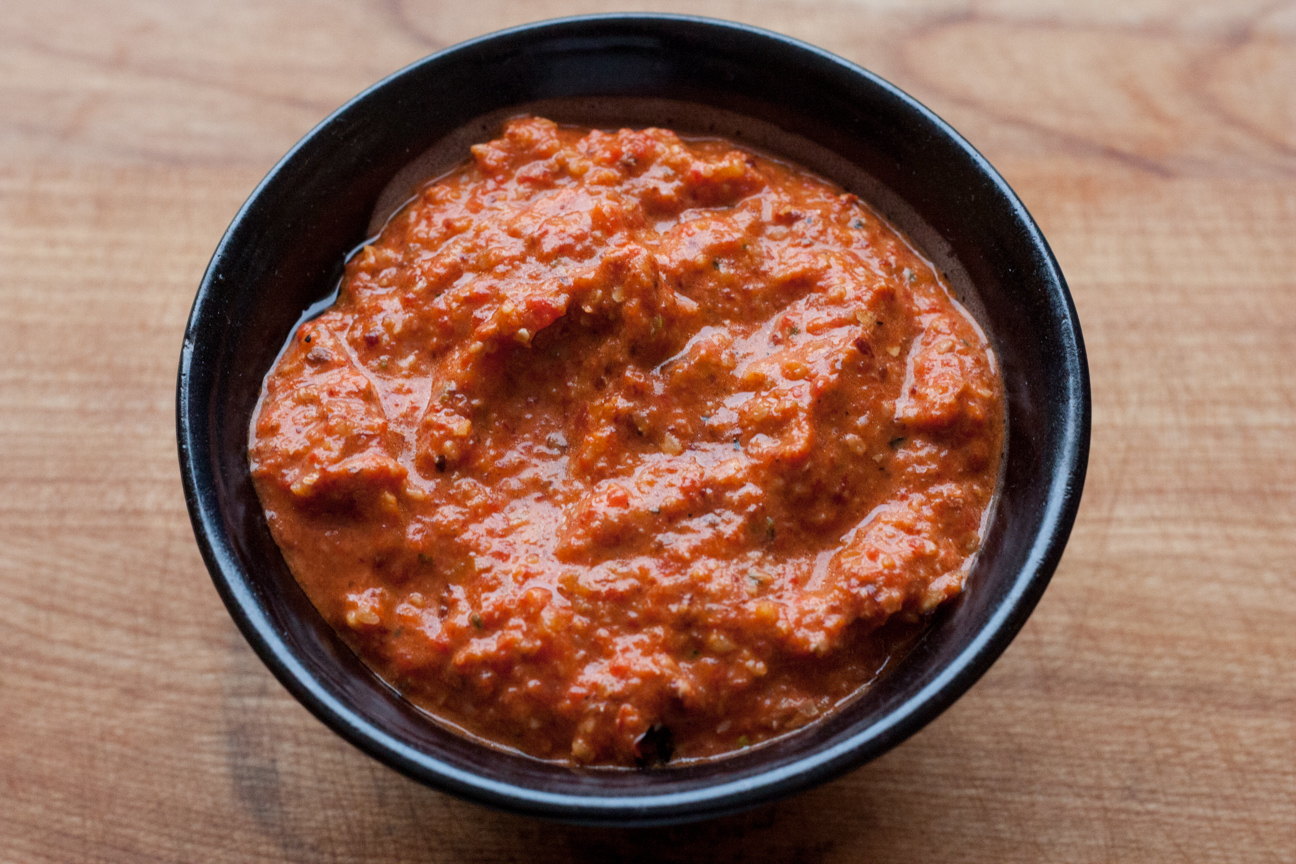
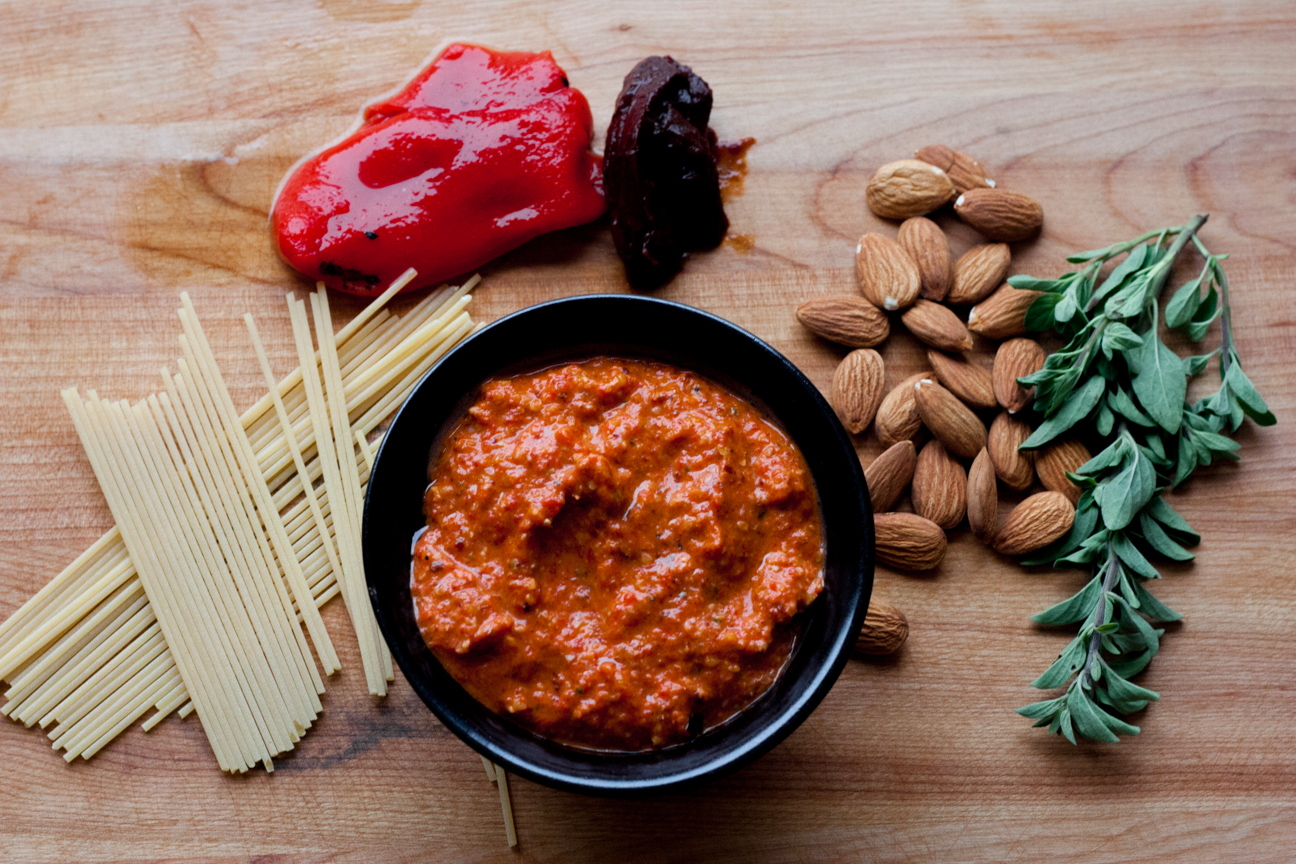
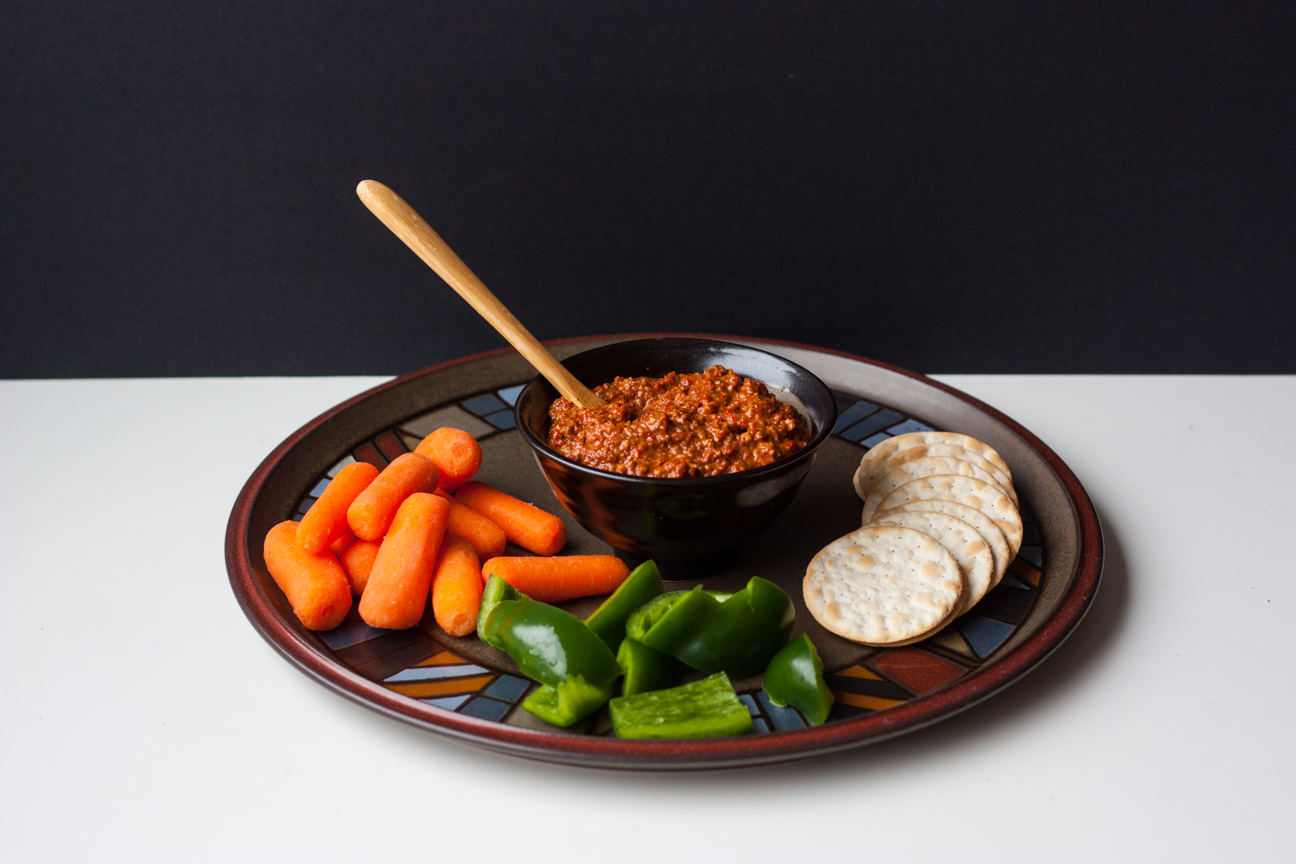 I made this Syrian Muhammara Red Pepper Dip recently for my family and everyone loved it.
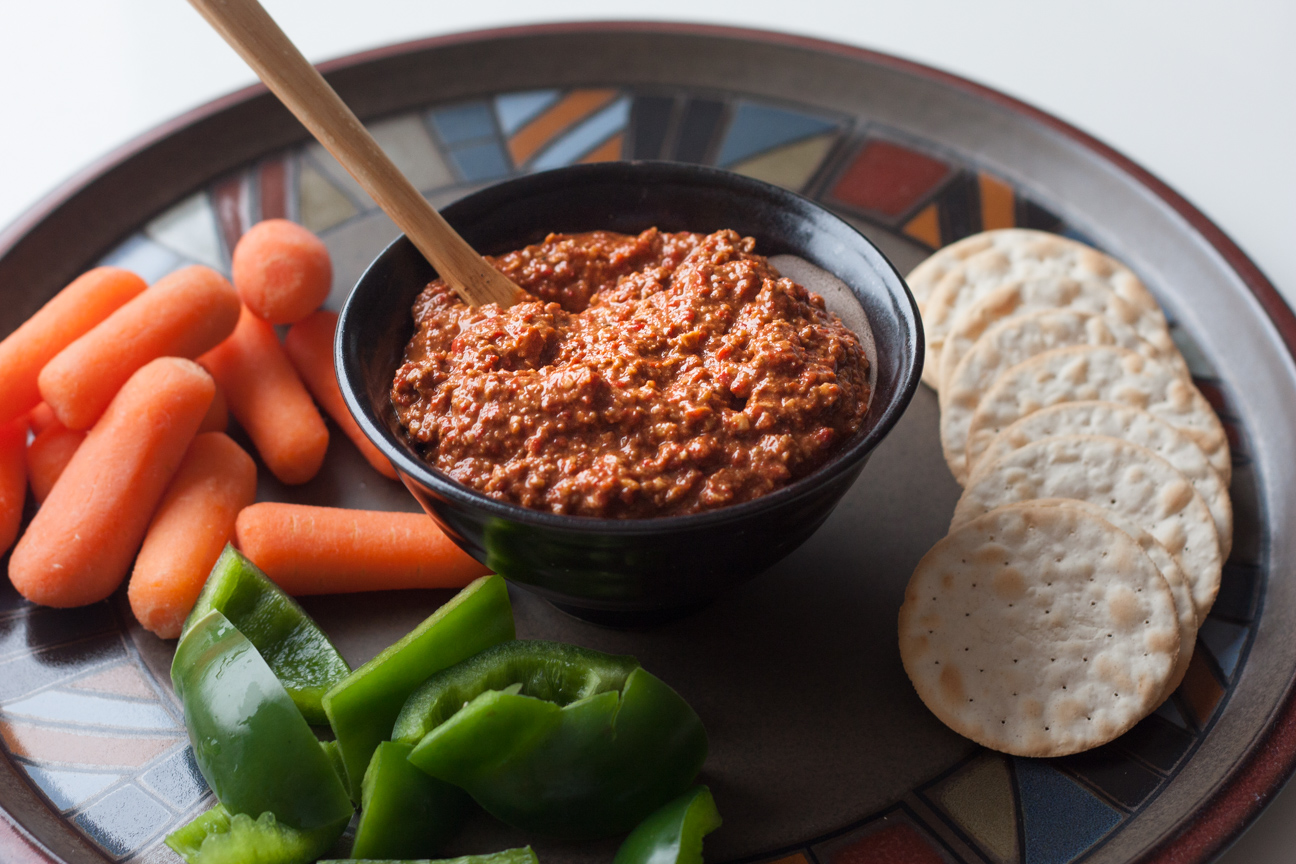
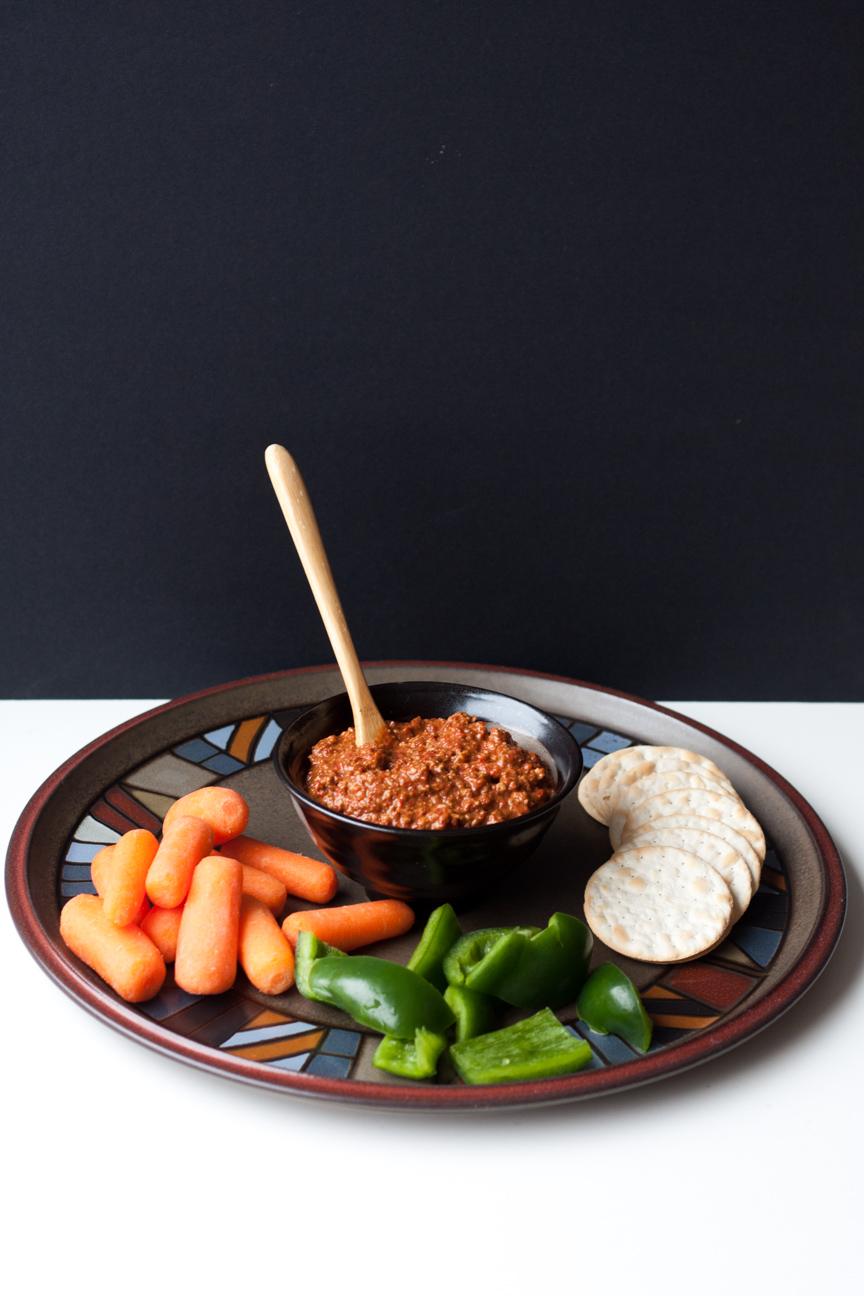 Some people make this with garlic, but I decided to leave it out, as I put garlic in so many recipes. I really wanted to taste the other ingredients. But you can add in a chopped clove of garlic if you wish.