Browsing Tag:

how-to

Cooking

How to Make Creamy Ashta

ashta and fruit and nuts in a parfait glass

Ashta is a popular middle eastern dessert that is made from homemade ricotta cheese and a thickened milk custard. You can add sweetener, and flavouring including vanilla or orange blossom water or rose water. Ashta is slang for kashta, which means clotted cream. Ashta is used for many fillings of middle eastern desserts. It is the most sublime exotic dessert that you can make at home in a snap. This recipe for Creamy Ashta with Strawberry and Bananas is delicious for breakfast, a midday snack or a dessert. Or all three. Your choice.

I love to learn about traditional dishes from all over the globe. But, I have to say that I particularly enjoy learning new sweet dishes. Because nothing finishes off a good meal better than a lovely eye-appealing dessert.

cheese curds in cheesecloth

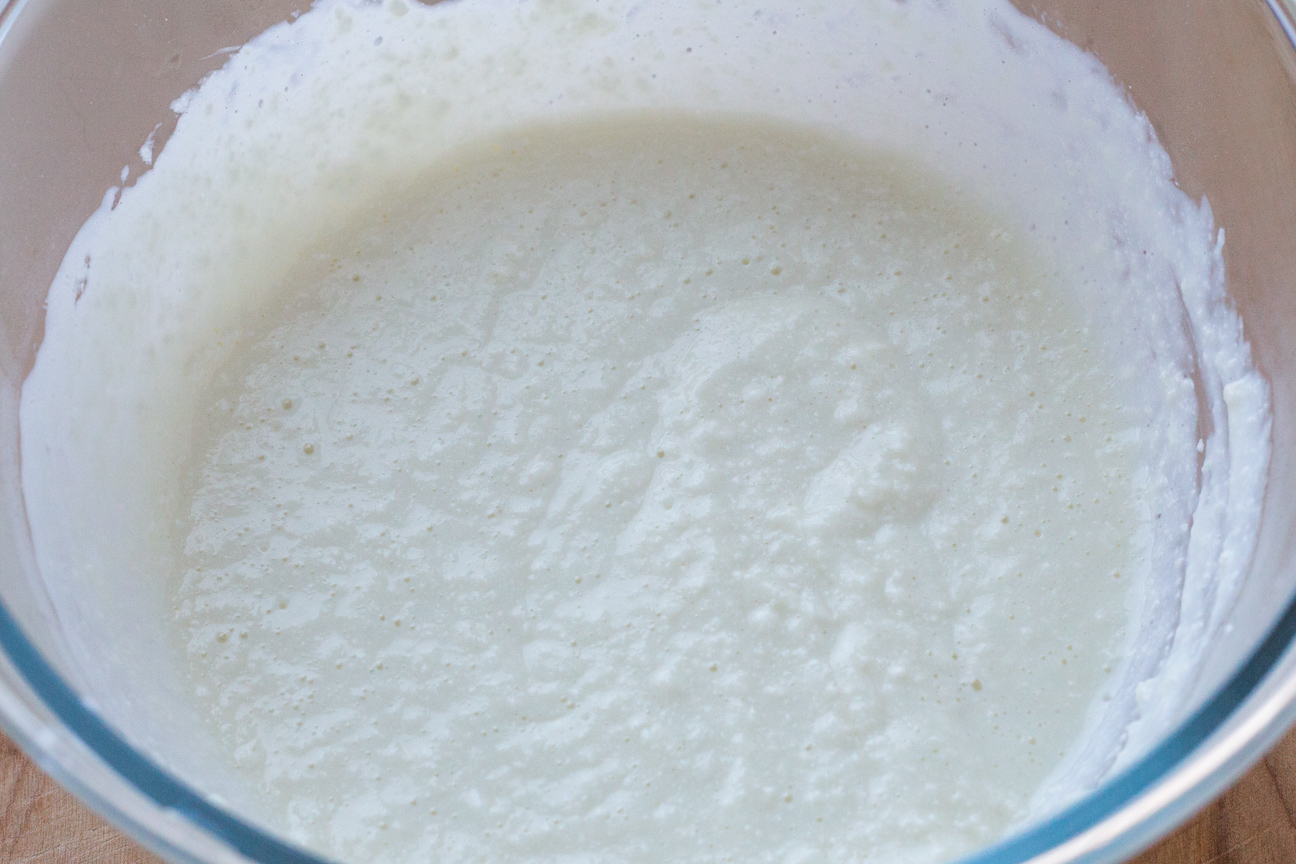
This is what the ashta looks like while the curds are draining in the cheese-cloth lined colander.

cheese curds in a bowl

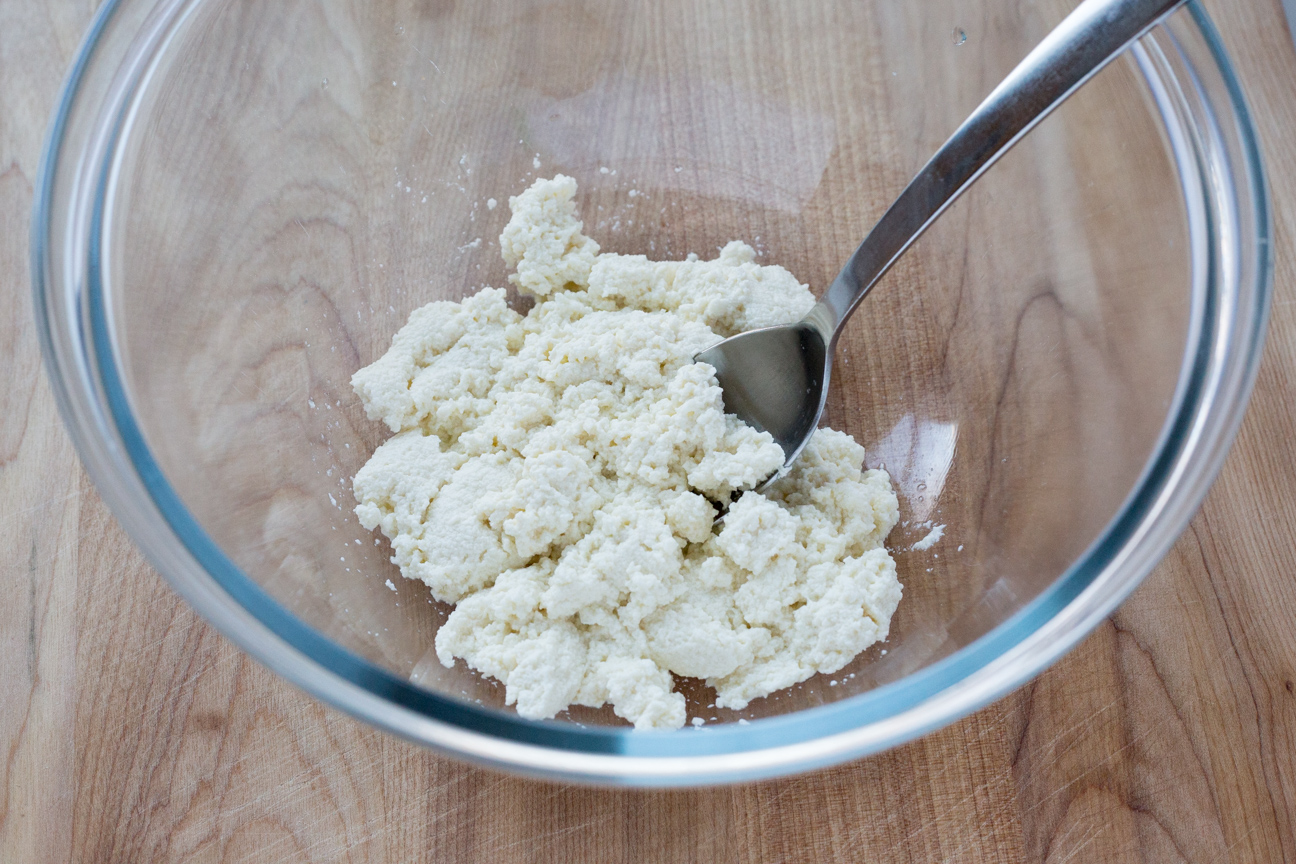
The curds will be small and have a milky aroma.

custard in a bowl

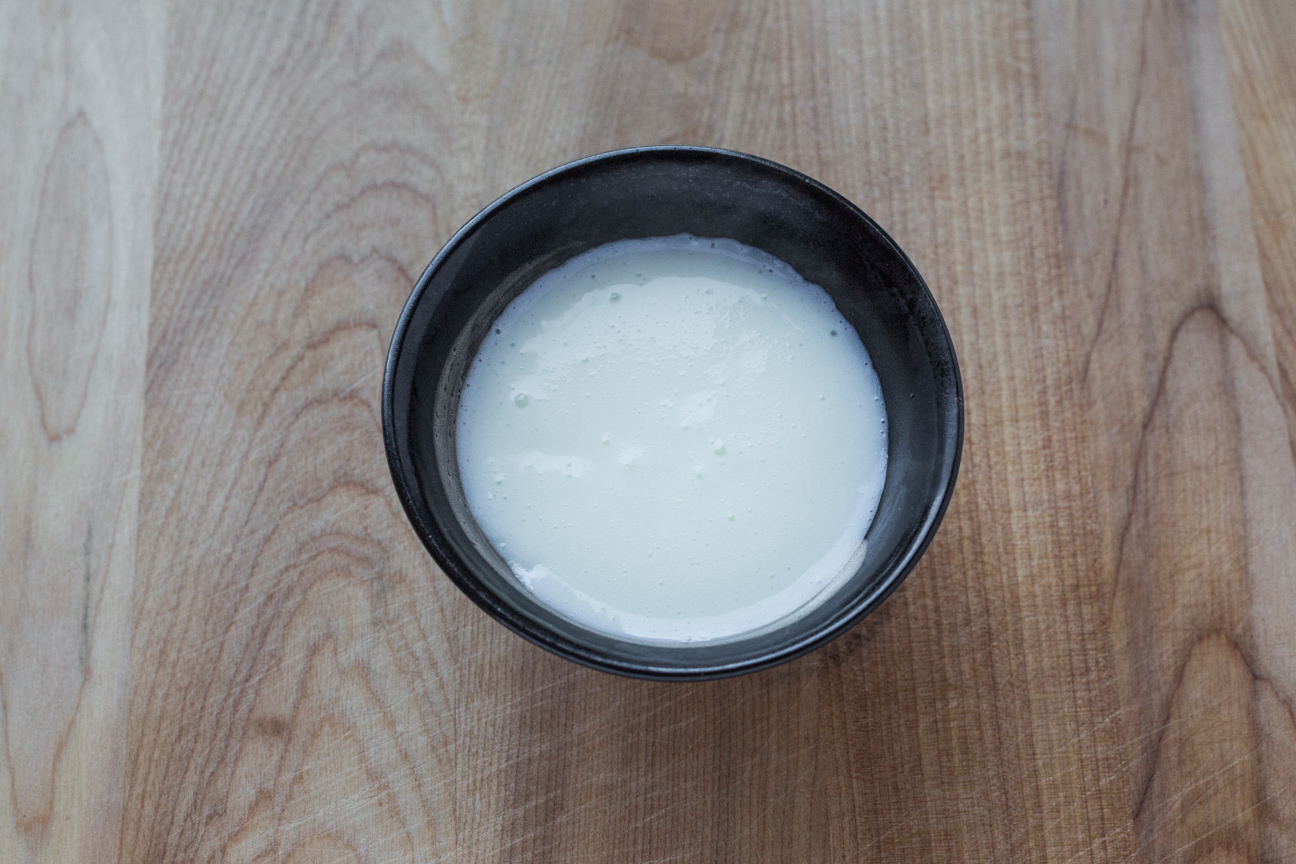
Next, make a custard that will get mixed in with the curds.

ashta in a bowl

MIx together the curds and the custard. It will still be a bit lumpy. While some people like their ashta a bit lumpy, other people only like it very smooth. You can put this mixture into a blender or food processor and blend it until it becomes smooth.

ashta in a ceramic bowl

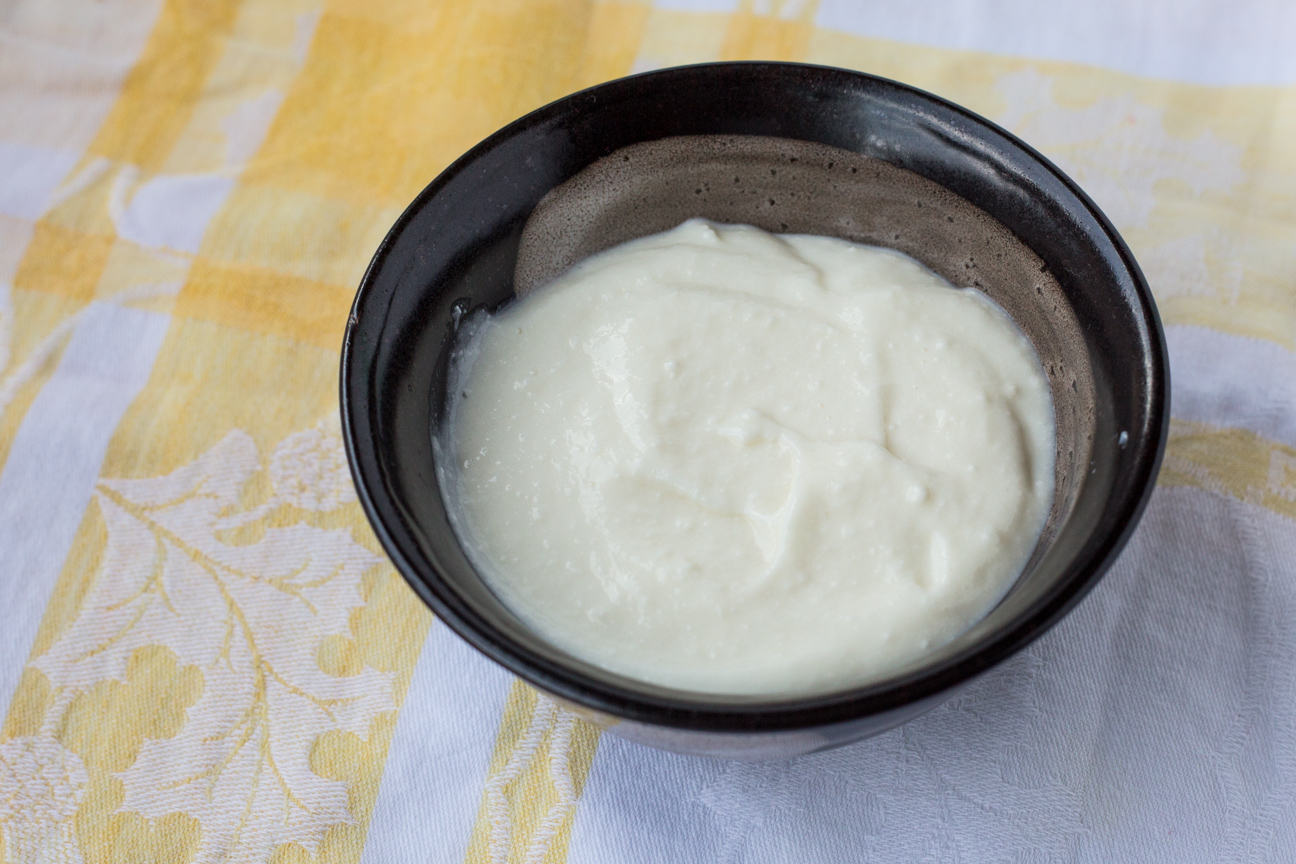
This is my ashta after I pureed it. It still has some lumps in it, but I prefer it that way.

ashta and fruit and nuts in a parfait glass

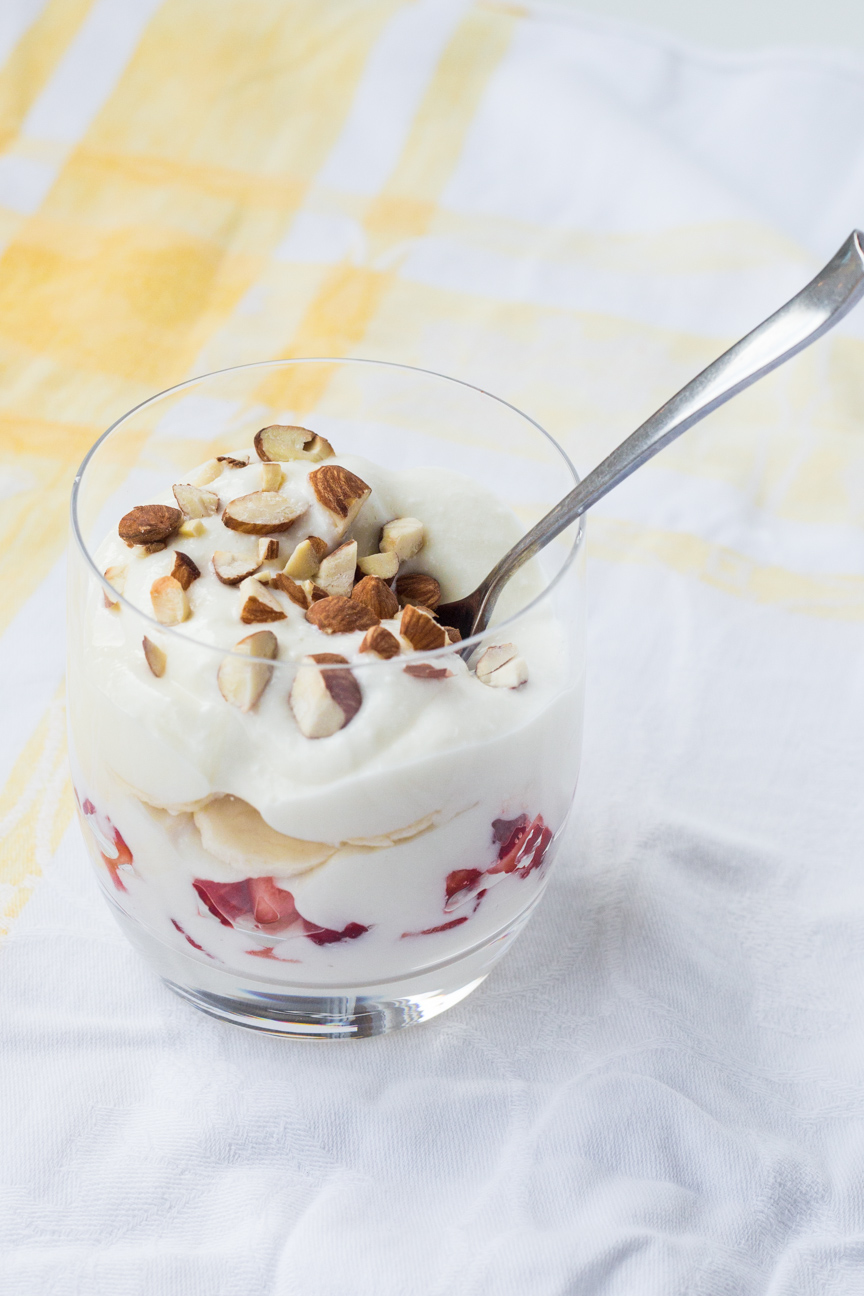
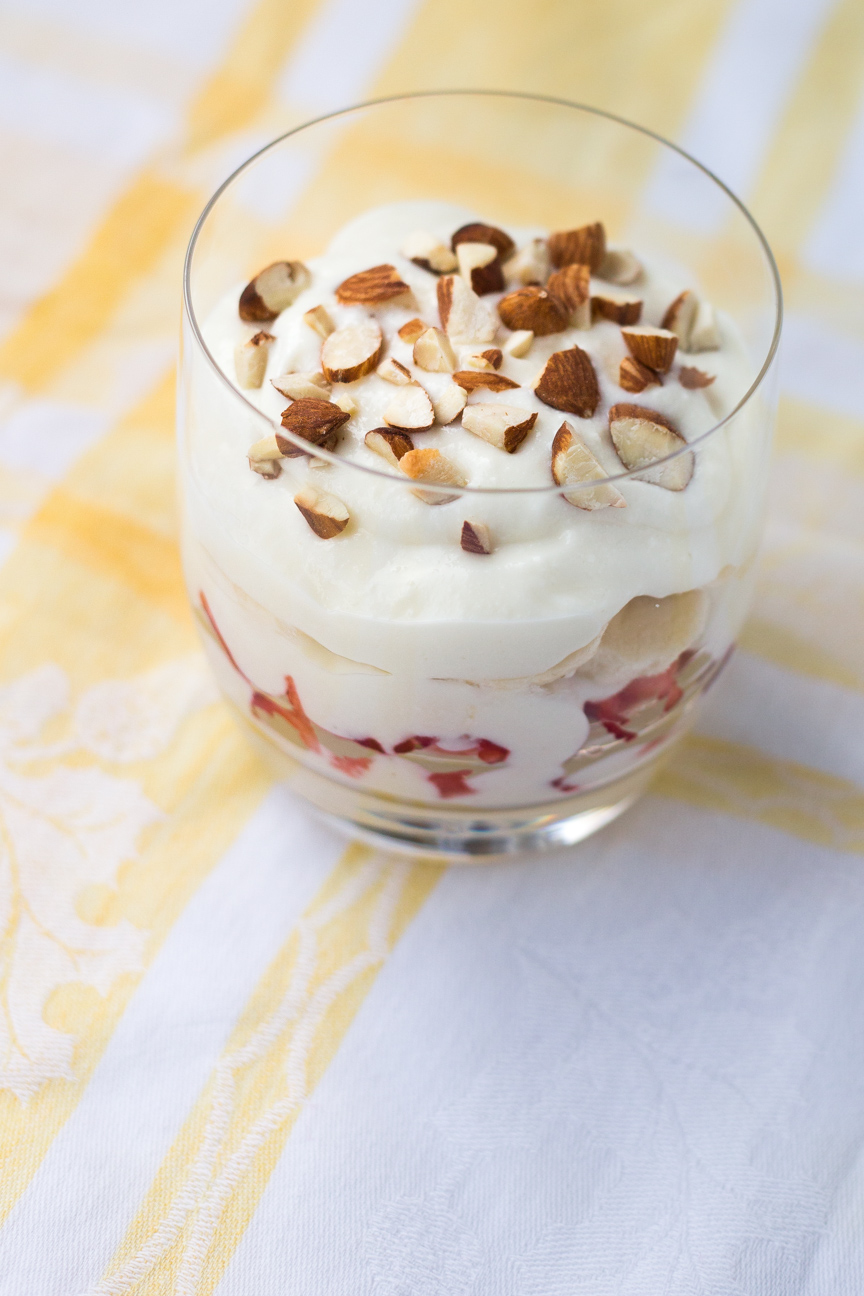
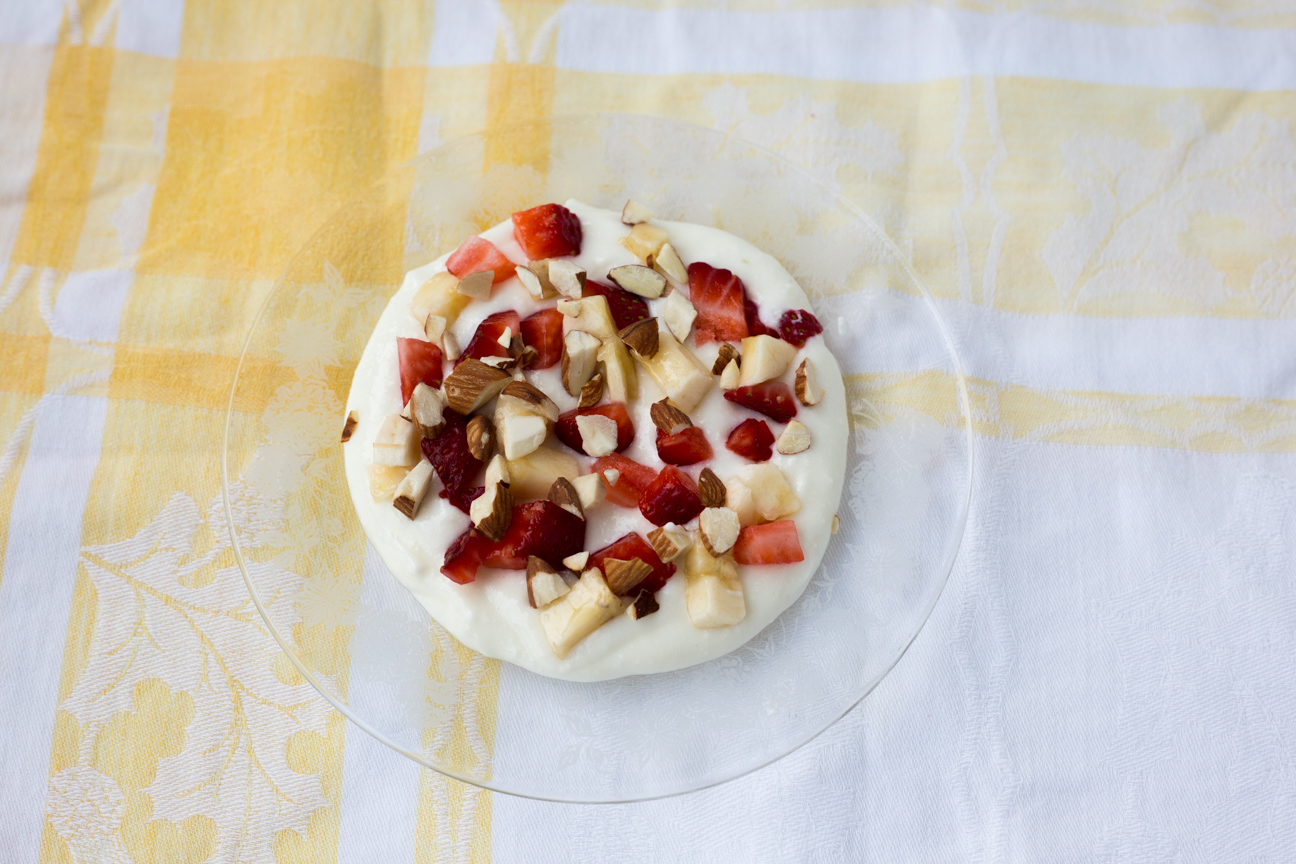
Serve your Creamy Ashta with fruit. It is traditional to serve with nuts on top.

ashta on a glass plate with nuts and fruit on top

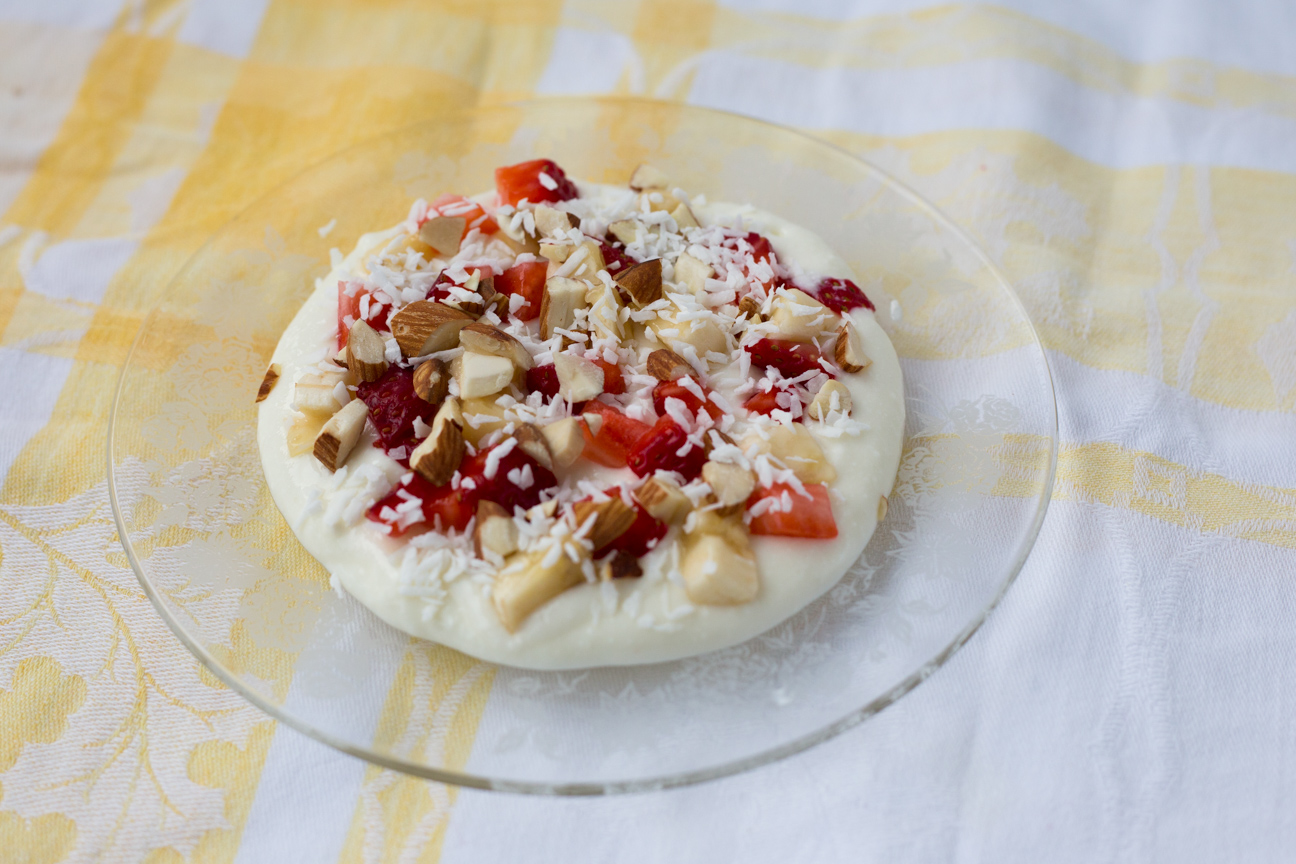
My friend, Eiman, who taught me how to make this lovely dish, serves her Ashta flat on a plate with fruit and nuts sprinkled on top. It looks very pretty this way.

Ashta makes a lovely summer dessert. Although this would also work well for breakfast.

Delicious Vanilla Ashta with Strawberries and Bananas

Serves: 6
Cooking Time: 20 minutes

Ingredients

  • Homemade Ricotta Cheese
  • 3 litres of whole milk
  • 2 Tbsp sugar (optional)
  • 1 cup white vinegar
  • Thickened Milk
  • 2 Tbsp cornstarch
  • 2 Tbsp sugar (optional)
  • 2 cups whole milk
  • 2 tsp Vanilla (or other flavouring, or none...it's still delicious)

Instructions

1

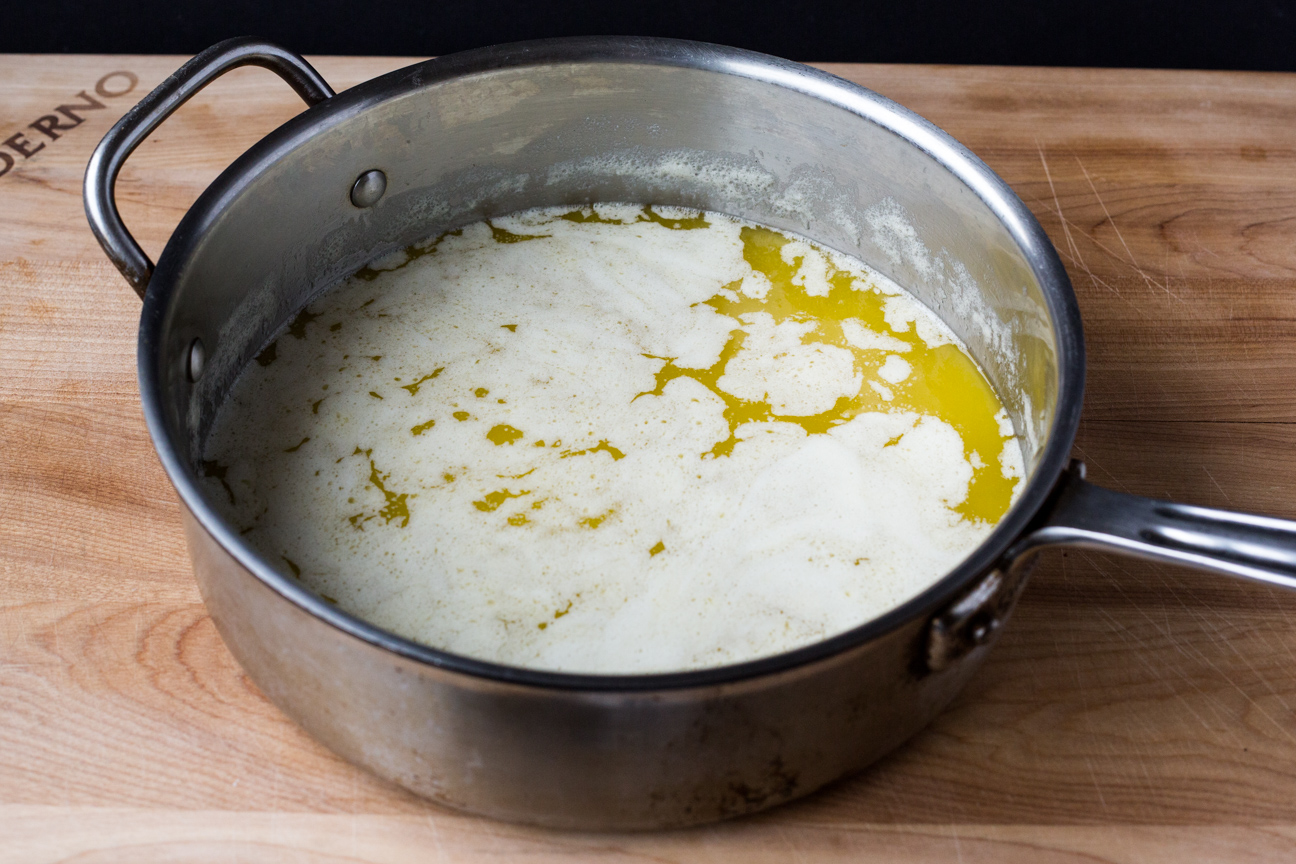
Bring the 3 litres of milk to a boil.

2

When the milk starts to boil, add the vinegar.

3

Turn the heat down to low-medium.

4

Stir the mixture. The milk will start to curdle. It will smell very vinegary at first.

5

Continue to stir until the milk is fully curdled and the liquid is more clear. It won't go completely clear.

6

Line a sieve with cheese cloth, or use a strainer, if it's fine enough.

7

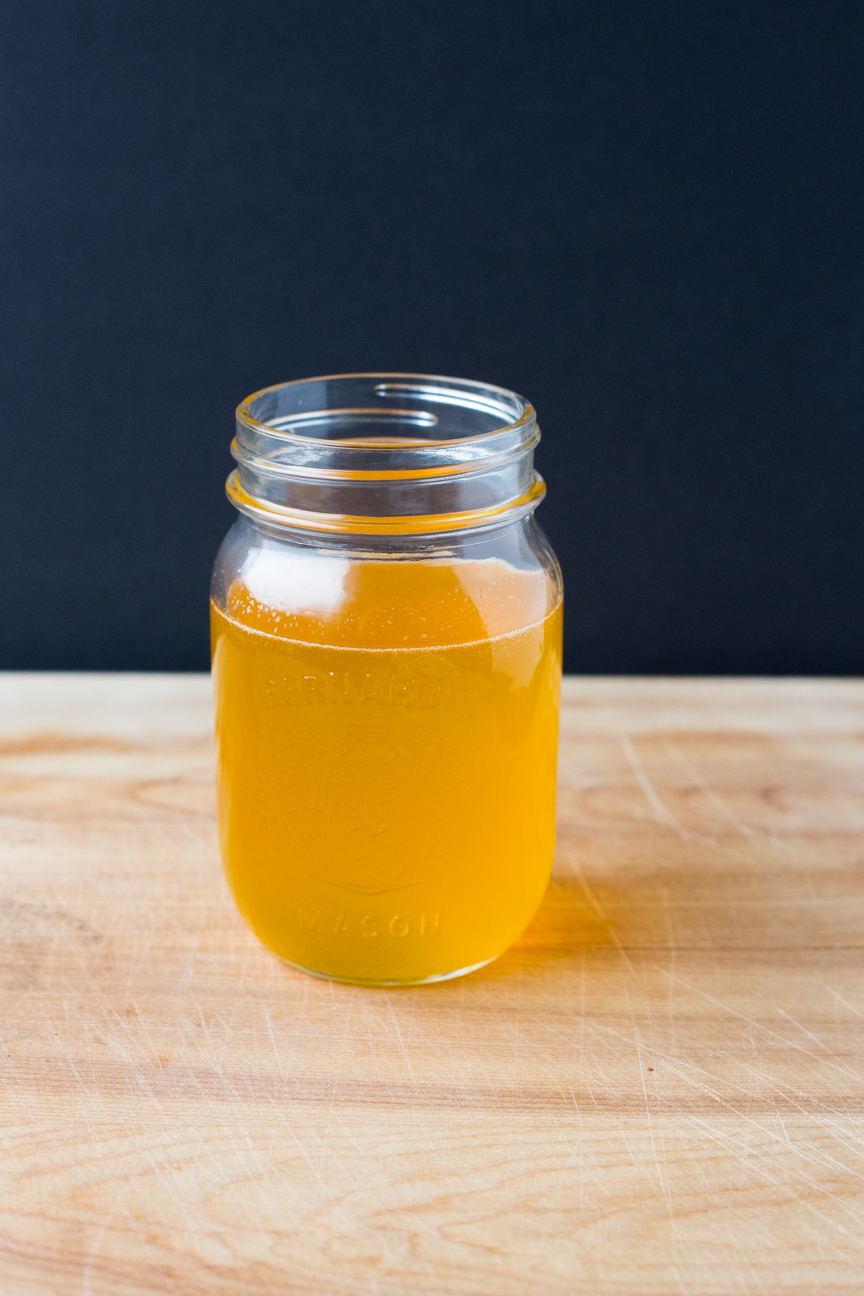
Pour the liquid through the sieve. Now it should smell more creamy.

8

Leave this to drain while you make the thickened milk.

9

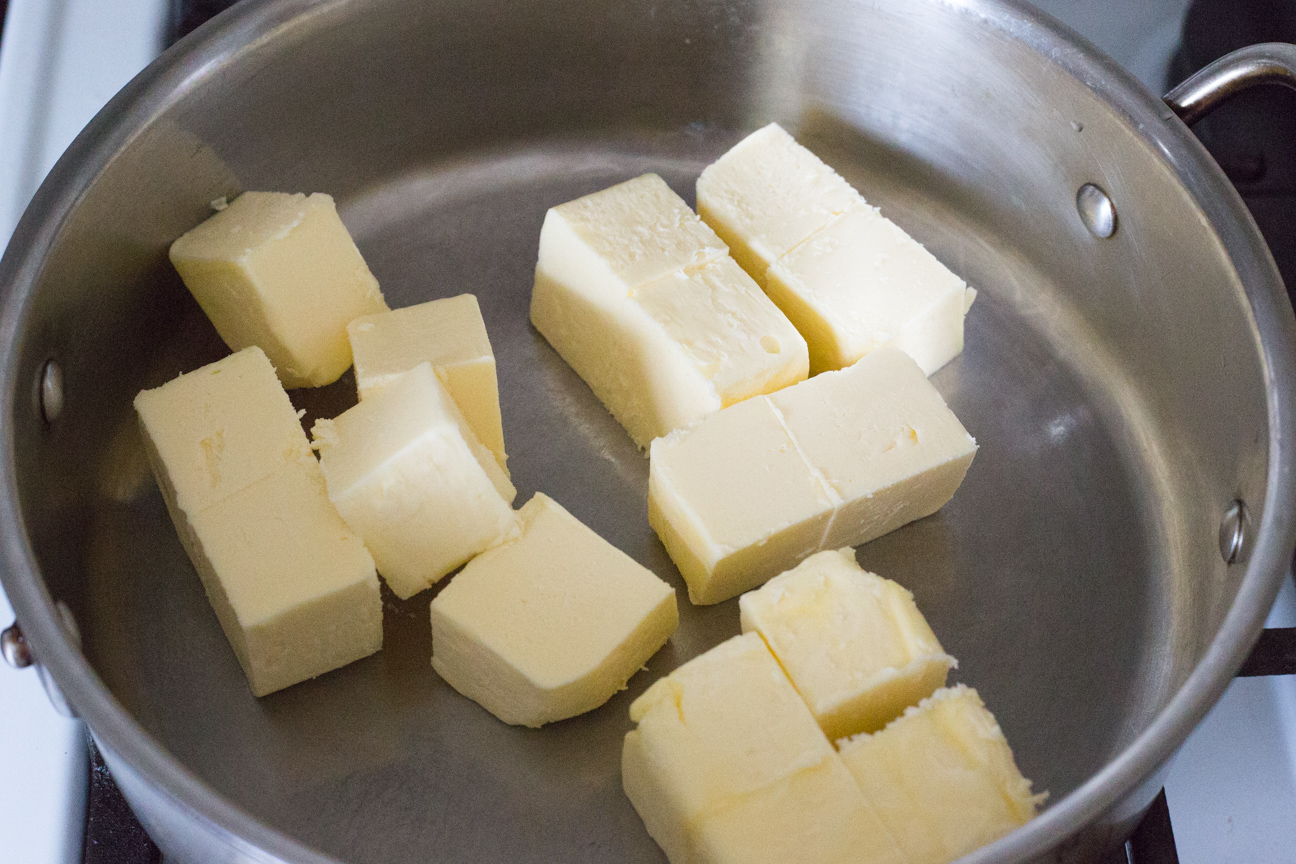
Put the cornstarch and sugar into a pot.

10

Add the milk and vanilla or other flavouring.

11

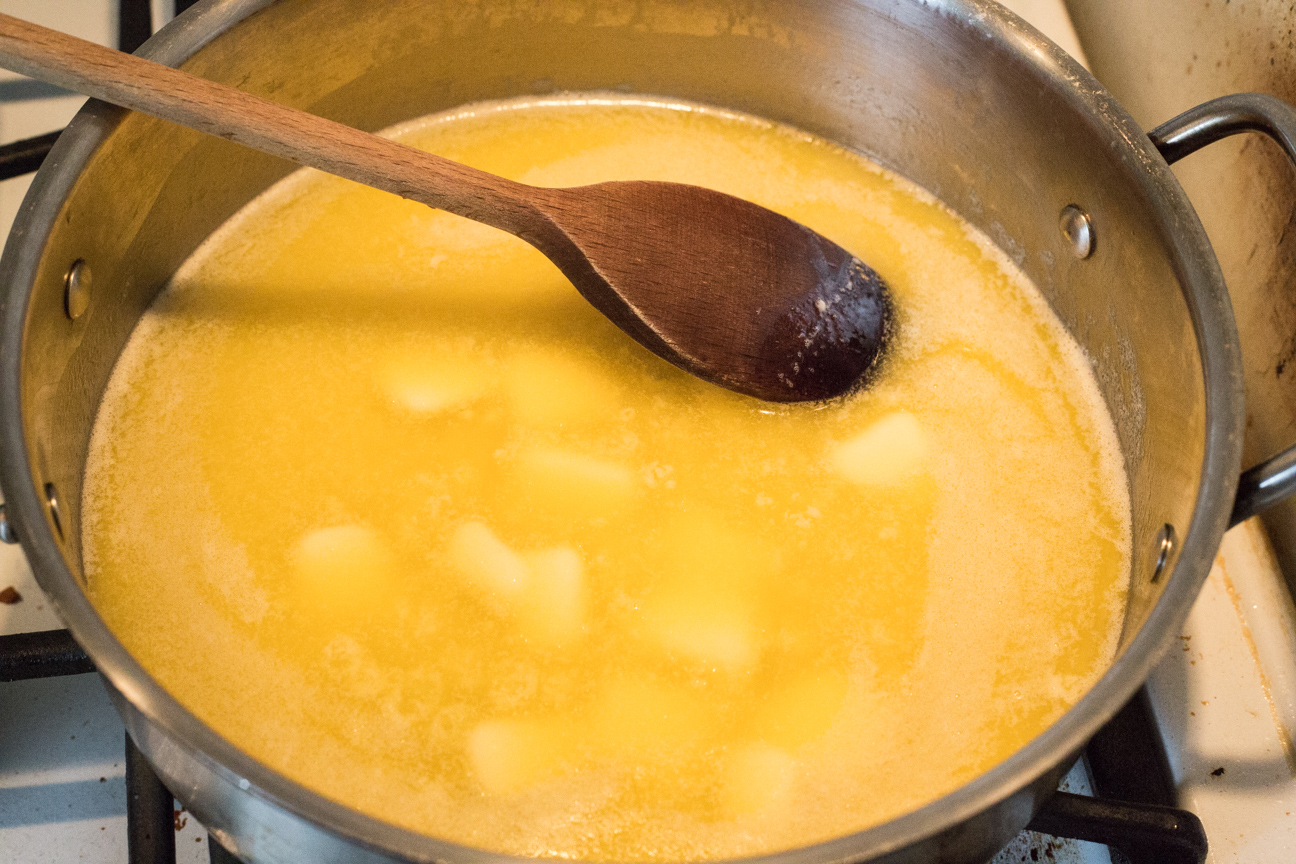
Stir on medium heat until the milk starts to thicken.

12

Once the milk is thickened, turn the heat off.

13

Stir the curds that are draining in the sieve into the milk/cornstarch/sugar mixture.

14

Use a whisk and mix really well.

15

There will be small bits of curd throughout the mixture, this is fine.

16

Some people prefer their ashta more creamy.

17

To make it more creamy, place the ashta in a blender, food processor or use a hand-held blender.

18

Blend until the mixture is more fine and creamy.

19

Place in a container in the fridge for a few hours, until cold.

20

How to Serve Ashta

21

You can eat Ashta plain, as is.

22

You can layer it like a parfait with strawberries and bananas. And top with chopped nuts. (Almonds or pistachios are very nice).

23

Or you can experiment with other fruits such as blueberries, kiwi, mango etc.

24

Or you can serve it on a nice platter, like my friend Eiman.

25

To do this: spread the Ashta evenly on a flat platter. Arrange chopped fruits over top.

26

Sprinkle with chopped nuts and/or coconut.

27

Serve cold.

28

Delicious! Enjoy!

Cooking

How to Make Homemade Ghee

a jar of ghee on a wooden trivet

Ghee is melted butter that has a golden hue and a nutty aroma. You can serve ghee drizzled on popcorn, melted and spread on cinnamon raisin bread or stirred into cooked vegetables. You can buy ghee at the supermarket these days, but it is super easy to make at home. Ghee is more flavourful than butter and can be substituted in any recipe that calls for melted butter. This post will show you step-by-step how to make Homemade Ghee.

This easy step-by-step guide on How to Make Ghee is so easy. If you have never made ghee before, you don’t know what you’re missing. It’s so heavenly. If you love butter, you’re going to love ghee.

Clarified Butter vs Ghee vsBrowned Butter

Clarified butter made by melting butter and then removing the whey proteins and the milk solids. The whey proteins appear as white foam that rises to the top of the melted butter. These are removed with a spoon very carefully from the surface. The milk solids will sink to the bottom. The milk solids are filtered out or left in the pan after carefully pouring out the clarified butter.

To make ghee, continue cooking the clarified butter a little longer. The extra cooking removes the moisture and toasts the milk solids on the bottom of the pan which increases the flavour. The milk solids on the bottom will toast slightly, but not as much as browned butter. It is more golden in colour than clarified butter and has a slightly nutty aroma.

Browned butter takes ghee one step further by browning those wonderful milk solids even more. Browned butter is darker in colour than ghee and can be used in sauces, cookies etc. You can leave the browned milk solids in the butter for a richer flavour, or you can filter them out. These cookies as well as these madeleine cookies are made with browned butter. The browned butter increases their flavour. They’re really delicious.

I always refrigerate clarified butter, ghee and browned butter. It’s better to be safe. They will keep for at least a few weeks in your refrigerator.

Ways to Use Ghee

Ghee can be used in many different ways. Here are a few ways that I like to use it:

  • grease bread and cake pans
  • use with filo pastry
  • any cookiie recipe made with melted butter
  • drizzled over popcorn
  • served with vegetables, if you want to add some extra flavour

butter in a skillet

To start making your ghee, add the cubed butter to a large skillet.

melted butter in a skillet

Melt the butter on medium heat.

melted butter in a skillet

Remove the white foam, with a spoon, very carefully from the surface. Remember the skillet, especially the edges, will be hot. And then put the skillet back on a low burner.

browned butter in a skillet

Continue to cook on very low until the milk solids on the bottom of the pan turn golden and the butter smells nutty and aromatic. Don’t stir it, but watch it like a hawk, and as soon as the milk solids are golden brown like in this photo, remove your pan from the heat.

Once the butter has cooled down, pour the golden melted butter into a warm preserving jar, but leave the browned bits in the pan. You can also strain the melted butter through triple layered cheesecloth or a coffee filter. I just pour it very very carefully into a jar.

a jar of ghee on a wooden trivet

Ghee is wonderful for cooking with. I also use it to grease bread pans when I’m baking bread.

a jar of ghee

Ghee is so beautiful and so delicious.

How-To-Make Ghee

Serves: 1 cup
Cooking Time: 20 minutes

Ingredients

  • 250 grams butter (or use more, if you want to make a big batch)

Instructions

1

Melt the butter in a skillet on medium heat.

2

Once the white foam rises to the surface, remove the skillet from the heat and very carefully remove the white foam with a spoon. Discard the white foam.

3

Return the pan to a very low heat.

4

Keep the heat on low and watch your pan like a hawk.

5

As soon as the bits on the bottom of the pan start to turn golden brown, remove your pan from the heat.

6

Your ghee is now done.

7

Let it cool down.

8

Then pour it into a warm preserving jar.

9

I like to keep mine in the refrigerator. It will solidify and be more coarse when it's cold.

10

Use the ghee within 30 days.