Browsing Tag:

dairy

Cooking

How to Make Creamy Ashta

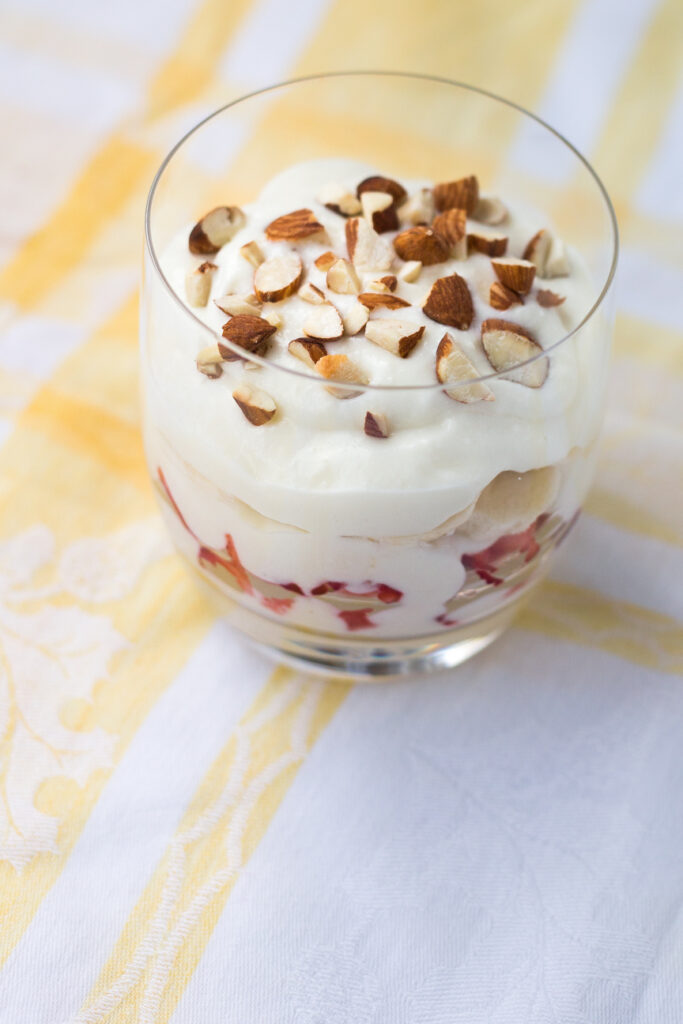
ashta and fruit and nuts in a parfait glass

Ashta is a popular middle eastern dessert that is made from homemade ricotta cheese and a thickened milk custard. You can add sweetener, and flavouring including vanilla or orange blossom water or rose water. Ashta is slang for kashta, which means clotted cream. Ashta is used for many fillings of middle eastern desserts. It is the most sublime exotic dessert that you can make at home in a snap. This recipe for Creamy Ashta with Strawberry and Bananas is delicious for breakfast, a midday snack or a dessert. Or all three. Your choice.

I love to learn about traditional dishes from all over the globe. But, I have to say that I particularly enjoy learning new sweet dishes. Because nothing finishes off a good meal better than a lovely eye-appealing dessert.
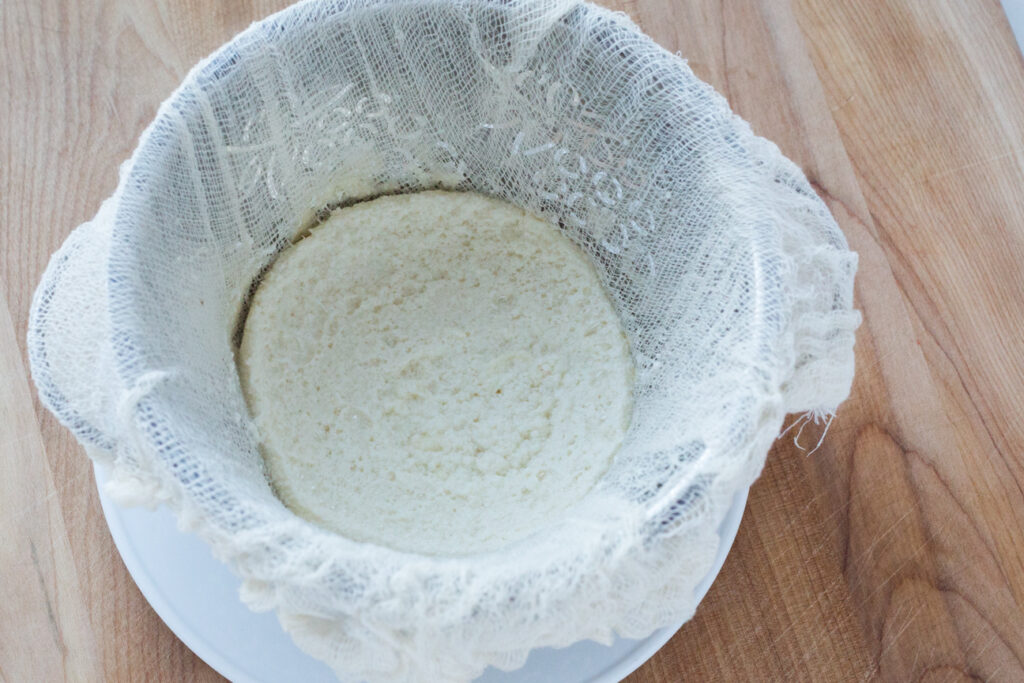
cheese curds in cheesecloth

This is what the ashta looks like while the curds are draining in the cheese-cloth lined colander.
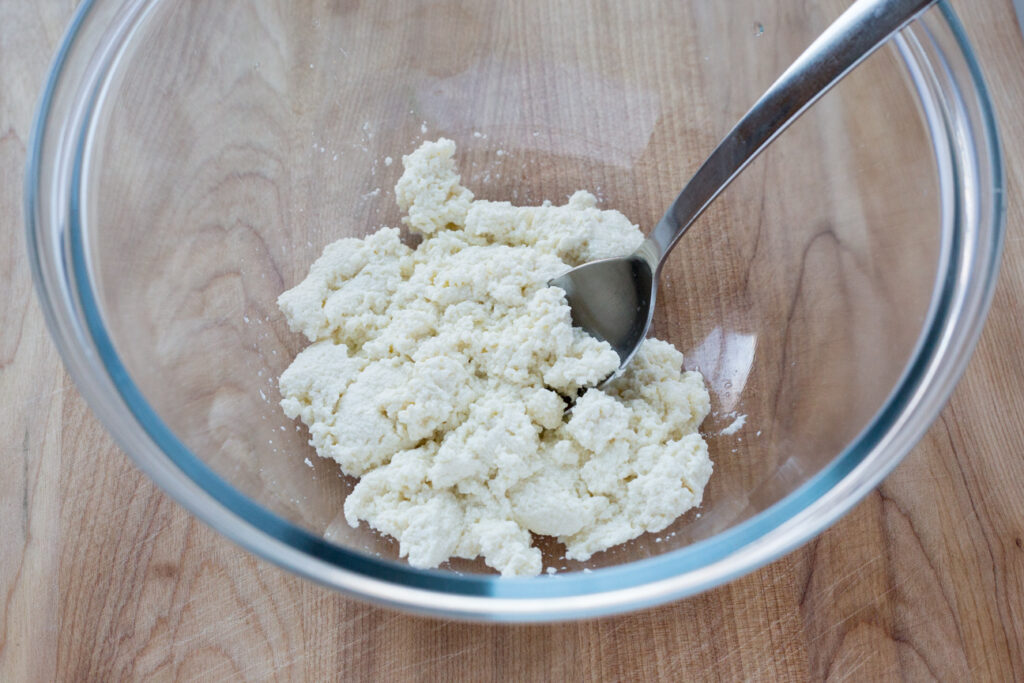
cheese curds in a bowl

The curds will be small and have a milky aroma.
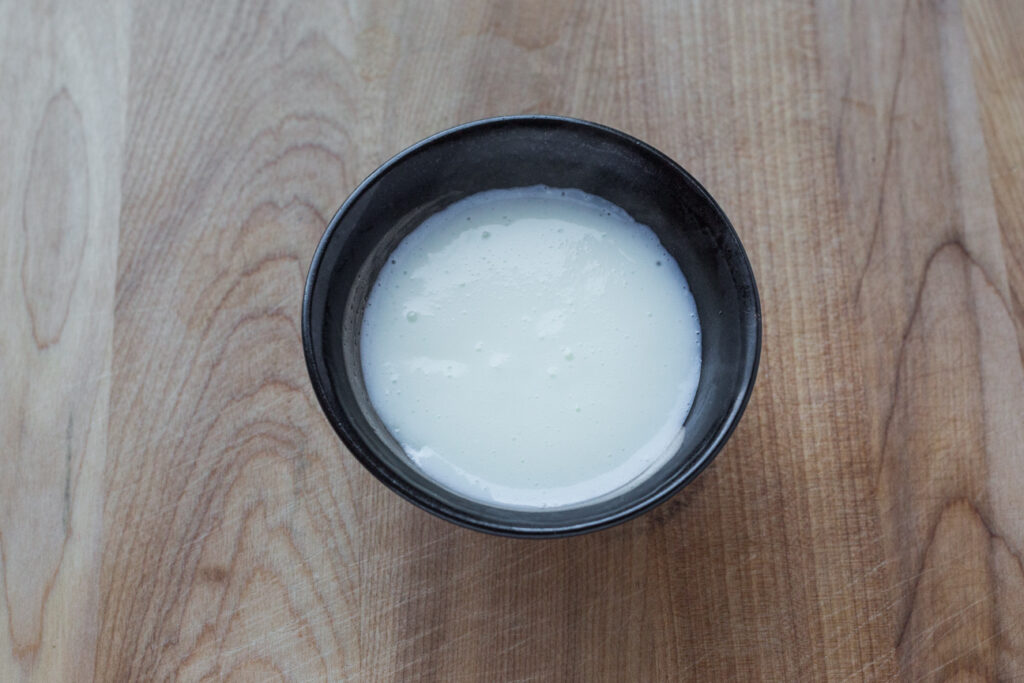
custard in a bowl

Next, make a custard that will get mixed in with the curds.
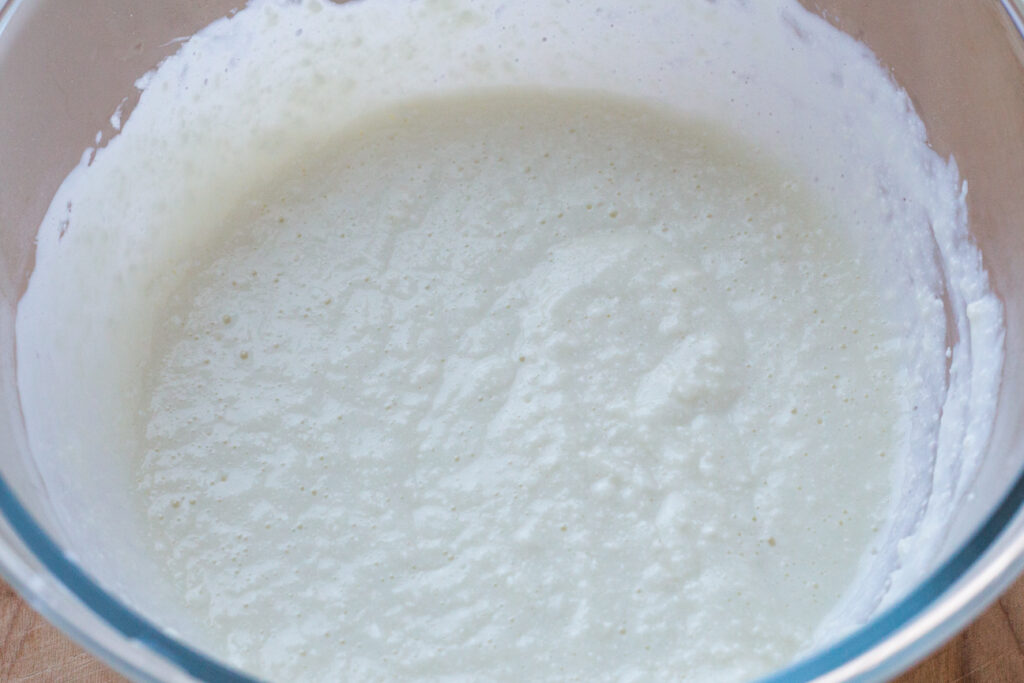
ashta in a bowl

MIx together the curds and the custard. It will still be a bit lumpy. While some people like their ashta a bit lumpy, other people only like it very smooth. You can put this mixture into a blender or food processor and blend it until it becomes smooth.
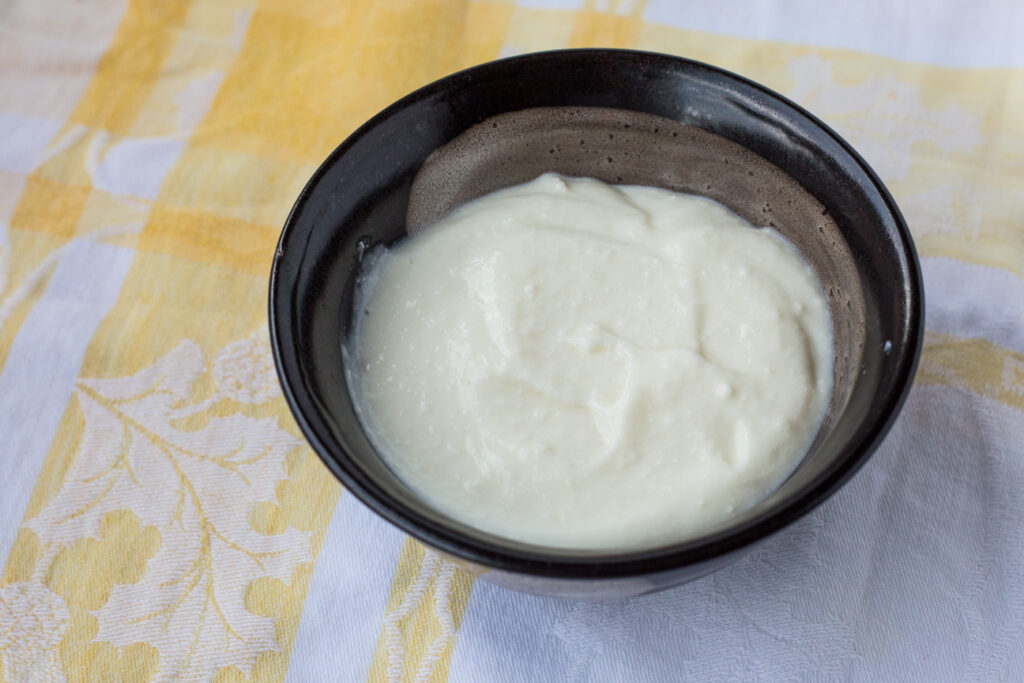
ashta in a ceramic bowl

This is my ashta after I pureed it. It still has some lumps in it, but I prefer it that way.
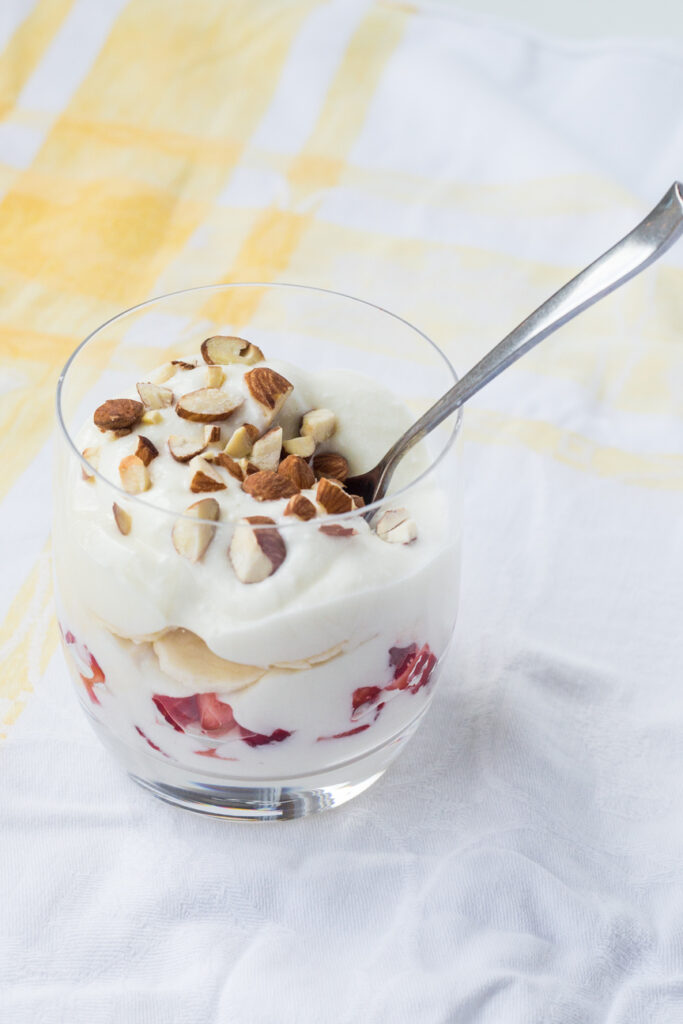
ashta and fruit and nuts in a parfait glass

Serve your Creamy Ashta with fruit. It is traditional to serve with nuts on top.
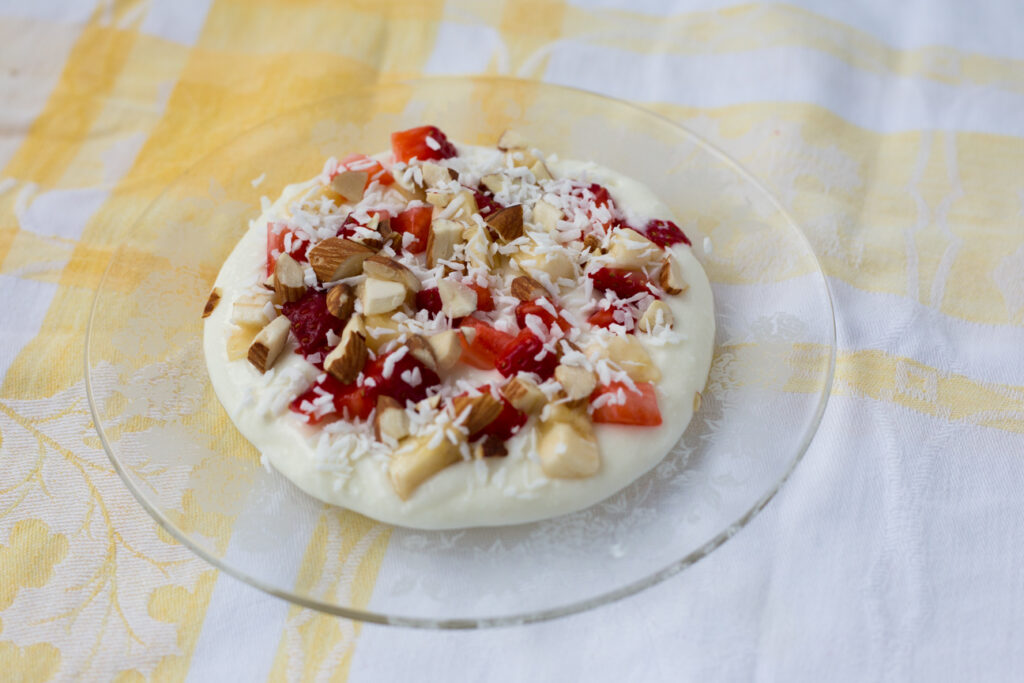
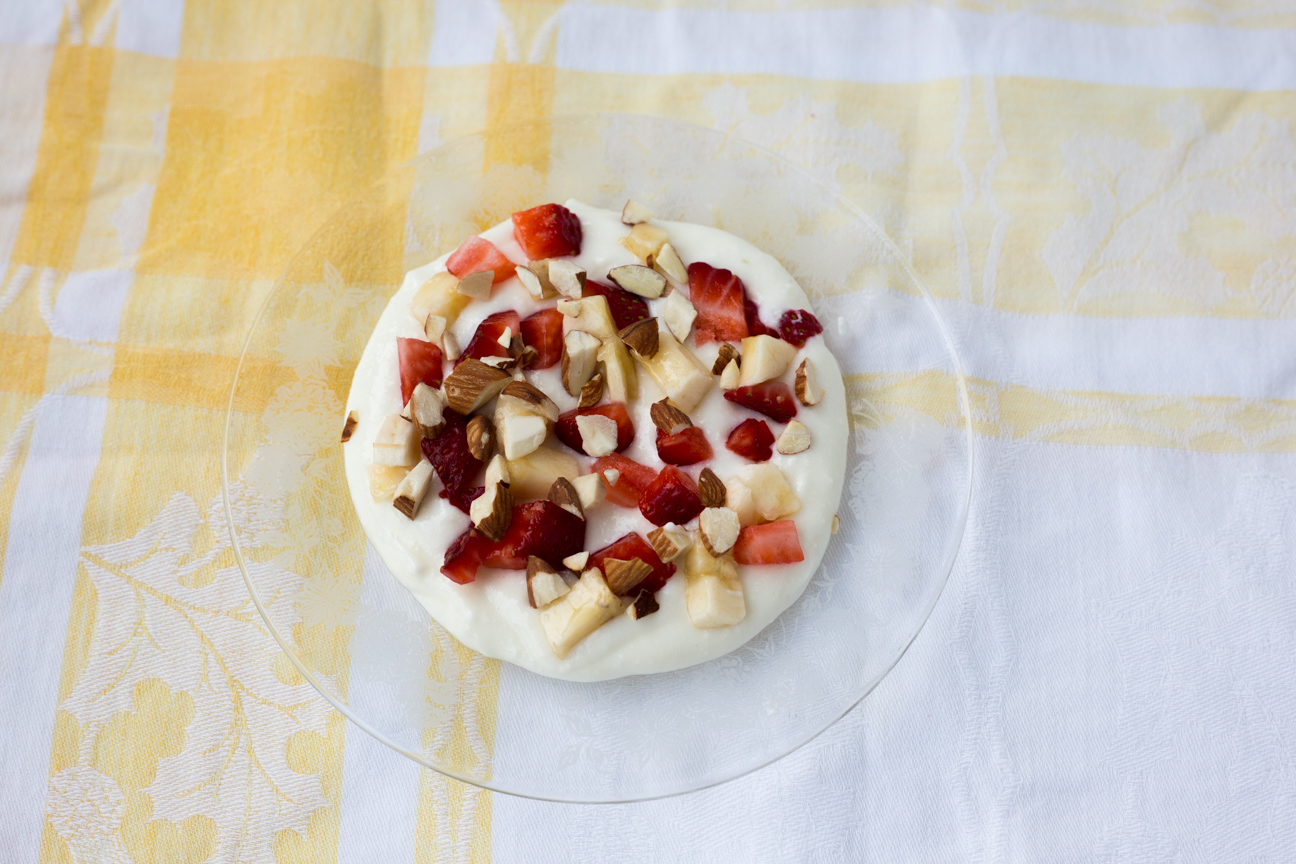
ashta on a glass plate with nuts and fruit on top

My friend, Eiman, who taught me how to make this lovely dish, serves her Ashta flat on a plate with fruit and nuts sprinkled on top. It looks very pretty this way.

Ashta makes a lovely summer dessert. Although this would also work well for breakfast.

Delicious Vanilla Ashta with Strawberries and Bananas

Serves: 6
Cooking Time: 20 minutes

Ingredients

  • Homemade Ricotta Cheese
  • 3 litres of whole milk
  • 2 Tbsp sugar (optional)
  • 1 cup white vinegar
  • Thickened Milk
  • 2 Tbsp cornstarch
  • 2 Tbsp sugar (optional)
  • 2 cups whole milk
  • 2 tsp Vanilla (or other flavouring, or none...it's still delicious)

Instructions

1

Bring the 3 litres of milk to a boil.

2

When the milk starts to boil, add the vinegar.

3

Turn the heat down to low-medium.

4

Stir the mixture. The milk will start to curdle. It will smell very vinegary at first.

5

Continue to stir until the milk is fully curdled and the liquid is more clear. It won't go completely clear.

6

Line a sieve with cheese cloth, or use a strainer, if it's fine enough.

7

Pour the liquid through the sieve. Now it should smell more creamy.

8

Leave this to drain while you make the thickened milk.

9

Put the cornstarch and sugar into a pot.

10

Add the milk and vanilla or other flavouring.

11

Stir on medium heat until the milk starts to thicken.

12

Once the milk is thickened, turn the heat off.

13

Stir the curds that are draining in the sieve into the milk/cornstarch/sugar mixture.

14

Use a whisk and mix really well.

15

There will be small bits of curd throughout the mixture, this is fine.

16

Some people prefer their ashta more creamy.

17

To make it more creamy, place the ashta in a blender, food processor or use a hand-held blender.

18

Blend until the mixture is more fine and creamy.

19

Place in a container in the fridge for a few hours, until cold.

20

How to Serve Ashta

21

You can eat Ashta plain, as is.

22

You can layer it like a parfait with strawberries and bananas. And top with chopped nuts. (Almonds or pistachios are very nice).

23

Or you can experiment with other fruits such as blueberries, kiwi, mango etc.

24

Or you can serve it on a nice platter, like my friend Eiman.

25

To do this: spread the Ashta evenly on a flat platter. Arrange chopped fruits over top.

26

Sprinkle with chopped nuts and/or coconut.

27

Serve cold.

28

Delicious! Enjoy!

Baking

Delicious Homemade Lebanese Cheese Pies

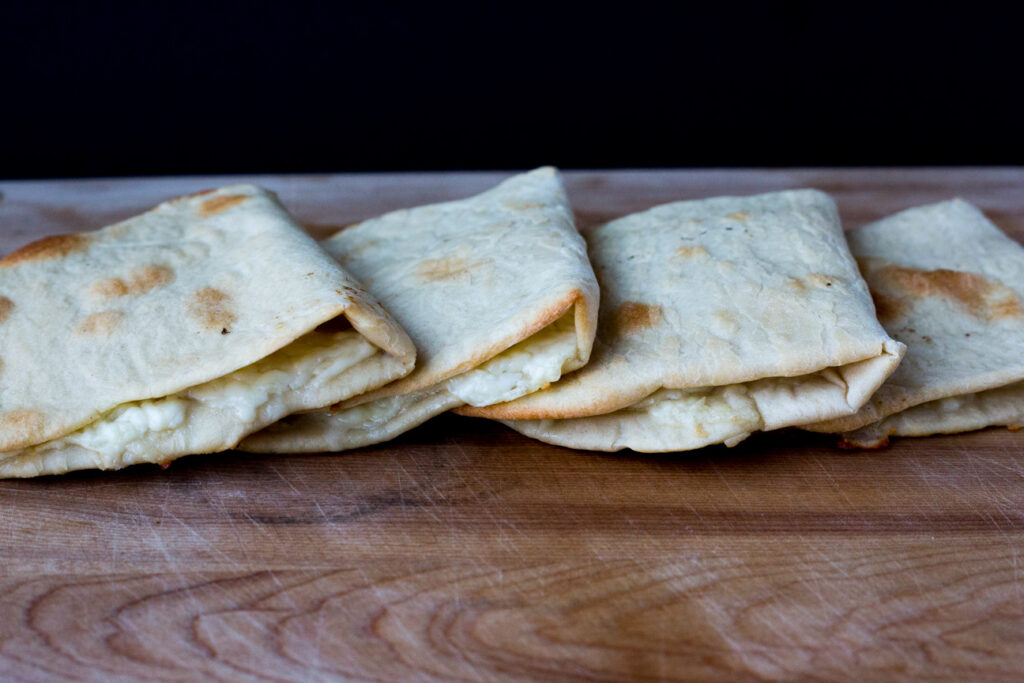
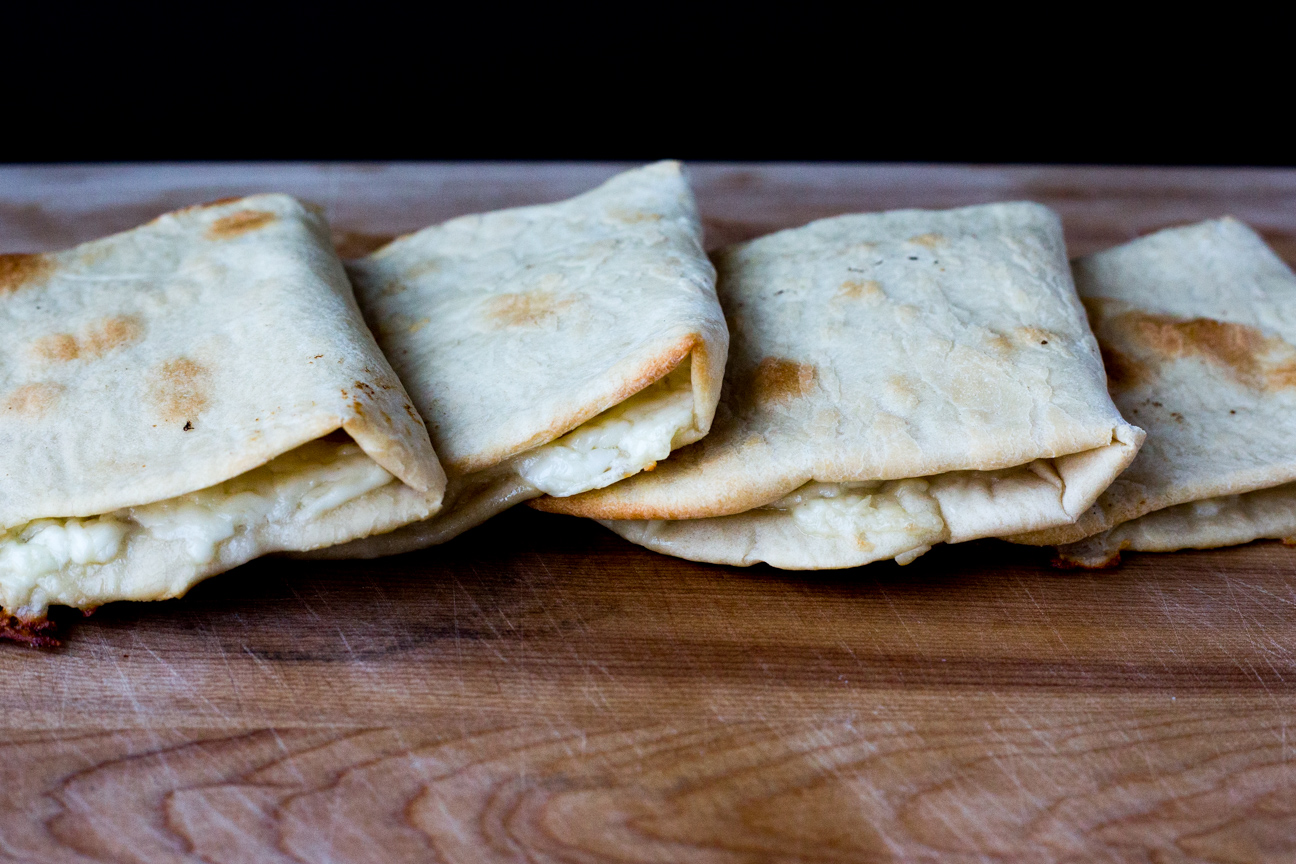
cheese pies on a cutting board

Lebanese Cheese pies are one our favourite take out meals: soft freshly baked flat bread wrapped around 3 types of gooey melted cheese. Heavenly.

Lebanese Cheese Pies are a real treat in our family. We have a favourite Lebanese pie shop a few blocks away, that we love to pop into from time to time. Such a treat to pick up a half dozen pies for lunch or to snack on.

If you don’t have a cheese pie shop near you, these pies are super easy to make at home. And so good! Who doesn’t love a warm melting, gooey cheese sandwich made with fresh dough. I’m telling you, after you try these, grilled cheese sandwiches will never be enough.

In Lebanon, these are eaten regularly for breakfast. I also think they would be great first thing in the morning, but we usually have them for lunch or even for dinner.

Lebanese cheese pies are made from a mixture of three different cheeses: mozzarella, halloumi, and akawi. You can find halloumi and akiwe cheeses at any middle eastern shop. Akiwe cheese is quite salty, so whenever I use it, I cut it into cubes and soak it in water for 60-90 minutes.

I love the combination of freshly baked soft flat bread with this amazing mixture of cheeses: salty akawi, gooey, melted mozzarella and halloumi which gives this sandwich substance. You could make your own mix if you wanted, but I really like this combination.

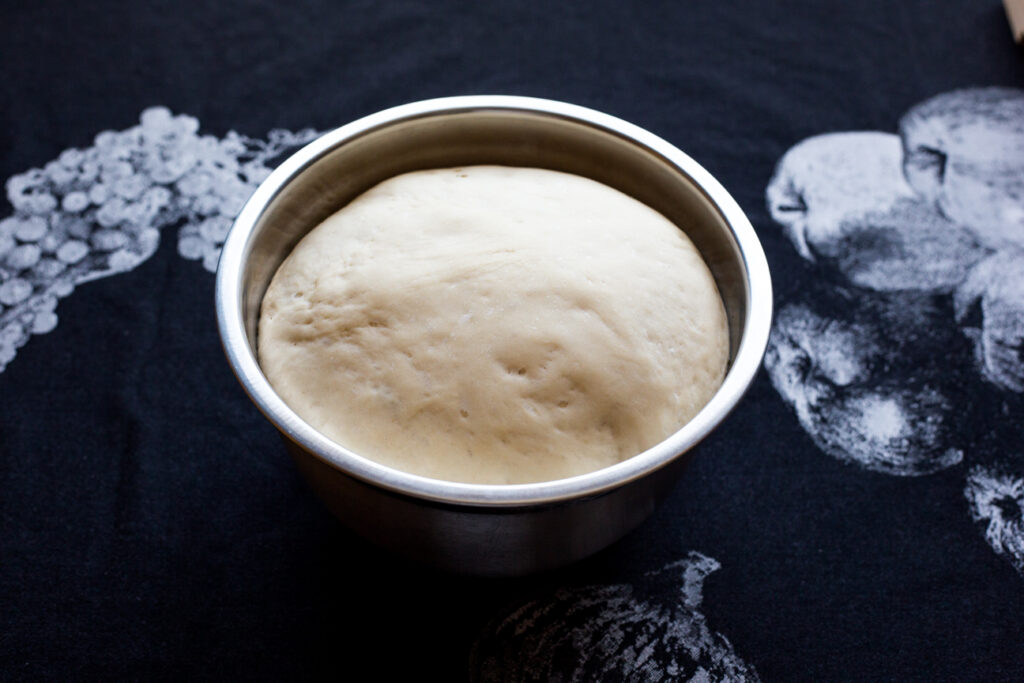
dough rising in a bowl

What makes Lebanese Cheese Pies so delicious is that they’re made with freshly baked flat bread. To make the dough, you mix together all the dough ingredients and let it rise in a large bowl until double in bulk.

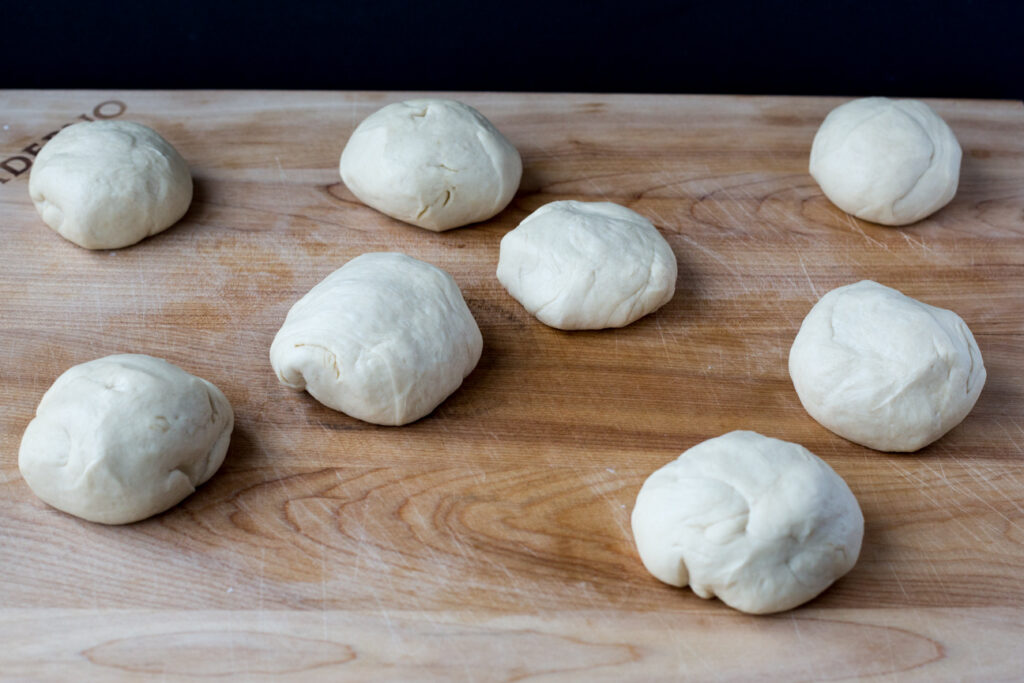
8 balls of dough on a cutting board

Cut the dough into 8 pieces and rolled slightly into balls. Let these rest for about 30 minutes.

dough rolled out on a cookie tray

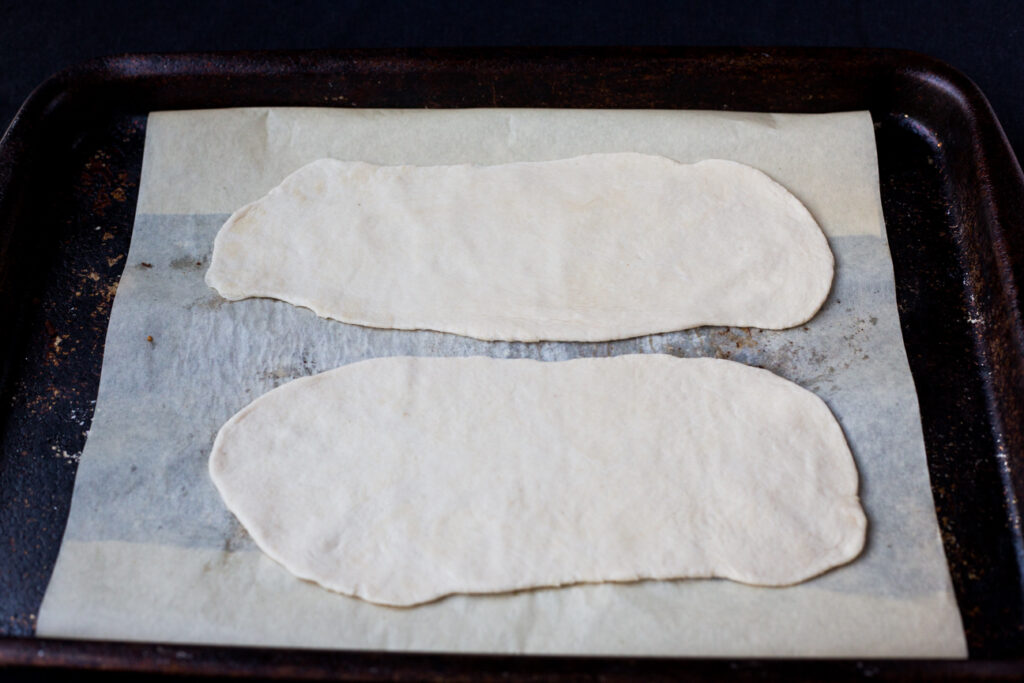
Once the balls have rested for 10-15 minutes, you can roll them out. They should be about 30-35 cm long. You don’t have to be too accurate. Place them on a baking sheet. Bake the rolled out dough for about five minutes. It will start to form small bubbles on top. Sprinkle with a handful of a mixture of the cheeses, about 50 grams. Don’t let the cheese get too close to the edges. Continue baking the cheese pies at 425 F for another 10-15 minutes. The cheese will be bubbly on top and the flat bread dough will be golden underneath. Remove the cheese pies from the oven and fold over immediately.

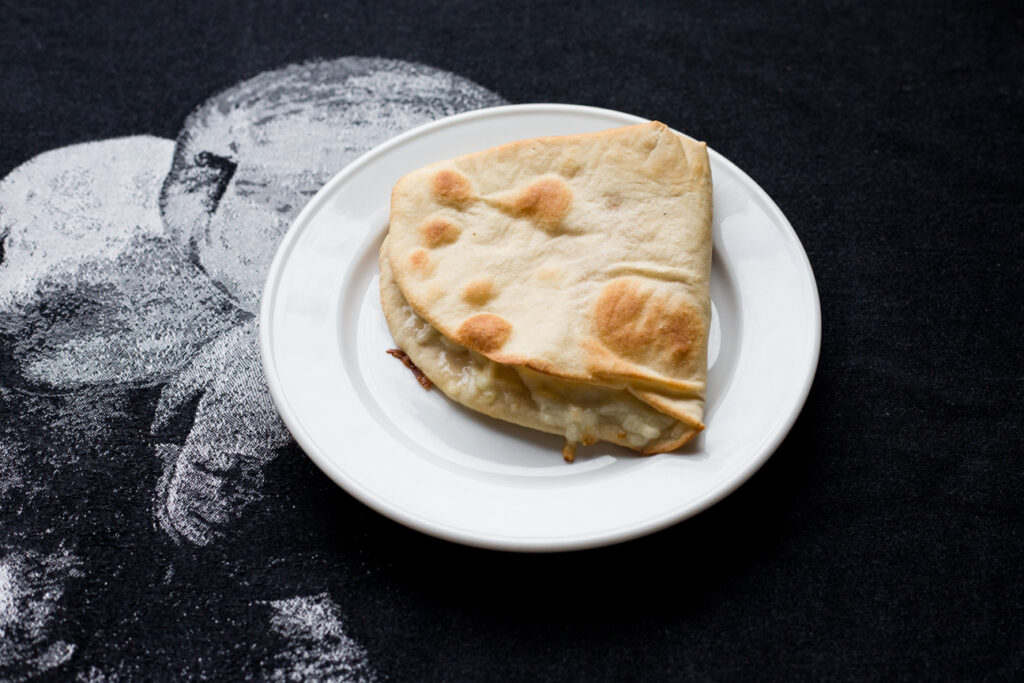
cheese pie on a plate

They will be really hot when they come out of the oven. You may need to wait a couple of minutes before they cool down. But then, dig in. You’re going to love them.

Delicious Lebanese Cheese Pies

Serves: 8-10
Cooking Time: 15 minutes

Ingredients

  • 500 grams flour
  • 1/2 tsp salt
  • 1 1/2 tsp yeast
  • 1/2 tsp sugar
  • 2 Tbsp warm water
  • 3/4 cup warm water
  • 80 mL yogurt (I used full-fat yogurt)
  • 2 Tbsp olive oil
  • Cheese filling:
  • 150 grams mozzarella
  • 150 grams akawi cheese
  • 150 grams halloumi cheese

Instructions

1

Dissolve the yeast in the 2 Tbsp warm water with the sugar.

2

Mix together the 3/4 cup of water, yogurt and olive oil in a medium bowl.

3

Add the salt to the flour and stir.

4

Add the liquid ingredients to the dry.

5

Mix together using the dough hook with your mixer.

6

Do this until the dough is smooth and elastic.

7

Let the dough rise in a warm place until double in bulk. This will take between 45 minutes to 90 minutes, depending on how warm your kitchen is.

8

Punch the dough down and then cut into 8-10 balls. Depending on how big you want your cheese pies.

9

Preheat your oven to 425 degrees F.

10

Let the balls of dough sit (covered with a tea towel) for 10-15 minutes.

11

Roll out 2 balls of dough.

12

Place these on a parchment lined cookie sheet.

13

Bake in the oven until they start to bubble up; about 5 minutes or so.

14

Remove the tray from the oven.

15

Sprinkle on a handful of cheese; somewhere between 1/3 to 1/2 cup depending on how big your cheese pies are.

16

Fold over and continue to bake until the cheese melts; about 5 minutes.

17

Let cool before eating, as they will be very hot.

Preserves

Frozen Mango Yogurt with Lime

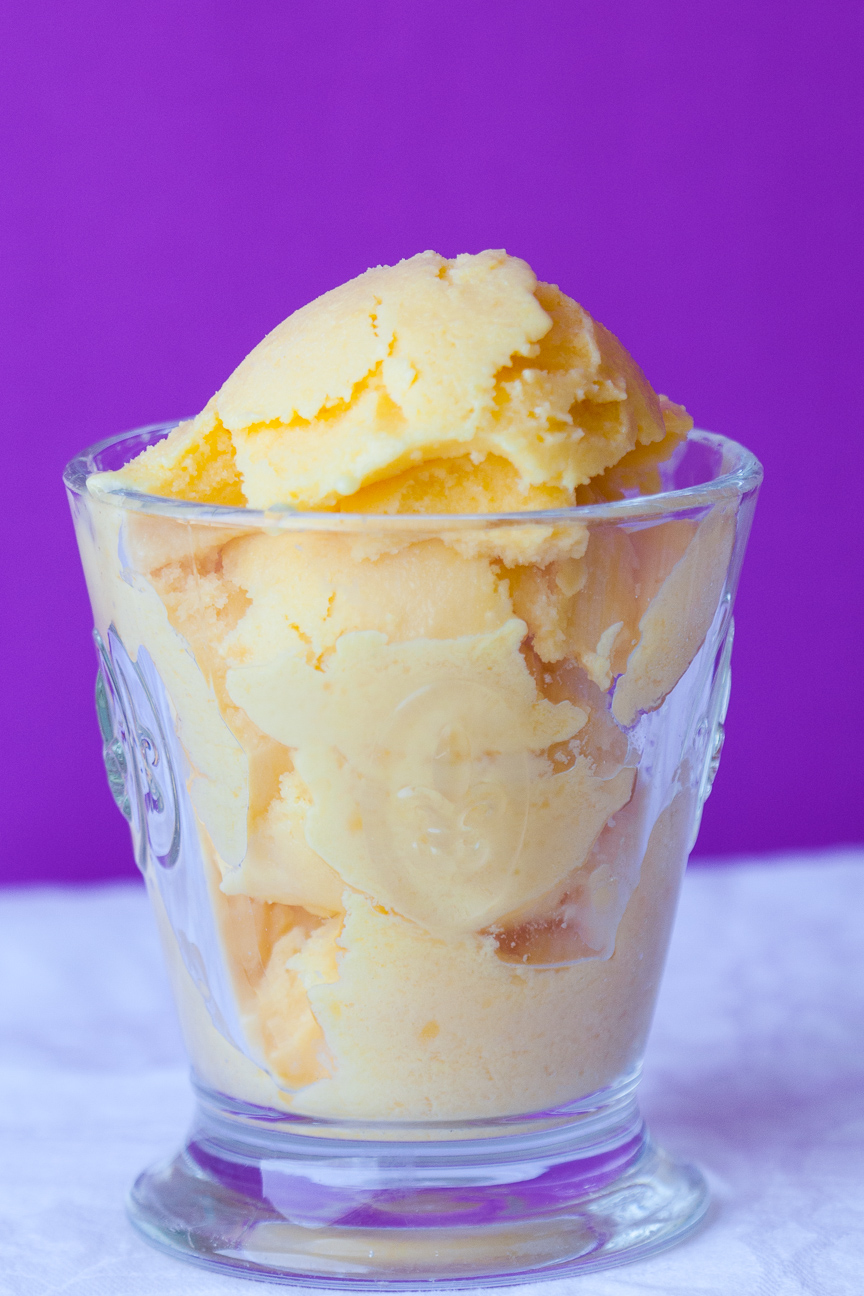
frozen vanilla mango yogurt with lime

This Frozen Vanilla Mango Yogurt with Lime is about the quickest sweet treat you will ever make. It’s so quick it’s almost instant. But I like to put it in the freezer for about an hour or so to firm up.

My sister reminded me recently of how we used to buy an ice cream cone in the middle of winter. We would eat it while we walked home from the local mall amidst swirling snowflakes. We would still be eating it when we got home which would give our Mom the shivers.

Frozen yogurt isn’t usually the first thing people think of for a sweet treat in the middle of the winter. Especially when it’s – 30 ° out. But, I don’t really mind the cold so much. I stay nice and warm bundled up in all my favourite winter gear.

What I miss the most during the long winter months is colour. I miss the green grass and leaves on trees, colourful flowers and even the colourful clothes that everyone wears. So, that’s what appeals to me with this Frozen Vanilla Mango Yogurt with Lime. I love the tropical mango, the fresh burst of lime and the coolness of the frozen yogurt. The colours of this frozen yogurt are eye-popping, yet soothing.

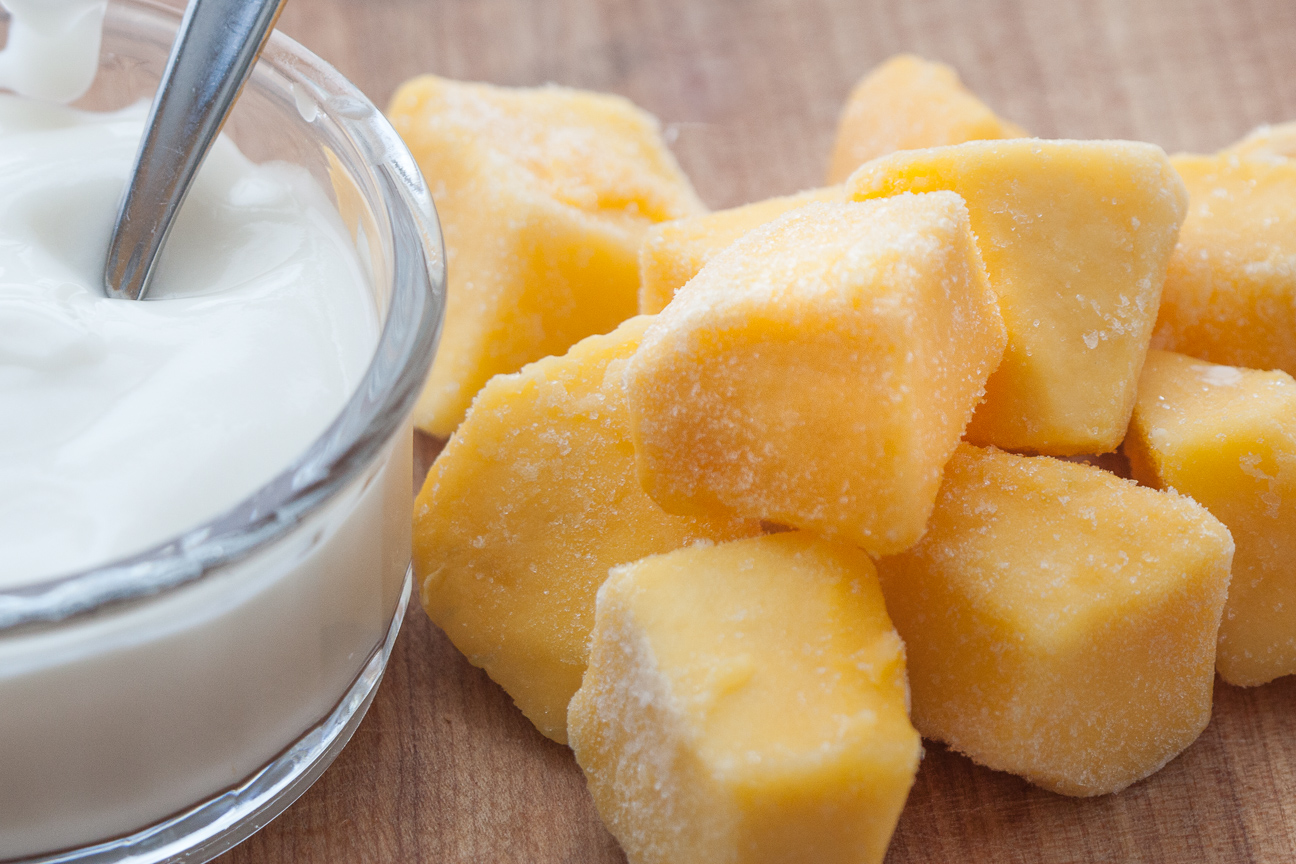
You can make this frozen yogurt in a snap. All you need is a tub of your favourite vanilla yogurt and a bag of frozen mangoes. Puree these ingredients in your food processor or blender until all the mangoes chunks are blended into the yogurt.

You can eat this frozen yogurt right away, as a kind of soft serve ice cream. But I like it more firm, so I pop it in the freezer for about 1-2 hours. I serve up a couple of spoonfuls in a fancy bowl or parfait glass and saveur every spoonful!

Bon appetit!

frozen vanilla mango yogurt with lime

Bon Appetite!

Frozen Vanilla Mango Yogurt with Lime

Serves: 8-10
Cooking Time: 10 minutes

Ingredients

  • One 600 g bag of frozen mangoes
  • One 650 mL tub of Vanilla Yogurt
  • juice from 1/2 lime

Instructions

1

Pour yogurt into food processor or blender.

2

Add frozen mangoes.

3

Blend until all frozen mango is blended thoroughly with the yogurt.

4

Add lime juice, and pulse for 30-60 seconds.

5

Transfer to a shallow rectangular plastic container.

6

Cover with saran wrap.

7

Place in freezer until firm (about 1-2 hours, depending on your freezer).

8

You can transfer the finished product to a more suitable container.

9

It will keep sealed in the freezer for approximately one month.