Browsing Tag:

dried fruit

Baking

Classic Cream Scones with Cranberry and Orange

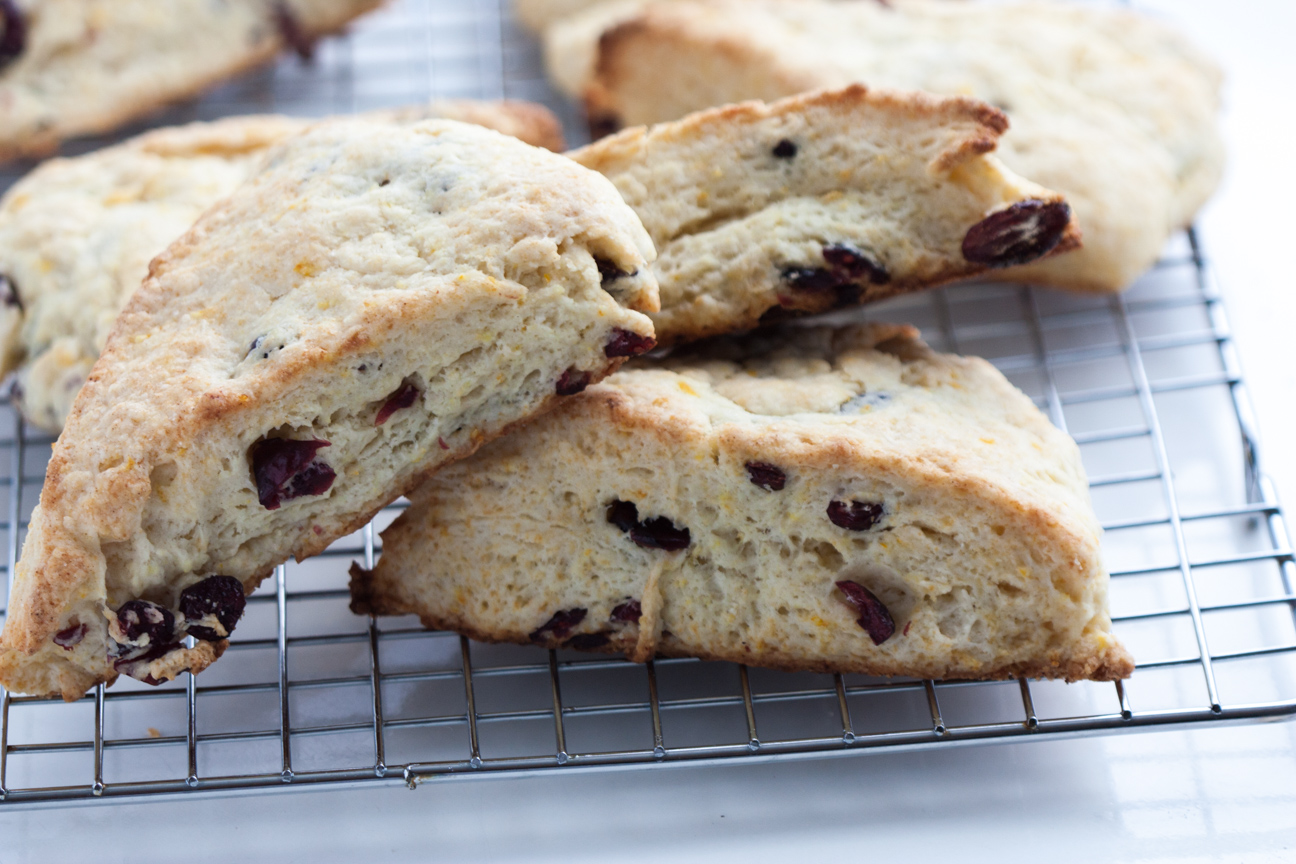
orange cranberry scones on rack

These delicious Classic Cream Scones with Cranberry and Orange are the easiest thing to make. If you are searching for a treat that’s easy to bake either for yourself and your family or as a gift for others, I’ve got you covered with this delicious scone recipe. With only seven ingredients that are mixed together in one bowl, these scones will be ready in no time! (I promise). Plus, there is minimum washing up.

Is it just me, or do you find it’s almost impossible to buy a good scone anywhere. I think, to enjoy a really good scone, you have to make them yourself. This recipe of Classic Cream Scones with Dried Cranberry and Orange Zest are very tender and flaky. And here’s a sweet tip – they’re freezable. If you don’t think your family will eat all of them within 2 days, you can freeze them to enjoy later! 

Scones are so perfect with tea in morning, or in the afternoon with a mug of hot cocoa or after dinner spread with jam. I can eat them anytime of day, can’t you?

Because they’re so quick to bake, they make a perfect gift for any occasion. They are the ideal gift for a new mom, a bake sale at your local church or school,  as well as an excellent thank you gift for a neighbour who has been collecting your mail, shovelled your driveway after a big snowstorm, or cut your grass when you couldn’t get to it.
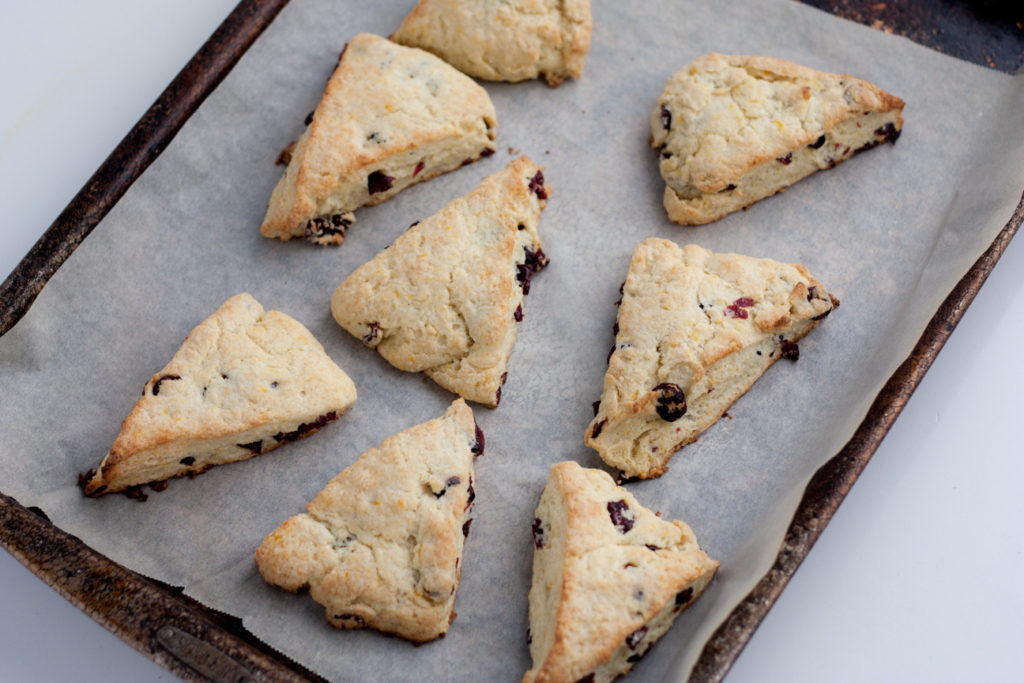
orange cranberry scones on a baking pan

I baked a few dozen of these scones last November for my son’s high school Craft Fair and they sold out within a couple of hours. Many people came back to my table to tell me how amazing they were. I made a few different variations but the Cranberry Orange Scones were the most popular. You could also substitute the dried cranberries for raisin, chocolate chip or chopped ginger.

I hope you enjoy my Classic Cream Scones with Dried Cranberry and Orange Zest.
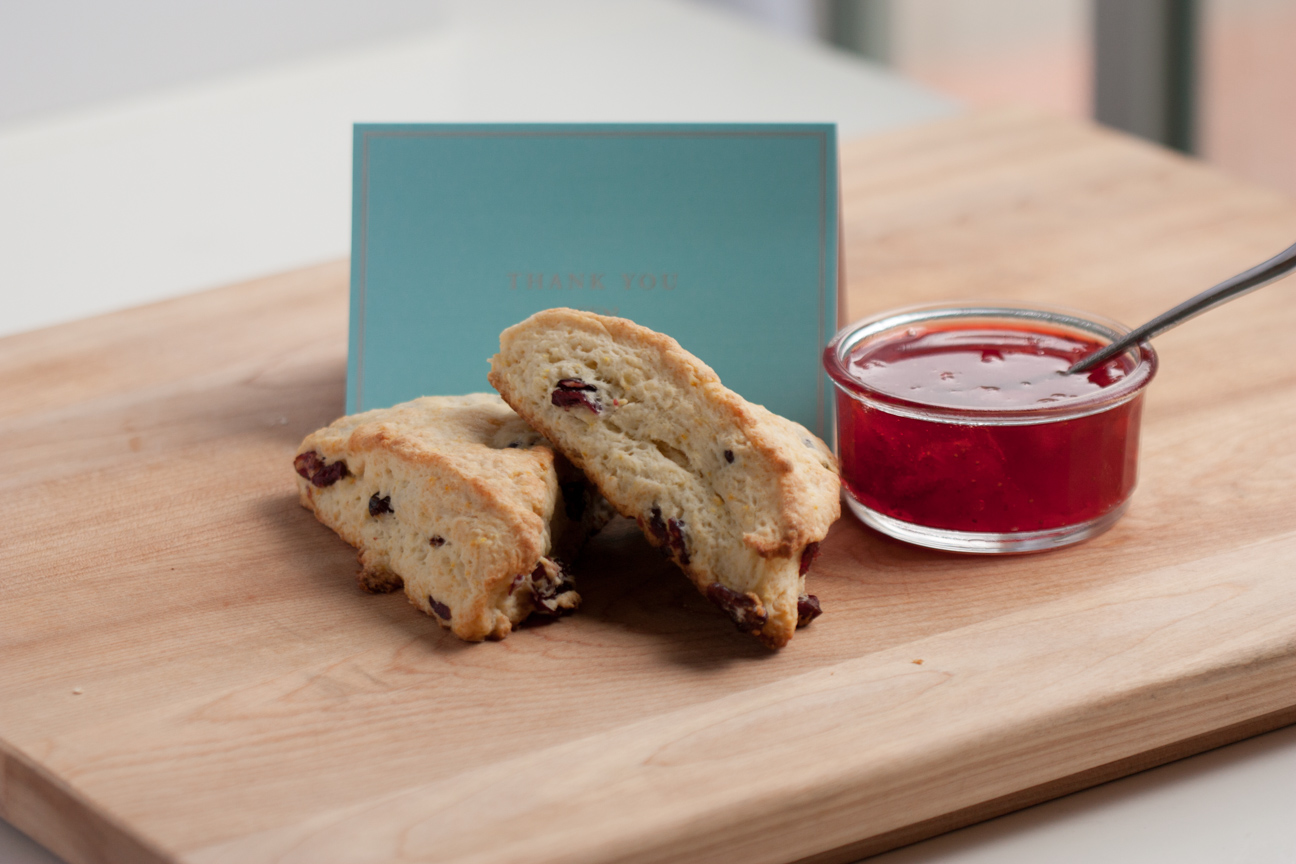
orange cranberry scones with jam on a cutting board with thank you card

Classic Cream Scones with Orange and Cranberry

Serves: 8
Cooking Time: 12-15 minutes

Ingredients

  • 2 cups (10 ounces all-purpose flour)
  • 3 tablespoons white sugar
  • 1 tablespoon baking powder
  • 5 tablespoons butter, cut into 1/4 inch pieces and chilled
  • 3/4 cup dried cranberries
  • 1 tsp grated orange zest
  • 1 cup whipping cream

Instructions

1

Line baking sheet with parchment paper. Preheat oven to 425 degrees F.

2

In a food processor, add all of the dry ingredients and pulse 3-5 times, until all the ingredients are mixed together.

3

Add cubes of butter and orange zest to the dry ingredients. Pulse until butter-flour mixture is blended together like bread crumbs. It’s ok to have a few larger pieces.

4

Pour into mixing bowl and add dried cranberries and stir until cranberries are coated in flour, separate any stuck together. Stir in cream until a nice dough starts to form.

5

Place dough and any unmixed ingredients onto table and knead the dough until it all comes together to a nice somewhat smooth dough. Flatten out into a circle, trying to keep edges smooth, until it has a 9 inch diameter.

6

Cut the disc into 8 triangles and place each triangle on parchment paper, about 2 inches apart.

7

Bake for 5 minutes, then turn pan in oven; bake for another five minutes or so, until nicely golden on top.

8

Remove from oven and place tray on a rack. Let scones cool for 5 minutes or so on tray, then remove from tray and place on rack. You can eat them warm or at room temperature. Store in a cool dark place 2-3 days. You can also freeze the scones for about one month.

Recipe via Cook’s Illustrated Baking Book.

pink rose flower
ombre pink rose in my garden
Baking

Fruit and Nut Chocolate Bark

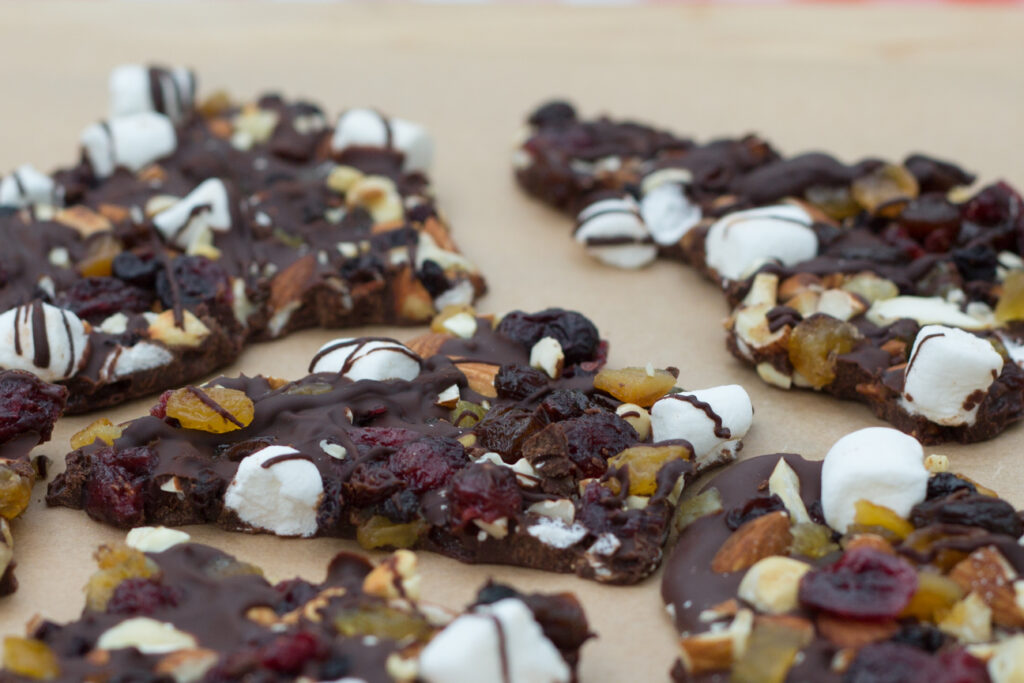
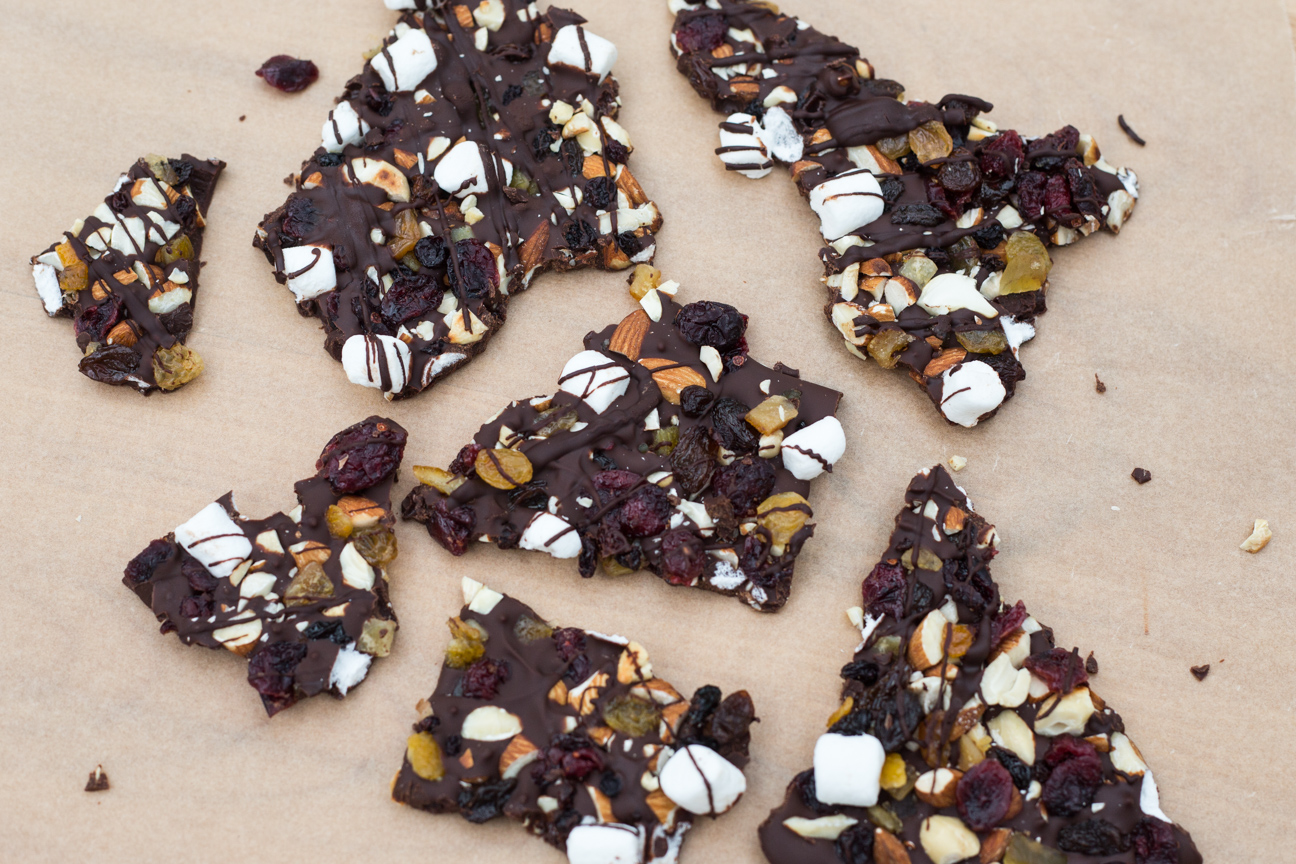
chocolate with dried fruit and nuts

This Fruit and Nut Chocolate Bark is one of my favourite ways to enjoy chocolate. I love the mix of dark and milk chocolate swirled together with dried cranberries, raisins and toasted almonds. It’s so good.

One reason why I like to keep a container of this Fruit and Nut chocolate Bark in the fridge, is because I can just break off a small piece whenever I feel like I need a hit of chocolate. And sometimes a small piece of chocolate is all I need.

I make this bark with loads of fruit and nuts, but with enough chocolate so that I get my chocolate fix. This recipe makes enough so you can share it with the whole family. In this recipe, I used a combination of dark and milk chocolate, because I like the flavour of the two mixed together. But, if you only have milk or you only have dark, that’s fine too. That’s the beauty of a sweet treat like this, you can make it to suit your tastes. If you want it nuttier, or you want to leave out the marshmallows: that’s perfectly fine.

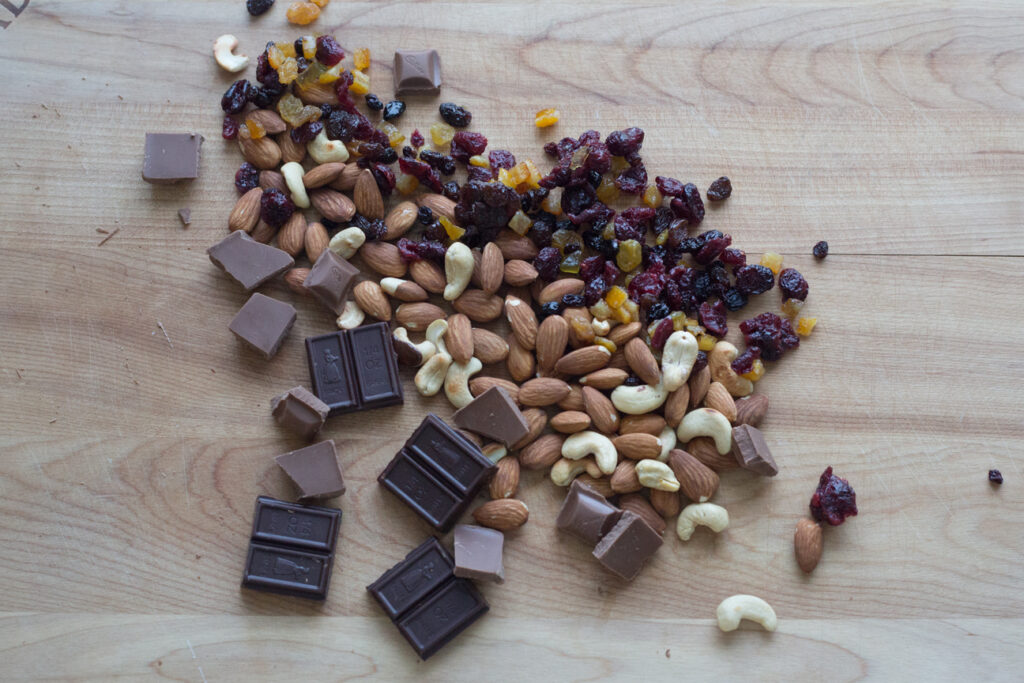
dried fruit and nuts on a cutting board

Tips on melting chocolate

Melting chocolate is super simple. However, you can burn it while melting, if you’re not careful. I always melt mine in the microwave. But, you have to be super careful when melting chocolate this way.

Before you put your chocolate in the microwave, break it up into pieces. It doesn’t really matter what size, but not too small. It’s easier to work with if the chocolate is a decent size. I break my chocolate up into pieces that are about say 8-10 cm. When I melt chocolate in the microwave, I often use 80% power and I start with 30 second intervals. And I stir it in between. Reduce the intervals to 20 seconds once the chocolate is 2/3 melted. And as soon as most of it is melted, but there are a few solid pieces of chocolate in your bowl, you can take it out of the microwave. At this stage, just stir it around until all of the chocolate is melted.

If you don’t have a microwave, or would like to do it on the stove, you will need a medium pot and a heat proof bowl that can sit on top of the pot. Add some water to the pot, and sit the bowl on top of the pot. You don’t want the water to touch the bottom of the bowl. Bring the water to a simmer. Add your chocolate pieces (they can be smaller pieces using this technique) and as the chocolate begins to melt, stir the chocolate continuously until only a few solid pieces remain. Remove bowl (carefully, it will be hot) from the pot and continue to stir until everything is melted.

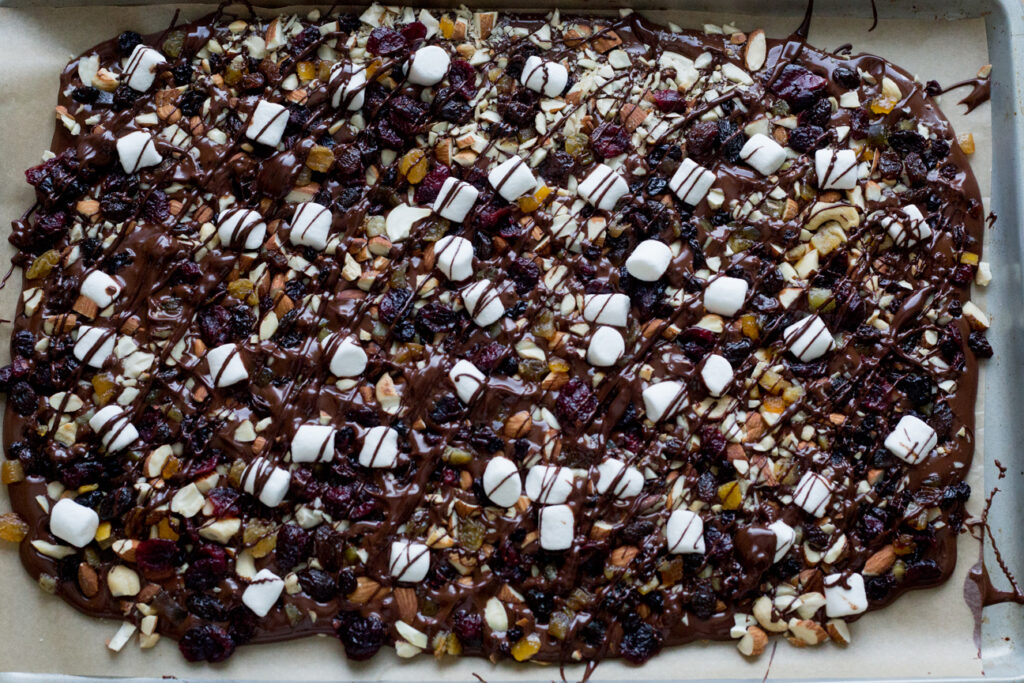
Pour the chocolate while it is still warm onto parchment paper on a baking tray. Sprinkle with nuts, dried fruit and marshmallows. And drizzle with extra melted chocolate for decoration.

melted chocolate and dried fruit and nuts

Fruit and Nut Chocolate Bark Add-Ins

There are so many different combinations of ingredients that you can add to chocolate bark. Here are some of my favourites:

  • try to use an equal mix of dried fruit to nuts, so that its not too sweet. And if you like it really nutty, put in more nuts than dried fruit
  • any of the following fruits go very well with chocolate: raisins, candied ginger, dried mango, dried cranberries, blueberries and cherries,
  • other ingredients that are nice are: pretzels, broken up cookie pieces (not too sweet, something like digestive biscuits, nilla, graham crackers)
  • I used a mix of dark and milk chocolate, because that’s what I had, but you can use just dark chocolate or milk chocolate, whatever you prefer
  • you can use a mix of nuts, like I did, or just one type; it’s up to you. Pistachios are a favourite, as they’re so colourful
  • also, if you like sweet and salty, try adding a sprinkle of flaked sea salt on top. It goes so good with chocolate.
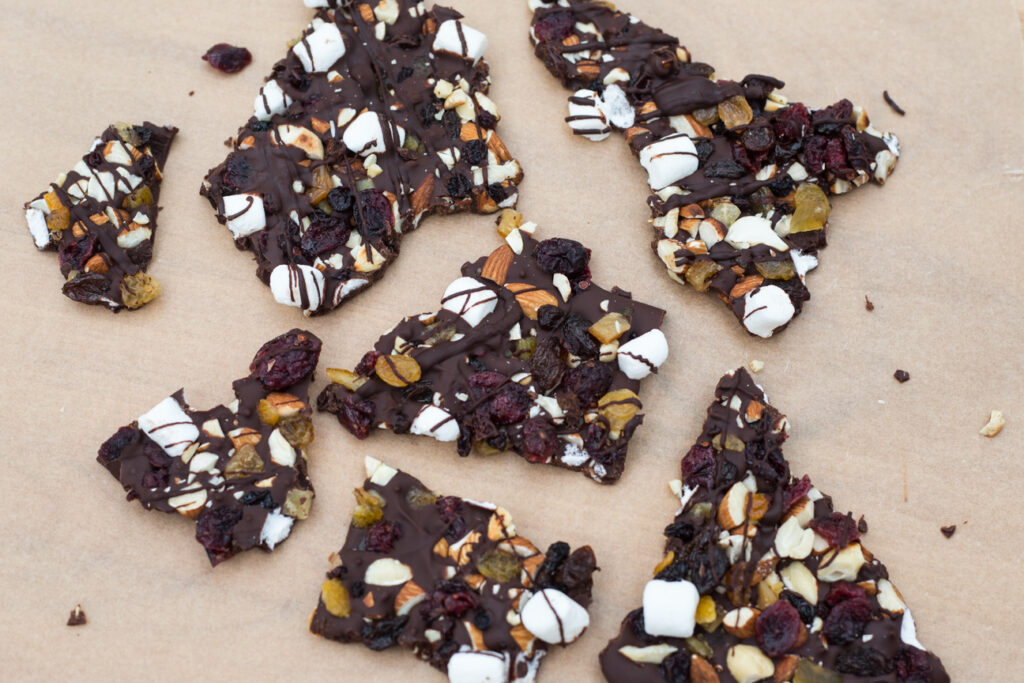
dried fruit and nuts and chocolate

Try making some Fruit and Nut Chocolate Bark for your next family get together or movie night at home. Wherever you serve it, your guests will be glad you did.

Fruit and Nut Chocolate Bark

Serves: 10-16

Ingredients

  • 450 grams chocolate (can be a mix of dark and milk or all dark or all milk); leave 50 grams out to drizzle on at the end, but that's optional
  • 150 grams chopped almonds and cashews, toasted
  • 150 grams dried fruit (I used raisins, sultanas, dried currants, dried cranberries, citron peel)
  • a handful of marshmallows

Instructions

1

Toast the almonds.

2

Toast the cashews separately if using, I find the cashews toast quicker than the almonds, so I do them separately

3

Melt the chocolate. If you do this in the microwave, start at 30 second internals on 80%, stirring in between. As it gets more melted, reduce the time to 20 seconds. When there are still a few solid pieces in the bowl, remove it from the microwave and stir.

4

Line a tray with parchment paper. The tray should be able to fit in your fridge. I used a tray that was about 30 cm X 40 cm.

5

Pour the melted chocolate on the parchment paper.

6

Sprinkle the nuts on the chocolate.

7

Sprinkle the dried fruit on the chocolate. Make sure you go all the way to the edge.

8

Sprinkle a handful of marshmallows on top.

9

Take another sheet of parchment paper, or you could use your hands, if you like. Press everything gently into the melted chocolate. Lift the paper straight up, so as not to make a smeary chocolate mess.

10

Take the remaining 50 grams of chocolate and melt this.

11

Drizzle this chocolate over the entire bark.

12

Place in the refrigerator for about four hours.

13

Once the bark is solid, break it into pieces and serve.

14

If it's warm in your house, store in the refrigerator.

Baking

Apricot Cherry Oat Bara Brith Loaf Recipe

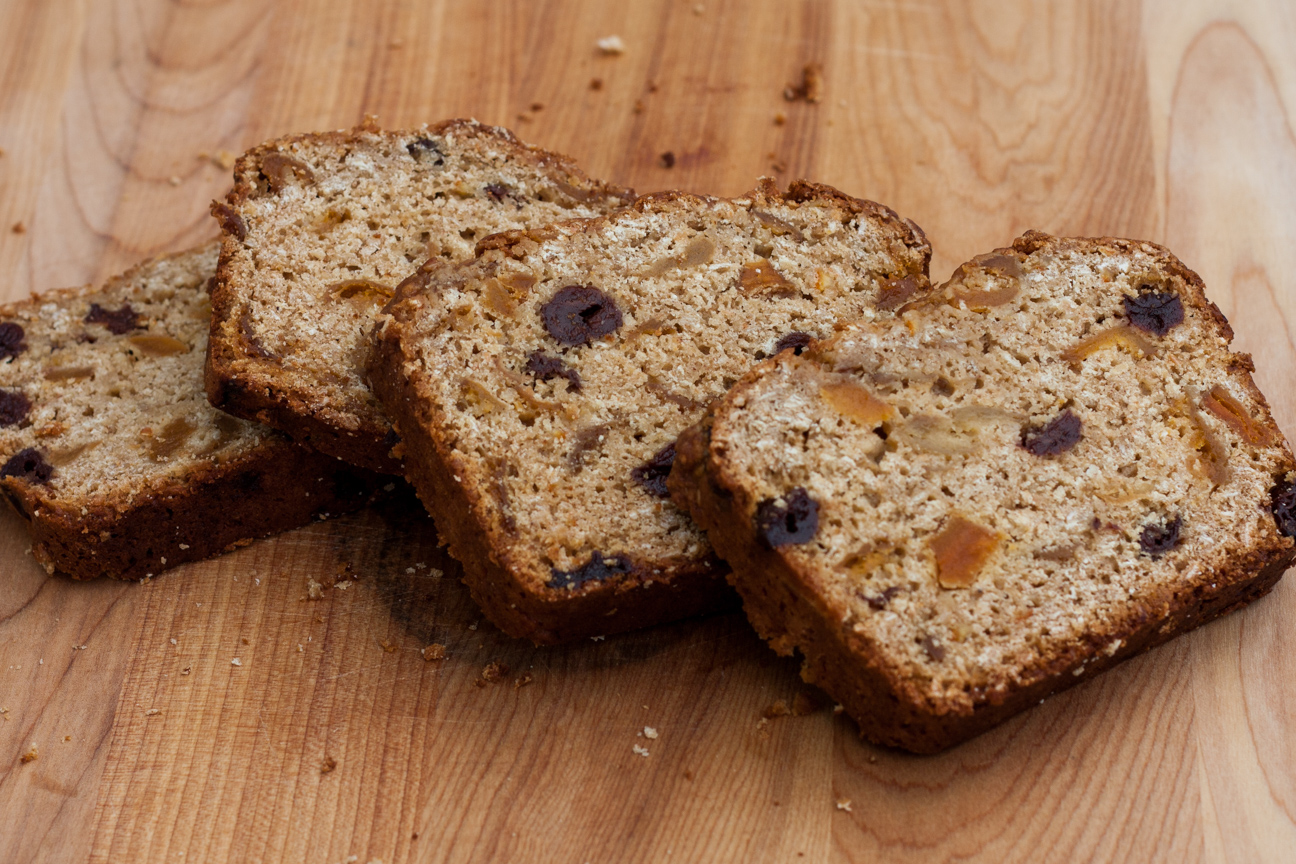
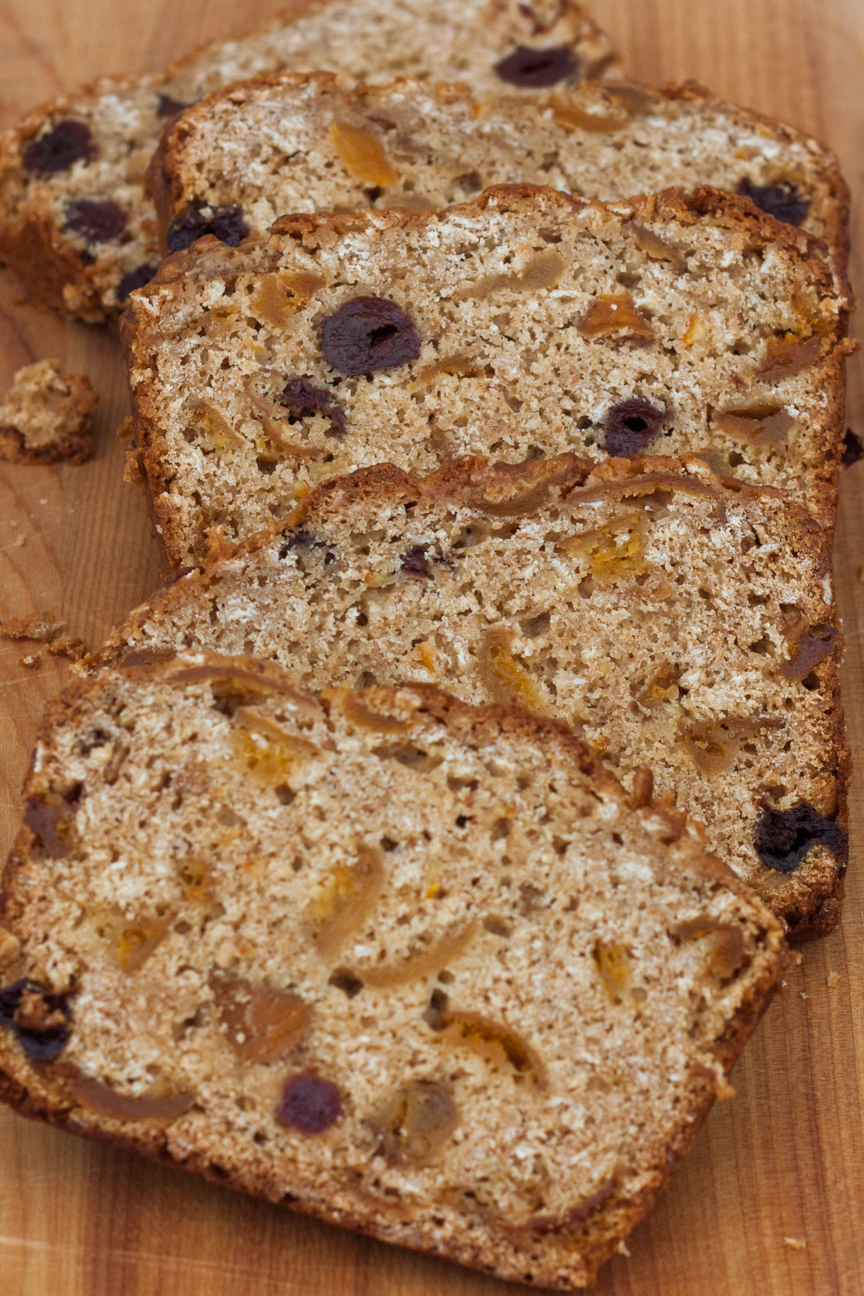
apricot cherry oat bara brith

Bara Brith is a lovely Welsh snacking cake. It is quick to prepare but very hearty. The name Bara Brith means speckled bread in Welsh.  It is a delicately sweet loaf loaded with dried fruits that have been soaked overnight in strong tea. In my recipes, I have added a bit of rum to the black tea to smooth out the bitter black tea tannin flavours. The rum is optional, so you don’t have to add it in, but I find that it really brings together the tea and dried fruit flavours very well.  But, by all means, leave out the rum, if you must. It is completely optional.

I have added in loads of extra flavour components to really make the flavours of this tea loaf pop! There is maple syrup, marmalade, cinnamon, nutmeg, ginger as well as demerara brown sugar and dried fruit. The aromas coming from the oven are to die for!


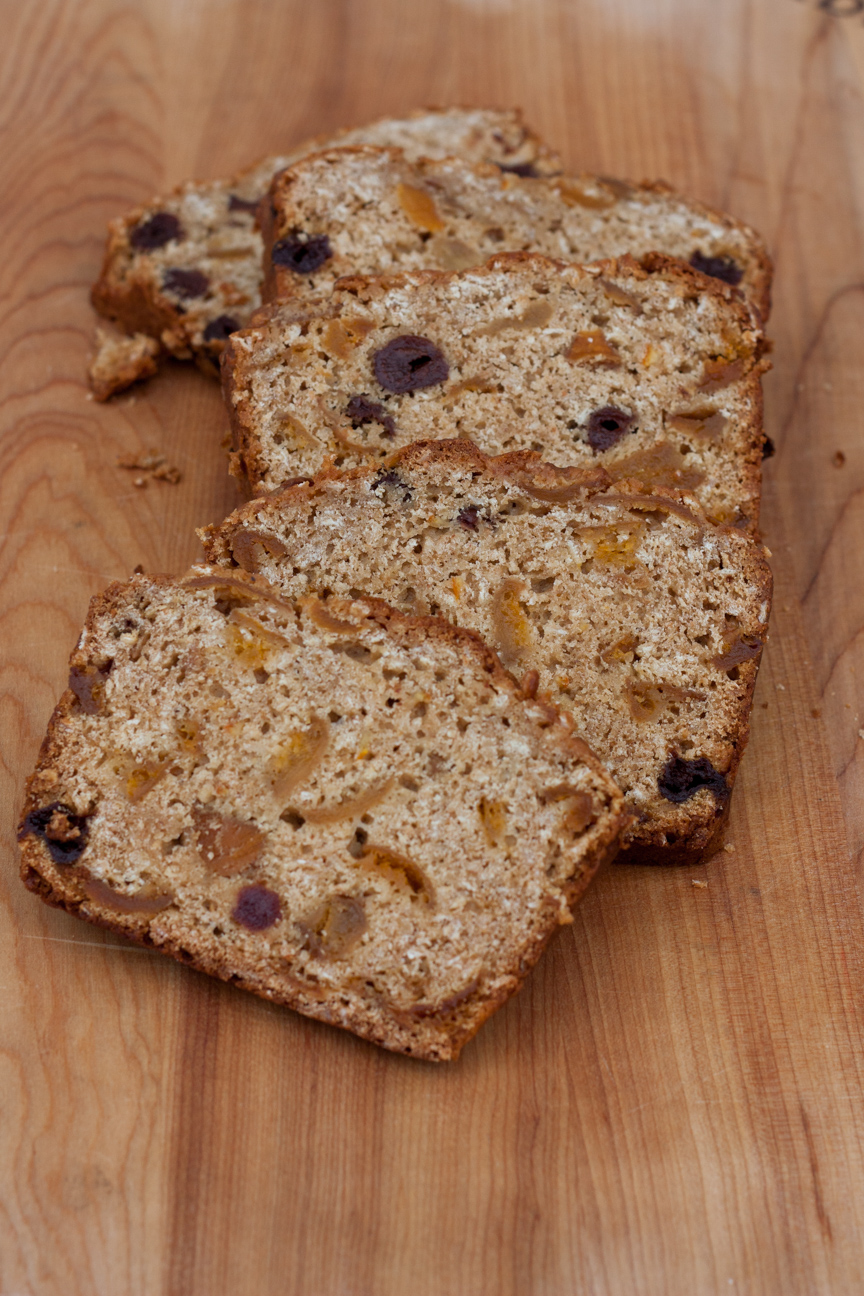
apricot cherry oat bara brith

Bara Brith has been made in Wales for over one hundred years and was traditionally eaten on St. David’s Day or Christmas day, thickly sliced and slathered in butter. It is not as popular as it used to be, so can be difficult to find in the larger grocery stores. Traditional Bara Brith is made with currants. In this recipe I have used a combination of dried apricots and dried cherries which go really well together. And the oats add a lovely texture to this baked treat.

This Apricot Cherry Oat Bara Brith makes a lovely addition to packed lunches. It is also excellent with morning coffee or your afternoon tea. Not bad with your favourite program or movie after dinner either.


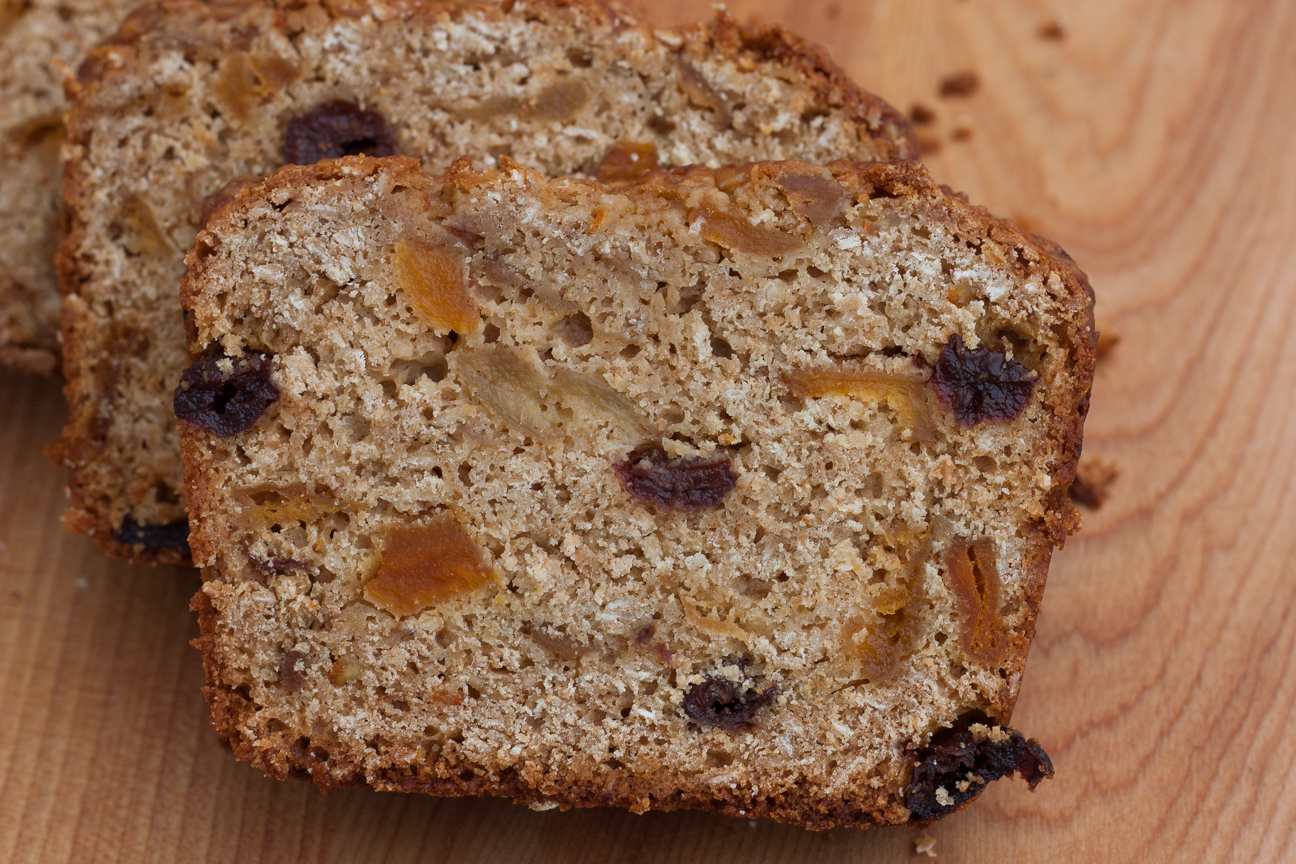
apricot cherry oat bara brith

Next time you are in the mood to bake a sweet treat for your family, try this Apricot Cherry Oat Bara Brith. It’s really hits the spot.

Apricot Cherry Oat Bara Brith

Serves: 8-10
Cooking Time: 1 hour 15 minutes

Ingredients

  • 75 g dried cherries
  • 175 g dried apricots
  • 250 mL of strong black tea
  • 2 Tbsp rum
  • 100 g butter, melted
  • 2 T marmalade
  • 2 eggs
  • 100 g medium sized oats
  • 100 grams whole wheat flour
  • 250 g white flour
  • 3 tsp baking powder
  • 175 grams demerara sugar
  • 2 T maple surup
  • 2 T milk
  • 1/2 tsp cinnamon
  • 1/2 tsp nutmeg
  • 1 tsp ginger

Instructions

1

The night before you plan on baking, soak the dried fruit in the strong black tea and rum (optional) in a bowl.

2

The next day, just before you start to mix together your ingredients, preheat oven to 350 F. degrees

3

Drain the dried fruit mixture and discard the tea and rum liquid.

4

Mix together the melted butter and marmalade. When this mixture is cool, add in the two eggs.

5

Mix together the flour, oats, baking powder and brown sugar and spices.

6

Add the butter, marmalade, egg mixture to the flour. Add in the milk and maple syrup.

7

The batter should be able to drop from a spoon. If it is too thick, add in more milk.

8

Line a loaf pan with parchment paper.

9

Pour batter into a prepared loaf pan.

10

Bake for 1 hour and 15 minutes. If the top starts to over brown before the cake is done, cover the top of the cake with tin foil and continue baking until a cake tester comes out clean.

11

Cool cake in the pan for about 5-10 minutes. Then remove onto a rack.

12

Wait until the cake is cold before cutting. About 1-2 hours.

13

Serve as is or with butter.

14

Enjoy!

Baking

My Mum’s Sensational Tomato Soup Cake

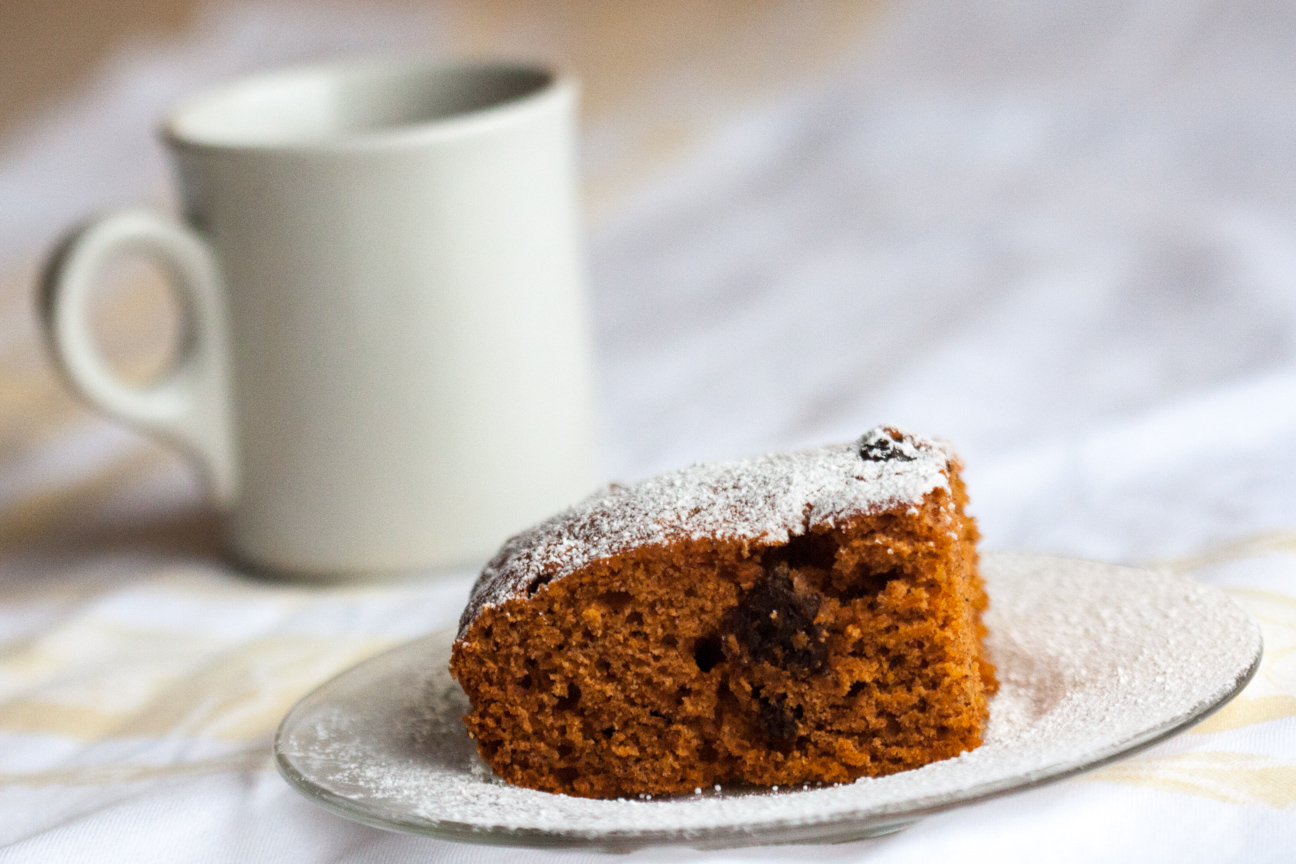
tomato soup cake with coffee mug

A favourite snacking cake in our family when I was growing up was Tomato Soup Cake. My Mum would make it for lunches or for an after-school snack.  After my parents were married, my Mum asked for the recipe from her mother-in-law, just so she could bake it for my Dad. Tomato Soup Cake has been around a long time and was a family favourite back when my Dad was growing up on the farm, in the 1920’s and 1930’s.

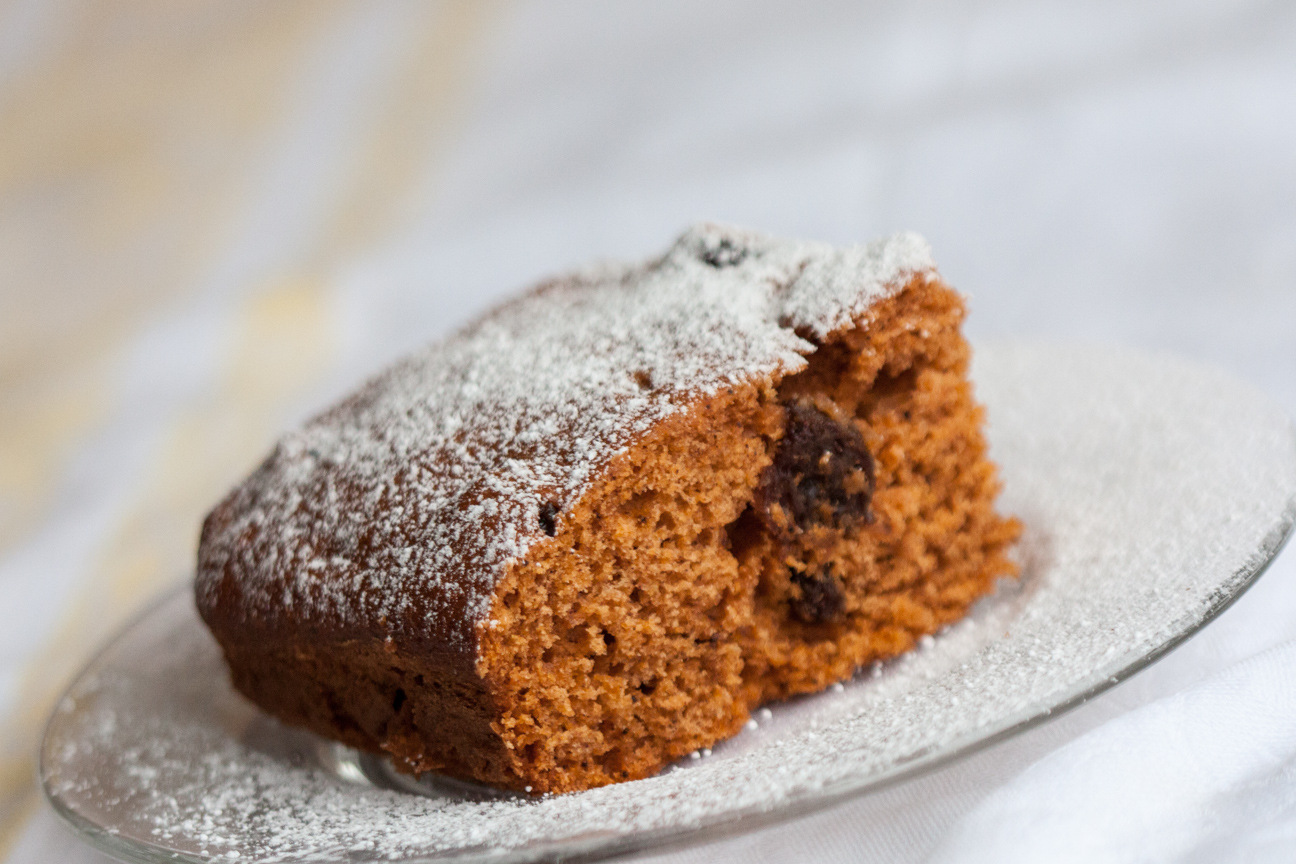
We always loved this cake and never once questioned the name of it. It didn’t taste or smell like tomatoes but was a beautiful rose colour with a spicy aroma. Once, while having lunch at school (which I seldom did), my friends asked what kind of cake I was eating. “Tomato Soup Cake”, I answered. Ooooh! was their negative response. I was in grade 7 and had never imagined that as a response to this delicious cake. But that never deterred me from loving this cake. My friends didn’t know what they were missing. My Mum’s cake was rose-hued, warm with spices of cinnamon, nutmeg and cloves and dotted with sweet plump raisins. With four always-hungry children in the family and a husband who grew up snacking on this cake on the family farm, my Mum’s baking never lasted long.

This cake is perfect for a ‘Retro Party” but also modern in flavour, colour and scent. It checks all the boxes for something easy, quick and yummy to bake up either for afternoon tea with friends, to pop into someone’s lunch kit, or an after dinner dessert. You can serve it with cream cheese icing, but my Mum just served it up plain, or sprinkled with icing sugar. It’s so moist, sweet and heavenly-scented with spices that you really don’t need extra icing. But you could add it if you prefer the extra creamy sweetness.

When I got married, a friend of my Mum’s gave me a cake pan, a wooden spoon and her recipe for Tomato Soup Cake. I thought that was the sweetest gift! Now I bake this cake for my own kids. Everyone in our family loves it.

slice of tomato soup cake

Enjoy!

Tomato Soup Cake

Serves: 16
Cooking Time: 55 minutes

Ingredients

  • 3 cups all-purpose flour
  • 1 Tbsp baking powder
  • 1 tsp cinnamon
  • 1 tsp grated nutmeg
  • 1 tsp ground cloves
  • 3/4 cup shortening
  • 1 1/4 cup sugar
  • 2 eggs
  • 1 10-ounce can condensed tomato soup
  • 3/4 cup water
  • 1 tsp baking soda
  • 3/4 cup raisins

Instructions

1

Preheat oven to 350 degrees F.

2

Mix together the flour, baking powder and spices.

3

Cream the butter, sugar and eggs until fluffy.

4

Mix soup, water and baking soda.

5

Let this mixture sit for a few minutes, then stir into butter/egg/sugar mixture.

6

Stir in dry ingredients and raisins.

7

Spoon batter into a greased 13 X 9 inch pan.

8

Bake 55 minutes or until golden brown.

More reading about this scrumptious cake

The History behind Campbell’s Tomato Soup Cake

A Good Little Read from The Kitchn about Tomato Soup Cake

Baking

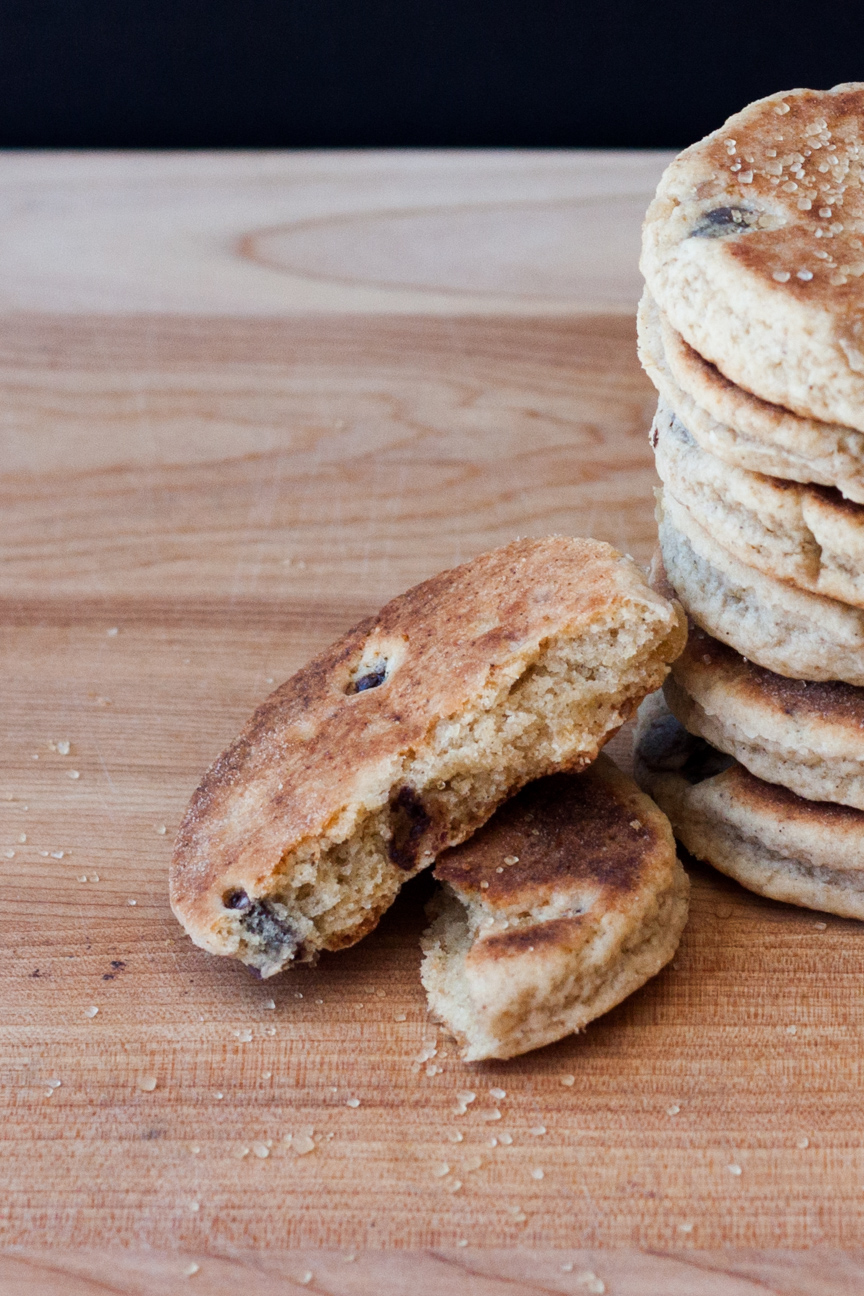
Chocolate and Ginger Welsh Cakes

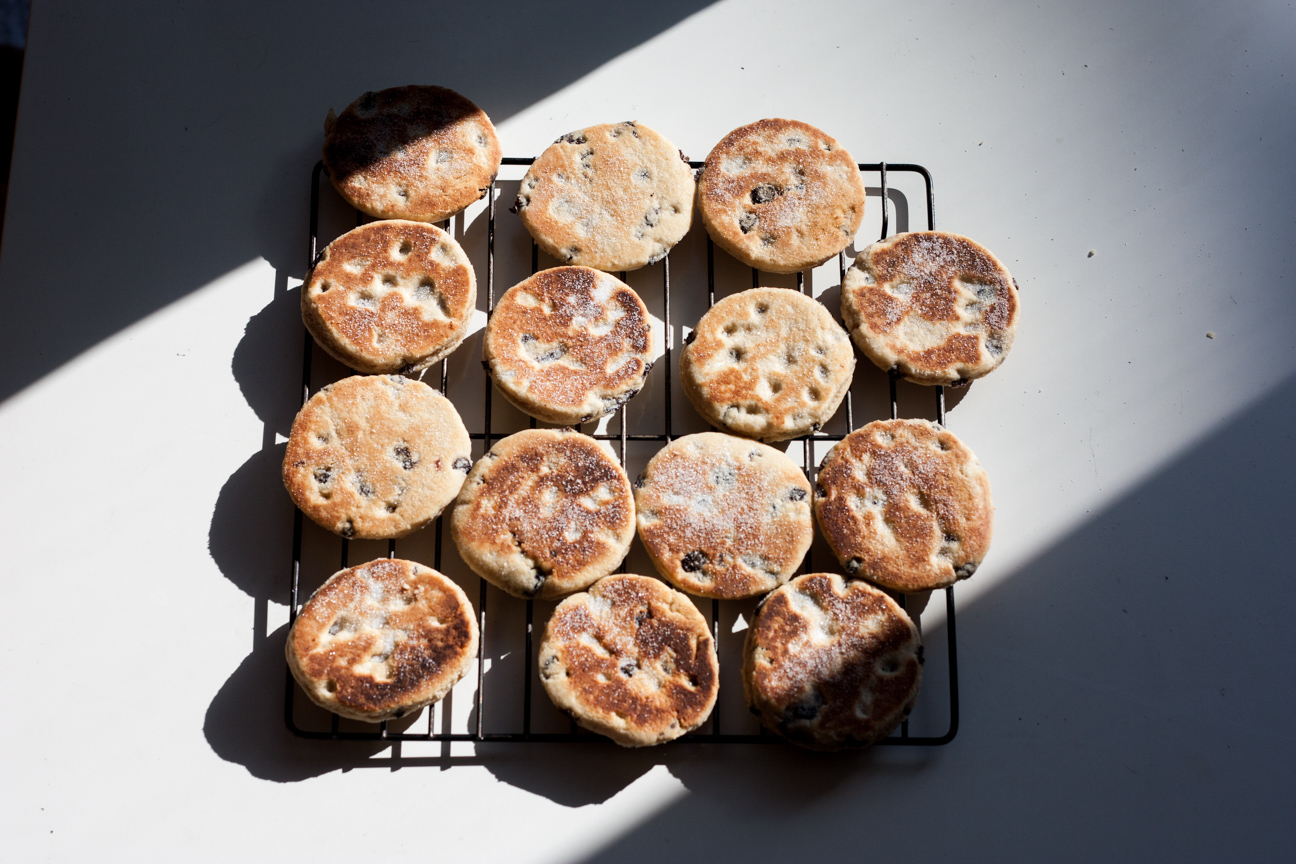
traditional welsh cakes

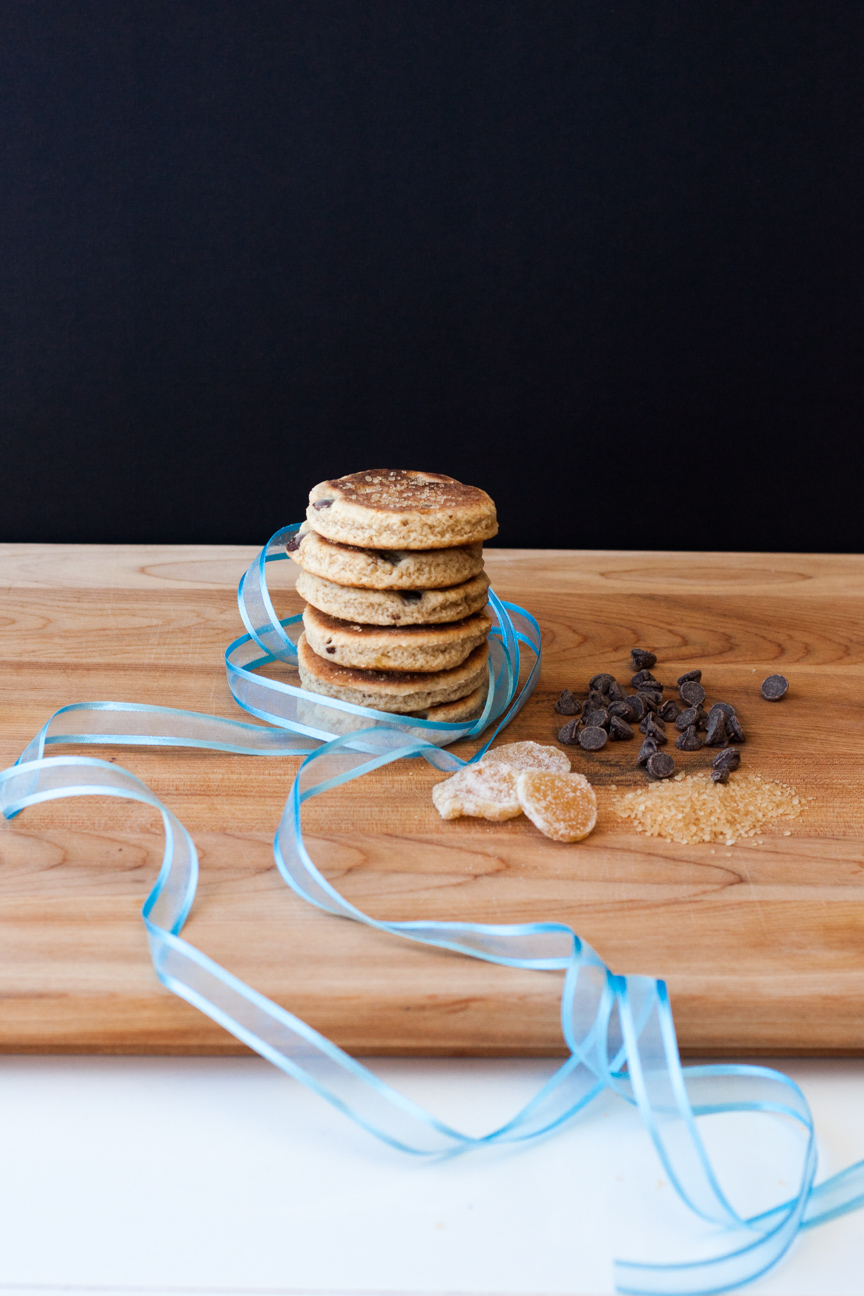
I absolutely love Welsh Cakes, such a delicate taste and subtle sweetness. They are the perfect treat to have with tea or coffee. And these Chocolate and Ginger Welsh Cakes are truly divine.

chocolate and ginger welsh cakes

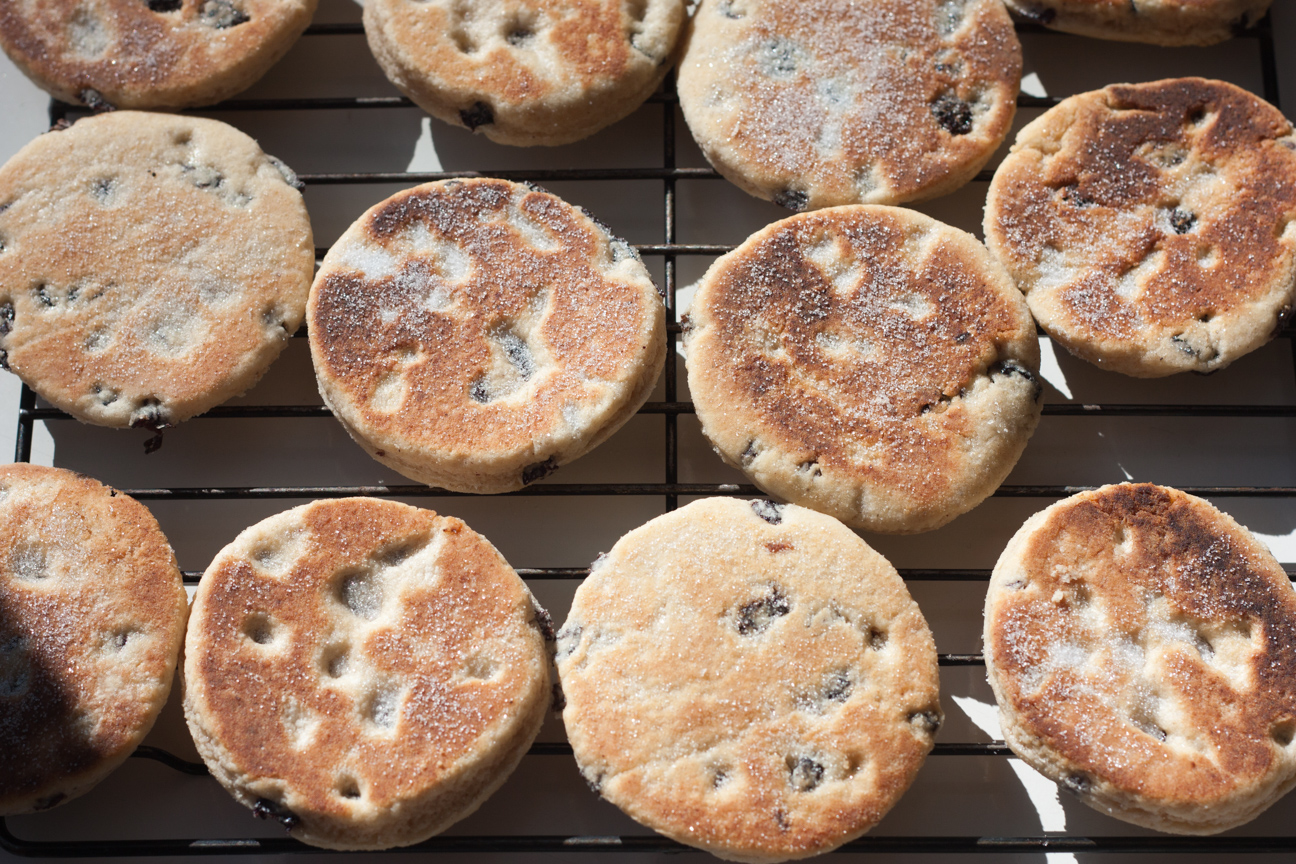
Welsh cakes are a cross between a scone and a cookie but cooked like a pancake in a hot skillet on top of the stove. They are slightly crisp on the outside but tender and crumbly inside. I love making welsh cakes because I usually have all the ingredients on hand.

I first had Welsh Cakes in Wales, years ago, during my year long adventure with my friend, Bonnie. We stayed with Bonnie’s Aunts (Aunt Betty and Aunt Betty) for a whole month in the small town of . They lived in a small village near Swansea on a hilly street lined with row houses – each one a different colour. Each day, Bonnie’s Aunts set out a proper tea for us. By 4 pm, their wood kitchen table was completely laden with a variety of utterly delicious tea items: cheese and crackers, cakes, bread and butter, fruit and devonshire cream, tea and of course, welsh cakes.

chocolate and ginger welsh cakes

Welsh cakes (or pice ar y maen – cakes on the stone, in Welsh) are so fast to whip up, you won’t believe it. They take, at the most, an hour from start to finish. They are fantastic for the beginner baker as they are so simple to make. And they have ‘homemade’ written all over them, as I can’t imagine too many bakeshops spending time cooking these up individually on a stovetop.

Try to make these cakes on the day that you want to serve them. As they only keep for 1-2 days before tasting a bit stale. You can also cut some out and freeze them uncooked until you are ready to cook some more.

chocolate and ginger welsh cakes

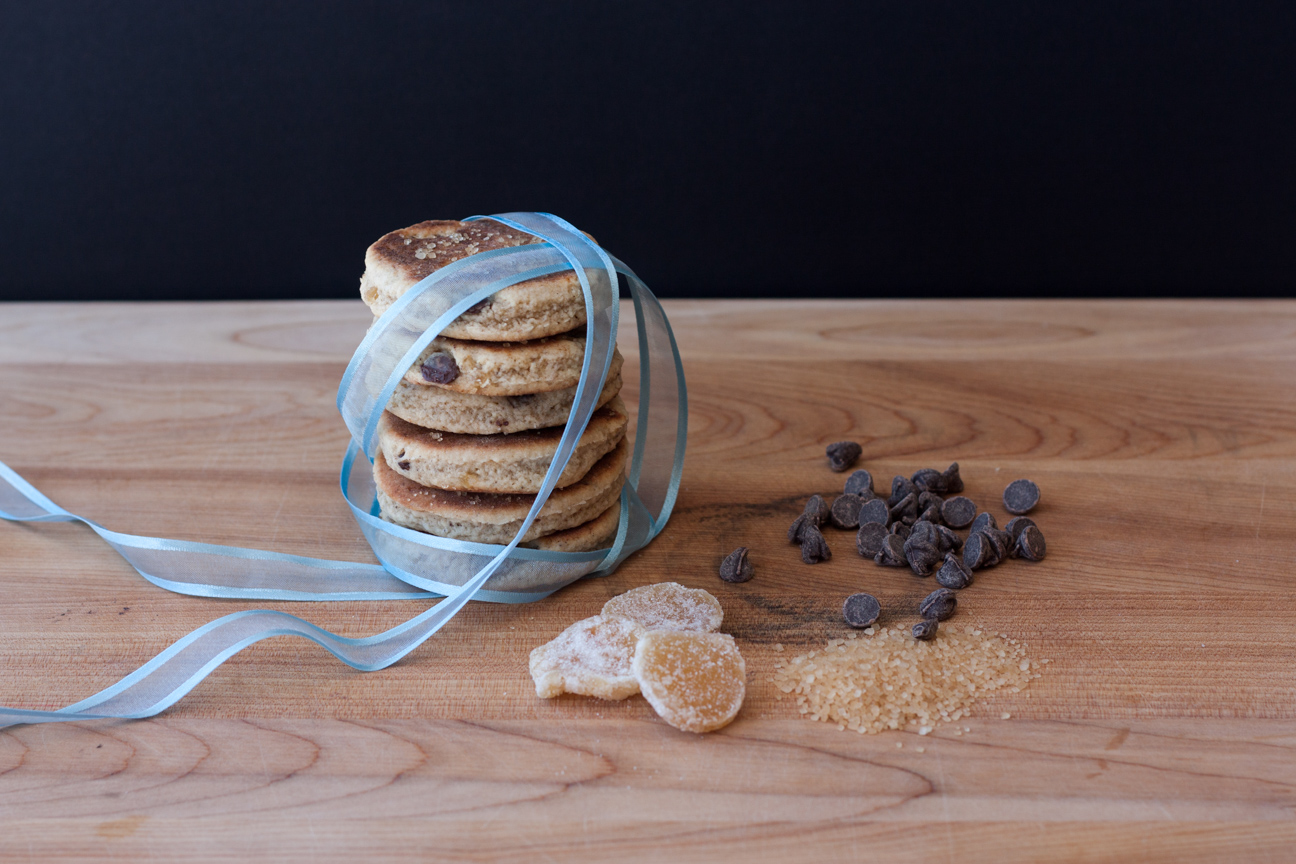
I love Traditional Welsh Cakes, but I was eager to try some a flavour. So, I added some dark chocolate and chopped crystallized ginger. I love eating these Chocolate and Ginger Welsh Cakes warm from the skillet. The chocolate inside is slightly molten and the ginger is soft and lightly scented.

traditional welsh cakes

The origin of Welsh Cakes is very interesting. Years ago, miners would carry freshly made cakes down into the mines. A hearty snack and a taste of home while they were working in the cold, dark mines down below. Try popping one into a loved ones’ lunch kit to brighten their day.

chocolate and ginger welsh cakes

Below are a few variations of Welsh Cakes that you can find around the country.

  1. Jam Split: Popular in South Wales, the cakes are split open and spread with jam inside:

2. Apple Dragon: Add some grated apple to the mixture to make your cakes more moist.

3. Newport Lovely Welsh Cakes made by men in the City of Newport for their girlfriends as a wedding gift or engagement gift.

4. The Welsh Mountain (Mynydd Cymreig) has two times the amount of baking powder in them, for loftier cakes.

If you try a different variation, let me know. Enjoy!

Chocolate and Ginger Welsh Cakes

Serves: 15-18
Cooking Time: 10-12 minutes

Ingredients

  • 250 grams white unbleached flour
  • 120 grams butter, cold, diced
  • 1 tsp baking powder
  • 55 grams white sugar
  • 45 grams cyrstallized ginger, chopped fine
  • 25 grams dark chocolate chips
  • 1 egg
  • 1-2 tbsp strong coffee
  • 1/4 tsp vanilla powder
  • 1/4 tsp ginger
  • 1/4 tsp cardamom

Instructions

1

Stir together the dry ingredients: flour, baking powder, spices

2

Add the butter and rub into the flour mixture until the mixture resembles coarse breadcrumbs

3

Stir in sugar and ginger and chocolate chips.

4

Mix in the egg.

5

Add coffee until a nice soft dough is formed.

6

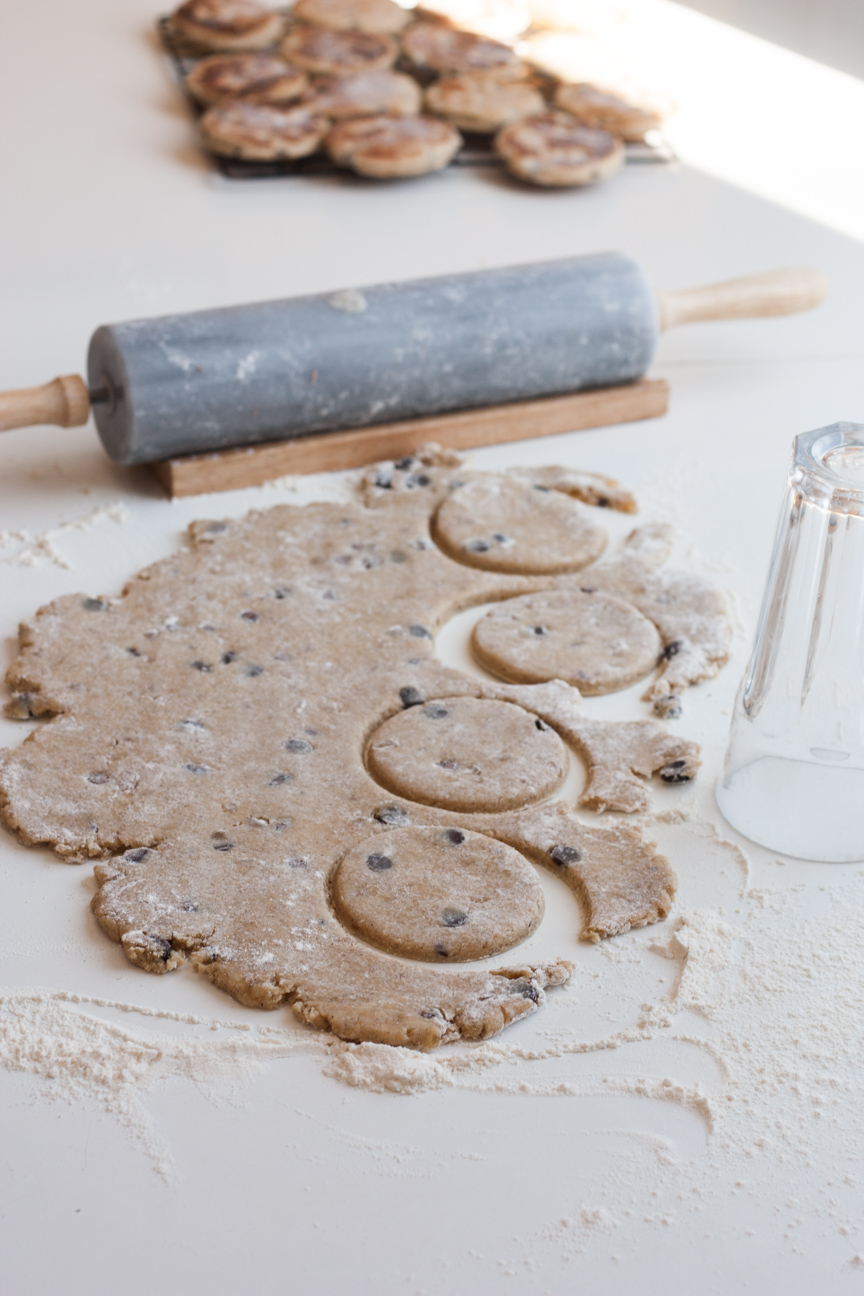
Roll out on a tabletop sprinkled with flour.

7

Cut out welsh cakes with any round shape approximately 7.5 to 8 cm in diameter. I used a drinking glass.

8

Heat a skillet on the stovetop on medium heat. Add a very tiny amount of butter.

9

Place a few welsh cakes in pan, with some space surrounding each one. Do not overfill skillet. You need room to flip them over.

10

When the underside is a nice golden colour, flip over and cook the other side.

11

Remove from skillet when both sides are done.

12

Let cool on a baking rack.

13

Sprinkle with demerara sugar. You can do this either in the pan while the second side is cooking, or while they are on the baking rack. Either will work fine

14

Serve warm or room temperature.

Notes

If you want to freeze some welsh cakes for later, you can either freeze some cooked welsh cakes in a ziplock bag. Or you can cut them out and freeze the uncooked cakes. To do this, cut out the welsh cakes, place them on parchment paper on a tray and freeze until firm. Then place them in a ziplock bag or plastic container, layered with parchment paper in between. To cook, simply defrost the cakes and then cook following the instructions above.

Baking

Honey Maple Whole Oat Granola Recipe

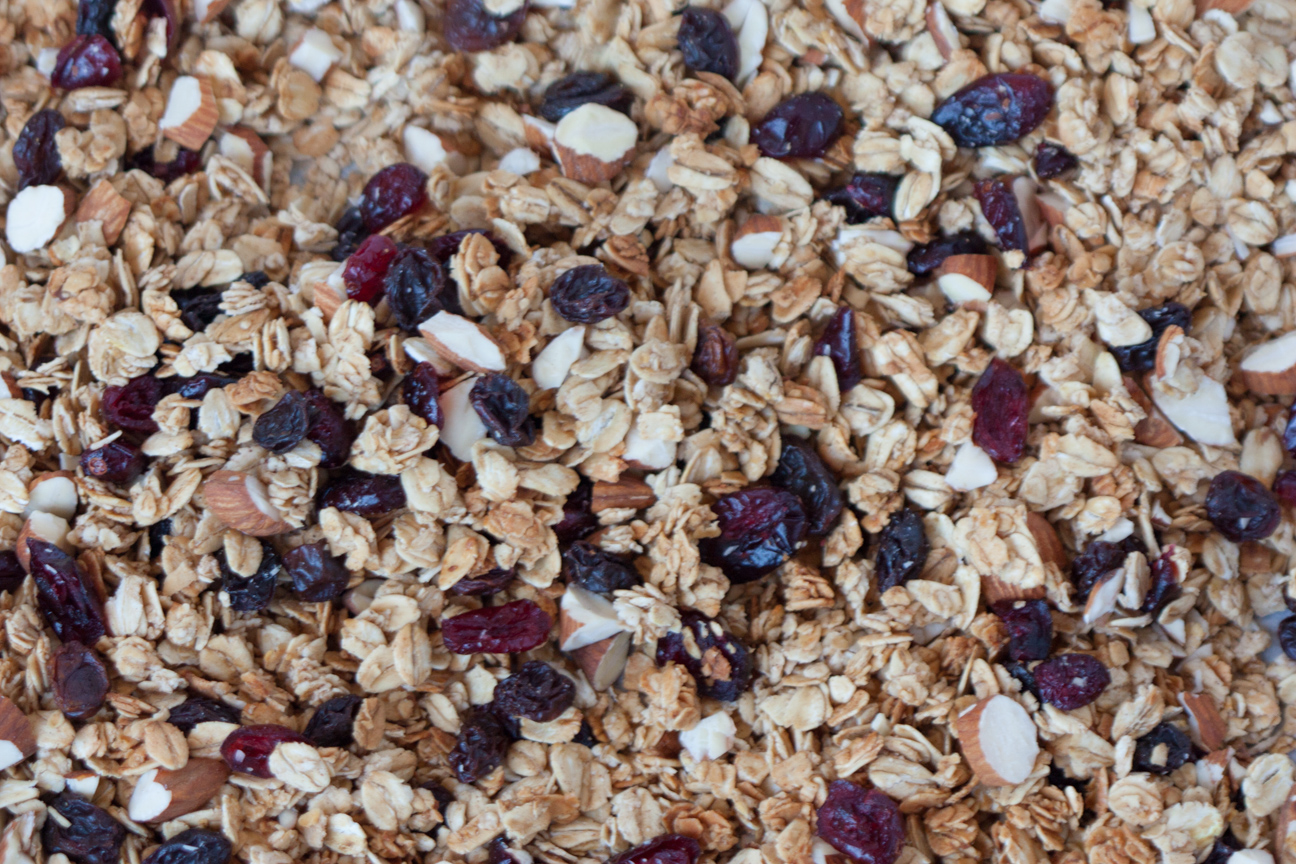
honey maple whole oat granola


This is a fantastic recipe for Honey Maple Whole Oat Granola. It is chock full of dried fruit, nuts and toasty oats.

When I was a teenager I went through a phase of making granola for practically every big gathering with my friends.  I made granola for potluck dinners, going away parties and camping trips. Whatever the event,  I would be there with a 3 pound bag of my latest granola invention.

Granola is super easy to make. You don’t really need a recipe to make granola, but it is good to have a basic one to know the proportions of wet to dry ingredients as well as the amount of fruit and nuts to use. Homemade granola is also much healthier as it is lower in sugar and salt than store bought. And just by changing the sweeteners and using an assortment of nuts, dried fruit, and grains you can make hundreds of different combinations.

You could increase the sweetness to go on top of an apple crumble or to sprinkle on ice cream for dessert. Use less sweetener for a breakfast granola, or extra nuts for energy snacks for hikes or bike rides. A handful of chocolate chips or chocolate nibs after baking adds a burst of sweetness for a fantastic boost in energy. Excellent sweeteners to use range from maple syrup in the spring when the sap is running or honey in the fall when farmer’s market stalls are bursting with pails of wild flower, clover or buckwheat honey.

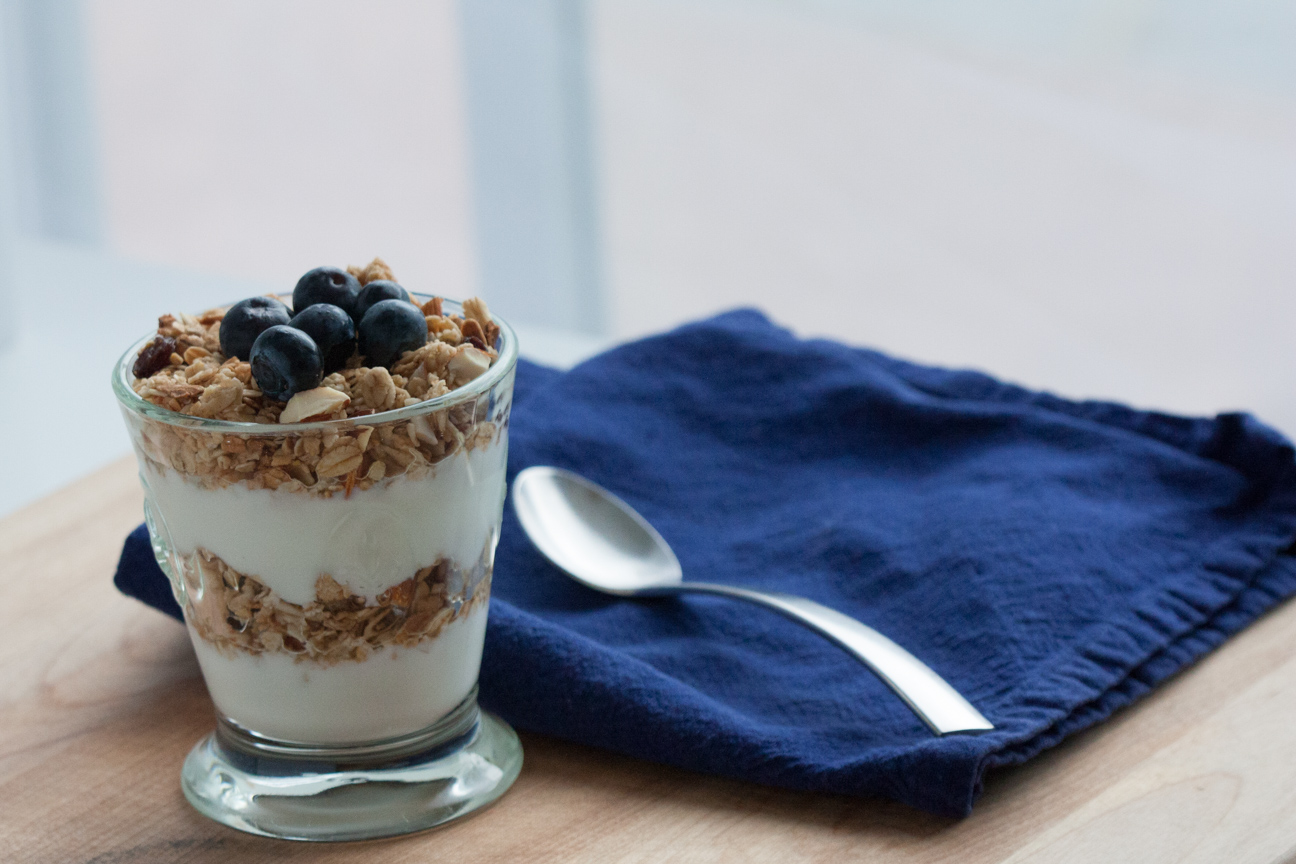
My son and I really like this granola for breakfast or snack with yogurt. It’s not too sweet and the cinnamon and ginger adds a lovely hint of flavour.

granola and yogurt in glass with blue napkin

Honey Maple Whole Oat Granola with Vanilla and Cinnamon

Serves: 12-16
Cooking Time: 30

Ingredients

  • 1 3/4 cup quick oats
  • 1 1/4 cup whole oats
  • 1/4 cup honey
  • 2 T butter
  • 1 T maple syrup
  • 1/2 tsp cinnamon
  • 1/4 tsp ginger
  • 1/2 tsp vanilla
  • 1/4 cup dried cranberries
  • 1/4 cup raisins
  • 1/4 cup whole almonds, chopped

Instructions

1

Preheat oven to 325 degrees.

2

Line baking sheet with parchment paper.

3

Melt the honey, butter, vanilla and maple syrup in a small pot on the stove or in a bowl in the microwave.

4

Mix together the two oats and spices. Pour the liquid into the oat mixture and stir to combine.

5

Pour onto the baking sheet lined with parchment paper. Spread out the oat mixture a bit, but not too thin as the individual oats will cook too fast and dry out or burn.

6

Bake granola for 10-12 minutes, stirring after 5 minutes then add: the cranberries, raisins and chopped almonds.

7

Continue cooking for about 5 minutes more, until oats are starting to turn golden, then remove from oven.

8

Put the tray on a wire rack. Leave the granola on the tray until cool. Store in a cool, dark place.

frozen rosebud close-up

icy rosebud