Nutella!!! This infamous blend of chocolate and hazelnuts not only tastes amazing, but also has quite a lot of history behind it.
World Nutella Day
World Nutella Day is February 5th and was created by Food blogger, Sara Rosso in 2007 to help celebrate this popular treat. She handed the reins of World Nutella Day over to Ferroro in 2015.
I have wanted to make my own chocolate hazelnut spread for quite some time now. This week seemed appropriate with World Nutella Day and Valentine’s Day so close together.
Why make Homemade Nutella?
I love store bought Nutella. But, like most food items, I prefer to make my own: I can use the best chocolate, sweeten it slightly with a small amount of local honey, and use fresh organic hazelnuts. It is also possible to use a variety of nuts, if you prefer.
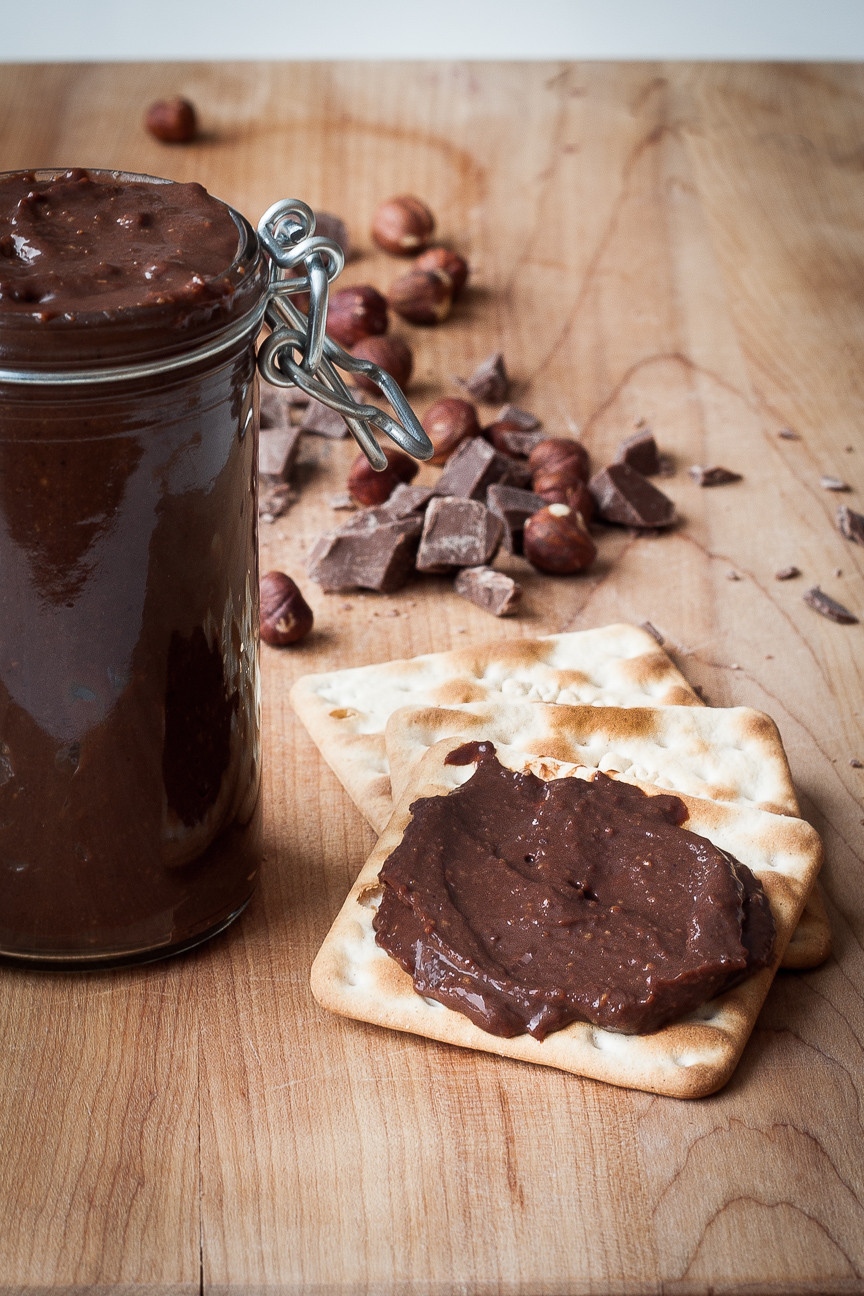
This Nutty Chocolate Hazelnut Spread is made up of roasted and skinned whole hazelnuts, dark and milk chocolate, honey, milk and milk powder. You can alter the percentage of hazelnuts to suit your taste. This recipe contains 26% hazelnuts, Nutella contains about 13% and some places in Italy use as much as 50% hazelnuts. So, you can make it as nutty as you like.
How easy is it to make Nutella?
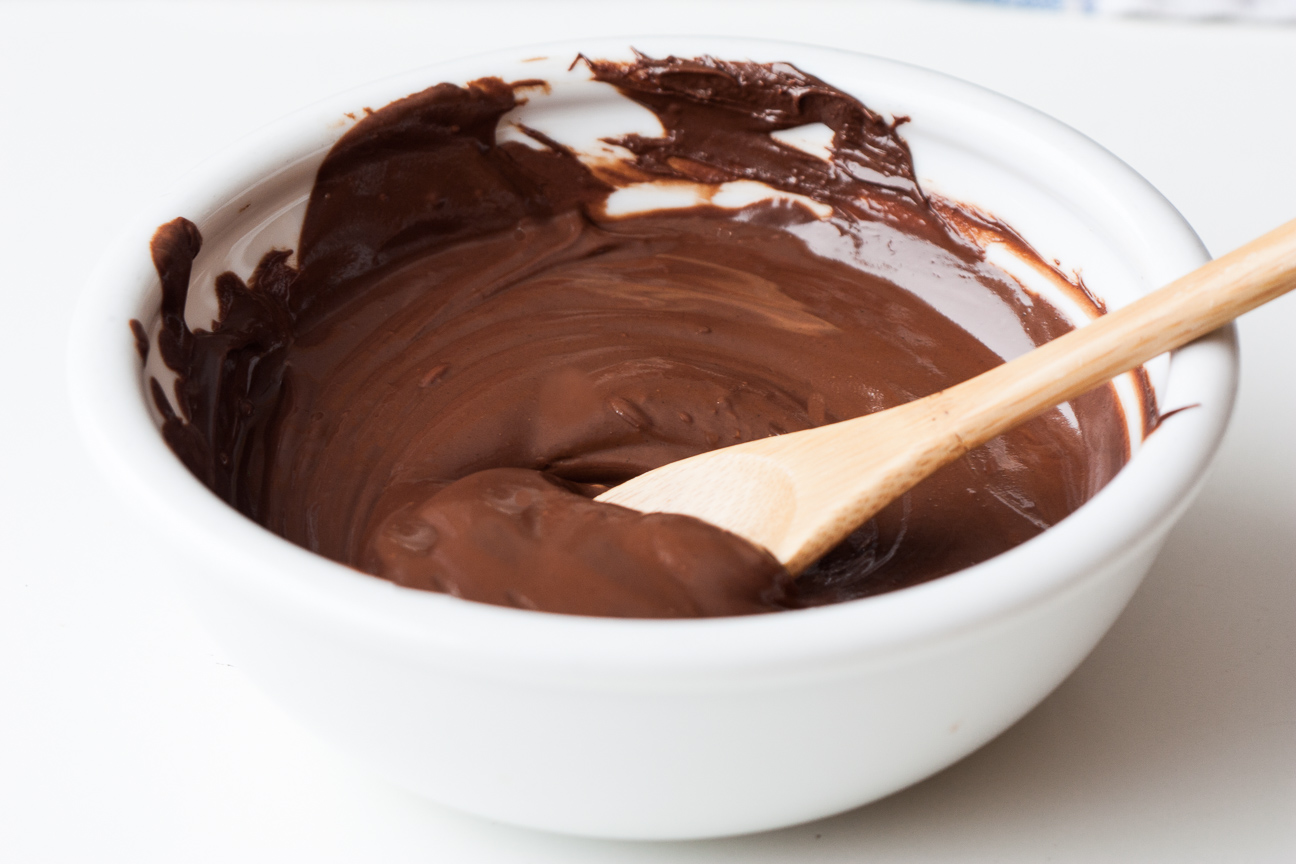
My recipe for this Chocolate Hazelnut Spread is so easy to make. All you need to do is roast and grind some hazelnuts, melt some chocolate, heat some milk mixed with powdered milk and honey and then blend them all together.
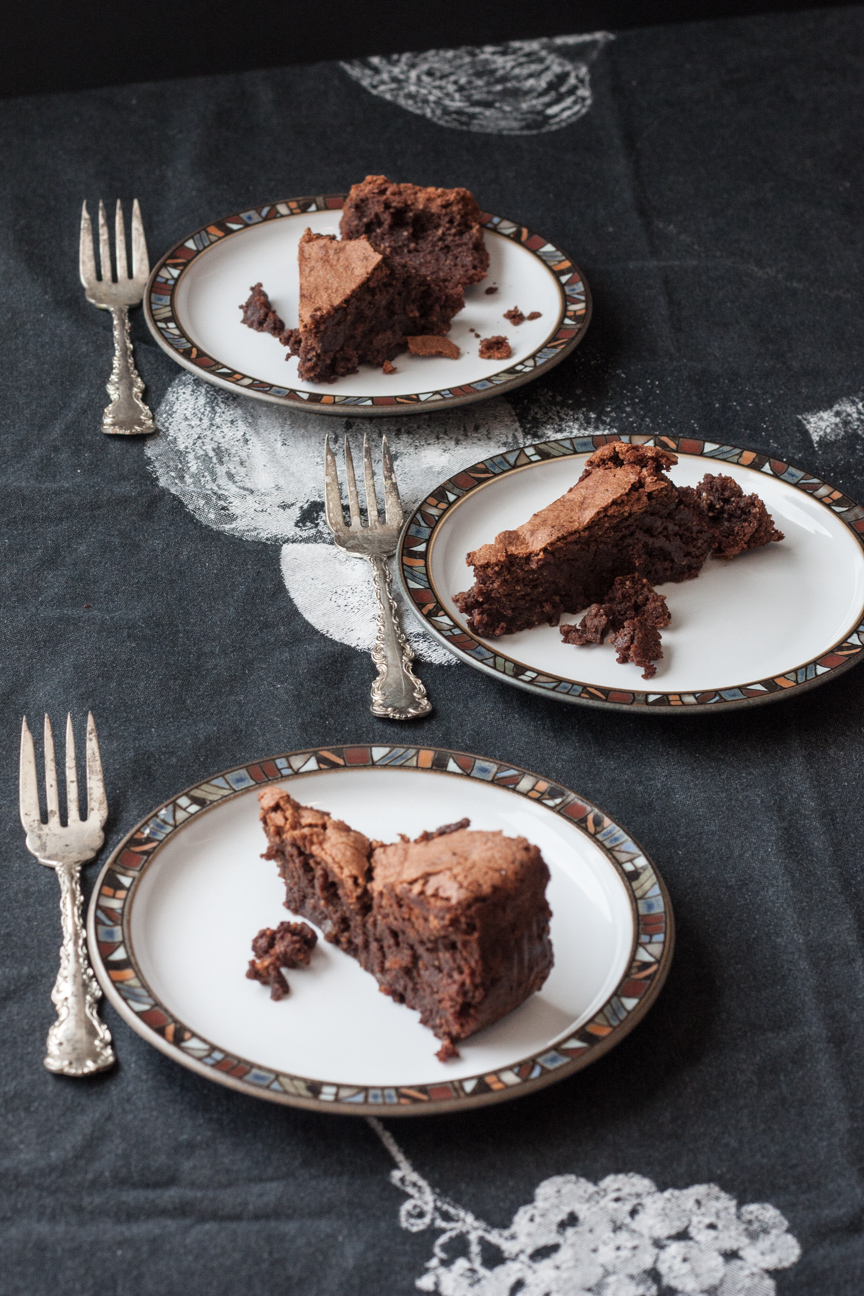
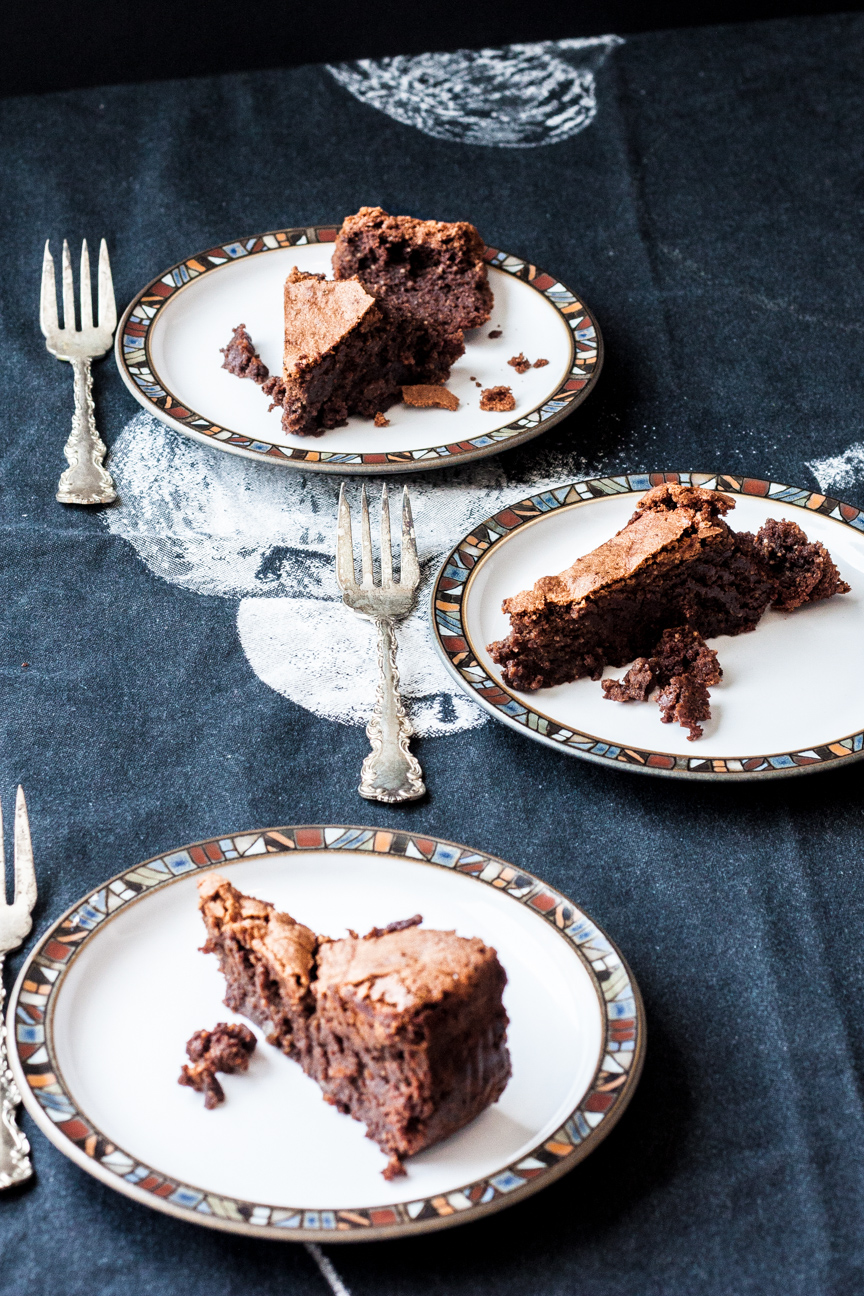
Store-bought Nutella is nice, but we really love our homemade version. It is nuttier, darker and less sweet than store bought. You can adjust the percentage of nuts, as well as the type of chocolate used. You will never get the hazelnuts as pureed and smooth as in store bought Nutella, but we actually prefer the crunchy texture.
Can I use other nuts?
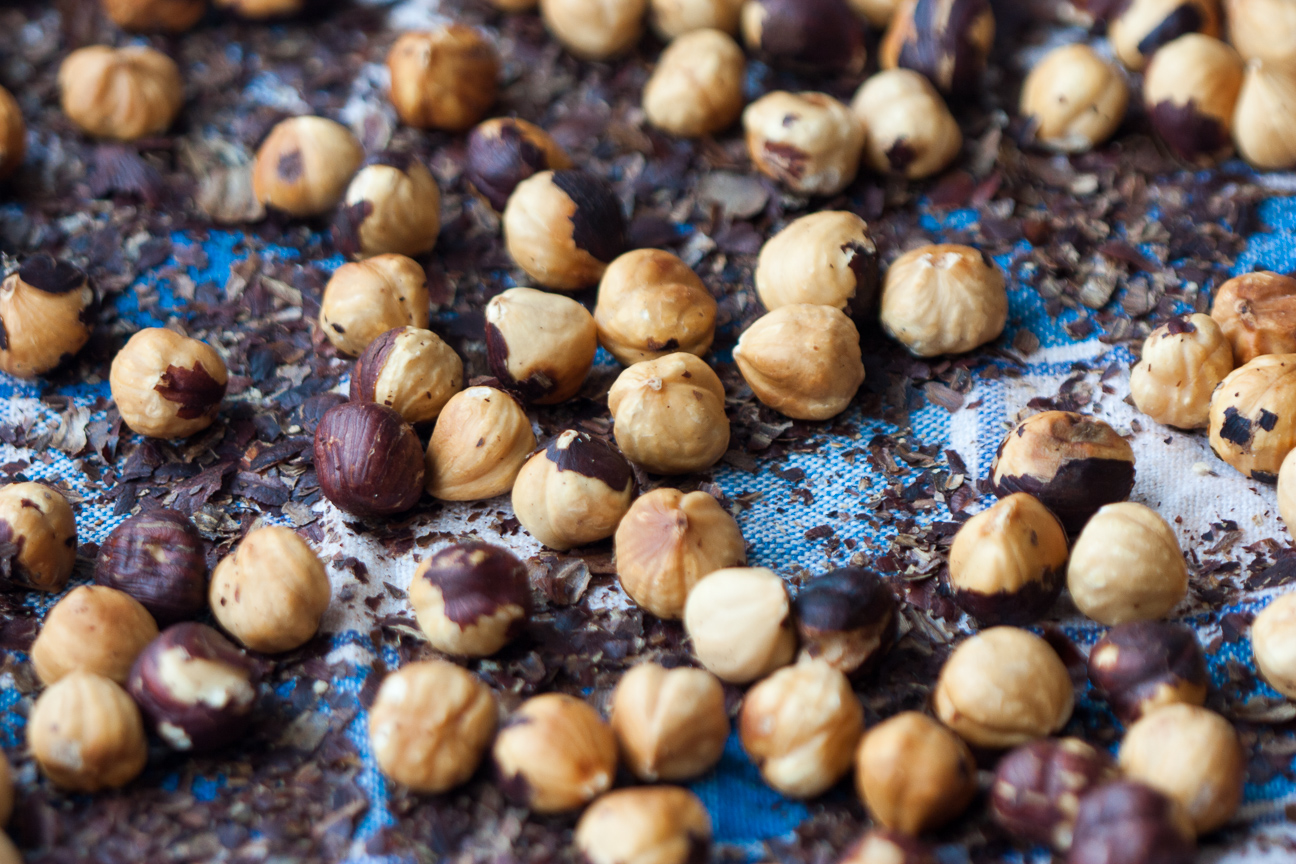
If you find hazelnuts too strong, you can substitute part of them with skinned almonds, or macadamia nuts. Make sure you remove the skin from the hazelnuts and/or almonds. It’s not imperative to remove all of the skins, but try to get as much off as possible, as the skins will add a bitter taste.
When you put your nuts in your food processor, try to grind them as finely as possible. Homemade Nutella will not be as fine as store bought. But you will really be able to taste the roasted nuts and heavenly chocolate. That’s the joy of homemade!
This Nutty Hazelnut and Chocolate Spread is a blend of dark and milk chocolate. You can adjust the amounts of each chocolate, as long as the total weight stays the same. My version has some small chunks of hazelnut in each bite. So nutty!
Besides being so amazingly tasty, the combination of hazelnuts and chocolate has an amazing history.
History of Nutella
In Italy, the combination of chocolate and hazelnuts is called Gianduja. Gianduja was created over 200 years ago during Napoleon’s regency in Turin, Italy in the Piedmont area.
In 1806, Napoleon imposed the Continental System, which prevented British goods from entering European harbours under French control. This created a shortage in cocoa, which was devastating to chocolatiers.
In Turin, a chocolatier, whose chocolate supplies were low, began mixing his chocolate with ground hazelnuts, which are plentiful in this area of Italy. The name Gianduja is named after a popular Carnival marionette that is an archetype of the Piedmontese.
One hundred and fifty years after this crazy time for chocolate lovers, chocolate became expensive and scarce again due to the rationing in Europe during World War II. Pietro Ferrero was a pastry maker in Italy and in 1946 created Pasta Gianduja. His original version was formed into a loaf which was sliced and eaten on bread. In 1949, he accidentally added cocoa butter, which made it soft and easy to spread. It was renamed Nutella in 1964.
I hope you enjoy this Nutella recipe!
Buon Appetito
Nutty Chocolate Hazelnut Spread
Ingredients
- 240 grams dark chocolate
- 150 g milk chocolate
- 2 Tbsp honey
- 300 grams 2% milk
- 50 grams milk powder
- 150 grams hazelnuts
Instructions
Preheat oven to 350 degrees.
Roast hazelnuts on an ungreased cookie sheet for about 10 minutes, do not burn. When they are fragrant and the skins seem loose, they are ready to take out.
Rub the warm hazelnuts in a clean tea towel, until most of the skins have rubbed off.
Add the hazelnuts to the food processor and grind until fine.
Warm the milk with the honey and powdered milk.
Melt the chocolate in the microwave. I melted it at 30 second internals, stirring in between. Do not overheat, or it will burn and you will not be able to use it.
Add the warm milk, and chocolate to the hazelnuts in the food processor.
Combine until everything is mixed together.
Scrape into a clean container.
Keep in the refrigerator for one week.