Browsing Tag:

british

Baking

Classic Cream Scones with Cranberry and Orange

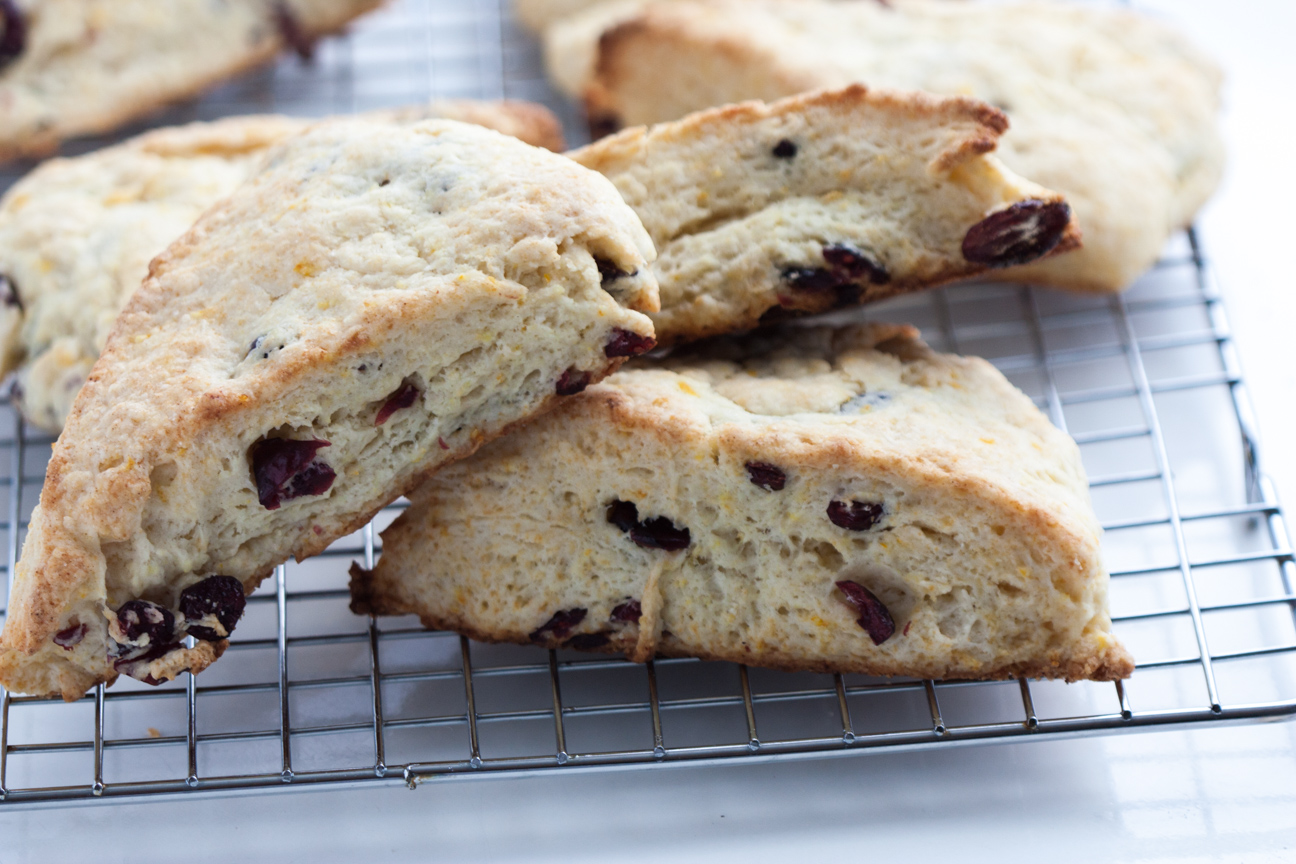
orange cranberry scones on rack

These delicious Classic Cream Scones with Cranberry and Orange are the easiest thing to make. If you are searching for a treat that’s easy to bake either for yourself and your family or as a gift for others, I’ve got you covered with this delicious scone recipe. With only seven ingredients that are mixed together in one bowl, these scones will be ready in no time! (I promise). Plus, there is minimum washing up.

Is it just me, or do you find it’s almost impossible to buy a good scone anywhere. I think, to enjoy a really good scone, you have to make them yourself. This recipe of Classic Cream Scones with Dried Cranberry and Orange Zest are very tender and flaky. And here’s a sweet tip – they’re freezable. If you don’t think your family will eat all of them within 2 days, you can freeze them to enjoy later! 

Scones are so perfect with tea in morning, or in the afternoon with a mug of hot cocoa or after dinner spread with jam. I can eat them anytime of day, can’t you?

Because they’re so quick to bake, they make a perfect gift for any occasion. They are the ideal gift for a new mom, a bake sale at your local church or school,  as well as an excellent thank you gift for a neighbour who has been collecting your mail, shovelled your driveway after a big snowstorm, or cut your grass when you couldn’t get to it.
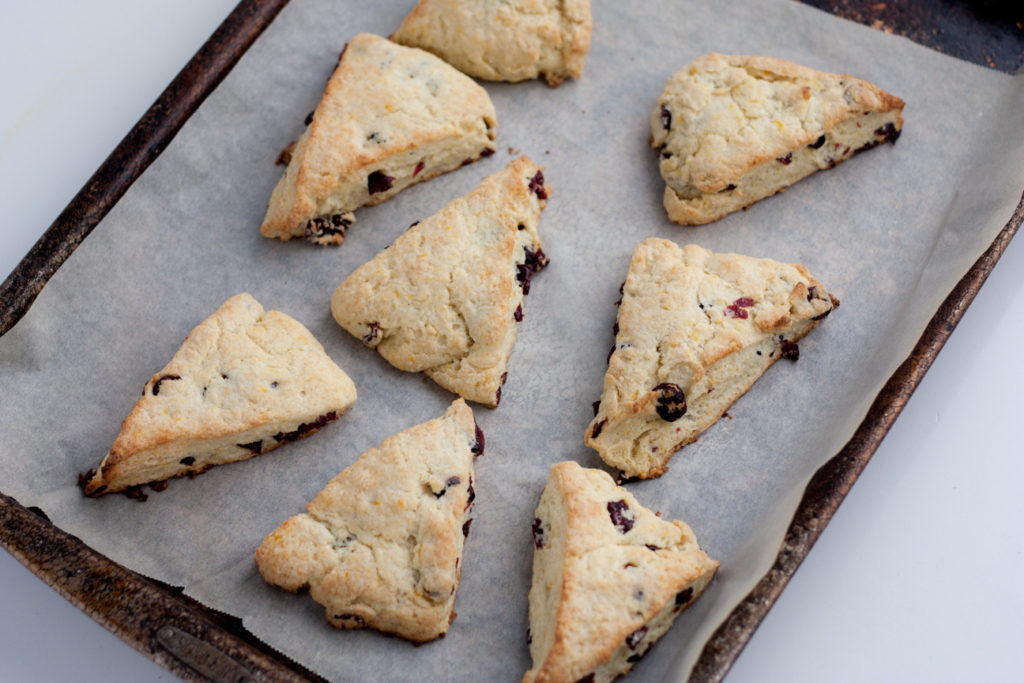
orange cranberry scones on a baking pan

I baked a few dozen of these scones last November for my son’s high school Craft Fair and they sold out within a couple of hours. Many people came back to my table to tell me how amazing they were. I made a few different variations but the Cranberry Orange Scones were the most popular. You could also substitute the dried cranberries for raisin, chocolate chip or chopped ginger.

I hope you enjoy my Classic Cream Scones with Dried Cranberry and Orange Zest.
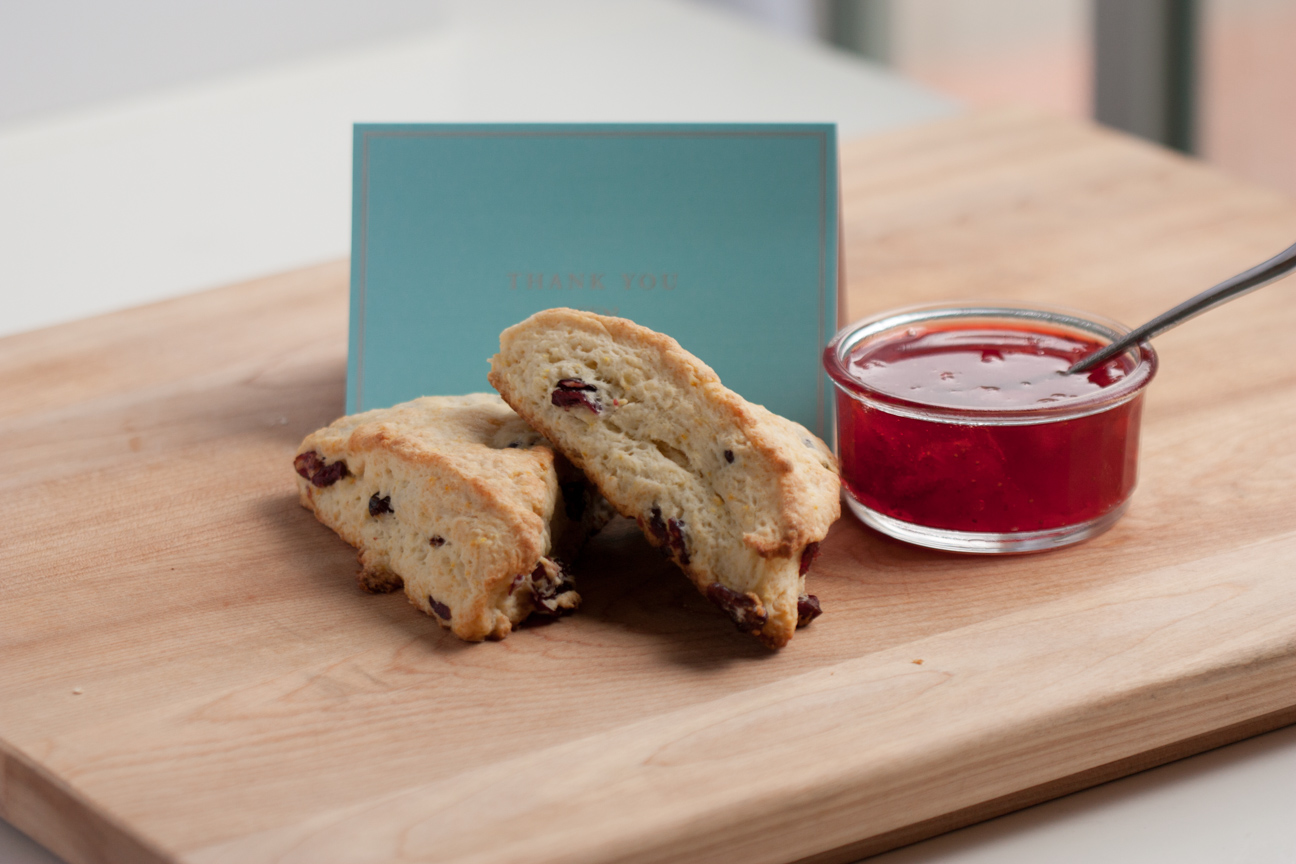
orange cranberry scones with jam on a cutting board with thank you card

Classic Cream Scones with Orange and Cranberry

Serves: 8
Cooking Time: 12-15 minutes

Ingredients

  • 2 cups (10 ounces all-purpose flour)
  • 3 tablespoons white sugar
  • 1 tablespoon baking powder
  • 5 tablespoons butter, cut into 1/4 inch pieces and chilled
  • 3/4 cup dried cranberries
  • 1 tsp grated orange zest
  • 1 cup whipping cream

Instructions

1

Line baking sheet with parchment paper. Preheat oven to 425 degrees F.

2

In a food processor, add all of the dry ingredients and pulse 3-5 times, until all the ingredients are mixed together.

3

Add cubes of butter and orange zest to the dry ingredients. Pulse until butter-flour mixture is blended together like bread crumbs. It’s ok to have a few larger pieces.

4

Pour into mixing bowl and add dried cranberries and stir until cranberries are coated in flour, separate any stuck together. Stir in cream until a nice dough starts to form.

5

Place dough and any unmixed ingredients onto table and knead the dough until it all comes together to a nice somewhat smooth dough. Flatten out into a circle, trying to keep edges smooth, until it has a 9 inch diameter.

6

Cut the disc into 8 triangles and place each triangle on parchment paper, about 2 inches apart.

7

Bake for 5 minutes, then turn pan in oven; bake for another five minutes or so, until nicely golden on top.

8

Remove from oven and place tray on a rack. Let scones cool for 5 minutes or so on tray, then remove from tray and place on rack. You can eat them warm or at room temperature. Store in a cool dark place 2-3 days. You can also freeze the scones for about one month.

Recipe via Cook’s Illustrated Baking Book.

pink rose flower
ombre pink rose in my garden
Baking

Apricot Cherry Oat Bara Brith Loaf Recipe

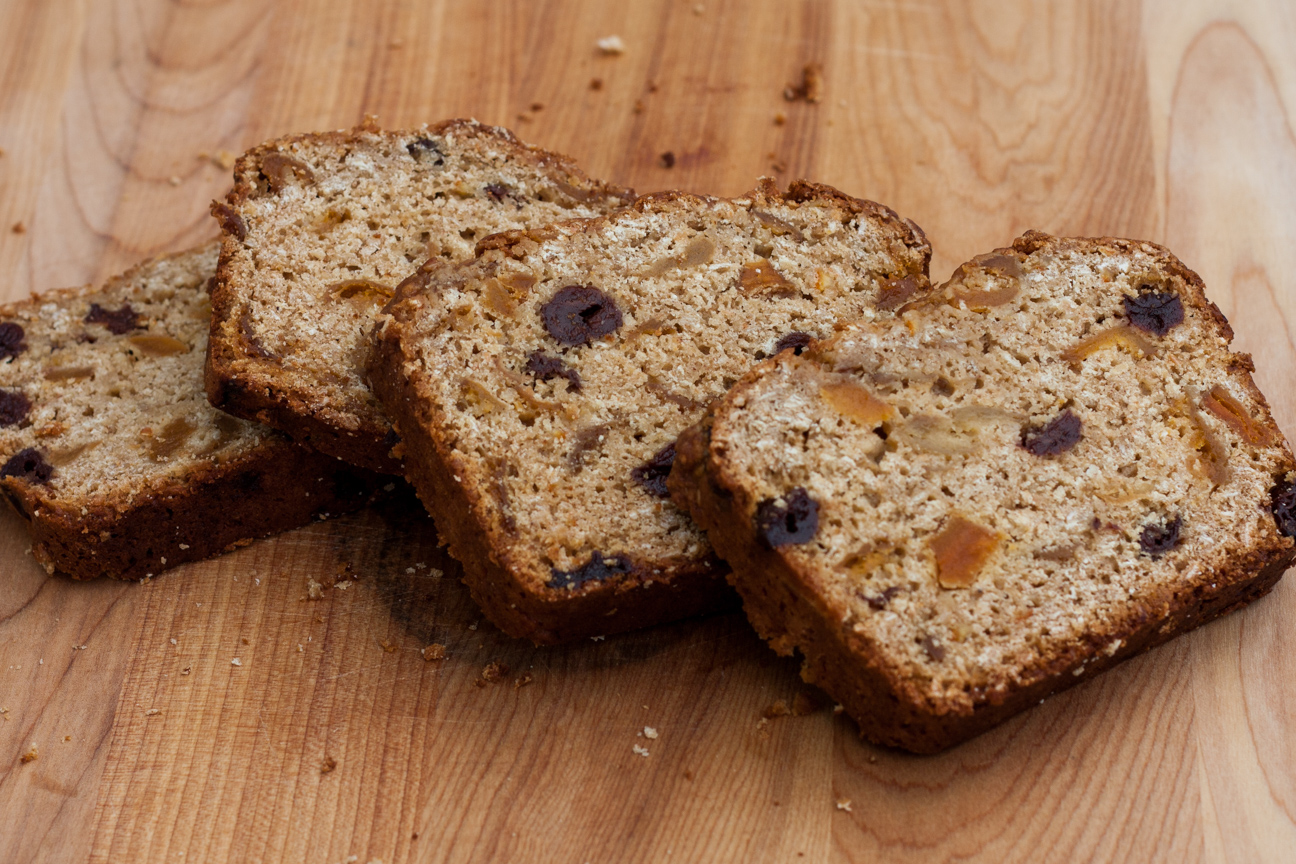
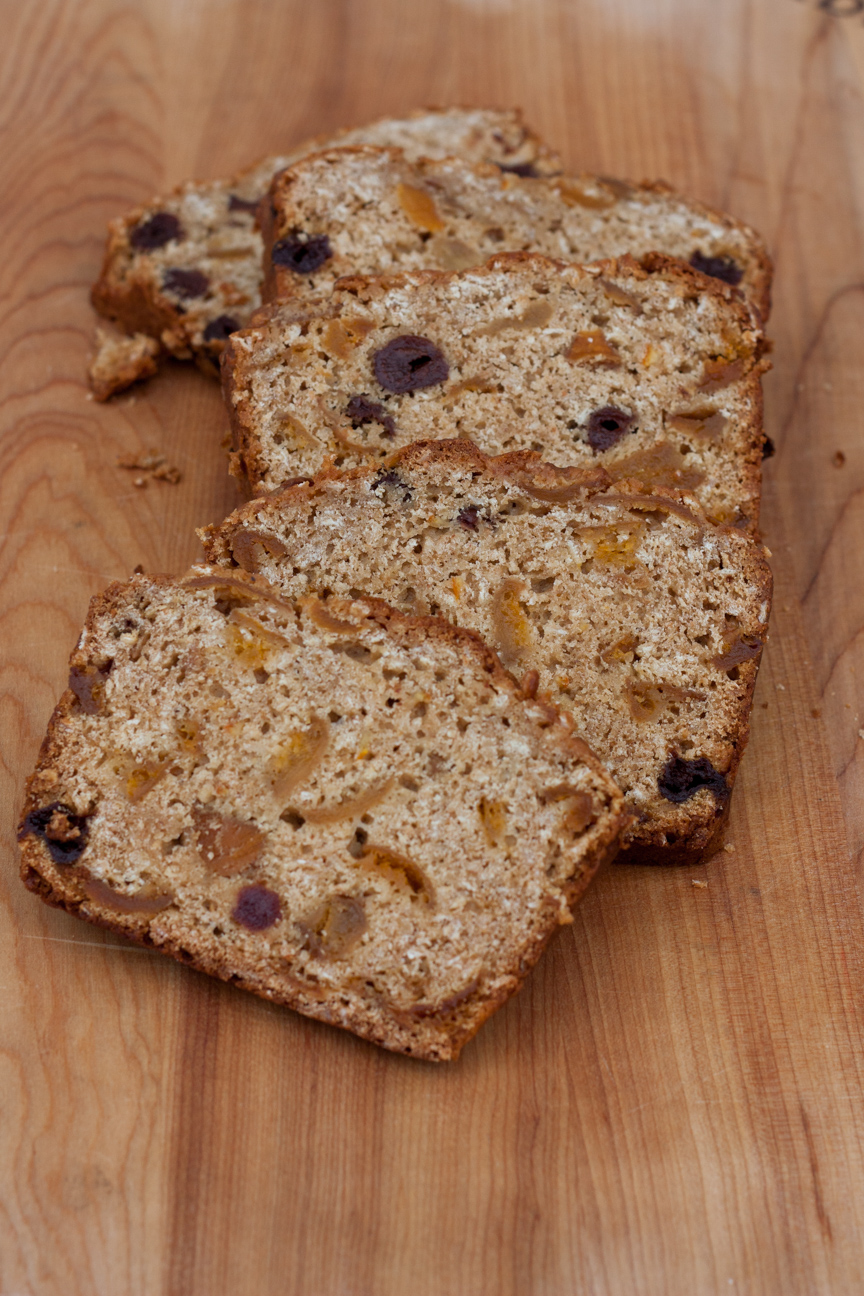
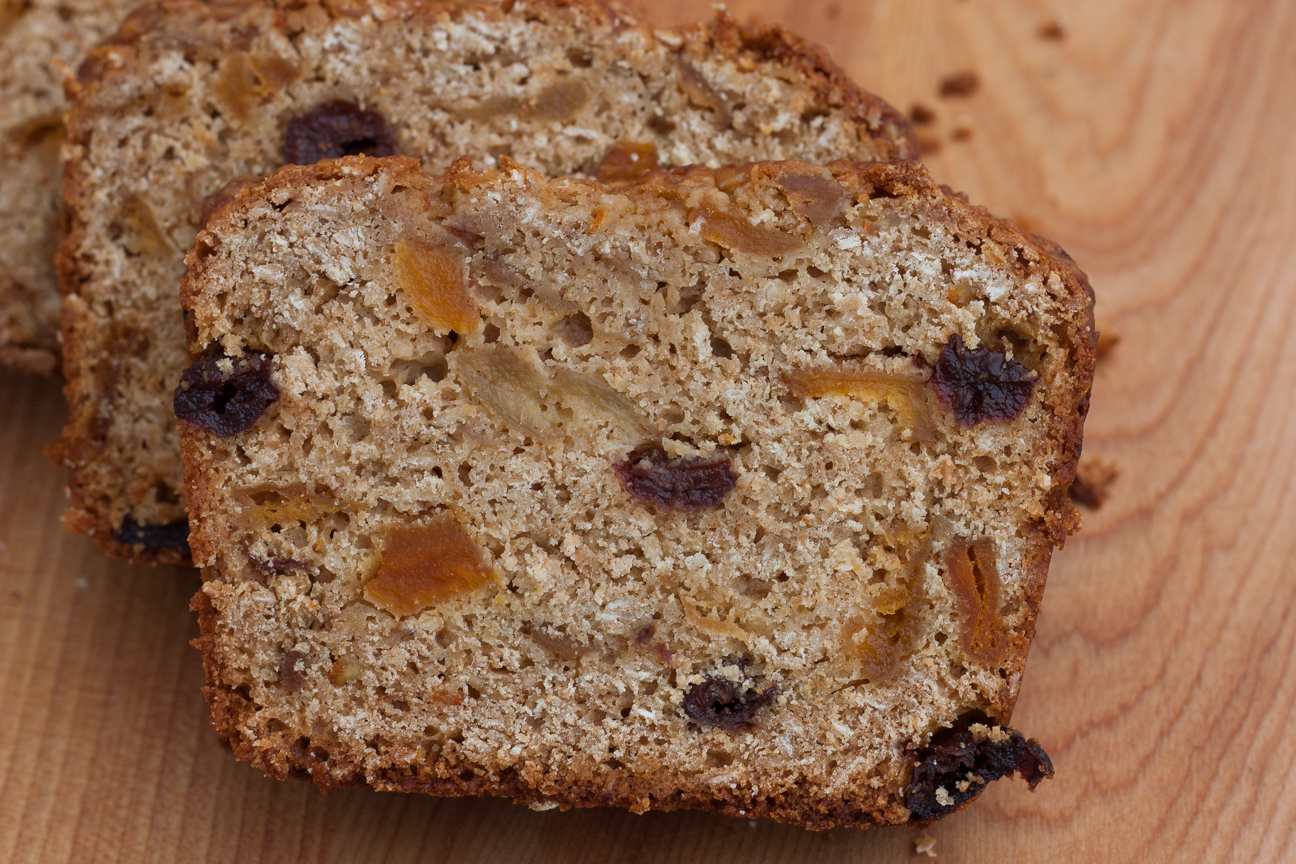
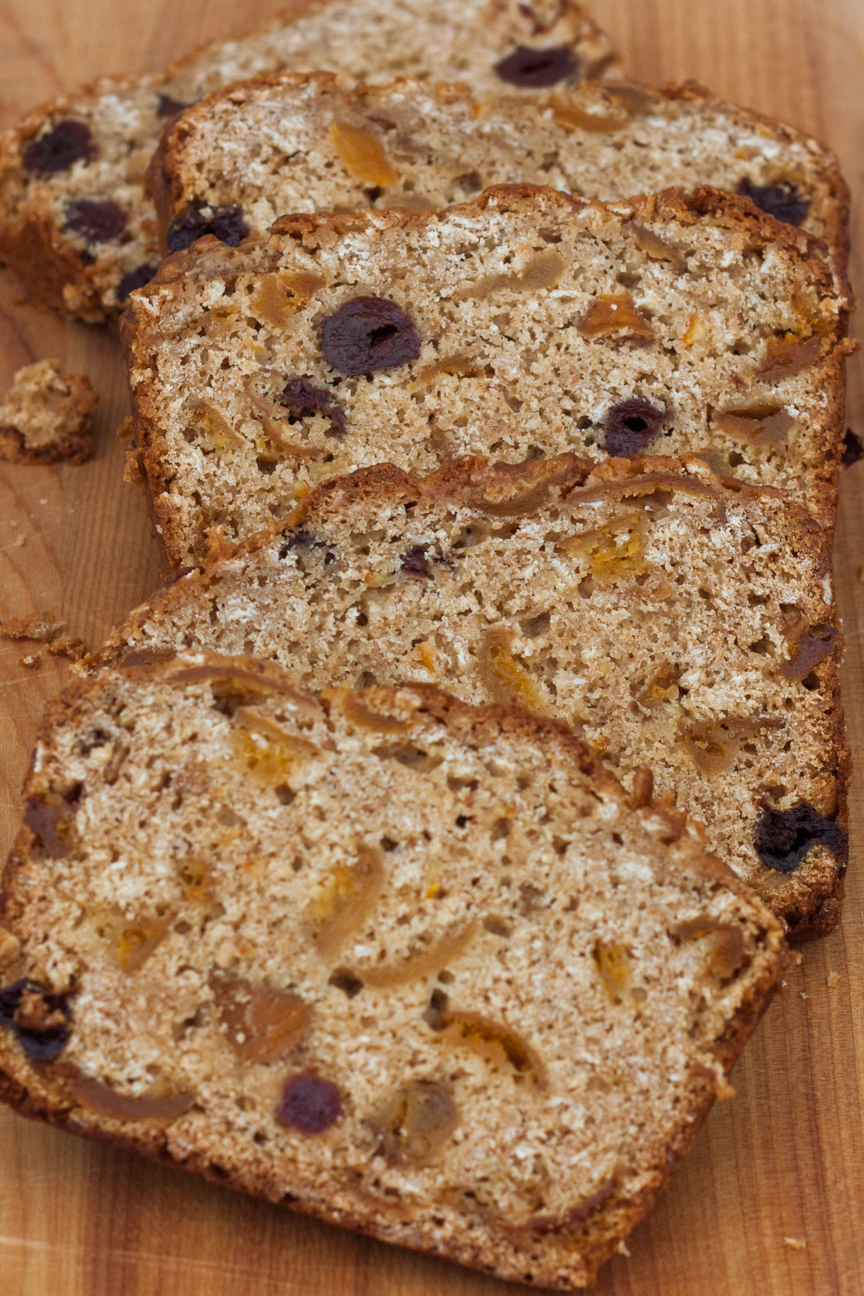
apricot cherry oat bara brith

Bara Brith is a lovely Welsh snacking cake. It is quick to prepare but very hearty. The name Bara Brith means speckled bread in Welsh.  It is a delicately sweet loaf loaded with dried fruits that have been soaked overnight in strong tea. In my recipes, I have added a bit of rum to the black tea to smooth out the bitter black tea tannin flavours. The rum is optional, so you don’t have to add it in, but I find that it really brings together the tea and dried fruit flavours very well.  But, by all means, leave out the rum, if you must. It is completely optional.

I have added in loads of extra flavour components to really make the flavours of this tea loaf pop! There is maple syrup, marmalade, cinnamon, nutmeg, ginger as well as demerara brown sugar and dried fruit. The aromas coming from the oven are to die for!


apricot cherry oat bara brith

Bara Brith has been made in Wales for over one hundred years and was traditionally eaten on St. David’s Day or Christmas day, thickly sliced and slathered in butter. It is not as popular as it used to be, so can be difficult to find in the larger grocery stores. Traditional Bara Brith is made with currants. In this recipe I have used a combination of dried apricots and dried cherries which go really well together. And the oats add a lovely texture to this baked treat.

This Apricot Cherry Oat Bara Brith makes a lovely addition to packed lunches. It is also excellent with morning coffee or your afternoon tea. Not bad with your favourite program or movie after dinner either.


apricot cherry oat bara brith

Next time you are in the mood to bake a sweet treat for your family, try this Apricot Cherry Oat Bara Brith. It’s really hits the spot.

Apricot Cherry Oat Bara Brith

Serves: 8-10
Cooking Time: 1 hour 15 minutes

Ingredients

  • 75 g dried cherries
  • 175 g dried apricots
  • 250 mL of strong black tea
  • 2 Tbsp rum
  • 100 g butter, melted
  • 2 T marmalade
  • 2 eggs
  • 100 g medium sized oats
  • 100 grams whole wheat flour
  • 250 g white flour
  • 3 tsp baking powder
  • 175 grams demerara sugar
  • 2 T maple surup
  • 2 T milk
  • 1/2 tsp cinnamon
  • 1/2 tsp nutmeg
  • 1 tsp ginger

Instructions

1

The night before you plan on baking, soak the dried fruit in the strong black tea and rum (optional) in a bowl.

2

The next day, just before you start to mix together your ingredients, preheat oven to 350 F. degrees

3

Drain the dried fruit mixture and discard the tea and rum liquid.

4

Mix together the melted butter and marmalade. When this mixture is cool, add in the two eggs.

5

Mix together the flour, oats, baking powder and brown sugar and spices.

6

Add the butter, marmalade, egg mixture to the flour. Add in the milk and maple syrup.

7

The batter should be able to drop from a spoon. If it is too thick, add in more milk.

8

Line a loaf pan with parchment paper.

9

Pour batter into a prepared loaf pan.

10

Bake for 1 hour and 15 minutes. If the top starts to over brown before the cake is done, cover the top of the cake with tin foil and continue baking until a cake tester comes out clean.

11

Cool cake in the pan for about 5-10 minutes. Then remove onto a rack.

12

Wait until the cake is cold before cutting. About 1-2 hours.

13

Serve as is or with butter.

14

Enjoy!

Baking

Lancashire Maple-Oat Parkin Cake for a Summer Evening

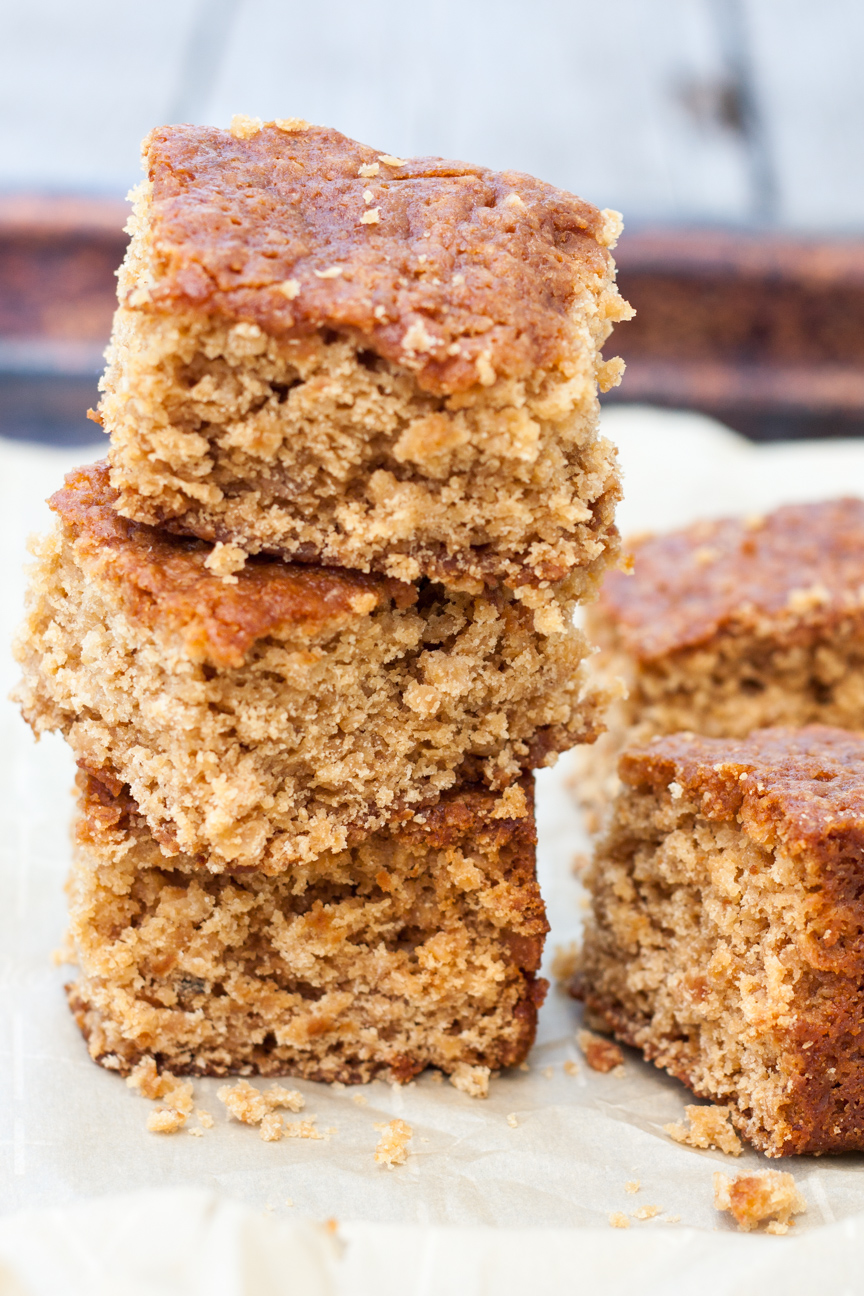
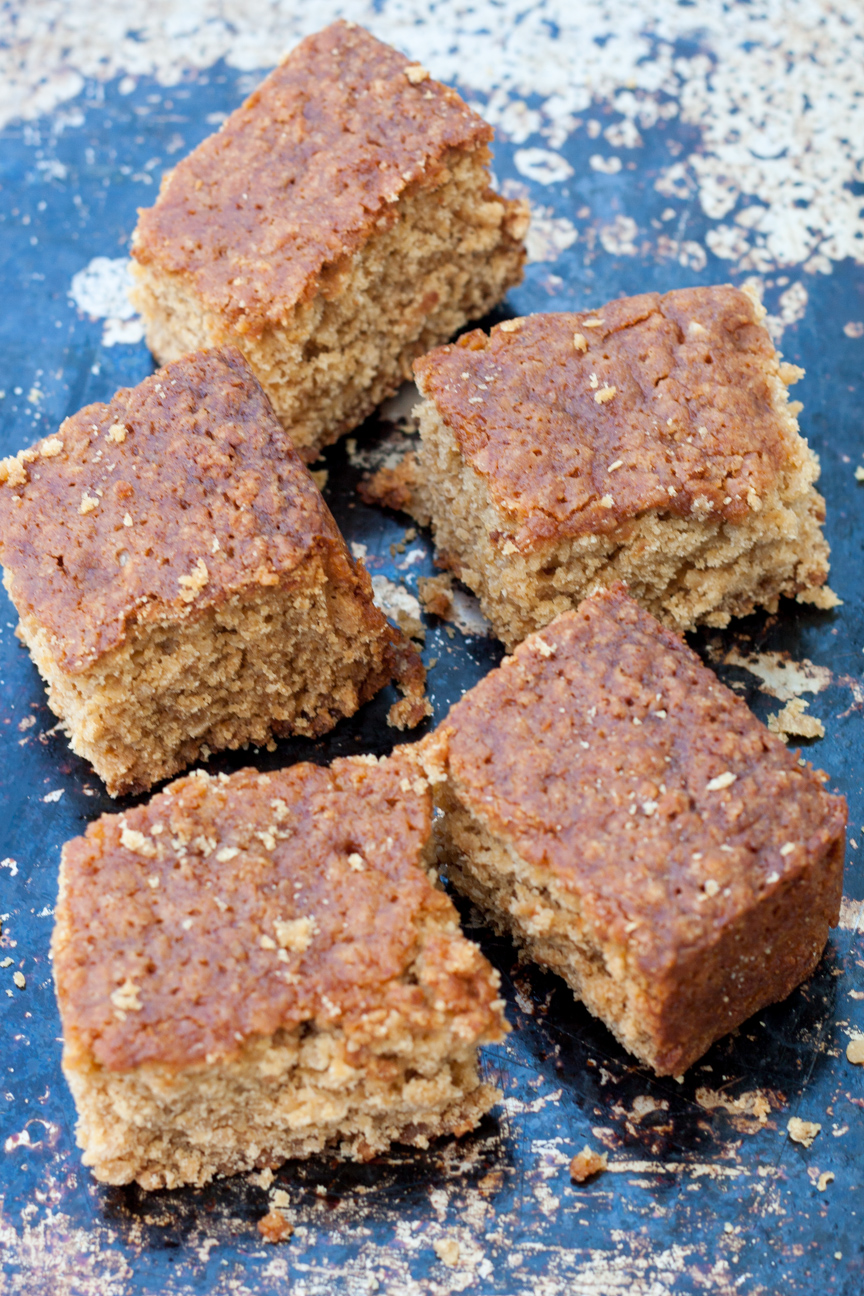
lancashire maple-oat parkin cake

With the days getting cooler, especially the evenings, I start thinking more about baking. This Lancashire Maple-Oat Parkin Cake is a fantastic late summer bake with it’s ginger, treacle and maple syrup flavours.

A few weeks ago, my cousin Anne in Scotland, sent me a lovely little vintage Trex Cookery cookbook. She knows that I love cooking and baking and spotted this booklet in a vintage shop. The first recipe that I spotted was the Lancashire Parkin and knew straight away that would be the first recipe to try. Lancashire Parkin checked all the boxes for me for a lovely bake: oats, syrup, ginger and Demerara sugar.  She also sent me a beautiful cake tin decorated with a lovely photo of the Duke and Duchess of Sussex to store my cake in.

Lancashire Parkin is the Northern England version of gingerbread. It is a sticky, moist lightly spiced cake. It originated in Yorkshire, but is also popular in Lancashire, which is just to the west. No one seems to know where the name Parkin comes from.

Parkin cake is traditionally eaten in England on Bonfire Night, November 5th. Bonfire Night celebrates the epic failure of Guy Fawkes, a Yorkshire man, who tried to blow up the Houses of Parliament in 1605.

lancashire maple-oat parkin cake

Parkin Cake is a moist chewy cake due to the addition of oats. This cake also always contains sweeteners such as molasses,  black treacle or golden syrup, and light or dark brown sugar. I added maple syrup to my Lancashire Maple-Oat Parkin Cake, to reflect my Canadian roots.

Parkin Cake improves in flavour about 3 days after it’s been baked. This is to allow the oats to soften and the spices and sweeteners to really do their job. So, let this cake sit in a sealed container for 3 days before it is ready to eat. So, don’t be tempted to cut a slice immediately after baking. Wrap it up after it has cooled, and then patiently wait for 3 days to slice it up.  You will be glad you did.

Enjoy!

Lancashire Maple-Oat Parkin Cake for a Summer Evening

Serves: 12-16
Cooking Time: 40-60 minutes

Ingredients

  • 2 eggs
  • 1/2 cup milk
  • 225 grams flour
  • 225 brown sugar
  • 2 tsp baking powder
  • 22 grams medium oats
  • 1 tablespoon powdered ginger
  • 225 grams melted butter
  • 225 grams golden syrup
  • 1/2 cup maple syrup

Instructions

1

Preheat oven to 325 degrees fahrenheit. Prepare a 9 X 12 inch baking tray with parchment paper.

2

Melt the liquid ingredients together (butter, golden syrup and maple syrup). Let cool to room temperature, about ten minutes.

3

Mix the milk and eggs together and whisk until the eggs are incorporated into the milk.

4

Mix the dry ingredients together.

5

Add melted mixture and egg mixture to dry ingredients. Stir until all the ingredients are mixed together well.

6

Pour into baking dish.

7

Bake for about 60-90 minutes. It should be a nice golden colour on top when done. And a cake tester should come out clean.

8

Keep in the pan for about 1-2 hours, until cool. Then turn out onto a cake rack until cold.

9

Once cold, wrap in plastic wrap or place in a plastic container and store for about 3 days.

10

Slice and enjoy!

Baking

Lemon-Elderflower Savarin Cake

lemon elderflower savarin cake

With the big Royal Wedding coming up, it’s hard to ignore the ongoings of the Royal Family. Especially when you have a British Mum.

My Mum always had something to say about the Royal Family when we were growing up. I can remember her commenting on many big royal events: the death of the Queen Mum, the retirement of the Royal Britannia, anything to do with Wallis Simpson or King Edward VIII (My Mum told she she cried and cried when King Edward VIII abdicated the throne in 1936)  or trips around the world by Queen Elizabeth. My Mum was the expert on all things royal in our house!

So, it’s no surprise that I have inherited my mum’s interest in this fascinating family. I will be watching the ceremony this Saturday and wishing my Mum was around to watch it with me.  I will certainly enjoy the music, admire the Bride’s dress and try and spot the most unusual fascinator, but,  like most foodies, it’s the cake that I’m particularly interested in. I’ve seen some photos of Royal Wedding Cakes in the past and they are utterly stunning.

I read in the news a few weeks ago, that the bride had chosen a lemon elderflower cake as their wedding cake. So, to celebrate this auspicious occasion, I wanted to bake a cake with those same flavours. But I didn’t want an after dinner cake, per se: layered and smothered in buttercream frosting. I wanted a cake that Canadians could nibble on alongside tea or coffee while they watch the wedding. There will be much to ooh and aah over such as, the bride’s gown, Queen Elizabeth’s outfit as well as the gorgeous music,

I chose a Savarin cake, because cakes soaked in a sweet syrup after baking are some of my favorites. This cake pairs exceptionally well with fresh fruit and a dairy topping which is so perfect for mid-morning noshing.

lemon elderflower savarin cake

Savarin Cake is interesting because it is made with yeast and not with baking powder or baking soda.


lemon elderflower savarin cake

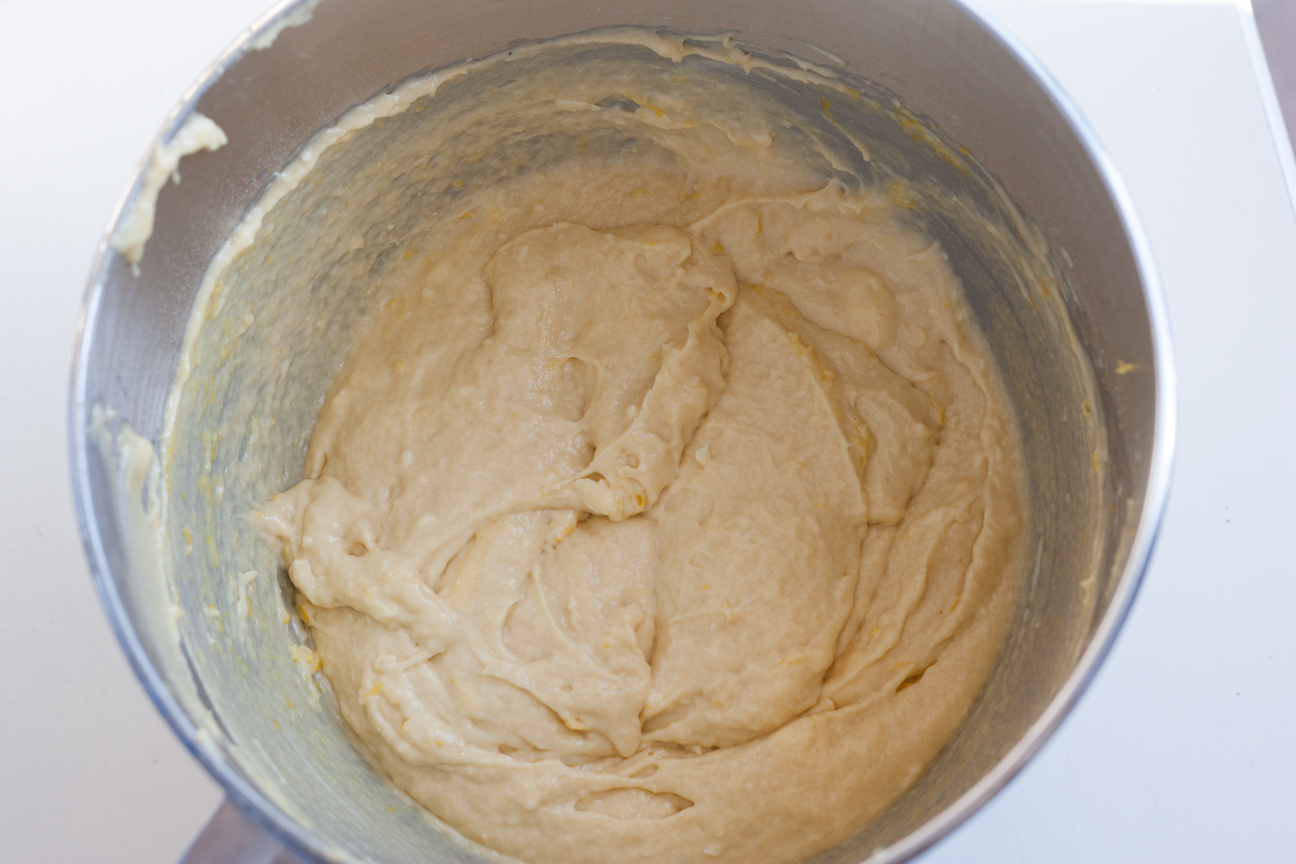
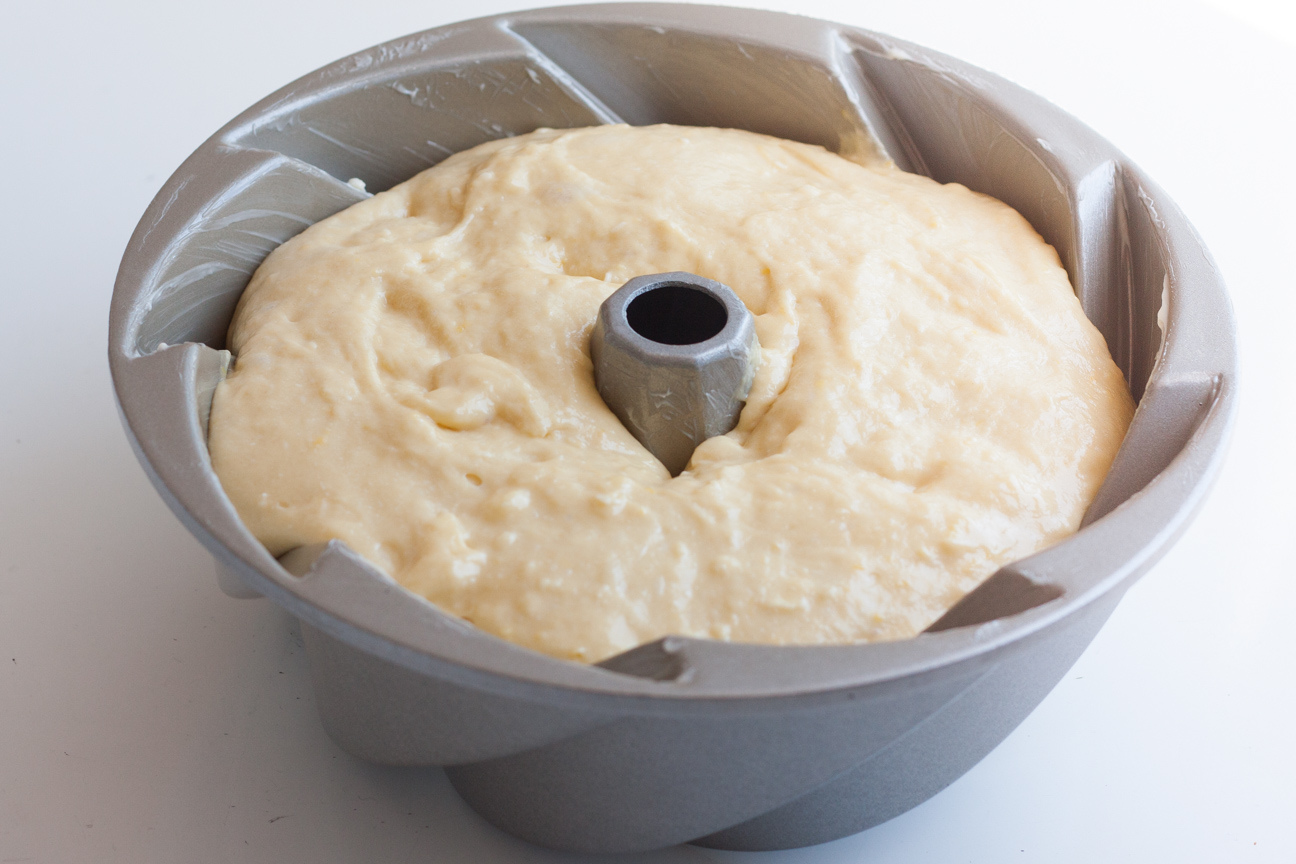
The batter is left to rise first in the mixing bowl and then transferred into the cake pan where it is left to rise 3/4 of the way up the pan.


Lemon Elderflower Savarin Cake

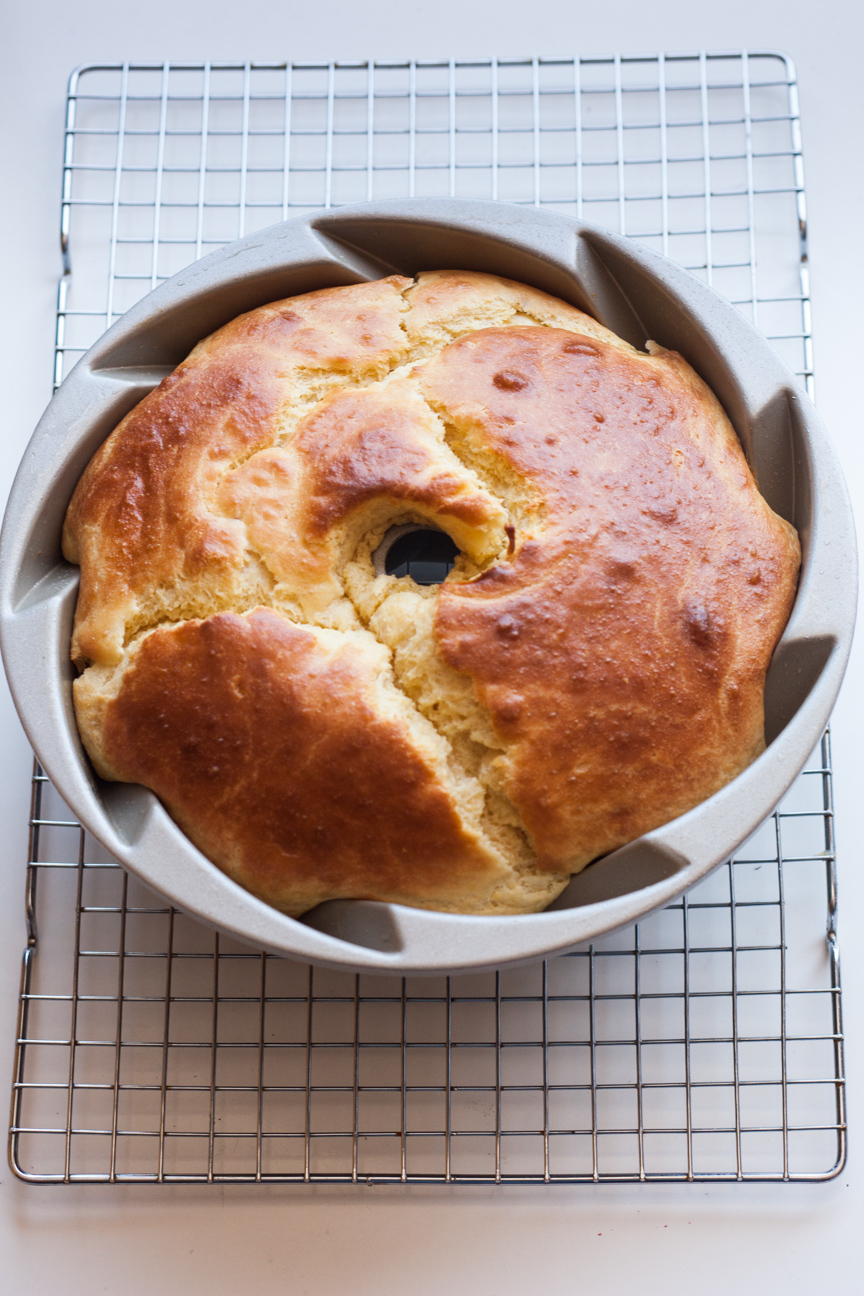
The batter is baked in a greased bundt or savarin cake pan in a medium hot oven for about 30 minutes, until a light golden brown.

lemon elderflower savarin cake
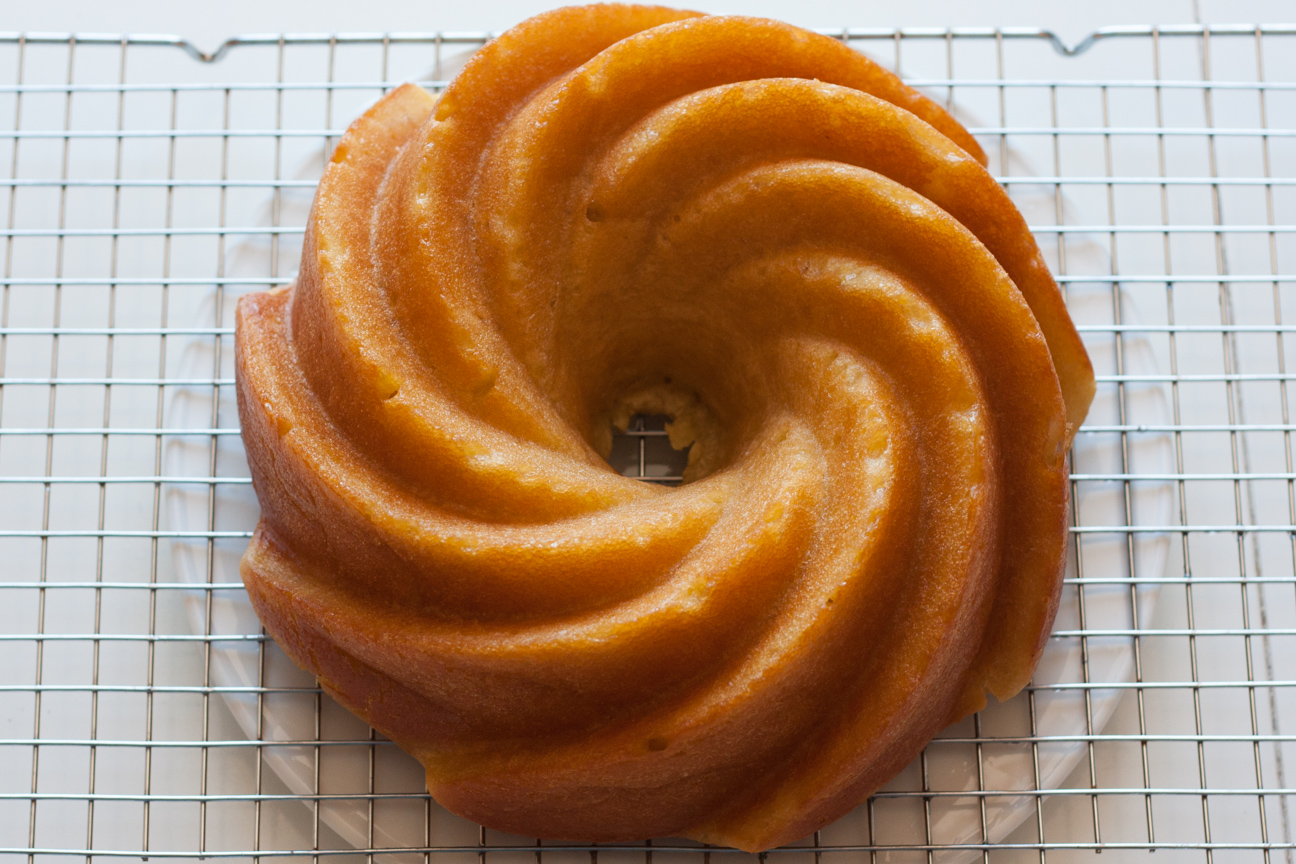
When the pan has cooled down a little, turn the cake out onto a cake rack, with a plate underneath. Pour the sugar syrup over the cake.


lemon elderflower savarin cake

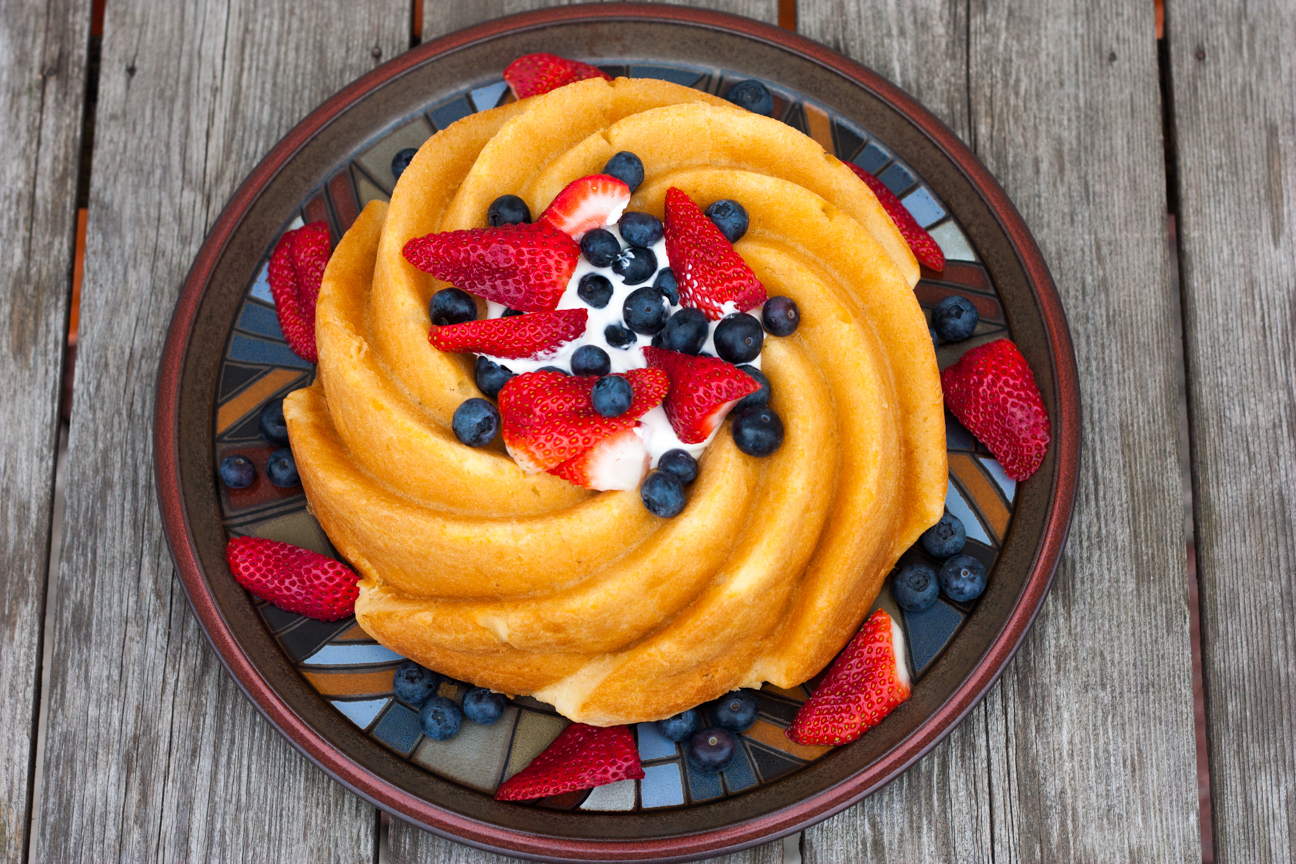
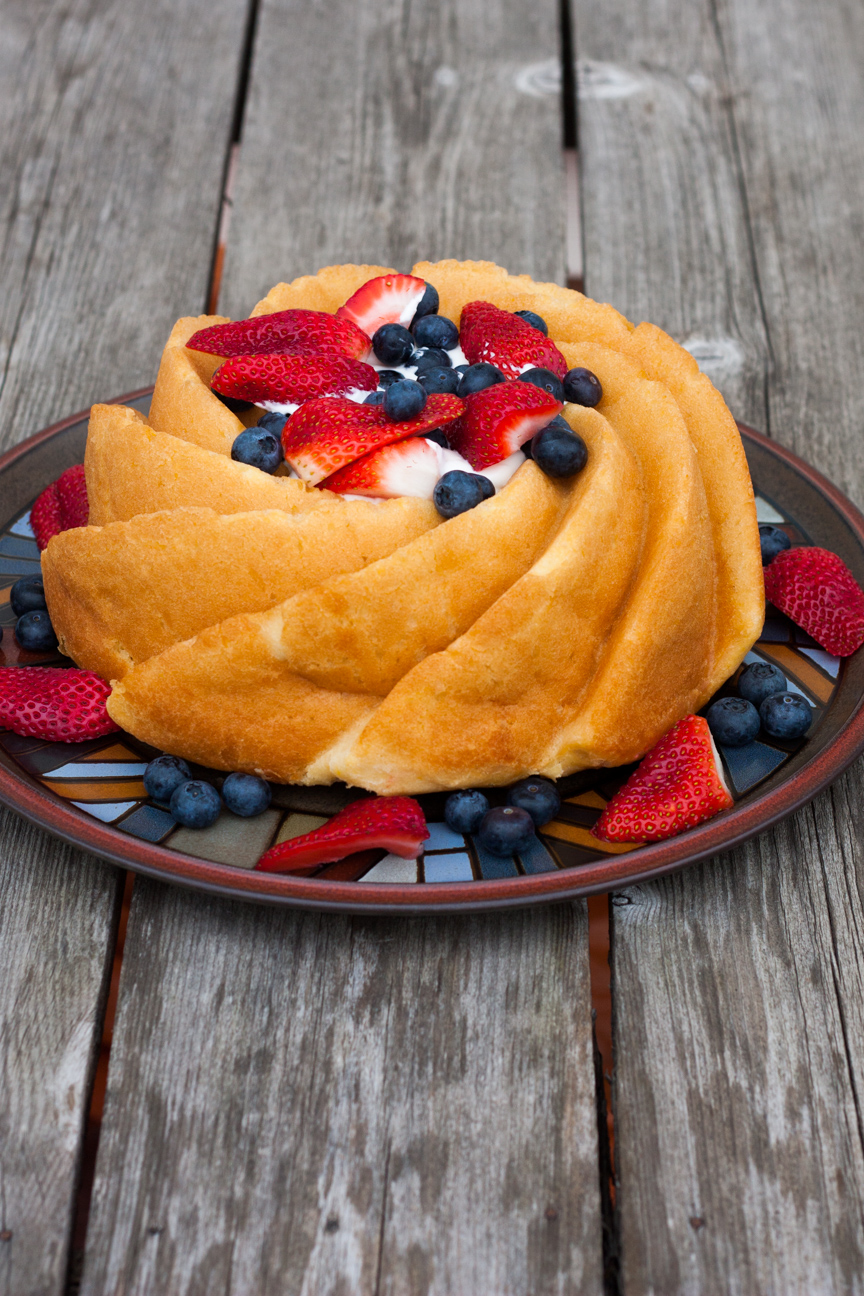
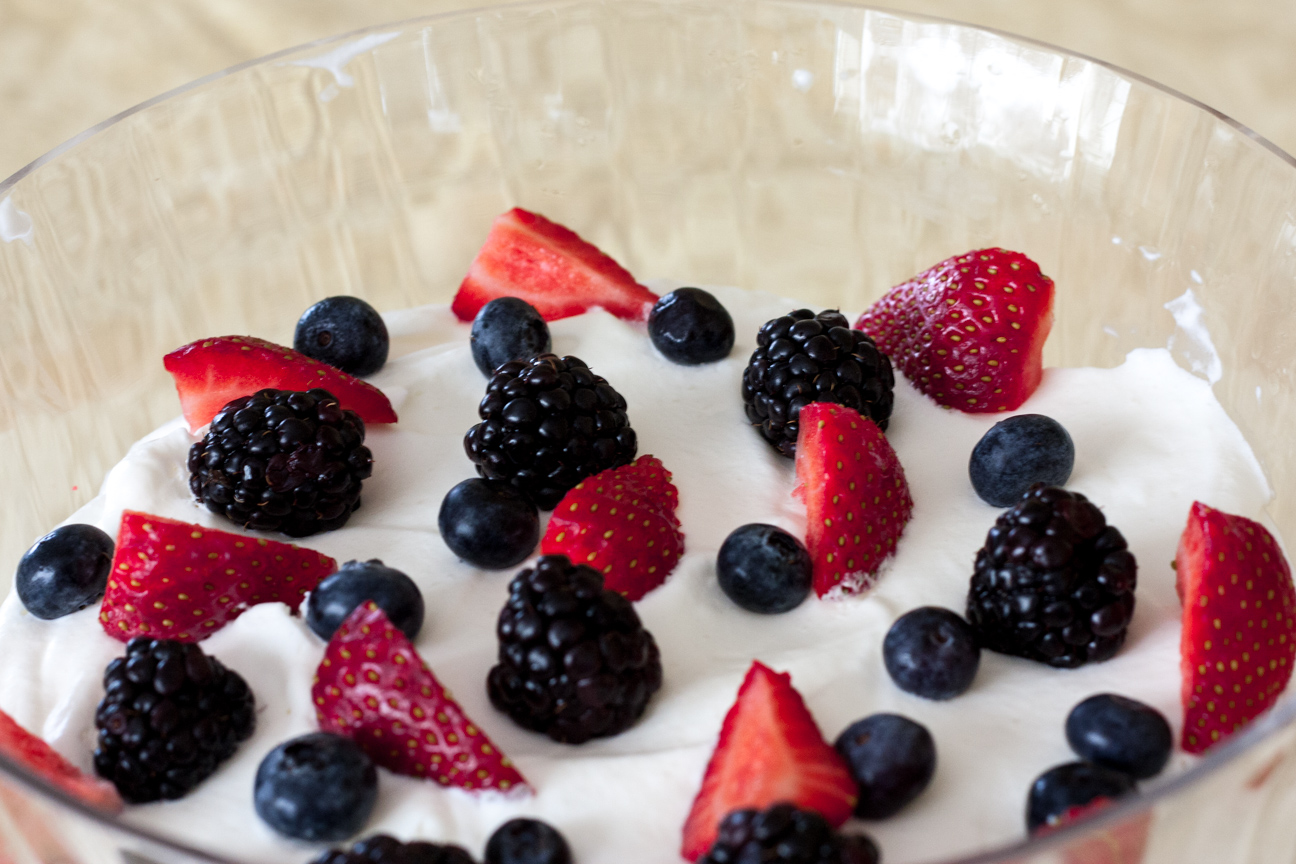
I filled my Lemon-Elderflower Savarin Cake with whipped yogurt and cream topped with  fresh blueberries and strawberries. It’s delicious anytime of day!

While Savarin cake is not British, it does have an interesting history behind it. FOllow the  links at the end of this post for more informatiin about this delicious cake.

The Royal Wedding will take place on May 19th at t St. George’s Chapel at Windsor Castle. Click on the link below to read up on this very interesting relic.

Enjoy the event! I’m sure it’s going to be fun!

If you enjoy reading about food history, here is some interesting information on Savarin Cakes.

history of savarin cakes

More on Savarins and Babas

Brillat-Savarin

St. George’s Chapel, Windsor Castle

Lemon Elderflower Savarin Cake with Fresh Fruit and Maple Whipped Yogurt and Cream Topping

Serves: 16
Cooking Time: 35

Ingredients

  • For the cake:
  • 350 grams white flour
  • 50 grams sugar
  • 10 grams active yeast
  • 2 tbsp water
  • 1 tbsp lemon juice
  • 6 eggs
  • 180 grams butter, very soft, in large cubes
  • zest of one lemon
  • for the syrup
  • 300 grams sugar
  • 150 ml water
  • juice of 1/2 lemon
  • 100 ml St. Germain Elderflower Liqueur
  • for the topping
  • 1 cup greek yogurt
  • 3/4 cup whipping cream
  • 3 tablespoons of maple syrup (can also use honey, agave syrup or treacle)
  • fresh fruit

Instructions

1

Proof the yeast in 2 tbsp water.

2

Mix the flour and sugar together.

3

Mix the eggs, then add the lemon juice. Add in the yeast.

4

Add this egg mixture into the flour and sugar and mix until combined.

5

Add in the softened cubes of butter, one piece at a time, until the butter is fully incorporated.

6

Add the lemon zest and stir until incorporated.

7

Cover bowl with cling wrap and let sit for one hour to rise.

8

Grease bundt or savarin pan.

9

Spoon batter into pan. Let sit for 45-60 minutes until risen 3/4 of the way up the pan.

10

Preheat the oven to 350 degrees Fahrenheit.

11

Place pan in oven and bake for 25-35 minutes until a light golden brown.

12

When pan has cooled slightly, turn cake upside down. Pour 3/4 of the sugar syrup into the empty cake pan, then place baked cake back into syrup filled pan. Leave for 3-4 minutes.

13

Carefully, turn cake out of cake pan onto wire rack and place on top of a plate. Leave cake to cool completely, letting syrup drip through onto the plate.

14

When the cake has cooled completely, place it on the plate to soak up any remaining syrup.

15

For the Topping: In a mixer bowl, add 1 cup of greek yogurt, 3/4 cup of whipping cream, 3 tablespoons of maple syrup. Turn mixer to medium high and whip until desired consistency is formed.

16

Fill centre of cake with topping and pile fresh fruit on top.

17

Enjoy!

recipe adapted slightly from Paul Hollywood’s Savarin Cake

dairy topping adapted slightly from Serious Eats

Baking

Bakewell Tart

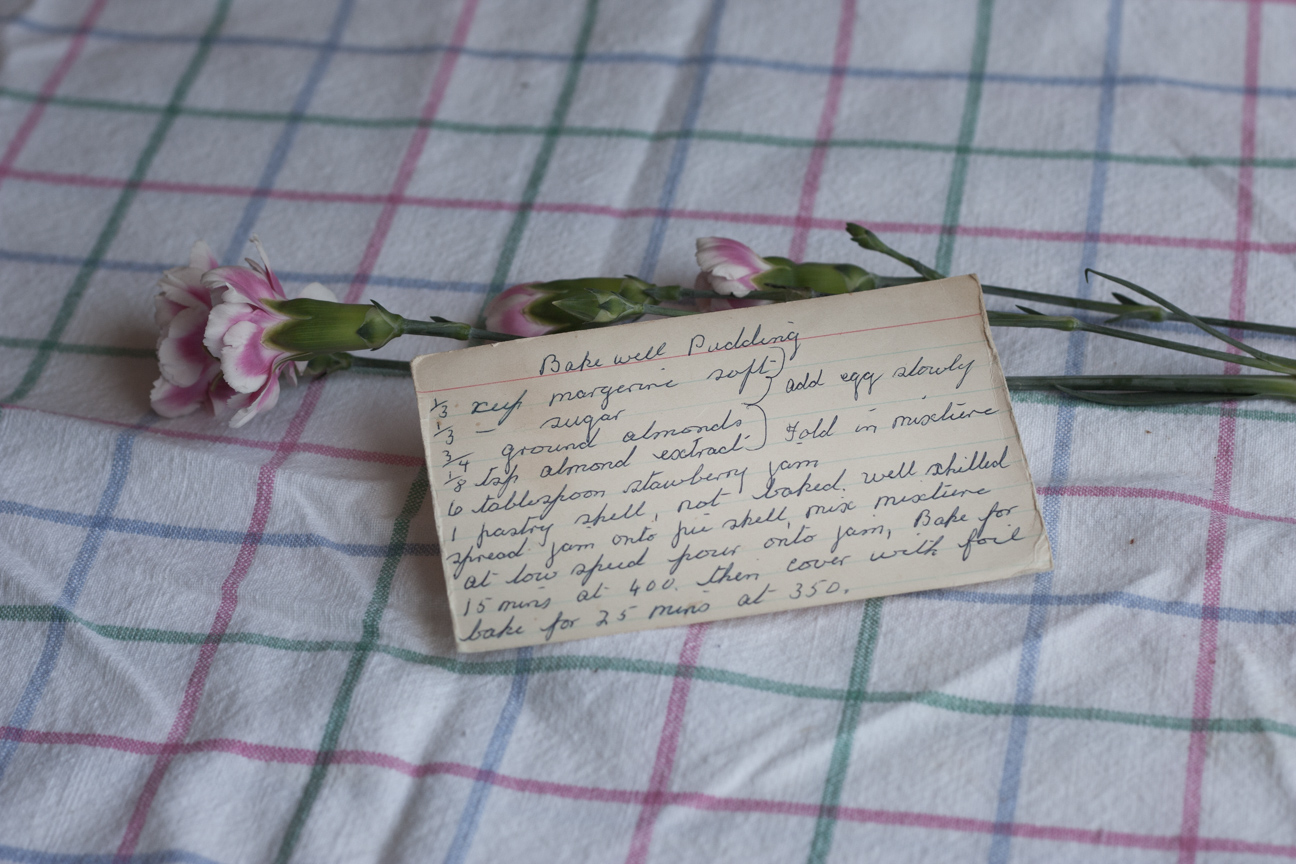
I found a recipe card for Bakewell Tart in my Mum’s recipe box the other day: short crust pastry, raspberry jam, frangipane, icing!!! ‘Yum’, I thought. I just had to bake one!

Bakewell Tart is not very popular outside of Britain. Bakewell Tarts originate from the small village of Bakewell, Derbyshire. It is made from short crust pastry covered with a layer of jam (usually raspberry) and filled with frangipane and then iced on top. The tart can be spread with a layer of icing or just a drizzle, depending on how sweet you would like your tart.


short crust pastry
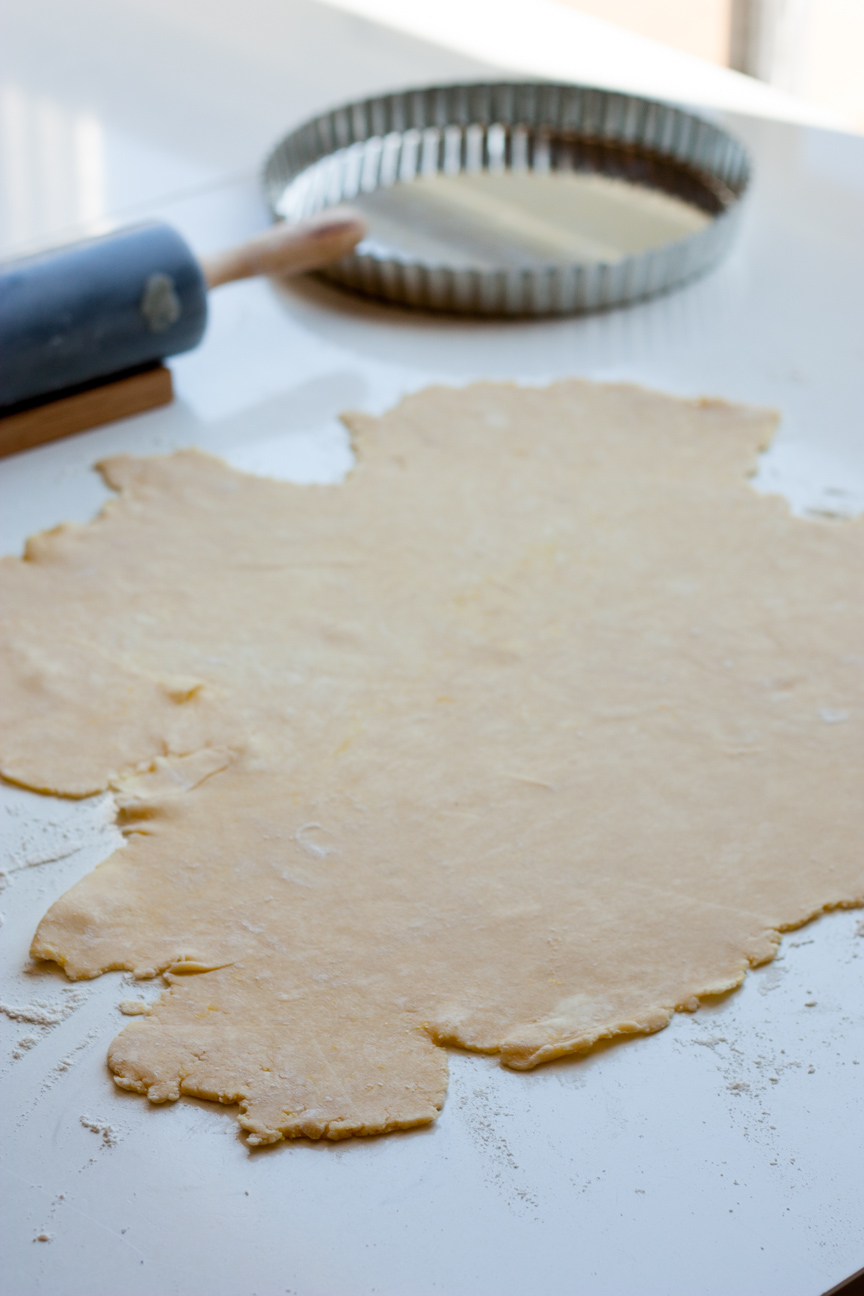
Roll the short crust pastry to a thickness of 4 mm. This is the thickness of a British one pound coin or two Canadian $2 coins.

short crust pastry

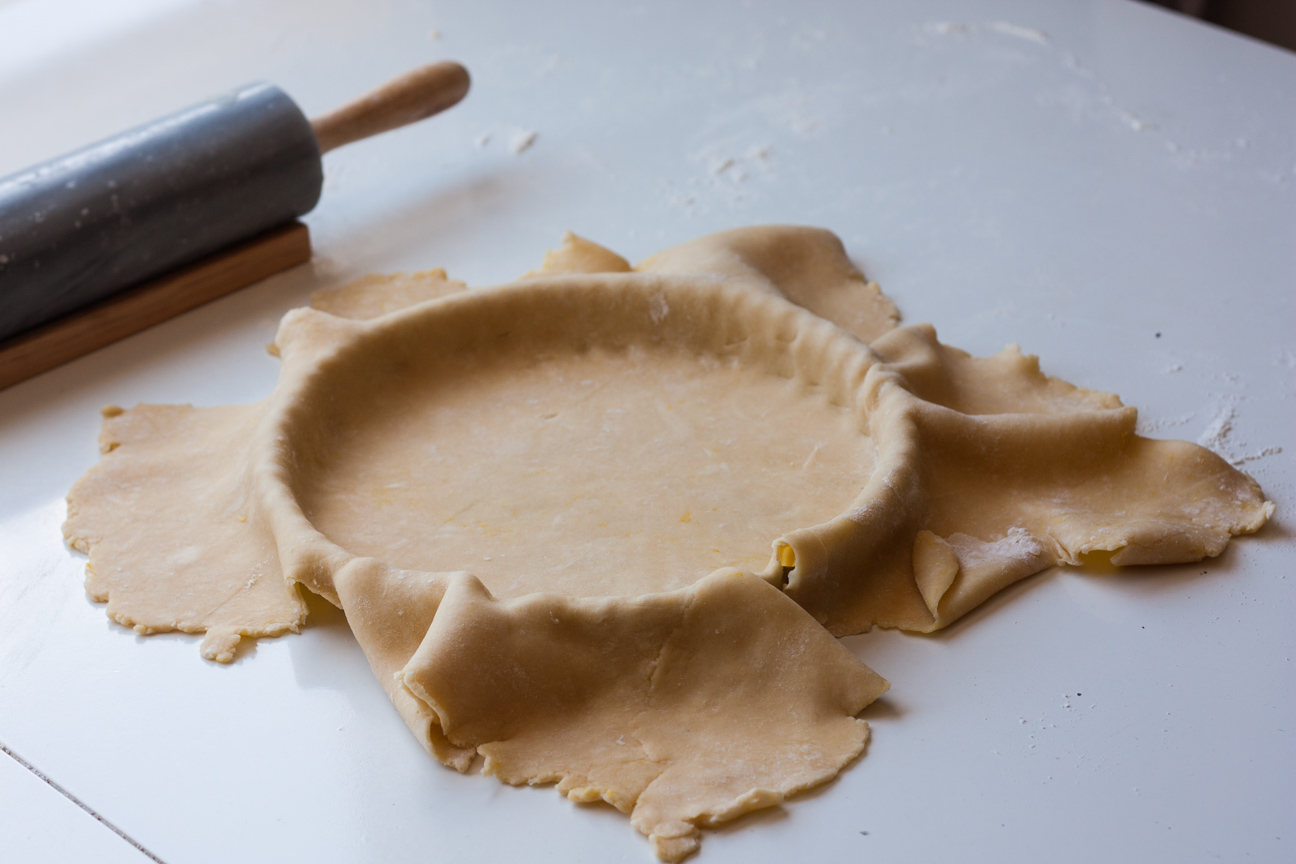
Place the pastry in a fluted pan and then place in the refrigerator to keep it cold before baking.

short crust pastry

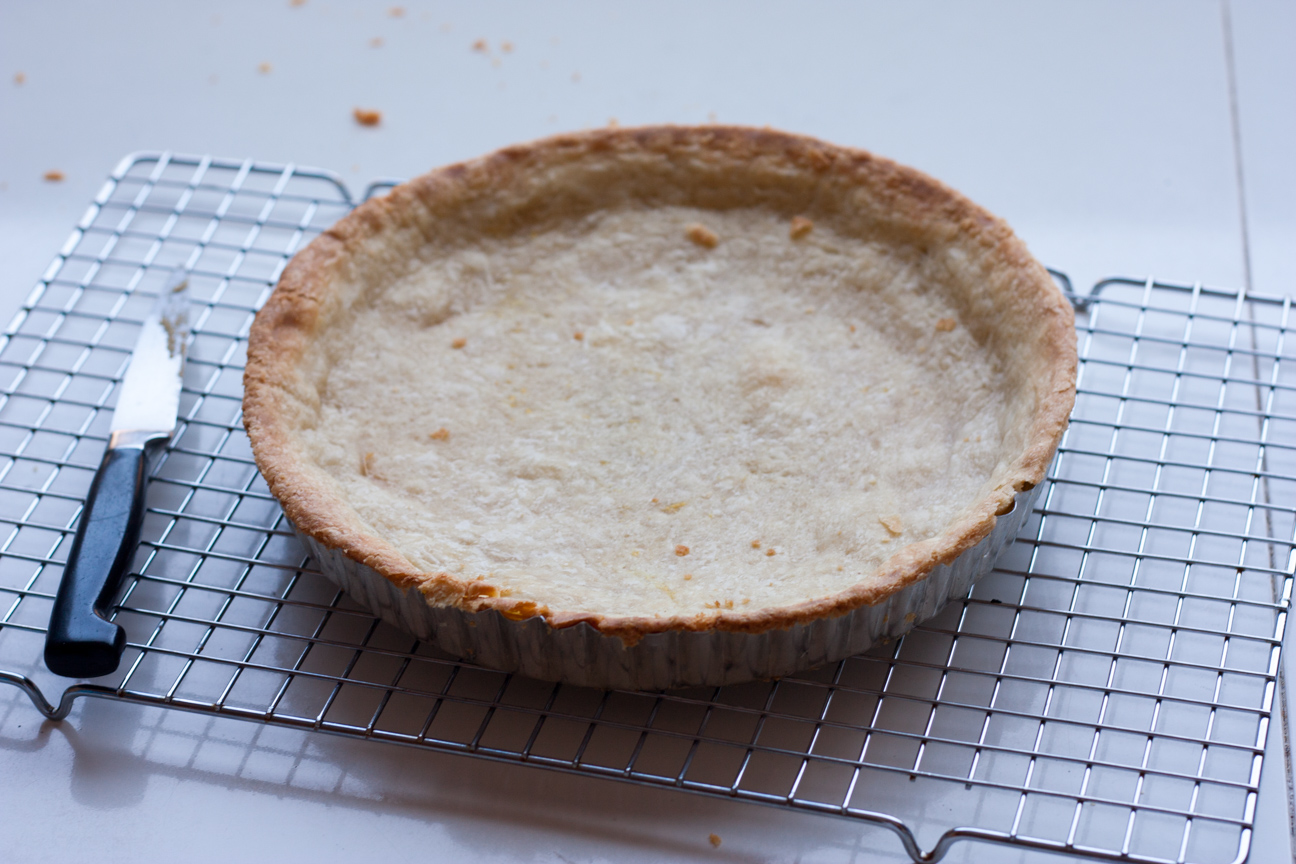
Bake the pastry in the oven with pie weights or beans. Remove the weights and then bake for about five minutes by itself.

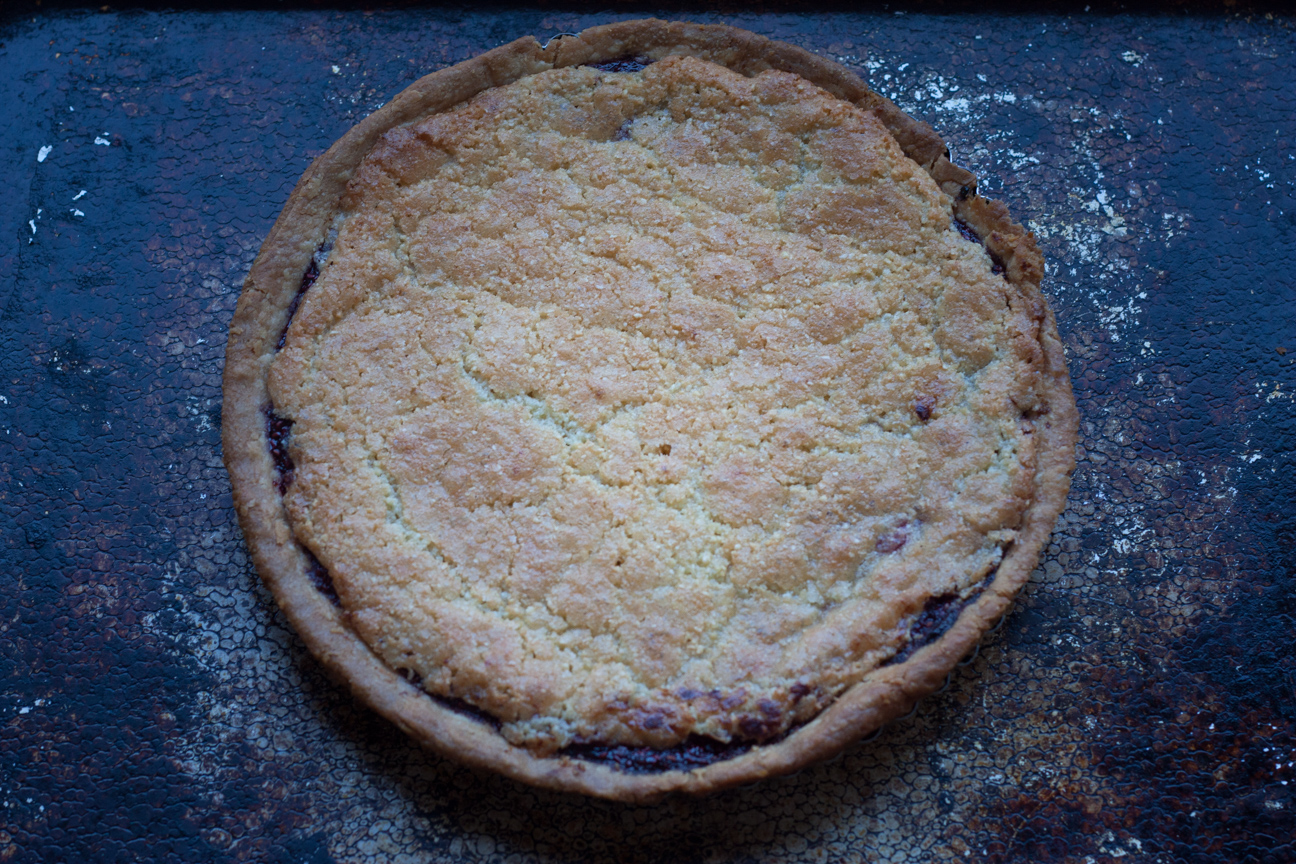
bakewell tart recipe

But wait! I thought. This recipe box contained all of our family’s favourite recipes that Mum baked over and over again. I don’t remember my Mum ever making Bakewell Tart.

I’m sure my Mum must have had a Bakewell Tart at some point during her youth. Perhaps during a summer outing with her family? And she probably made it once or twice for my Dad in Canada.

Where ever my Mum got the recipe and why will forever remain a secret. I’m sure that when she was writing out the recipe, it brought back many happy memories.  But that will always remain a mystery.

bakewell tart

Spread the cooled short crust pastry with raspberry jam, fill with frangipane and then bake in the oven until set and golden.

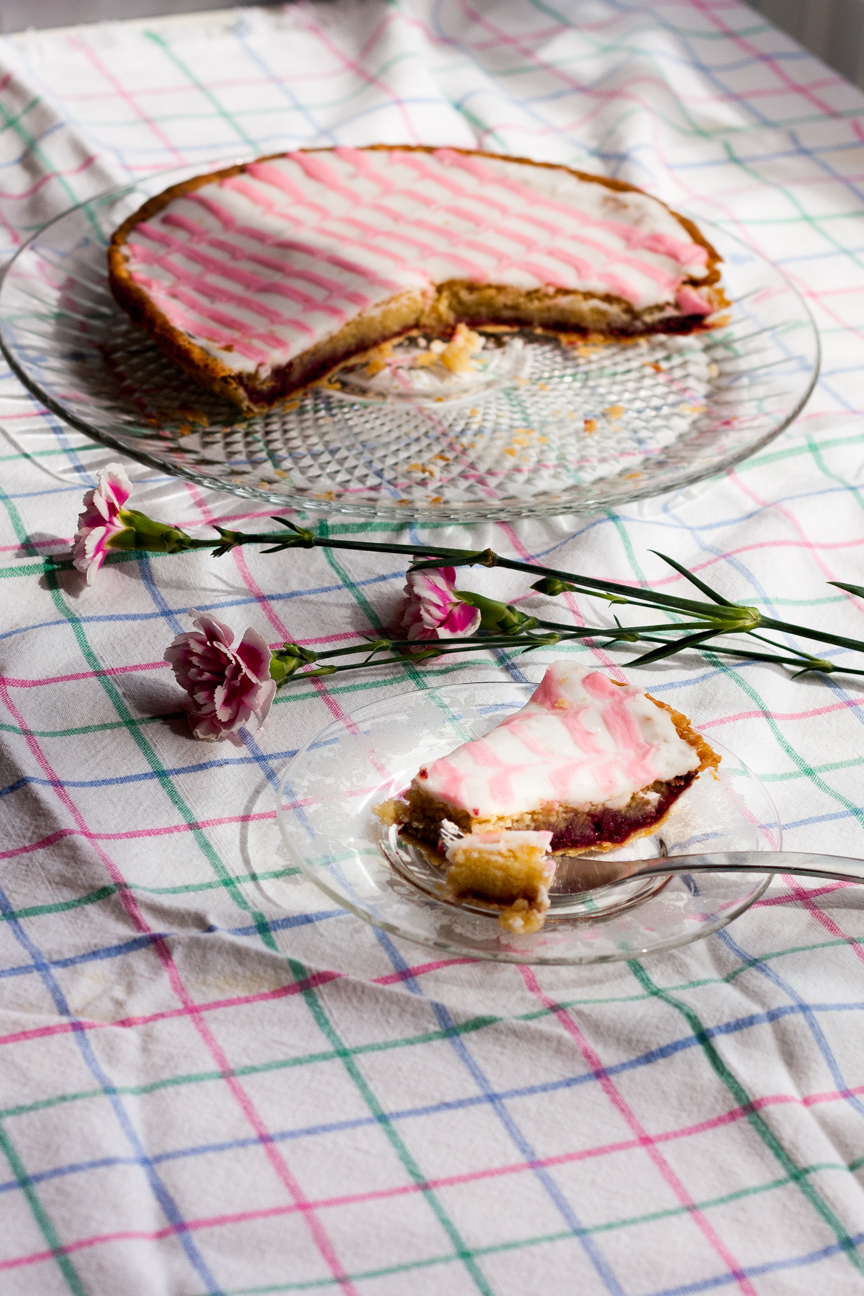
bakewell tart with flowersDecorate with icing when the tart is cold.
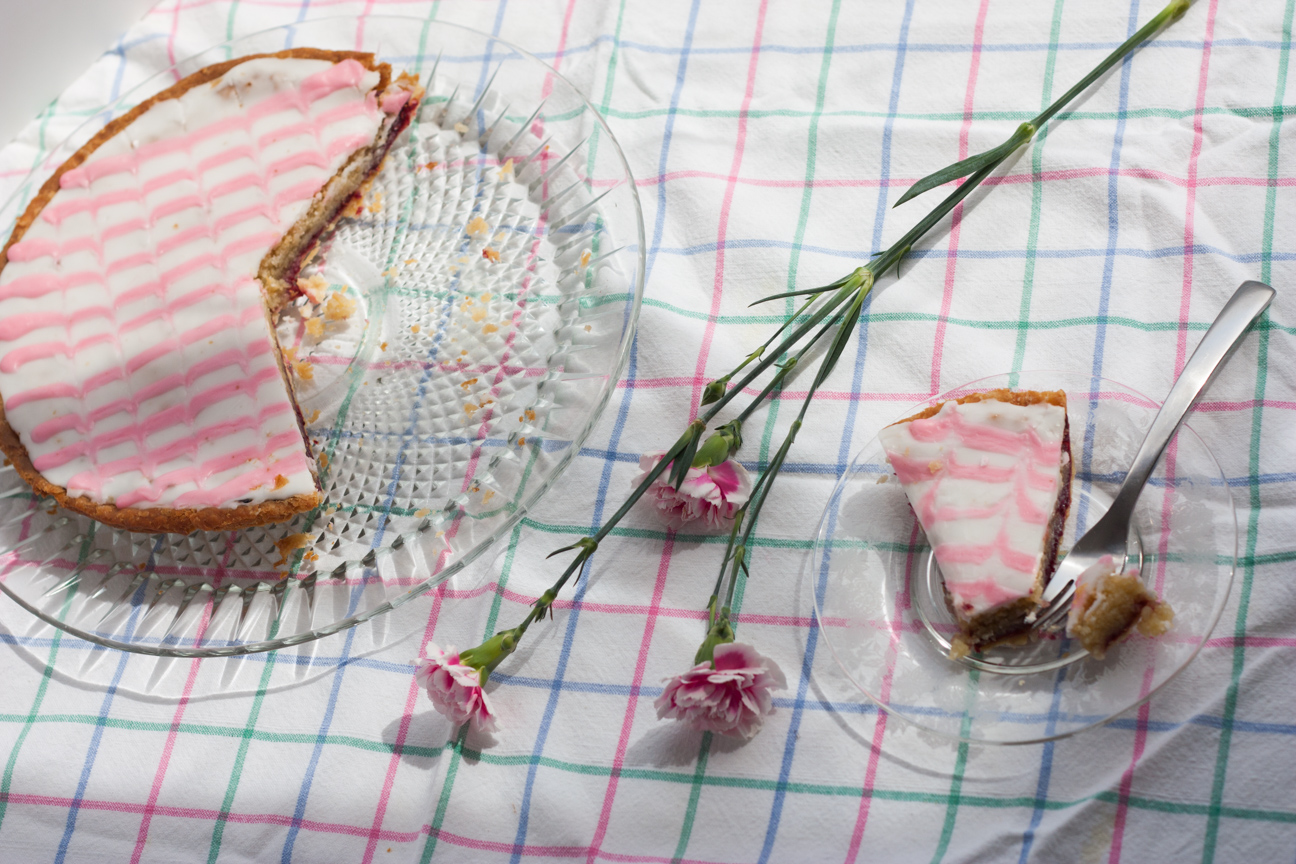
bouquet of flowers

Happy Mother’s Day, Mom! Love you!

Bakewell Tart

Serves: 10
Cooking Time: 1 hour

Ingredients

  • for the jam
  • 250 grams raspberries (frozen or fresh)
  • 22 g sugar
  • juice from 1/2 a lemon
  • for the sweet shortcrust pastry
  • 225 g plain flour
  • finely grated zest of 1/2 a lemon
  • 150 g butter, diced and cold
  • 25 g icing sugar
  • 1 large egg, beaten
  • For the filling
  • 150 g butter, soft
  • 150 g sugar
  • 150 g ground almonds
  • 1 large egg, beaten
  • 1 tsp almond extract
  • for the icing
  • 300 grams icing sugar
  • 3 tbsps water
  • 1 tsp almond extract
  • food colouring gel

Instructions

1

Jam: Add raspberries, sugar and lemon juice to a pot. Bring to a boil and then let simmer for about 12 minutes until thickened.

2

Place in refrigerator to firm up.

3

Pastry: Add the flour to a medium sized bowl, add the diced cold butter and rub together with your fingertips until it resembles find breadcrumbs. Add in the icing sugar. Mix the egg and ice cold water together and add to bowl. Mix until a soft dough is formed.

4

Lightly sprinkle your table with a bit of flour. Roll out the dough to a thickness of just under 4 mm (one pound coin or 2 Canadian $2 coins). Place the rolled dough into a fluted tin. Trim dough, but let it still overhang a bit as it will shrink somewhat.

5

Chill for about 30 minutes.

6

Preheat oven to 390 degrees F.

7

Before you put the pastry in the oven, place some non-stick parchment paper over top of the pastry, fill tin with pie weights and bake for 15 minutes. Then, remove the beans and cook by itself for 5 minutes to dry out the bottom.

8

Remove from oven and let cool.

9

Once the pastry has cooled, spread it with four tablespoons of the jam.

10

reduce the oven temperature to 355 degrees F.

11

To make the frangipane, cream the butter and sugar together until nice and fluffy and pale. Add the egg, ground almonds and almond extract. Mix together until everything is incorporated. Spoon or pipe the mixture on top of the jam smoothing the top.

12

Place the tin back in the oven on a tray and bake for 25-35 minutes. The frangipane should be a golden brown. Also, a cake skewer when inserted into the middle of the cake, should come out clean.

13

Remove from the oven and leave to cool completely in the tin.

14

To remove the cake tin, place the tin on top of something tall and narrow, like a tupperware container. Remove the sides of the tin and then place the Bakewell Tart on a cake platter.

15

To decorate: Mix together the icing sugar, water and almond extract. Place about 3 tbsp of this icing in a separate bowl and add a few drops of food colouring. Spoon the white icing all over the top of the tart. Pipe several lines of coloured icing across the tart. Drag a toothpick or cocktail stick through the lines to create a feathered look.

slightly adapted from Mary Berry’s Bakewell Tart  from The Great British Bake-Off.

Baking

Easter Simnel Mini Cakes Recipe

simnel cakes on a plate

Easter Sunday dinner is fun to plan because it’s easy to try something new without upsetting anyone. Unlike Christmas when so many traditional favourites are necessary, Easter doesn’t have the same expectations, especially when it comes to dessert. I can’t think of any dessert that our family has at Easter every year.

While our family doesn’t have a traditional dessert at Easter, I love searching through my cookbooks for a recipe that is customary somewhere else. British cookbooks are a great place to start in finding a recipe full of history and tradition.

One cake that is beautiful to look at, delicious to eat and fascinating to read up on is Simnel Cake. The word simnel comes from the latin word, “simila” which means fine wheaten flour. Simnel cakes were traditionally made for Mothering Sunday, which has been celebrated in England, on the 4th Sunday of Lent, for atleast 400 years. Traditionally it was a day when families who lived in small villages would go to their “Mother Church”, a larger church in a neighbouring town, instead of going to their local church. Servant girls who worked far away would travel home on this day to visit their families, and would always bring a gift to their mothers.

simnel cakes on a plate

Simnel cakes were popular gifts as they were excellent traveling cakes: dense with dried fruit and sturdy with a marzipan filling and top they were not as delicate as today’s frosted layer cakes. Simnel cakes also tested a daughter’s cooking skills. If the cake was well made it would still be delicious a few weeks later at Easter when Lent was finished. Simnel cakes are recognizable by the 11 marzipan balls on the top to symbolize the 11 apostles (Judas was excluded).

Eventually, Mothering Sunday became less religious and more of a day to give thanks to one’s mother. The 4th Sunday of Lent is now celebrated in England as Mother’s Day and Simnel Cakes have become a popular dessert at Easter.

simnel cakes on a plate

simnel cakes on a plate

I decided to make Simnel Mini Cakes instead of one large cake. They bake up super fast, are easy to serve and if you have any leftovers are fantastic for a lunch box treat. These cakes are dense with ground almonds and studded with dried fruit. The centre of each mini cake has a disc of marzipan that adds to the elegance of these cakes.

Simnel cakes are traditionally decorated with marzipan on top, but I found that a dusting of icing sugar was the perfect as these cakes are sweet, dense and rich just on their own. If you find them too plain for easter, you could put a drizzle of icing on the top with sprinkles or candied flowers. Or you could tie some coloured ribbon around the middle. However you serve them, your dinner guests will love them.

simnel cakes on a plate

simnel cakes on a plate

Happy Easter everyone!


Simnel Mini Cakes

Serves: 14-16
Cooking Time: 30-40

Ingredients

  • 1 cup butter, softened
  • ½ cup white sugar
  • ½ cup brown sugar
  • 4 eggs, room temperature
  • 2 cups flour
  • ½ cup ground almonds
  • 2 tsp baking powder
  • ¼ pound dried cranberries
  • ¼ pound candied ginger, chopped fine
  • ¼ pound dried apricots, chopped fine
  • 1/3 cup of light flavoured liqueur, such as elderflower, amaretto, grand marnier etc.
  • 2 ounces mixed peel
  • zest from one lemon
  • 1 pack marzipan, 227 grams
  • decorations: candied flowers, thin icing, sprinkles, or ribbon

Instructions

1

Soak dried fruit and lemon peel for 1 hour in liqueur.

2

Line muffin tin with parchment paper or paper cups.

3

Preheat oven to 300 degrees Fahrenheit.

4

Beat butter and sugar until light and fluffy. Add eggs, one at a time.

5

In another bowl, mix together flour, baking powder and ground almonds.

6

Add flour mixture to butter and sugar mixture. Stir until well mixed. Add dried fruit and stir until all the fruit is incorporated.

7

Slice marzipan into discs.

8

Pour half of cake batter into prepared spring form pan. Place marzipan disc in the centre, leaving a ½ inch border around the edges.

9

Spoon the rest of the cake mixture into tins. Only fill about 3/4 full.

10

Place pan in oven and bake for 30-40 minutes until done. Knife will still be slightly sticky after it is inserted. The top of the mini cakes will be a nice golden brown.

11

Let the mini cakes cool for ten minutes in pan. Then place cake on a rack and let it cool completely.

12

You can decorate the mini cakes with candied flowers, a drizzle of thin lemon icing (icing sugar + lemon juice) and/or some coloured ribbon.

13

Enjoy!


Baking

Traditional Currant Welsh Cakes

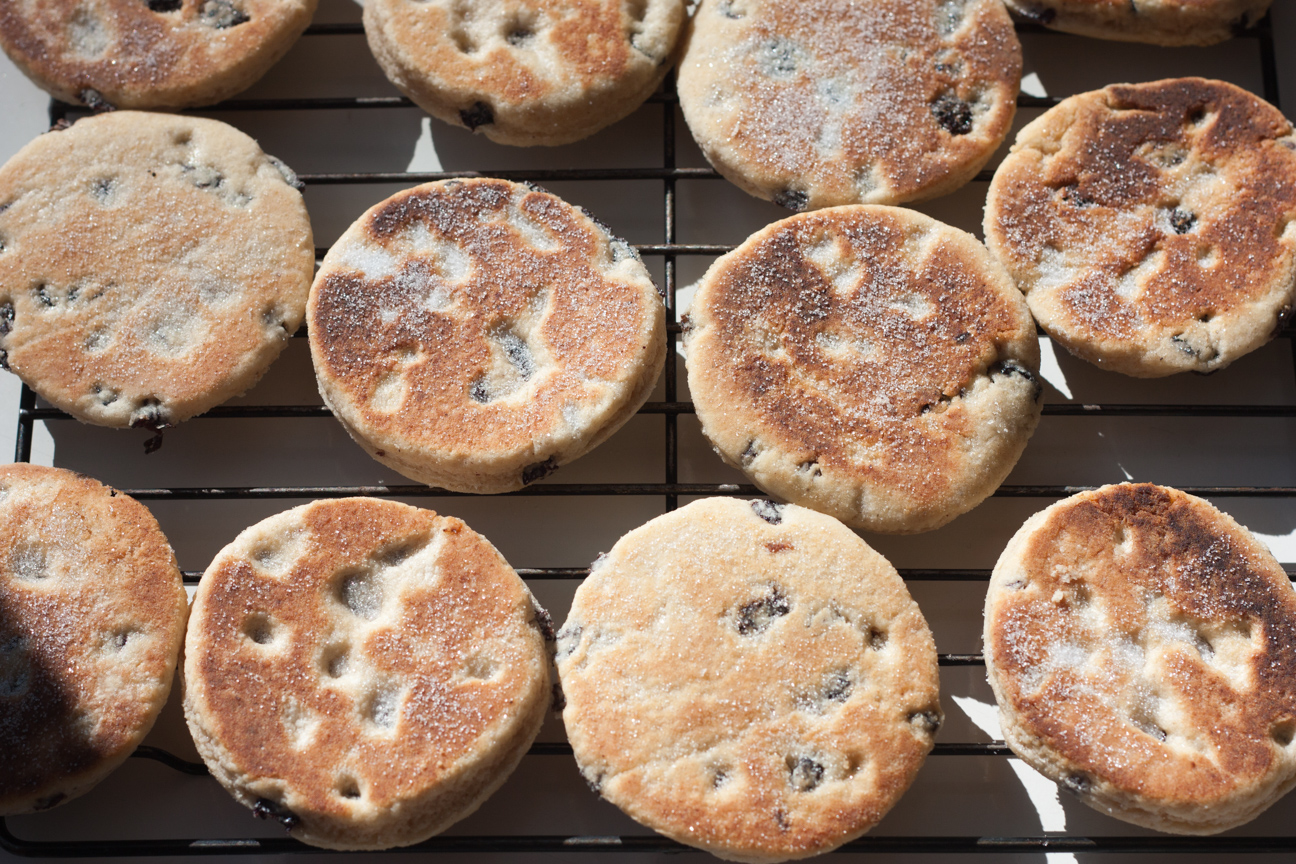
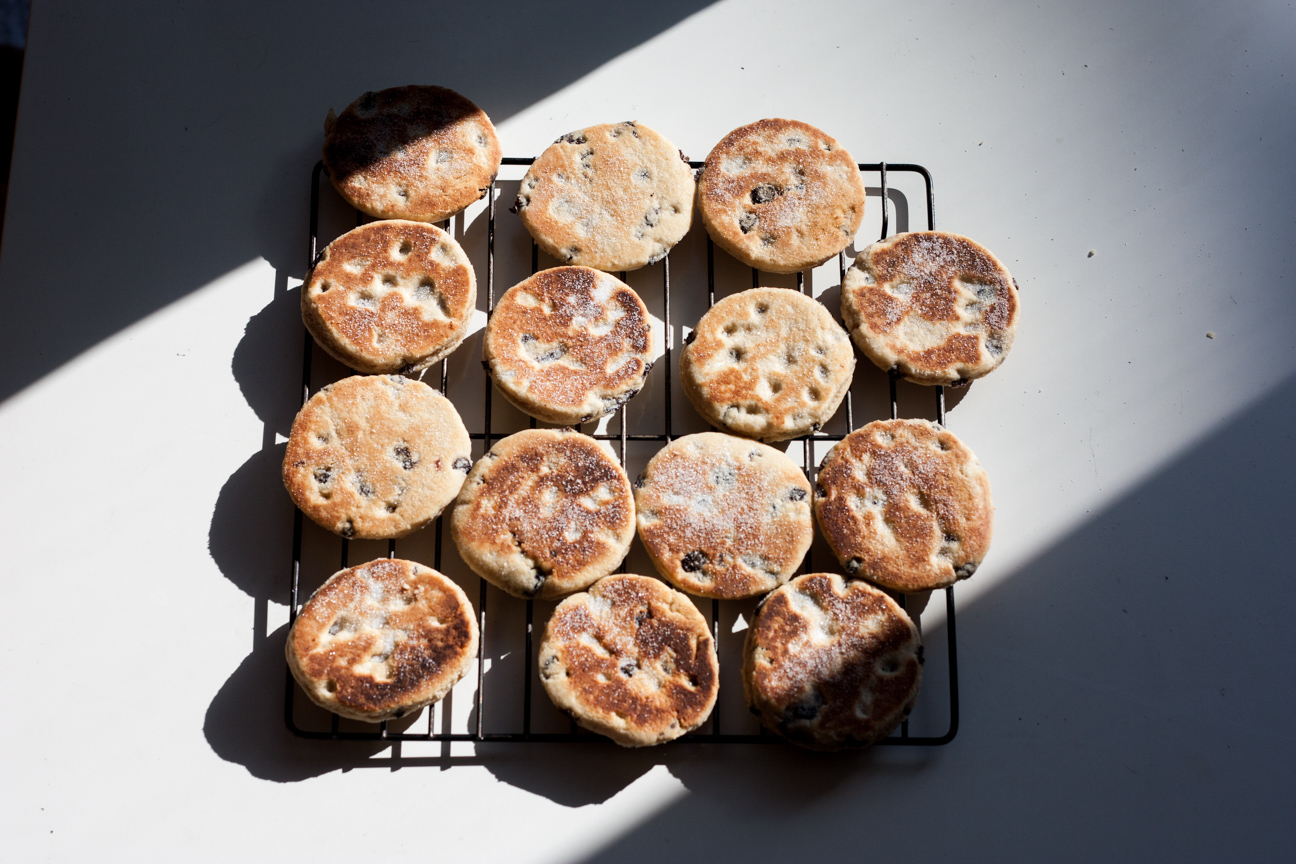
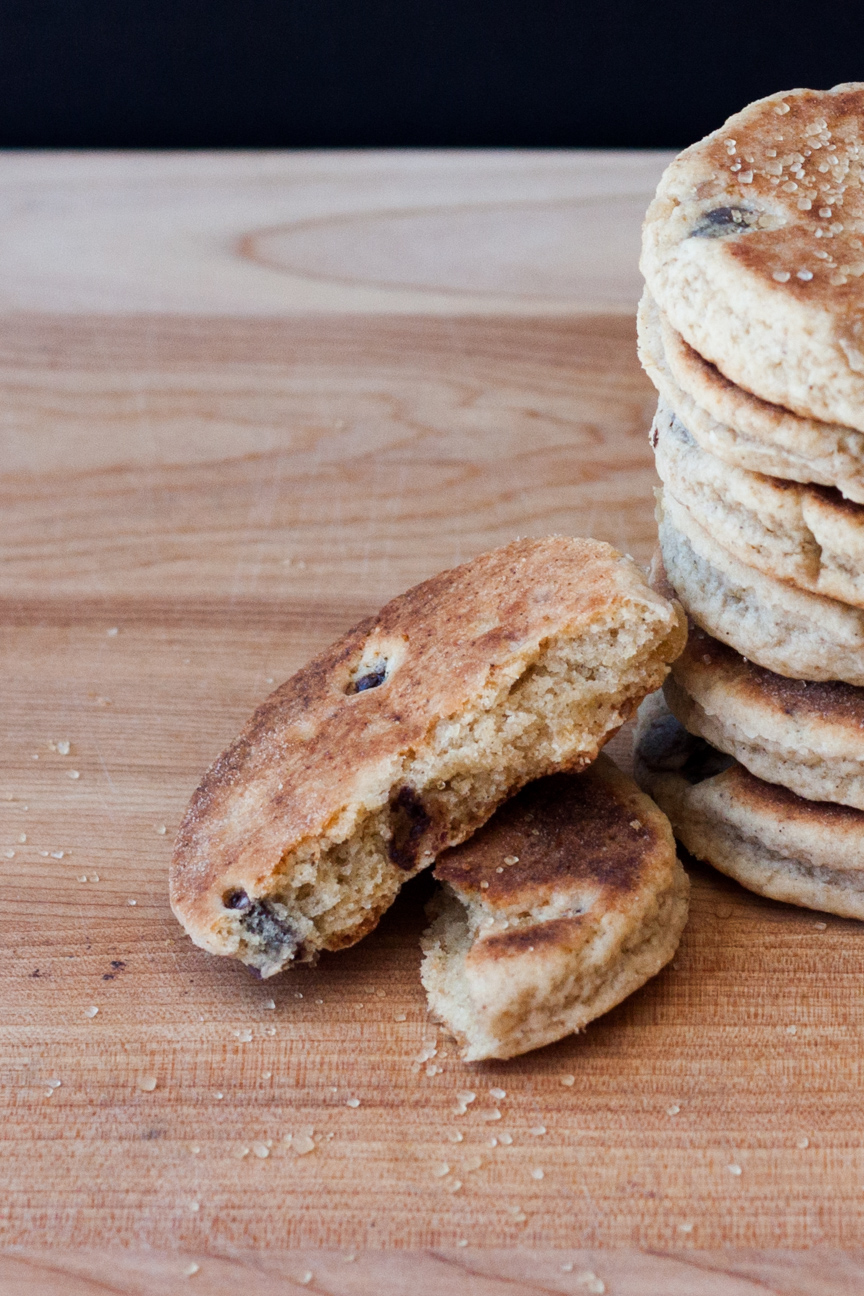
traditional currant welsh cakes

Traditionally, Welsh Cakes are chock full of currants and sprinkled with white cane sugar. I recently posted a recipe for Chocolate and Ginger Welsh Cakes.  But I wanted to post this recipe for the Traditional version, in case anyone wants to try it the way they have always been made in Wales.

Enjoy!

Traditional Welsh Cakes with Currants

Serves: 12-18
Cooking Time: 30 minutes

Ingredients

  • 250 grams unbleached white flour
  • 120 grams butter, cold and diced
  • 1 tsp baking powder
  • 70 grams currants
  • 55 grams sugar
  • 1 egg
  • 1-2 tbsp milk
  • 1/4 tsp nutmeg
  • 1/4 tsp ginger
  • 1/4 tsp cinnamon

Instructions

1

Stir together the dry ingredients: flour, baking powder, spices

2

Add the butter and rub into the flour mixture until the mixture resembles coarse breadcrumbs

3

Stir in sugar and currants.

4

Mix in the egg.

5

Add milk until a nice soft dough is formed.

6

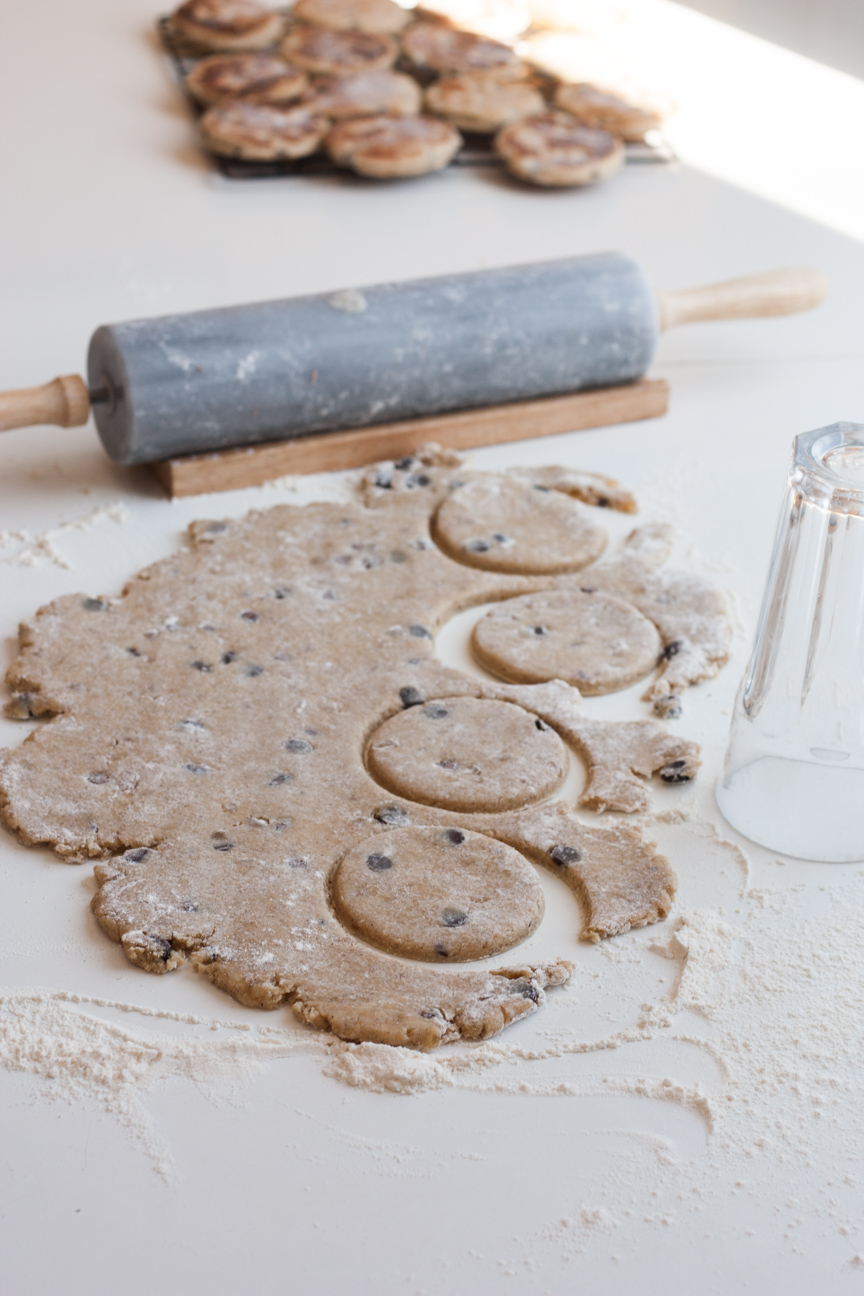
Roll out on a tabletop sprinkled with flour.

7

Cut out welsh cakes with any round shape approximately 7.5 to 8 cm in diameter. I used a drinking glass.

8

Heat a skillet on the stovetop on medium heat. Add a very tiny amount of butter.

9

Place a few welsh cakes in pan, with some space surrounding each one. Do not overfill skillet. You need room to flip them over.

10

When the underside is a nice golden colour, flip over and cook the other side.

11

Remove from skillet when both sides are done.

12

Let cool on a baking rack.

13

Sprinkle with sugar. You can do this either in the pan while the second side is cooking, or while they are on the baking rack. Either will work fine

14

Serve warm or room temperature.

Notes

If you want to freeze some welsh cakes for later, you can either freeze some cooked welsh cakes in a ziplock bag. Or you can cut them out and freeze the uncooked cakes. To do this, cut out the welsh cakes, place them on parchment paper on a tray and freeze until firm. Then place them in a ziplock bag or plastic container, layered with parchment paper in between. To cook, simply defrost the cakes and then cook following the instructions above.

Baking

Chocolate and Ginger Welsh Cakes

traditional welsh cakes

I absolutely love Welsh Cakes, such a delicate taste and subtle sweetness. They are the perfect treat to have with tea or coffee. And these Chocolate and Ginger Welsh Cakes are truly divine.

chocolate and ginger welsh cakes

Welsh cakes are a cross between a scone and a cookie but cooked like a pancake in a hot skillet on top of the stove. They are slightly crisp on the outside but tender and crumbly inside. I love making welsh cakes because I usually have all the ingredients on hand.

I first had Welsh Cakes in Wales, years ago, during my year long adventure with my friend, Bonnie. We stayed with Bonnie’s Aunts (Aunt Betty and Aunt Betty) for a whole month in the small town of . They lived in a small village near Swansea on a hilly street lined with row houses – each one a different colour. Each day, Bonnie’s Aunts set out a proper tea for us. By 4 pm, their wood kitchen table was completely laden with a variety of utterly delicious tea items: cheese and crackers, cakes, bread and butter, fruit and devonshire cream, tea and of course, welsh cakes.

chocolate and ginger welsh cakes

Welsh cakes (or pice ar y maen – cakes on the stone, in Welsh) are so fast to whip up, you won’t believe it. They take, at the most, an hour from start to finish. They are fantastic for the beginner baker as they are so simple to make. And they have ‘homemade’ written all over them, as I can’t imagine too many bakeshops spending time cooking these up individually on a stovetop.

Try to make these cakes on the day that you want to serve them. As they only keep for 1-2 days before tasting a bit stale. You can also cut some out and freeze them uncooked until you are ready to cook some more.

chocolate and ginger welsh cakes

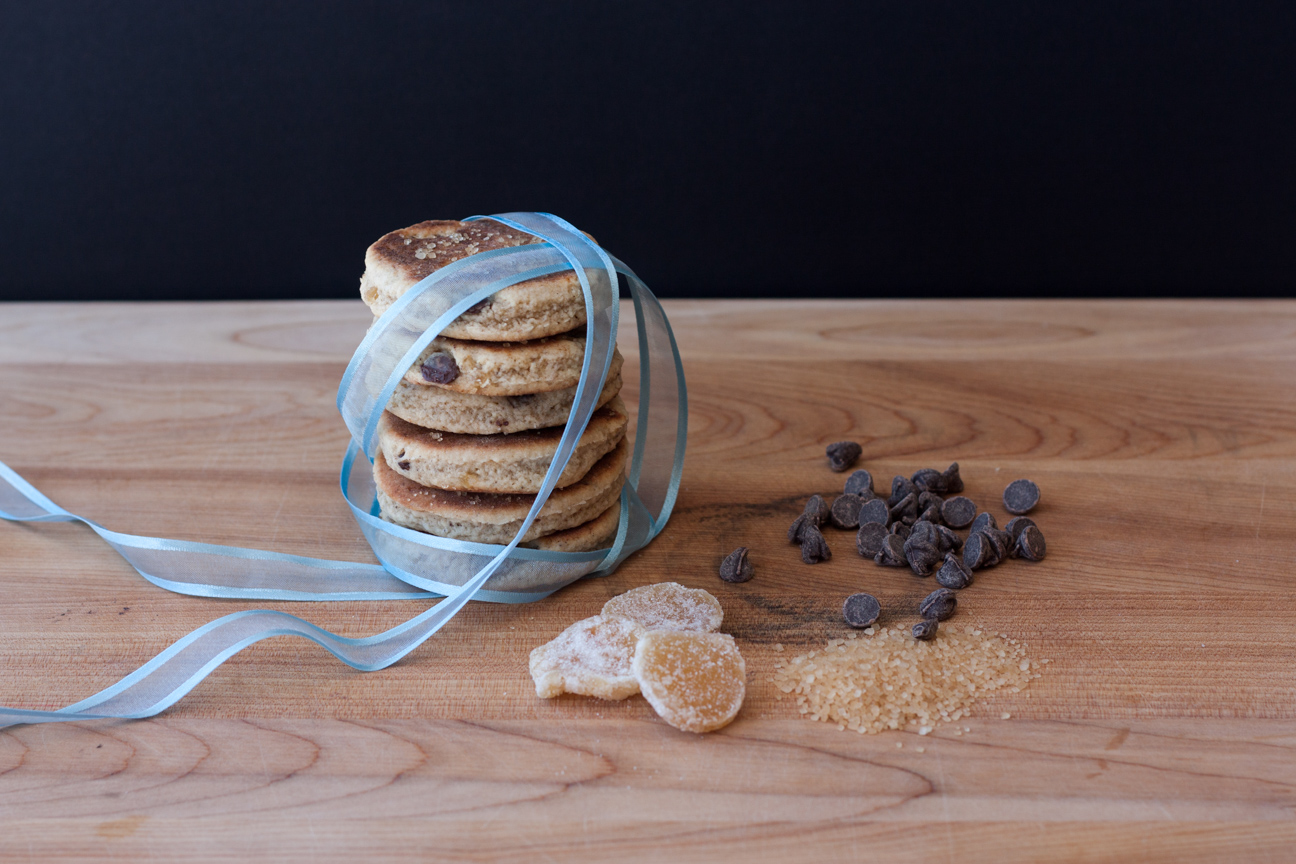
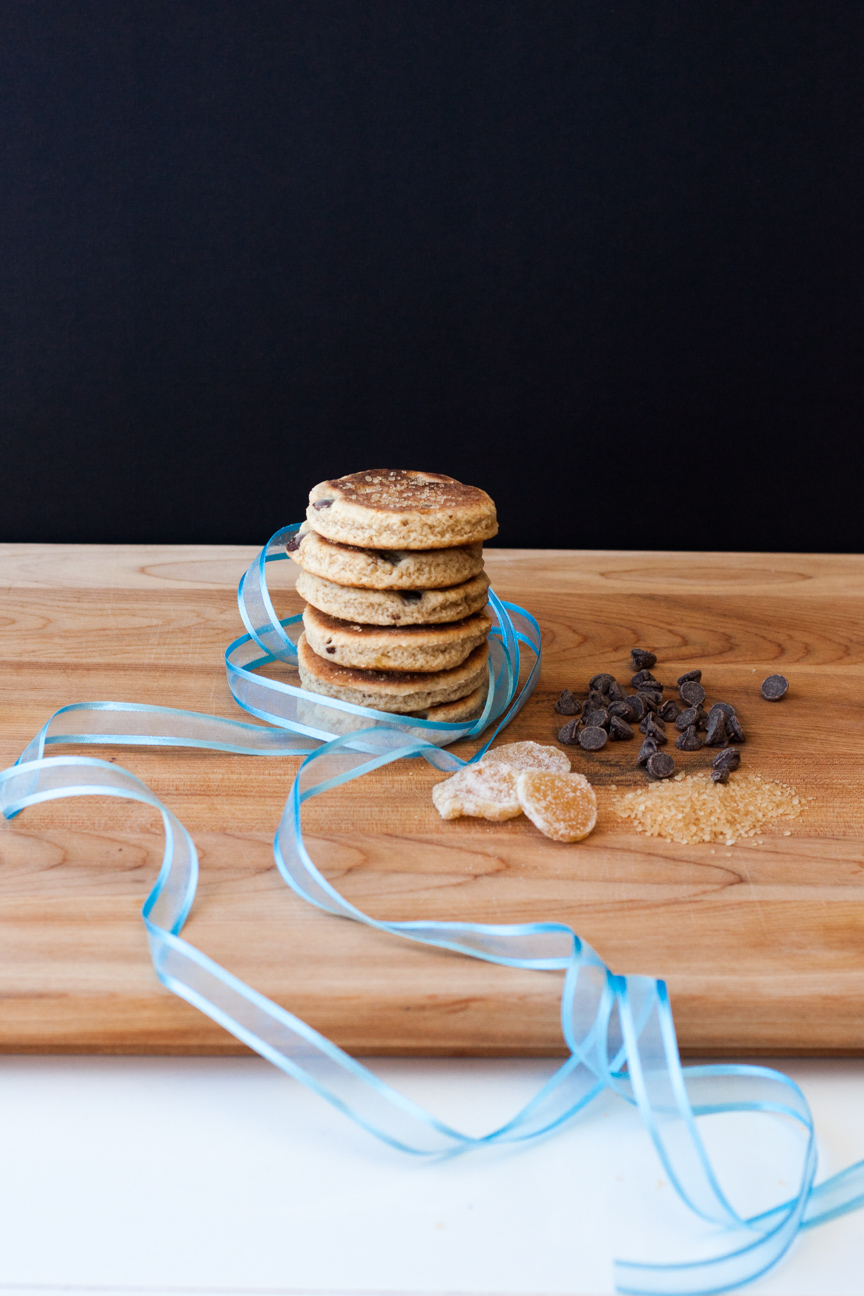
I love Traditional Welsh Cakes, but I was eager to try some a flavour. So, I added some dark chocolate and chopped crystallized ginger. I love eating these Chocolate and Ginger Welsh Cakes warm from the skillet. The chocolate inside is slightly molten and the ginger is soft and lightly scented.

traditional welsh cakes

The origin of Welsh Cakes is very interesting. Years ago, miners would carry freshly made cakes down into the mines. A hearty snack and a taste of home while they were working in the cold, dark mines down below. Try popping one into a loved ones’ lunch kit to brighten their day.

chocolate and ginger welsh cakes

Below are a few variations of Welsh Cakes that you can find around the country.

  1. Jam Split: Popular in South Wales, the cakes are split open and spread with jam inside:

2. Apple Dragon: Add some grated apple to the mixture to make your cakes more moist.

3. Newport Lovely Welsh Cakes made by men in the City of Newport for their girlfriends as a wedding gift or engagement gift.

4. The Welsh Mountain (Mynydd Cymreig) has two times the amount of baking powder in them, for loftier cakes.

If you try a different variation, let me know. Enjoy!

Chocolate and Ginger Welsh Cakes

Serves: 15-18
Cooking Time: 10-12 minutes

Ingredients

  • 250 grams white unbleached flour
  • 120 grams butter, cold, diced
  • 1 tsp baking powder
  • 55 grams white sugar
  • 45 grams cyrstallized ginger, chopped fine
  • 25 grams dark chocolate chips
  • 1 egg
  • 1-2 tbsp strong coffee
  • 1/4 tsp vanilla powder
  • 1/4 tsp ginger
  • 1/4 tsp cardamom

Instructions

1

Stir together the dry ingredients: flour, baking powder, spices

2

Add the butter and rub into the flour mixture until the mixture resembles coarse breadcrumbs

3

Stir in sugar and ginger and chocolate chips.

4

Mix in the egg.

5

Add coffee until a nice soft dough is formed.

6

Roll out on a tabletop sprinkled with flour.

7

Cut out welsh cakes with any round shape approximately 7.5 to 8 cm in diameter. I used a drinking glass.

8

Heat a skillet on the stovetop on medium heat. Add a very tiny amount of butter.

9

Place a few welsh cakes in pan, with some space surrounding each one. Do not overfill skillet. You need room to flip them over.

10

When the underside is a nice golden colour, flip over and cook the other side.

11

Remove from skillet when both sides are done.

12

Let cool on a baking rack.

13

Sprinkle with demerara sugar. You can do this either in the pan while the second side is cooking, or while they are on the baking rack. Either will work fine

14

Serve warm or room temperature.

Notes

If you want to freeze some welsh cakes for later, you can either freeze some cooked welsh cakes in a ziplock bag. Or you can cut them out and freeze the uncooked cakes. To do this, cut out the welsh cakes, place them on parchment paper on a tray and freeze until firm. Then place them in a ziplock bag or plastic container, layered with parchment paper in between. To cook, simply defrost the cakes and then cook following the instructions above.

Baking

Mum’s Traditional English Trifle

close-up-of-traditional-english-trifle

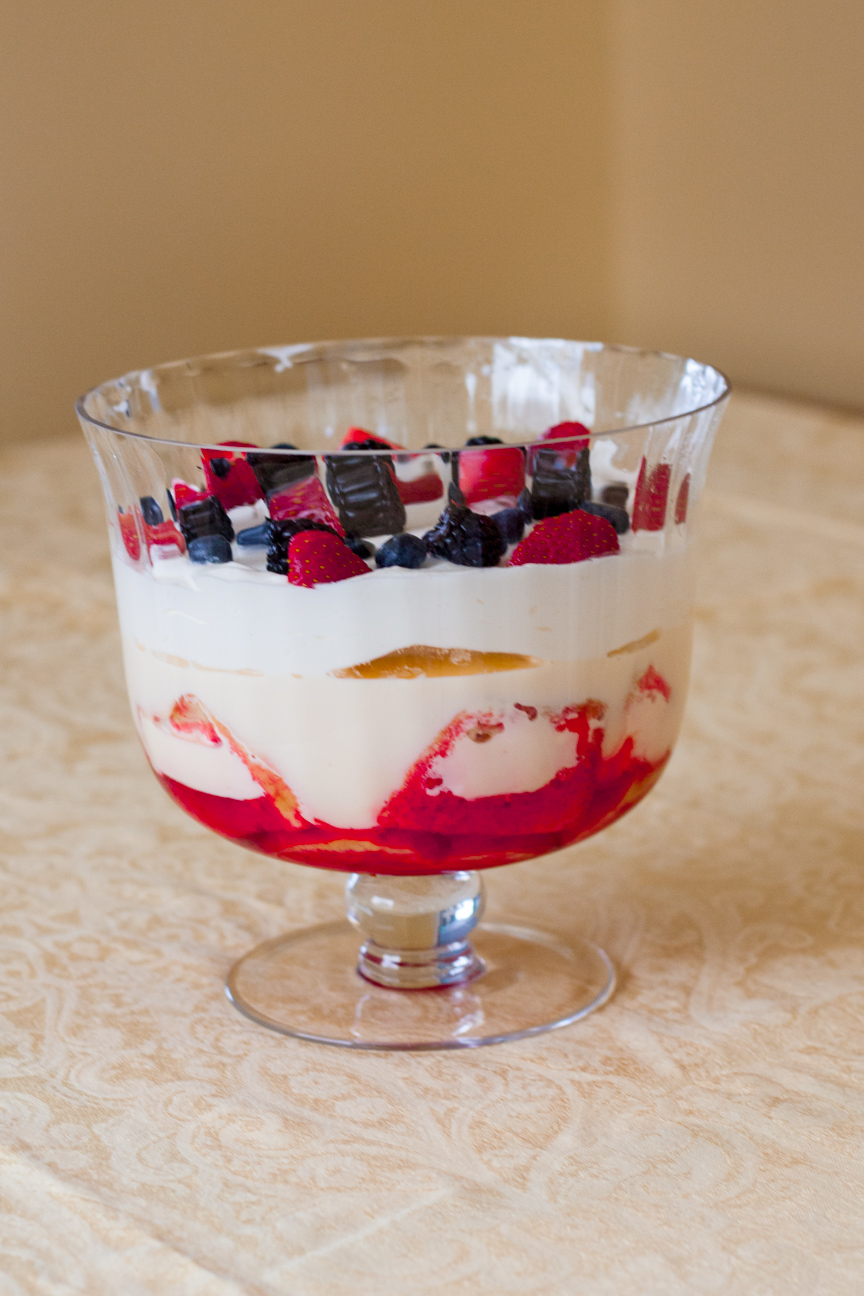
My Mum always made a Traditional English Trifle for New Year’s Day. Every year. I can still recall the big bowl of glistening trifle in my mum’s fridge. The colours of the trifle were illuminating. Sparkling. It was like a prized possession taking up most of the room on the top shelf of the fridge. I’m not even sure my Mum allowed anything else to be beside it in the fridge. It. Was. That. Special. Candied cherries glistened on top of delicious sweet whipped cream. Below the cream were cubes of sherry-spiked pound cake suspended in colourful jello. Rainbow coloured fruit cocktail and golden custard swirled in the centre. I couldn’t wait for New Year’s Day dessert.

As I was making it this year, I was thinking how it seems like an odd winter dessert: cold jello, cold custard and cream and cold fruit cocktail. It seems like it should be more of a traditional summer dessert, like for the Queen’s birthday, or perhaps Canada Day. But I realized that what is special about having this very colourful cold dessert in the middle of winter, is that it’s a little reminder that summer will soon be here. It’s reassuring that these arctic temperatures won’t last forever and before we know it all the birds will be back, the bulbs will pop up and all the colours of spring and summer will surround us once again. People often complain about our long cold winters. I don’t mind the cold so much, but what I really miss are the colours of summer.

The first time I made this trifle was many many years ago, for my friend’s daughter’s 5th birthday. She must have heard her mother talk about my Mum’s trifle and wanted that for her birthday cake. So my friend asked if I could make a Traditional English Trifle for the big party. My Mum helped me of course. I had a lot of fun making the trifle and decorating it. I went out and bought the pound cake, jello, whipping cream and candied cherries , as that’s what my Mum used to decorate the top. I used my Mum’s special glass trifle bowl and worked hard to make it as pretty as could be. As it was close to Christmas I chose a lovely lime jello for the bottom and decorated the top with red candied cherries cut in half. It had a lovely red and green theme.

Well, I suppose I underestimated how some children react to green food, because as this lovely trifle was brought to the table of 10 girls, one of them shouted out, ‘Oooh, it’s green! I’m not eating that.” Well, that was a surprise!! In the end, after we explained it was just green jello with cake and whipped cream, a few of the girls tried some. Luckily there were plenty of adults there and we polished it off very quickly. It was very, very delicious.

It doesn’t need to be New Year’s Day to make a trifle. Though trifle truly makes a lovely winter dessert. Try some and you’ll see why.

traditional-english-trifle

Mum's Traditional English Trifle

Serves: 8-10
Cooking Time: 30 minutes

Ingredients

  • 1 pound cake
  • sherry or your favourite liquer
  • 1 box of jello
  • 3 tablespoons of custard powder
  • sugar
  • milk
  • 500 ml whipping cream
  • fresh fruit, sprinkles or your choice for decorating the top

Instructions

1

Cut the pound cake into one inch cubes. You can sprinkle some sherry or liquer on the pound cake, however, it is not essential. The trifle tastes fine without alcohol. Place the cubed pound cake in the bottom of the bowl.

2

Mix the jello by following the package instructions.

3

Pour the jello over the cubed pound cake. The jello should cover the pound cake cubes. If it doesn't, make some more jello and pour overtop until just covered.

4

Put in the fridge until set.

5

Mix up the custard powder following package instructions. Let the custard cool down a bit, to about room temperature. You don't want the custard too hot or it will melt the jello when you pour it on top.

6

Pour the custard over the jello-pound cake mixture.

7

Put back into the fridge until cold.

8

Whip the cream until stiff peaks form. Half way through whipping, add sugar to taste, about 2-3 tablespoons. It should taste sweet.

9

Cover the bowl with saran wrap and place back in the fridge until cold. Decorate with sprinkles, or fresh fruit on the top.

Notes

The amounts for this trifle are very flexible and are completely dependent on the size of your bowl. Ideally, each layer should be about 1/3 of your bowl.