Browsing Tag:

mum

Baking

My Mum’s Best Ever Date Squares

date squares on wood cutting board

To celebrate Mother’s Day, Melissa of the food blog breadandwords and I are teaming up together again. We are featuring recipes that our mothers made when we were young: Melissa’s Mom’s Traditional Argentinian Empanadas and my Mum’s Date Squares.

If you love empanadas, head over to breadandwords, to read about her Mom’s traditional Argentinian Empanadas. I am definitely making some of those soon.

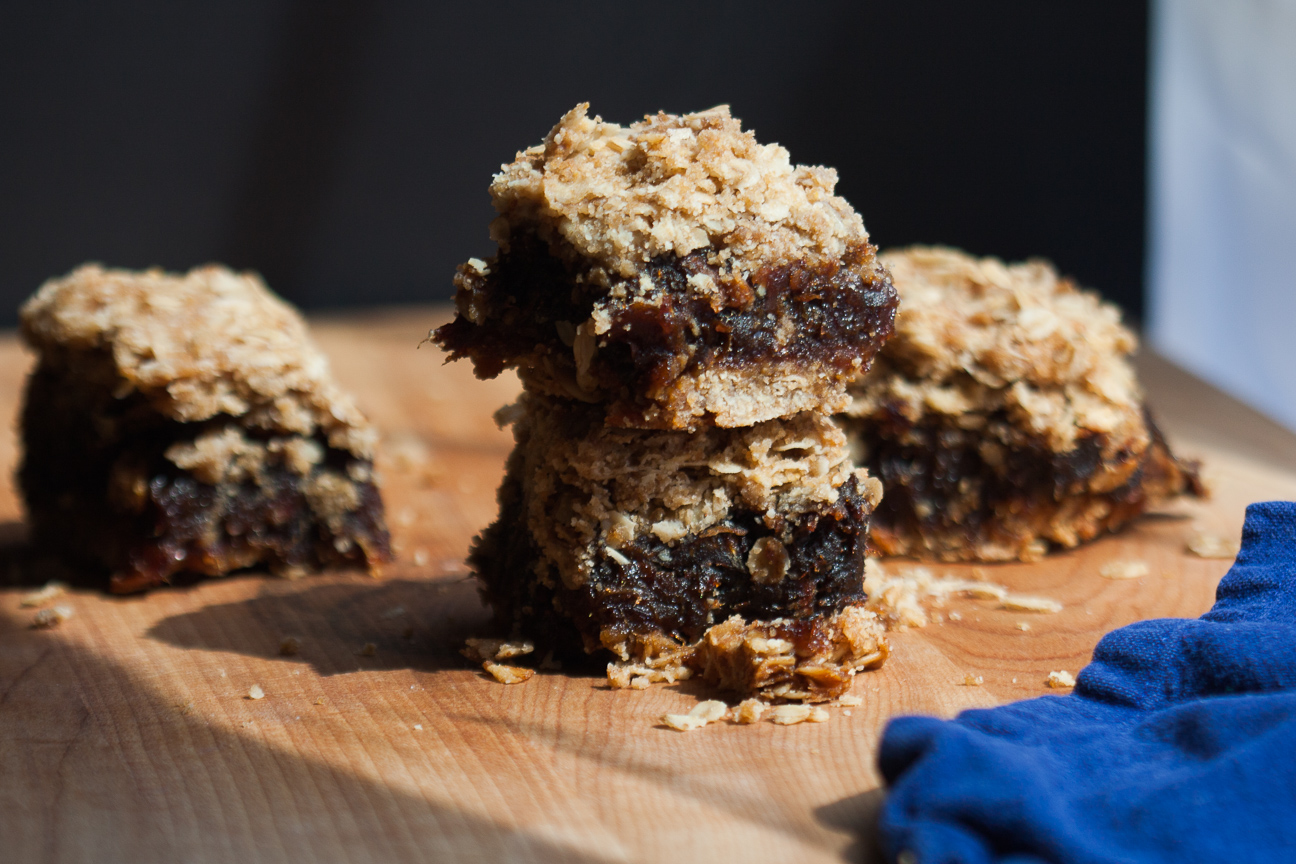
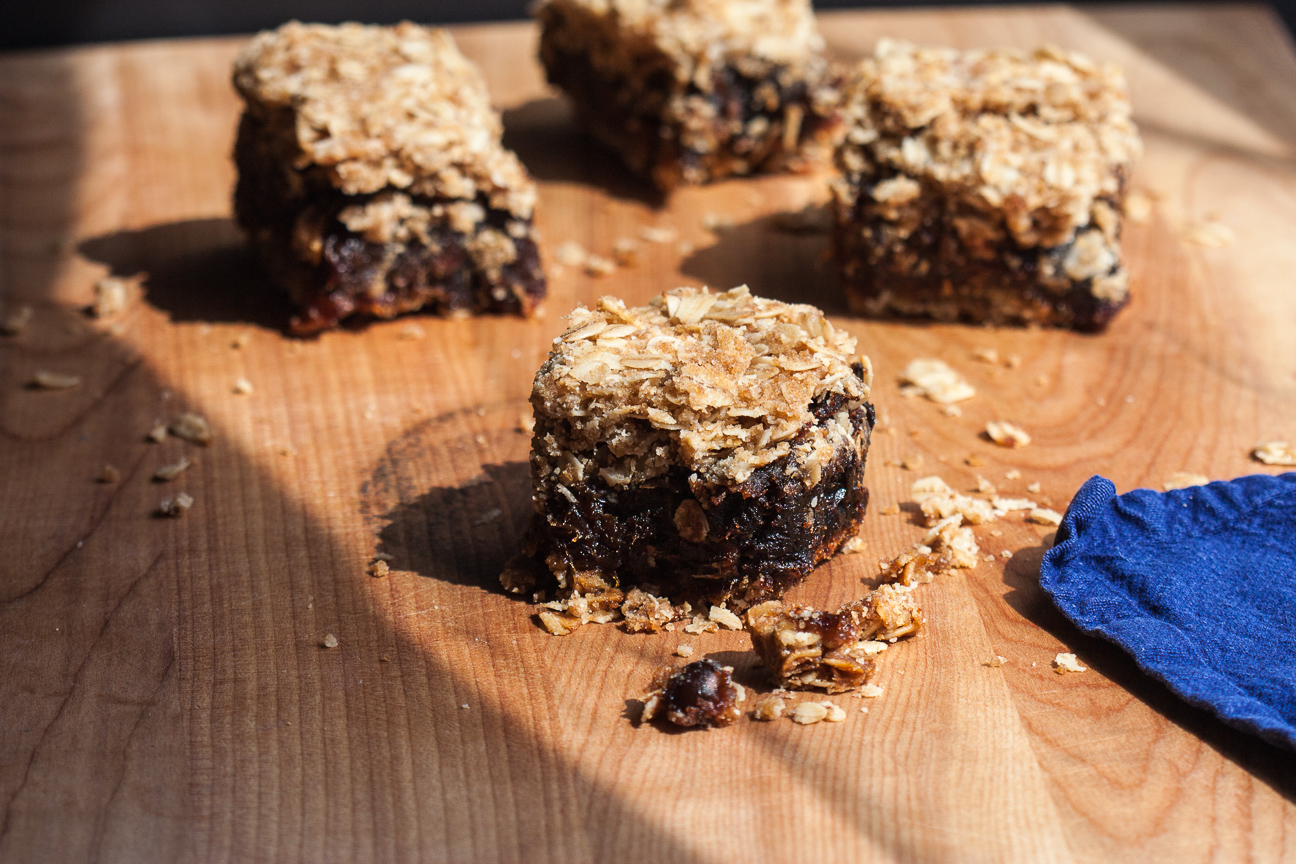
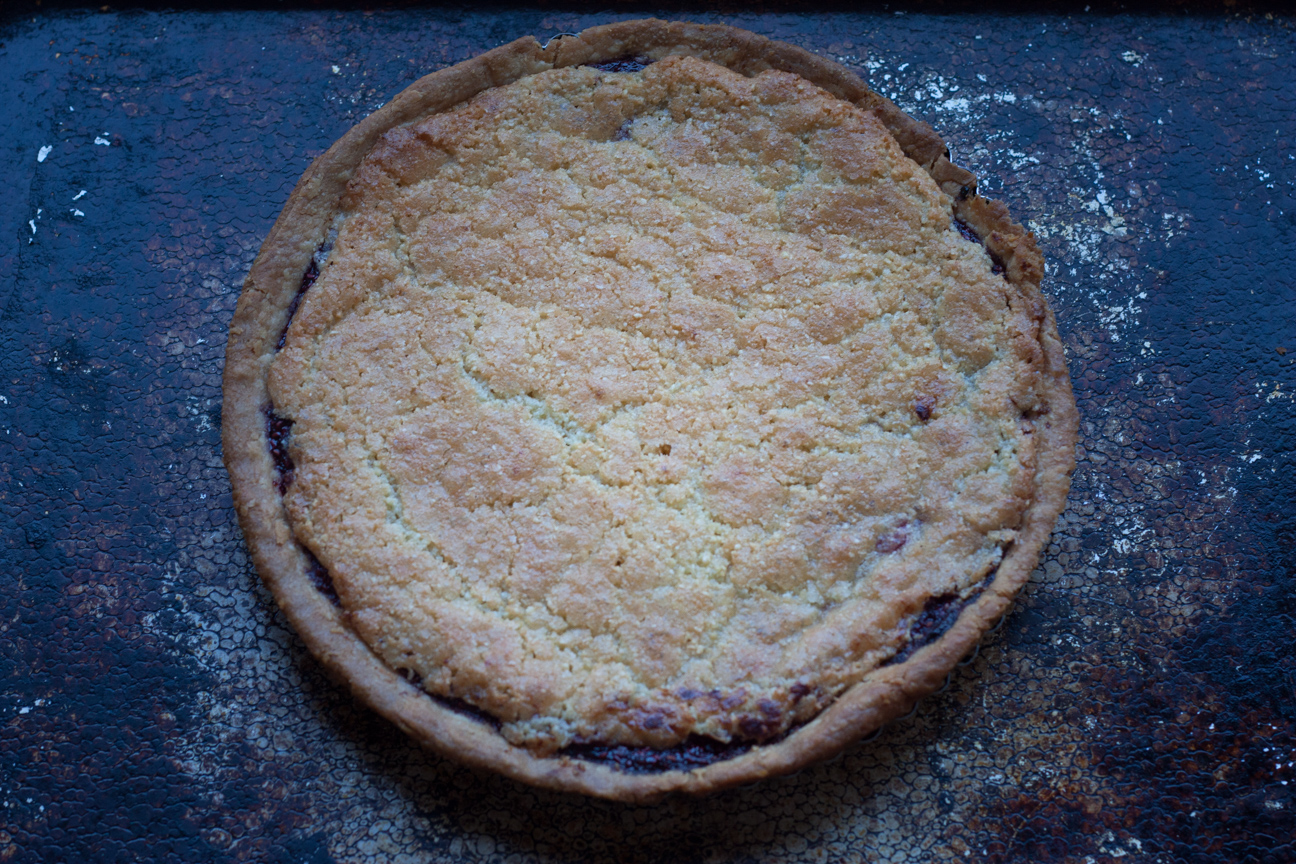
My Mum’s Date Squares were one of my family’s favourite desserts when I was little. They were the best ever. The flavours of soft dates, a caramelized bottom and a crumbly oat and sugar topping is superb. With six of us in the family they never lasted long in our house.

date squares on wood cutting board

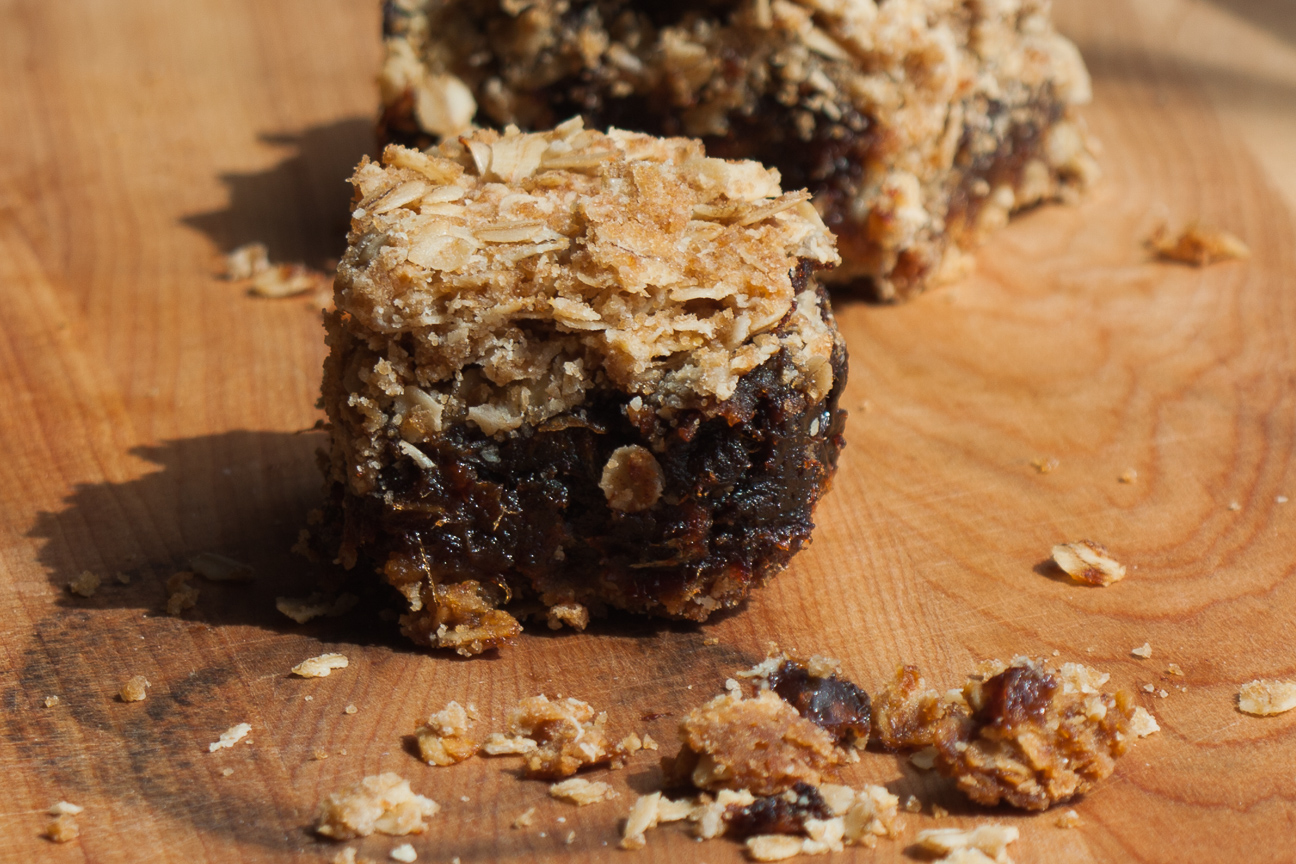
These date squares are quite sweet and not overly buttery. The lengthy baking time caramelizes the brown sugar in the bottom layer which makes it chewy while the top layer remains crumbly. We always loved my mom’s date squares.

woman on ship

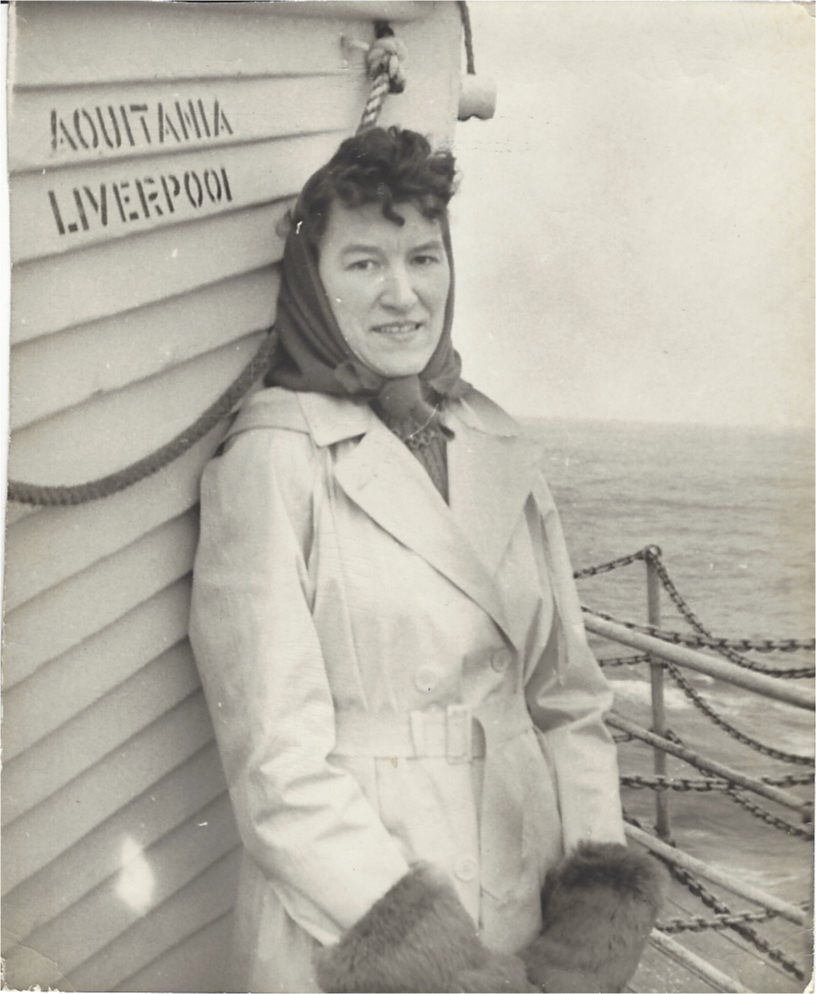
Mum inspired all of us in various ways. It was my her sense of adventure, I think, that always inspired me. She came to Canada 70 years ago, on January 17, 1949. She had bought a one-way ticket from England arriving at Pier 21, Halifax, Nova Scotia on a bright, sunny, wickedly cold day. At 28 years years old, and next to no money in her pocket, she was excited, free and full of adventure.

My Mum was always good at making the best of things.  She grew up without a Mum and with a very stern father. You can read more about her upbringing here, with her bread recipe that I posted on the 100th Anniversary of her birth. I often wonder how she matured into such a happy adventure-seeking woman. But that she did.

Her two favourite past times were quiet, solitary activities: baking and reading. Reading was an activity she enjoyed ever since she was small.  She loved to tell us the tale about hiding out in an apple tree, eating a large juicy apple and reading a book, while her Aunt hollered for her to come help with the chores. (She actually did really like that Aunt, she was just tired of chores that day).

My Mum’s other favourite past time was baking. Her favourite recipes either came from friends, my dad’s relatives or British recipes she clipped out of the newspaper. She would have loved Instagram.

If Mum could read and bake at the same time she was the happiest. I think she liked making date squares more than anything else because she could do her two favourite activities simultaneously.
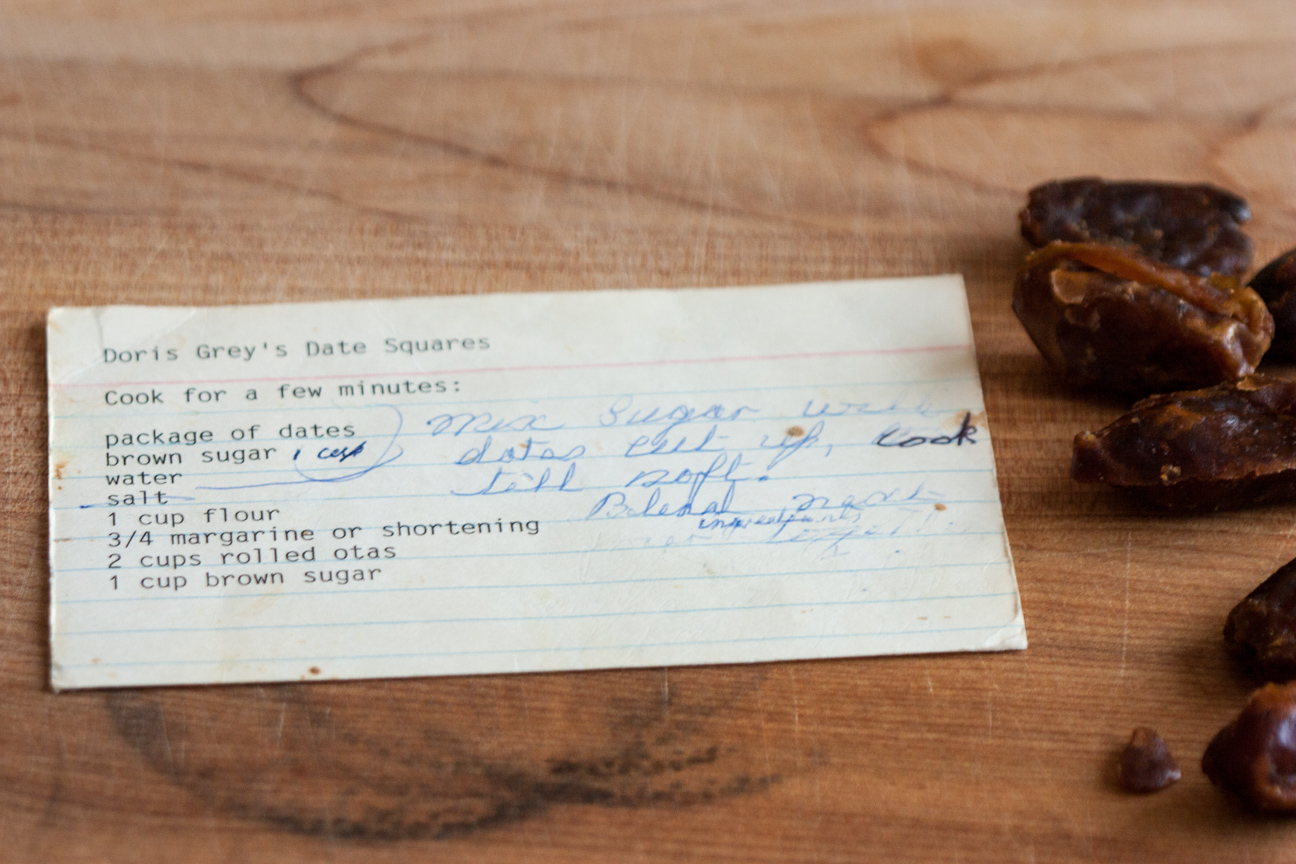
typed recipe card

recipe card

date squares on wood cutting board

I’m very fortunate that my Mum wrote down all the family’s favourite baking recipes. So it’s very easy for me to recreate them, although, I’m sure nothing is ever as good as when your Mum makes something for you.

While I was making these dates squares, I could distinctly remember how my Mum made them. After each step in the recipe she would curl up on the sofa to read while the dates cooked away on the stove, read some more as they cooled down in the pan and then read a little bit more as they baked in the oven. I think she had secret magical baking powers because she never used a timer but also never burnt the date squares. Or maybe each step took just as long as reading a chapter in her book.

date squares on wood cutting board

Enjoy!

Mum's Date Squares

Serves: 16
Cooking Time: 30 minutes

Ingredients

  • 1 pound dates (approx. 450 grams)
  • 1 cup brown sugar
  • 3/4 cup cold butter
  • 1 cup flour
  • 1 cup brown sugar
  • 2 cups oats

Instructions

1

Preheat oven to 350 ℉.

2

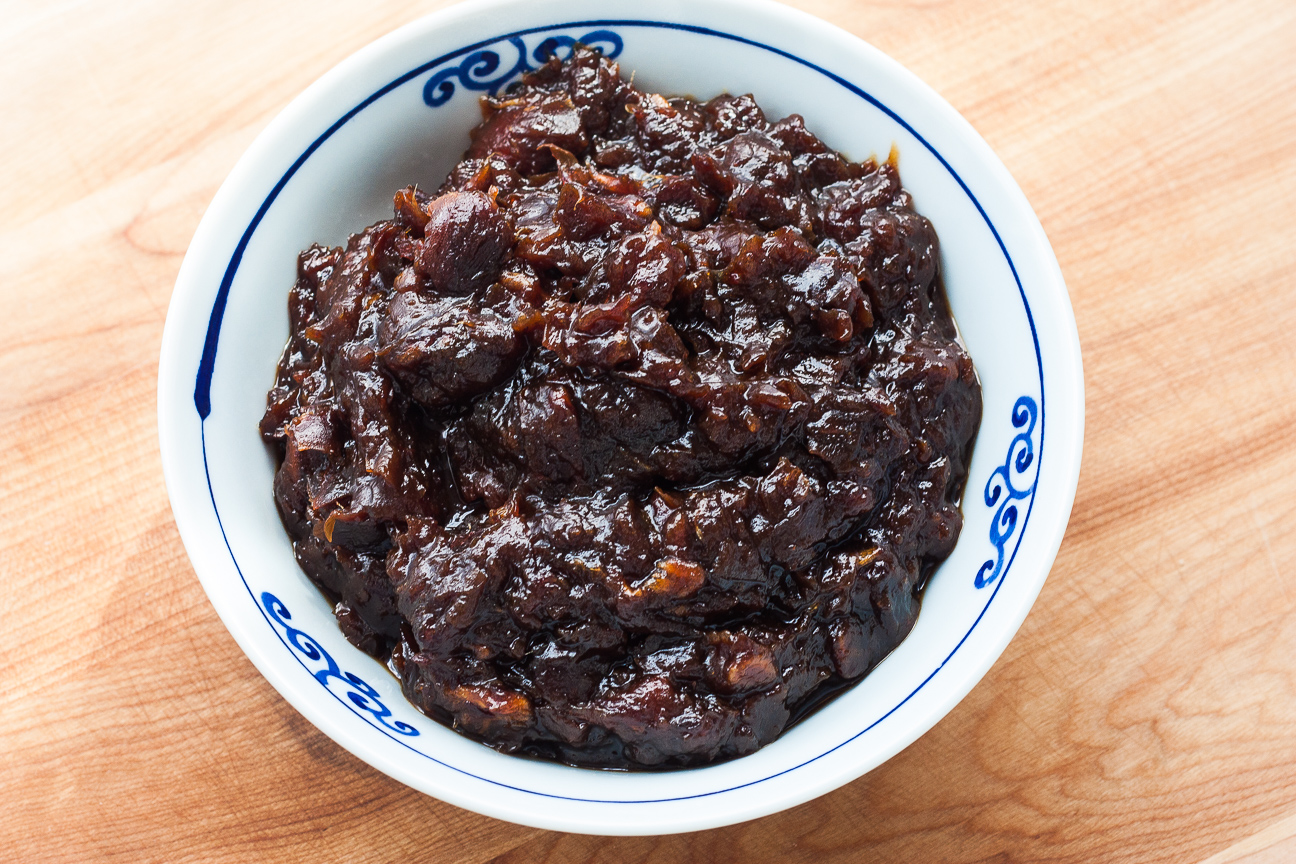
Chop the dates roughly. Put the dates and brown sugar into a pot and add about 1 cup of water. Cook on a lowish heat until the dates are soft and spreadable. This should take about 10-15 minutes.

3

Place the flour in a food processor, add small cubes of cold butter and pulse about 10-15 times until butter mixture has fine lumps throughout. Place in a bowl and then add brown sugar and oats.

4

Spread half of the dry mixture in the bottom of an 8 inch baking pan that has been lined with parchment paper. Gently spread date mixture on top. Sprinkle oat mixture on top.

5

Bake in a 350° F oven for 30 minutes, or until golden on top.

6

Let the squares cool down in the pan for about 30 minutes or more before serving.

Baking

Bakewell Tart

I found a recipe card for Bakewell Tart in my Mum’s recipe box the other day: short crust pastry, raspberry jam, frangipane, icing!!! ‘Yum’, I thought. I just had to bake one!

Bakewell Tart is not very popular outside of Britain. Bakewell Tarts originate from the small village of Bakewell, Derbyshire. It is made from short crust pastry covered with a layer of jam (usually raspberry) and filled with frangipane and then iced on top. The tart can be spread with a layer of icing or just a drizzle, depending on how sweet you would like your tart.


short crust pastry
Roll the short crust pastry to a thickness of 4 mm. This is the thickness of a British one pound coin or two Canadian $2 coins.

short crust pastry

Place the pastry in a fluted pan and then place in the refrigerator to keep it cold before baking.

short crust pastry

Bake the pastry in the oven with pie weights or beans. Remove the weights and then bake for about five minutes by itself.

bakewell tart recipe

But wait! I thought. This recipe box contained all of our family’s favourite recipes that Mum baked over and over again. I don’t remember my Mum ever making Bakewell Tart.

I’m sure my Mum must have had a Bakewell Tart at some point during her youth. Perhaps during a summer outing with her family? And she probably made it once or twice for my Dad in Canada.

Where ever my Mum got the recipe and why will forever remain a secret. I’m sure that when she was writing out the recipe, it brought back many happy memories.  But that will always remain a mystery.

bakewell tart

Spread the cooled short crust pastry with raspberry jam, fill with frangipane and then bake in the oven until set and golden.

bakewell tart with flowers
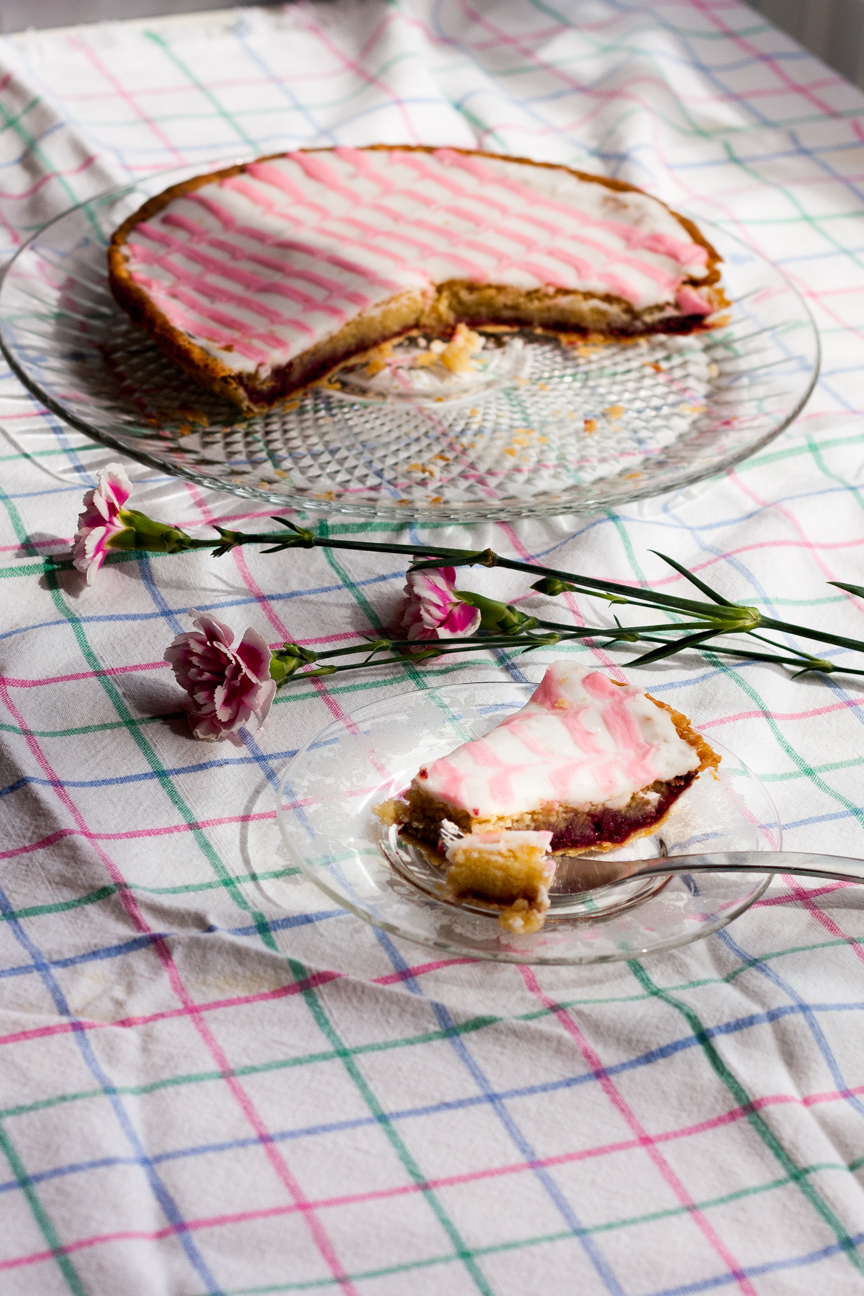
Decorate with icing when the tart is cold.

bouquet of flowers

Happy Mother’s Day, Mom! Love you!

Bakewell Tart

Serves: 10
Cooking Time: 1 hour

Ingredients

  • for the jam
  • 250 grams raspberries (frozen or fresh)
  • 22 g sugar
  • juice from 1/2 a lemon
  • for the sweet shortcrust pastry
  • 225 g plain flour
  • finely grated zest of 1/2 a lemon
  • 150 g butter, diced and cold
  • 25 g icing sugar
  • 1 large egg, beaten
  • For the filling
  • 150 g butter, soft
  • 150 g sugar
  • 150 g ground almonds
  • 1 large egg, beaten
  • 1 tsp almond extract
  • for the icing
  • 300 grams icing sugar
  • 3 tbsps water
  • 1 tsp almond extract
  • food colouring gel

Instructions

1

Jam: Add raspberries, sugar and lemon juice to a pot. Bring to a boil and then let simmer for about 12 minutes until thickened.

2

Place in refrigerator to firm up.

3

Pastry: Add the flour to a medium sized bowl, add the diced cold butter and rub together with your fingertips until it resembles find breadcrumbs. Add in the icing sugar. Mix the egg and ice cold water together and add to bowl. Mix until a soft dough is formed.

4

Lightly sprinkle your table with a bit of flour. Roll out the dough to a thickness of just under 4 mm (one pound coin or 2 Canadian $2 coins). Place the rolled dough into a fluted tin. Trim dough, but let it still overhang a bit as it will shrink somewhat.

5

Chill for about 30 minutes.

6

Preheat oven to 390 degrees F.

7

Before you put the pastry in the oven, place some non-stick parchment paper over top of the pastry, fill tin with pie weights and bake for 15 minutes. Then, remove the beans and cook by itself for 5 minutes to dry out the bottom.

8

Remove from oven and let cool.

9

Once the pastry has cooled, spread it with four tablespoons of the jam.

10

reduce the oven temperature to 355 degrees F.

11

To make the frangipane, cream the butter and sugar together until nice and fluffy and pale. Add the egg, ground almonds and almond extract. Mix together until everything is incorporated. Spoon or pipe the mixture on top of the jam smoothing the top.

12

Place the tin back in the oven on a tray and bake for 25-35 minutes. The frangipane should be a golden brown. Also, a cake skewer when inserted into the middle of the cake, should come out clean.

13

Remove from the oven and leave to cool completely in the tin.

14

To remove the cake tin, place the tin on top of something tall and narrow, like a tupperware container. Remove the sides of the tin and then place the Bakewell Tart on a cake platter.

15

To decorate: Mix together the icing sugar, water and almond extract. Place about 3 tbsp of this icing in a separate bowl and add a few drops of food colouring. Spoon the white icing all over the top of the tart. Pipe several lines of coloured icing across the tart. Drag a toothpick or cocktail stick through the lines to create a feathered look.

slightly adapted from Mary Berry’s Bakewell Tart  from The Great British Bake-Off.

Baking

My Mum’s Sensational Tomato Soup Cake

tomato soup cake with coffee mug

A favourite snacking cake in our family when I was growing up was Tomato Soup Cake. My Mum would make it for lunches or for an after-school snack.  After my parents were married, my Mum asked for the recipe from her mother-in-law, just so she could bake it for my Dad. Tomato Soup Cake has been around a long time and was a family favourite back when my Dad was growing up on the farm, in the 1920’s and 1930’s.

We always loved this cake and never once questioned the name of it. It didn’t taste or smell like tomatoes but was a beautiful rose colour with a spicy aroma. Once, while having lunch at school (which I seldom did), my friends asked what kind of cake I was eating. “Tomato Soup Cake”, I answered. Ooooh! was their negative response. I was in grade 7 and had never imagined that as a response to this delicious cake. But that never deterred me from loving this cake. My friends didn’t know what they were missing. My Mum’s cake was rose-hued, warm with spices of cinnamon, nutmeg and cloves and dotted with sweet plump raisins. With four always-hungry children in the family and a husband who grew up snacking on this cake on the family farm, my Mum’s baking never lasted long.

This cake is perfect for a ‘Retro Party” but also modern in flavour, colour and scent. It checks all the boxes for something easy, quick and yummy to bake up either for afternoon tea with friends, to pop into someone’s lunch kit, or an after dinner dessert. You can serve it with cream cheese icing, but my Mum just served it up plain, or sprinkled with icing sugar. It’s so moist, sweet and heavenly-scented with spices that you really don’t need extra icing. But you could add it if you prefer the extra creamy sweetness.

When I got married, a friend of my Mum’s gave me a cake pan, a wooden spoon and her recipe for Tomato Soup Cake. I thought that was the sweetest gift! Now I bake this cake for my own kids. Everyone in our family loves it.

slice of tomato soup cake

Enjoy!

Tomato Soup Cake

Serves: 16
Cooking Time: 55 minutes

Ingredients

  • 3 cups all-purpose flour
  • 1 Tbsp baking powder
  • 1 tsp cinnamon
  • 1 tsp grated nutmeg
  • 1 tsp ground cloves
  • 3/4 cup shortening
  • 1 1/4 cup sugar
  • 2 eggs
  • 1 10-ounce can condensed tomato soup
  • 3/4 cup water
  • 1 tsp baking soda
  • 3/4 cup raisins

Instructions

1

Preheat oven to 350 degrees F.

2

Mix together the flour, baking powder and spices.

3

Cream the butter, sugar and eggs until fluffy.

4

Mix soup, water and baking soda.

5

Let this mixture sit for a few minutes, then stir into butter/egg/sugar mixture.

6

Stir in dry ingredients and raisins.

7

Spoon batter into a greased 13 X 9 inch pan.

8

Bake 55 minutes or until golden brown.

More reading about this scrumptious cake

The History behind Campbell’s Tomato Soup Cake

A Good Little Read from The Kitchn about Tomato Soup Cake