Browsing Tag:

nuts

Baking

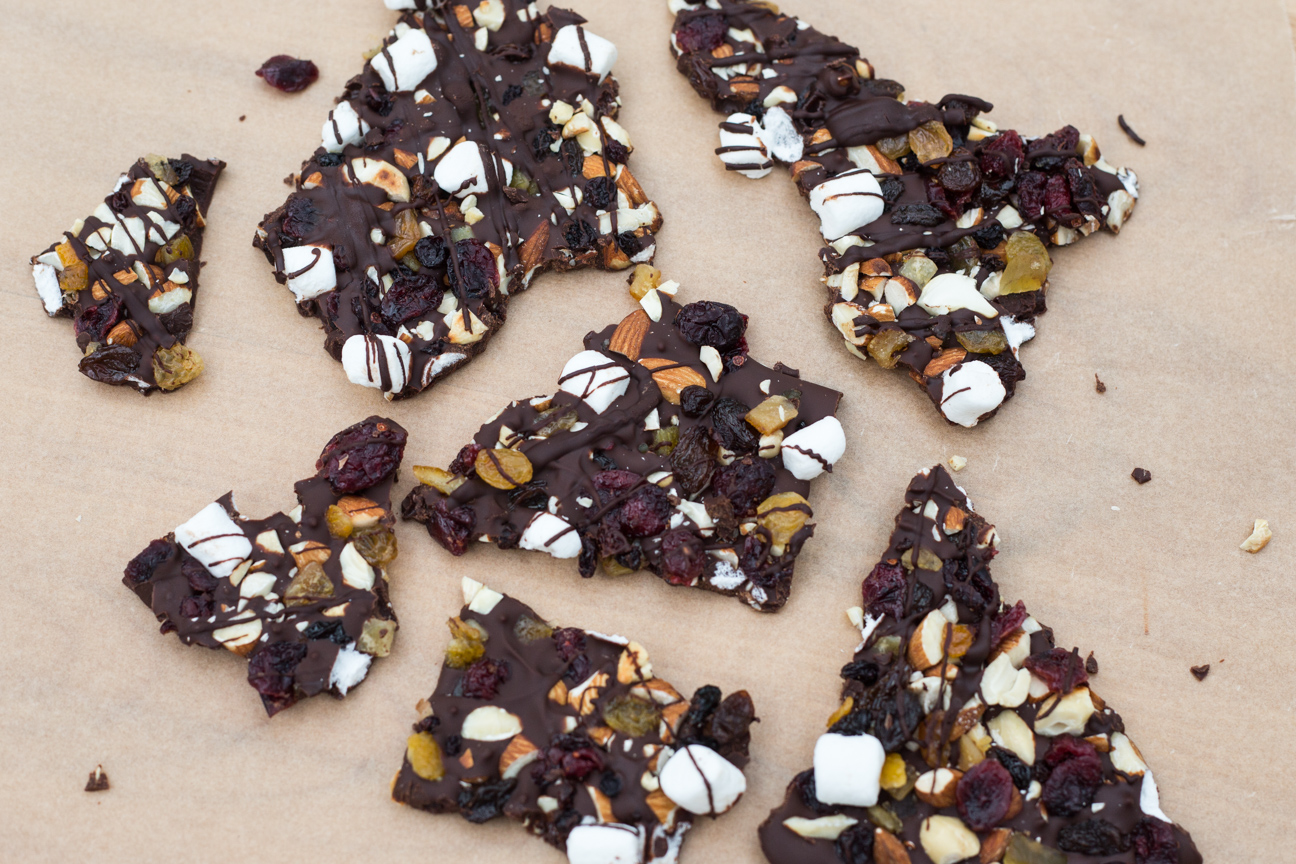
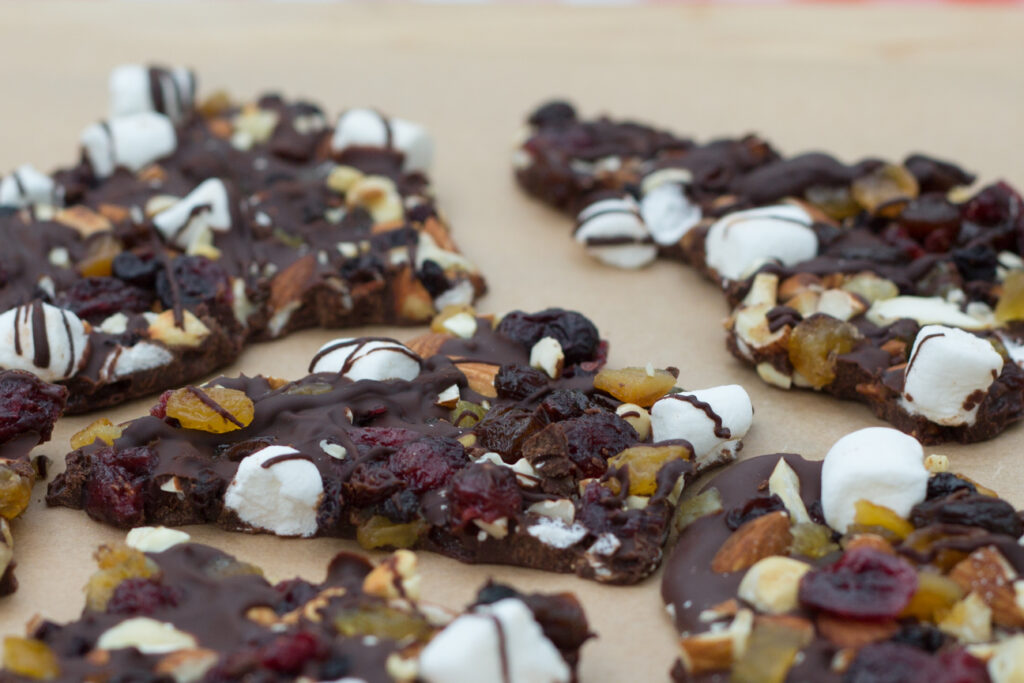
Fruit and Nut Chocolate Bark

chocolate with dried fruit and nuts

This Fruit and Nut Chocolate Bark is one of my favourite ways to enjoy chocolate. I love the mix of dark and milk chocolate swirled together with dried cranberries, raisins and toasted almonds. It’s so good.

One reason why I like to keep a container of this Fruit and Nut chocolate Bark in the fridge, is because I can just break off a small piece whenever I feel like I need a hit of chocolate. And sometimes a small piece of chocolate is all I need.

I make this bark with loads of fruit and nuts, but with enough chocolate so that I get my chocolate fix. This recipe makes enough so you can share it with the whole family. In this recipe, I used a combination of dark and milk chocolate, because I like the flavour of the two mixed together. But, if you only have milk or you only have dark, that’s fine too. That’s the beauty of a sweet treat like this, you can make it to suit your tastes. If you want it nuttier, or you want to leave out the marshmallows: that’s perfectly fine.
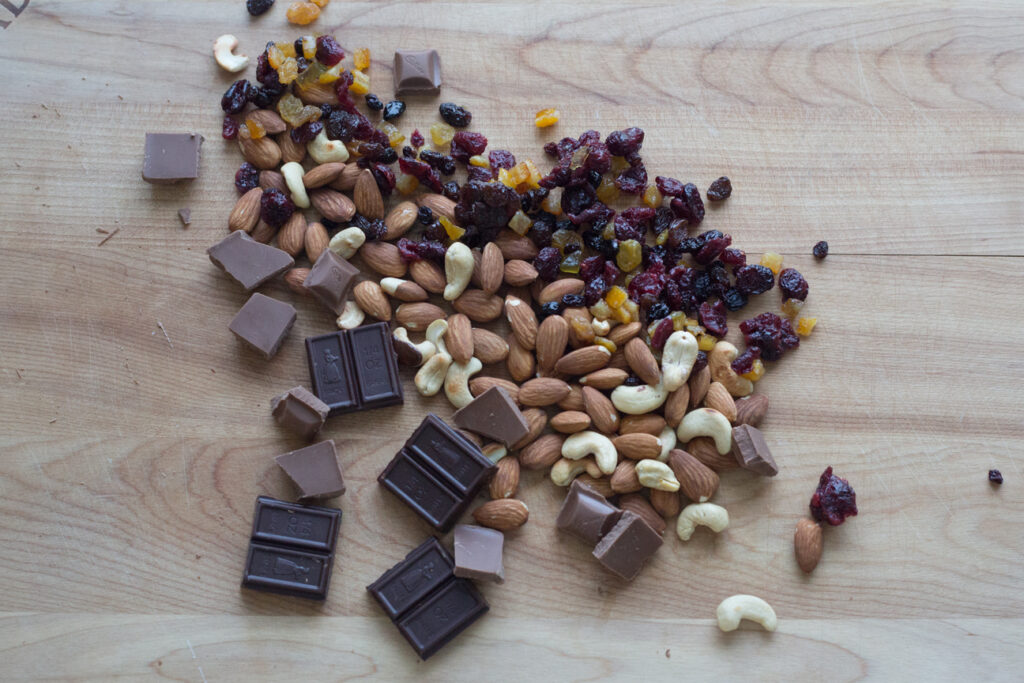
dried fruit and nuts on a cutting board

Tips on melting chocolate

Melting chocolate is super simple. However, you can burn it while melting, if you’re not careful. I always melt mine in the microwave. But, you have to be super careful when melting chocolate this way.

Before you put your chocolate in the microwave, break it up into pieces. It doesn’t really matter what size, but not too small. It’s easier to work with if the chocolate is a decent size. I break my chocolate up into pieces that are about say 8-10 cm. When I melt chocolate in the microwave, I often use 80% power and I start with 30 second intervals. And I stir it in between. Reduce the intervals to 20 seconds once the chocolate is 2/3 melted. And as soon as most of it is melted, but there are a few solid pieces of chocolate in your bowl, you can take it out of the microwave. At this stage, just stir it around until all of the chocolate is melted.

If you don’t have a microwave, or would like to do it on the stove, you will need a medium pot and a heat proof bowl that can sit on top of the pot. Add some water to the pot, and sit the bowl on top of the pot. You don’t want the water to touch the bottom of the bowl. Bring the water to a simmer. Add your chocolate pieces (they can be smaller pieces using this technique) and as the chocolate begins to melt, stir the chocolate continuously until only a few solid pieces remain. Remove bowl (carefully, it will be hot) from the pot and continue to stir until everything is melted.

Pour the chocolate while it is still warm onto parchment paper on a baking tray. Sprinkle with nuts, dried fruit and marshmallows. And drizzle with extra melted chocolate for decoration.
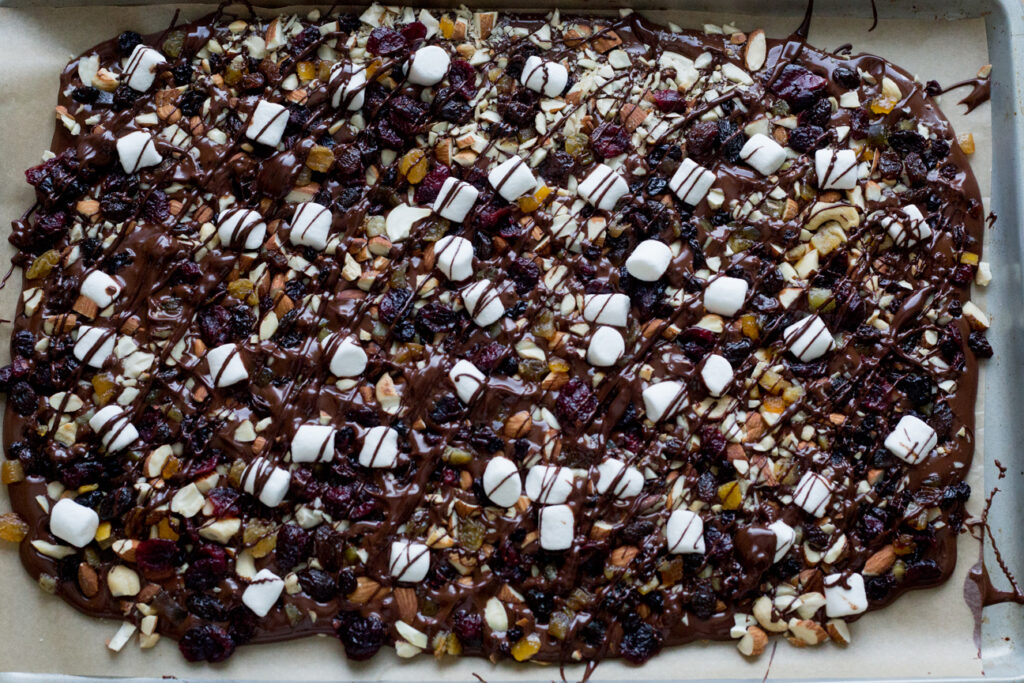
melted chocolate and dried fruit and nuts

Fruit and Nut Chocolate Bark Add-Ins

There are so many different combinations of ingredients that you can add to chocolate bark. Here are some of my favourites:

  • try to use an equal mix of dried fruit to nuts, so that its not too sweet. And if you like it really nutty, put in more nuts than dried fruit
  • any of the following fruits go very well with chocolate: raisins, candied ginger, dried mango, dried cranberries, blueberries and cherries,
  • other ingredients that are nice are: pretzels, broken up cookie pieces (not too sweet, something like digestive biscuits, nilla, graham crackers)
  • I used a mix of dark and milk chocolate, because that’s what I had, but you can use just dark chocolate or milk chocolate, whatever you prefer
  • you can use a mix of nuts, like I did, or just one type; it’s up to you. Pistachios are a favourite, as they’re so colourful
  • also, if you like sweet and salty, try adding a sprinkle of flaked sea salt on top. It goes so good with chocolate.
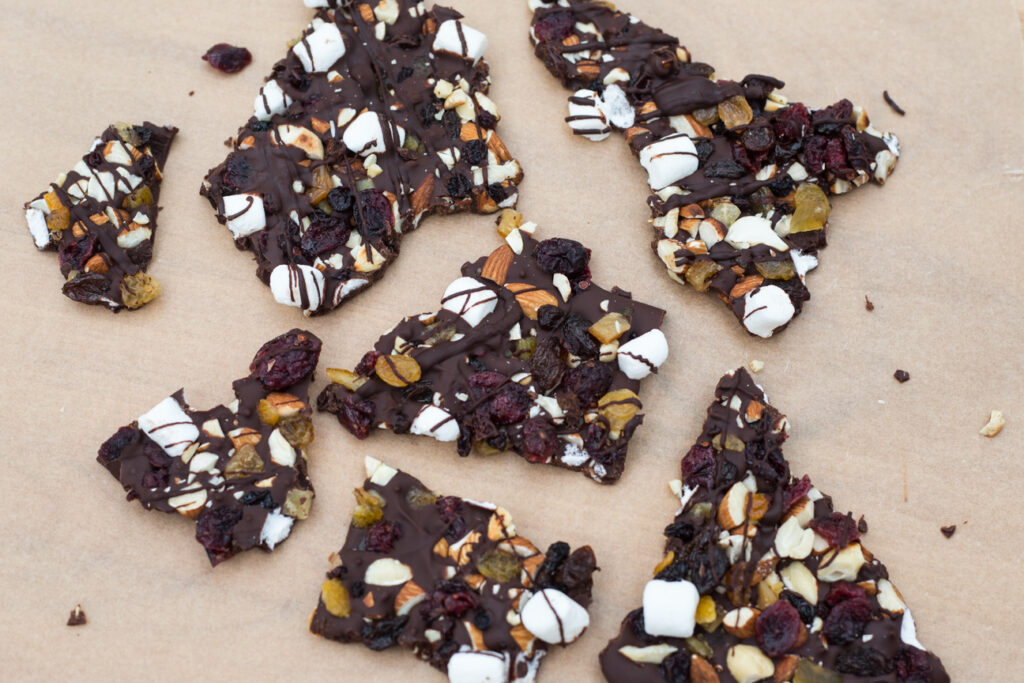
dried fruit and nuts and chocolate

Try making some Fruit and Nut Chocolate Bark for your next family get together or movie night at home. Wherever you serve it, your guests will be glad you did.

Fruit and Nut Chocolate Bark

Serves: 10-16

Ingredients

  • 450 grams chocolate (can be a mix of dark and milk or all dark or all milk); leave 50 grams out to drizzle on at the end, but that's optional
  • 150 grams chopped almonds and cashews, toasted
  • 150 grams dried fruit (I used raisins, sultanas, dried currants, dried cranberries, citron peel)
  • a handful of marshmallows

Instructions

1

Toast the almonds.

2

Toast the cashews separately if using, I find the cashews toast quicker than the almonds, so I do them separately

3

Melt the chocolate. If you do this in the microwave, start at 30 second internals on 80%, stirring in between. As it gets more melted, reduce the time to 20 seconds. When there are still a few solid pieces in the bowl, remove it from the microwave and stir.

4

Line a tray with parchment paper. The tray should be able to fit in your fridge. I used a tray that was about 30 cm X 40 cm.

5

Pour the melted chocolate on the parchment paper.

6

Sprinkle the nuts on the chocolate.

7

Sprinkle the dried fruit on the chocolate. Make sure you go all the way to the edge.

8

Sprinkle a handful of marshmallows on top.

9

Take another sheet of parchment paper, or you could use your hands, if you like. Press everything gently into the melted chocolate. Lift the paper straight up, so as not to make a smeary chocolate mess.

10

Take the remaining 50 grams of chocolate and melt this.

11

Drizzle this chocolate over the entire bark.

12

Place in the refrigerator for about four hours.

13

Once the bark is solid, break it into pieces and serve.

14

If it's warm in your house, store in the refrigerator.

Baking

Banana Bread with swirls of Nutella

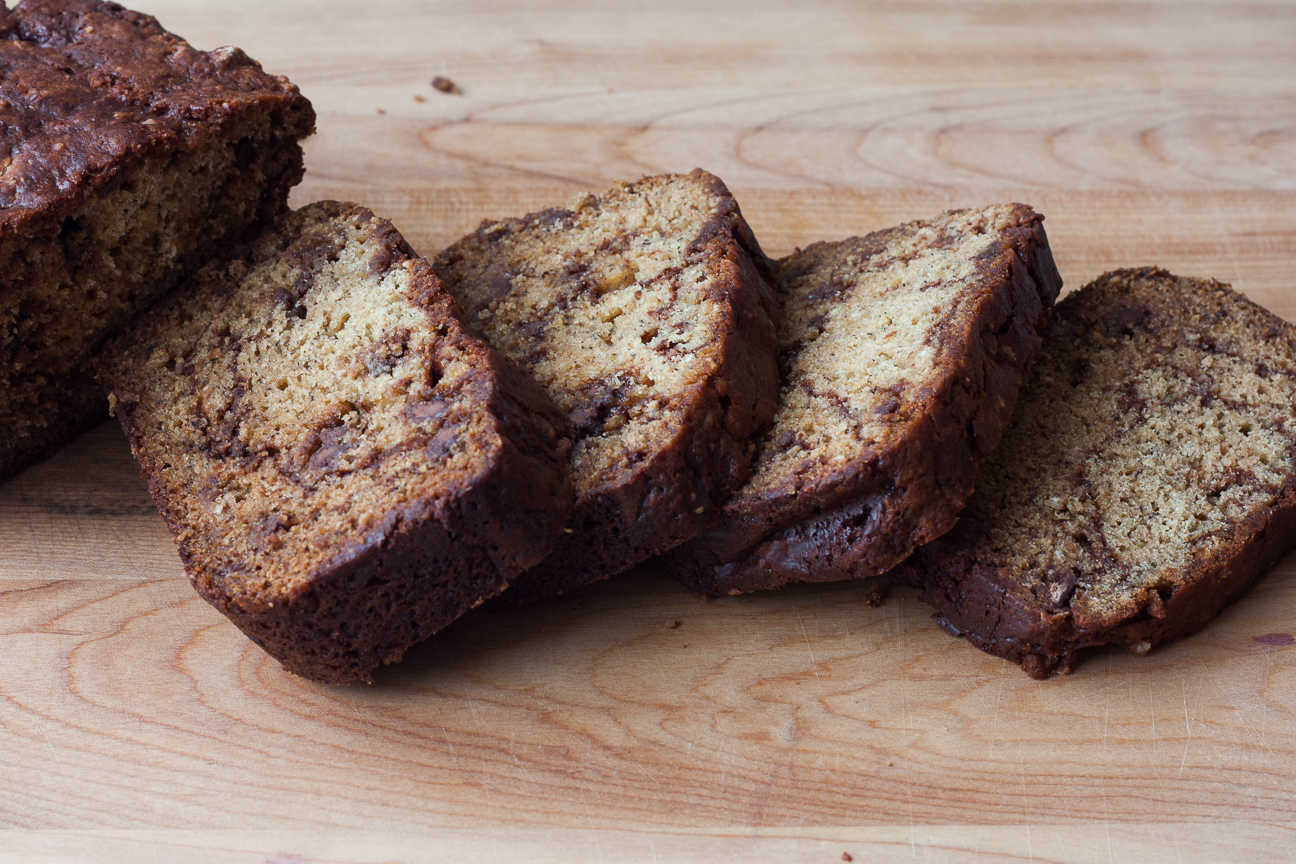
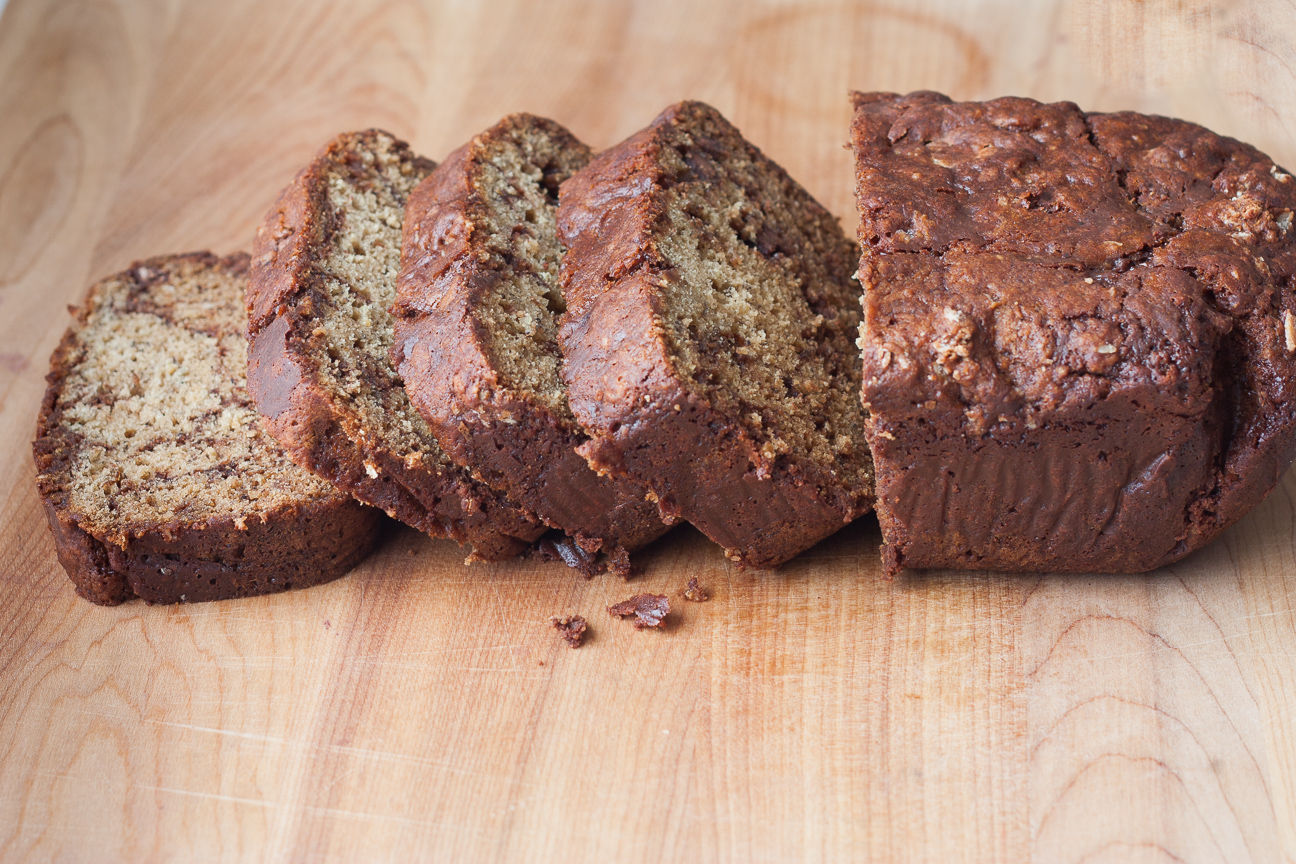
slices of nutella swirl banana bread

I made so much nutella the other day, I didn’t think we would ever finish it. So, I decided to make this Banana Bread. And who doesn’t love banana bread with chocolate chips and swirls of Nutella!

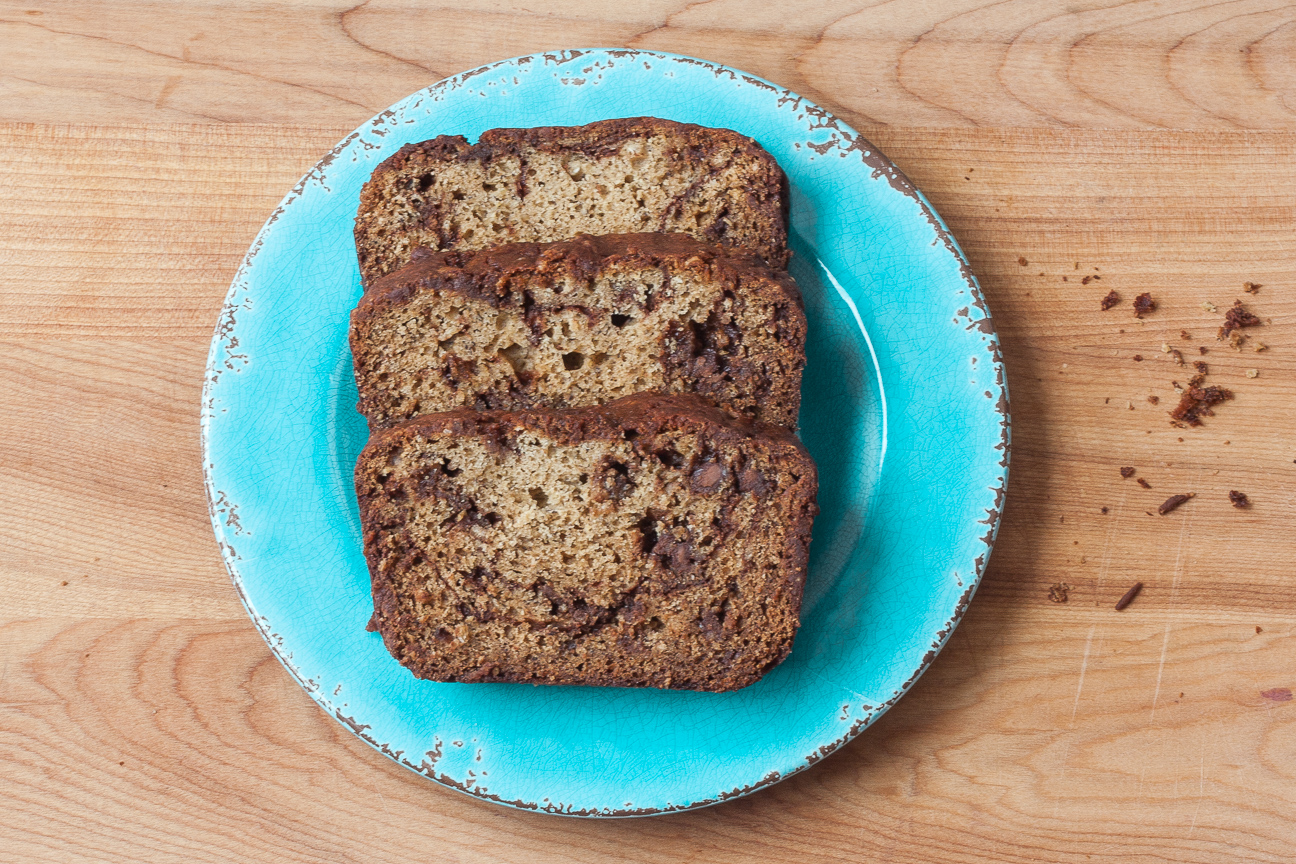
nutella swirl banana bread on a plate

I have made loads and loads of banana bread ever since I was a teenager. When I was 17, I won a contest for banana bread in our local newspaper. The prize was kitchen flooring which my parents really loved. I really wanted the silver tea set that the person one down from me won, but c’est la vie. My parents were happy.

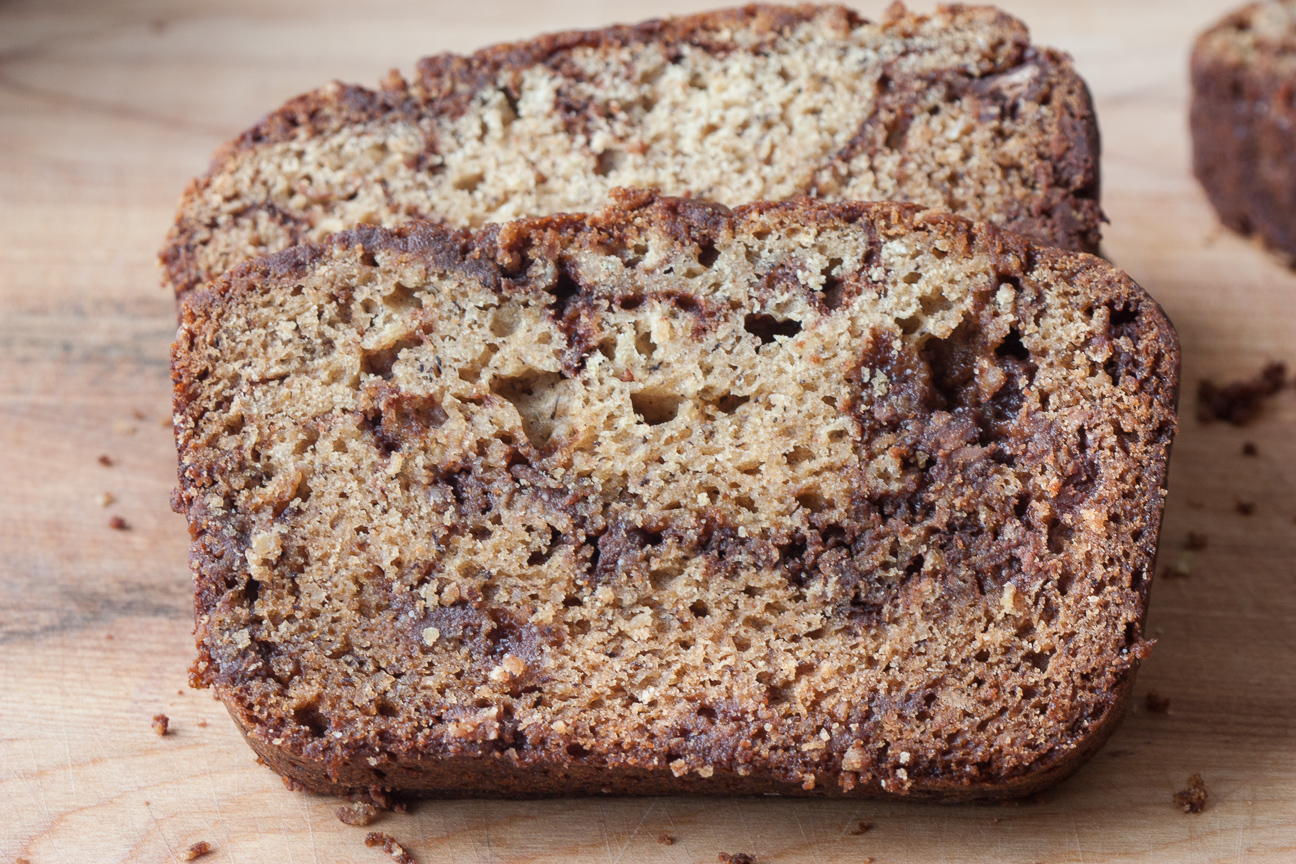
slices of nutella swirl banana bread

This quick bread has it all; moistness from the bananas; just enough sweetness from white and brown sugars and nutty aromas from the browned butter. And if you slice it up while it’s still warm, the nutella and milk chocolate chips will be warm and molten. Double yum!

This bread is also a great way to use up bananas that are over ripe. This can happen especially quick in the summer. Blackened bananas freeze very well. I used to freeze bananas in their skin. And that technique works just fine, but then you have to thaw them to get the skin off. So, now I peel the overly ripe bananas, chop them up and place them in a freezer bag. And I always label the date and how many bananas are in the bag. So helpful down the road when I pull them out to use them.

I made this bread with browned butter to amp up the flavour components. I have instructions in a previous post on how to brown butter, if you have never done that. It’s really easy, by the way!

slices of nutella swirl banana bread

This banana bread is absolutely delicious on its own. You don’t need to add butter or anything. I think it’s absolutely delicious on it’s own. It would be fantastic with a large mug of a spicy herbal tea or a chai latte. So good!

Enjoy!

Serves: 2 loaves
Cooking Time: 1 hour

Ingredients

  • 3 very very ripe bananas, mashed or pureed
  • 1 cup butter (browned)
  • 3 eggs
  • 1 cup white sugar
  • 1 cup brown sugar
  • 2 cups white flour
  • 1 cup white spelt flour
  • 1 cup oat flour (whole oats pulverized in your food processor)
  • 2 tsp baking soda
  • 2 tsp vanilla
  • 1/2 cup plain unsweetened yogurt
  • 1 cup chocolate chips
  • 1/2 cup nutella (warmed)

Instructions

1

Preheat oven to 350 degrees Fahrenheit.

2

Line two loaf tins with parchment paper.

3

Brown the butter (see instructions above).

4

Add sugar to browned butter.

5

Once the egg and butter mixture has cooled, add in the eggs, vanilla, yogurt and bananas.

6

In a separate large bowl, stir together the flours and baking soda.

7

Add butter and sugar mixture to dry ingredients.

8

Stir all ingredients together until mixed.

9

Add chocolate chips.

10

Add about 1/4 of the mixture into each loaf tin.

11

Spread 1/4 cup of the warmed nutella down the centre. Swirl with a butter knife.

12

Add the rest of the batter overtop of the nutella. Then spread another 1/4 cup of the nutella on the top. Swirl with a butter knife, mixing the batter with the nutella.

13

Bake in the oven for about 1 hour, until a cake tester comes out clean.

14

Let it cool in the loaf tins for about 10 minutes. Then remove from the loaf tins and cool on a rack.

Notes

These loaves freeze very well. If freezing, dont forget to label the package with the date and the name of the bread. Use within 3 months.

Baking

Orange Nutella Alfajores

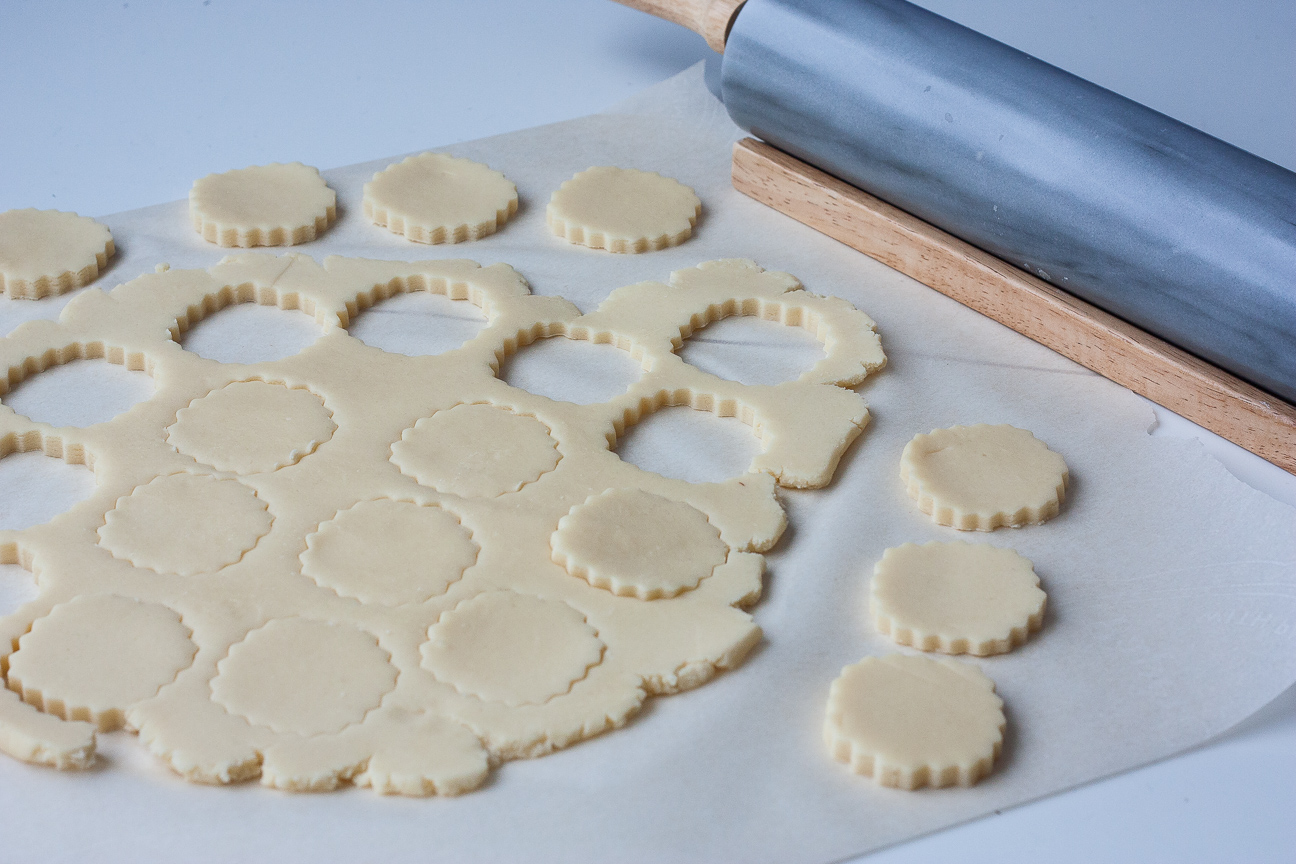
raw dough for orange nutella alfajores

I have wanted to make alfajore cookies ever since I first heard about them. Their common description of being a melt-in-the-mouth cookie sandwiched together with dulce de leche just seemed heavenly. And they are.

Alfajores Cookies are one of the simplest cookies to make. They are made from just a handful of ingredients; flour, cornstarch, butter, sugar and egg. And they are ready in a jiffy.

The first batch of alfajores that I made was sandwiches together with dulce de leche. Dulce de leche, for those that are not familiar with this unctious spread, is caramelized milk. It is made by baking milk in a low oven for several hours, until it is thick, golden and sweet. You can buy it from Latin American shops, or make your own. Although I always buy mine.  With Valentine’s Day approaching, I wanted a chocolate filling. I added orange zest to the cookie dough, sandwiched them together with Nutella, and Orange Nutella Alfajores were born. And I must say it is a heavenly match.

You can use store-bought Nutella for the filling. Or if you have time, try my recipe for Nutty Chocolate Hazelnut Spread. It is divine.

Alfajores cookies have been popular in Uruguay, Peru and Argentina since the mid 1800’s. Common fillings in alfajores are dulce de leche, chocolate mousse, fruit spreads or whipped cream. Toppings include meringue coating, milk chocolate, coconut or a sugar glaze.

I always find it interesting to read about similar foods in different parts of the world. The word alfajor comes from the Arabic “al-hasu”, which means filled or stuffed. Culinary experts have traced Alfajores to Andalusia, Spain during the occupation by the Moors. There is a strong similarity between alfajores and mamoul, a buttery confection filled with date paste that is popular in the Middle East and North Africa. I can’t wait to make a batch of those.

orange nutella alfajores

Alfajores are so popular in Peru and Argentina, that there are chain restaurants that only sell alfajores. Casa del alfajor is one such chain in Peru. There is also Havanna, in Argentina, which has been around since 1947.

Try making a batch. You will love them!

Orange Nutella Alfajores

Serves: 18
Cooking Time: 10 minutes

Ingredients

  • 200 gram flour
  • 300 gram corn starch
  • 2 tsp baking powder
  • 1/2 tsp baking soda
  • 250 grams softened butter
  • 150 grams sugar
  • 3 egg yolks
  • 1 Tbsp brandy
  • zest from one orange
  • nutella (store bought or my own - see above)

Instructions

1

Preheat oven to 325 degrees Fahrenheit.

2

Line baking sheet with parchment paper.

3

Mix together flour, corn starch and baking powder and soda.

4

Cream together butter, sugar and orange zest for 5 minutes, until pale and fluffy.

5

Add the egg yolks and brandy to the butter mixture.

6

Add in the flour mixture.

7

Mix briefly until well incorporated.

8

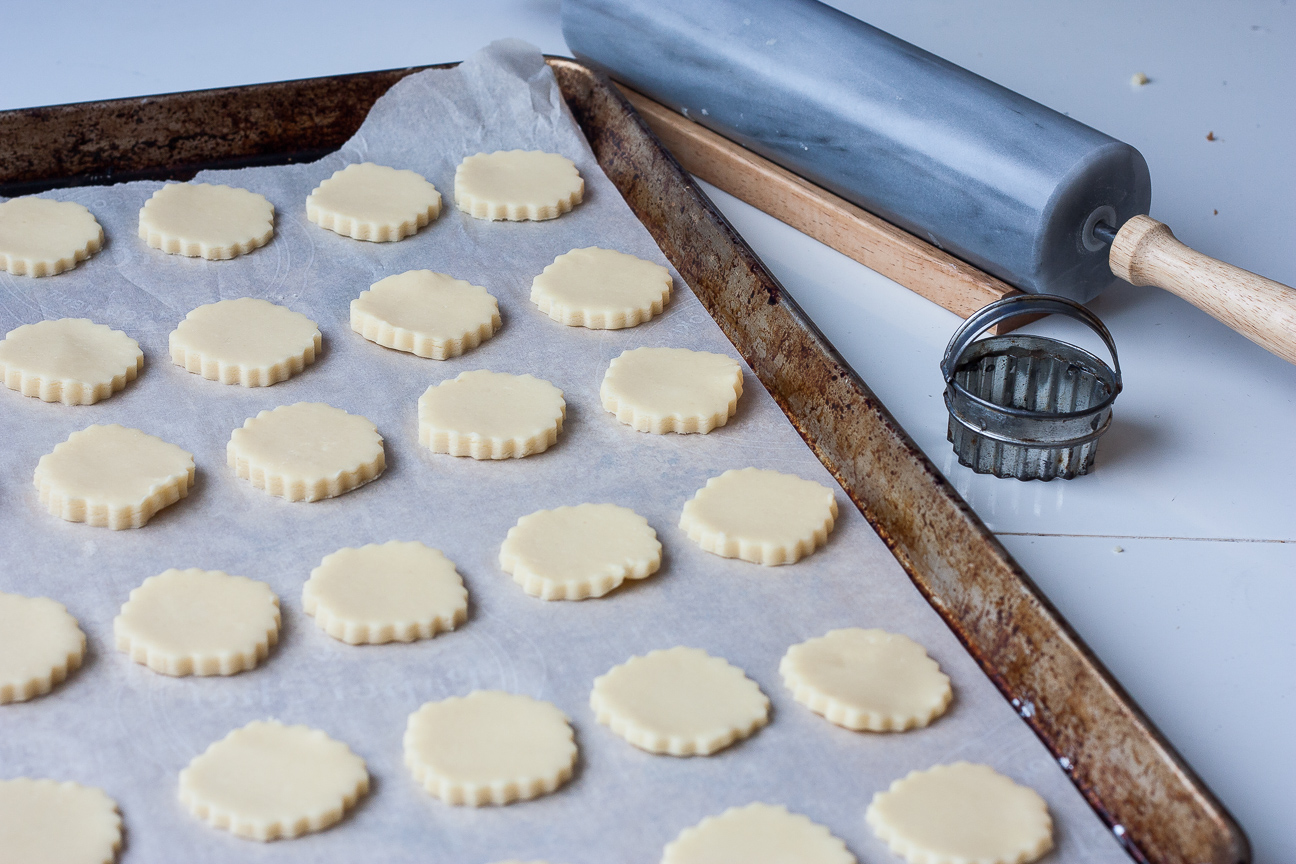
Roll out dough until about 1/4 inch thick. Cut out cookies with cutter about 1 1/2 inches in diameter.

9

You can place them relatively close together, as they will not spread.

10

Bake for about 10 minutes, only until slightly golden around the edges.

11

Cool on baking tray for 5 minutes, then place them on a cookie rack to cool.

12

Sandwich them together, when they are cold, with nutella.

Preserves

Nutty Chocolate Hazelnut Spread Recipe

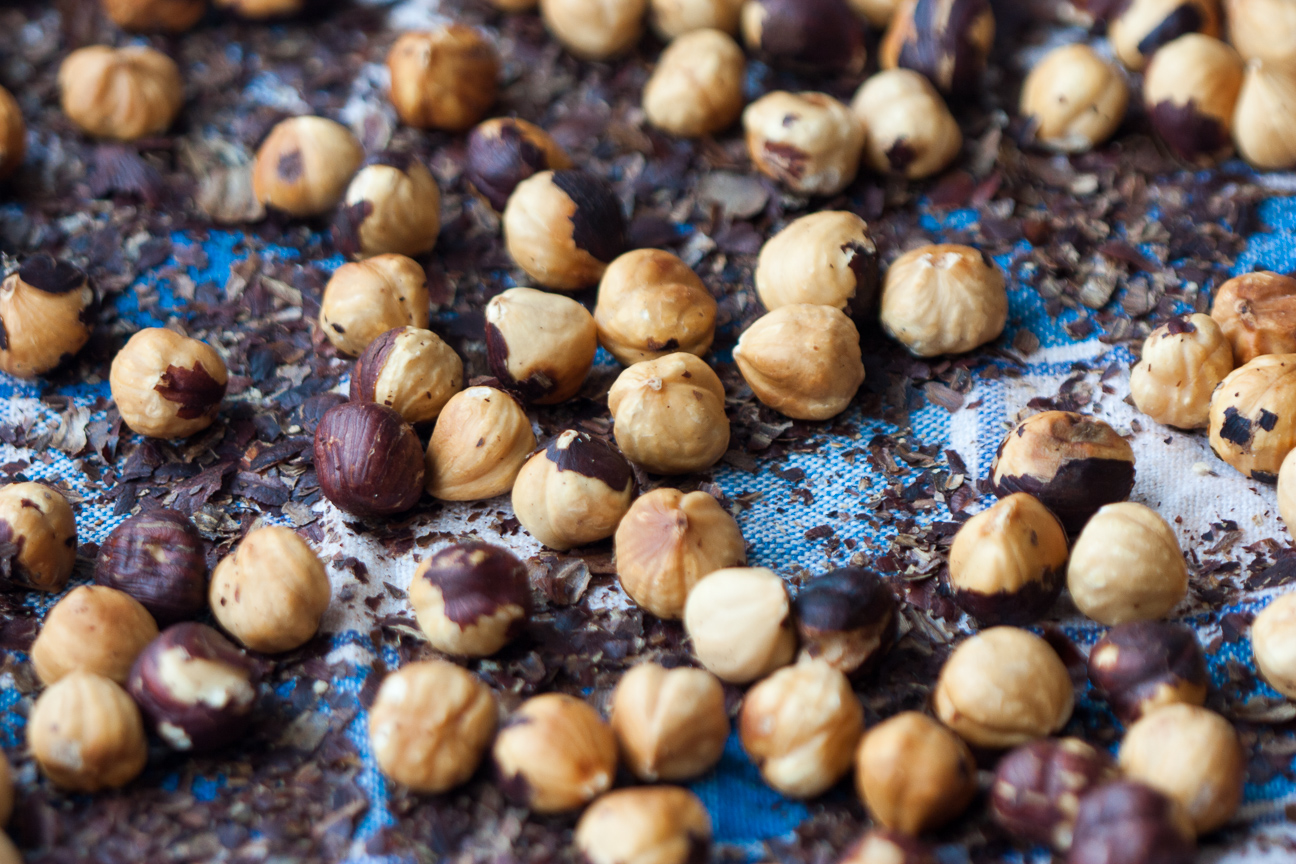
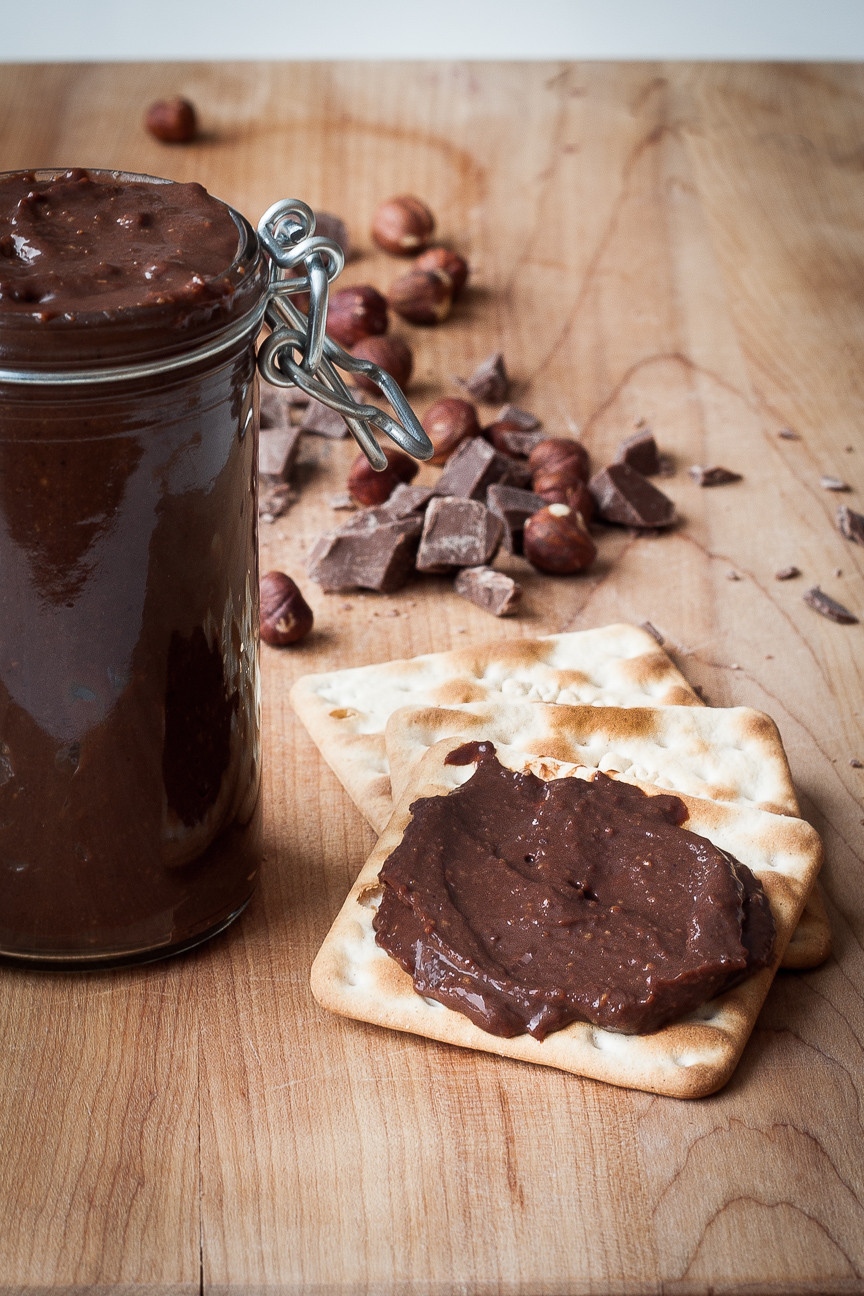
Roasted Hazelnuts for Nutty Chocolate Hazelnut Spread

Nutella!!! This infamous blend of chocolate and hazelnuts not only tastes amazing, but also has quite a lot of history behind it.

World Nutella Day

World Nutella Day is February 5th and was created by Food blogger, Sara Rosso in 2007 to help celebrate this popular treat. She handed the reins of World Nutella Day over to Ferroro in 2015.

I have wanted to make my own chocolate hazelnut spread for quite some time now. This week seemed appropriate with World Nutella Day and Valentine’s Day so close together.

Why make Homemade Nutella?

I love store bought Nutella. But, like most food items, I prefer to make my own: I can use the best chocolate, sweeten it slightly with a small amount of local honey, and use fresh organic hazelnuts. It is also possible to use a variety of nuts, if you prefer.

This Nutty Chocolate Hazelnut Spread is made up of roasted and skinned whole hazelnuts, dark and milk chocolate, honey, milk and milk powder. You can alter the percentage of hazelnuts to suit your taste. This recipe contains 26% hazelnuts, Nutella contains about 13% and some places in Italy use as much as 50% hazelnuts. So, you can make it as nutty as you like.

How easy is it to make Nutella?

My recipe for this Chocolate Hazelnut Spread is so easy to make. All you need to do is roast and grind some hazelnuts, melt some chocolate, heat some milk mixed with powdered milk and honey and then blend them all together.

Store-bought Nutella is nice, but we really love our homemade version. It is nuttier, darker and less sweet than store bought. You can adjust the percentage of nuts, as well as the type of chocolate used.  You will never get the hazelnuts as pureed and smooth as in store bought Nutella, but we actually prefer the crunchy texture.

Can I use other nuts?

If you find hazelnuts too strong, you can substitute part of them with skinned almonds, or macadamia nuts. Make sure you remove the skin from the hazelnuts and/or almonds. It’s not imperative to remove all of the skins, but try to get as much off as possible, as the skins will add a bitter taste.

When you put your nuts in your food processor, try to grind them as finely as possible. Homemade Nutella will not be as fine as store bought. But you will really be able to taste the roasted nuts and heavenly chocolate. That’s the joy of homemade!

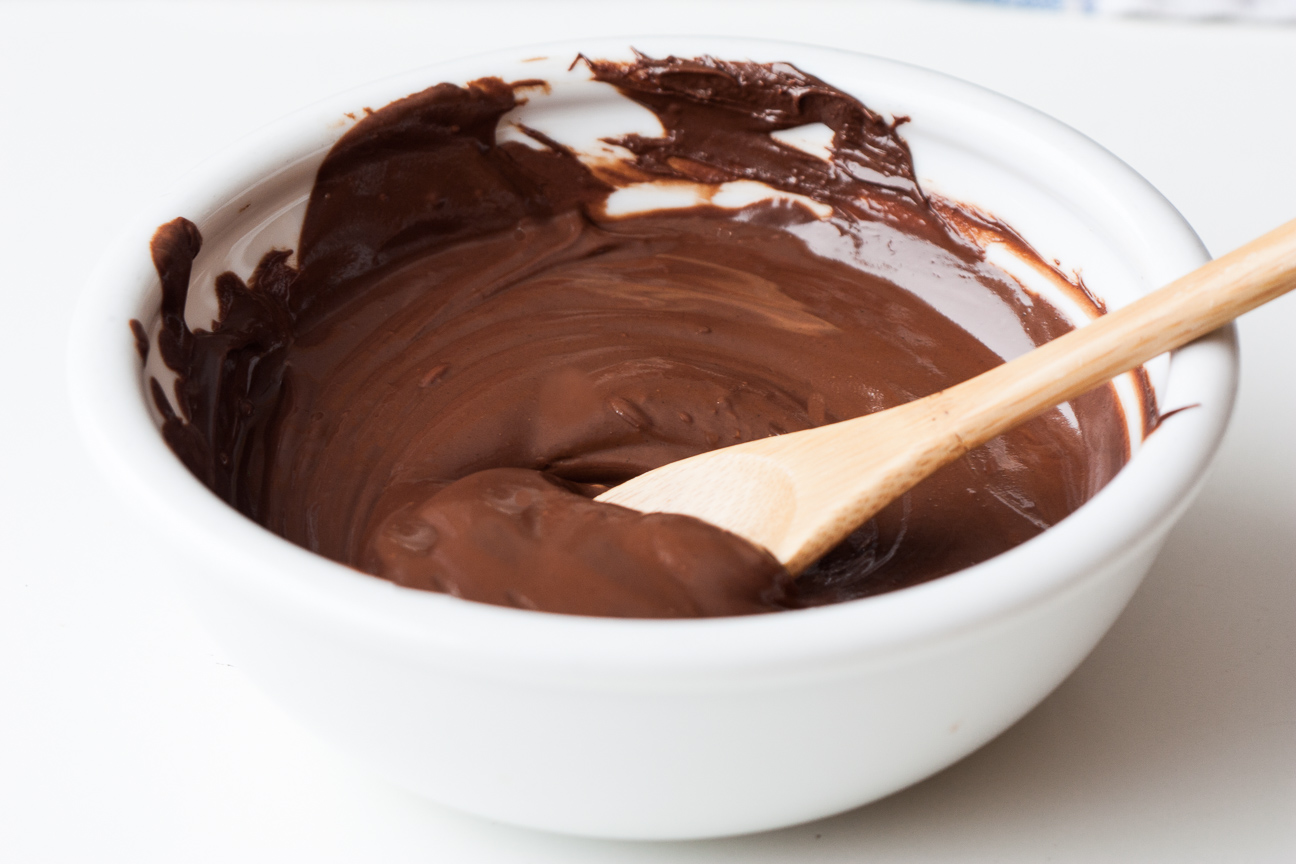
bowl of melted chocolate for Nutty Chocolate Hazelnut Spread

This Nutty Hazelnut and Chocolate Spread is a blend of dark and milk chocolate. You can adjust the amounts of each chocolate, as long as the total weight stays the same. My version has some small chunks of hazelnut in each bite. So nutty!

Nutty Chocolate Hazelnut Spread

Besides being so amazingly tasty, the combination of hazelnuts and chocolate has an amazing history.

History of Nutella

In Italy, the combination of chocolate and hazelnuts is called Gianduja. Gianduja was created over 200 years ago during Napoleon’s regency in Turin, Italy in the Piedmont area.

In 1806, Napoleon imposed the Continental System, which prevented British goods from entering European harbours under French control. This created a shortage in cocoa, which was devastating to chocolatiers.

In Turin, a chocolatier, whose chocolate supplies were low, began mixing his chocolate with ground hazelnuts, which are plentiful in this area of Italy. The name Gianduja is named after a popular Carnival marionette that is an archetype of the Piedmontese.

One hundred and fifty years after this crazy time for chocolate lovers, chocolate became expensive and scarce again due to the rationing in Europe during World War II. Pietro Ferrero was a pastry maker in Italy and in 1946 created Pasta Gianduja. His original version was formed into a loaf which was sliced and eaten on bread. In 1949, he accidentally added cocoa butter, which made it soft and easy to spread. It was renamed Nutella in 1964.

I hope you enjoy this Nutella recipe!

Buon Appetito

Nutty Chocolate Hazelnut Spread

Serves: 12-16
Cooking Time: 10 minutes

Ingredients

  • 240 grams dark chocolate
  • 150 g milk chocolate
  • 2 Tbsp honey
  • 300 grams 2% milk
  • 50 grams milk powder
  • 150 grams hazelnuts

Instructions

1

Preheat oven to 350 degrees.

2

Roast hazelnuts on an ungreased cookie sheet for about 10 minutes, do not burn. When they are fragrant and the skins seem loose, they are ready to take out.

3

Rub the warm hazelnuts in a clean tea towel, until most of the skins have rubbed off.

4

Add the hazelnuts to the food processor and grind until fine.

5

Warm the milk with the honey and powdered milk.

6

Melt the chocolate in the microwave. I melted it at 30 second internals, stirring in between. Do not overheat, or it will burn and you will not be able to use it.

7

Add the warm milk, and chocolate to the hazelnuts in the food processor.

8

Combine until everything is mixed together.

9

Scrape into a clean container.

10

Keep in the refrigerator for one week.

Baking

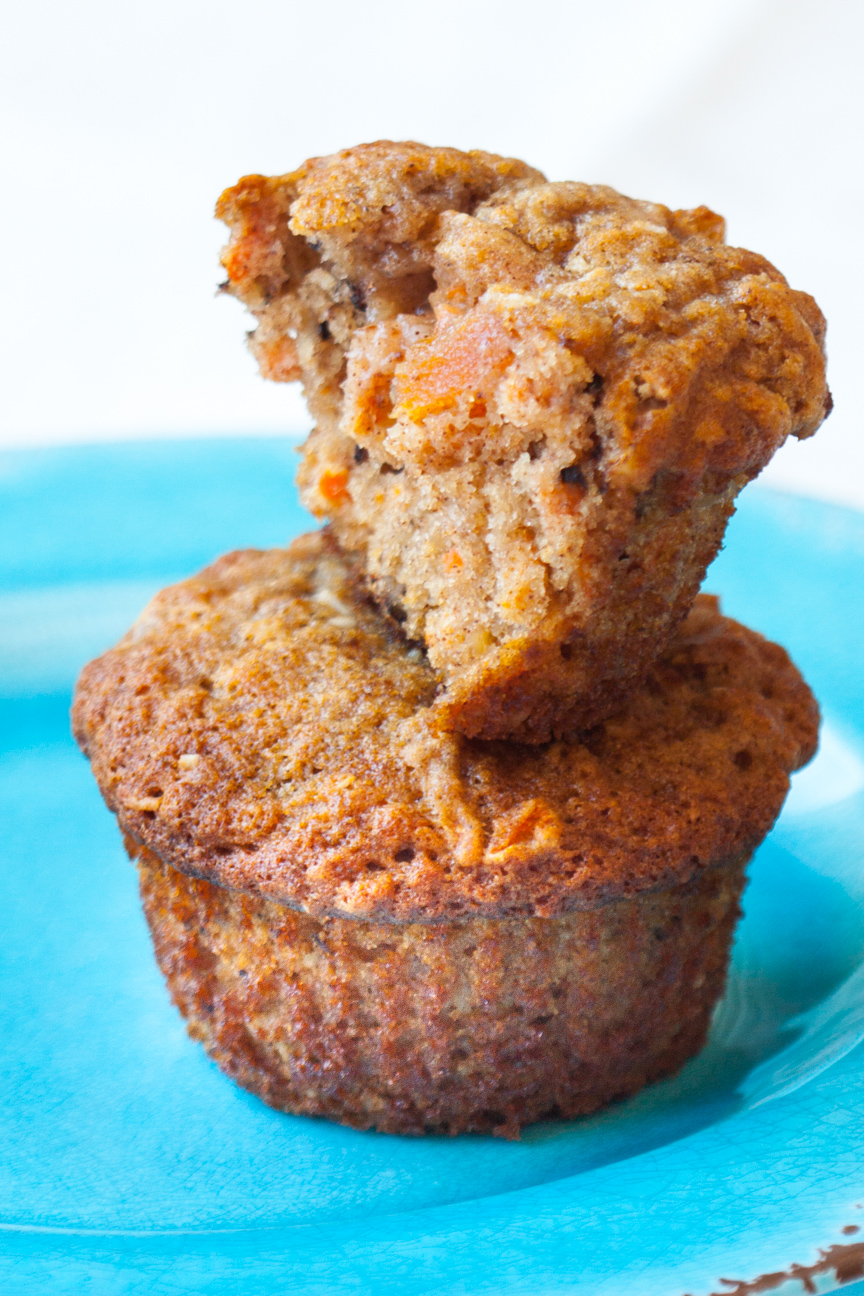
On-the-Go Carrot, Apricot, Walnut Muffins

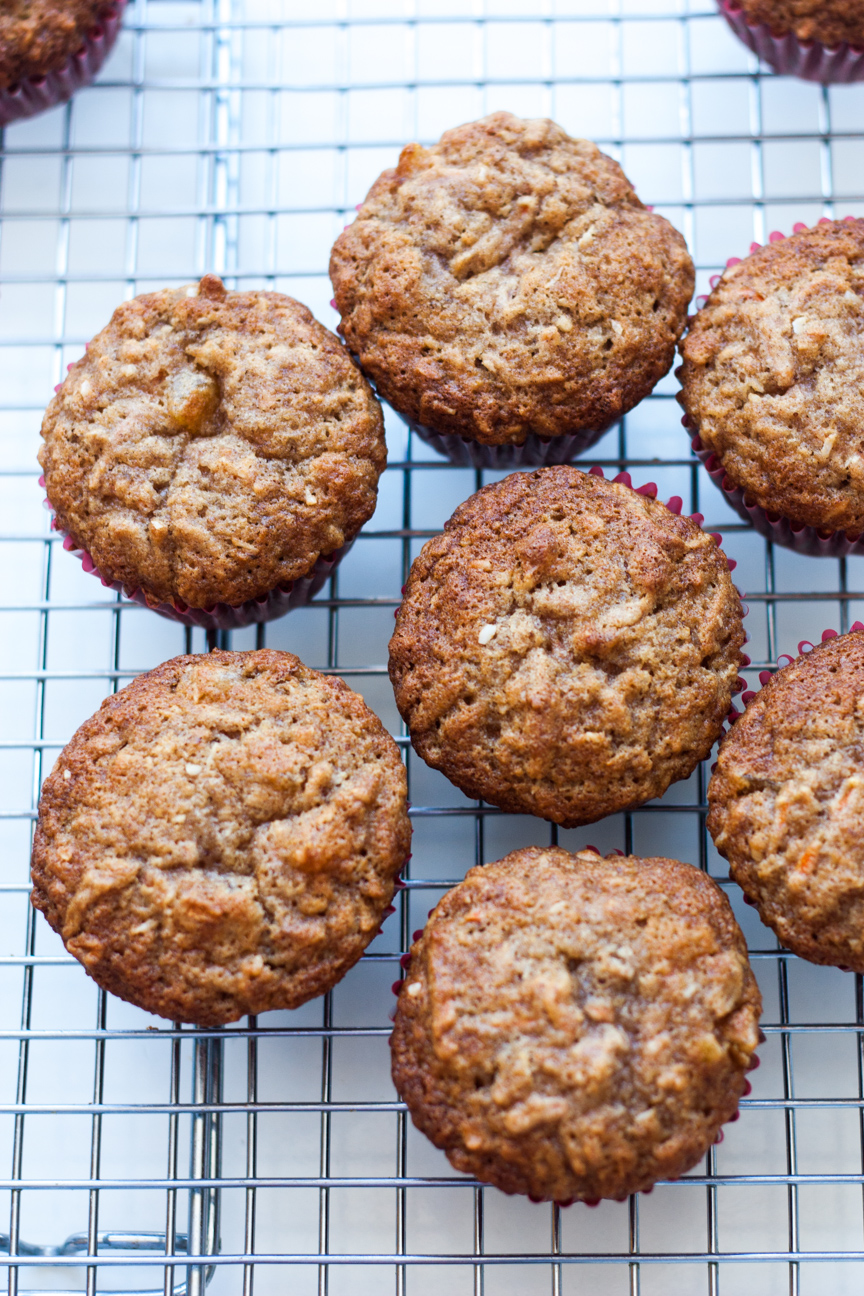
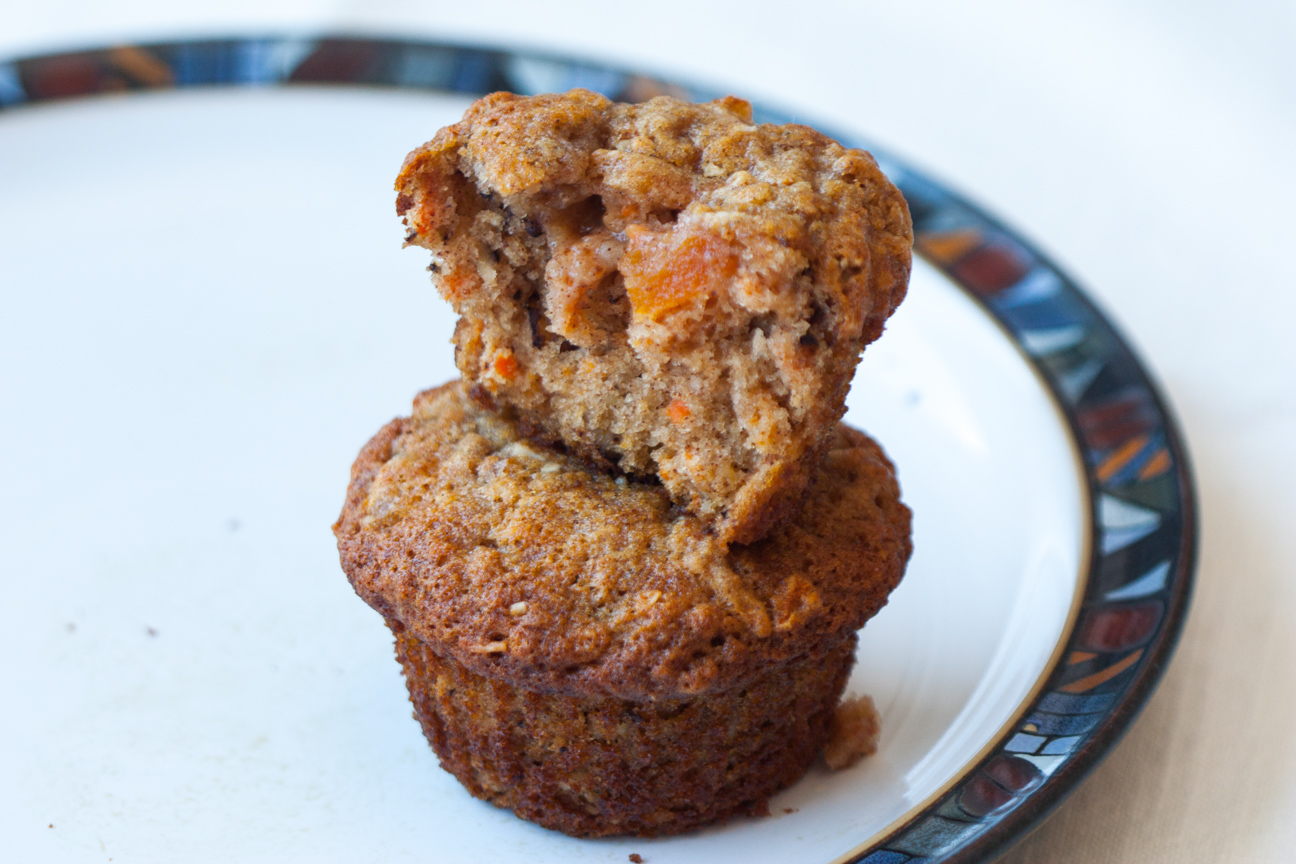
carrot, apricot, walnut muffins

This is such a super busy, stressful time of year for most people. The festivities in November and December are overwhelming: Diwali, Hanukkah, Christmas all come within weeks of each other. And each of those festivities are accompanied by cooking, baking, shopping, office parties, school concerts, music concerts etc.

To help get through it all without getting sick, or super stressed, it’s super important to take care of yourself during these hectic months. Eat healthy, stick to a regular bedtime schedule and try and get some exercise, even if it’s a 30 minute walk in the sunshine during your lunch.

Whenever I go out to do errands, I always try to take a hot mug of tea, or a bottle of water and a small snack. These On the-Go Carrot, Apricot, Walnut Muffins are perfect for that. Besides carrots, apricots and walnuts, they also contain coconut and applesauce.  When I bring my own snack, I am less tempted to buy a high calorie snack and sugar laden coffee at the corner coffee shop. This saves me a ton of money and I know I’m eating something healthy.

carrot, apricot, walnut muffins

These muffins freeze really well. When you’re heading out, you can just pop a muffin in a container to take away with your favourite on-the-go drink. It will thaw out and be ready to eat within 30-40 minutes. Packing a snack is a good habit to get into even if you’re just going out for a couple of hours.

carrot, apricot, walnut muffins

I hope you enjoy them! And Happy December!

I really liked these stress relieving tips. My favourites from this list were walking, enjoying the sunshine and laughter.

If you find any of the tips helpful, please share!

On-the-Go Carrot, Apricot, Walnut Muffins

Serves: 16
Cooking Time: 20

Ingredients

  • 2 cups flour
  • 2 tsp baking soda
  • 1 tsp baking powder
  • 2 tsp cinnamon
  • 1 1/4 cup sugar
  • 1/2 cup oil
  • 1/2 cup applesauce
  • 2 eggs
  • 2 cups grated carrots
  • 1/2 cup chopped walnuts
  • 1/2 cup chopped apricots
  • 1/4 cup coconut

Instructions

1

Preheat oven to 375 degrees F.

2

Fill muffin tray with paper cup liners.

3

In a large bowl, mix together the dry ingredients.

4

In a separate bowl, mix together the oil, applesauce and eggs.

5

In a third bowl, mix together the carrots, walnuts, apricots and coconut.

6

Add the carrot mixture to the dry ingredients.

7

Add in the oil/applesauce and egg mixture.

8

Stir briefly until everything is combined.

9

Fill muffin cups 2/3 full. You should be able to fill about 16 cups.

10

Place muffin tray in oven. Bake for 20 minutes. Muffins should rise nicely and be golden brown when done.


Cooking

Easy Chicken Thighs in Peanut Sauce and Cookbook Review

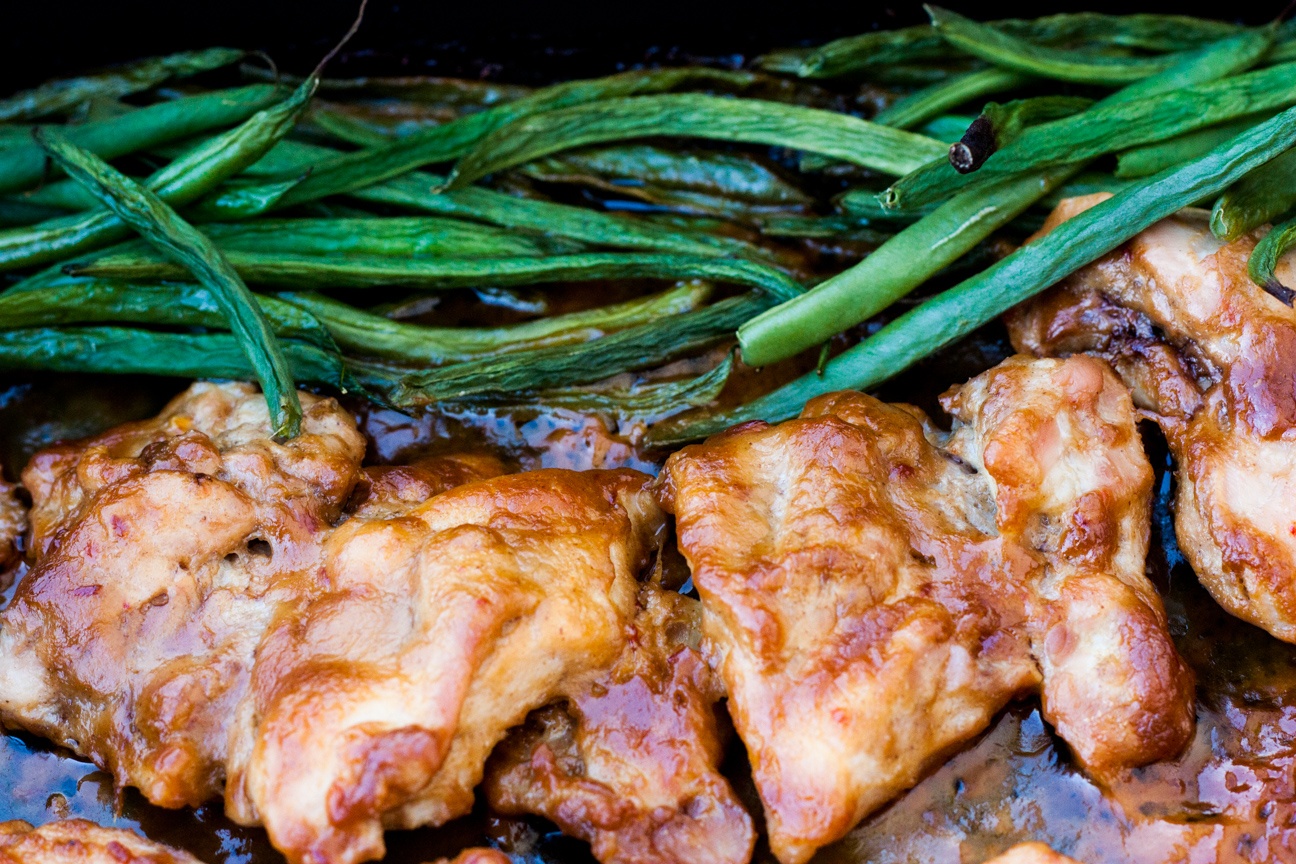
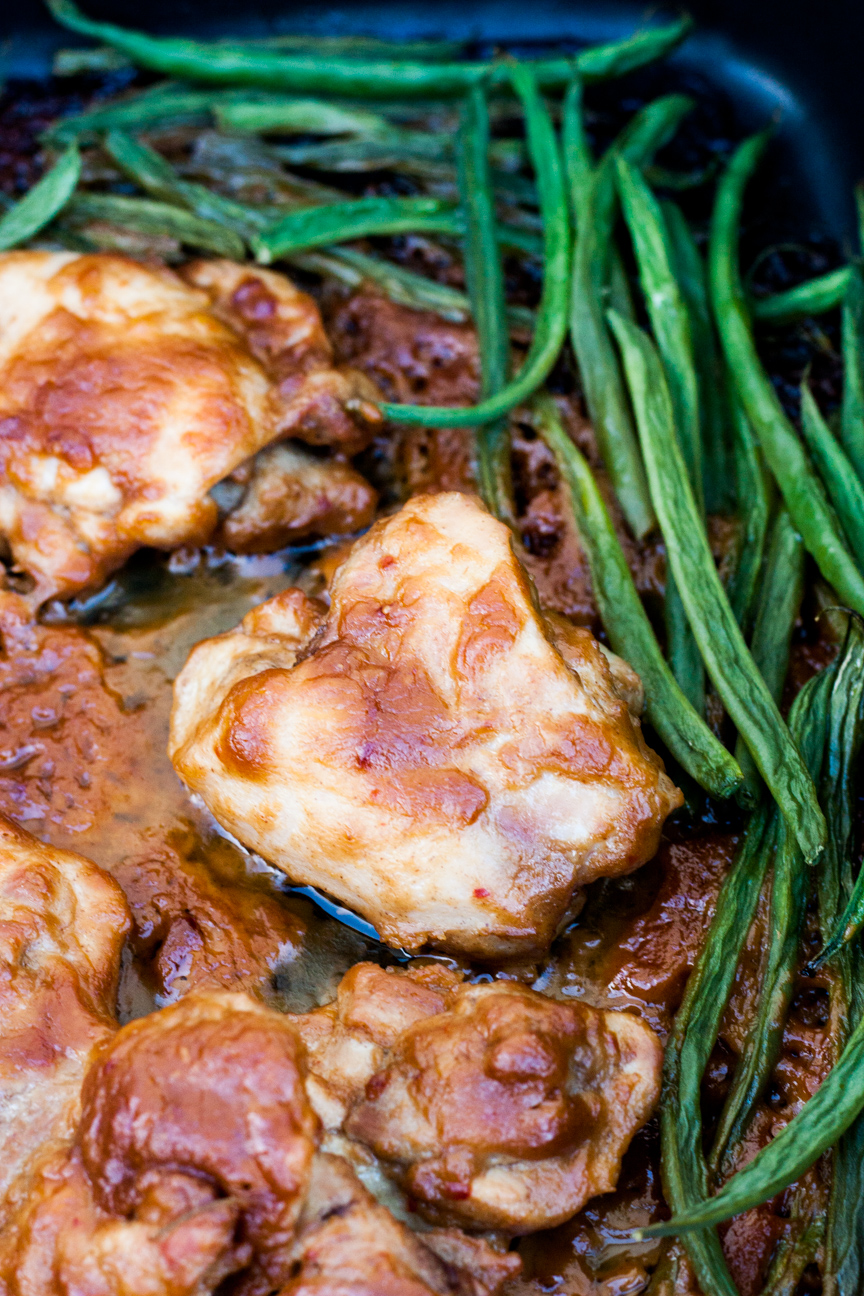
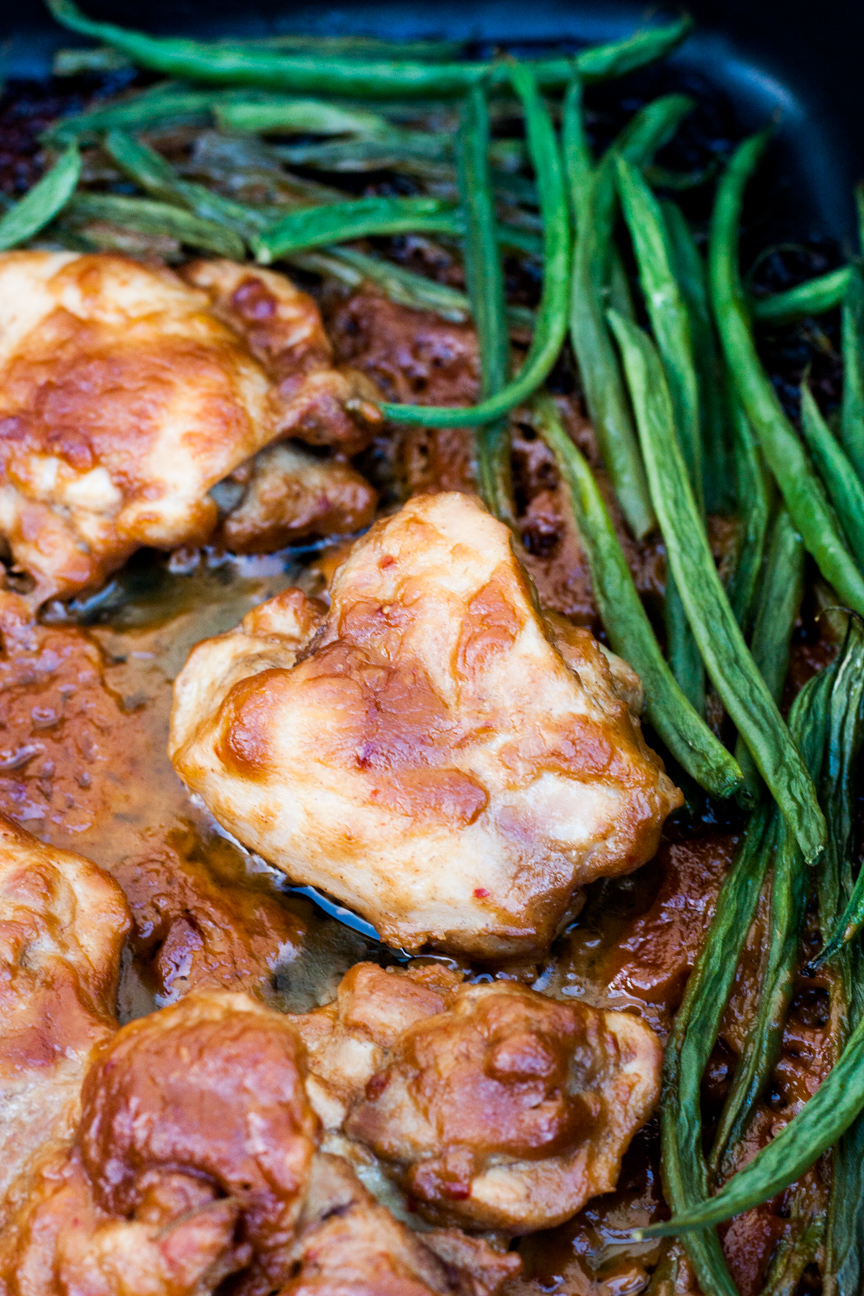
chicken thighs in peanut sauce with green beans

The Ultimate One-Pan Oven Cookbook – Book Review

I recently had Julia Konovalova’s cookbook, The Ultimate One-Pan Oven, sent to me to review from Food Bloggers of Canada. I prepared one dish from the book for my review: Easy Chicken Thighs in Peanut Sauce with Green Beans. It was soooo good. I’ve tried a lot of homemade peanut sauces over the years, with most recipes being duds, but this one was tasty and full of flavour. If you’re interested in family-friendly, easy and delicious recipes, read on.

The Ultimate One-Pan Oven Cookbook was written by blogger Julia Konovalova, creator of Imagelicious. I have to admit, this is my first cookbook review. I have been reading cookbooks since I was a little girl, and somehow thought this would be a fun and easy activity. Well, of course, browsing through any cookbook is fun, but reviewing one is not as easy as I thought.

I realized as I was going through this book, that there is a lot more to a good cookbook than just the recipes. Everything about the book has to make you want to use it: the photos, the names of the recipes, the layout of the book, the style of writing, the categories of recipes and of course, the recipe instructions.

I will break my review down into the categories mentioned above.

The Photos

Every recipe in this book is complimented with an eye-popping, mouth-watering photograph. I love that the photographs are light and bright and really expose the natural look of each dish and are not over edited. The dishes look just the way they would on your kitchen table at suppertime. And that’s nice.

Recipe Names

While browsing through the cookbook, I was drooling over the food adjective-heavy names. She includes recipes such as Cocoa-Rubbed Pork Back Ribs with Chocolate BBQ Sauce, or Roasted Berries with Orange Mascarpone. The names, ingredients, accoutrements – so simple, so delicous-sounding.

Layout

I really like the layout of this book. The book starts out with a short two-page intro of how Julia got interested in cooking, as well as what she likes and doesn’t like. This helps the reader decide quite early on if they’re on the same page as the author. Julia doesn’t like stress in the kitchen. She likes healthy family-friendly recipes with minimal effort and washing up. Also, the abundance of photos really entices the reader to use the book.

Writing Style

Julia’s experience as a food blogger is evident in the personal anecdotes she includes at the beginning of every recipe. She always has a nice paragraph at the beginning of every recipe explaining what she loves about a particular ingredient in the recipe on the page. Her comments and dialogue are very insightful and help us get to know her and learn what is important to her: her family, fresh produce and a no-muss no-fuss style of cooking. This book is so perfect for people that love home cooked meals, but don’t want to spend hours in the kitchen preparing and cooking dinner.

Categories

I love the categories in this book. Because this book is primarily savoury dishes, with ten sweet dishes at the end, all baked in a pan in the oven, it could be challenging to divide the recipes into interesting and different groups. But her categories are brilliant: Oven-Made Breakfasts, Complete One-Pan Oven Meals; Hands-Off Main Dishes, Simple Soups, Salads and Sandwiches, Easy Sides, One Pan, Many Nibbles and ending with Delicious and Unique Desserts.

Recipe Instructions

The instructions are clear and precise. I like how she uses metric and imperial measurements, as we Canadians still use a mix of both.

She also has many helpful Notes at the bottom of the recipe.


chicken thighs in peanut sauce with green beans

If you’re looking for a cookbook as a gift this Christmas, definitely have a browse through this book. It is full of imagination, creativity and some very delicious meals anyone would be happy to prepare for suppertime.

Here’s a link to her cookbook on Amazon.ca The Ultimate One-Pan Oven Cookbook by Julia Konovalova.

Easy Chicken Thighs in Peanut Sauce with Green Beans

Serves: 4
Cooking Time: 30

Ingredients

  • 2 tbsp (30 ml) olive oil, divided
  • 1/4 cup 45g smooth peanut butter
  • 2 tbsp (30 ml) lemon juice
  • 4 tbsp (60 ml) orange juice
  • 2 tbsp (30 ml) Sriracha (I used Sambal Olek)
  • 8 skinless, boneless chicken thighs
  • 3/4 lb (340 g) green beans
  • salt and pepper to taste

Instructions

1

Preheat the oven to 425 degrees F (218 C). While the oven is preheating, mix 1 tbsp (15 ml) of the olive oil with the peanut butter, lemon juice, orange juice, soy sauce, and Sriracha in a bowl. (Julia mentions that she likes to use a small glass jug for this. She recommends heating the sauce ingredients, as it's much easier to mix when the peanut butter is warm).

2

Place the chicken thighs in the middle of a 11 X 17 inch or 28 X 43 cm nonstick baking pan. You need room for all the ingredients to spread out. Make sure that the chicken thighs are fully flattened. Pour half the sauce over the thighs, then flip and pour the rest of the sauce, making sure that it fully covers the chicken. Alternately, you could mix the thighs in a bowl with the sauce. However, that would add one extra dish to your washing up.

3

Spread the green beans around the chicken thighs in one layer. Pour the remaining 1 tbsp (30 ml) of olive oil over the green beans, season with salt and pepper to taste and lightly mix with your hands or tongs to cover them with oil and seasoning.

4

Roast for 30 minutes, or until the chicken thighs are cooked to 165 degrees F (74 C) and the sauce is thickened.

5

Serve with rice, if desired, or double the amount of green beans and cook on a separate pan.

Preserves

Vegan Roasted Red Pepper Pesto Recipe

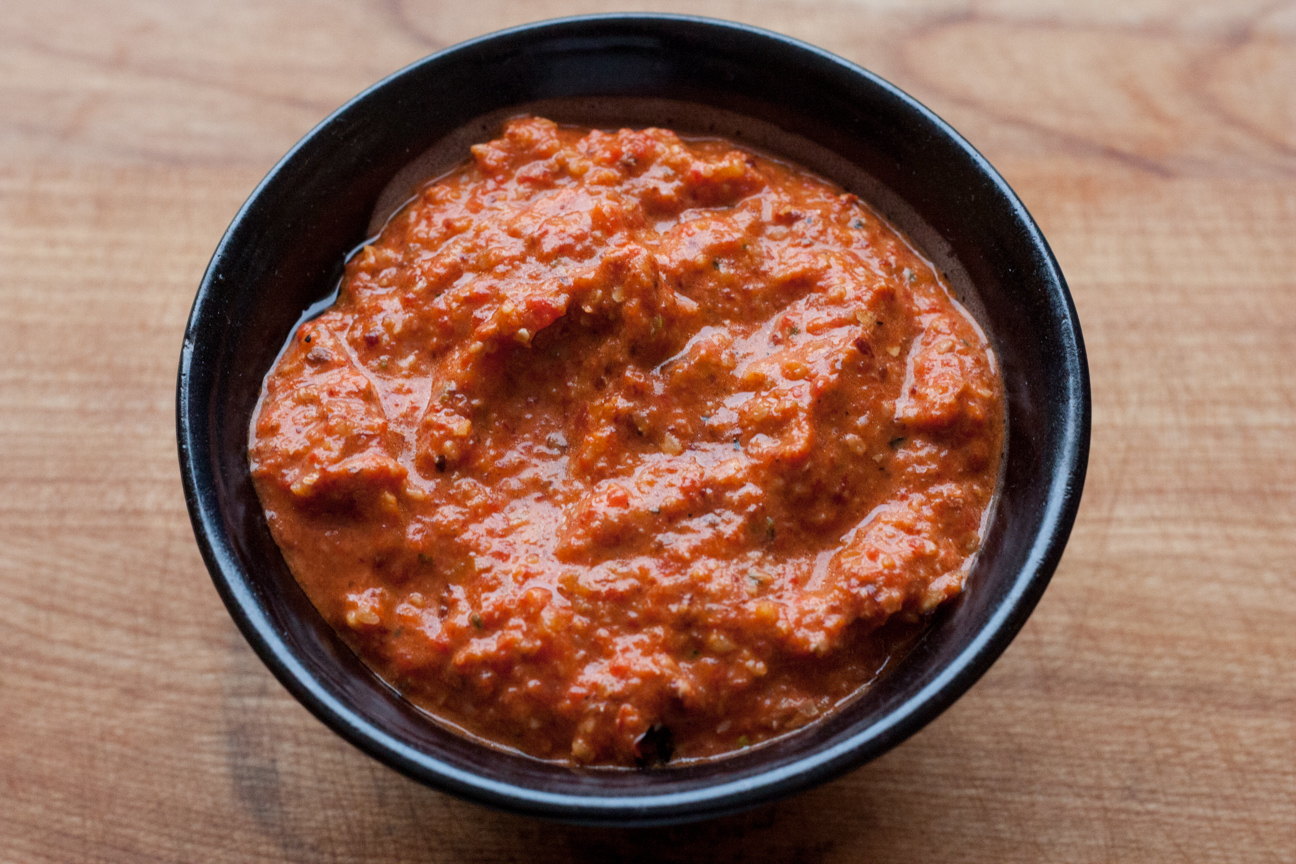
roasted red pepper pesto in a bowl

January is a great month to make changes to your daily life. Maybe you want to hit the gym more often, go to the theatre or read more books. This year, I’m going to be cooking a lot more vegetarian and vegan recipes. I’ve been experimenting lately with some different dinner ideas and they have all gone down a treat. This vegan roasted red pepper pesto caught everyone offguard with it’s smoky flavour and heat from the chipotle.

Eating less meat and more vegetables is a much healthier and more economical way of dining. I found this recipe recently in Meatless: More than 200 of the Very Best Vegetarian Recipes and everyone in the family loved it.

I was a vegetarian for a few years when I was a teenager. Eliminating meat from my diet was easy, but back then, there were not many resources to inspire me to make interesting meatless meals. To make sure that I got enough protein in my diet, I ate a lot of eggs and cheese, and salty sunflower seeds.

Nowadays, there are SO many amazing vegetarian ideas. I love Buddha bowls, vegetarian curries as well as all the wild variations on pesto.  I love the influence that international cuisines bring to vegan and vegetarian dishes. Spices and techniques from Thailand, Vietnam, India or South America really liven up our local veggies. We’re so lucky that international restaurants, recipes and ingredients have become more prevalent.

While I am familiar with vegetarian diets, the vegan diet is new to me, and perhaps to other people as well.

This vegan roasted red pepper pesto is amazing with it’s smoky hot chipotle peppers and nutty almonds. It does have quite a kick to it from the chipotle pepper. If you are serving this to anyone who does not like spicy food,  decrease the chipotle pepper to 1/4 or 1/2 and add an extra half roasted red pepper. It is delicious on pasta, but you could also spread it on crackers, or a bagel or have as a dip with veggies.

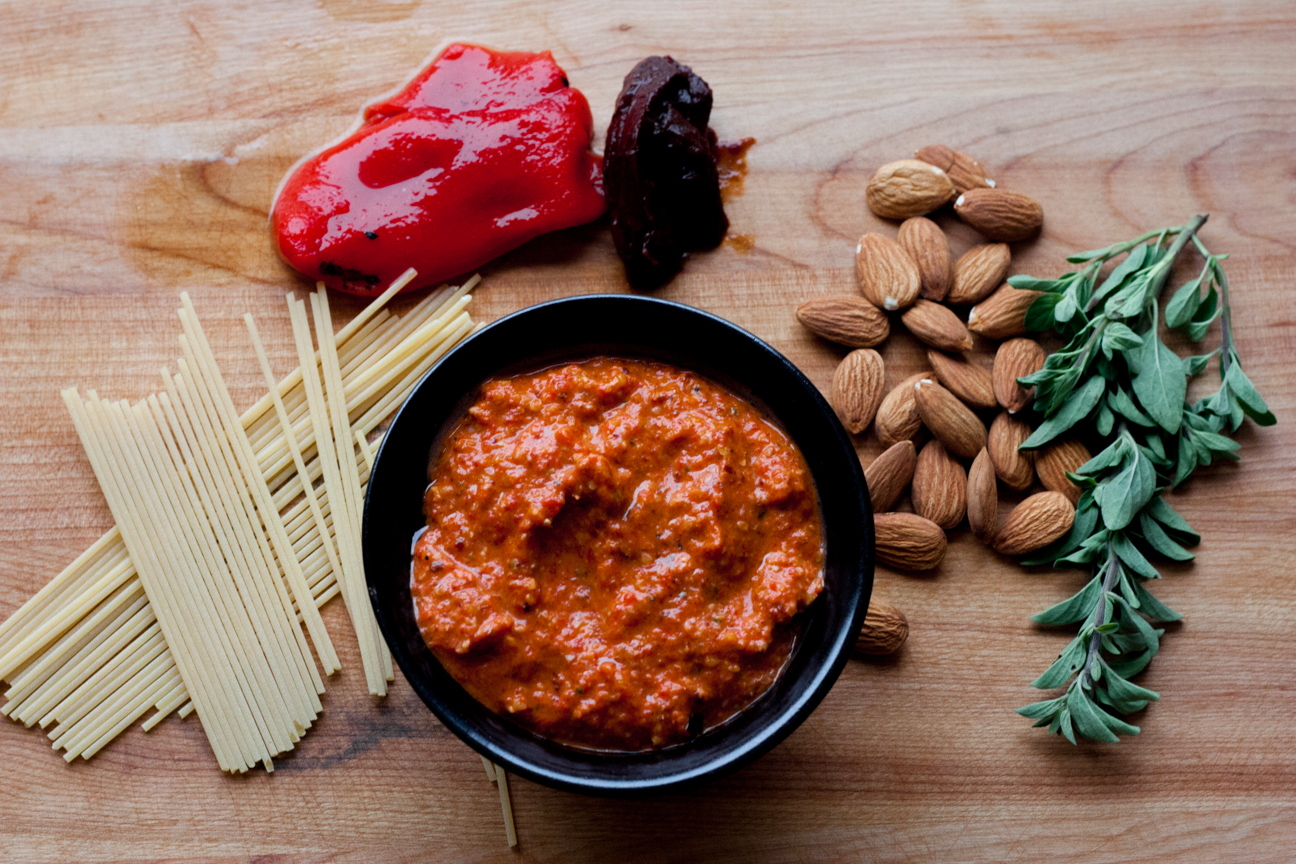
roasted red pepper pesto with ingredients on a cutting board

Vegan Roasted Red Pepper Pesto

Serves: 6
Cooking Time: 10 minutes

Ingredients

  • 2 large roasted red peppers
  • 1 chopped jarred chipotle chile in adobe
  • 1 chopped small garlic clove
  • 2 tablespoons toasted almonds
  • 1 teaspoon fresh oregano
  • 2 tablespoons olive oil

Instructions

1

Place all the ingredients in the food processor, EXCEPT the olive oil. Pulse a few times until roughly chopped.

2

Add the olive oil and blend until everything is mixed together.

3

Season with salt and pepper.

4

Boil up 450 grams of spaghetti. Follow package instructions for timing.

5

Toss the spaghetti with the pesto.

Notes

To toast the almonds, spread them on a parchment lined baking tray and pop them into a preheated 350 degree C oven. It takes about ten minutes for them to toast.

If  you are interested in further reading on vegan diets, here is some additional reading. Enjoy!

The Vegan Society

History of Veganism

Baking

Honey Maple Whole Oat Granola Recipe

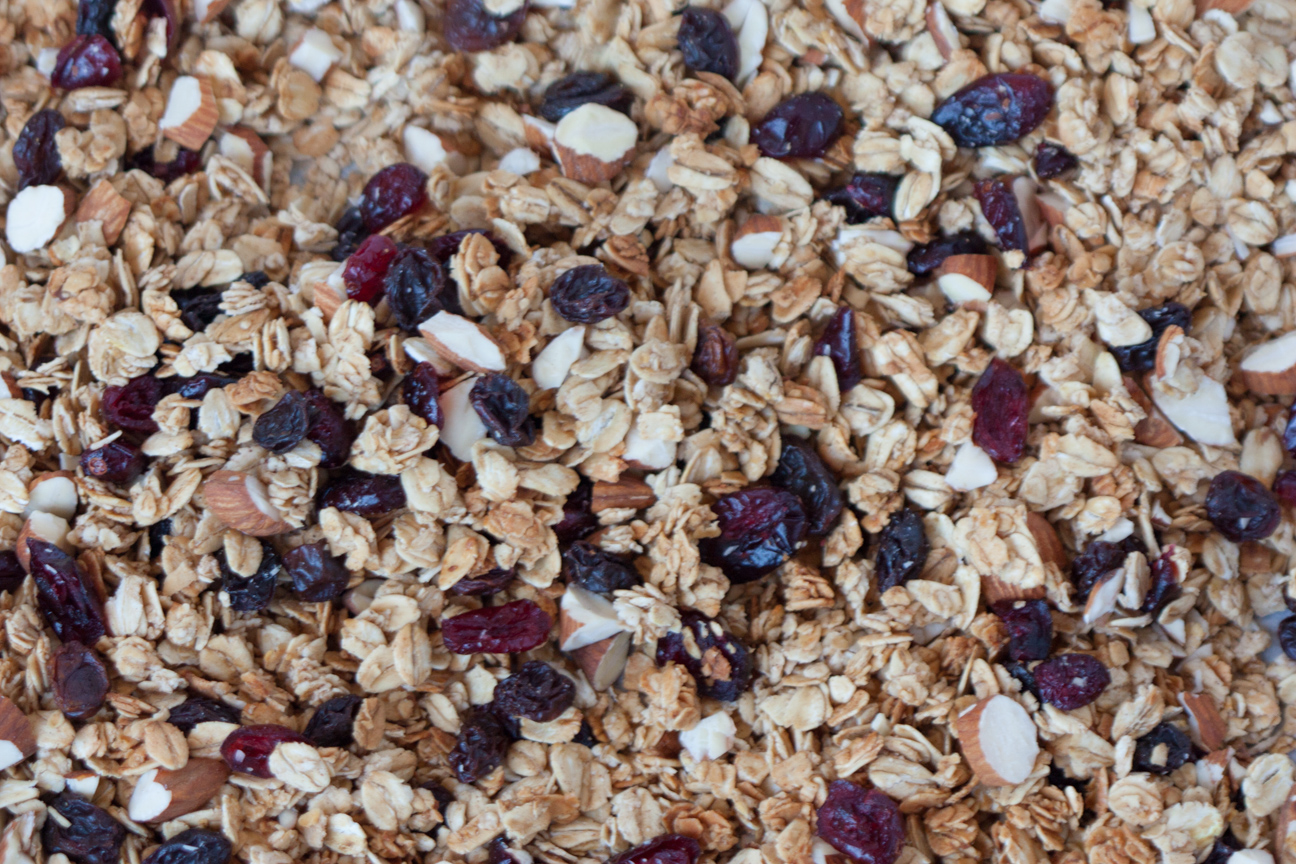
honey maple whole oat granola


This is a fantastic recipe for Honey Maple Whole Oat Granola. It is chock full of dried fruit, nuts and toasty oats.

When I was a teenager I went through a phase of making granola for practically every big gathering with my friends.  I made granola for potluck dinners, going away parties and camping trips. Whatever the event,  I would be there with a 3 pound bag of my latest granola invention.

Granola is super easy to make. You don’t really need a recipe to make granola, but it is good to have a basic one to know the proportions of wet to dry ingredients as well as the amount of fruit and nuts to use. Homemade granola is also much healthier as it is lower in sugar and salt than store bought. And just by changing the sweeteners and using an assortment of nuts, dried fruit, and grains you can make hundreds of different combinations.

You could increase the sweetness to go on top of an apple crumble or to sprinkle on ice cream for dessert. Use less sweetener for a breakfast granola, or extra nuts for energy snacks for hikes or bike rides. A handful of chocolate chips or chocolate nibs after baking adds a burst of sweetness for a fantastic boost in energy. Excellent sweeteners to use range from maple syrup in the spring when the sap is running or honey in the fall when farmer’s market stalls are bursting with pails of wild flower, clover or buckwheat honey.

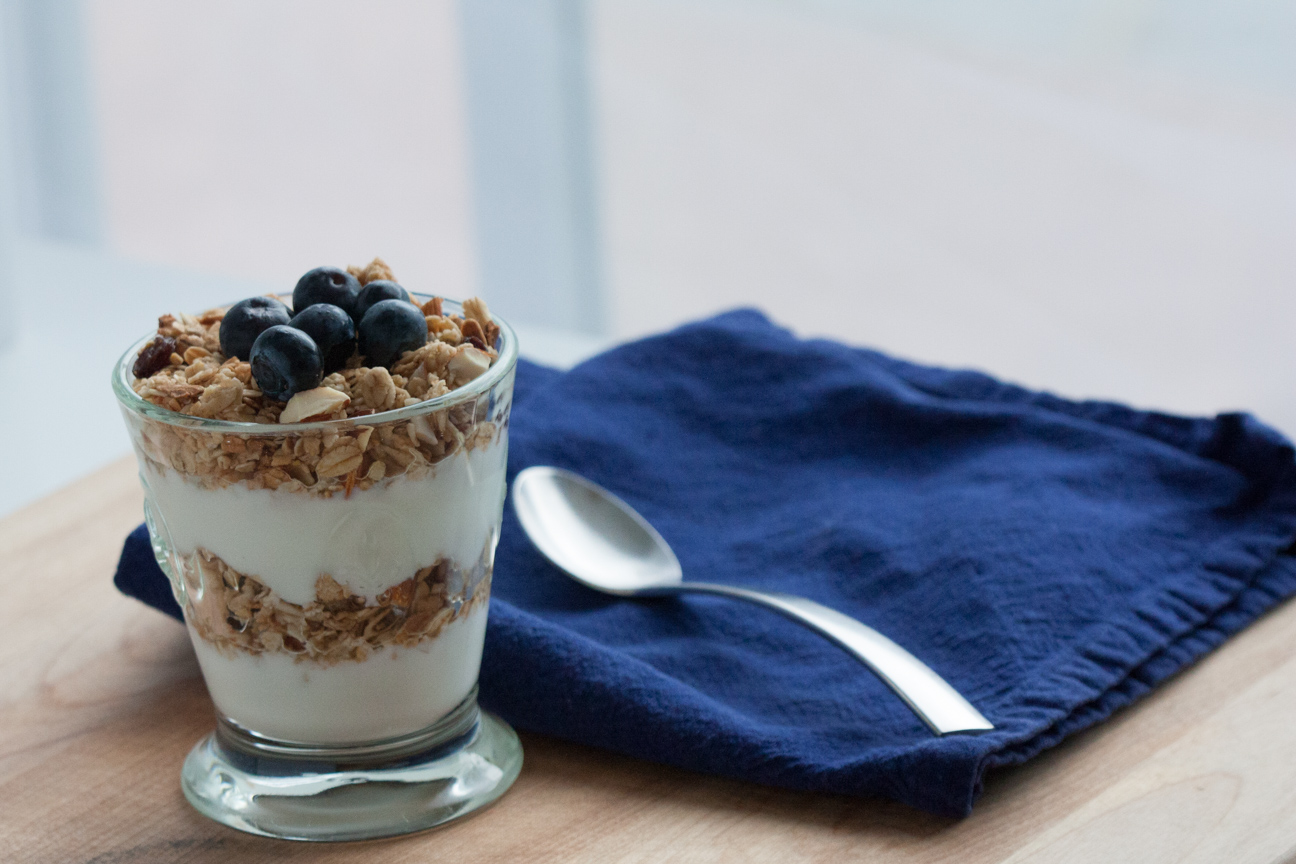
My son and I really like this granola for breakfast or snack with yogurt. It’s not too sweet and the cinnamon and ginger adds a lovely hint of flavour.

granola and yogurt in glass with blue napkin

Honey Maple Whole Oat Granola with Vanilla and Cinnamon

Serves: 12-16
Cooking Time: 30

Ingredients

  • 1 3/4 cup quick oats
  • 1 1/4 cup whole oats
  • 1/4 cup honey
  • 2 T butter
  • 1 T maple syrup
  • 1/2 tsp cinnamon
  • 1/4 tsp ginger
  • 1/2 tsp vanilla
  • 1/4 cup dried cranberries
  • 1/4 cup raisins
  • 1/4 cup whole almonds, chopped

Instructions

1

Preheat oven to 325 degrees.

2

Line baking sheet with parchment paper.

3

Melt the honey, butter, vanilla and maple syrup in a small pot on the stove or in a bowl in the microwave.

4

Mix together the two oats and spices. Pour the liquid into the oat mixture and stir to combine.

5

Pour onto the baking sheet lined with parchment paper. Spread out the oat mixture a bit, but not too thin as the individual oats will cook too fast and dry out or burn.

6

Bake granola for 10-12 minutes, stirring after 5 minutes then add: the cranberries, raisins and chopped almonds.

7

Continue cooking for about 5 minutes more, until oats are starting to turn golden, then remove from oven.

8

Put the tray on a wire rack. Leave the granola on the tray until cool. Store in a cool, dark place.

frozen rosebud close-up

icy rosebud