All Posts By:

Suzanne

Preserves

Strawberry Lime Elderflower Granita Recipe

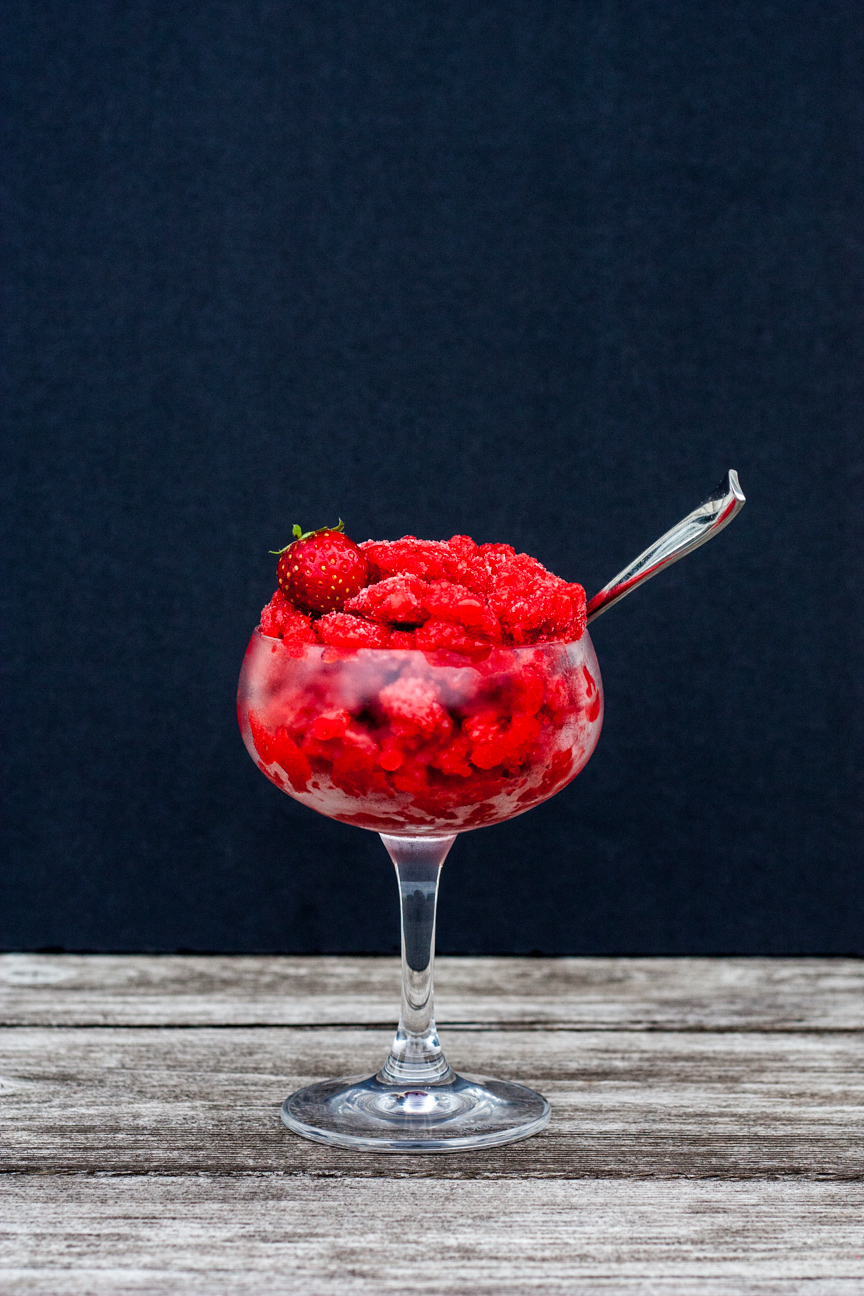
strawberry lime elderflower granita

Wow! I’m not sure what the weather is like where you’re living, but the forecast for tomorrow in Ottawa is 40 degrees C.  That’s hot, hot, hot! And the best way for me to stay cool in hot, humid weather is by eating fruity frozen desserts.

This Strawberry Lime Elderflower Granita is so perfect for cooling down in the heat. Granita is a frozen mixture of fruit, sugar, water. It is the simplest frozen dessert you can make. And it’s a great dessert to make with your kids.

Granita is similar to sorbet but is made without an ice cream machine. The ice crystals that form are large and coarse and will be crunchy when you take a bite, but seconds later the granita will just melt away in your mouth. Divine.

To make granita, simply puree some fruit, water, sugar and any extra flavouring you may want to use, in a blender. Pour it into a shallow tray and place in the freezer. Check on it after an hour, and if it has begun to freeze, start breaking up the crystals with a fork. Place it back in the freezer for another 30-45 minutes. Repeat this process until it is all frozen and flaky.

There are many ways to enjoy granita. Of course, you can eat it plain in a bowl. You could also have it layered with whipped cream in a parfait glass. Some people also enjoy it spooned overtop of yogurt.
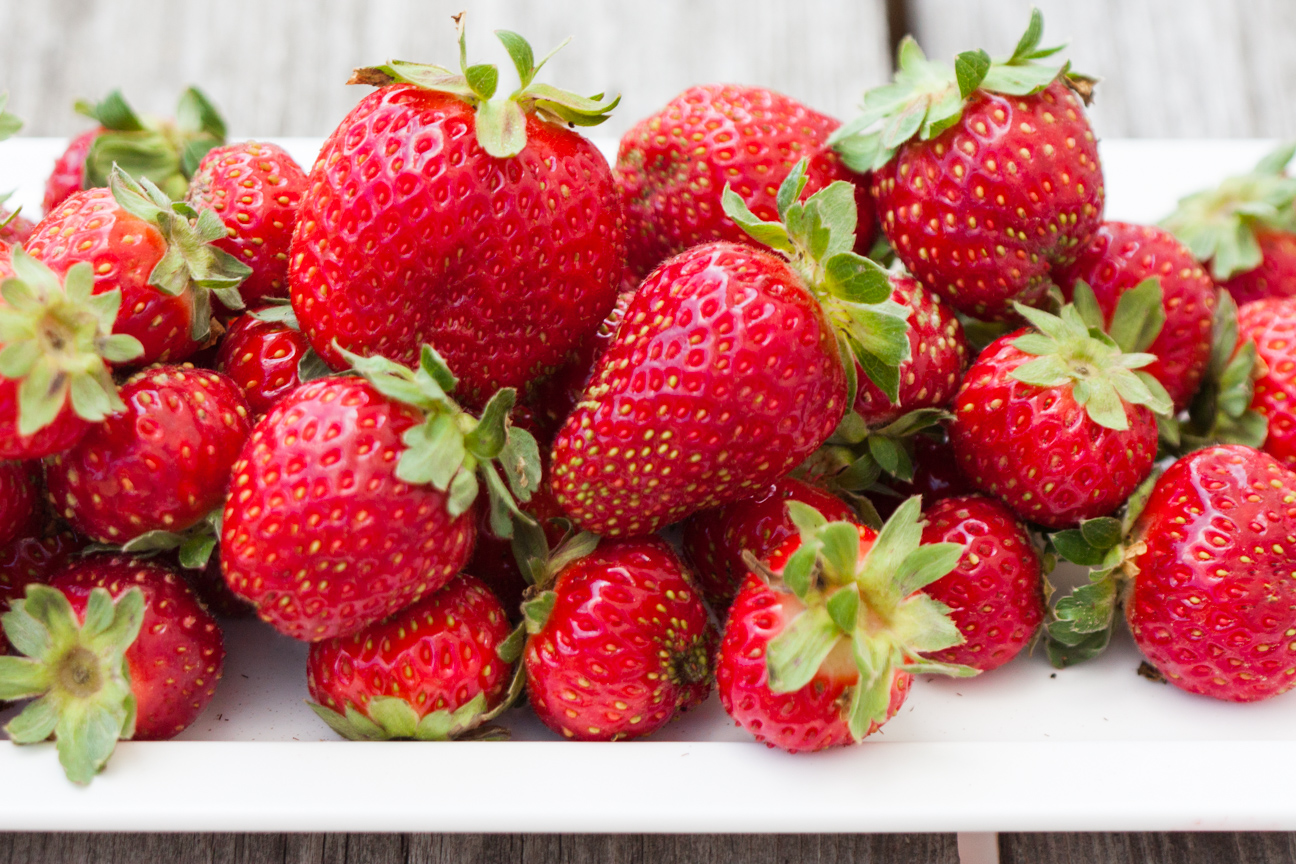
 

strawberries for strawberry lime elderflower granita

Strawberries have always been very symbolic of summer and a perfect fruit to use in granitas. But now with day-neutral strawberries, we can buy local strawberries until the frost hits! Yay!
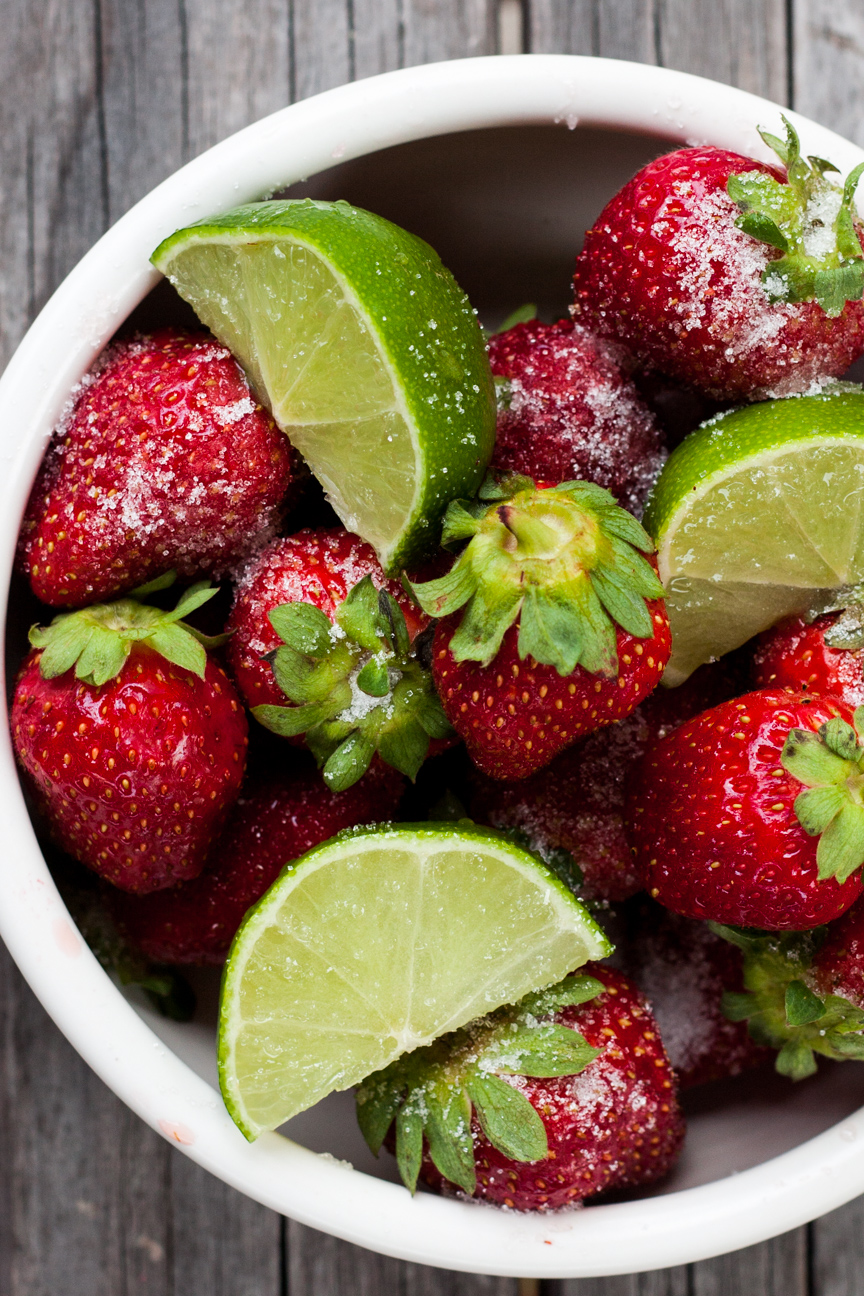
 

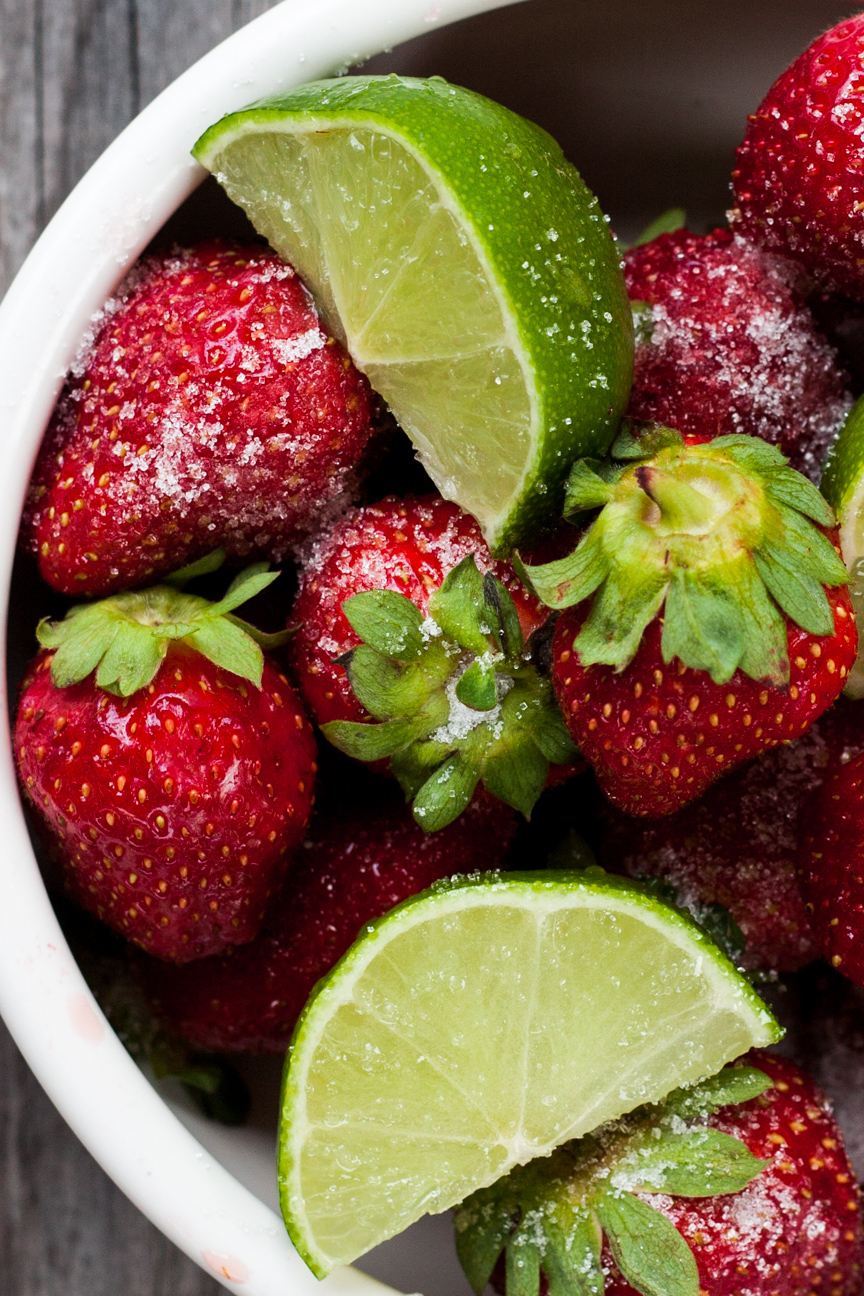
strawberies and limes for strawberry lime elderflower granita

Strawberries and limes go amazingly well together.

strawberies and limes and elderflower liqueur for strawberry lime elderflower granita

And when you add a few drops of Elderflower Liqueur…the flavour is heavenly.

There are so many fruits you could use in granita: blueberry, melon, watermelon, raspberry, blackberry, mango, or espresso coffee…. or mix them up and come up with your own flavour. The possibilities are endless.

Strawberry Lime Elderflower Granita

Serves: 8-10

Ingredients

  • 1 kg strawberries, hulled and sliced
  • 150 grams icing sugar
  • 1/2 lime juice and zest
  • 1 ounce of elderflower liqueur (optional)
  • 1 cup water

Instructions

1

Mix strawberries and icing sugar. Let sit one hour.

2

Place strawberry sugar mixture into a blender. Add lime juice, lime zest, water and elderflower liqueur (if using). Blitz on high until a smooth puree is formed.

3

Strain mixture through one layer of cheesecloth to remove seeds.

4

Pour mixture into a rectangular shallow container and cover with lid. Place in freezer.

5

After one hour, check mixture. If ice crystals have started to form, rake a fork through the crystals to break them up somewhat. You don't want the tray to freeze into a giant ice cube. Keep checking every 30 to 45 minutes and continue to break up the frozen parts with a fork.

6

When it's ready, the tray will be filled with fluffy ice crystals.

7

Enjoy on it's own, or layered with whipped cream, or overtop of yogurt.

Baking

Lancashire Maple-Oat Parkin Cake for a Summer Evening

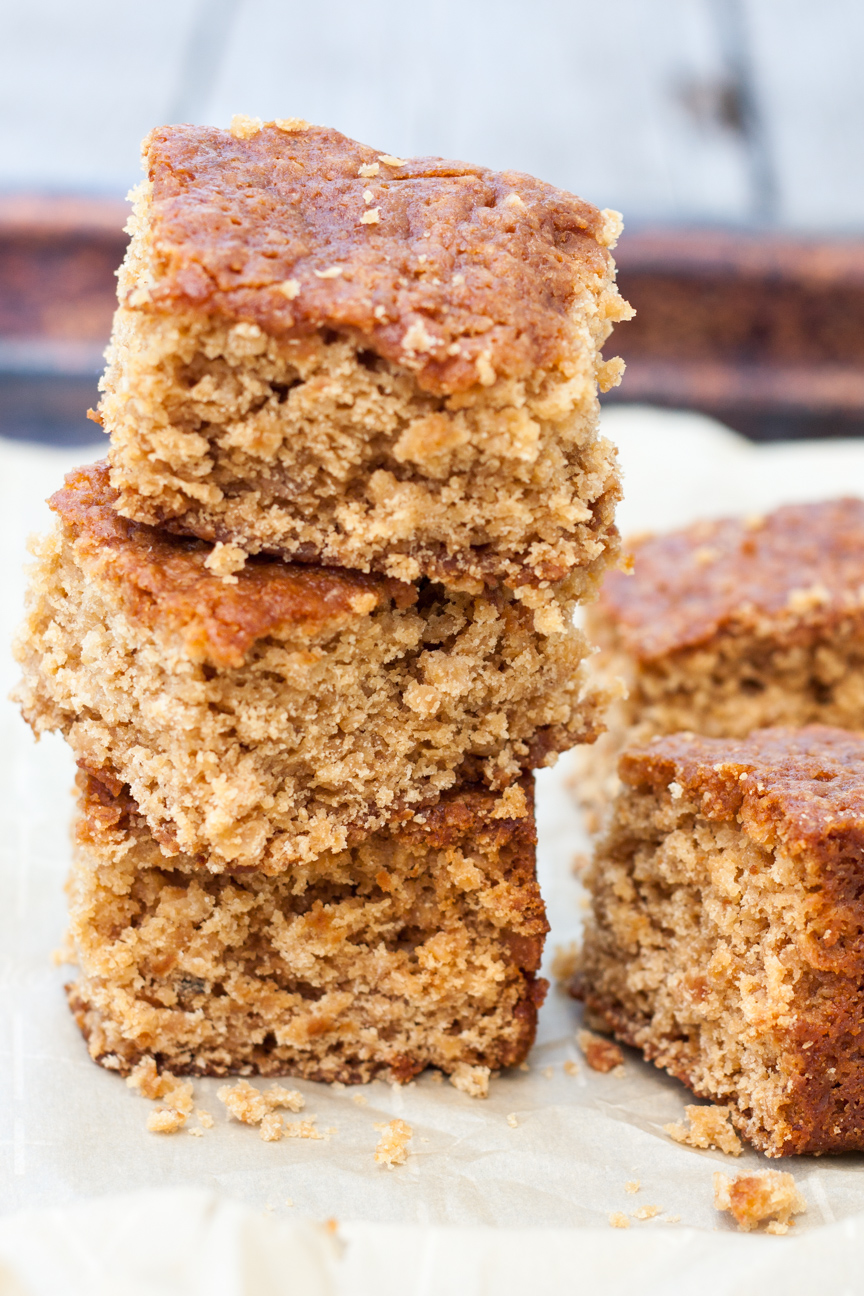
lancashire maple-oat parkin cake

With the days getting cooler, especially the evenings, I start thinking more about baking. This Lancashire Maple-Oat Parkin Cake is a fantastic late summer bake with it’s ginger, treacle and maple syrup flavours.

A few weeks ago, my cousin Anne in Scotland, sent me a lovely little vintage Trex Cookery cookbook. She knows that I love cooking and baking and spotted this booklet in a vintage shop. The first recipe that I spotted was the Lancashire Parkin and knew straight away that would be the first recipe to try. Lancashire Parkin checked all the boxes for me for a lovely bake: oats, syrup, ginger and Demerara sugar.  She also sent me a beautiful cake tin decorated with a lovely photo of the Duke and Duchess of Sussex to store my cake in.

Lancashire Parkin is the Northern England version of gingerbread. It is a sticky, moist lightly spiced cake. It originated in Yorkshire, but is also popular in Lancashire, which is just to the west. No one seems to know where the name Parkin comes from.

Parkin cake is traditionally eaten in England on Bonfire Night, November 5th. Bonfire Night celebrates the epic failure of Guy Fawkes, a Yorkshire man, who tried to blow up the Houses of Parliament in 1605.

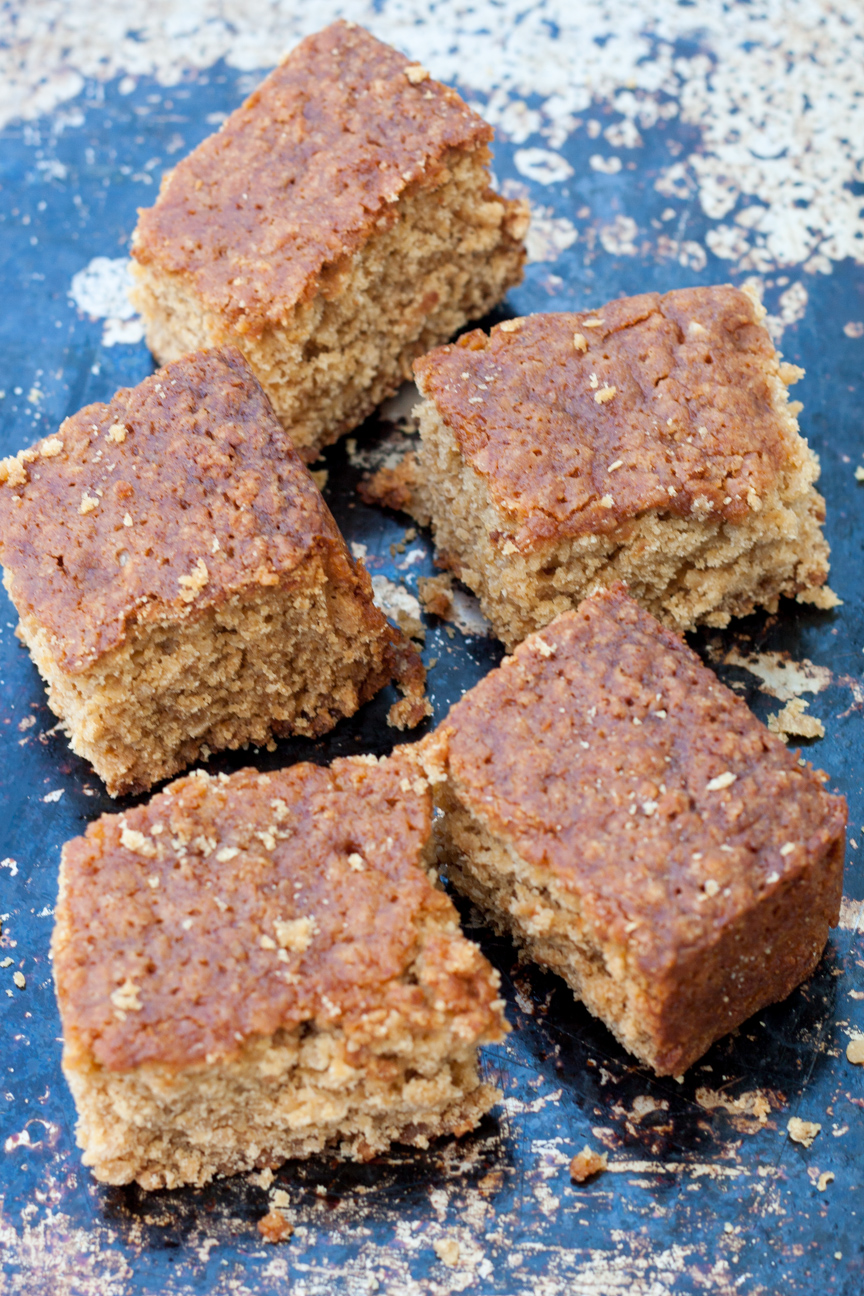
lancashire maple-oat parkin cake

Parkin Cake is a moist chewy cake due to the addition of oats. This cake also always contains sweeteners such as molasses,  black treacle or golden syrup, and light or dark brown sugar. I added maple syrup to my Lancashire Maple-Oat Parkin Cake, to reflect my Canadian roots.

Parkin Cake improves in flavour about 3 days after it’s been baked. This is to allow the oats to soften and the spices and sweeteners to really do their job. So, let this cake sit in a sealed container for 3 days before it is ready to eat. So, don’t be tempted to cut a slice immediately after baking. Wrap it up after it has cooled, and then patiently wait for 3 days to slice it up.  You will be glad you did.

Enjoy!

Lancashire Maple-Oat Parkin Cake for a Summer Evening

Serves: 12-16
Cooking Time: 40-60 minutes

Ingredients

  • 2 eggs
  • 1/2 cup milk
  • 225 grams flour
  • 225 brown sugar
  • 2 tsp baking powder
  • 22 grams medium oats
  • 1 tablespoon powdered ginger
  • 225 grams melted butter
  • 225 grams golden syrup
  • 1/2 cup maple syrup

Instructions

1

Preheat oven to 325 degrees fahrenheit. Prepare a 9 X 12 inch baking tray with parchment paper.

2

Melt the liquid ingredients together (butter, golden syrup and maple syrup). Let cool to room temperature, about ten minutes.

3

Mix the milk and eggs together and whisk until the eggs are incorporated into the milk.

4

Mix the dry ingredients together.

5

Add melted mixture and egg mixture to dry ingredients. Stir until all the ingredients are mixed together well.

6

Pour into baking dish.

7

Bake for about 60-90 minutes. It should be a nice golden colour on top when done. And a cake tester should come out clean.

8

Keep in the pan for about 1-2 hours, until cool. Then turn out onto a cake rack until cold.

9

Once cold, wrap in plastic wrap or place in a plastic container and store for about 3 days.

10

Slice and enjoy!

Cooking

Orange Soy Honey Tofu Marinade for BBQ

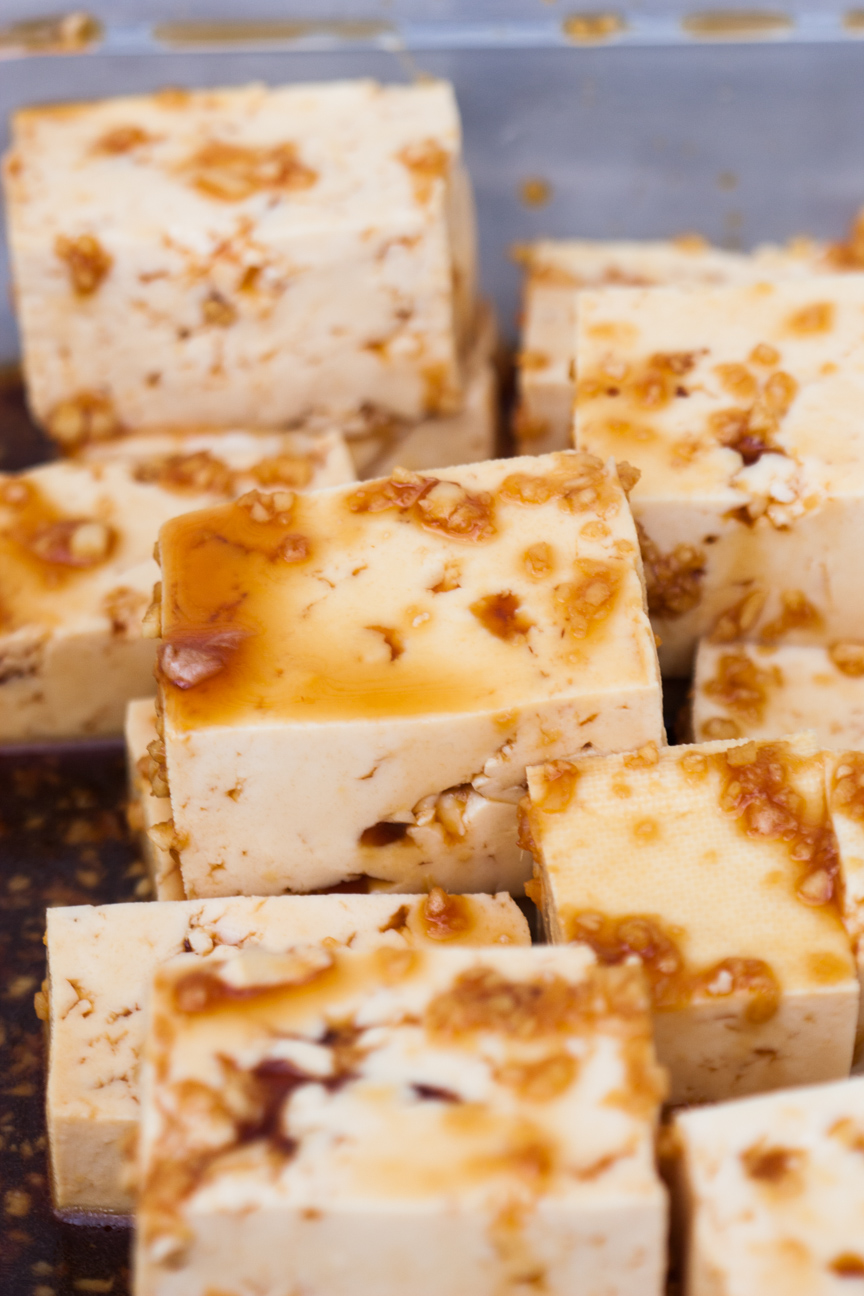
cubes of tofu marinating in orange soy honey tofu marinade

We love to barbecue on the weekends, but sometimes I get tired of eating so much meat, so my husband suggested we try marinating and grilling tofu on the barbecue. I came up with this Orange Soy Honey Tofu Marinade last weekend and everyone really enjoyed it. It’s so good: it has sweetness from the orange juice and honey, saltiness from the soy and lots of extra flavour  from the ginger and garlic. Yum!

Tofu is made from coagulated soy milk. It has been made for thousands of years beginning in China. The story goes that a cook once accidentally curdled some soy milk and … tofu was born.

Tofu on its own can be quite bland. But luckily it is fantastic for soaking up the flavours of sauces and marinades. Which is why this marinade works so well with tofu. All the flavours of orange, soy, honey, ginger, and sesame oil soak right into the porous soy cubes. This marinade also works in stir-fries as a sauce with chicken or tofu if you do not barbecue, or it is raining or wintertime. Just use with your favourite stir-fry combination.

Tofu is a super healthy meat alternative. In a 100 gram serving (about 1/2 a cup) there are 70 calories, 3.5 grams of fat, 8.2 grams of protein and about 350 mg of calcium, which is about 20% of our daily needs. When compared with chicken or steak, it is much lower in calories and much higher in calcium. Tofu is lower in protein than chicken or steak, but one serving is still enough for your daily needs.

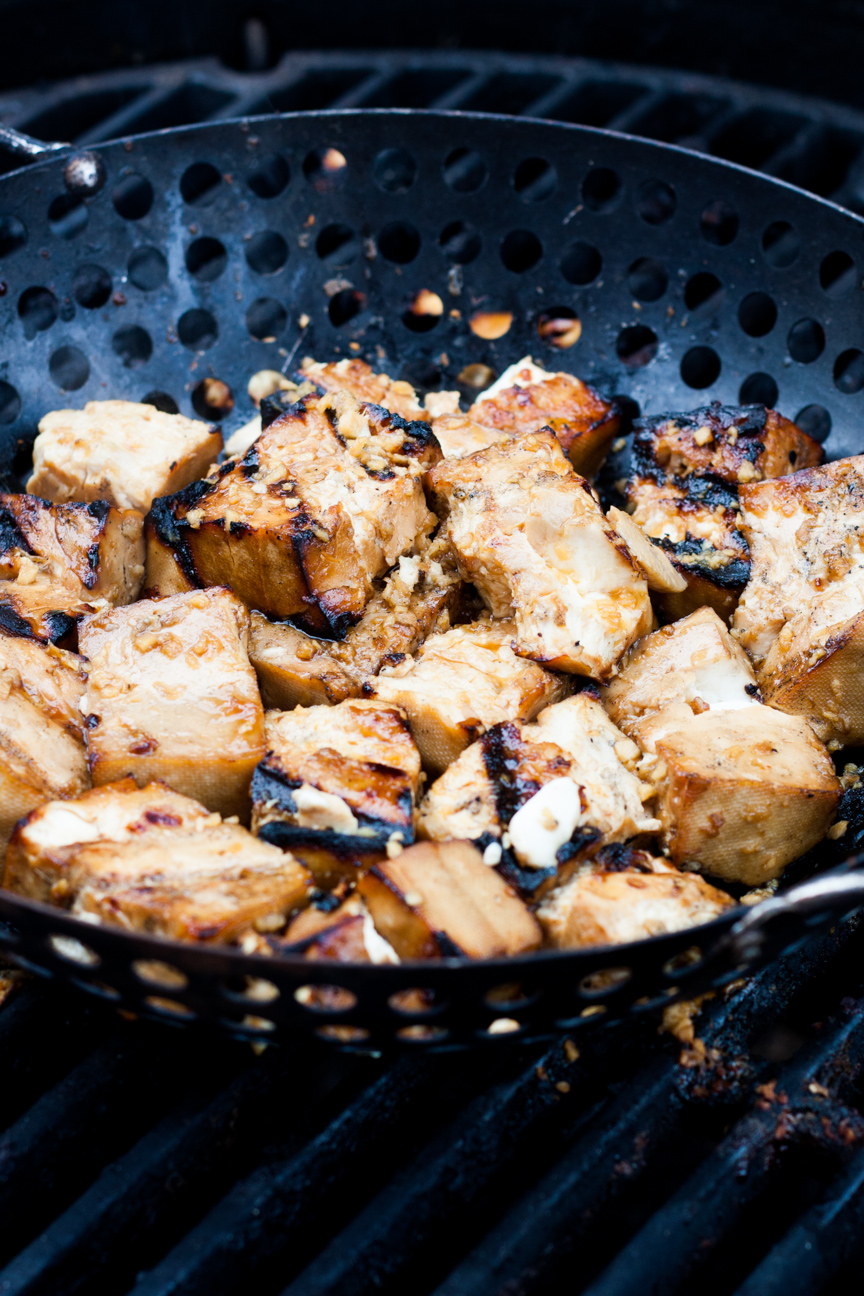
grilled tofu with orange soy honey marinade

When you grill the tofu on a barbeque, you will need a basket with holes in it (pictured above) otherwise the tofu cubes will fall through the grate. You could also use an iron frying pan. On the barbeque, the tofu caramelizes to a lovely golden brown. It’s very difficult to get this result on your stove top, as the barbeque is so much hotter. It would work, but it’s really nice on the barbeque.

Before you begin making this dish, you should press the tofu to remove any extra liquid. When pressed, the tofu is less apt to fall apart on the barbeque.  To press it, first cube the tofu. Then place the tofu in a shallow plate and cover the tofu completely with another plate. Place a weight on top of the plate. For a weight, you could use a can of tomatoes, a small bag of sugar, or anything that weighs about 1 kg. Leave the tofu like that for about 60 minutes. Drain away the liquid, then place the pressed tofu in a container with the Orange Soy Honey Tofu Marinade to soak up all those yummy flavours. Seal the container. Place it in the fridge for as long as 24 hours, and drain the marinade before cooking.

Barbecue on a medium heat until golden brown all over, turning often. Brush on additional marinade as it cooks.

Enjoy!

Orange Soy Honey Tofu Marinade for BBQ

Serves: 6
Cooking Time: 15-20

Ingredients

  • marinate the tofu between 1 hour to 24 hours before cooking
  • 1/2 cup soy sauce
  • 2 garlic cloves, finely chopped
  • 1 tbsp finely chopped ginger
  • 2 tablespoons orange juice concentrate
  • 2 tsp rice wine vinegar
  • 1 tsp mirin
  • 1 tsp sesame oil
  • 1/4 cup honey
  • 1 450 g container of tofu

Instructions

1

Press tofu to remove extra liquid. Place tofu on a shallow plate or in a shallow bowl. Place a small plate on top of the tofu. On top of the plate, place an object that weighs about 1 kg (large can of tomatoes, small bag of sugar etc.). Leave for about 60 minutes. Drain away extra liquid.

2

Chop the garlic and ginger finely.

3

Add all other ingredients into microwavable bowl.

4

Place in microwave for about 30 seconds, until the honey and orange juice concentrate are melted.

5

Stir all ingredients together.

6

Pour over tofu.

7

Place in refrigerator for about 2-3 hours.

8

Grill on medium heat on barbeque. Baste with extra marinade.

9

Turn tofu a few times until each cube is a nice golden brown.

Preserves

Red Gooseberry Elderflower Jam Recipe

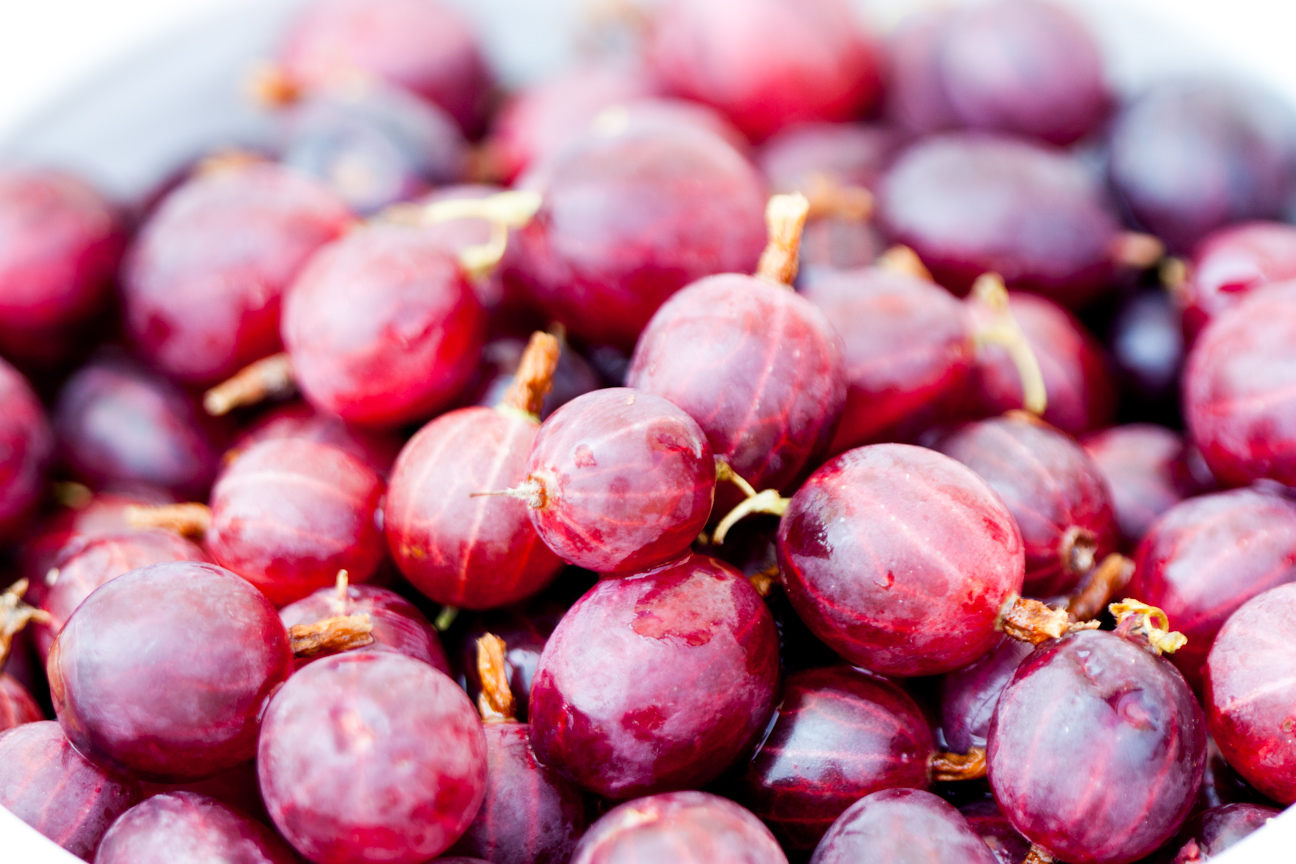
fresh red gooseberries


Red gooseberries are super beautiful: a lovely fuschia red, like a grape, but with very attractive pin stripes running down the length of the berry.  They’re not very popular where I live, so, when I spotted a basket in a shop on our way out of Quebec City last week, I just had to grab them.

Gooseberries always remind me of my Mum. The first time I ever saw a gooseberry bush was on a family holiday in England. She loved to point out anything that was authentically British to remind us of her roots.

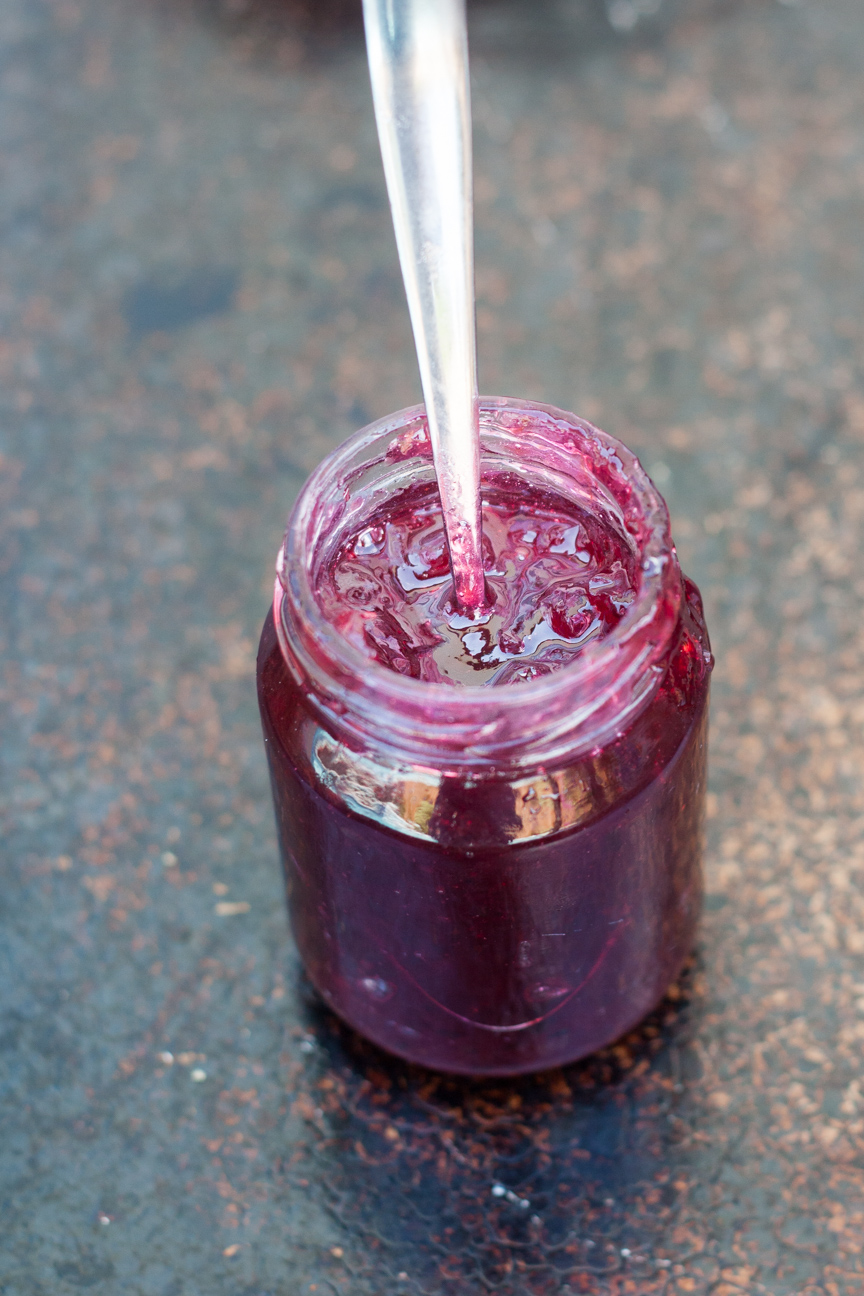
red gooseberry elderflower jam in a jar

Homemade jam is SOOOO good! When we were young, we only ever ate homemade jam. I do not recall eating store bought jam until I was a teenager. Lucky me!! My Mum mostly made raspberry jam from the raspberry bushes that we grew in the backyard. My sister and I would help pick them. Dad would tie Skippy peanut butter tins around our waist with twine and off we would go to pick berries.  After they were all picked and washed up, Mum would make loads of raspberry jam. She made one large jar for each of the kids and one large jar for her and my dad to share. After we had finished our individual jar of jam, there wouldn’t be anymore until the following summer.

My Dad grew up on a farm, so growing a couple dozen raspberry bushes, picking the berries and making them into jam, was second nature to him. My Mum, on the other hand, grew up in a city. Her mom died when she was only 2 years old, so she grew up with housekeepers throughout the school year and in the summer was shuttled off to various Aunties’ houses in the country. Farming or jam making was not in her blood. But she did it without complaining, because it made us all happy. She did love cooking and making preserves, so I know there was a part of her that loved doing it.

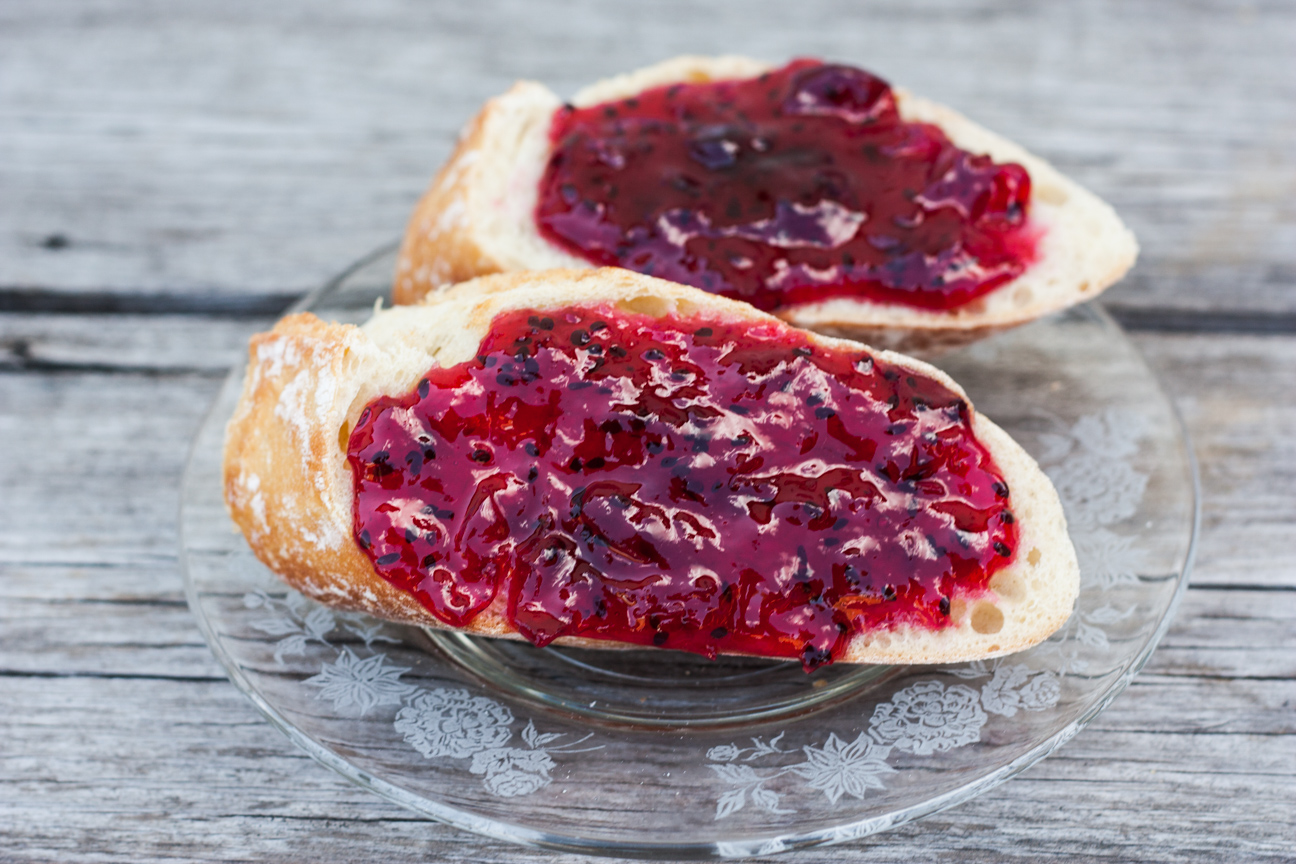
red gooseberry elderflower jam on bread

This Red Gooseberry Elderflower Jam is super easy to make. There is so much natural pectin in the gooseberries that you do not need to add any extra. All you need for this recipe is fruit, water, sugar and the optional liqueur if you want a boost in flavour.

I love the smell of homemade jam in the kitchen: fruity, sugary, warm and steamy. There is nothing better than homemade jam spread on fresh baguette. Yum!

Red Gooseberry Elderflower Jam

Serves: 8-10
Cooking Time: 30 minutes

Ingredients

  • 250 grams red gooseberries
  • 100 mL water
  • 250 grams sugar
  • 2 Tbsp Elderflower Liqueur

Instructions

1

Prepare jars. Wash jars in warm soapy water. Rinse thoroughly. If you are going to be eating the jam straight away, then washing in soapy water and rinsing is fine. If you plan on storing the jam in the cupboard for a few months, then you will have to sterilize the jars. Here are good step-by-step instructions for sterilising jars. https://www.bbcgoodfood.com/howto/guide/how-sterilise-jars

2

Top and tail the gooseberries. This is done by removing the stem and the very tiny end, if it's a bit nubby.

3

Add red gooseberries and water to pan.

4

Bring to a boil, then reduce the heat to let the fruit simmer for about 10-15 minutes, until the gooseberries become very soft and pulpy.

5

Add sugar and on a low heat, stir the mixture until the sugar is all dissolved. Do not boil.

6

Add the liqueur. Bring to a hard boil for about 5 minutes.

7

To check if the jam has set, pour some in a small dish and place in the freezer. After one minute or so, remove dish, if there is a skin on top of the jam, it is ready. If not, continue this method of cooking, and testing in a small dish in the freezer, until you see a light skin on top of the jam. This shows that the jam will set nicely when cold.

8

Pour the jam into the jars.


Preserves

Honey-Vanilla Ice Cream with Cherry-Galliano Swirl

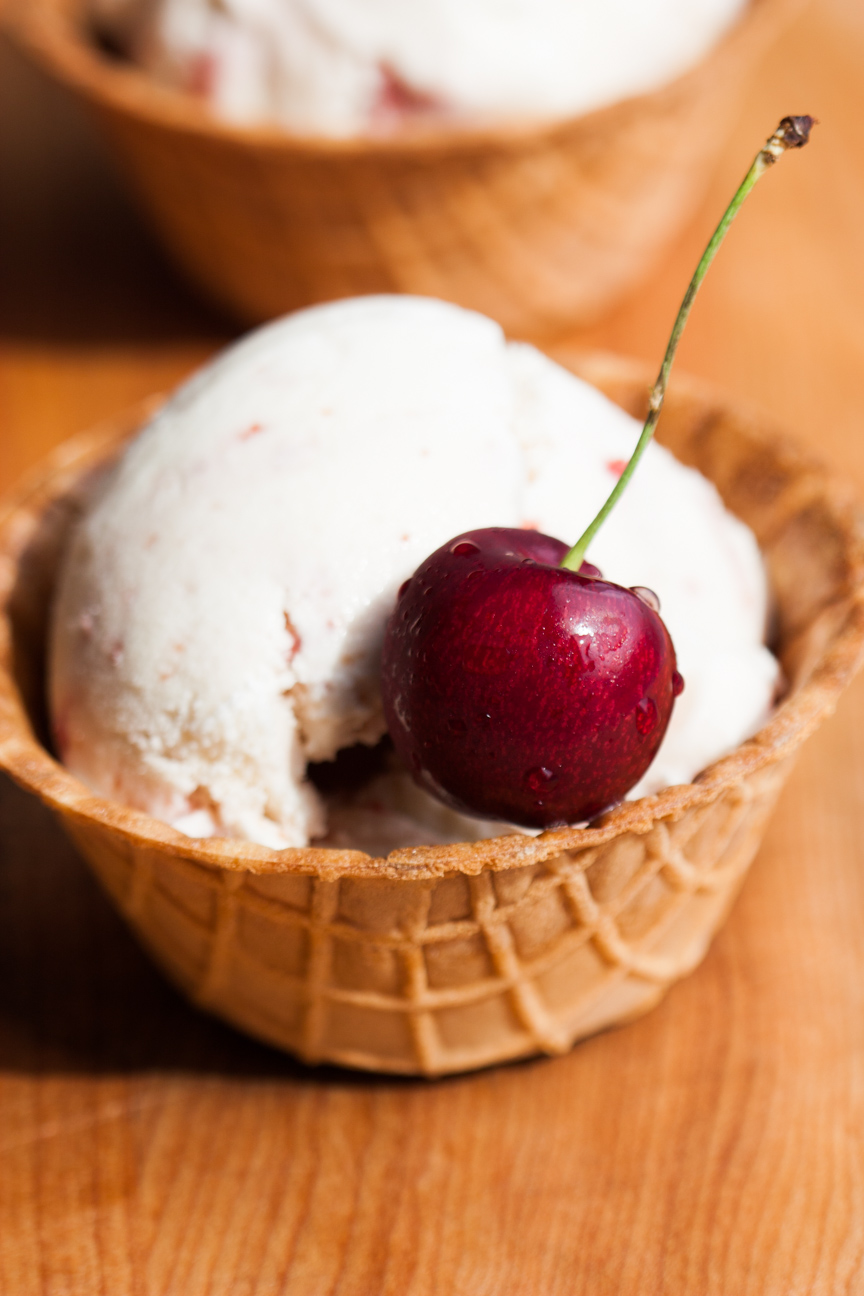
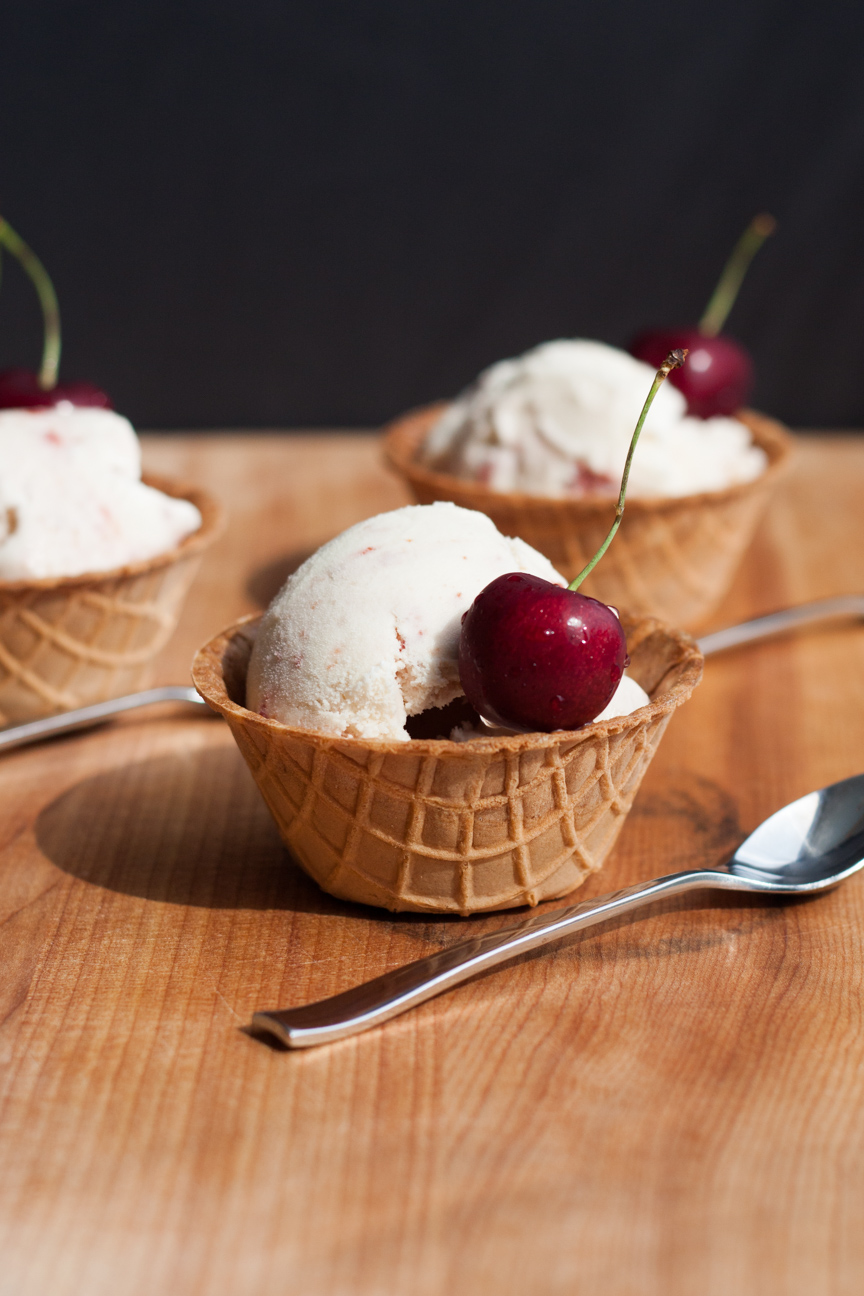
honey vanilla ice cream with cherry galliano swirl in waffle cups
With all this hot weather we’ve been having, all I want to eat is ice cream. I just want to sit in a floaty chair in the pool and eat a big frosty bowl of ice cream – summer at it’s finest.

Ice cream was the first thing I wanted to make when I bought my annual 20 pound bucket of sour cherries. This combination of Honey-Vanilla Ice Cream with Cherry-Galliano Swirl is so perfect on a hot summer day!

When we were little, my sister and I always chose the wildest flavours of ice cream we could find. We had a favourite ice cream parlour, Donna’s Lunch in Burford, Ontario, which was on the way to our grandmother’s house. We loved going there and were always excited to see what new flavours she would have.

Everyone else in our family ordered the traditional vanilla, strawberry or chocolate flavours. But Ruth and I loved the craziest, at the time, of flavours: bubble gum, cotton candy, blueberry swirl and our favourite to this day, tiger tail.

A few wild flavours that I’ve seen in Ottawa lately are: Hong Kong Milk Tea, Fruit Loops Cereal Milk from Moo Shu Ice Cream Shop; Unicorn and Pink Grapefruit from The Beachconers Microcreamery; and Ferrero Rocher and Raffaelo + Coconut from Stella Luna Gelato Shop. It seems like when it comes to ice cream, anything goes.

honey-vanilla-ice-cream-with-cherry-galliano-swirl

The Galliano in this recipe is optional, but really boosts the flavour. Galliano is a vanilla flavour liqueur. It was originally produced in 1896 in Tuscany, Italy by a local distiller named Arturo Vaccari. He named this liqueur after Giuseppe Galliano, an Italian hero of the First Italo-Ethiopian War.

If you don’t have Galliano you could substitute it with brandy or another vanilla liqueur, or just leave it out. It will still taste amazing.

What’s your favourite flavour?

Enjoy

Honey-Vanilla Ice Cream with Cherry-Galliano Swirl

Serves: 8-10
Cooking Time: 15-20

Ingredients

  • For the Honey-Vanilla Ice Cream
  • 2 cups cream
  • 1 cup milk
  • 1/2 cup honey
  • For the Cherry-Galliano Swirl
  • 140 grams sour cherries, pitted
  • 20 grams sugar
  • 2 Tbsp Galliano

Instructions

1

Heat 1 cup of cream and 1 cup of milk together with the honey until warm and honey is melted. You can do this on the stove top or in the microwave. Don't get the milk too hot to avoid forming a skin on top of the liquid.

2

Place the mixture in a container in the refrigerator for a few hours, or overnight, until it is very cold.

3

After it is cold, add the remaining 1 cup of cream.

4

Place in your ice cream maker and follow instructions.

5

For the swirl, heat the cherries and sugar until the sugar is dissolved thoroughly. This can also be done in the microwave or on top of the stove.

6

Place this mixture in a container in the refrigerator for several hours or overnight until cold.

7

When the cherry/sugar mixture is cold, blitz in your food processor or blender until the cherries are very finely chopped. Add the Galliano.

8

Pour churned ice cream into a rectangular or square container that can go in the freezer.

9

Pour the cold Cherry-Galliano mixture in two lines on top of the soft ice cream. Draw figure eights through the cherry and ice cream to create a swirly pattern. Do this until the cherries are swirled throughout the ice cream. If you do it too much, you will have less of a swirl, but the ice cream will still taste amazing.

10

Place in freezer for several hours or preferably overnight. Serve in a bowl, cone or waffle bowls.

11

Enjoy!

Baking

Japanese Matcha White Chocolate Cake for a Summer Picnic

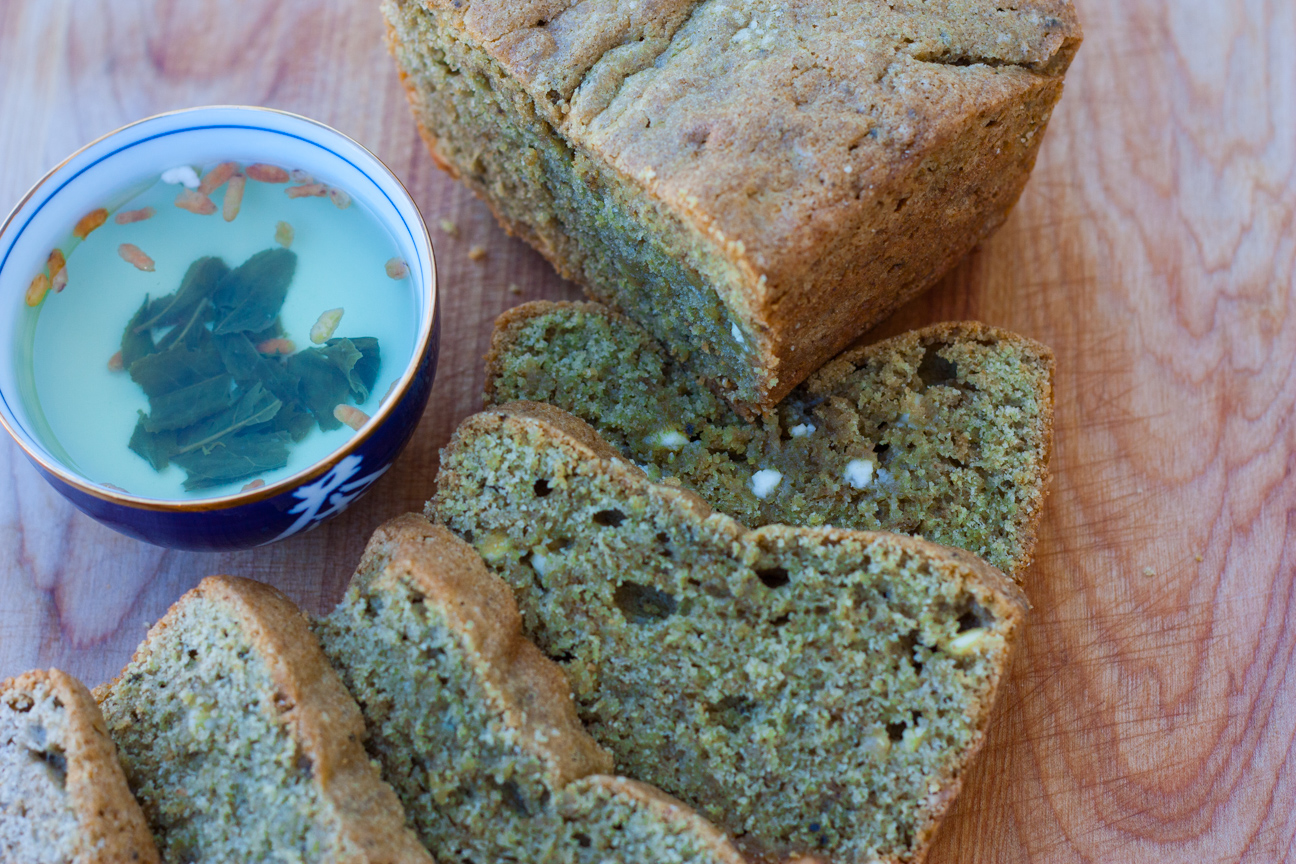
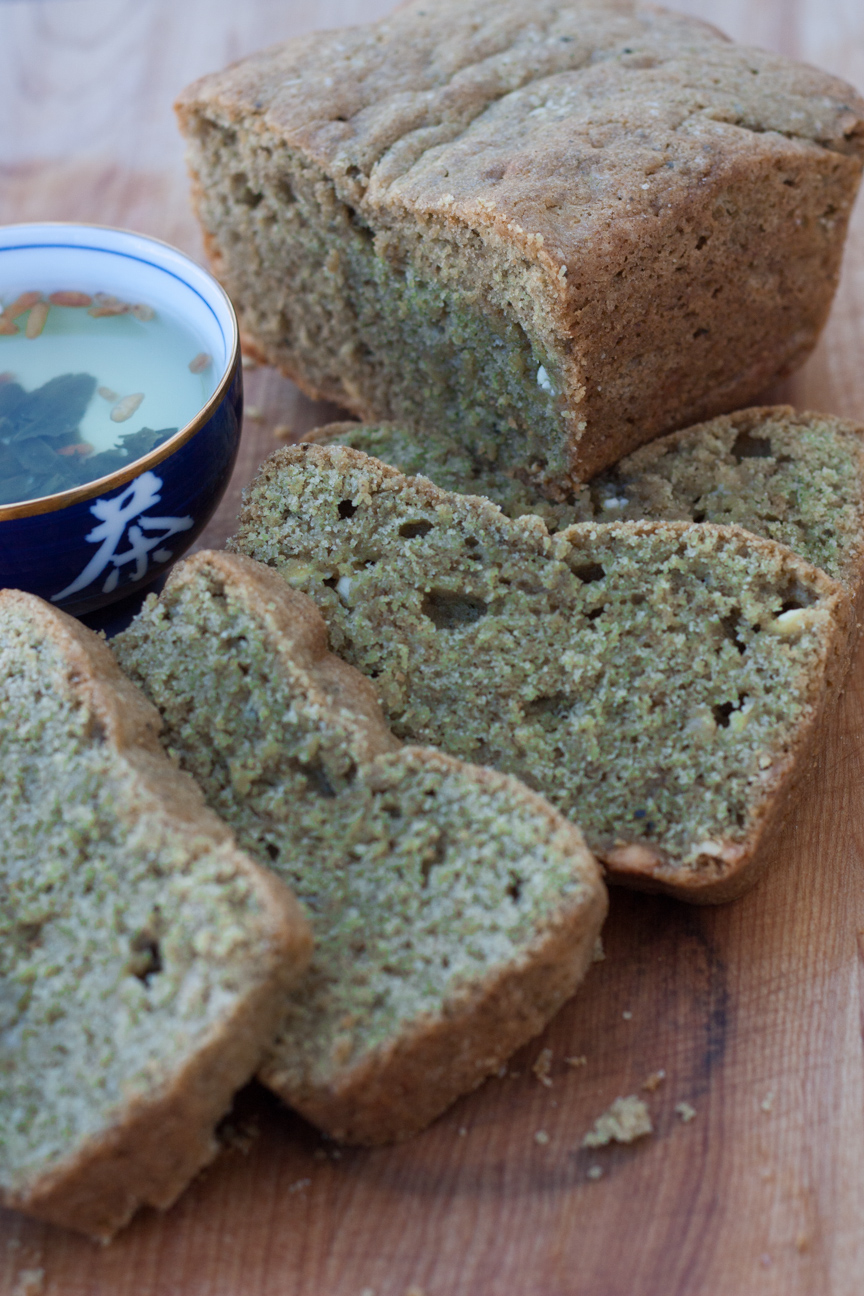
matcha and white chocolate cake with green tea

Awhile ago I bought some matcha powder from The World of Teas here in Ottawa. There were so many things that I wanted to make with it, smoothies, ice cream, lattes and this cake. My son bought me this amazing cookbook for Christmas two years ago: Tokyo Cult Recipes by Maori Murota and inside was an easy recipe for Matcha Cake.

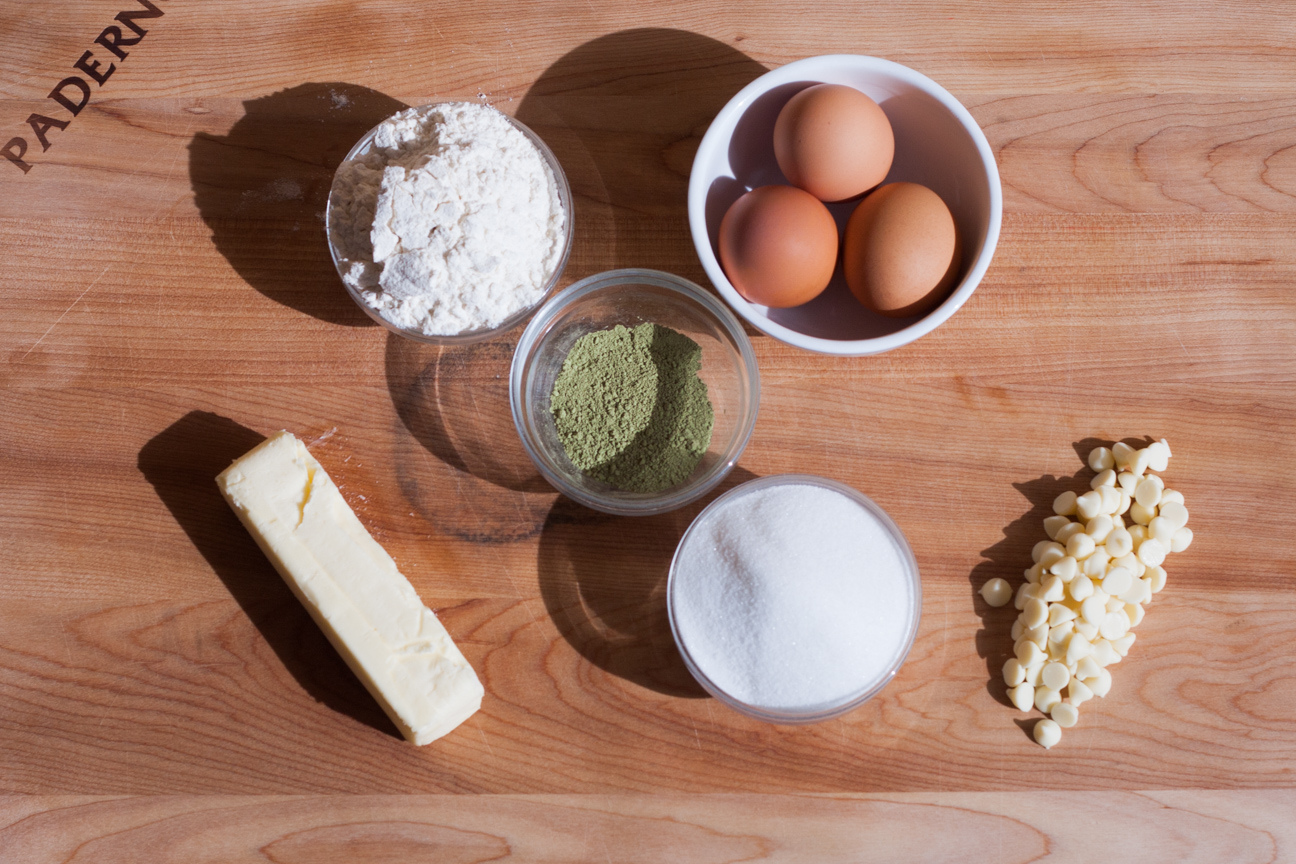
ingredients for matcha and white chocolate cake

Matcha powder, for those of you who don’t know,  is made from finely ground green tea. There are many varieties of matcha powder to buy, depending on whether you want to cook with it, or drink it. I used Culinary Matcha Powder, which is excellent for baking cakes and cookies, as well as using in smoothies and Matcha Lattes. It’s also a bit cheaper than some of the other matcha powders available purely for drinking.

Have you ever baked with matcha powder before? Well, this was my first time and all I can say is, Wow! Matcha powder is so fun to bake with! It’s like a little pinch of magic. In it’s packaging, it is dry, dusty and green….

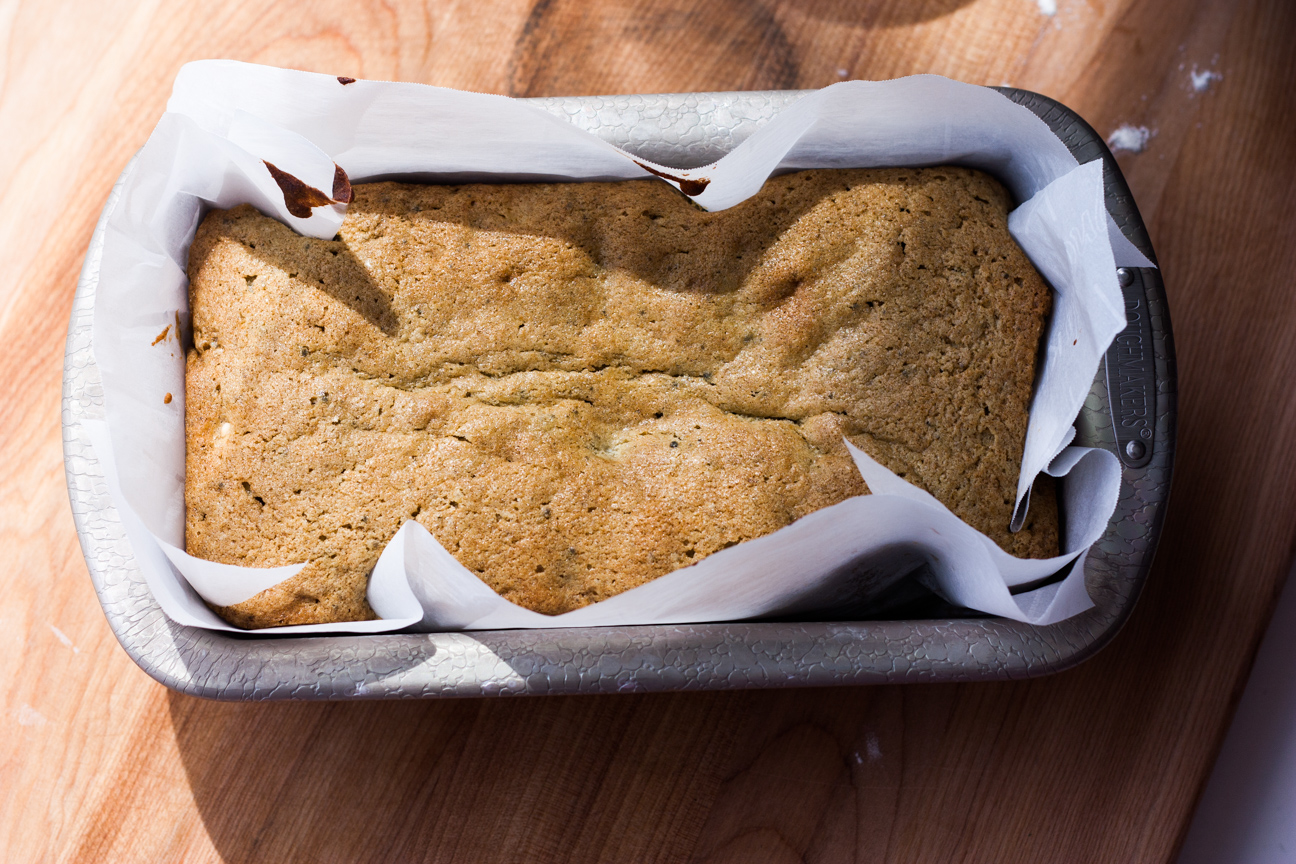
matcha and white chocolate cake

…but once you add butter, sugar, flour etc. the flavour and aroma of the green tea really pops! And when the cake is baking in the oven, the aroma is just delicious.

I also love the effervescent shade of green. If you love green tea, then you will really enjoy this bake-up. This Japanese Matcha White Chocolate Cake is the perfect summery bake. The soothing sweet white chocolate is the perfect match for earthy and grassy notes of green tea. It’s just what you need for a summertime bake.

matcha and chocolate cake with green tea
Besides the great aroma and taste of this cake, I also just love that I can bake a green cake and you will too,

Japanese Matcha White Chocolate Cake for a Summer Picnic

Serves: 12
Cooking Time: 40-60 minutes

Ingredients

  • 3 eggs
  • 150 grams butter, softened
  • 150 grams sugar
  • 100 grams all-purpose flour
  • 50 grams spelt flour
  • 1 tablespoon matcha powder
  • 1 tsp baking powder
  • 70 grams white chocolate chips

Instructions

1

Preheat oven to 325 degrees fahrenheit.

2

Line a loaf pan with parchment paper. Or alternately, coat loaf pan with some softened butter, and then sprinkle flour on top. Shake out excess.

3

Beat the butter and sugar for about 5 minutes until very very pale and very fluffy.

4

Add in the eggs, one at a time. Beat the mixture in between each egg addition.

5

Sift the flour, baking powder and matcha powder.

6

Mix the dry ingredients into the butter sugar mixture either on very low on your mixer or with a wooden spoon or spatula.

7

Stir in the white chocolate chips.

8

Pour the batter into the prepared loaf pan.

9

Bake in the oven for 40-60 minutes.

10

Remove from oven when cake tester comes out clean.

11

Let cool in tin for about 10 minutes. Then remove and let cool on a rack.

12

Slice into approximately 12 slices.


Cooking

Sweet’n’Spicy Asian Chicken BBQ Marinade with Sake

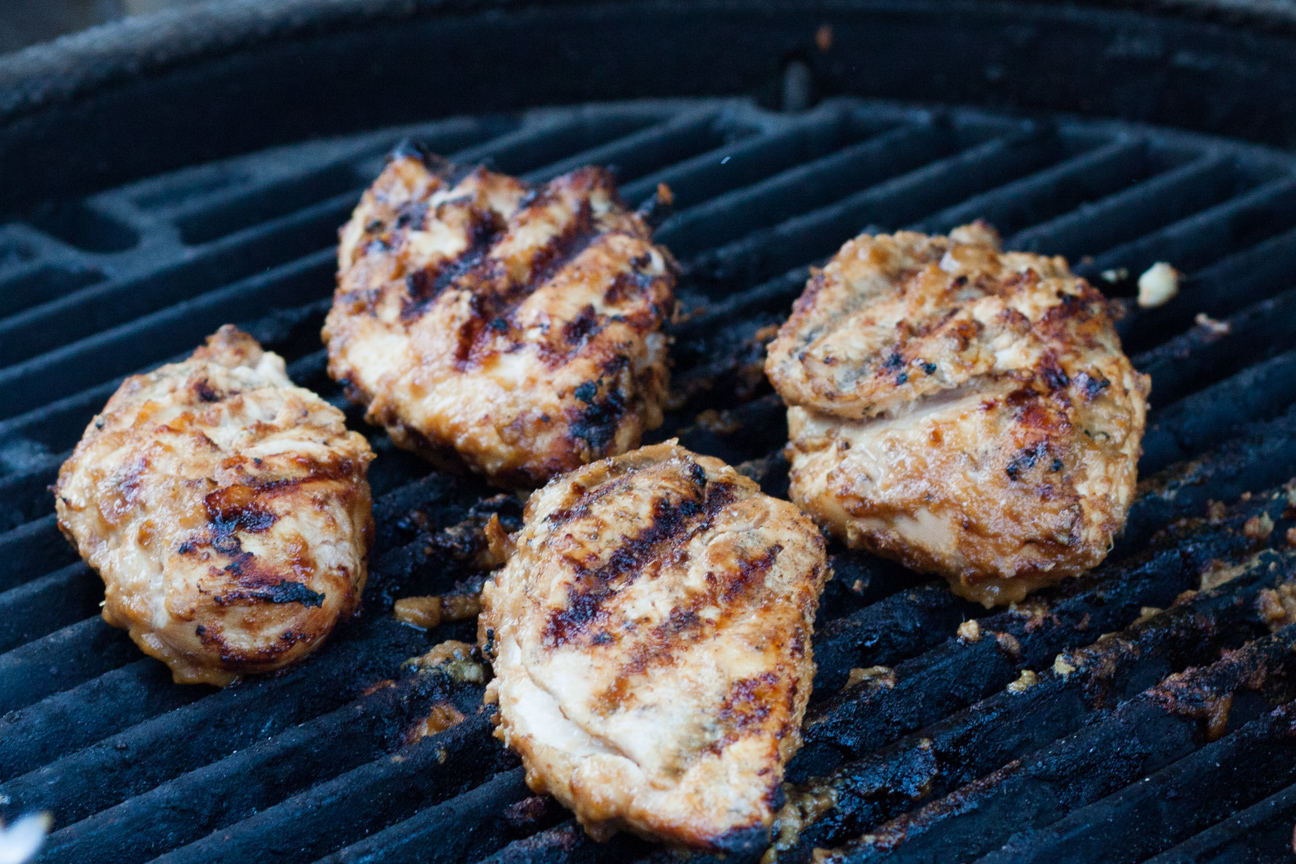
asian chicken on a barbeque

I’m sure most people will agree with me that there is nothing more summery than cooking outdoors on the barbeque!

Living in Canada with four distinct seasons, means that each season is only about 3 months long, June, July and August are the warmest months of the year, so we like to cram in as much outdoor activities during these months as possible. So, lots of bike rides, swimming, picnics at the beach and farmer market visits. And for mealtimes, it’s all about barbequing out on the patio.

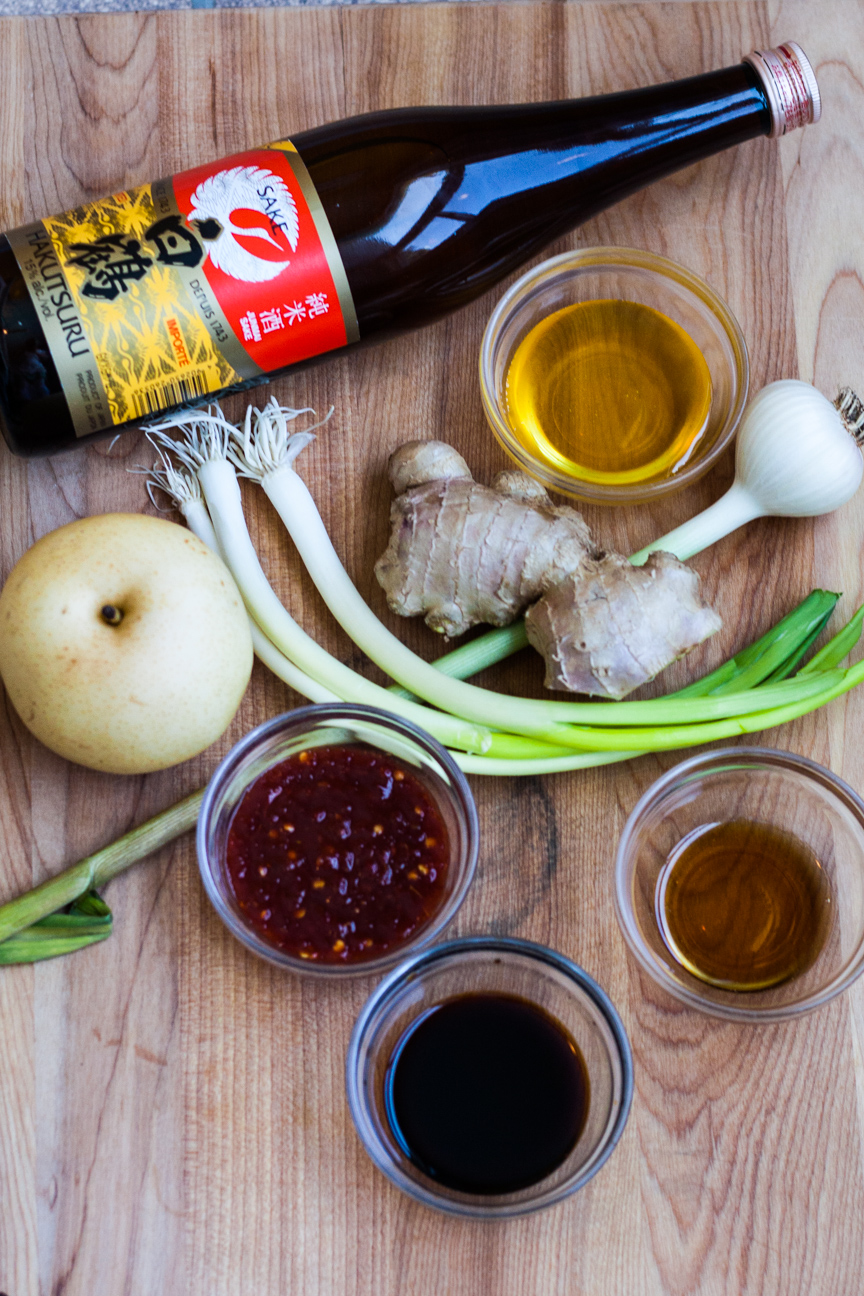
ingredients for asian chicken marinade

This Asian Chicken BBQ Marinade with Sake ticks all the boxes for a lively summery grilled chicken dinner. Nothing says big flavour like this combination of sweet asian pear and honey, aromatic ginger, green onions and sake, salty soy, nutty sesame oil and spicy sambal oelek!

When I was growing up, my Dad mostly barbecued hotdogs and hamburgers. And that’s fun, if you’re in a pinch for time or cooking for four very hungry kids. But my favourite barbeque dinners are with meats that have marinated for hours and then grilled to perfection. In my house we all have our favourites, jerk pork, steaks coated with a sizzling spice mix or my favourite – marinated chicken.

Chicken is the perfect vehicle for a marinade as it is a milder meat than beef or pork. After marinating for a few hours, grilled chicken comes out moist and tender with a crispy exterior brimming with flavour.

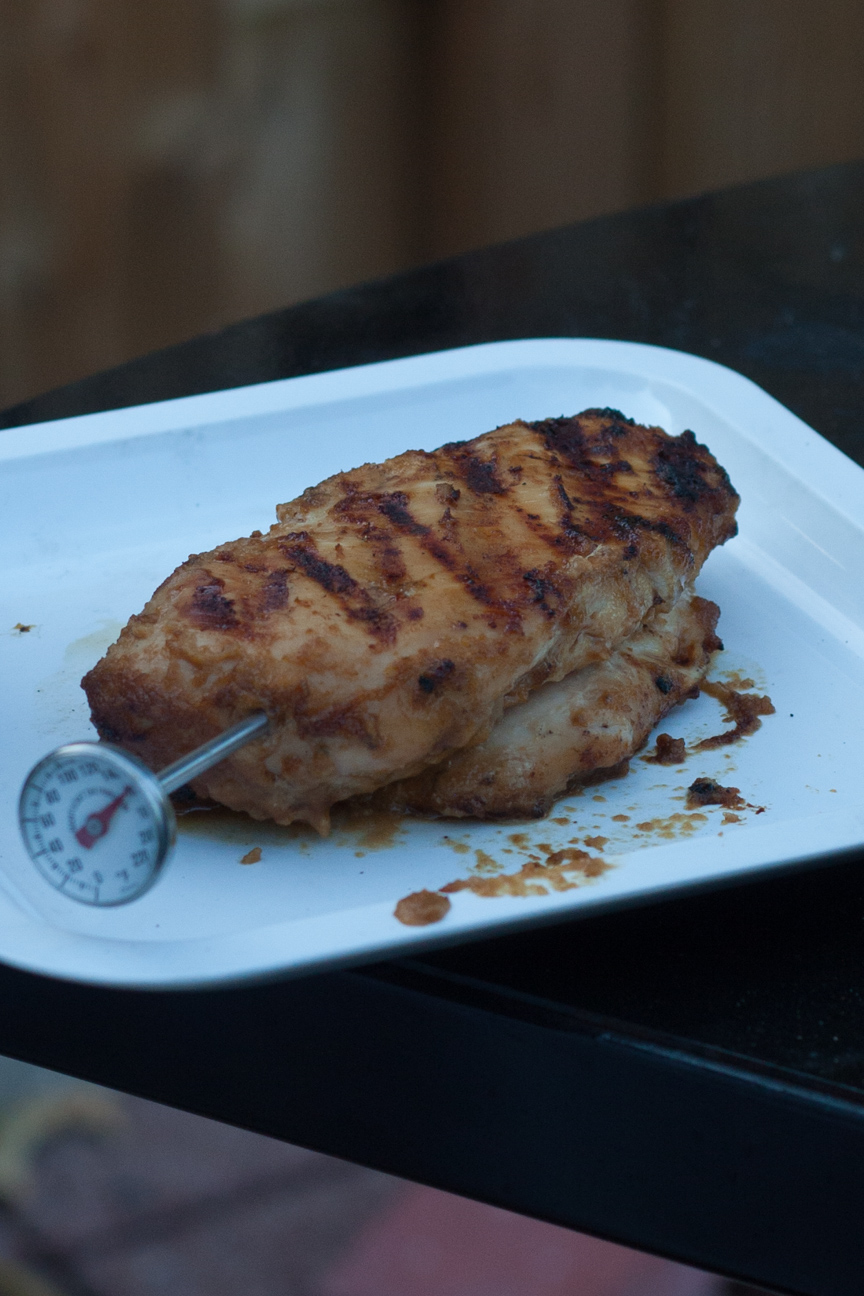
grilled chicken breast on plate with meat thermometer

Chicken should be cooked to an internal temperature of 165 degrees fahrenheit and the juices should run clear.

And my favourite part about barbequing chicken is coming up with new maraindes. Marinades really up the game when barbequing adding lovely sweet, spicy, salty, boozy flavours.

This marinade is so simple and easy to make. All the liquid ingredients are poured directly into the blender. Chop the asian pear, green onion, ginger and garlic and throw them in too. Blitz the marinade on high for 3-4 minutes until it is very smooth and then pour over the chicken to marinate for a couple of hours. Then you’re ready for grilling.

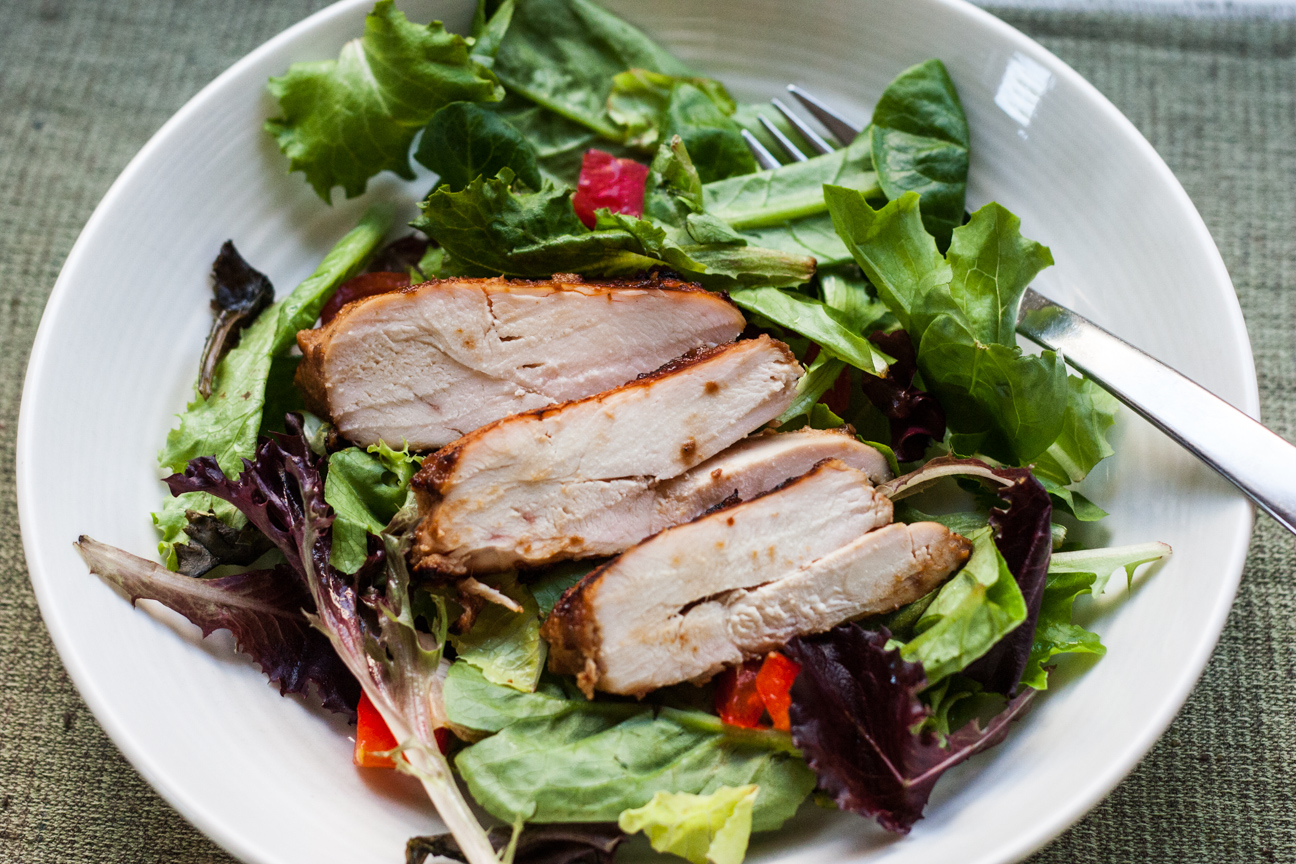
asian chicken on a bed of lettuce

I hope you enjoy this Asian Chicken Marinade.

Quick'n'Easy Asian Chicken BBQ Marinade with Sake

Serves: 4-8
Cooking Time: 10 minutes

Ingredients

  • 1/2 cup soy sauce
  • 3 tbsp sesame oil
  • 1/3 cup honey
  • 1\4 cup sake
  • 2 cloves garlic, peeled and minced
  • 3 green onions
  • 1 tablespoon chopped ginger
  • 1-2 tablespoons sambal oelek
  • 1 asian pear

Instructions

1

Measure all liquid ingredients into blender.

2

Add chopped garlic, green onions, ginger and asian pear into blender.

3

Blitz for about 3-4 minutes until smooth.

4

Place chicken in a plastic container or freezer bag or glass bowl.

5

Pour marinade over chicken. Cover.

6

Place in refrigerator for 3-4 hours.

7

Remove chicken and place on plate.

8

Simmer remaining marinade in a pot for 10 minutes. Use this marinade to brush on chicken while barbequing.

9

Grill the chicken on barbeque until thermometer reads 165 degrees fahrenheit.

10

Serve on a bed of lettuce with a simple oil and vinegar dressing. You can also serve this grilled asian chicken on italian or ciabatta buns with your favourite toppings such as lettuce, tomato and raosted red peppers and barbeque sauce.

adapted slightly from Sauces by Steven Raichlen


Baking

Focaccia Bread with Sea Salt and Black Pepper

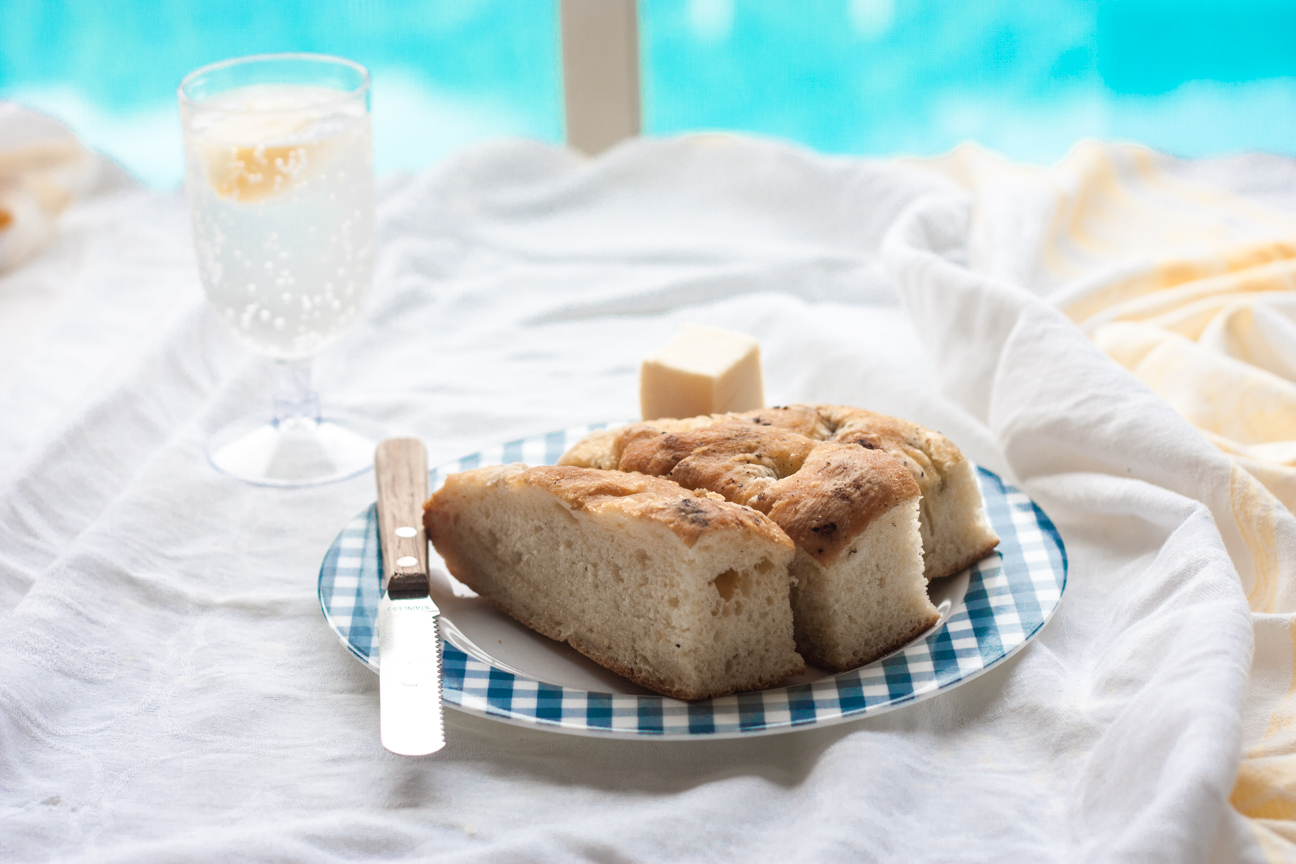
Focaccia Bread with sea salt and black pepper on a plate with butter and knife and drink

The first time that I had focaccia bread was at a little sandwich shop in downtown Toronto. It was so delicious:  chewy, warm, fragrant with olive oil drizzled on top and crunchy with salt and rosemary.

Years later Ifinally learned to bake it myself, after I had bought Antonio Carlucci’s Italian Feast cookbook.The back cover of his cookbook shows four variations of focaccia bread, each one as delectable ss the next.

I don’t know why I waited so long to bake sme, as Focaccia bread is very simple to make. It only has one rise so there is minimal kneading, and it is baked flat  on a cookie tray – so no shaping! And in the summertime, we bake ours on a pizza stone on the barbeque, so you don’t even need to turn on the oven.

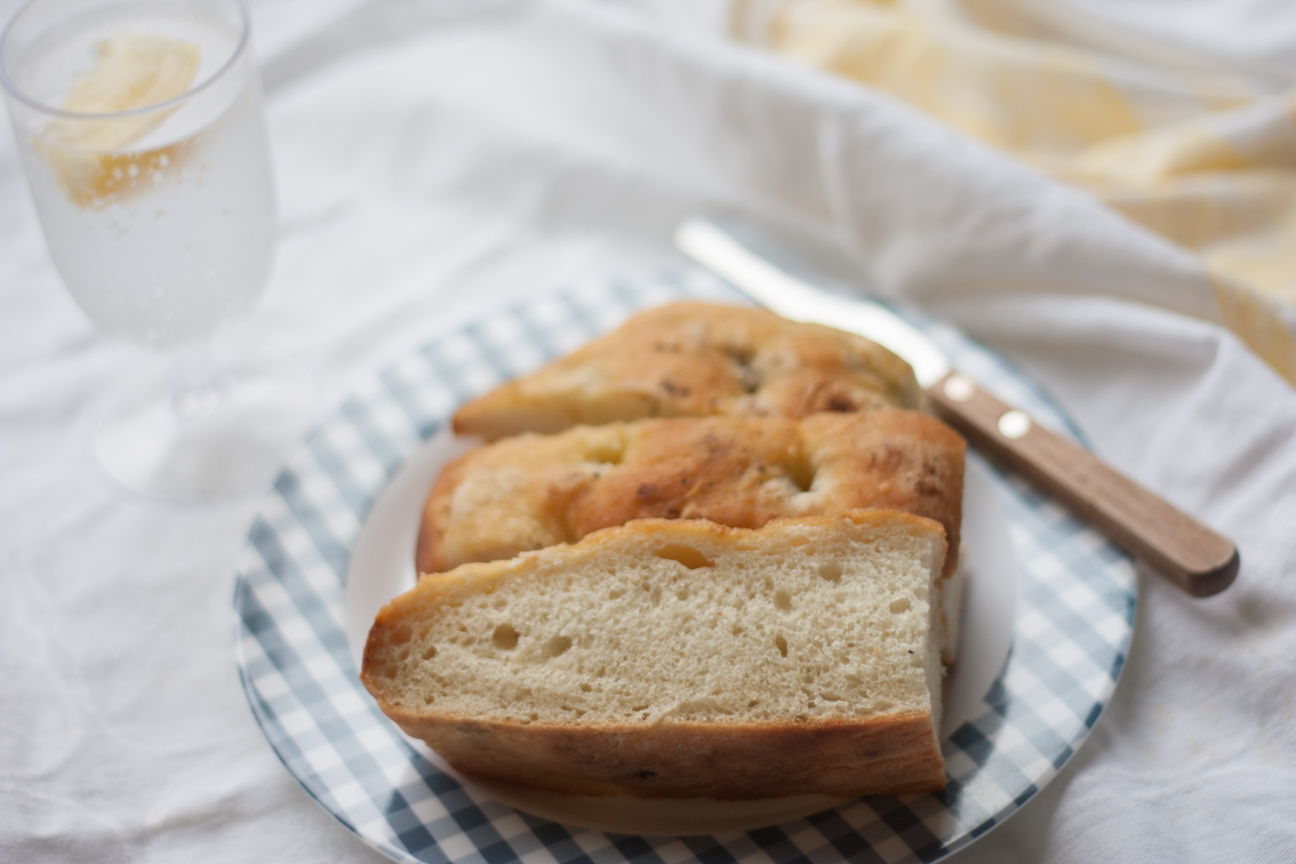
Focaccia Bread with sea salt and black pepper on a plate with butter knife and drink

Focaccia bread is delicious eaten plain at dinnertime, or you can use it for sandwiches.  You can also make killer breakfast sandwiches with a simple omelette nestled inbetween two soft warm slices of focaccia.

This bread is delicious at room temperature, but I love it when it’s soft and warm. To warm the focaccia, simply wrap some slices in tin foil and put in the oven on low for about ten minutes, or inside the barbeque for 3-5 minutes.

Focaccia is an excellent starter bread for beginners. This bread bakes up very fast and when baked on the barbecue has a lovely smokiness to it. Baking bread on the barbecue means you can bake anytime of the year.  And the crust is simply amazing; crunchy, hot, smoky. Yum!

Focaccia makes great picnic food. It pairs well with sliced meats, cheese, tomatoes, roasted red peppers and other pickled vegetables. And makes fantastic picnic food.

Sometimes on a hot summer night, we’ll just pack up all our picnic foods and lay them out in the backyard. A picnic in your backyard: nothing could be simpler.

Focaccia Bread with Sea Salt and Black Pepper

Serves: 4
Cooking Time: 15 - 20 minutes

Ingredients

  • For the Dough
  • 500 g (1 1/4 lb) strong white plain flour
  • 15 grams fresh yeast or 7 grams dry
  • 300 ml lukewarm water
  • 2 tablespoons extra virgin olive oil
  • 10 g sea salt
  • For the Topping
  • 5 tablespoons extra virgin olive oil
  • coarse sea salt
  • freshly ground black pepper (or chopped onions rosemary or other herbs)

Instructions

1

Preheat oven to 475 deg F (with pizza stone) or preheat BBQ with pizza stone

2

Dissolve the yeast in 1/2 cup warm water. Once yeast has bubbled up, add to flour along with the rest of the water, oil and salt. Mix everything together and knead for about 10 minutes until the dough is smooth and springy. You can do this in your kitchen mixer with the dough hook.

3

Put the dough in a bowl that has been slightly oiled with olive oil. Place a damp cloth over top and leave it for one hour until double in size.

4

Knead the dough again after an hour to knock out any bubbles. Flatten the dough until it is an oval shape and about 1" thick. To create indentations, press your knuckles into the dough several times, keeping the indentations about 1 inch apart. Spread about half the olive oil over the dough. Sprinkle on the toppings. Leave to rise again for about 30 minutes, then pop in the hot oven or BBQ for about 15 minutes until the base sounds hollow when tapped, or when the bottom and top are a nice golden colour.

Adapted from Antonio Carlucci’s cookbook, Italian Feasts.

Cooking

Tuscan Tuna, Bean, Tomato Salad

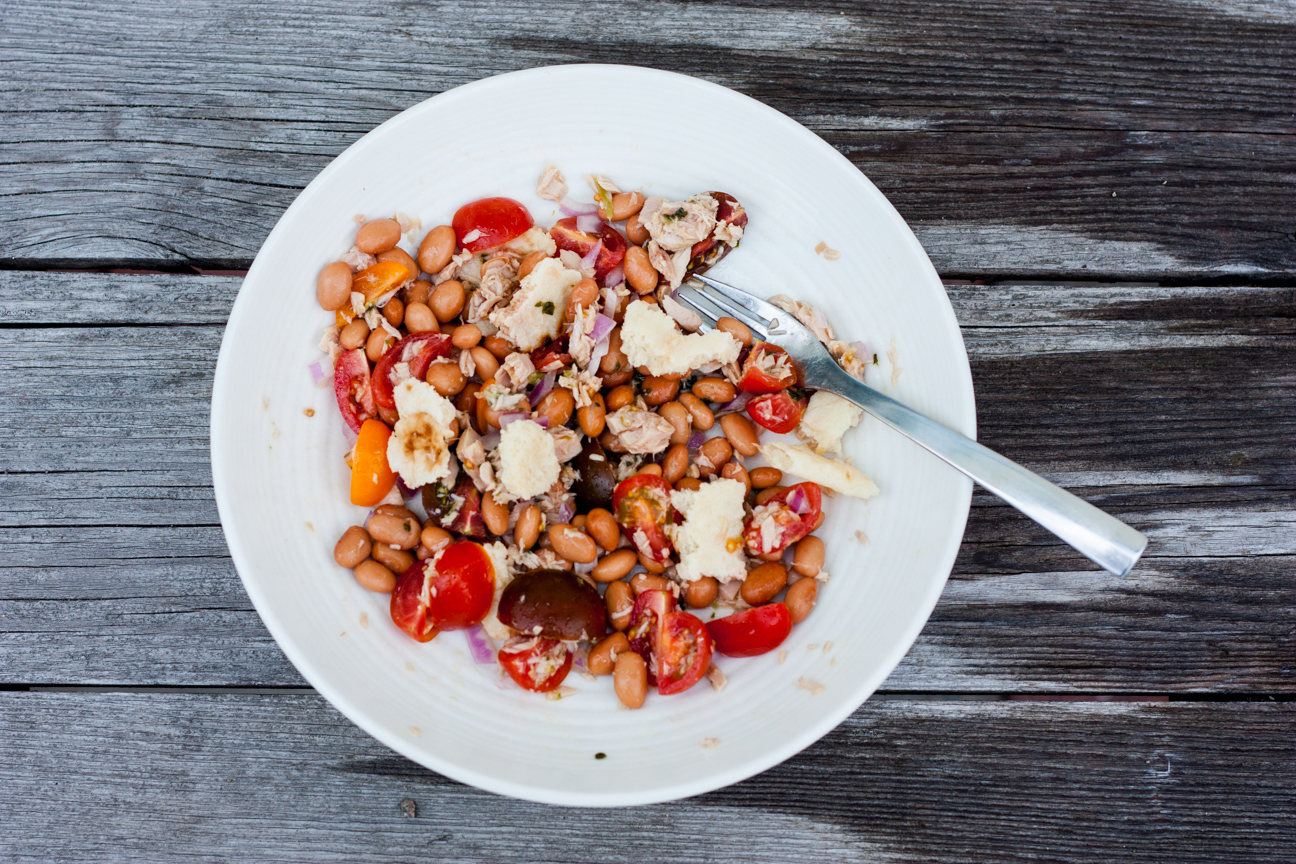
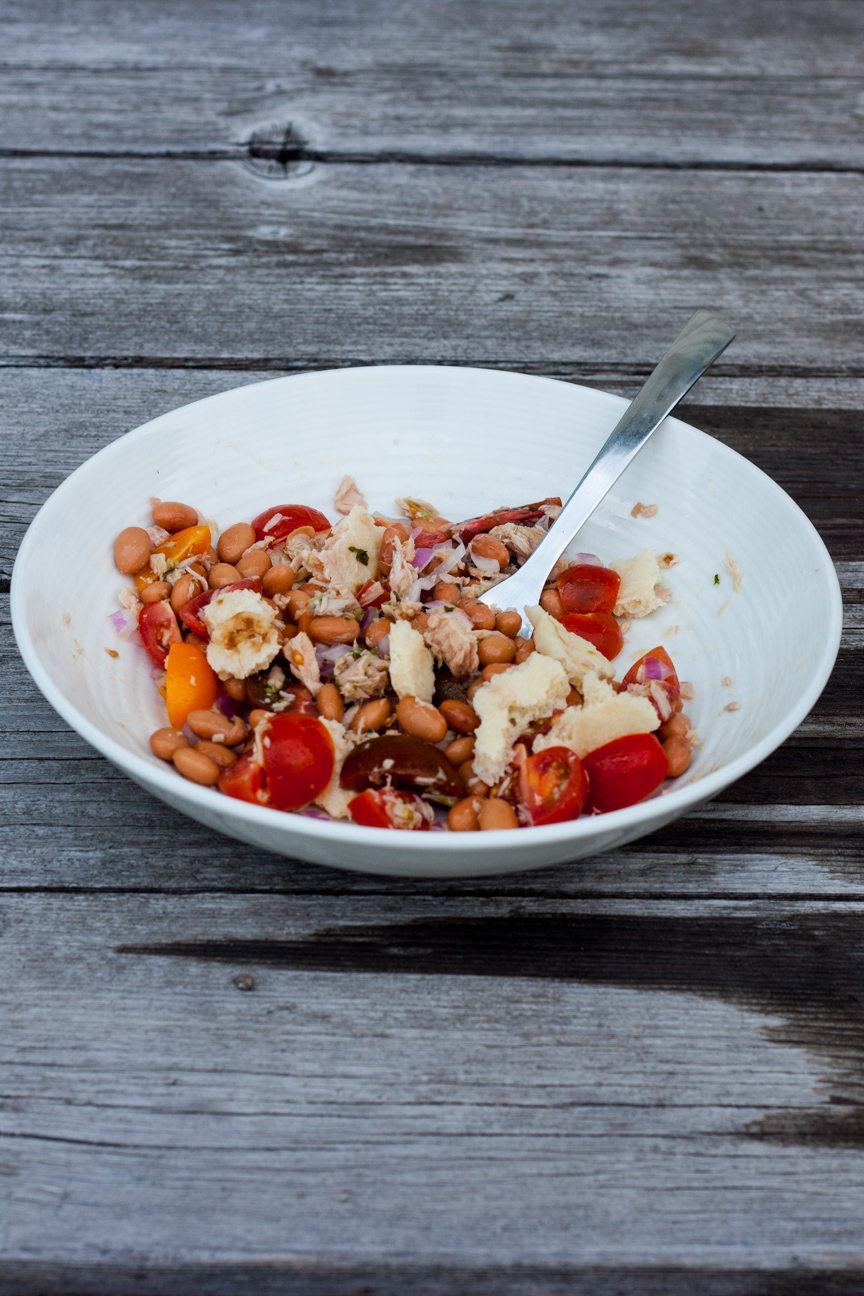
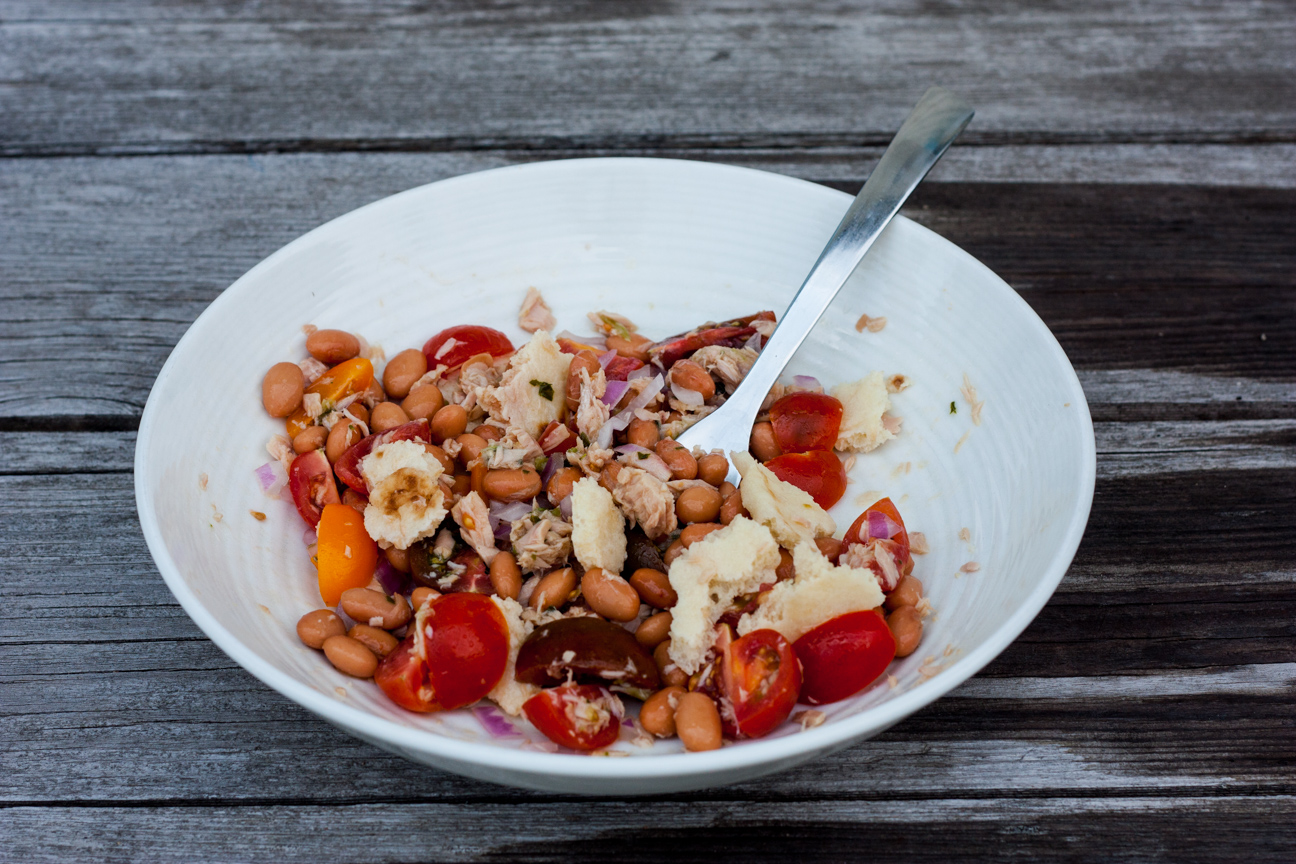
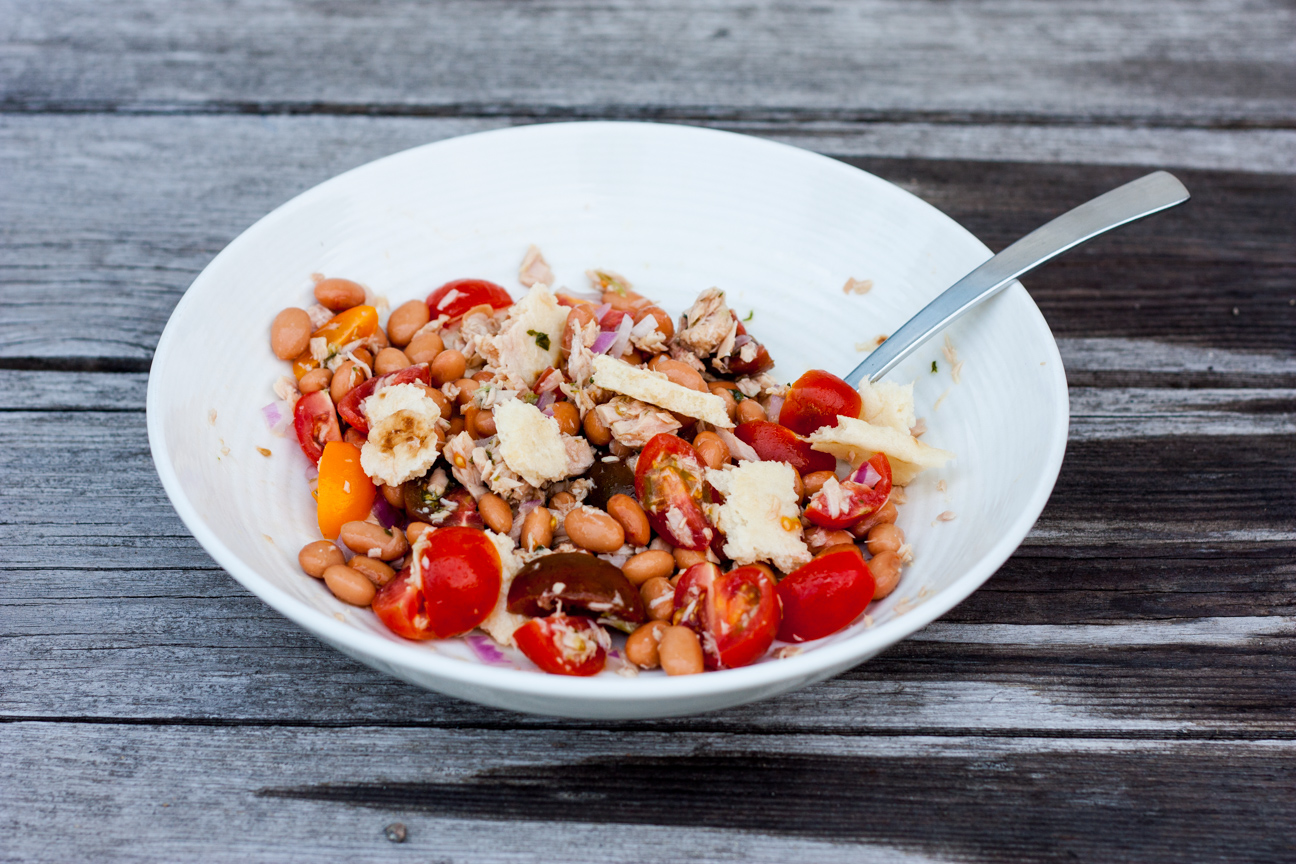
tuscan bean salad in a bowl

My Tuscan Tuna, Bean, Tomato Salad is as delicious as it is nutrient-dense. This Tuscan Tuna, Bean, Tomato Salad contains beans and tuna for protein, torn naan bread for carbs, tomatoes and herbs for fibre and vitamins and is sprinkled with olive oil and red wine vinegar. The olive oil will keep the salad moist, keep you filled longer and provides numerous health benefits.tuscan tuna, bean, tomato salad in a bowl

I created this recipe last week when the temperature hit an all-time high of 47 degrees celsius in Ottawa. That is the hottest day I have ever experienced, and that includes visiting Hawaii in August!  I was inspired to make a Tuscan salad after leafing through Emiko Davis’s cookbook, Florentine. So many of her Tuscan recipes feature so many of my favourite  ingredients: tomatoes, olive oil, onions, fresh herbs, country bread, and beans.

tuscan tuna, bean, tomato salad in a bowl

I love italian food, but Tuscan recipes are even more special.  Everything is so simple, and yet come together so naturally, like all the ingredients belong together. This simple salad can be prepared in about 10 minutes with a tin of tuna and beans, fresh cherry tomatoes and some other pantry supplies.

This salad is perfect for a light backyard lunch, a picnic at the beach or a packed lunch. Whatever the occasion, this salad’s fresh flavours and contrasting textures will provide you with a delicious nutritious lunch.

This salad would also work with  garbanzo beans (chick peas) or romano beans, if you don’t have pinto beans. I’m just partial to pinto beans. You can make this salad vegan by eliminating the cheese and tuna. Then increase the other ingredients by about one third.

tuscan tuna, bean, tomato salad in a bowl

Tuscan Tuna, Bean, Tomato Salad

Serves: 2

Ingredients

  • 100 grams pinto beans
  • 100 grams tuna, in oil, drained
  • 12 cherry tomatoes, cut in quarters
  • about 12 basil leaves, or a few squeezes of basil paste
  • a drizzle of olive oil
  • a drizzle of red wine vinegar
  • a pinch of coarsely grated parmesan cheese
  • 1/2 a naan bread, torn into pieces

Instructions

1

Drain and rinse the pinto beans.

2

Drain the tuna.

3

Add the pinto beans and tuna to a bowl. Add the cut up cherry tomatoes. Add the basil.

4

Tear up some naan bread, and add to the bowl.

5

Drizzle over some olive oil and a bit of red wine vinegar. I usually like a bit more oil than vinegar.

6

Mix everything loosely with your fingers.

7

Sprinkle parmesan cheese over top.

adapted from Florentine by Emiko Davies

Journal

Summer Flowers in Every Colour

purple flowers

Even though I love to spend hours and hours baking, cooking, creating in the kitchen, sometimes it’s nice to pop out into my garden and enjoy the colours and smells of my summer flowers.

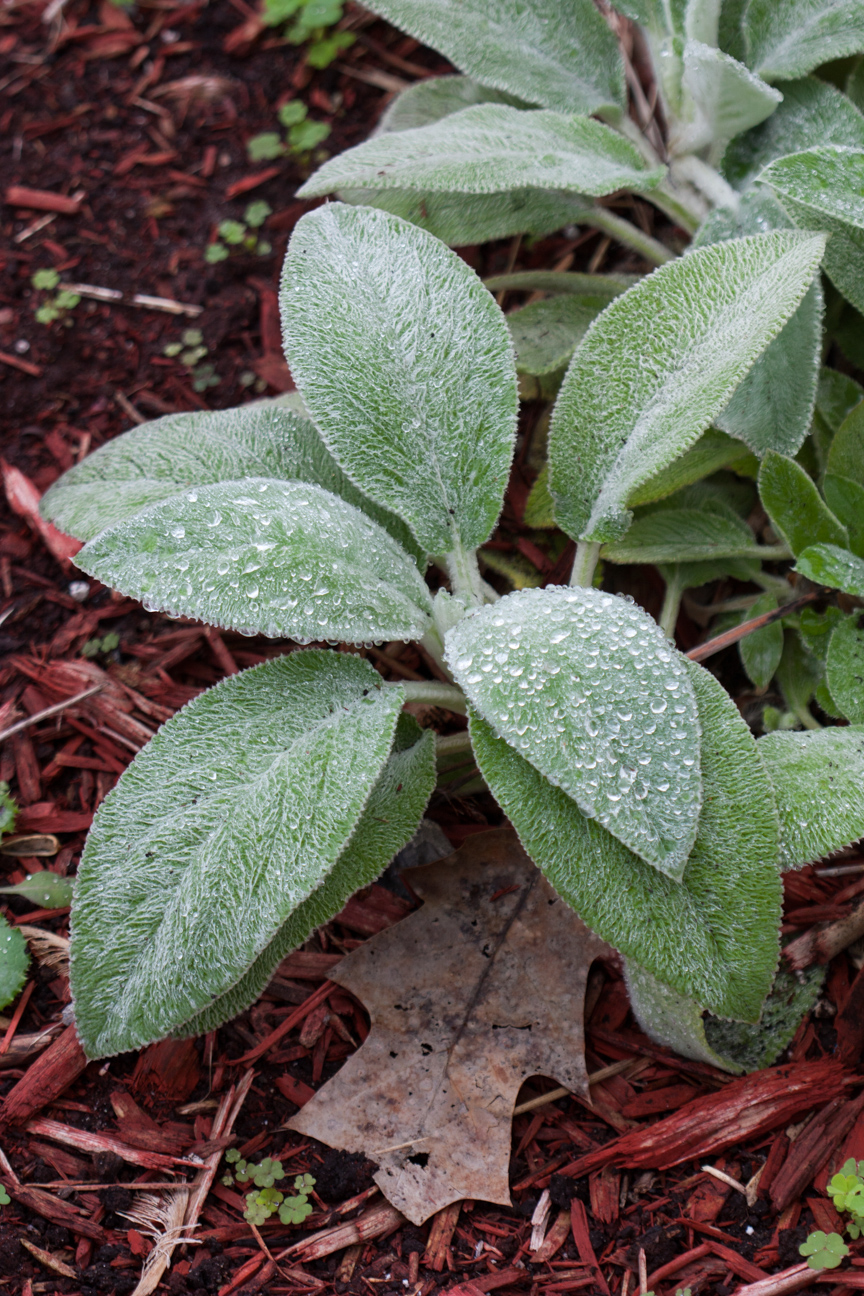
leaves of a plant

I usually buy an unusual plant for my husband…something that’s soft and fuzzy and silvery green. This Lambs’s Ear was a perfect choice.

stella d'oro flowers

I have grown stella d’oros in my garden for as long as I have had a garden…and I’ve had a lot of gardens all the way from Halifax to Spruce Grove, Alberta. In case you’re wondering they grow very well in many provinces including Ontario, Nova Scotia and Alberta. They also travel well during those long cross country moves.

yellow flowers

Sometimes flowers look just as pretty when they are closed up as when they are in full bloom. These pretty golden globes of summer caught my eye the other day, all closed up on a rainy day.

rose bud
I always make sure I have a rose bush in the garden to remind me of my dad. He always grew red roses, so he would have plenty on hand to give to my mom, any day of the week.

rose bud

My Dad lived to grow red rose bushes, ut this ombre coloured rose bush caught my eye, and I just couldn’t pass it up.

rose flower
Roses are a must-have in any garden – in my opinion! They have a spectacularly slow prolong before they burst into bloom and show off their colour, shape and texture.

white flower

I used to think that white flowers were a waste of space in the garden when all I wanted was big, bright, bold colours. I have since realized how special white flowers can be.

purple flower

White flowers are nice, but a garden wouldn’t be complete without a whole lotta purple! I love this one speckled with raindrops.

purple flower

It doesn’t have to be a sunny day to enjoy flowers. Here, these flowers look especially pretty covered in rain drops.
purple flowerHappy Canada Day, everyone!

Cooking

Sweet Potato Noodles with Beef and Vegetables

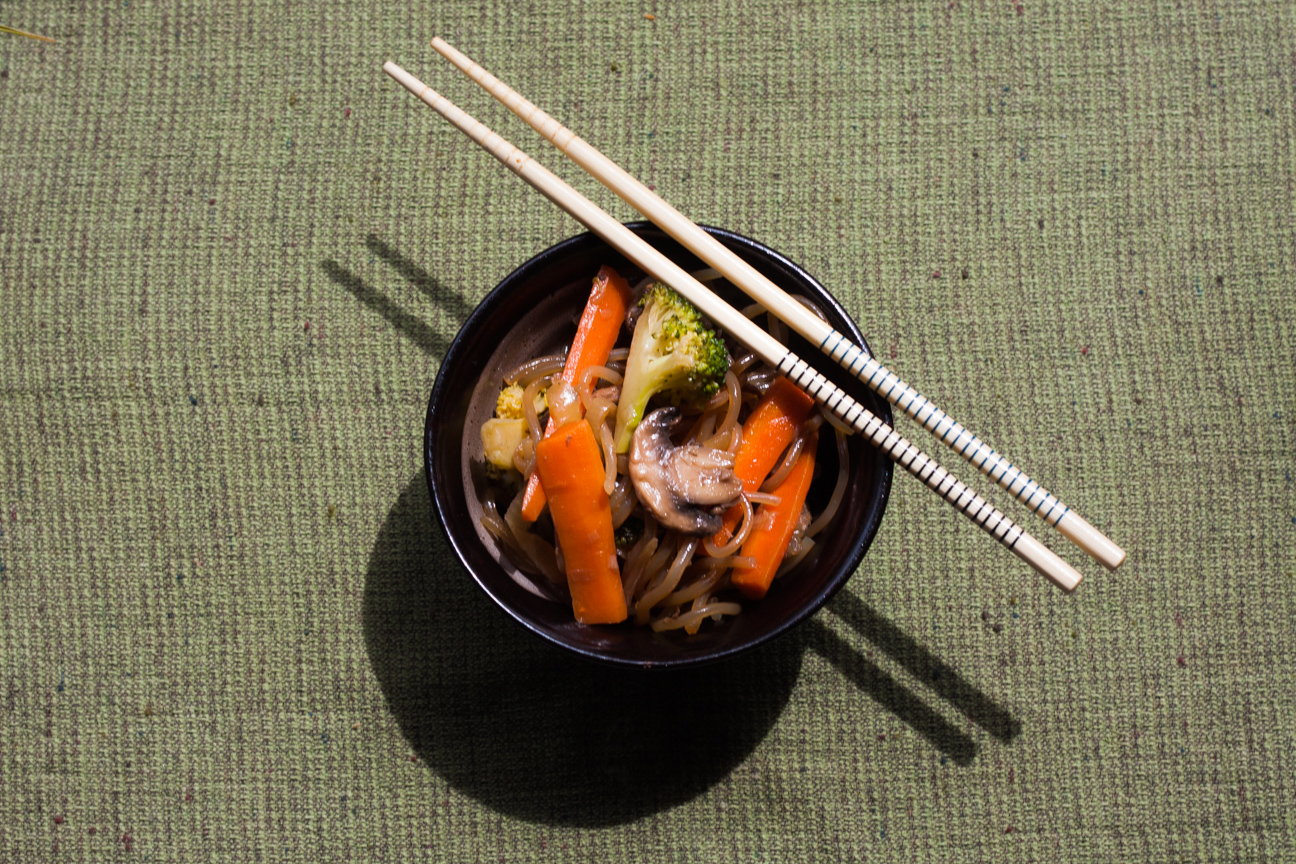
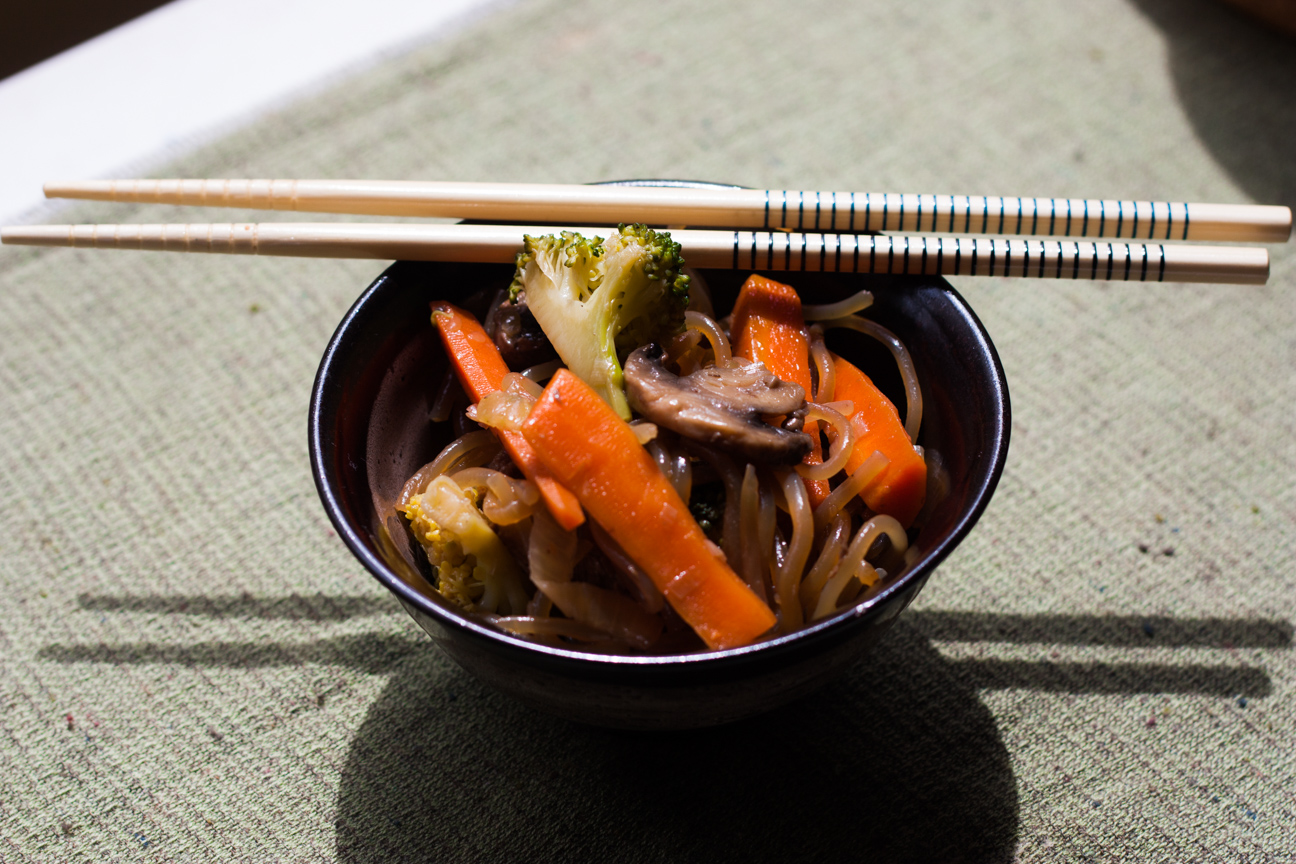
Korean Sweet Potato Noodles with Beef and Vegetables

This dish, Sweet Potato Noodles with Beef and Vegetables, is a real family favourite. It has everything an asian stir-fry should have: sweet and salty sauce, crisp stir-fried vegetables and these amazing sweet potato noodles. So good.

I got this recipe from my friend, Kana, who I met years ago when we both lived in Halifax, Nova Scotia. Our family had moved to Halifax for my husband to do his medical internship. Kana and her family had come to Canada for two years to learn English as well as Canadian culture. In a very short time, Kana and I realized we both loved cooking.

We were both eager to learn cooking from each other’s country. We started getting together every Friday for ‘East-West Cooking’ Classes in each other’s kitchens. While our children played together, Kana and I would cook Japanese family favourites in her kitchen: sushi, sukiyaki, rice balls and other fantastic Japanese dishes. On other Fridays, she would come to our house and we would make meatloaf, roast chicken or nachos. Our kids and husbands loved this arrangement. I think our most fun day was when we made gingerbread houses just before Christmas.

Sweet Potato Noodles are fantastic to be know about, because, just like rice noodles, they’re perfect for vegan, vegetarian and gluten-free diets. The only ingredient for these noodles is sweet potato starch. Personally, I find sweet potato noodles easier to cook than rice noodles. For me, rice noodles always seem just seconds between being not done to overdone. If you have any suggestions on cooking rice noodles, please send them my way!

Sweet Potato Noodles are VERY long. When Kana taught me this dish she just snipped the cooked noodles into shorter pieces with her scissors. I still do it this way as it’s super easy.  You could break the noodles up when you put them in the pot, but I just pull up a bunch of almost cooked noodles with my tongs and snip away until they all look a good length.

This dish is fantastic for a picnic or potluck dinner as it tastes amazing at room temperature. You can eat it hot, but it tastes fine even after it has cooled down.

If you would like to make a vegan/vegetarian version, just replace the beef either with sauteed tofu, or double up on the vegetables. You won’t miss the beef at all.

Korean Sweet Potato Noodles with Beef and Vegetables

Serves: 6
Cooking Time: 30 minutes

Ingredients

  • one package of Korean Sweet Potato Noodles
  • 1 pound stir-fry beef
  • 1 medium onion, sliced
  • 250 grams mushrooms, sliced
  • 4 carrots, thinly cut
  • 2 cups broccoli florets
  • Sauce: 3 tbsp sugar, 4 tablespoons soy sauce, 2-3 tablespoons stock.

Instructions

1

Put a large pot of water onto boil.

2

When water comes to a boil, add noodles.

3

Cook noodles for about 10 minutes until they taste soft but not soggy.

4

When noodles are done, snip them with scissors, until they are all about 10 inches long.

5

Rinse noodles.

6

While you are cooking the noodles, get a large wok out to cook the beef and vegetables.

7

Saute beef in a wok, until no longer pink, and then place in a bowl while you cook the vegetables.

8

Add onions and saute until soft. Add mushrooms and continue to saute until softened slightly.

9

Add carrots. Put lid on the wok until the carrots have softened.

10

Add broccoli florets. Put the lid back on for a couple of minutes until the broccoli is almost done.

11

Add beef back to the wok.

12

Add noodles to wok.

13

In a small bowl, add sugar, soy sauce and stock.

14

Pour sauce into wok.

15

Toss everything together with tongs. Serve hot or room temperature. Keep leftovers in fridge for up to 3 days.

Notes

You can also use other vegetables such as spinach, green beans, snow peas or red peppers.

Korean Sweet Potato Noodles with Beef and Vegetables


Baking

Pirozhki Meat Stuffed Buns Recipe

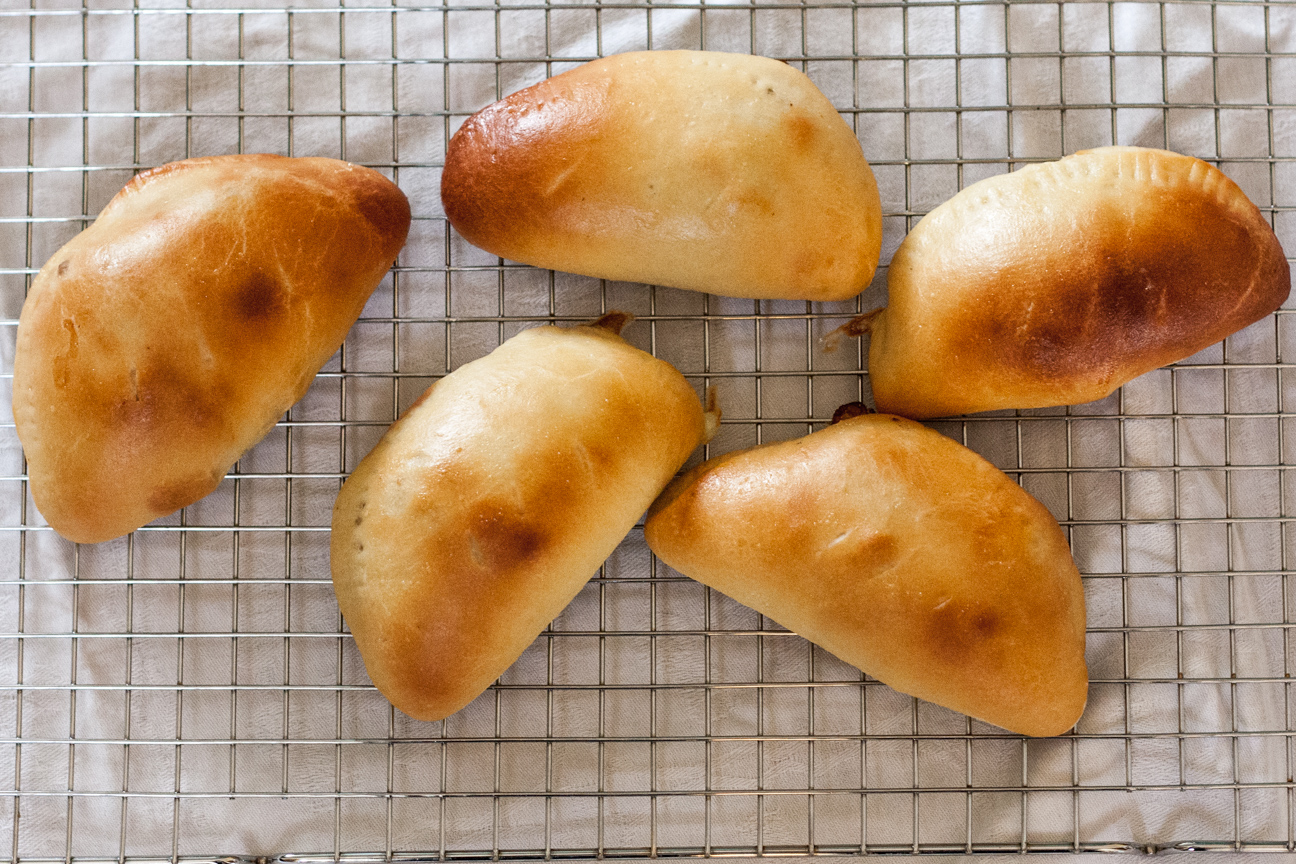
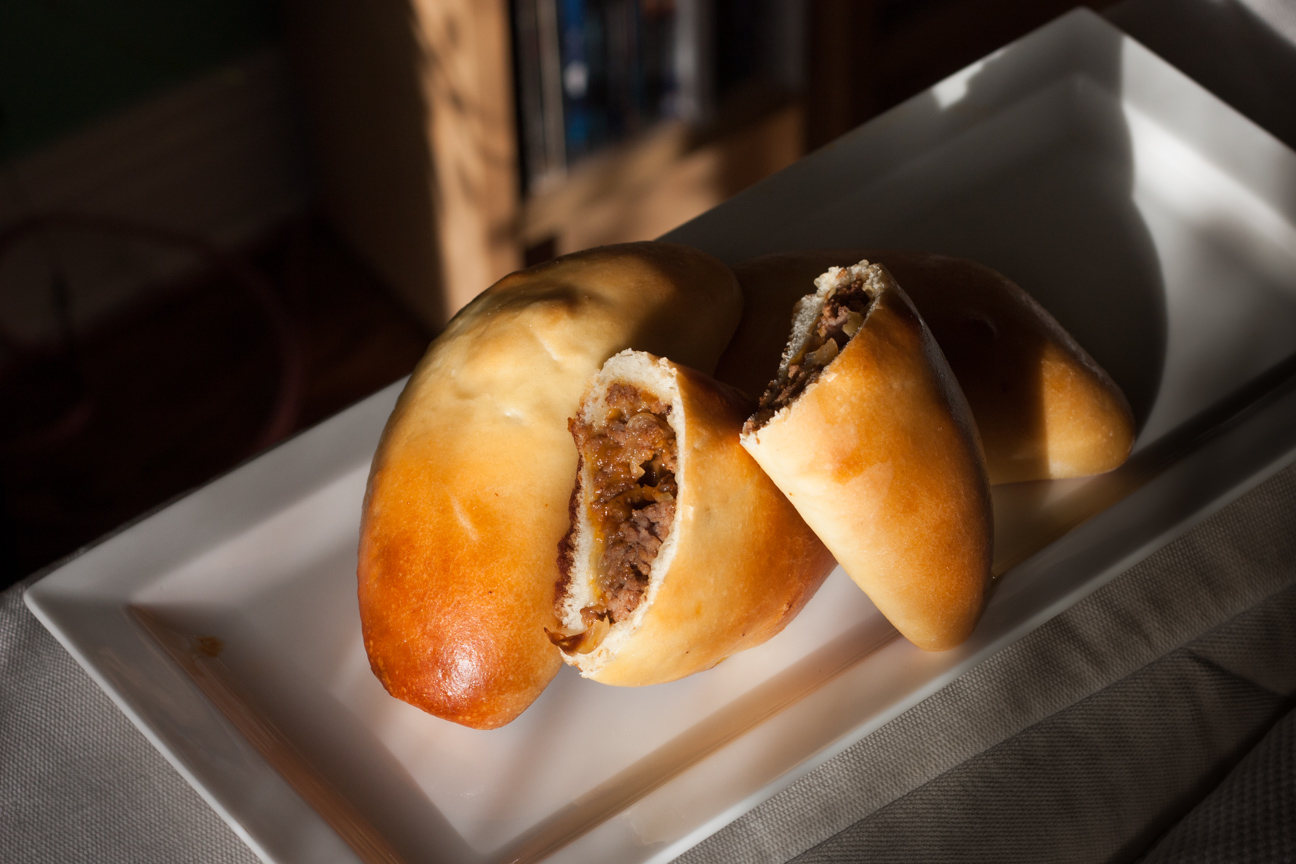
5 pirohzki buns

I absolutely love pirozhki buns! Pirozhki buns are bread dough stuffed with a variety of savoury fillings. They are popular in Russia and the Ukraine. This Pirohzki recipe is filled with seasoned ground beef and cheddar cheese. You can also make  vegetarian pirohzki filled with cabbage, mushrooms, onions or chopped hard boiled egg.

two pirohzki buns

A few years ago, my parent’s neighbour mentioned how he loved to make homemade buns stuffed with meat and cheese. He would freeze them and then pack them up for lunch on a workday. I had never heard of that idea but loved it right away.

Last week, I baked up some meat filled buns for my husband’s lunch and he couldn’t have been happier. After he polished off my first batch, he said, “When are you making more?”.

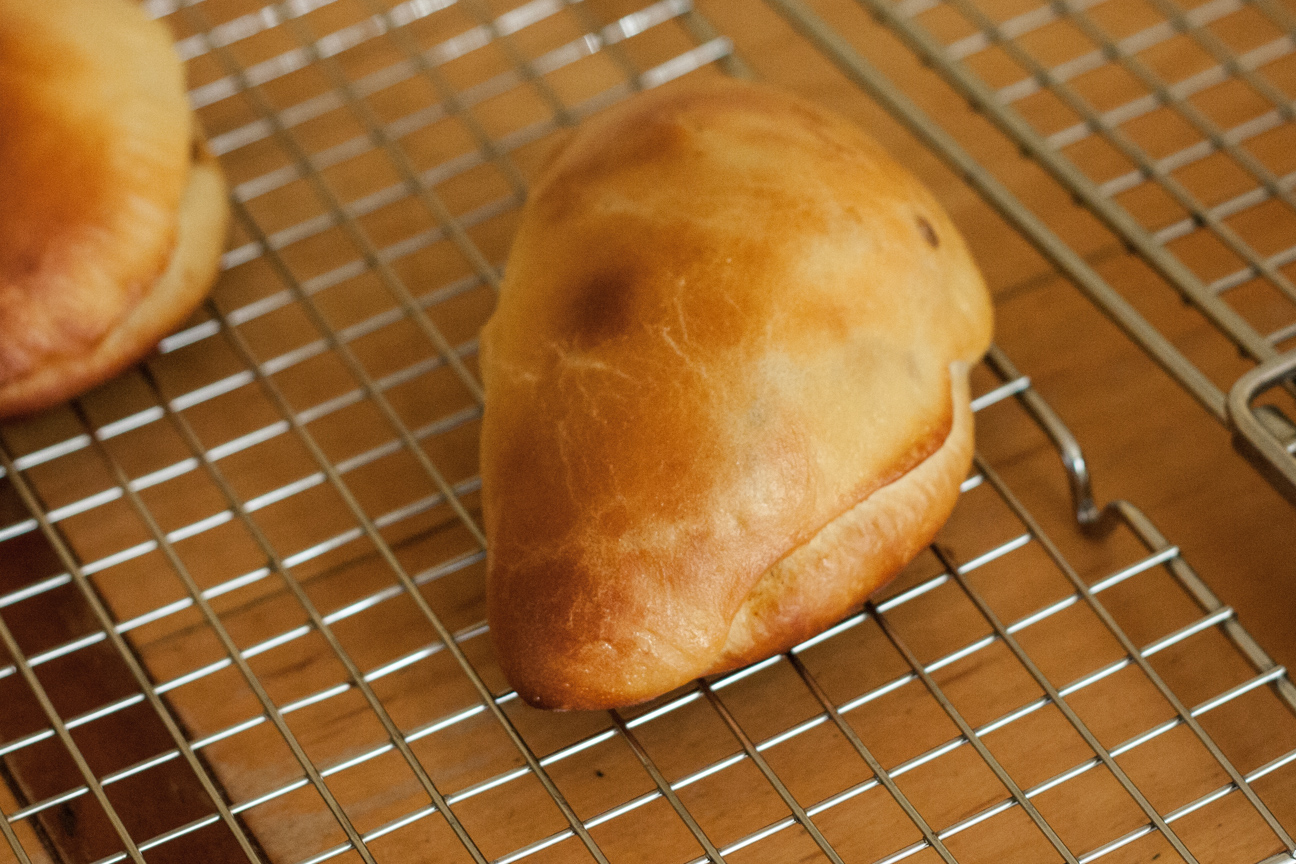
pirozhki bun

The dough for these pirohzki is made with sour cream. I love the tart and creamy flavour it imparts. You could also use regular bread dough without sour cream. Or pastry dough or puff pastry if you want something flaky.  Personally, I love that fresh bread taste, as opposed to pastry.

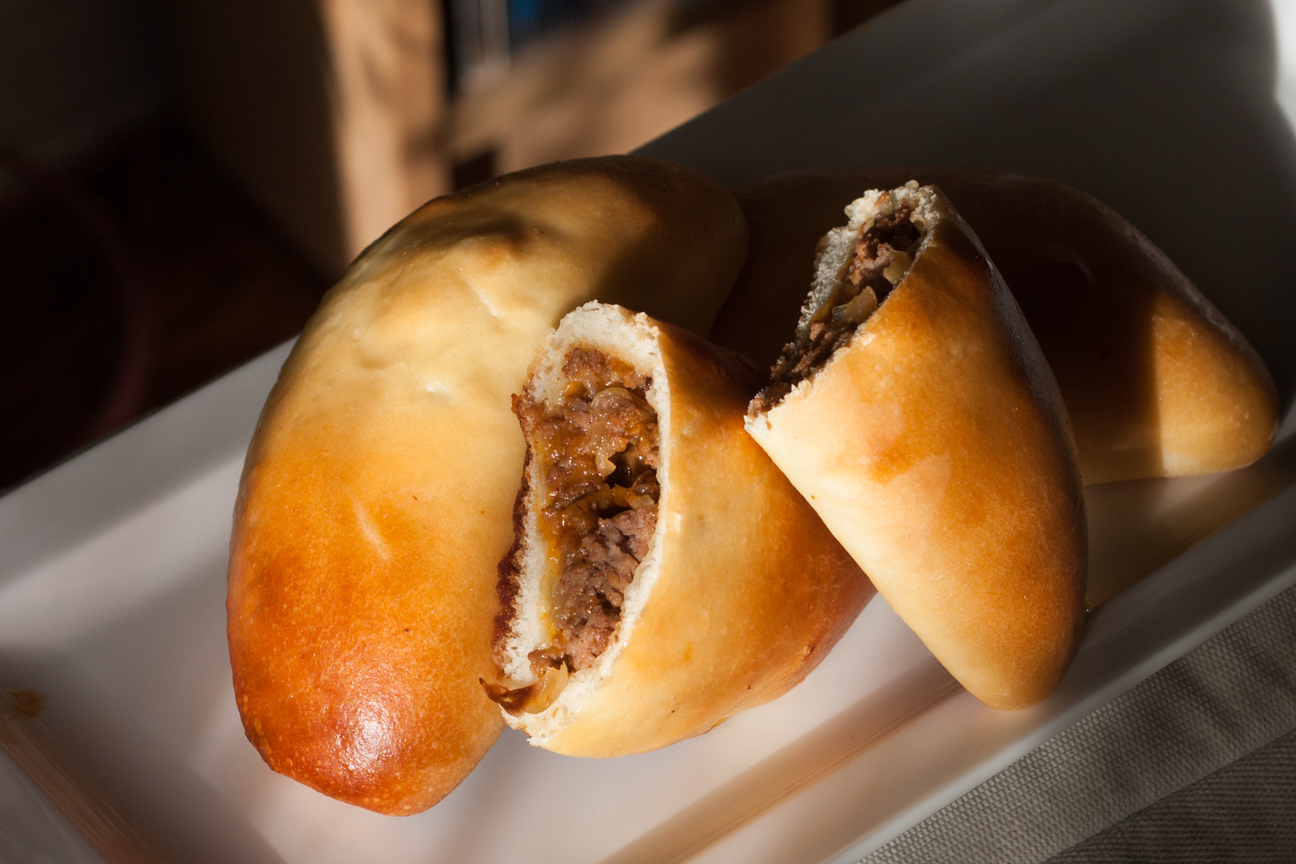
The seasoned ground beef and cubes of cheddar cheese wrapped inside the rich bread dough tastes amazing! Almost like a hamburger without the toppings – but better! My pirozhki were about six inches long, which is great for a packed lunch. You can also make them smaller if you wanted to serve them with soup.

As I researched  pirohzki I discovered many similar buns from around the world. Greece makes a deep fried version called pirouskia.  In Iran, pirashki is sweet and filled with custard. Estonia makes pirukad which has a meat and chopped hard boiled egg filling. In Finland, karelian pastries (open-faced egg tarts) are very popular and eaten for breakfast. And in Japan they fill their savoury buns with curry. They all sound amazing to me!

I hope you enjoy these as much as we have. If you experiment with a different filling – let me know. There are so many variations to try. Pirozhki are so versatile!

pirozhki meat filled buns

Pirozhki Meat Stuffed Buns Recipe

Serves: 16
Cooking Time: 15-20

Ingredients

  • Dough
  • 4 cups all-purpose flour (480 grams)
  • 1/2 cup sour cream (113)
  • 1/4 cup softened butter (57)
  • 1/2 cup water
  • 2 large eggs
  • 2 tablespoons sugar
  • tsp salt
  • 2 1/2 tsp active yeast (or 1 package)
  • Filling
  • 1 tbsp olive oil
  • 1 small onion
  • 2 garlic cloves
  • salt and pepper to taste
  • 1 1/2 tbsp chili powder
  • 250 grams ground beef
  • 170 grams cubed cheddar cheese
  • 1 large egg mixed with 1 tbsp water to spread on dough

Instructions

1

Dough: Proof yeast in water for 5 minutes. Add flour, salt, sugar, sour cream, soft butter and eggs to mixing bowl. Using dough hook, mix until all ingredients are thoroughly incorporated.

2

Rub olive oil in a separate medium sized bowl and place dough in bowl. Let dough sit for about 90 minutes, until puffed up. It does not need to be double in bulk.

3

For Filling: heat oil in pan, add onion and garlic cloves. Saute until onions are soft and garlic is fragrant. Add chilli powder, salt and pepper and mix in. Add ground beef and cook until no longer pink.

4

Place beef mixture in a bowl and let cool until room temperature. Then stir in cheese. You can make this filling ahead of time and store it in the fridge until ready to use.

5

Divide the dough into 16 equal sized pieces. This is easiest if you have a scale. Each piece of dough should weight about 2 oz or 55-57 grams each. If you do not have a scale, just try to make sure each bun is close to the same size. (A tip to get similar sized dough balls: flatten dough slightly, and then divide dough in half, then divide each half in half so that you have four equal sized pieces of dough. Divide each piece in half again, and now you'll have 8 pieces. Divide each of the 8 pieces in half to get 16.)

6

Shape each piece of dough into a nice ball shape. Place on a parchment lined baking tray, cover with a clean tea towel and let rest for 15 minutes.

7

Flatten each piece of dough into a 5 inch oval shape. Brush the surface with the egg wash. Scoop up about 2 tablespoons of filling and place it in the centre. Pull the dough over the filling and seal the opposite edges.

8

Place on baking sheet and let it rest for one hour, until slightly puffy.

9

Preheat oven to 400 degrees F, about 10-15 minutes before the end of the rise. Brush the egg wash over the buns.

10

Bake the buns for 15-20 minutes, until they are a nice golden brown. Don't worry if some of the seams come undone. Remove from oven and place on wire rack for about 15 minutes before eating.

11

Any leftovers can be stored in the refrigerator when thoroughly cooled. You can eat these hot or at room temperature.

12

Pirozhki can also be frozen for up to one month. Defrost in the refrigerator overnight.

Adapted slightly from King Arthur Flour Stuffed Buns