Browsing Category

Baking

all baking recipes

Baking

My Mum’s Sensational Tomato Soup Cake

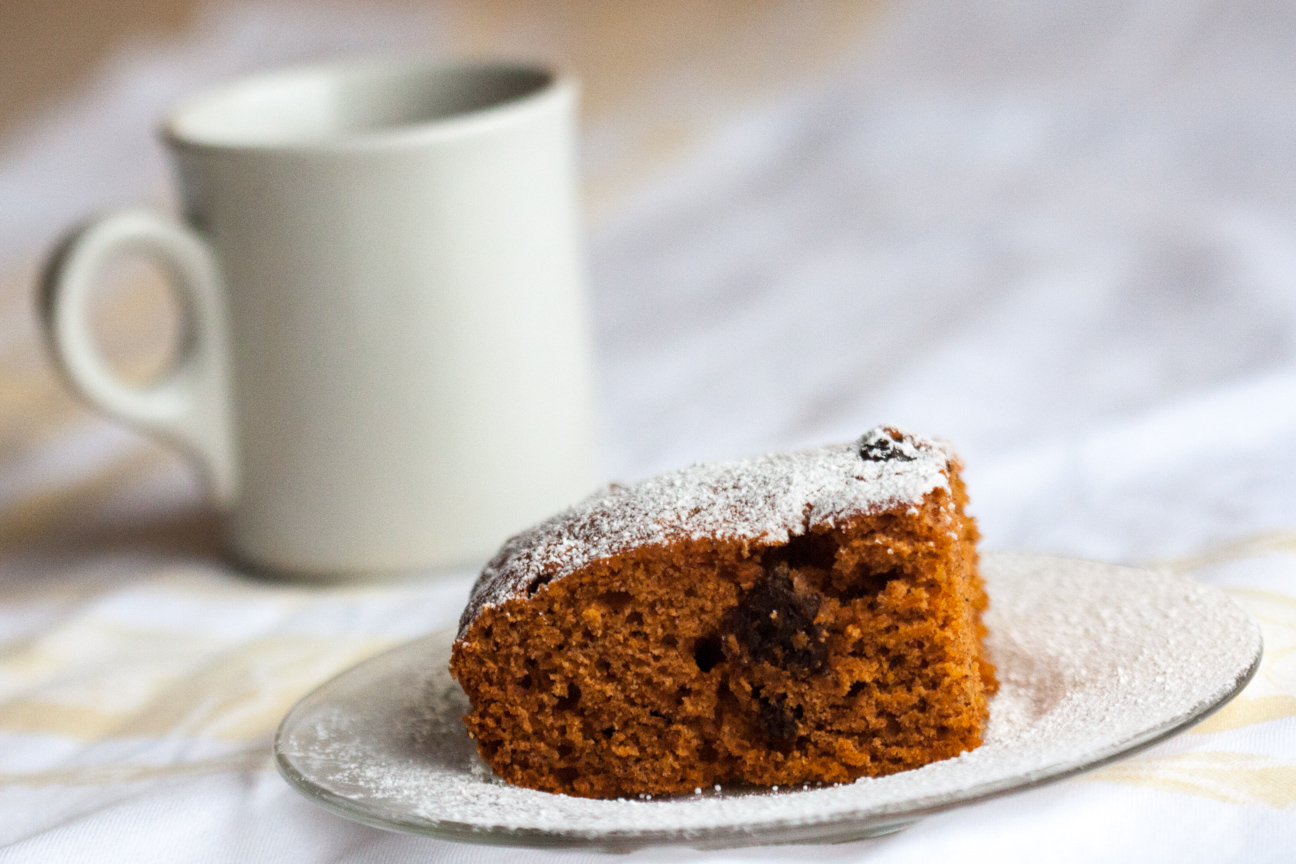
tomato soup cake with coffee mug

A favourite snacking cake in our family when I was growing up was Tomato Soup Cake. My Mum would make it for lunches or for an after-school snack.  After my parents were married, my Mum asked for the recipe from her mother-in-law, just so she could bake it for my Dad. Tomato Soup Cake has been around a long time and was a family favourite back when my Dad was growing up on the farm, in the 1920’s and 1930’s.

We always loved this cake and never once questioned the name of it. It didn’t taste or smell like tomatoes but was a beautiful rose colour with a spicy aroma. Once, while having lunch at school (which I seldom did), my friends asked what kind of cake I was eating. “Tomato Soup Cake”, I answered. Ooooh! was their negative response. I was in grade 7 and had never imagined that as a response to this delicious cake. But that never deterred me from loving this cake. My friends didn’t know what they were missing. My Mum’s cake was rose-hued, warm with spices of cinnamon, nutmeg and cloves and dotted with sweet plump raisins. With four always-hungry children in the family and a husband who grew up snacking on this cake on the family farm, my Mum’s baking never lasted long.

This cake is perfect for a ‘Retro Party” but also modern in flavour, colour and scent. It checks all the boxes for something easy, quick and yummy to bake up either for afternoon tea with friends, to pop into someone’s lunch kit, or an after dinner dessert. You can serve it with cream cheese icing, but my Mum just served it up plain, or sprinkled with icing sugar. It’s so moist, sweet and heavenly-scented with spices that you really don’t need extra icing. But you could add it if you prefer the extra creamy sweetness.

When I got married, a friend of my Mum’s gave me a cake pan, a wooden spoon and her recipe for Tomato Soup Cake. I thought that was the sweetest gift! Now I bake this cake for my own kids. Everyone in our family loves it.

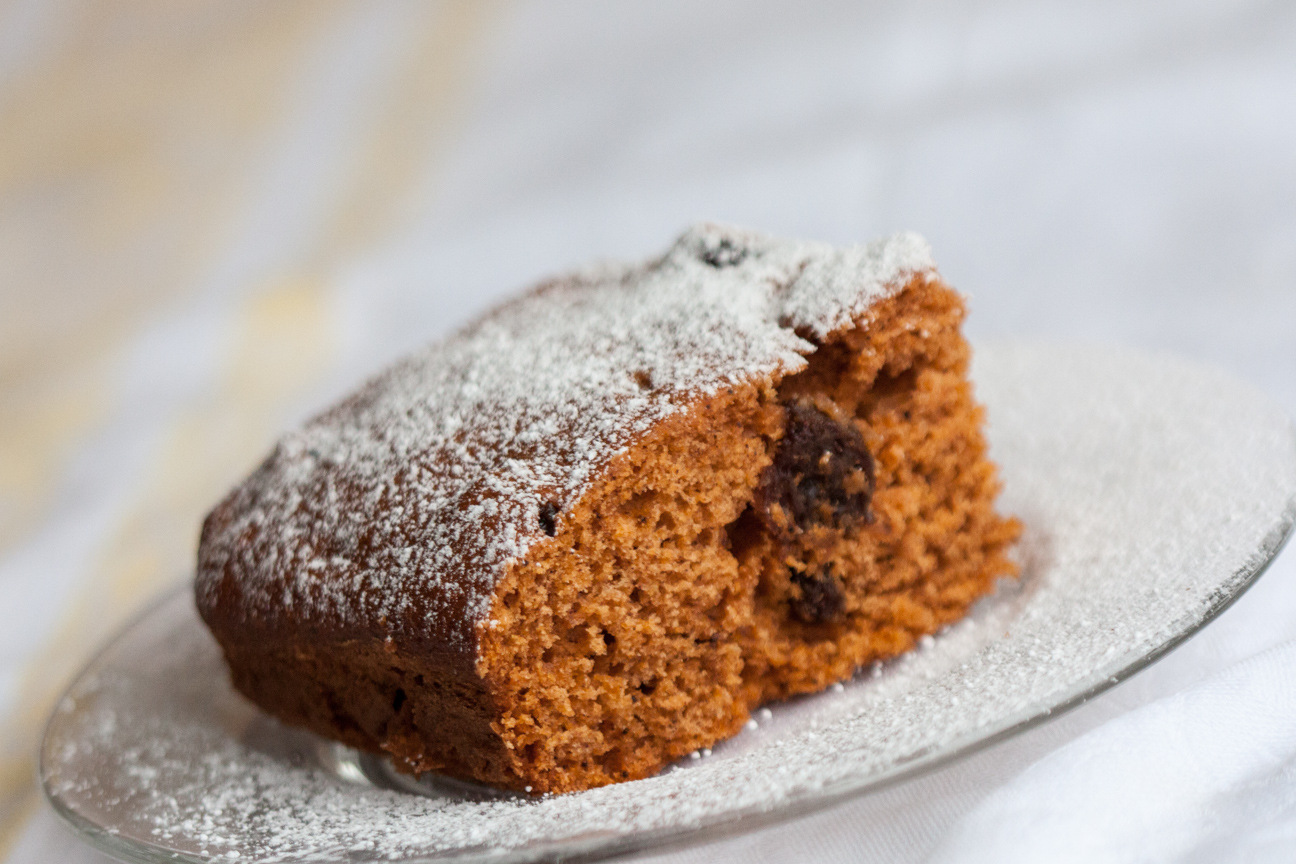
slice of tomato soup cake

Enjoy!

Tomato Soup Cake

Serves: 16
Cooking Time: 55 minutes

Ingredients

  • 3 cups all-purpose flour
  • 1 Tbsp baking powder
  • 1 tsp cinnamon
  • 1 tsp grated nutmeg
  • 1 tsp ground cloves
  • 3/4 cup shortening
  • 1 1/4 cup sugar
  • 2 eggs
  • 1 10-ounce can condensed tomato soup
  • 3/4 cup water
  • 1 tsp baking soda
  • 3/4 cup raisins

Instructions

1

Preheat oven to 350 degrees F.

2

Mix together the flour, baking powder and spices.

3

Cream the butter, sugar and eggs until fluffy.

4

Mix soup, water and baking soda.

5

Let this mixture sit for a few minutes, then stir into butter/egg/sugar mixture.

6

Stir in dry ingredients and raisins.

7

Spoon batter into a greased 13 X 9 inch pan.

8

Bake 55 minutes or until golden brown.

More reading about this scrumptious cake

The History behind Campbell’s Tomato Soup Cake

A Good Little Read from The Kitchn about Tomato Soup Cake

Baking

Easter Simnel Mini Cakes Recipe

simnel cakes on a plate

Easter Sunday dinner is fun to plan because it’s easy to try something new without upsetting anyone. Unlike Christmas when so many traditional favourites are necessary, Easter doesn’t have the same expectations, especially when it comes to dessert. I can’t think of any dessert that our family has at Easter every year.

While our family doesn’t have a traditional dessert at Easter, I love searching through my cookbooks for a recipe that is customary somewhere else. British cookbooks are a great place to start in finding a recipe full of history and tradition.

One cake that is beautiful to look at, delicious to eat and fascinating to read up on is Simnel Cake. The word simnel comes from the latin word, “simila” which means fine wheaten flour. Simnel cakes were traditionally made for Mothering Sunday, which has been celebrated in England, on the 4th Sunday of Lent, for atleast 400 years. Traditionally it was a day when families who lived in small villages would go to their “Mother Church”, a larger church in a neighbouring town, instead of going to their local church. Servant girls who worked far away would travel home on this day to visit their families, and would always bring a gift to their mothers.

simnel cakes on a plate

Simnel cakes were popular gifts as they were excellent traveling cakes: dense with dried fruit and sturdy with a marzipan filling and top they were not as delicate as today’s frosted layer cakes. Simnel cakes also tested a daughter’s cooking skills. If the cake was well made it would still be delicious a few weeks later at Easter when Lent was finished. Simnel cakes are recognizable by the 11 marzipan balls on the top to symbolize the 11 apostles (Judas was excluded).

Eventually, Mothering Sunday became less religious and more of a day to give thanks to one’s mother. The 4th Sunday of Lent is now celebrated in England as Mother’s Day and Simnel Cakes have become a popular dessert at Easter.

simnel cakes on a plate

simnel cakes on a plate

I decided to make Simnel Mini Cakes instead of one large cake. They bake up super fast, are easy to serve and if you have any leftovers are fantastic for a lunch box treat. These cakes are dense with ground almonds and studded with dried fruit. The centre of each mini cake has a disc of marzipan that adds to the elegance of these cakes.

Simnel cakes are traditionally decorated with marzipan on top, but I found that a dusting of icing sugar was the perfect as these cakes are sweet, dense and rich just on their own. If you find them too plain for easter, you could put a drizzle of icing on the top with sprinkles or candied flowers. Or you could tie some coloured ribbon around the middle. However you serve them, your dinner guests will love them.

simnel cakes on a plate

simnel cakes on a plate

Happy Easter everyone!


Simnel Mini Cakes

Serves: 14-16
Cooking Time: 30-40

Ingredients

  • 1 cup butter, softened
  • ½ cup white sugar
  • ½ cup brown sugar
  • 4 eggs, room temperature
  • 2 cups flour
  • ½ cup ground almonds
  • 2 tsp baking powder
  • ¼ pound dried cranberries
  • ¼ pound candied ginger, chopped fine
  • ¼ pound dried apricots, chopped fine
  • 1/3 cup of light flavoured liqueur, such as elderflower, amaretto, grand marnier etc.
  • 2 ounces mixed peel
  • zest from one lemon
  • 1 pack marzipan, 227 grams
  • decorations: candied flowers, thin icing, sprinkles, or ribbon

Instructions

1

Soak dried fruit and lemon peel for 1 hour in liqueur.

2

Line muffin tin with parchment paper or paper cups.

3

Preheat oven to 300 degrees Fahrenheit.

4

Beat butter and sugar until light and fluffy. Add eggs, one at a time.

5

In another bowl, mix together flour, baking powder and ground almonds.

6

Add flour mixture to butter and sugar mixture. Stir until well mixed. Add dried fruit and stir until all the fruit is incorporated.

7

Slice marzipan into discs.

8

Pour half of cake batter into prepared spring form pan. Place marzipan disc in the centre, leaving a ½ inch border around the edges.

9

Spoon the rest of the cake mixture into tins. Only fill about 3/4 full.

10

Place pan in oven and bake for 30-40 minutes until done. Knife will still be slightly sticky after it is inserted. The top of the mini cakes will be a nice golden brown.

11

Let the mini cakes cool for ten minutes in pan. Then place cake on a rack and let it cool completely.

12

You can decorate the mini cakes with candied flowers, a drizzle of thin lemon icing (icing sugar + lemon juice) and/or some coloured ribbon.

13

Enjoy!


Baking

Traditional Currant Welsh Cakes

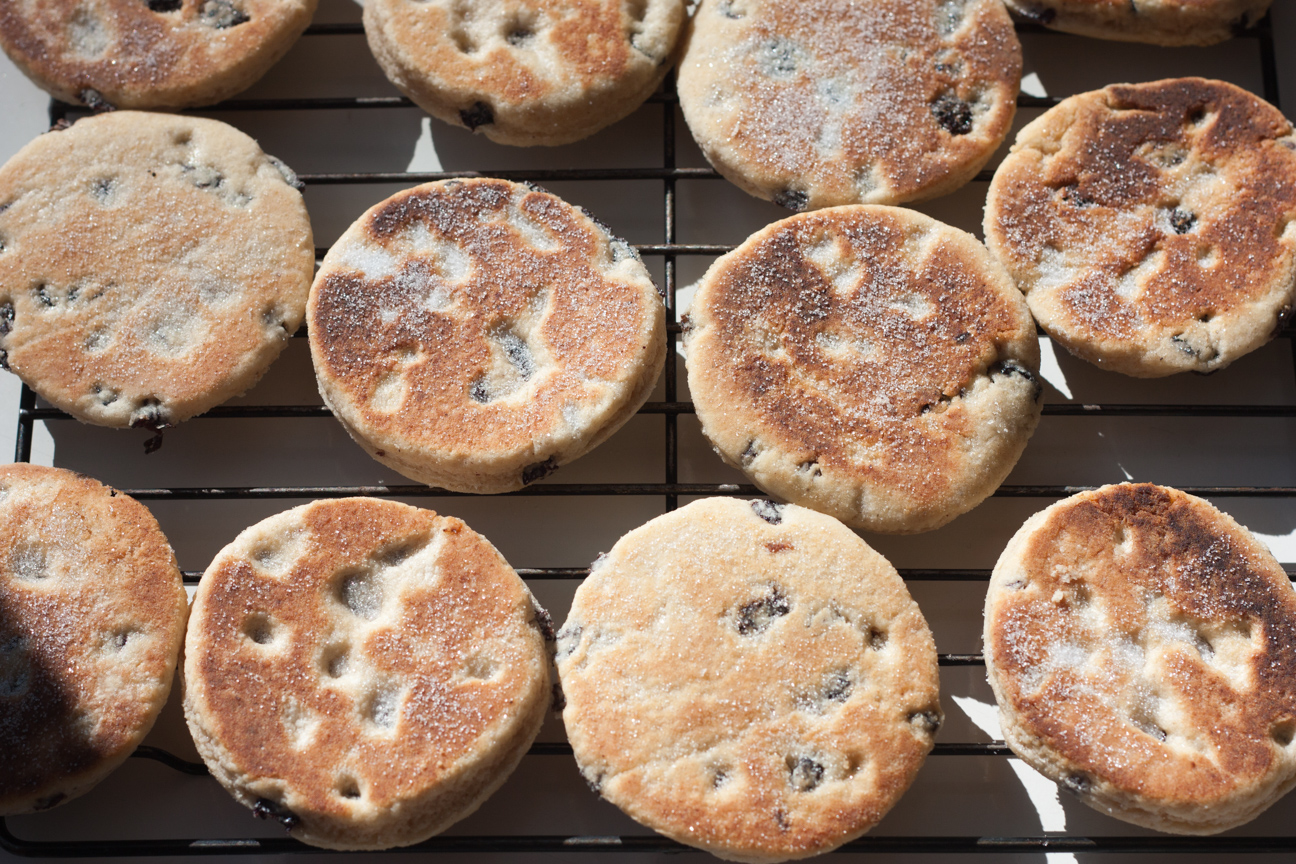
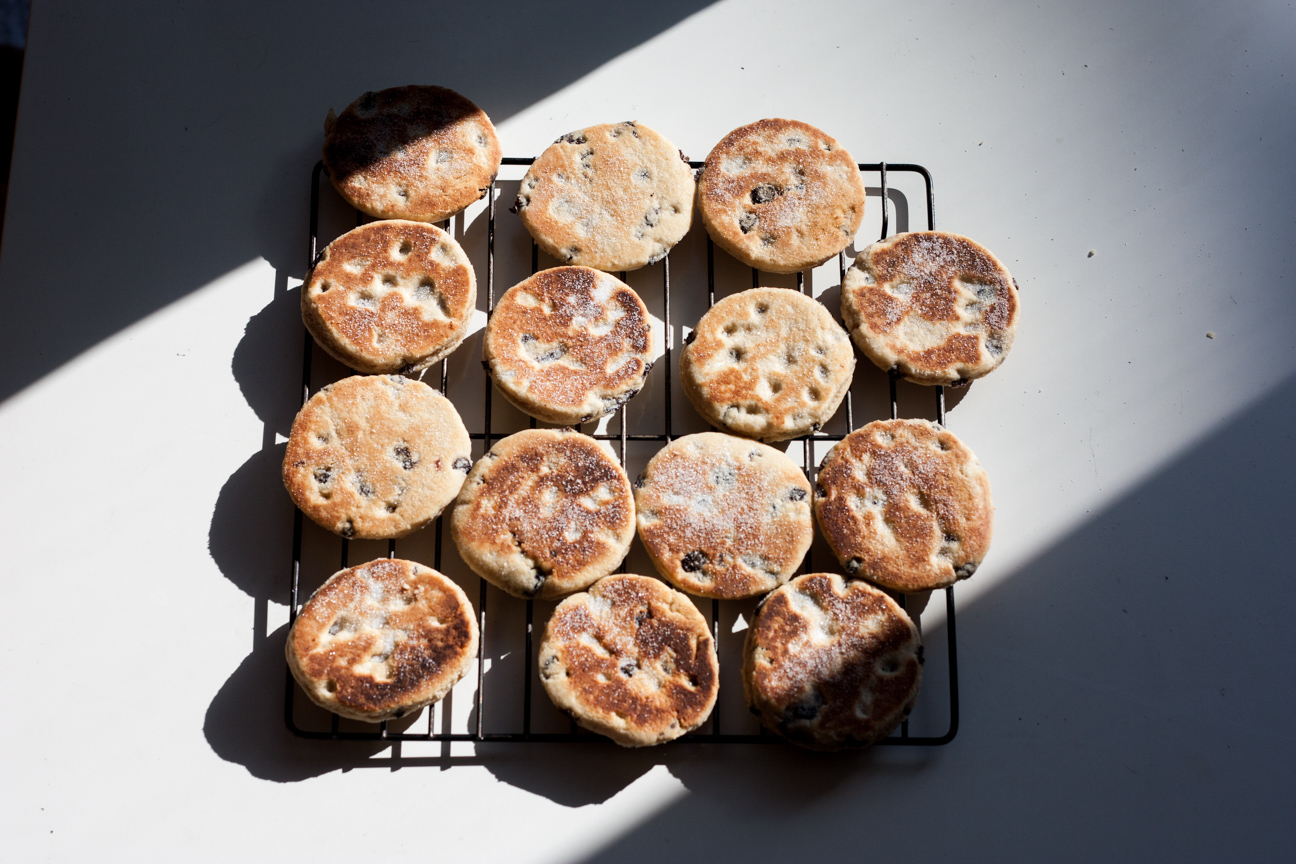
traditional currant welsh cakes

Traditionally, Welsh Cakes are chock full of currants and sprinkled with white cane sugar. I recently posted a recipe for Chocolate and Ginger Welsh Cakes.  But I wanted to post this recipe for the Traditional version, in case anyone wants to try it the way they have always been made in Wales.

Enjoy!

Traditional Welsh Cakes with Currants

Serves: 12-18
Cooking Time: 30 minutes

Ingredients

  • 250 grams unbleached white flour
  • 120 grams butter, cold and diced
  • 1 tsp baking powder
  • 70 grams currants
  • 55 grams sugar
  • 1 egg
  • 1-2 tbsp milk
  • 1/4 tsp nutmeg
  • 1/4 tsp ginger
  • 1/4 tsp cinnamon

Instructions

1

Stir together the dry ingredients: flour, baking powder, spices

2

Add the butter and rub into the flour mixture until the mixture resembles coarse breadcrumbs

3

Stir in sugar and currants.

4

Mix in the egg.

5

Add milk until a nice soft dough is formed.

6

Roll out on a tabletop sprinkled with flour.

7

Cut out welsh cakes with any round shape approximately 7.5 to 8 cm in diameter. I used a drinking glass.

8

Heat a skillet on the stovetop on medium heat. Add a very tiny amount of butter.

9

Place a few welsh cakes in pan, with some space surrounding each one. Do not overfill skillet. You need room to flip them over.

10

When the underside is a nice golden colour, flip over and cook the other side.

11

Remove from skillet when both sides are done.

12

Let cool on a baking rack.

13

Sprinkle with sugar. You can do this either in the pan while the second side is cooking, or while they are on the baking rack. Either will work fine

14

Serve warm or room temperature.

Notes

If you want to freeze some welsh cakes for later, you can either freeze some cooked welsh cakes in a ziplock bag. Or you can cut them out and freeze the uncooked cakes. To do this, cut out the welsh cakes, place them on parchment paper on a tray and freeze until firm. Then place them in a ziplock bag or plastic container, layered with parchment paper in between. To cook, simply defrost the cakes and then cook following the instructions above.

Baking

Chocolate and Ginger Welsh Cakes

traditional welsh cakes

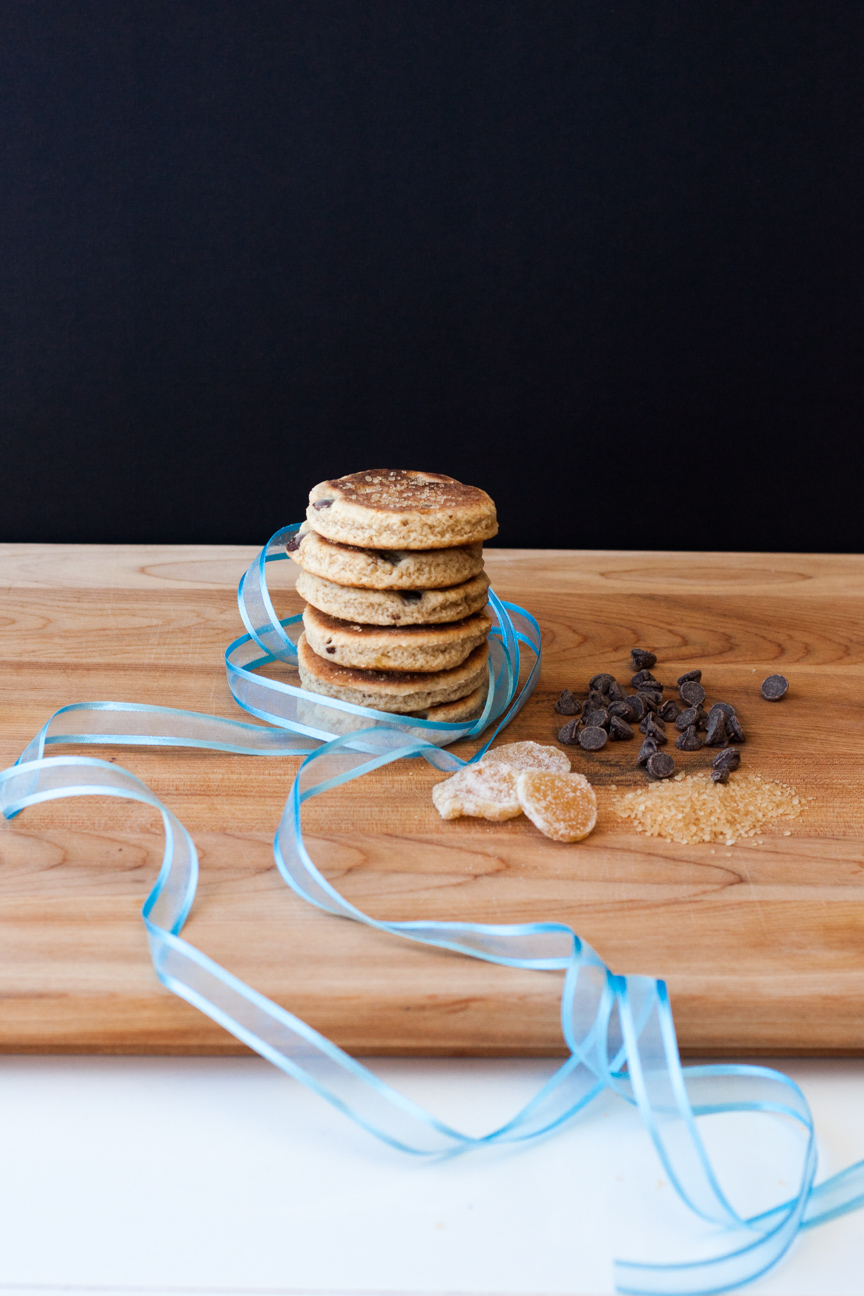
I absolutely love Welsh Cakes, such a delicate taste and subtle sweetness. They are the perfect treat to have with tea or coffee. And these Chocolate and Ginger Welsh Cakes are truly divine.

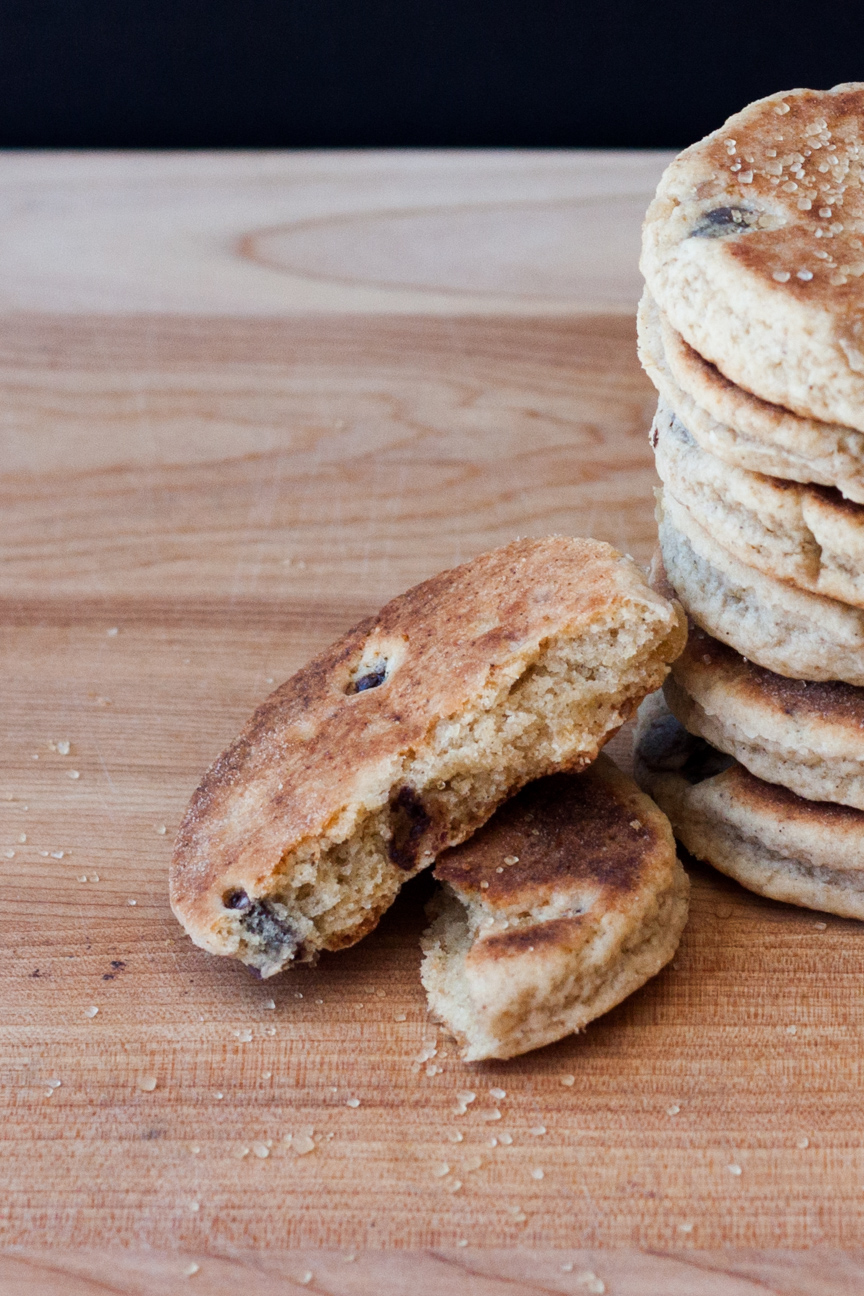
chocolate and ginger welsh cakes

Welsh cakes are a cross between a scone and a cookie but cooked like a pancake in a hot skillet on top of the stove. They are slightly crisp on the outside but tender and crumbly inside. I love making welsh cakes because I usually have all the ingredients on hand.

I first had Welsh Cakes in Wales, years ago, during my year long adventure with my friend, Bonnie. We stayed with Bonnie’s Aunts (Aunt Betty and Aunt Betty) for a whole month in the small town of . They lived in a small village near Swansea on a hilly street lined with row houses – each one a different colour. Each day, Bonnie’s Aunts set out a proper tea for us. By 4 pm, their wood kitchen table was completely laden with a variety of utterly delicious tea items: cheese and crackers, cakes, bread and butter, fruit and devonshire cream, tea and of course, welsh cakes.

chocolate and ginger welsh cakes

Welsh cakes (or pice ar y maen – cakes on the stone, in Welsh) are so fast to whip up, you won’t believe it. They take, at the most, an hour from start to finish. They are fantastic for the beginner baker as they are so simple to make. And they have ‘homemade’ written all over them, as I can’t imagine too many bakeshops spending time cooking these up individually on a stovetop.

Try to make these cakes on the day that you want to serve them. As they only keep for 1-2 days before tasting a bit stale. You can also cut some out and freeze them uncooked until you are ready to cook some more.

chocolate and ginger welsh cakes

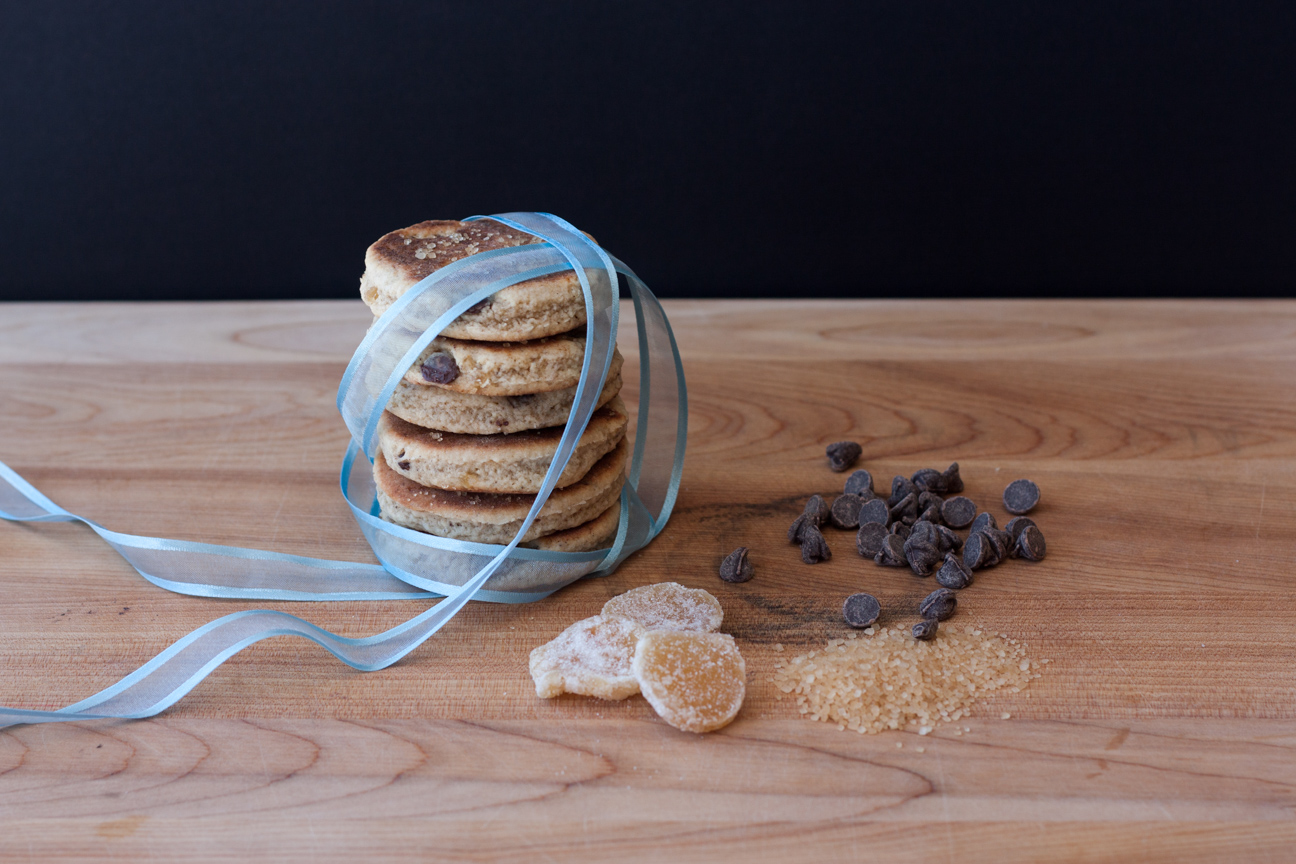
I love Traditional Welsh Cakes, but I was eager to try some a flavour. So, I added some dark chocolate and chopped crystallized ginger. I love eating these Chocolate and Ginger Welsh Cakes warm from the skillet. The chocolate inside is slightly molten and the ginger is soft and lightly scented.

traditional welsh cakes

The origin of Welsh Cakes is very interesting. Years ago, miners would carry freshly made cakes down into the mines. A hearty snack and a taste of home while they were working in the cold, dark mines down below. Try popping one into a loved ones’ lunch kit to brighten their day.

chocolate and ginger welsh cakes

Below are a few variations of Welsh Cakes that you can find around the country.

  1. Jam Split: Popular in South Wales, the cakes are split open and spread with jam inside:

2. Apple Dragon: Add some grated apple to the mixture to make your cakes more moist.

3. Newport Lovely Welsh Cakes made by men in the City of Newport for their girlfriends as a wedding gift or engagement gift.

4. The Welsh Mountain (Mynydd Cymreig) has two times the amount of baking powder in them, for loftier cakes.

If you try a different variation, let me know. Enjoy!

Chocolate and Ginger Welsh Cakes

Serves: 15-18
Cooking Time: 10-12 minutes

Ingredients

  • 250 grams white unbleached flour
  • 120 grams butter, cold, diced
  • 1 tsp baking powder
  • 55 grams white sugar
  • 45 grams cyrstallized ginger, chopped fine
  • 25 grams dark chocolate chips
  • 1 egg
  • 1-2 tbsp strong coffee
  • 1/4 tsp vanilla powder
  • 1/4 tsp ginger
  • 1/4 tsp cardamom

Instructions

1

Stir together the dry ingredients: flour, baking powder, spices

2

Add the butter and rub into the flour mixture until the mixture resembles coarse breadcrumbs

3

Stir in sugar and ginger and chocolate chips.

4

Mix in the egg.

5

Add coffee until a nice soft dough is formed.

6

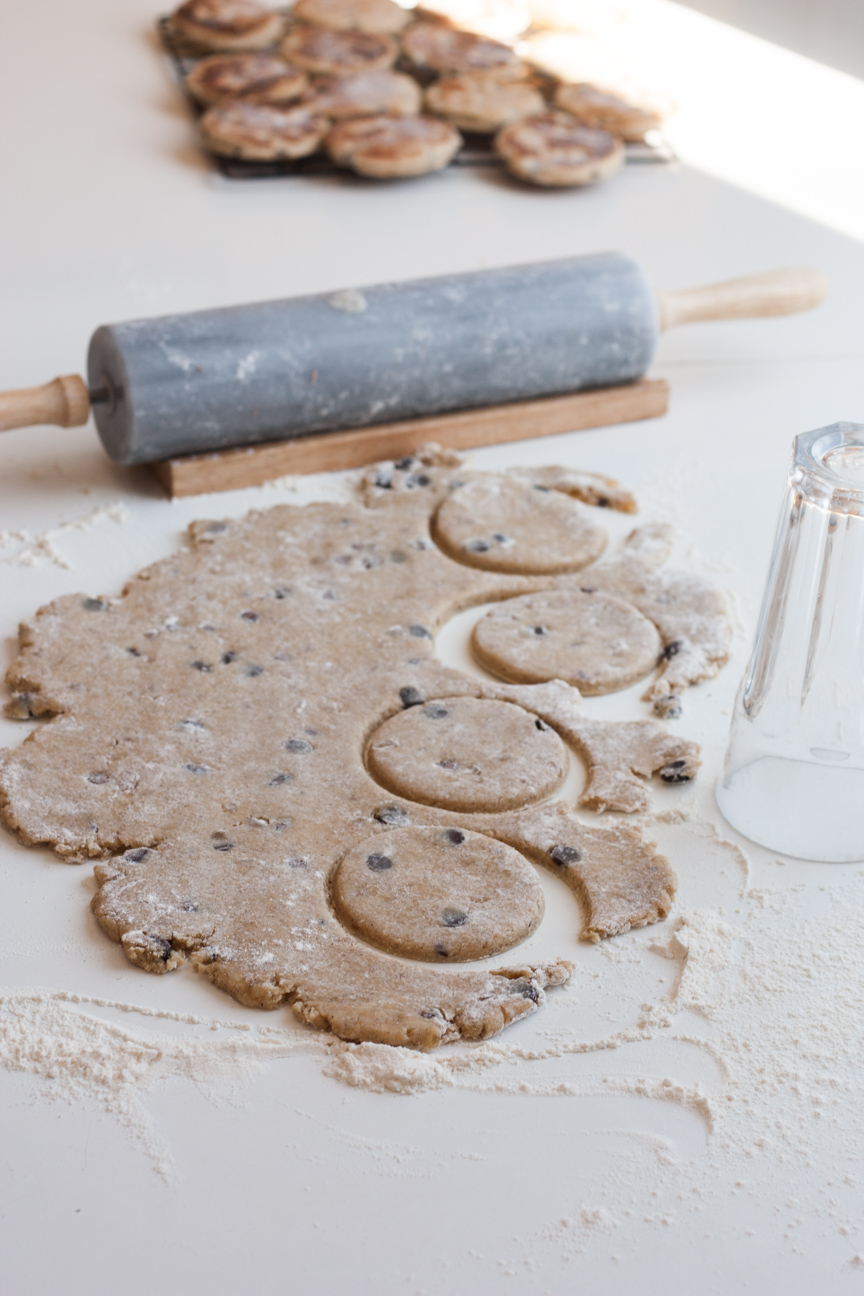
Roll out on a tabletop sprinkled with flour.

7

Cut out welsh cakes with any round shape approximately 7.5 to 8 cm in diameter. I used a drinking glass.

8

Heat a skillet on the stovetop on medium heat. Add a very tiny amount of butter.

9

Place a few welsh cakes in pan, with some space surrounding each one. Do not overfill skillet. You need room to flip them over.

10

When the underside is a nice golden colour, flip over and cook the other side.

11

Remove from skillet when both sides are done.

12

Let cool on a baking rack.

13

Sprinkle with demerara sugar. You can do this either in the pan while the second side is cooking, or while they are on the baking rack. Either will work fine

14

Serve warm or room temperature.

Notes

If you want to freeze some welsh cakes for later, you can either freeze some cooked welsh cakes in a ziplock bag. Or you can cut them out and freeze the uncooked cakes. To do this, cut out the welsh cakes, place them on parchment paper on a tray and freeze until firm. Then place them in a ziplock bag or plastic container, layered with parchment paper in between. To cook, simply defrost the cakes and then cook following the instructions above.

Baking

Irish Oat Soda Bread Recipe

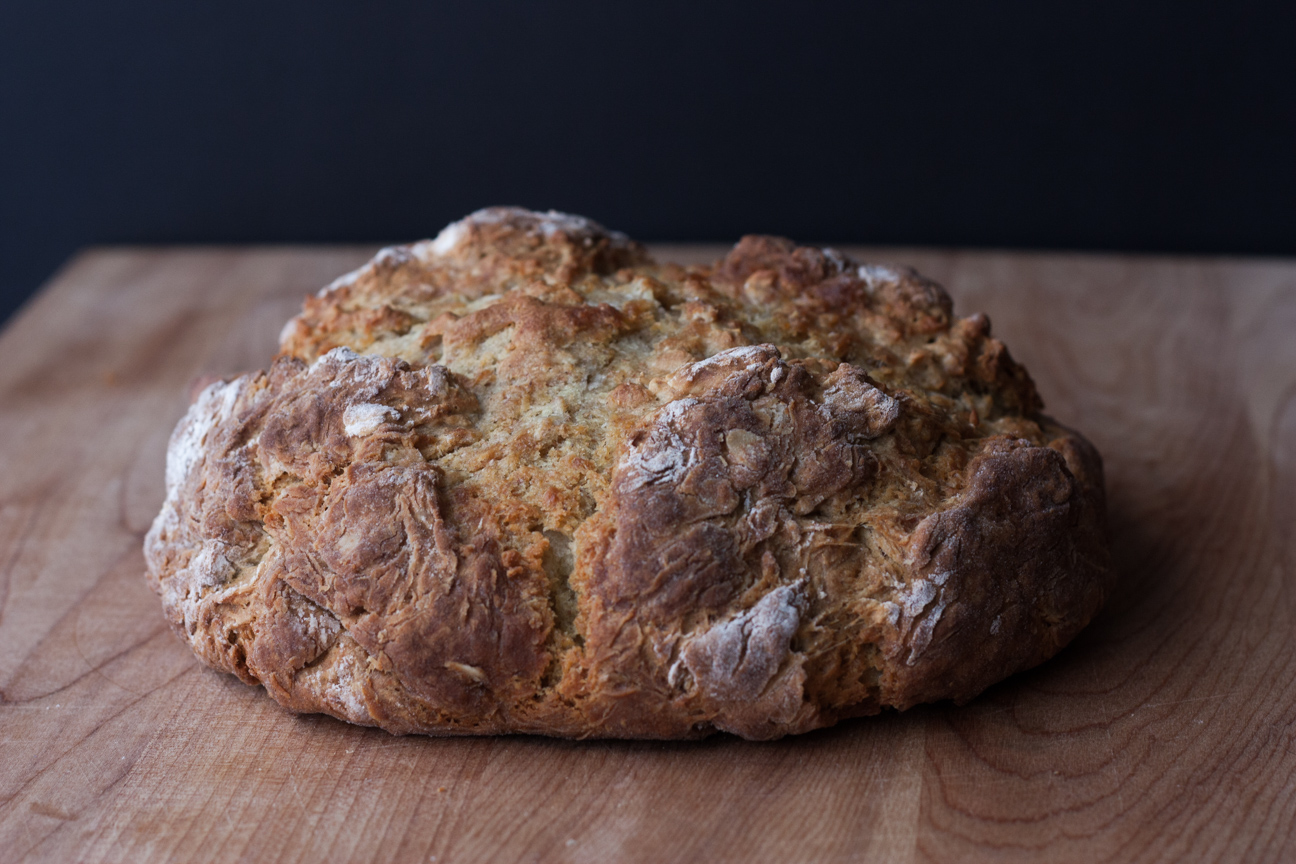
irish soda bread
Irish Oat Soda bread is an amazing bread to make. You can make it so fast. It’s great for beginners or even experienced bakers who want some fresh baked bread on the table in under an hour. The first time I made soda bread I couldn’t believe how quick it was ready.

Irish Oat Soda bread can be made quickly because it is leavened with baking soda, not with yeast like most breads. When mixed with an acidic ingredient, in this case the buttermilk, the combination of the baking soda and acid produces carbon dioxide after it is exposed to heat.

When baking with baking soda, it is important to measure accurately. Too much baking soda and your batter will rise too much and then collapse. Also, using too much baking soda, or baking without an acidic ingredient such as buttermilk, yogurt, brown sugar, molasses, chocolate and cocoa will make your baked goods taste soapy. This happens because the baking soda doesn’t have anything to react with  and will break down to produce sodium carbonate which is very alkaline and makes your baking taste soapy.  Too little baking soda will produce a flat and dense product. So, measure accurately and always double check that there is an acidic ingredient in the recipe to react with the baking soda.

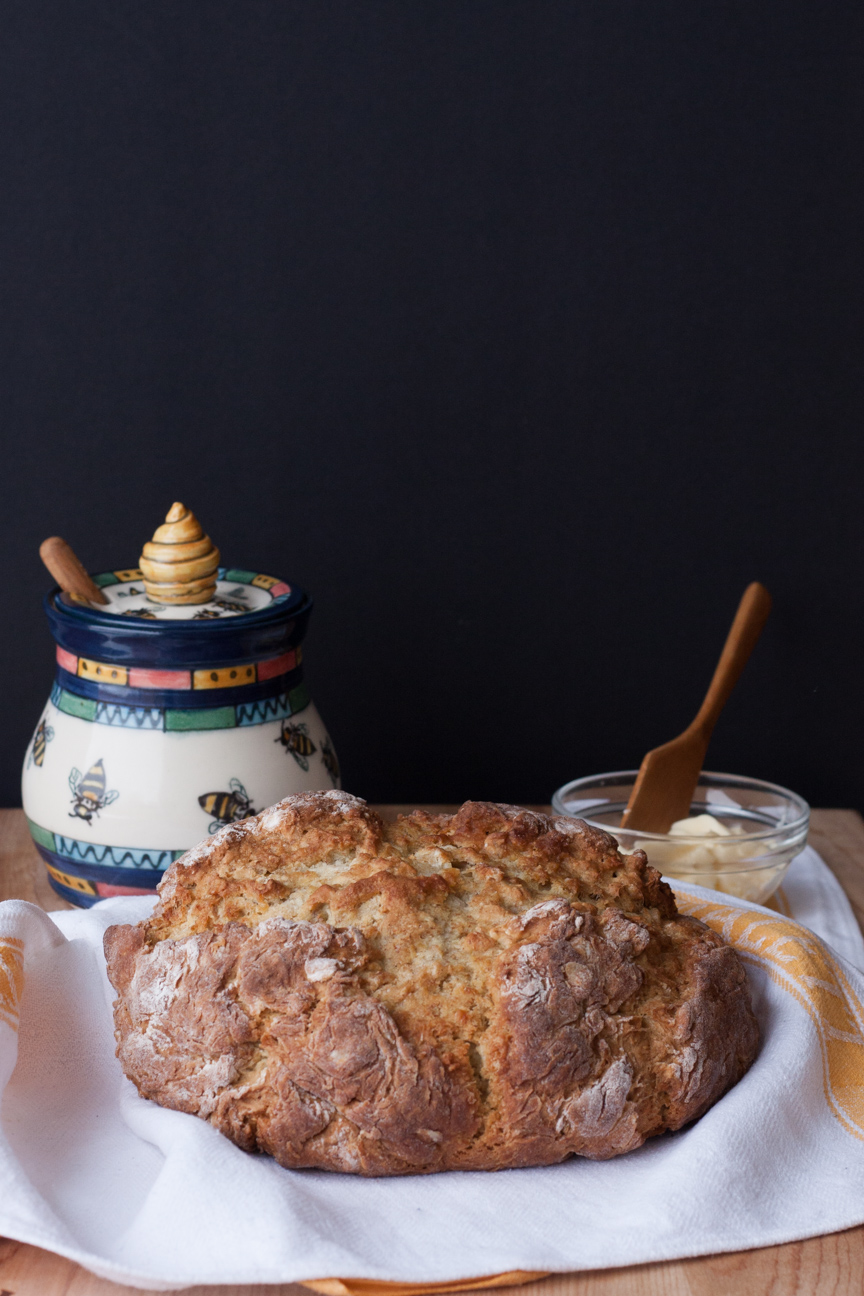
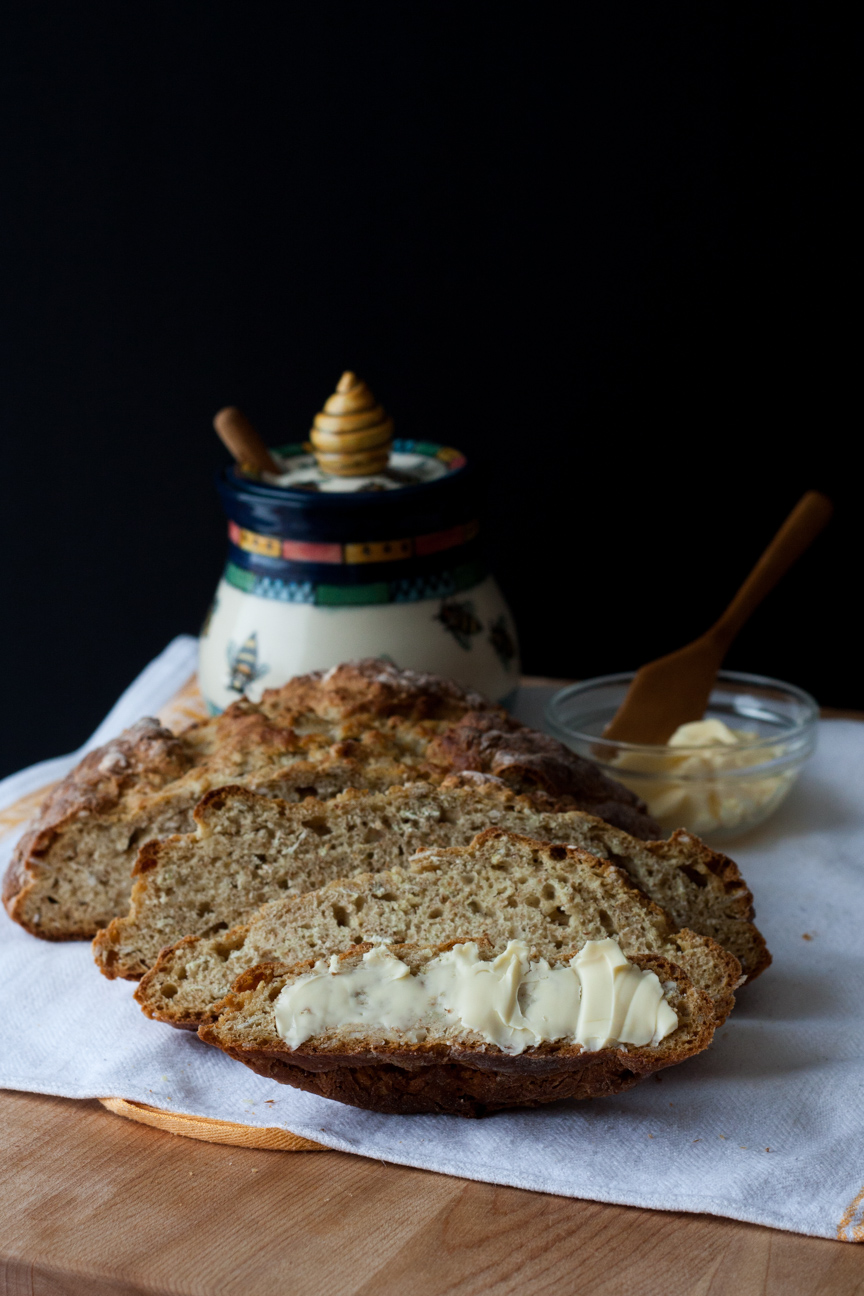
soda bread with honey pot and butter

Cutting an X or cross across the top of the bread allows the center of the loaf to cook properly as it’s such a thick loaf and rises and bakes ratherly quickly.

I love the dense earthy aroma of the wheat and oats and the smooth and tangy flavour of the buttermilk. Since soda bread is made from very basic ingredients: flour, baking soda, soured milk (or buttermilk) it’s easy to whip up on the spur of the moment. In this recipe I’ve added butter, but some recipes leave that out. You can also add raisins or caraway seed, but traditionally, it is just those three basic ingredients.

Originally, soda bread was made regularly in Irish farming households.  Unlike families in England, who would buy their bread from local bakeries, many Irish families lived in isolated farmhouses, far from any shops, so everyone had to do their own baking.  The introduction of baking soda around 1840 provided poor Irish families with a means to make delicious bread as often as they wanted and for a very low cost.  Homes in Ireland did not have ovens, only open hearths. So the bread was cooked on griddles over aromatic turf fires. The bread would be tender and dense with a nice thick crust and was eaten every night for dinner.

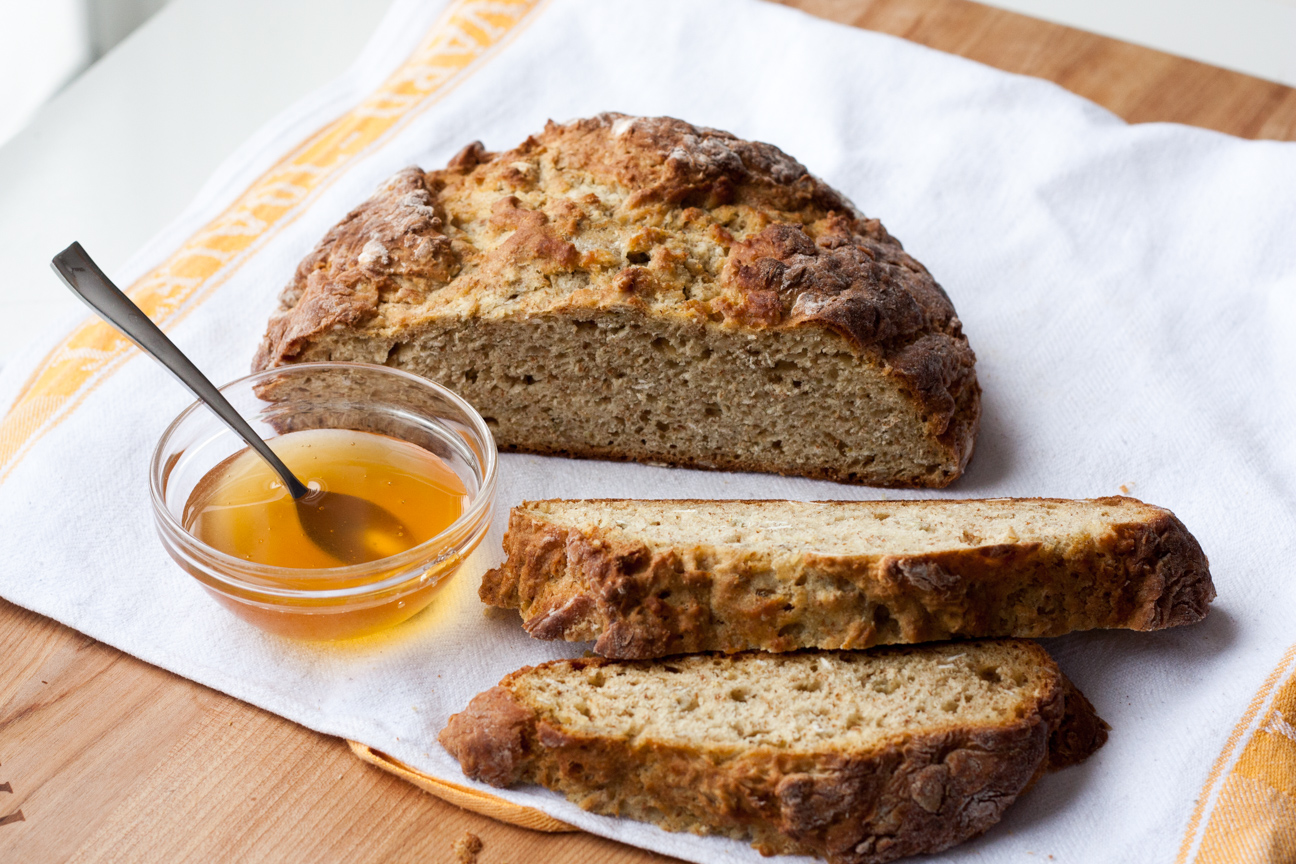
soda bread with honey

Soda bread is made all over Ireland but each region makes it differently.  In the north, it is flattened into a disk,  cut into 4 equal sized wedges and then cooked on a griddle. These are also called Soda Farls. The word, farl, comes from the scottish word, fardell, meaning  a fourth. In the south, it is shaped into a thick round disk and the top is scored deeply with a large X or a cross.

Here are some Soda Bread Secrets as recommended by Colman Andrews in The Country Cooking of Ireland.

  • Use irish flour if possible as it’s a soft flour. if you don’t have access to any, (like me), use pastry flour that is stone ground, organic and fresh.
  • Sift your flour, or atleast make sure there are not any lumps.
  • Use cold buttermilk, not warm as you would with yeasted breads. Warm milk will activate the baking soda too early and prevent it from rising in the oven.
  • Use a very light kneading if you must – but not kneading at all is the best.
  • It is better to overbake your Irish Soda Bread than underbake it. Just don’t burn your bread!
  • Soda bread is best eaten within 24 hours or so.

Happy St. Patrick’s Day!


soda bread with honey pot and butter

Irish Soda Bread with Oats

Serves: 8
Cooking Time: 30 minutes

Ingredients

  • 1 1/4 cups unbleached white pastry flour
  • 1 1/4 cups unbleached whole wheat pastry flour
  • 1/2 cup whole oats
  • 1 1/2 tsp baking soda
  • 1 tsp salt
  • 1/2 stick cold butter, cut into small cubes
  • 1 1/3 cup buttermilk, cold and cut into small cubes

Instructions

1

Preheat oven to 425 degrees F.

2

Mix together all of the dry ingredients. Stir to combine thoroughly.

3

Add the butter and cut it into the dry ingredients with a pastry cutter. You can also use your hands to quickly mix the butter into the flour, until the butter is pea sized and coated with flour.

4

Add the cold buttermilk. Mix quickly.

5

Sprinkle your table with some flour. Place the soft sticky dough on the flour and quickly shape into a loaf about 6 inches across.

6

Cut an X on the surface of the dough. No more than 1/2 an inch.

7

Bake on parchment paper on a baking tray for 20-25 minutes.

8

Let cool slightly on a baking rack.

adapted slightly from The Gourmet Cookbook


Baking

Oatmeal Molasses Brown Bread Recipe

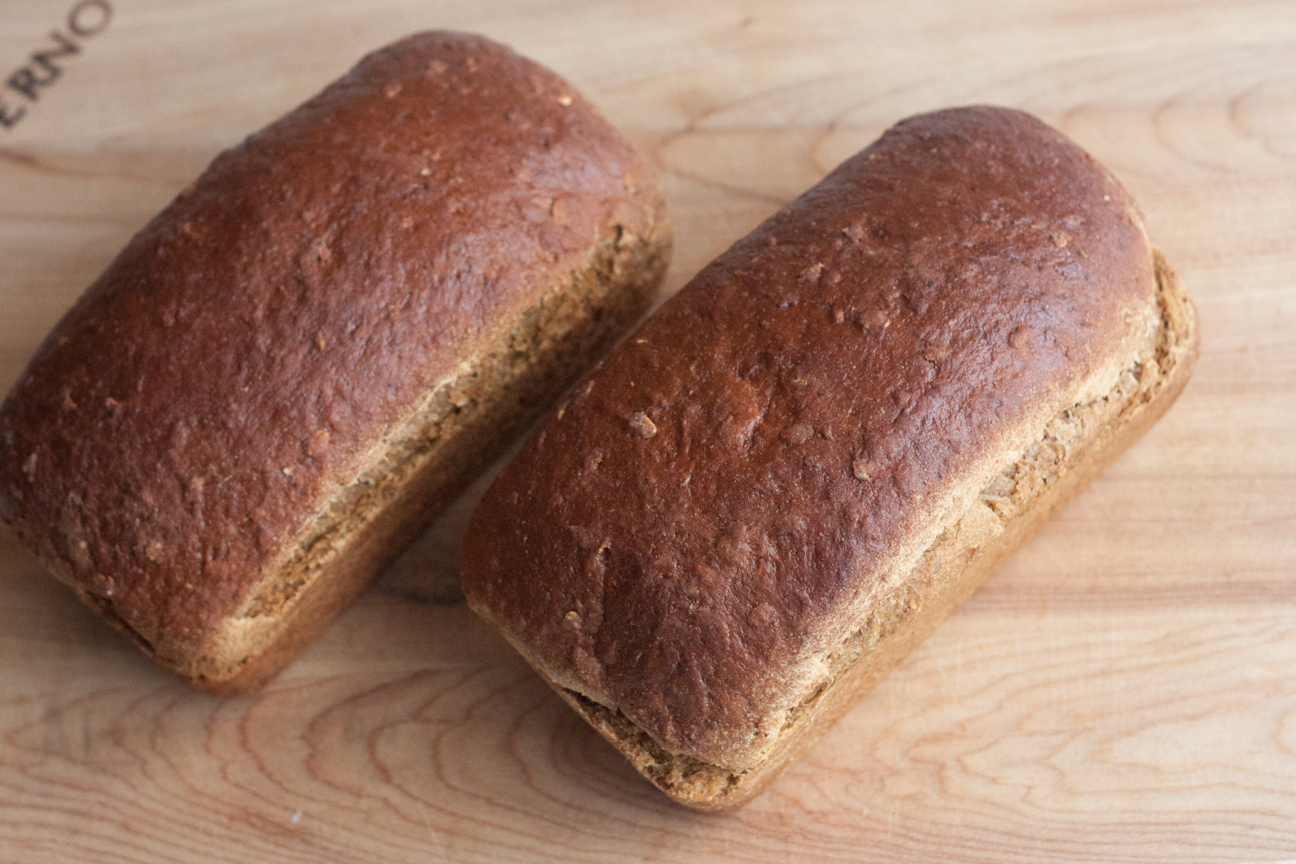
two loaves of oatmeal brown bread

This recipe for Oatmeal Molasses Bread is from my friend, Angie, from New Brunswick. She made this delicious bread for a Christmas get-together years ago when we both lived in Halifax, Nova Scotia. She lived in a lovely flat on the second and third floor of an old house near downtown Halifax with her husband and four children.

On that particular day, food, of course, was the theme of the party. Small tables overflowing with homemade cookies, cheese and crackers, and veggies and dip were scattered throughout the flat, so that you didn’t have to walk more than a few feet to grab something to nibble. And in the dining room was a huge oak table absolutely covered with plates, bowls and platters of traditional Christmas fare.

There was one table that really won me over. It was a small wooden table, at the top of the stairs by a window, with a cutting board, a bread knife, a bowl of butter and this lovely Oatmeal Molasses Brown Bread laid out on top, all ready for slicing.  It was so good. I don’t meet too many people that make homemade bread. Angie was a medical intern and mom to four young children, so I thought hosting a Christmas party was enough work. I was deeply impressed that she would also go the extra mile to make sure there was homemade bread at this event. I’m so glad she did!

This bread is very popular on the East Coast. As I’m from Toronto, it was very different to what I was used to: a sweeter, richer, earthier bread. I was super excited to sample some local cuisine – and even better that it was homemade. The sweet molasses flavour pairs well with cold creamy butter. I phoned Angie up a few days later and she gave me the recipe over the phone. This recipe was her grandmother’s and was the only bread she ever made. I can see why.


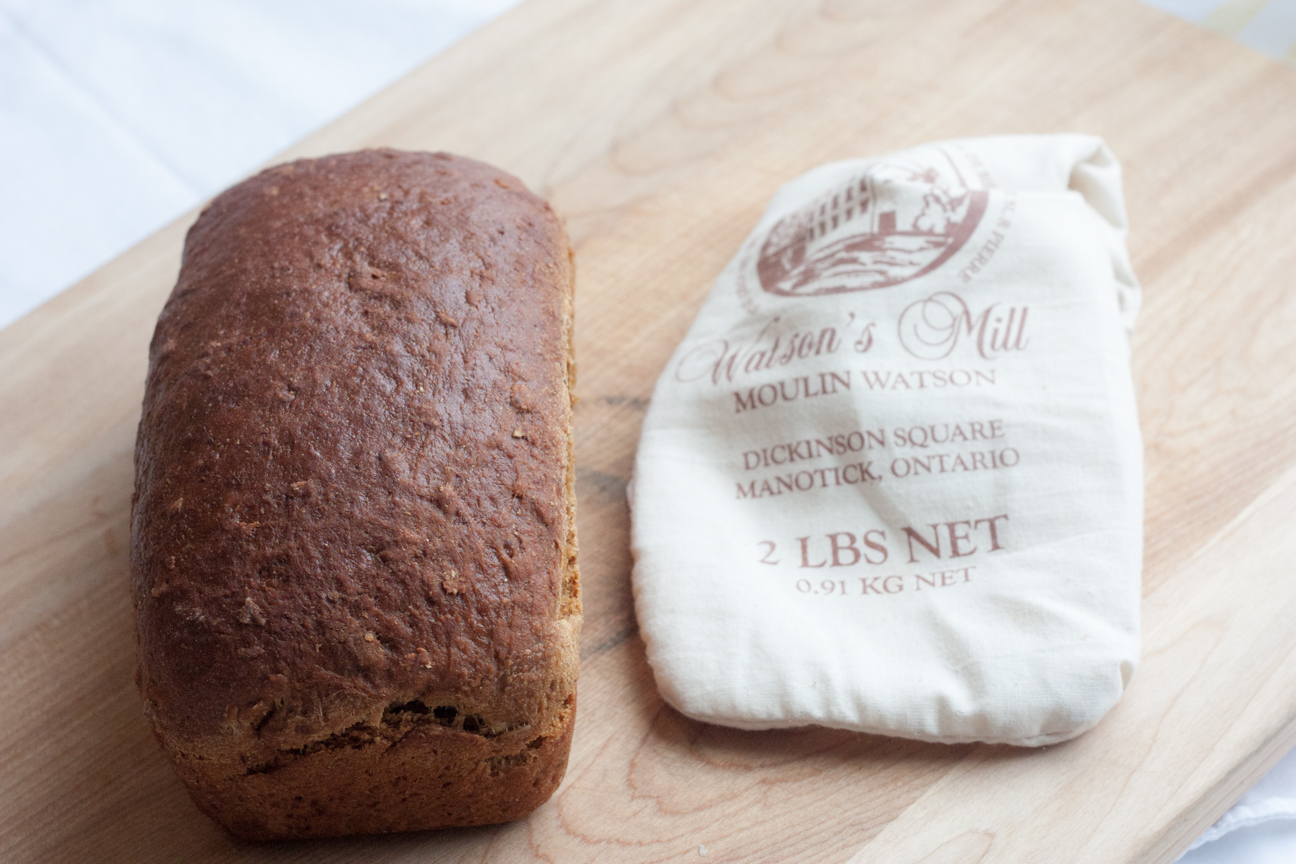
one loaf of bread with flour bag

I made this bread with some locally ground flour from Watson’s Mill that I bought at the Manotick Farmer’s Market and boy was it good.

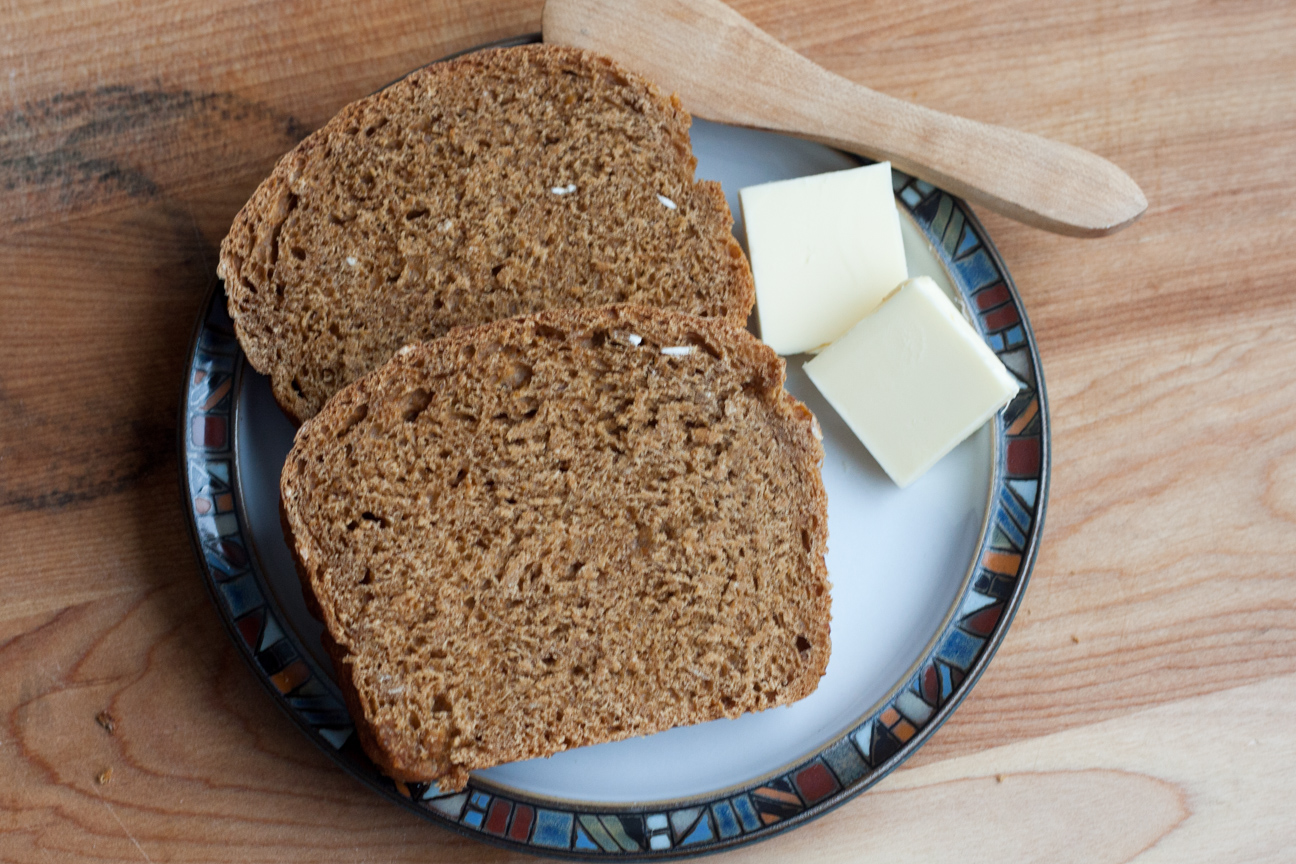
two slices of bread on plate with butter

This bread smells amazing when it is baking: the aroma of whole wheat flour, oats, molasses and butter is so delicious you will want to eat it right out of the pan. But, let this bread cool awhile before slicing, as it’s so dense.

This bread is a dense and moist brown bread sweetened with molasses. The whole oats add some texture to each slice. The combination of molasses and oats is so perfect!

What I also love about this bread is that it’s so easy to whip up on a wintry afternoon. The taste is sublime spread with butter and served with cubes of cheese. It is also an amazing accompaniment to soup.


Oatmeal Molasses Brown Bread

Serves: 2 loaves
Cooking Time: 1 hour

Ingredients

  • 7 grams or 2 1/4 tsp of yeast (or one packet)
  • 1/2 cup warm water
  • 1/2 tsp sugar
  • 2 T butter
  • 1 cup molasses
  • 1 1/2 tsp salt
  • 2 cups boiling water
  • 2 cups oats
  • approximately 3.5 cups of white flour and 2.5 cups of whole wheat flour.

Instructions

1

Sprinkle the yeast over the warm water with 1/2 tsp of sugar.

2

Pour boiling water over the oatmeal and add the molasses and the butter.

3

Mix together the flours and salt.

4

When oatmeal and boiled water has cooled to a tepid temperature, add yeast mixture and stir together.

5

Stir in flour until a smooth, thick dough is formed. Knead the dough on a table sprinkled with flour until smooth and elastic. Only put a tiny amount of flour on the table, otherwise the bread will be too dry.

6

Place the dough in a lightly oiled bowl. Cover with a tea towel. Let the dough rise in a warm place until doubled, about 1.5 to 2 hours.

7

Punch down and knead for a few seconds to form an oblong shape. Cut the dough in half lengthwise. Place each half into a greased bread pan with the smooth side up. Cover the pans with a clean tea towel.

8

Let the dough proof in pans for about 1 hour until the dough as risen to the top of the pan.

9

Preheat oven to 350 degrees Fahrenheit. Bake in oven for 1 hour, until golden brown and the bottom of the loaf sounds hollow when tapped.

10

Let the bread cool before slicing.


orange gerber flowerThanks Angie! We’ll always remember the fun times we had with you and your family!

Baking

Alevropita Feta Tart Recipe

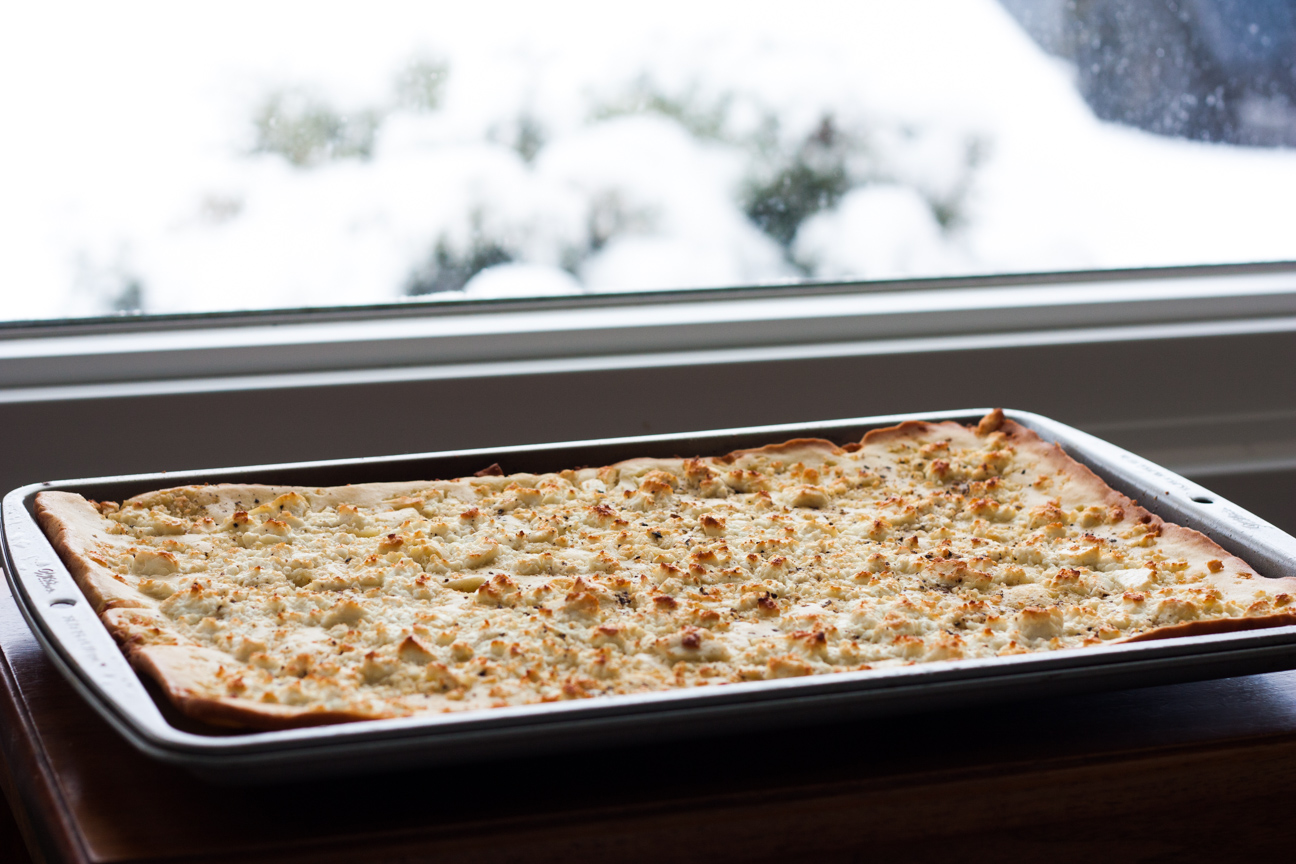
Alevropita in tray

Greek food is one of my favourite cuisines. I was lucky enough to visit Greece many years ago. Of course, it’s the food that I remember particularly well: sitting in outdoor cafes sipping espresso coffee in the tiniest cups, nibbling on appetizers of anise scented greek bread, dipped in the best olive oil I had ever tasted alongside small bowls of the blackest olives and the most creamy tangy feta cheese with a big glass of red wine. Pure heaven.

When I’m feeling nostalgic for the time we spent in Greece, I like to prepare a Greek dish at home, like a simple greek salad or this Alevropita feta tart.
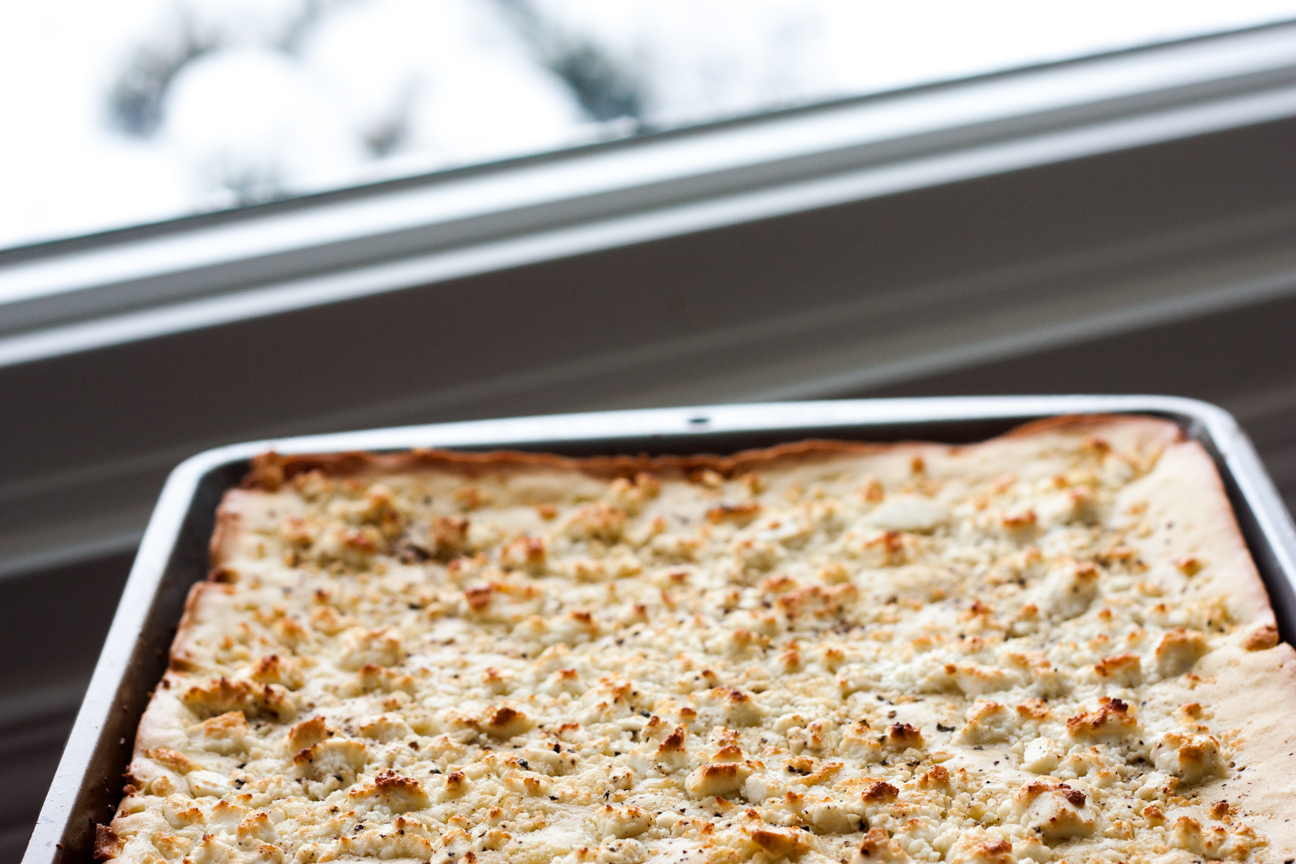
Alevropita close-up

To make this dish really shine, try to buy the best feta that you can. I don’t know about you, but in my grocery store there is a wide variety of different feta cheeses to choose from.  And I’m never sure which one to buy. As I was writing this post, I thought I would do a bit of feta cheese research and let everyone know a bit about this amazing cheese..

There are many different types of feta available in grocery and specialty cheese shops. I’ll start with Greek feta, as that’s where it all began.

Greek feta was actually granted Protected Designation of Origin (PDO) by the EU in 2005. So, the only place in the world to buy true genuine Greek feta cheese is Greece.

In 2005, the EU’s highest court set very strict specifications for making and selling feta cheese. Genuine Greek feta cheese can only be made in the regions of Macedonia, Thrace, Epirus, Thessalia, Mainland Greece, the Peloponnese peninsula and the Island of Lesvos. Feta cheese is made with sheep and goat’s milk and where the animals graze affects the taste of their milk. This in turn affects the flavour profile of the cheese. If feta is made from sheep and goats that graze in a different geographical region, the flavour of the milk would be different and so would the cheese.

True feta can be made with either 100% sheep’s milk or as much as 30% goat’s milk, but not higher.  Also, the average composition must be 52.9% moisture, 26.2% fat, 16.7 % proteins, 2.9% salt and 4.4% pH.

You can still buy feta cheese in the EU, outside of Greece, but any other country in the EU must label it feta-style chesese, or some such label. Outside of Greece there are no specifications for this cheese which can be produced using whatever percentage of sheep, goat or even cow’s milk that they prefer.

Greek feta is salty and tangy with a bit of a lemony flavour. It can be dry and crumbly or rich and creamy depending on how much goat’s milk is in it. The more goat’s milk, the more crumbly it is. It is made using the slower traditional method, not the ultrafiltration method which is used in Denmark. Not very much Greek Feta is exported, there just isn’t enough of it to go around.

Even though the origins of feta cheese began in Greece, you can still buy some wonderful tasting feta cheeses that are made around the globe. Here are a few.

Bulgarian Feta: This is made with sheep’s milk and a yogurt culture. It has a very tangy flavour.

Israeli Feta: This is a full-flavoured, creamy and not overly salty feta. It is usually made from sheep’s milk.

French Feta: This is often made with sheep’s milk. It is mild and creamy. Some feta in France is made with goat’s milk and is usually drier and more tangy.

Danish Feta: This is made from cow’s milk. It has a milder flavour and a creamier texture compared to other feta cheeses. It is made using the ultrafiltration method. This method is used to speed up cheese making. It produces a cheese that is smooth, creamy and closed (no openings between the curds).

Australian Feta: This is usually made from cow’s milk. The texture and flavour can vary. It usually tastes in between salty greek feta and a creamy feta.

American Feta: This is made from sheep, goat or even cow’s milk. It is usually tangy and crumbly.

If you can’t find greek feta cheese in your shop, but want to get one that is as close to genuine feta as possible, the following are some tips for finding a good feta.


Tips on Choosing Feta Cheese

Ingredients: Feta should be made with only sheep’s milk or with some goat’s milk, rennet and salt. Never cow’s milk.

Tasting: If you buy your feta from a cheese shop ask the sales clerk if you can taste some feta. Feta should taste tangy and salty and have a lovely rich aroma. It should not taste sour, bitter or have no taste at all. These are signs that it is old. Feta comes in 3 different textures; hard, medium-hard and soft. Choose the one you like best.

Colour: Feta should be white. If it is a bit yellowish, then it’s been out of the brine for too long and has dried out a bit and become sour.

Holes: Feta cheese should have a few small holes on the surface. This shows that the feta was made in the traditional way with slow even turning and draining.

If feta is too salty for you, rinse it with plain water and then soak a piece of feta in some milk for 1-3 hours, or overnight. Then drain and store in plain water.

Nutritionally, feta cheese is lower in fat and calories than cheddar or parmesan. However it is high in sodium. If you are on a sodium restricted diet, feta cheese probably isn’t a good choice for you. Feta has twice the amount of sodium than cheddar cheese. An ounce of feta has 300 mg of sodium vs 170 mg in cheddar. It also has 75 calories, 1 gram carbohydrates, 4 grams protein, 6 grams of fat (4.2 grams of saturated fat).

Ok, now that you know a few things about feta cheese, you’ll be ready to make this delicious feta tart. Make sure you use really good tasting feta, as that’s the primary flavour in this tart. The other strong feature of this tart is the crispy crust. Make sure that you preheat your oven with the baking pan inside, so that the pan gets really hot. This is what makes the tart crisp.

Make sure you have your oven mitts nearby for taking the empty pan out of the oven and be very careful not to touch the pan with your bare hands. It’s hot!!!

This recipe for Alevropita Feta Tart is very quick to make as the base is made from a batter so there is no rising involved. Yay! The feta cheese will not melt and spread, but will brown nicely in the oven. The salty tangy feta cheese paired with the eggy crispy crust is such a delicious combination. This tart will soon become a family favourite.
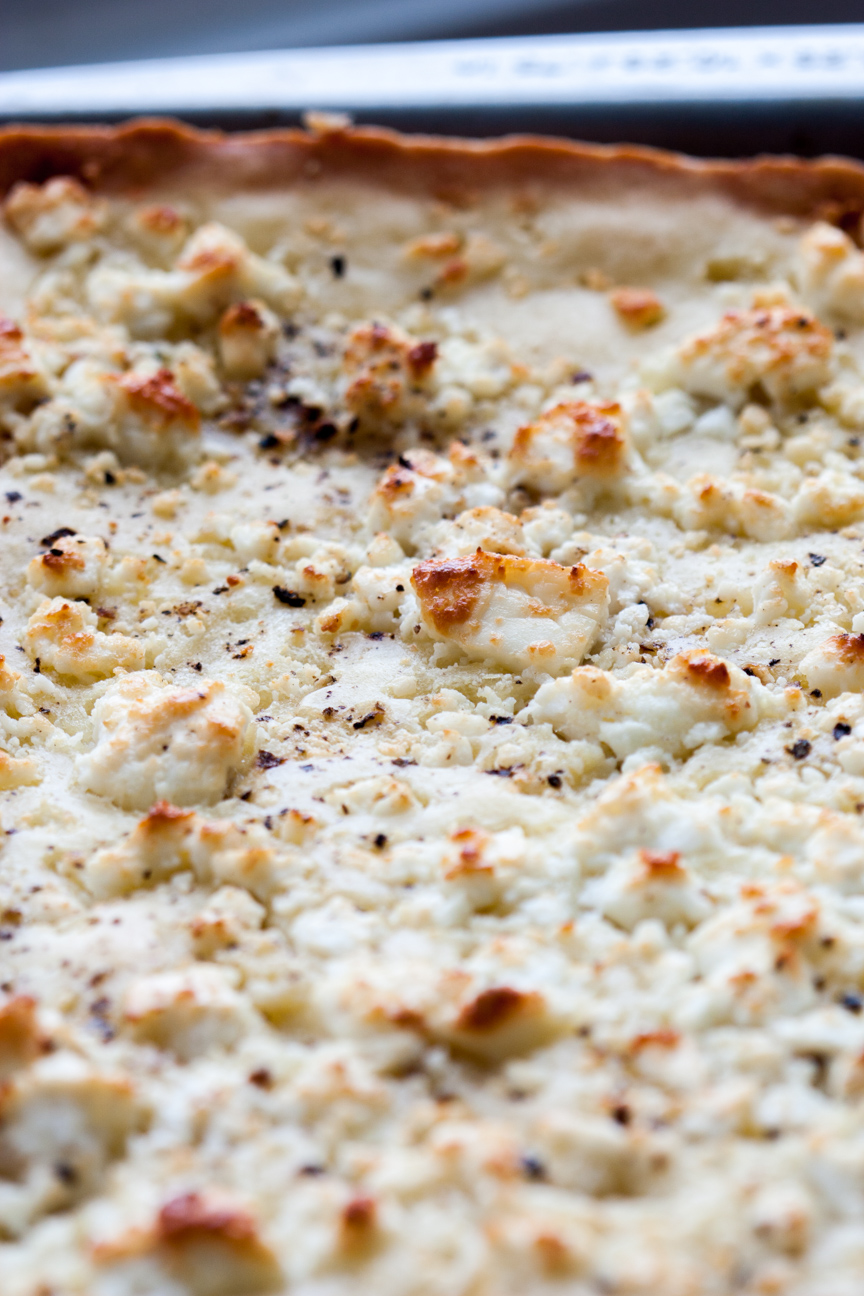


alevropita close-up


And the crust gets nicely browned and crispy.
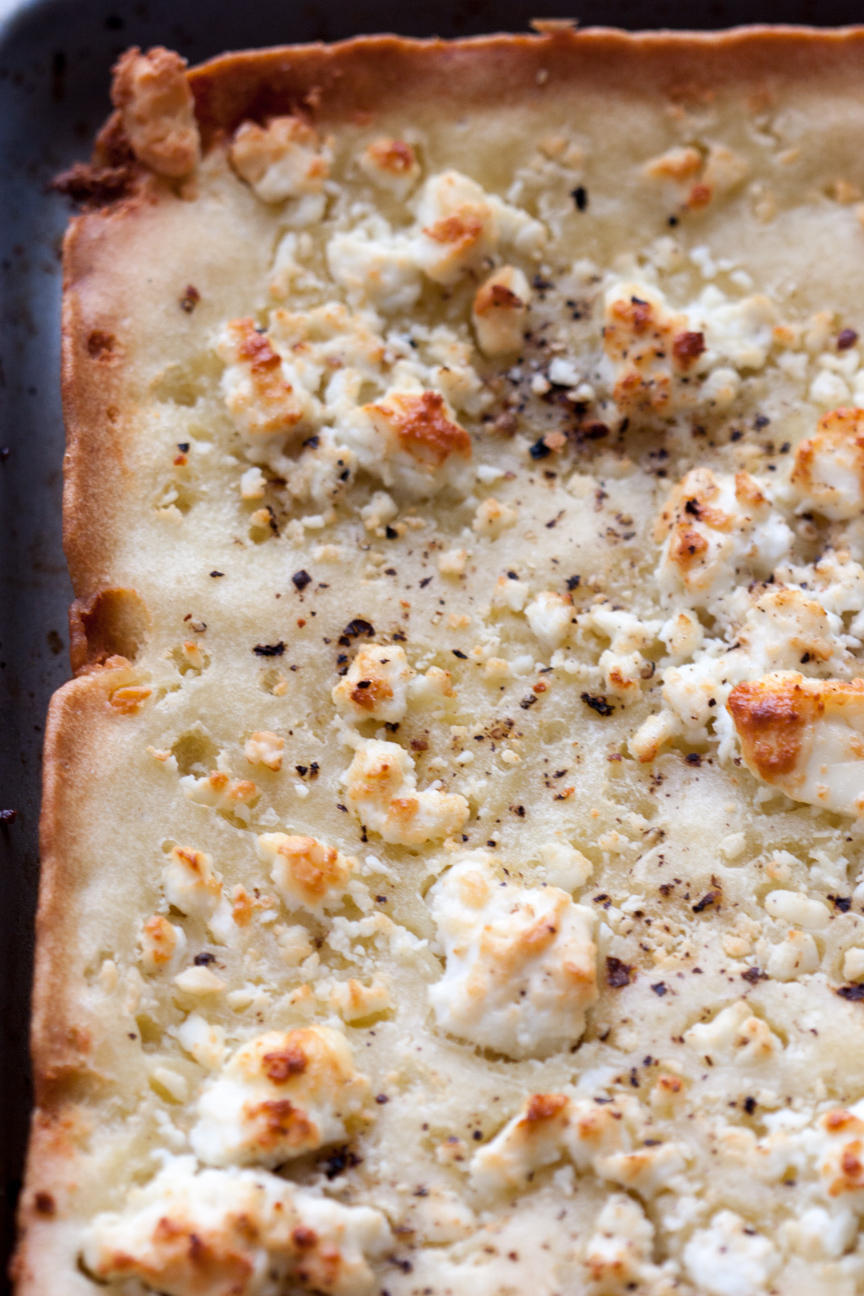
Alevropita close-up


It is delicious with soup, or greek salad, or even with a pasta dish.
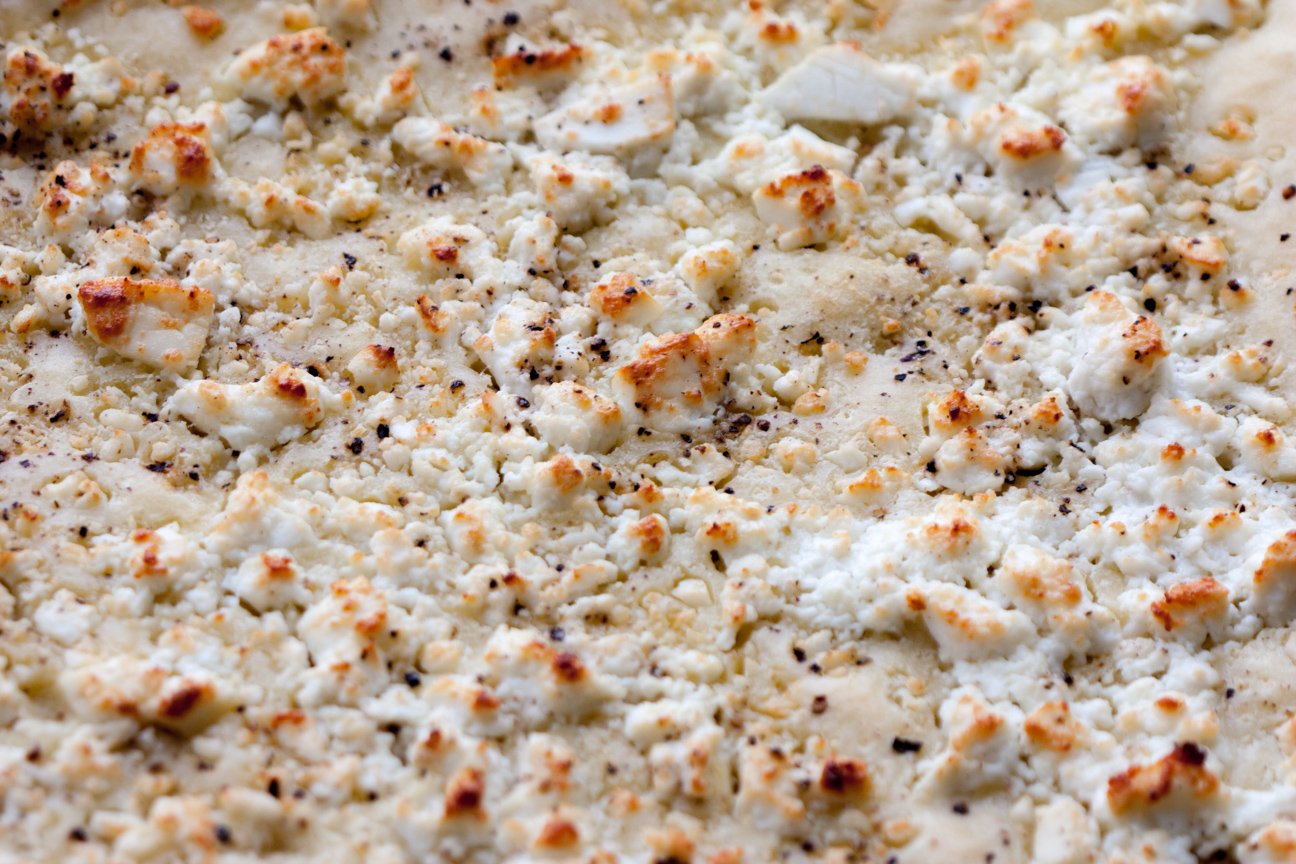
Alevropita close-up

Here are some fun links for additional information about feta cheese and greek culture:

How traditional feta cheese is made

How to make homemade feta

If you are interested in learning more about Greek culture, check out one of these Greek Festivals.

Greek Festival in Vancouver

Greek Festival in Toronto

Greek Festival in Ottawa

Greek Festival in Montreal

Greek Festival in Halifax

Alevropita Feta Tart

Serves: 12-16
Cooking Time: 20

Ingredients

  • 6 tablespoons extra-virgin olive oil
  • 2 tsp rum
  • 2 eggs
  • 1 1/4 cups flour, sifted
  • 1/4 tsp kosher salt
  • 1/8 tsp baking powder
  • 10 ounces feta, crumbled
  • 2 tbsp unsalted butter, softened, cut into very small cubes
  • freshly ground pepper

Instructions

1

Preheat oven to 500 °. Place an 18" X 13" X 1" rimmed baking pan in the oven for about 10 minutes to heat up.

2

Whisk 2 tablespoons olive oil, rum, eggs and 1 cup water in a medium size bowl.

3

In another bowl, whisk together the dry ingredients: flour, salt, baking powder.

4

Add the wet ingredients to the dry ingredients and whisk until a smooth batter is formed.

5

With oven mitts, remove the baking pan from the oven. Brush the 4 tablespoons of olive oil over the hot pan with a silicone brush.

6

Pour the batter over the pan and smooth out evenly with a spatula.

7

Sprinkle the feta cheese evenly over the batter.

8

Sprinkle the top evenly with the small cubes of butter.

9

Grind some pepper over the top. Use as much or as little as you like.

10

Bake the tart for 20 minutes, rotating after about 10 minutes.

11

It is done when the cheese and the crust is golden brown and the edges look crunchy.

12

Cool slightly before slicing and serving. Best served immediately.

Adapted slightly from Saveur’s Epiran Feta Tart
Baking

Mocha Chocolate Chip Oat Cookies Recipe

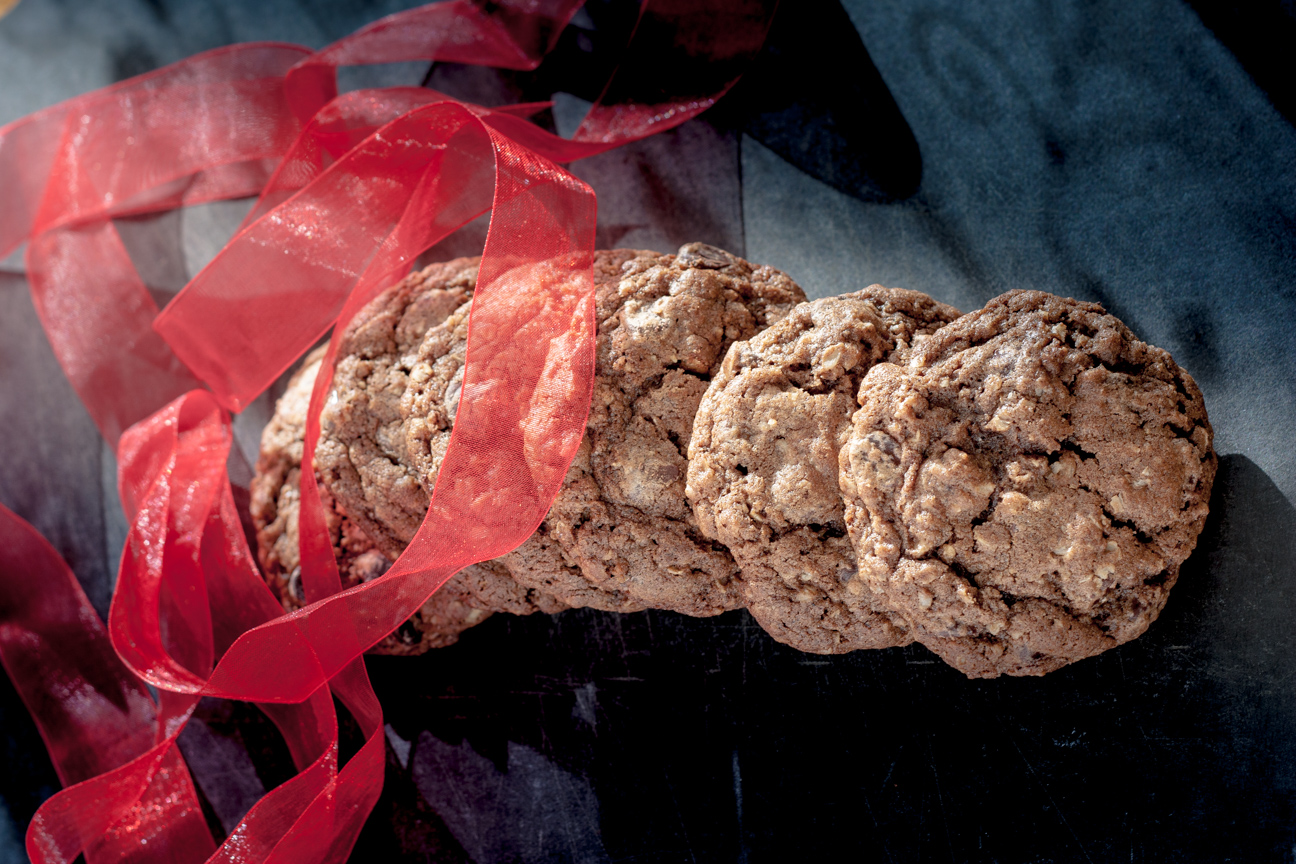
mocha-chocolate-chip-cookies-with-red-ribbon

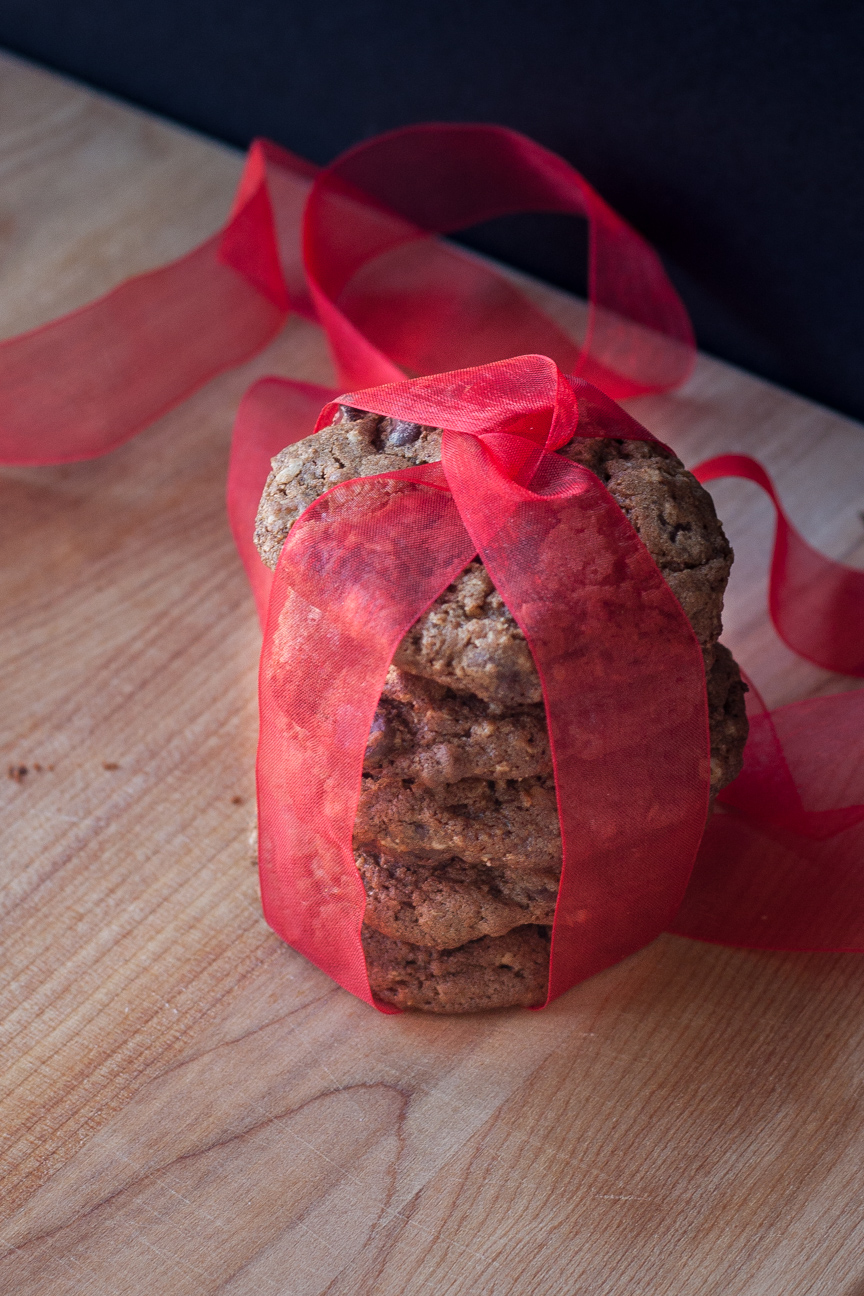
With Valentine’s Day just around the corner, I thought I would post this fantastic recipe for Mocha Chocolate Chip Oat Cookies. They are super chocolate-y and the espresso powder gives them a great oomph of flavour. And what could be a better gift for someone than a bunch of cookies all bundled up in red ribbon. These Valentine Day Mocha Chocolate Chip Oat Cookies would be a nice surprise in your partner’s lunch box, a sensational gift for your son or daughter’s teacher, or put some out on the table after dinner at home. Sweet Sensation!

I really love cookies. I love them for many different reasons: the endless flavours and varieties, they’re quick to make, they’re not very big but hit the spot without breaking the calorie bank and they are ubiquitous. Every culture makes cookies.

When I was little, my mom only made three types of cookies: sugar cookies, peanut butter cookies with raisins and oatmeal cookies that came from a package (all you had to do was add water and an egg). She never used a timer and always set the oven at 350 ° F. And, unlike my Mum’s Date and Oat Squares, my mom couldn’t finish a chapter of her book in the time it took to bake some cookies. So, we had our fair share of burnt cookies.

There are far too many varieties of cookies out there these days, for me to only make three types of cookies. So, my family is lucky in that way. I love trying new recipes. I made these Mocha Chocolate Chip Oat Cookies recently and they were a hit with everyone. They didn’t last long.

It doesn’t take very long to put together a batch of cookies, but, in order to do it properly, you do need to follow a few basic techniques.

  • make sure all of your cookies are the same size (I weigh mine. And most of the cookies that I make weigh between 30-35 grams)
  • use a timer (a kitchen timer, your microwave, your stove or your iphone)
  • cookies are done when they are dry on top and just a hint of golden brown on the bottom (to check if they are ready to come out of the oven, flip one over onto your oven-mitted hand and see if it has turned golden)
  • after you take the cookies out of the oven, place the cookie tray on rack for 1-5 minutes. The cookies will continue to cook. After that time (the recipe usually states how long to cool on the tray) place them directly on a rack to cool. They will firm up quite a bit.
  • almost all cookie doughs freeze very well (before they are baked).
  • I quite often will make some cookie dough, shape it into a flat disc, and freeze until I’m ready to bake the cookies. Let the dough thaw overnight in the fridge and then the next day, form into cookies and bake as usual.
  • You can also shape the cookie dough into cookies and freeze on a flat tray until hard, and then place in a ziplock bag. Bake the cookies from frozen (add 1-2 minutes to baking time).


stack of mocha-chocolate-chip-oat-cookies

Mocha Chocolate Chip Oat Cookies

Serves: 36-40
Cooking Time: 9-10

Ingredients

  • 1 cup butter
  • 1 cup brown sugar
  • 1/2 cup granulated sugar
  • 2 eggs
  • 1 3/4 cup flour
  • 1/4 cup cocoa
  • 1 1/4 cups quick oats
  • 1/2 tbsp instant espresso powder
  • 1 tbsp vanilla
  • 1 tsp baking soda
  • 1 tsp baking powder
  • 2 cups chocolate chips (dark or semi-sweet)

Instructions

1

Beat softened butter with sugars until light and fluffy.

2

Add eggs one at a time.

3

Dissolve espresso powder in the vanilla. Add to the egg/sugar mixture.

4

In a separate bowl, mix the dry ingredients: flour, cocoa, oats, baking powder and baking soda.

5

Add dry ingredients to wet ingredients. Mix gently until combined.

6

Stir in chocolate chips

7

Weigh out approximately 35 grams of cookie dough. Roll it into a ball and place on a parchment lined baking sheet about 2 inches apart.

8

Baking in 375 ° oven for 9-10 minutes until dry on top and slightly golden underneath.

9

Remove from oven, place on wire rack for 1 minute. Remove cookies from tray and place directly on rack to cool.

10

Makes about 36-40 cookies.

Baking

Chocolate Ginger Hazelnut Torte Recipe

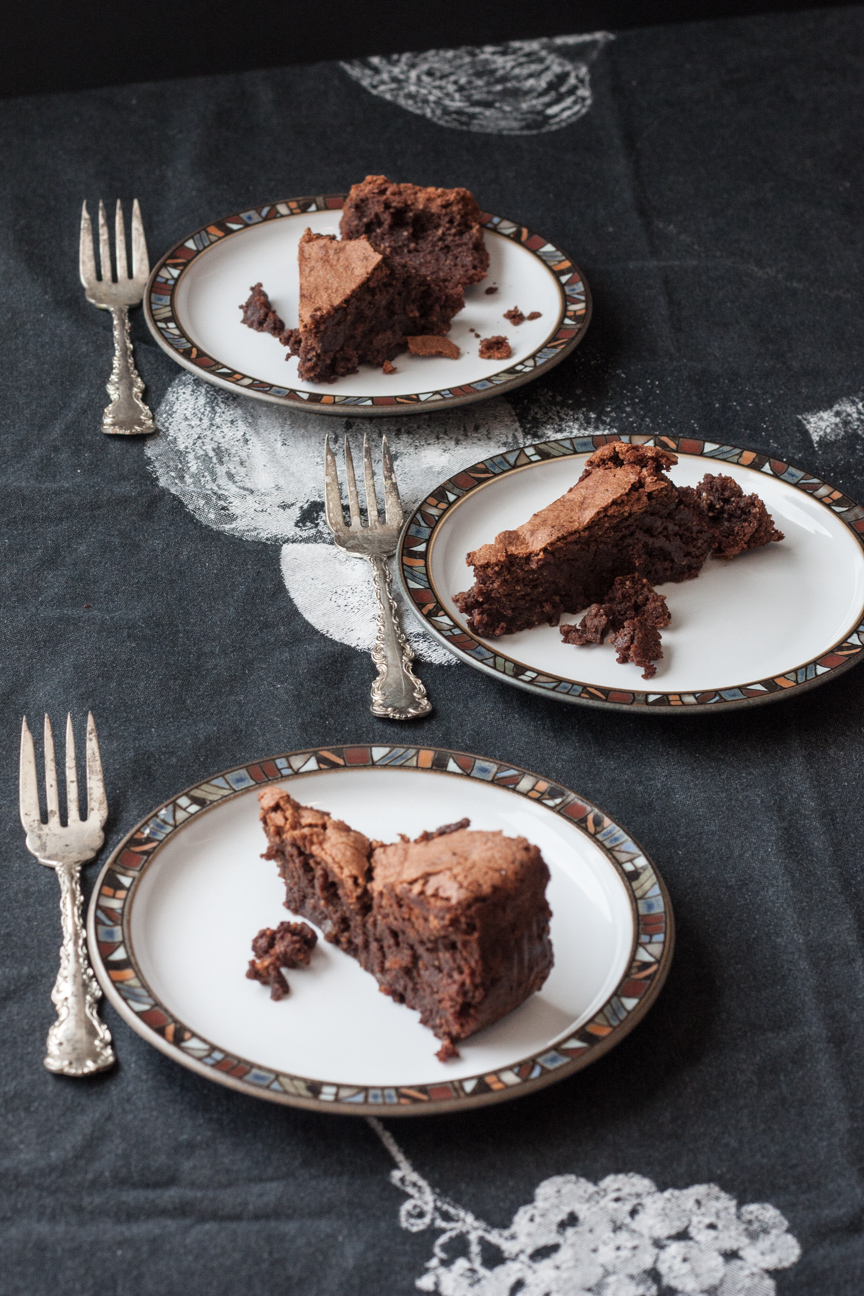
chocolate ginger hazelnut torte on a plate

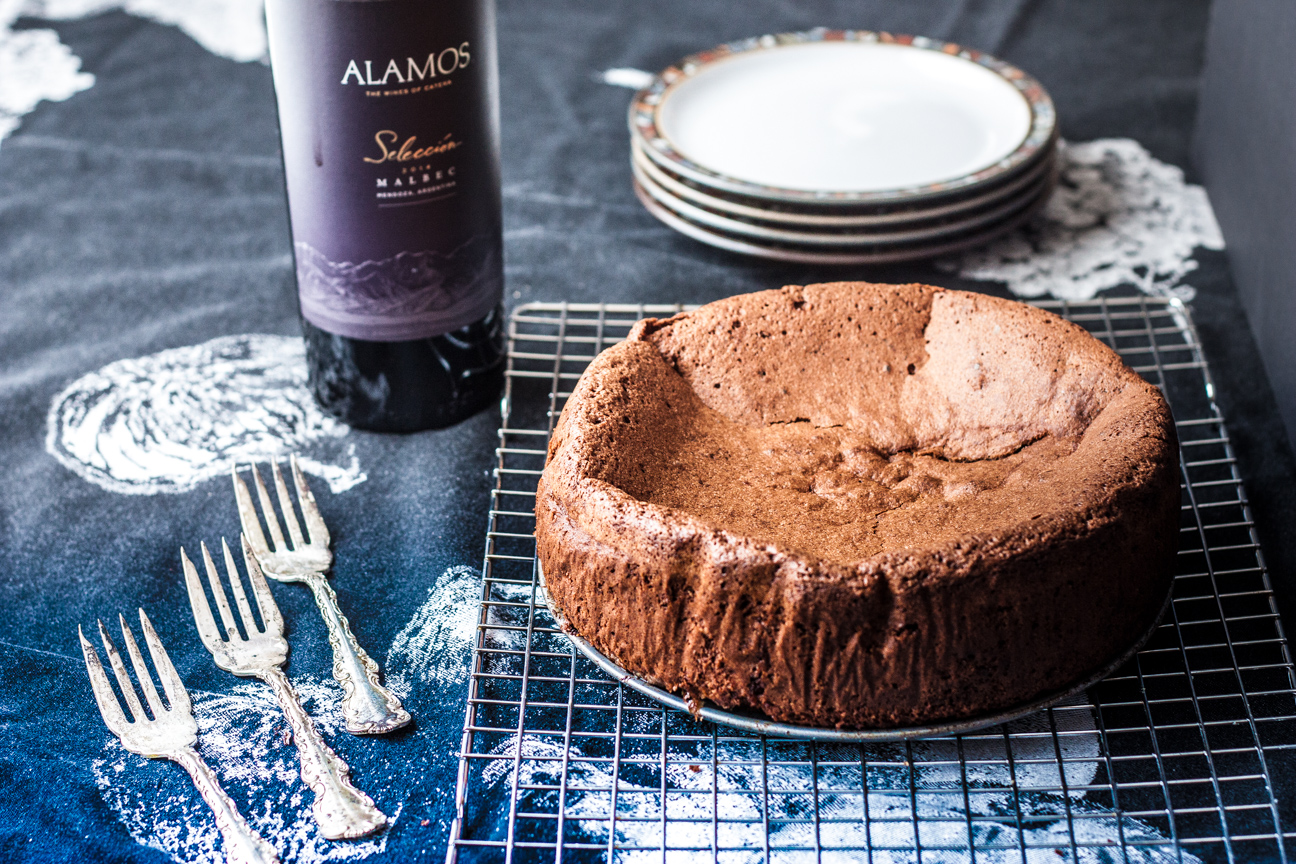
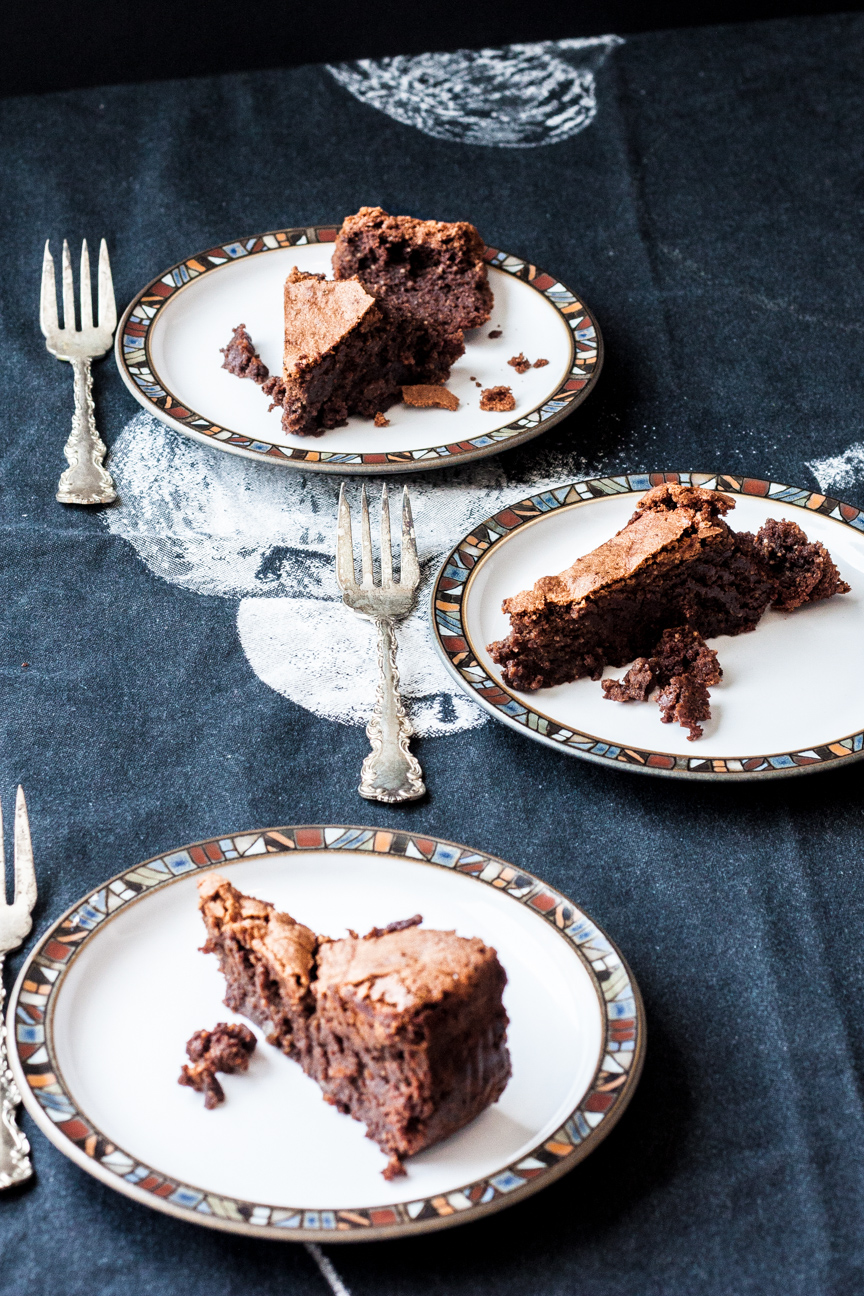
If you have never had a torte before, you must try this one. Made from eggs, ground nuts, sugar, chocolate chips and ginger marmalade, this Chocolate Ginger Hazelnut Torte is a treat! And so simple to make. It rises up beautifully as it bakes and then after you take it out of the oven, it slowly starts to deflate until the centre is quite sunken in. The texture is more like a brownie, than a regular chocolate cake: the torte sort of falls on top of itself and all the layers and flavours pack themselves together beautifully. This torte is delicious served with sweetened whipped cream or ice cream, if you must.

Torte, in german, means cake. But the difference is that tortes use ground nuts instead of flour. I love the combination of flavours in this Chocolate Ginger Hazelnut Torte. If you don’t have any hazelnuts in your pantry, ground almonds would work fine.

I don’t feel that it’s necessary to have dessert every evening as it wouldn’t seem special. And I think desserts should be special. I love the idea of having something to look forward to on the weekend. And a weekend sweet treat is sometimes all I need to brighten up my week. I made this  Chocolate Ginger Hazelnut Torte recently for a weekend dinner just for our family. A little chocolate boost, a mid-winter perk when the days are starting to shorten, but still seem so long and dark. This torte is the perfect end to a cozy comforting meal: whether you wish to try something new or perhaps serve a gluten-free dessert to your dinner guests, this torte will end the evening on a high note.

Let me know how this recipe turns out for you. We all think it’s one of the best flavour combinations around.

whole chocolate, ginger and hazelnut torte with wine bottle

Chocolate Ginger and Hazelnut Torte

Serves: 10-12
Cooking Time: 1 hour

Ingredients

  • 175 grams dark chocolate
  • 175 grams butter
  • 5 eggs, separated
  • 175 grams granulated sugar
  • 150 grams hazelnuts, ground
  • 200 grams ginger marmalade

Instructions

1

Preheat oven to 190 degrees Celsius.

2

Line a 9 inch round springform pan with parchment paper.

3

Melt chocolate and butter together in microwave, in 30 second intervals, stirring inbetween. Add ground hazelnuts and marmalade. Stir and allow to cool.

4

Beat egg yolks and sugar together with mixer until soft yellow and mousse-like consistency.

5

Whip egg whites until stiff peaks are formed.

6

Add egg yolk and sugar mixture to the chocolate/butter/nut and marmalade mixture. Stir until well incorporated.

7

Now add the egg whites, in 3 stages, very carefully. Fold the egg whites in carefully in order not to knock the air out of the batter.

8

Pour the batter into the prepared cake pan.

9

Bake at 190 degrees Celsius for 20 minutes. Then turn the oven down to 170 degrees celsius and continue baking for another 35-40 minutes. The cake is done when a cake tester, inserted into the middle of the cake, comes out clean.

10

When done, remove the cake from the oven and place on a rack. Let cool for about 10 minutes, then remove sides of cake pan and continue to cool. The cake will sink. this is normal.

11

enjoy!

Recipe adapted from Rachel Allen’s cookbook, ‘Bake!‘.

Baking

Mum’s Traditional English Trifle

close-up-of-traditional-english-trifle

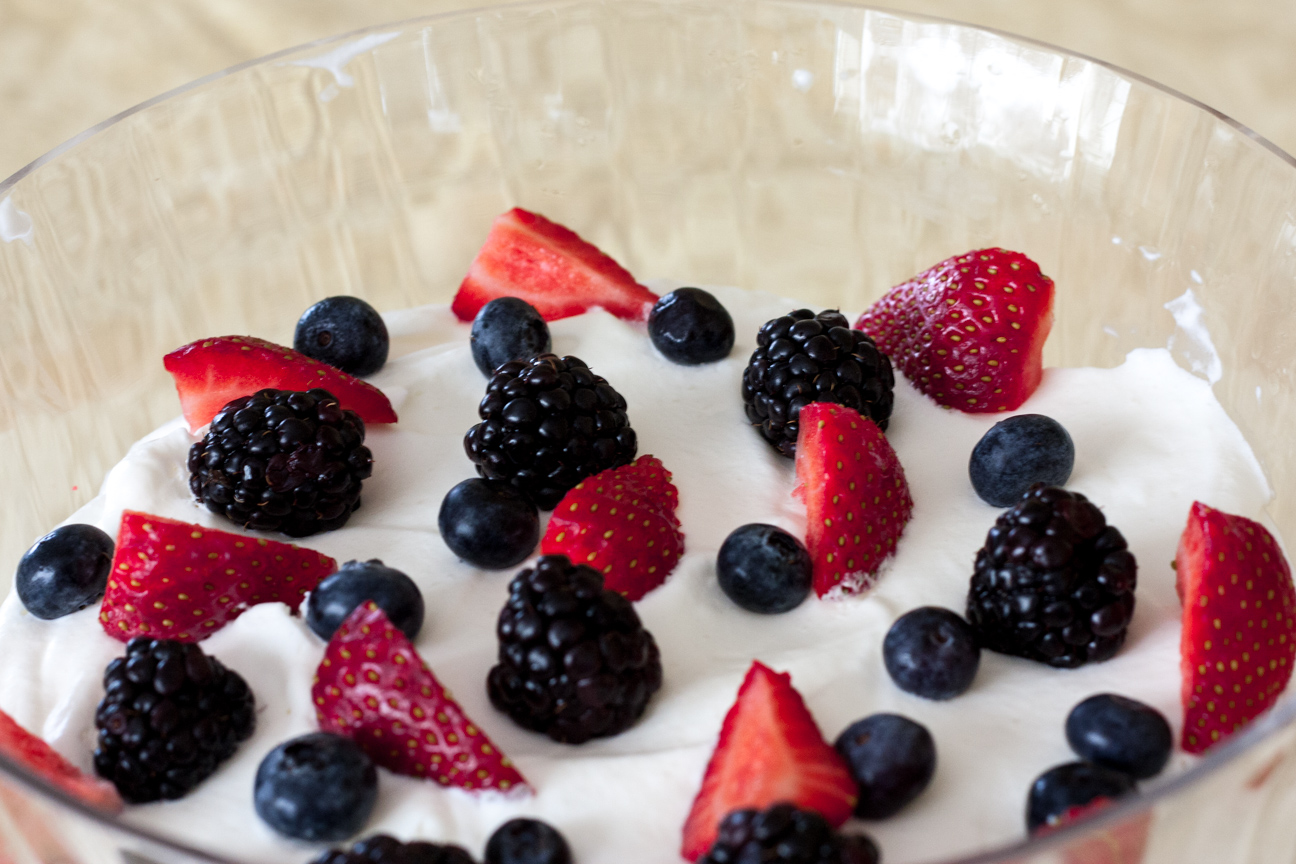
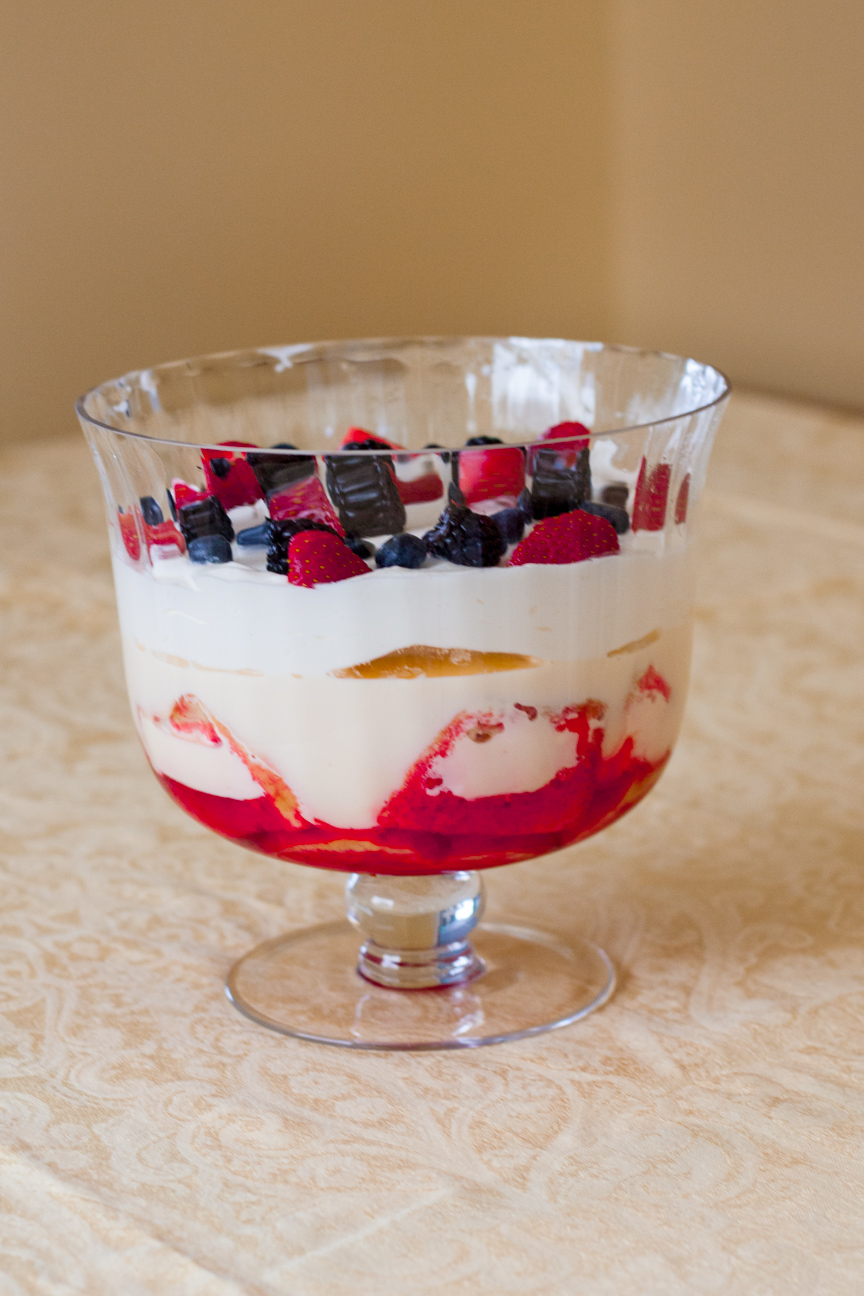
My Mum always made a Traditional English Trifle for New Year’s Day. Every year. I can still recall the big bowl of glistening trifle in my mum’s fridge. The colours of the trifle were illuminating. Sparkling. It was like a prized possession taking up most of the room on the top shelf of the fridge. I’m not even sure my Mum allowed anything else to be beside it in the fridge. It. Was. That. Special. Candied cherries glistened on top of delicious sweet whipped cream. Below the cream were cubes of sherry-spiked pound cake suspended in colourful jello. Rainbow coloured fruit cocktail and golden custard swirled in the centre. I couldn’t wait for New Year’s Day dessert.

As I was making it this year, I was thinking how it seems like an odd winter dessert: cold jello, cold custard and cream and cold fruit cocktail. It seems like it should be more of a traditional summer dessert, like for the Queen’s birthday, or perhaps Canada Day. But I realized that what is special about having this very colourful cold dessert in the middle of winter, is that it’s a little reminder that summer will soon be here. It’s reassuring that these arctic temperatures won’t last forever and before we know it all the birds will be back, the bulbs will pop up and all the colours of spring and summer will surround us once again. People often complain about our long cold winters. I don’t mind the cold so much, but what I really miss are the colours of summer.

The first time I made this trifle was many many years ago, for my friend’s daughter’s 5th birthday. She must have heard her mother talk about my Mum’s trifle and wanted that for her birthday cake. So my friend asked if I could make a Traditional English Trifle for the big party. My Mum helped me of course. I had a lot of fun making the trifle and decorating it. I went out and bought the pound cake, jello, whipping cream and candied cherries , as that’s what my Mum used to decorate the top. I used my Mum’s special glass trifle bowl and worked hard to make it as pretty as could be. As it was close to Christmas I chose a lovely lime jello for the bottom and decorated the top with red candied cherries cut in half. It had a lovely red and green theme.

Well, I suppose I underestimated how some children react to green food, because as this lovely trifle was brought to the table of 10 girls, one of them shouted out, ‘Oooh, it’s green! I’m not eating that.” Well, that was a surprise!! In the end, after we explained it was just green jello with cake and whipped cream, a few of the girls tried some. Luckily there were plenty of adults there and we polished it off very quickly. It was very, very delicious.

It doesn’t need to be New Year’s Day to make a trifle. Though trifle truly makes a lovely winter dessert. Try some and you’ll see why.

traditional-english-trifle

Mum's Traditional English Trifle

Serves: 8-10
Cooking Time: 30 minutes

Ingredients

  • 1 pound cake
  • sherry or your favourite liquer
  • 1 box of jello
  • 3 tablespoons of custard powder
  • sugar
  • milk
  • 500 ml whipping cream
  • fresh fruit, sprinkles or your choice for decorating the top

Instructions

1

Cut the pound cake into one inch cubes. You can sprinkle some sherry or liquer on the pound cake, however, it is not essential. The trifle tastes fine without alcohol. Place the cubed pound cake in the bottom of the bowl.

2

Mix the jello by following the package instructions.

3

Pour the jello over the cubed pound cake. The jello should cover the pound cake cubes. If it doesn't, make some more jello and pour overtop until just covered.

4

Put in the fridge until set.

5

Mix up the custard powder following package instructions. Let the custard cool down a bit, to about room temperature. You don't want the custard too hot or it will melt the jello when you pour it on top.

6

Pour the custard over the jello-pound cake mixture.

7

Put back into the fridge until cold.

8

Whip the cream until stiff peaks form. Half way through whipping, add sugar to taste, about 2-3 tablespoons. It should taste sweet.

9

Cover the bowl with saran wrap and place back in the fridge until cold. Decorate with sprinkles, or fresh fruit on the top.

Notes

The amounts for this trifle are very flexible and are completely dependent on the size of your bowl. Ideally, each layer should be about 1/3 of your bowl.

Baking

Honey Maple Whole Oat Granola Recipe

honey maple whole oat granola


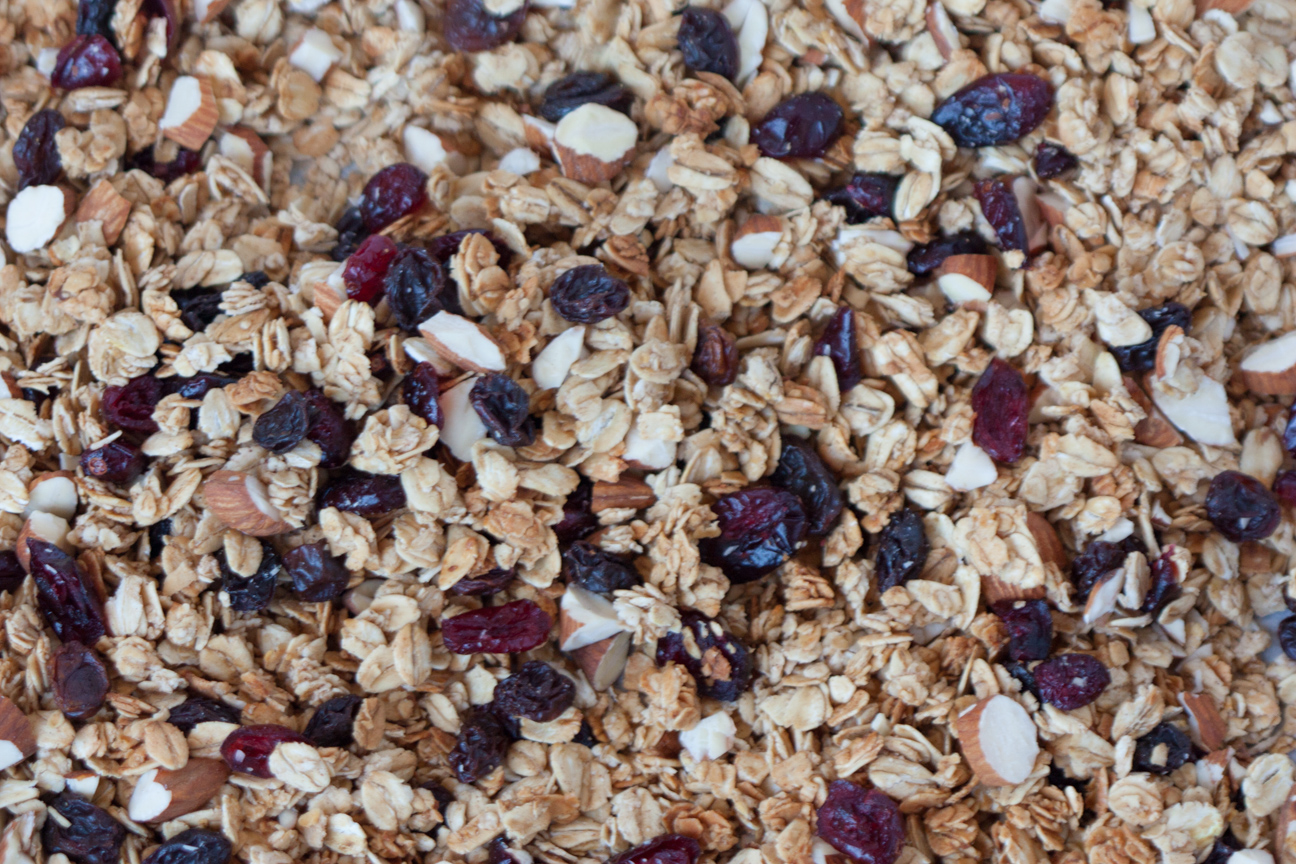
This is a fantastic recipe for Honey Maple Whole Oat Granola. It is chock full of dried fruit, nuts and toasty oats.

When I was a teenager I went through a phase of making granola for practically every big gathering with my friends.  I made granola for potluck dinners, going away parties and camping trips. Whatever the event,  I would be there with a 3 pound bag of my latest granola invention.

Granola is super easy to make. You don’t really need a recipe to make granola, but it is good to have a basic one to know the proportions of wet to dry ingredients as well as the amount of fruit and nuts to use. Homemade granola is also much healthier as it is lower in sugar and salt than store bought. And just by changing the sweeteners and using an assortment of nuts, dried fruit, and grains you can make hundreds of different combinations.

You could increase the sweetness to go on top of an apple crumble or to sprinkle on ice cream for dessert. Use less sweetener for a breakfast granola, or extra nuts for energy snacks for hikes or bike rides. A handful of chocolate chips or chocolate nibs after baking adds a burst of sweetness for a fantastic boost in energy. Excellent sweeteners to use range from maple syrup in the spring when the sap is running or honey in the fall when farmer’s market stalls are bursting with pails of wild flower, clover or buckwheat honey.

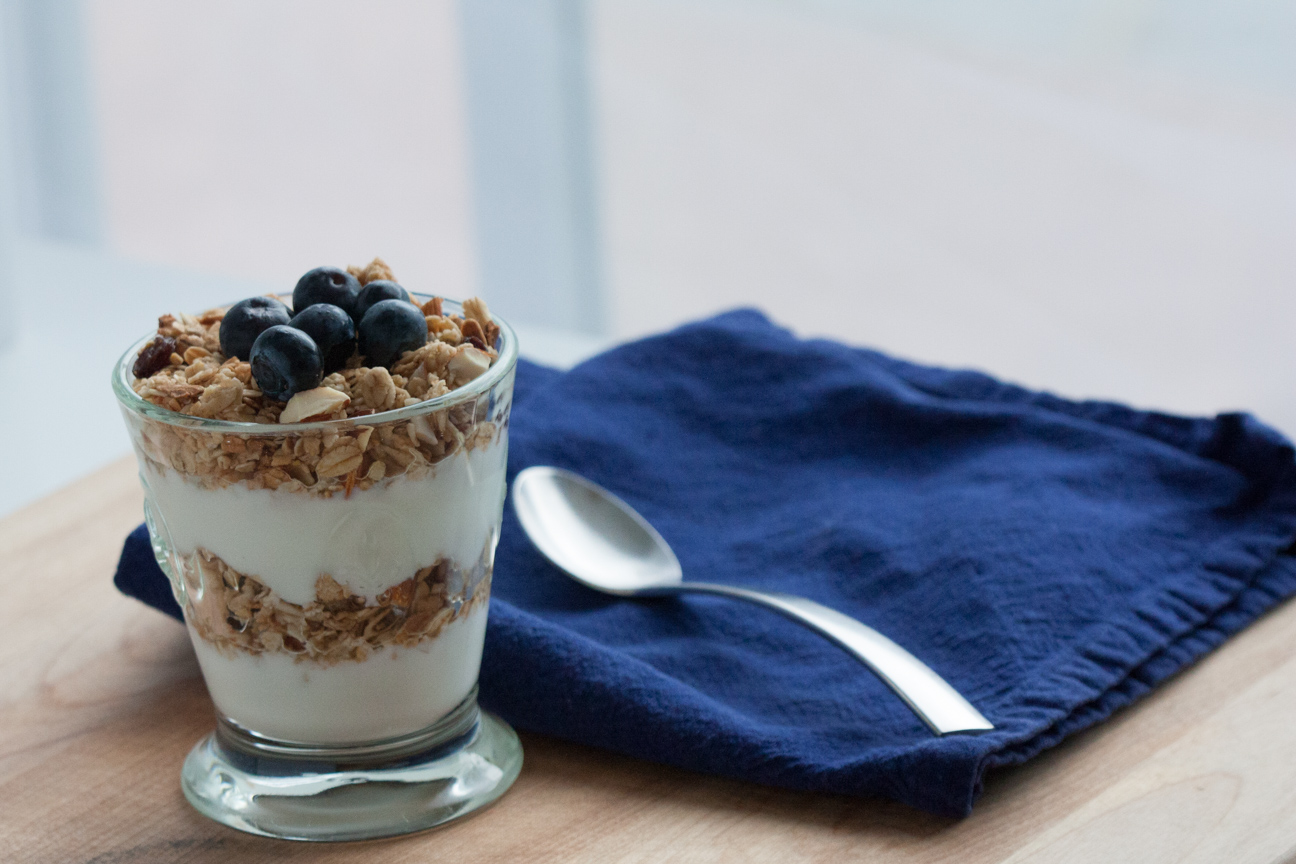
My son and I really like this granola for breakfast or snack with yogurt. It’s not too sweet and the cinnamon and ginger adds a lovely hint of flavour.

granola and yogurt in glass with blue napkin

Honey Maple Whole Oat Granola with Vanilla and Cinnamon

Serves: 12-16
Cooking Time: 30

Ingredients

  • 1 3/4 cup quick oats
  • 1 1/4 cup whole oats
  • 1/4 cup honey
  • 2 T butter
  • 1 T maple syrup
  • 1/2 tsp cinnamon
  • 1/4 tsp ginger
  • 1/2 tsp vanilla
  • 1/4 cup dried cranberries
  • 1/4 cup raisins
  • 1/4 cup whole almonds, chopped

Instructions

1

Preheat oven to 325 degrees.

2

Line baking sheet with parchment paper.

3

Melt the honey, butter, vanilla and maple syrup in a small pot on the stove or in a bowl in the microwave.

4

Mix together the two oats and spices. Pour the liquid into the oat mixture and stir to combine.

5

Pour onto the baking sheet lined with parchment paper. Spread out the oat mixture a bit, but not too thin as the individual oats will cook too fast and dry out or burn.

6

Bake granola for 10-12 minutes, stirring after 5 minutes then add: the cranberries, raisins and chopped almonds.

7

Continue cooking for about 5 minutes more, until oats are starting to turn golden, then remove from oven.

8

Put the tray on a wire rack. Leave the granola on the tray until cool. Store in a cool, dark place.

frozen rosebud close-up

icy rosebud