all baking recipes
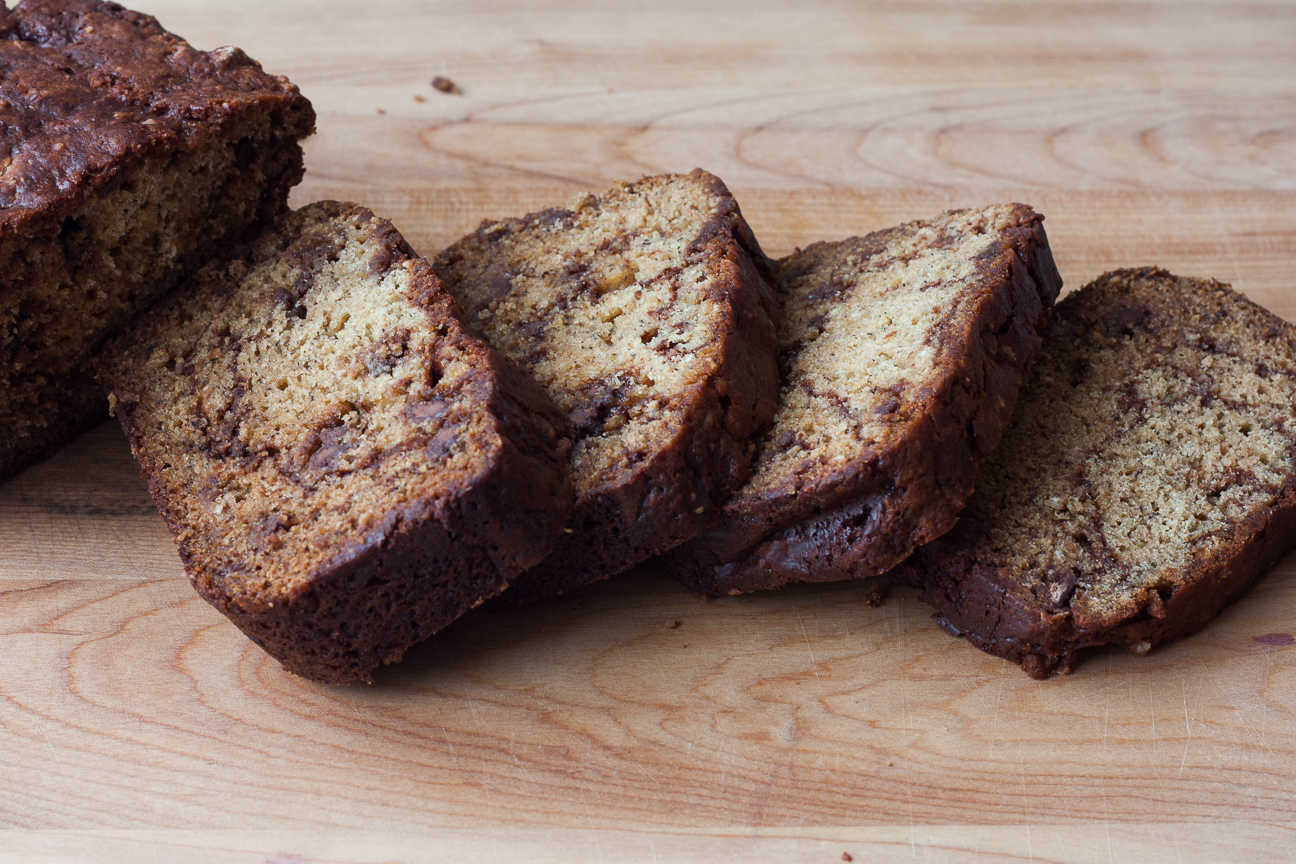
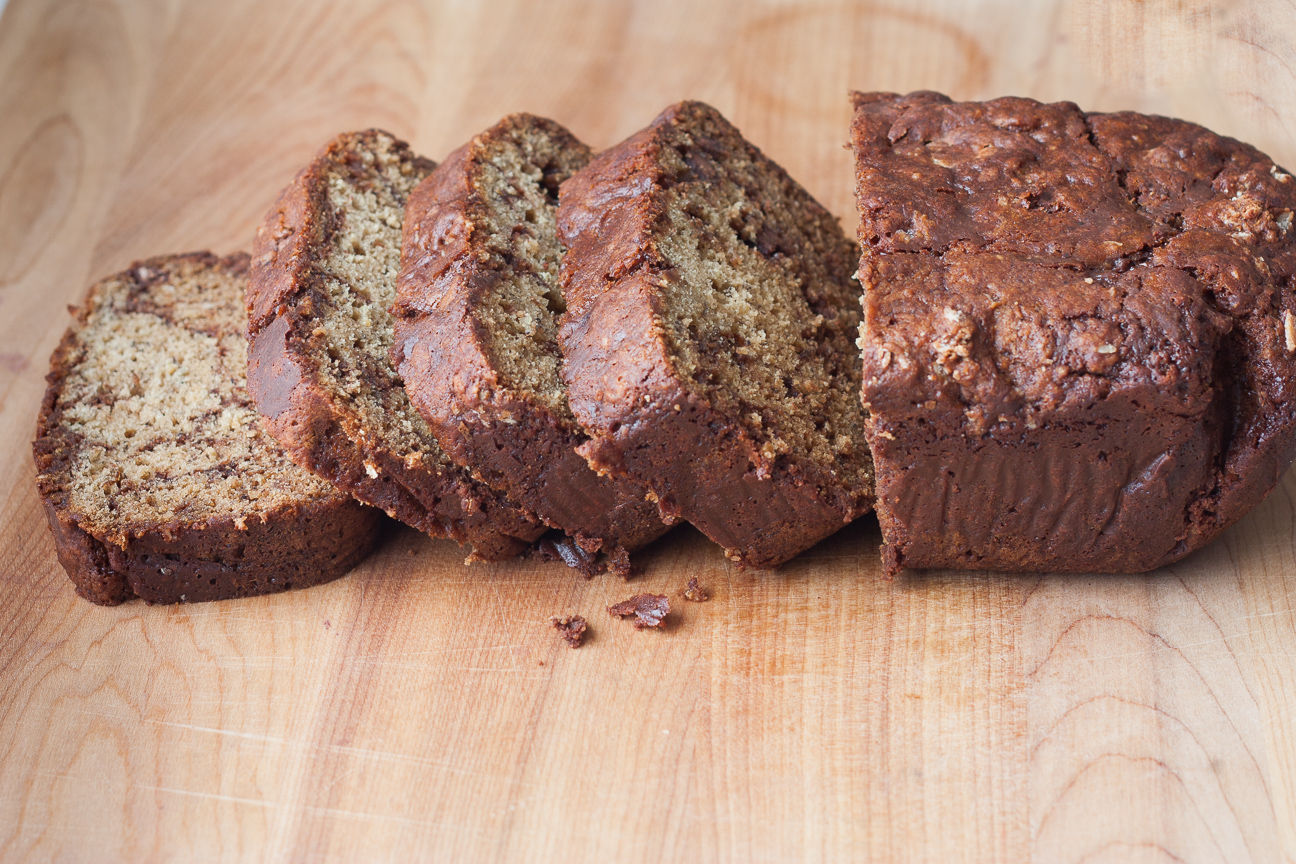
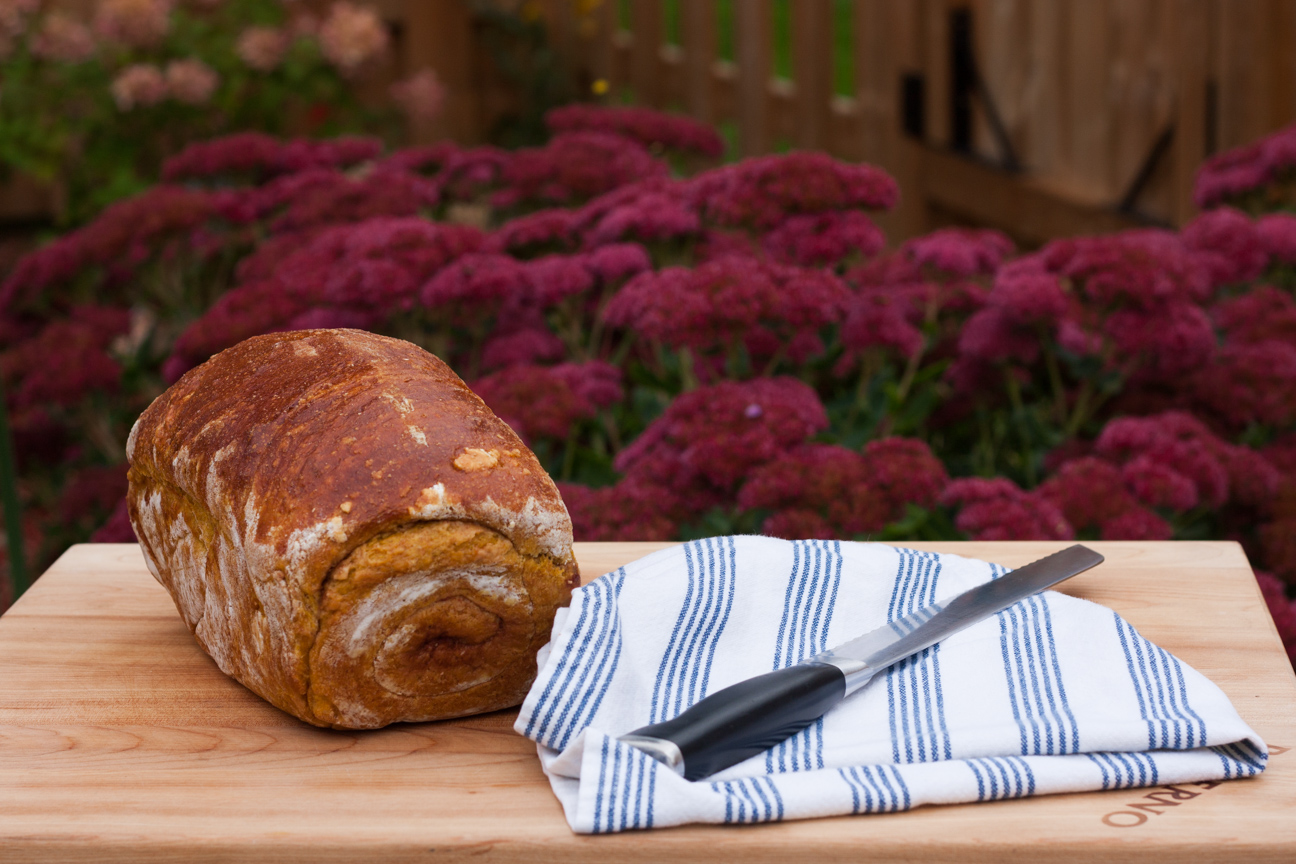
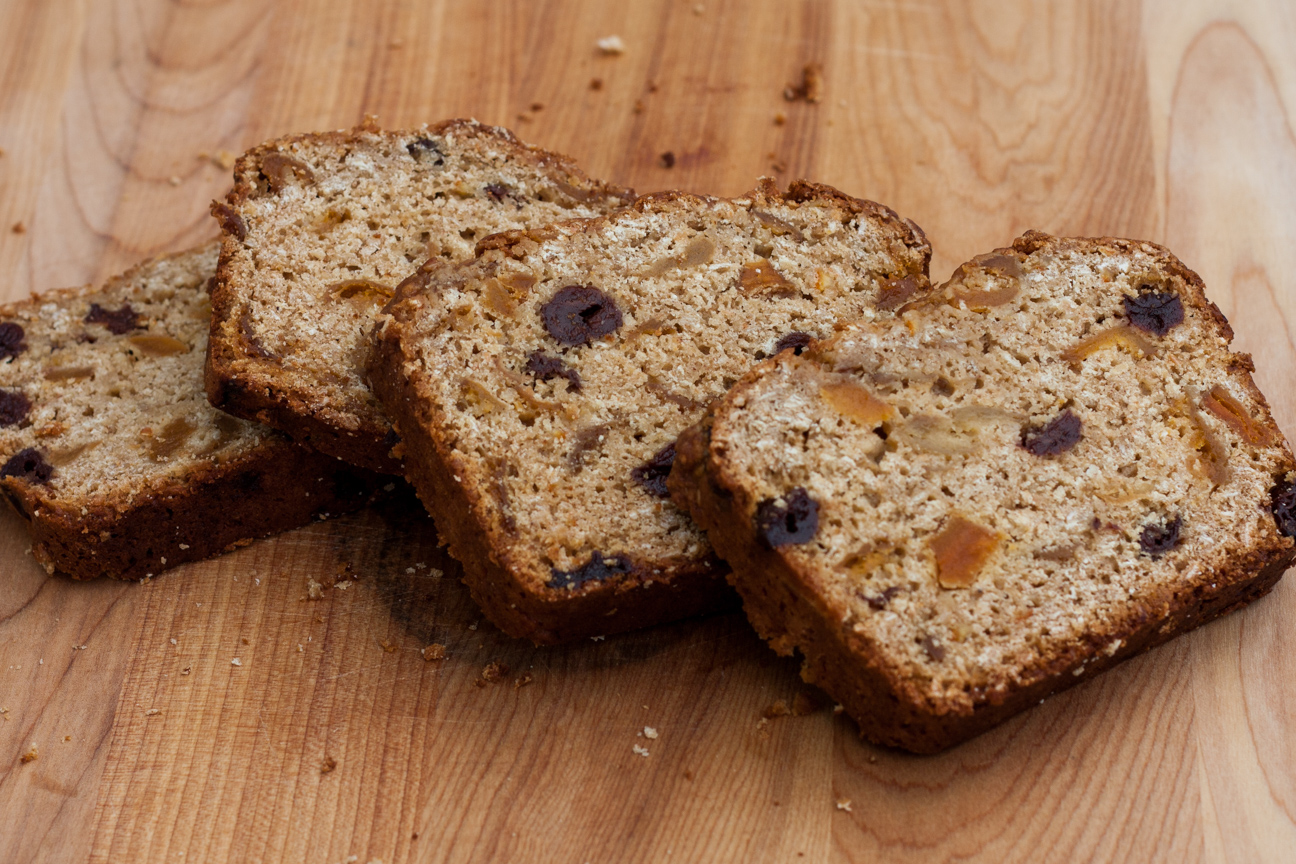
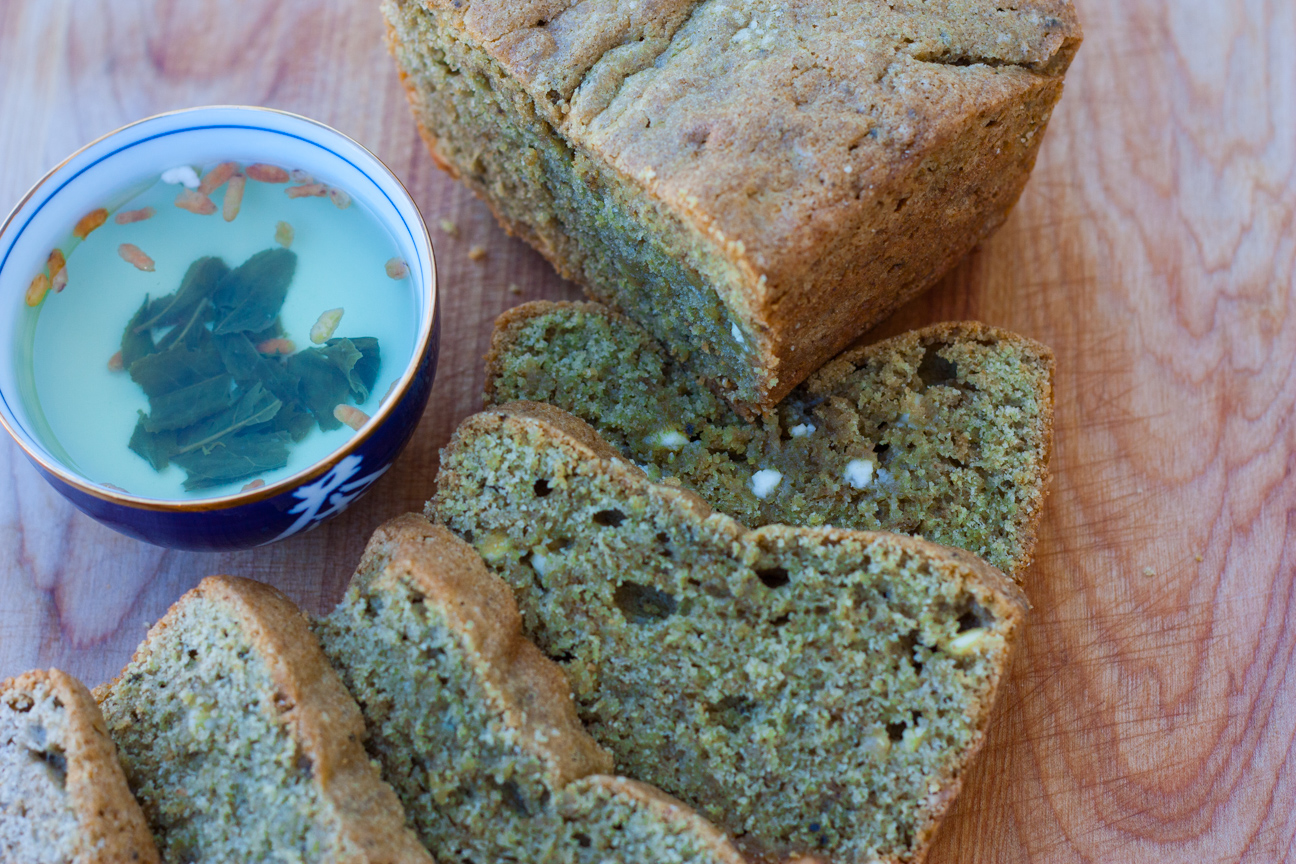
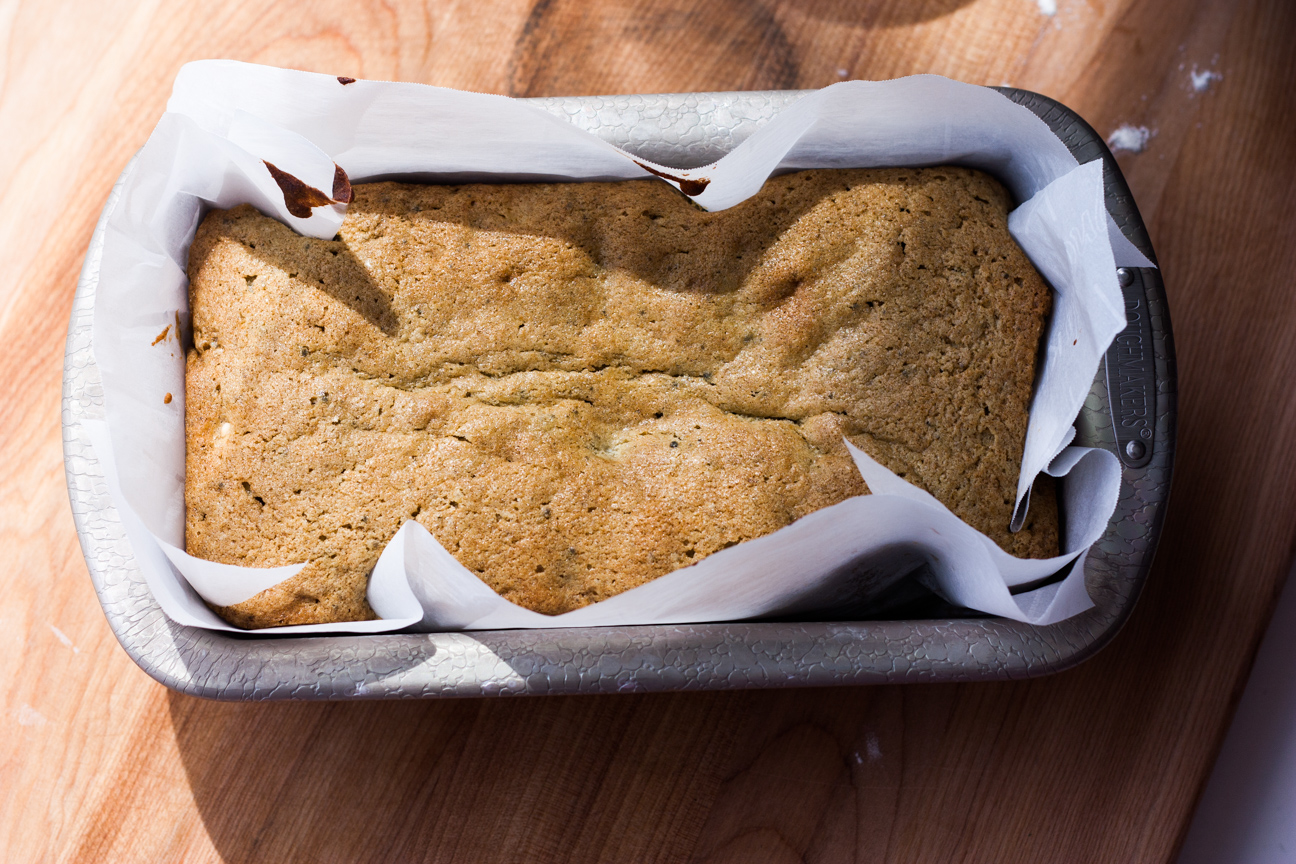
I made so much nutella the other day, I didn’t think we would ever finish it. So, I decided to make this Banana Bread. And who doesn’t love banana bread with chocolate chips and swirls of Nutella!
I have made loads and loads of banana bread ever since I was a teenager. When I was 17, I won a contest for banana bread in our local newspaper. The prize was kitchen flooring which my parents really loved. I really wanted the silver tea set that the person one down from me won, but c’est la vie. My parents were happy.
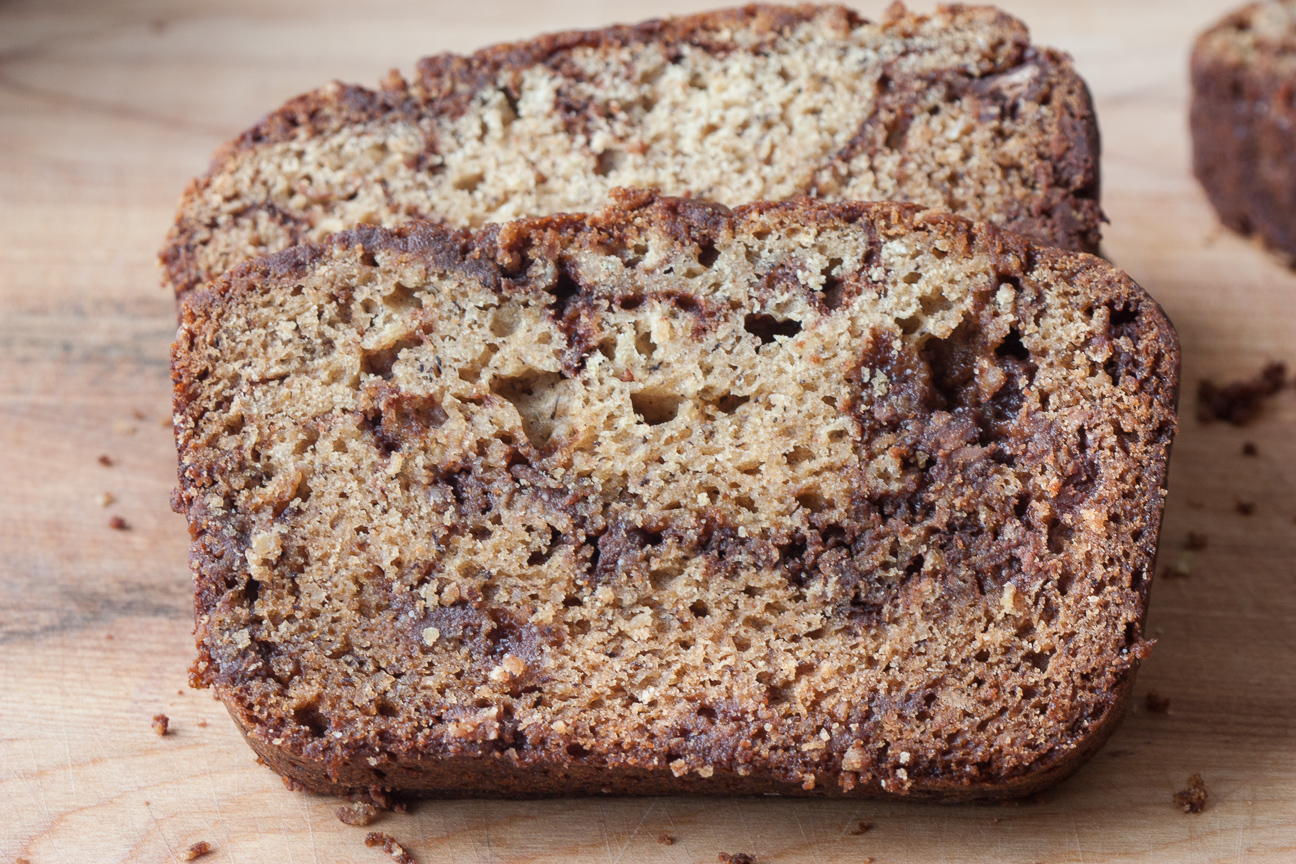
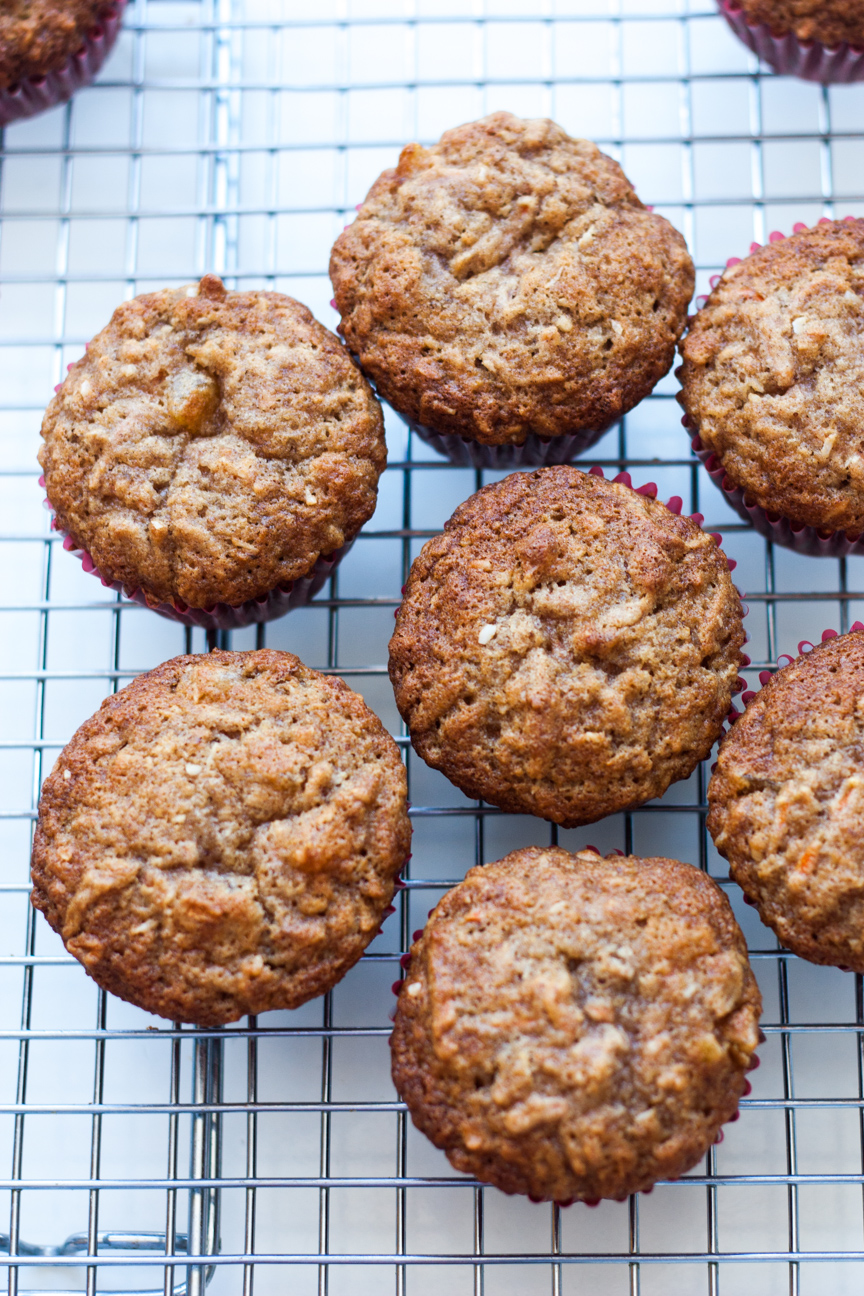
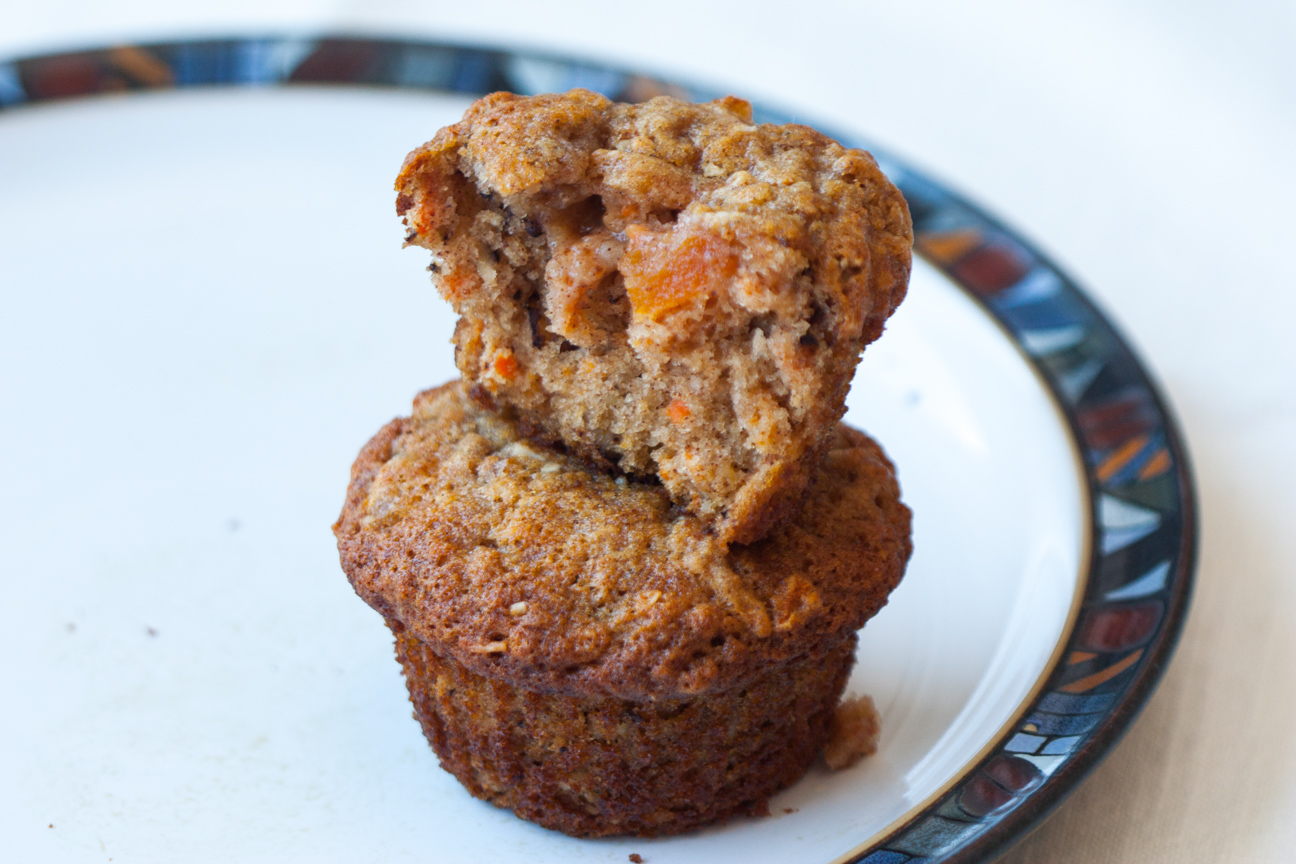
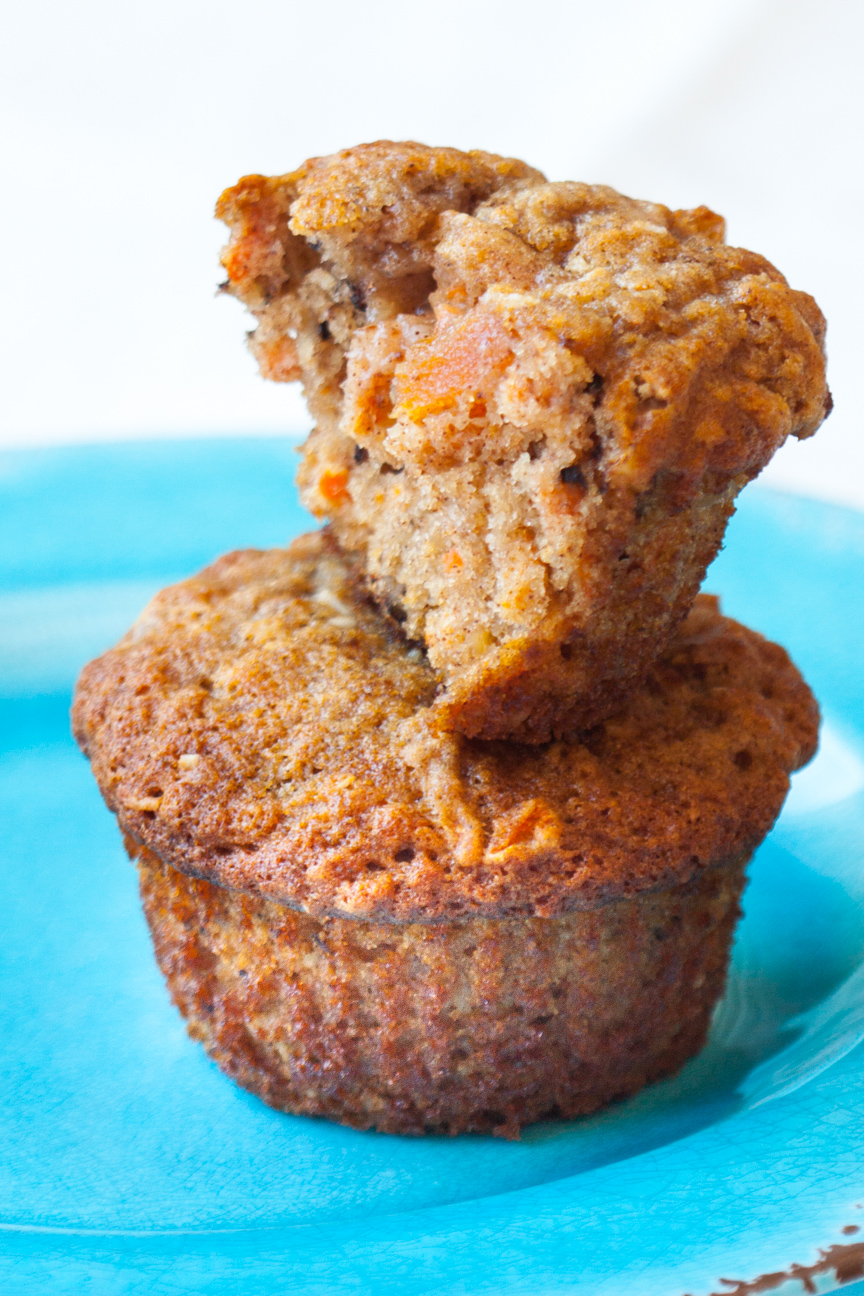
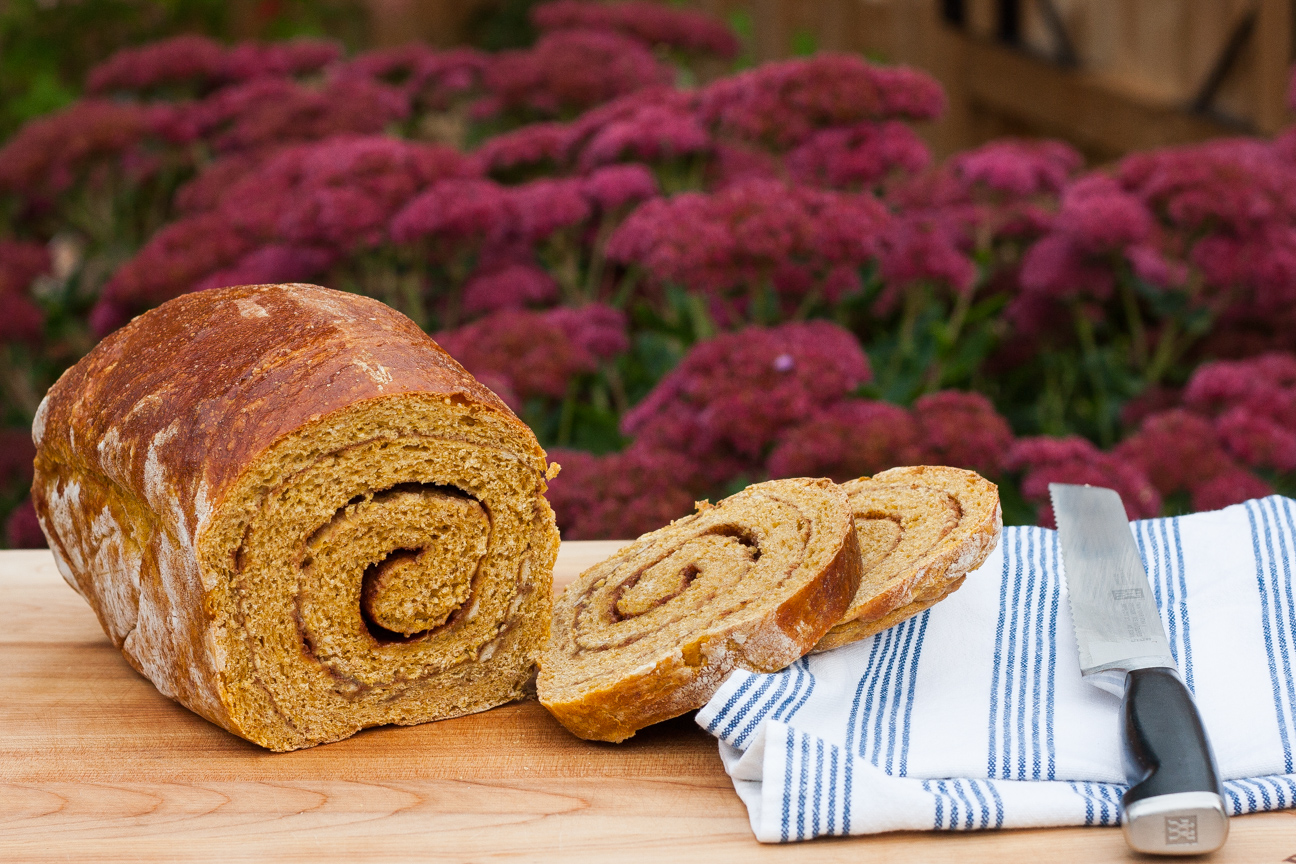
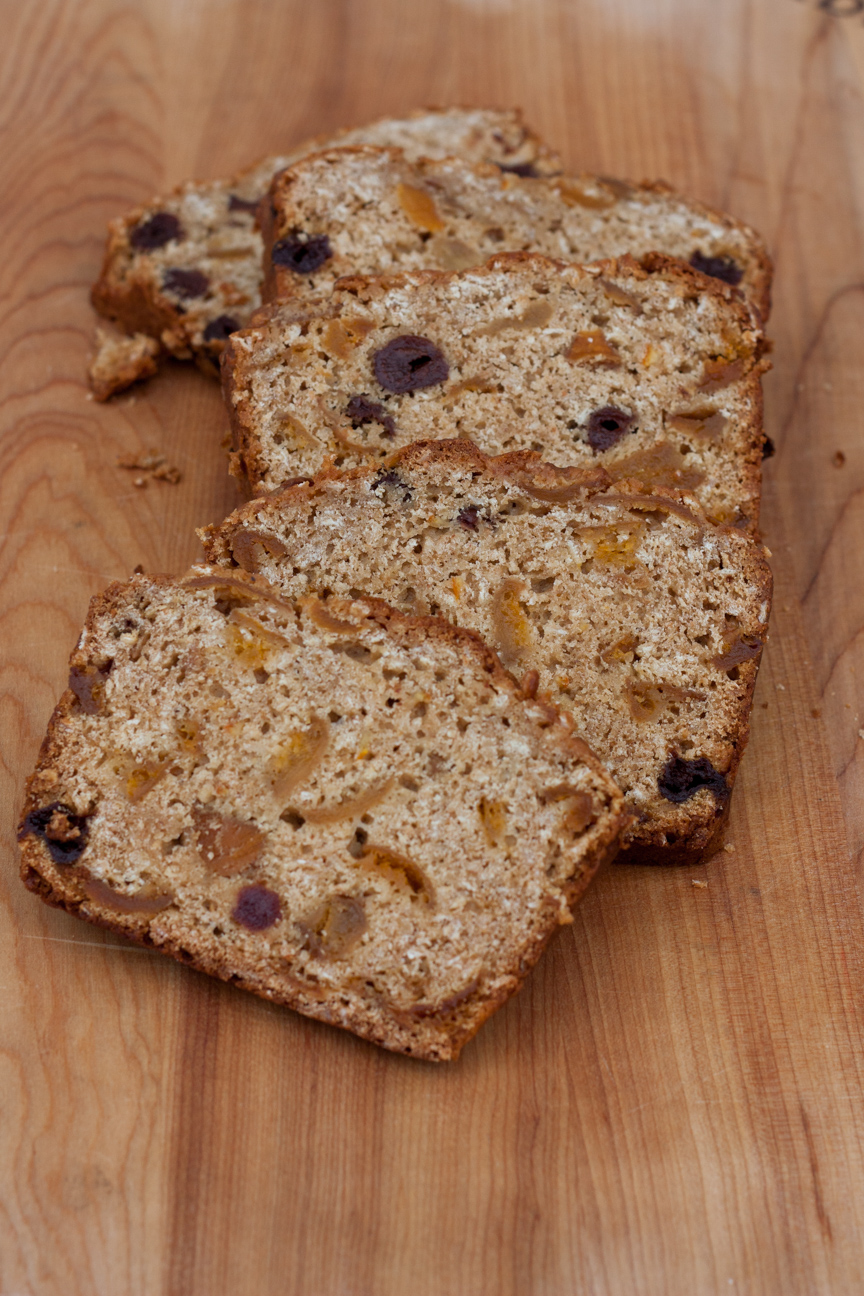
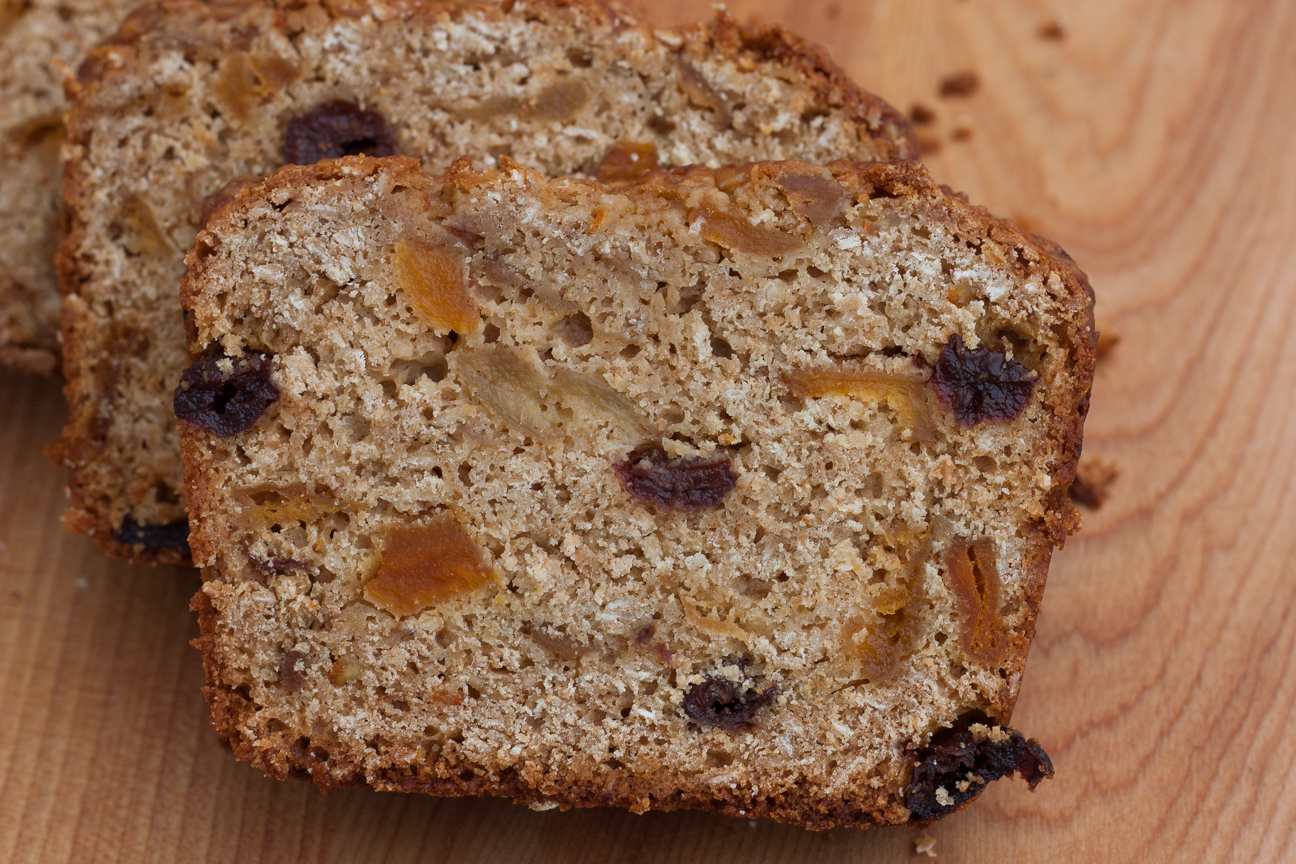
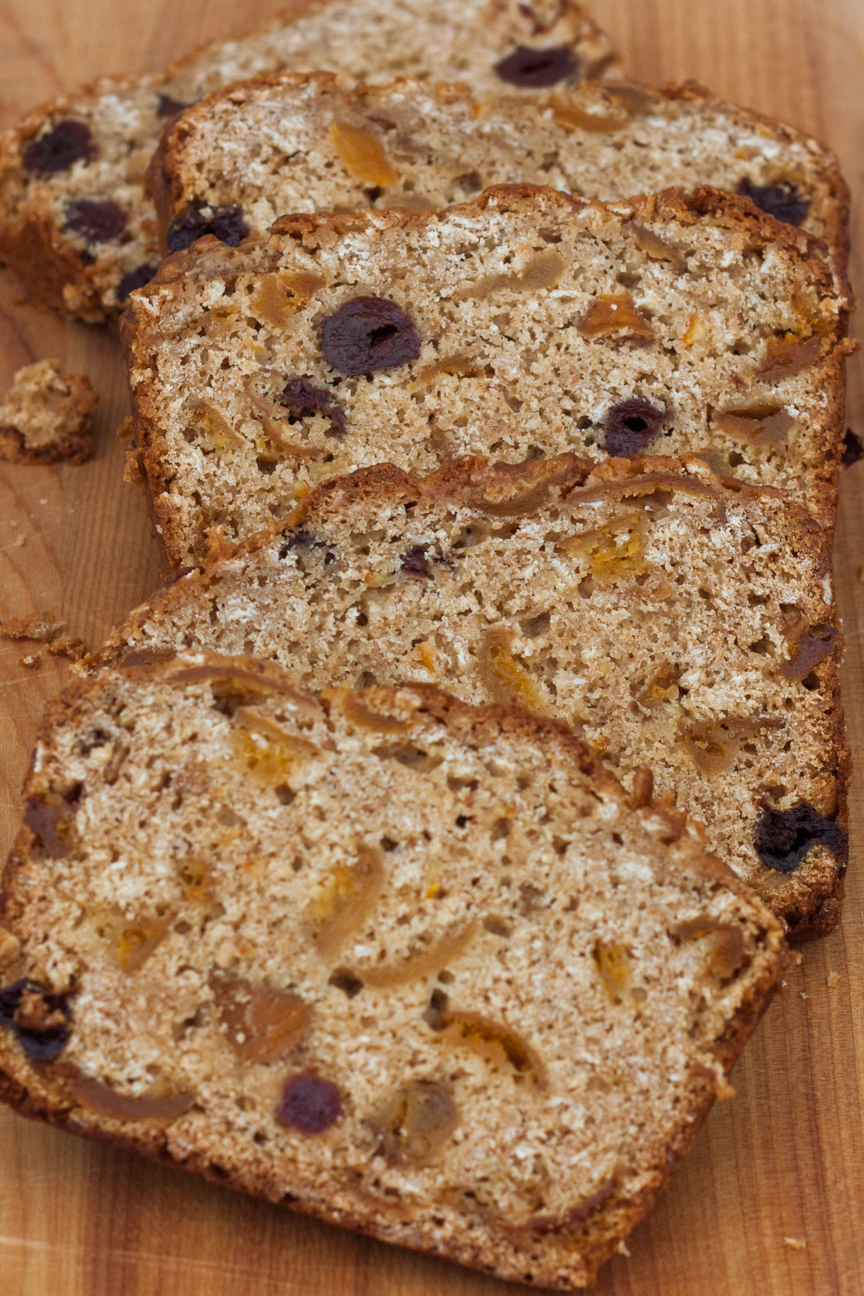
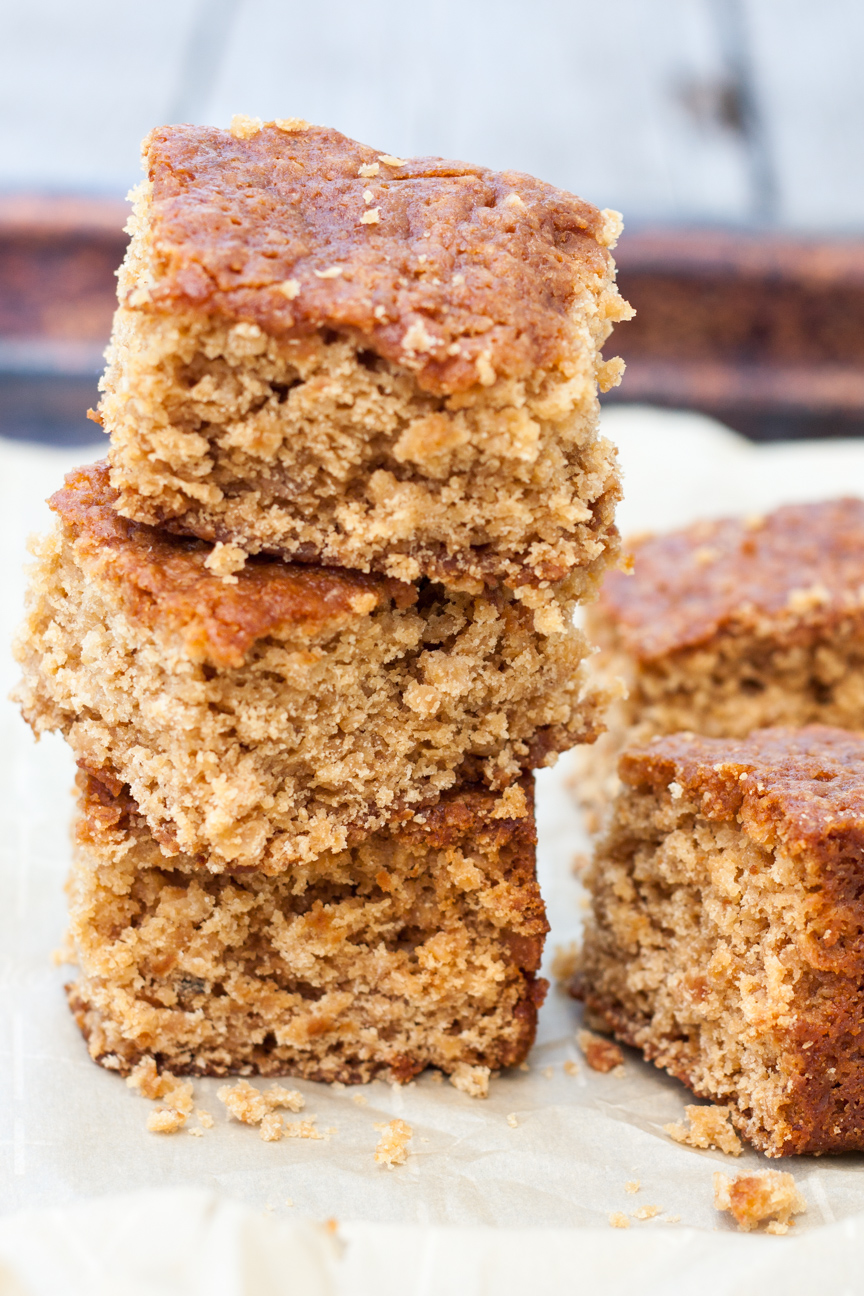
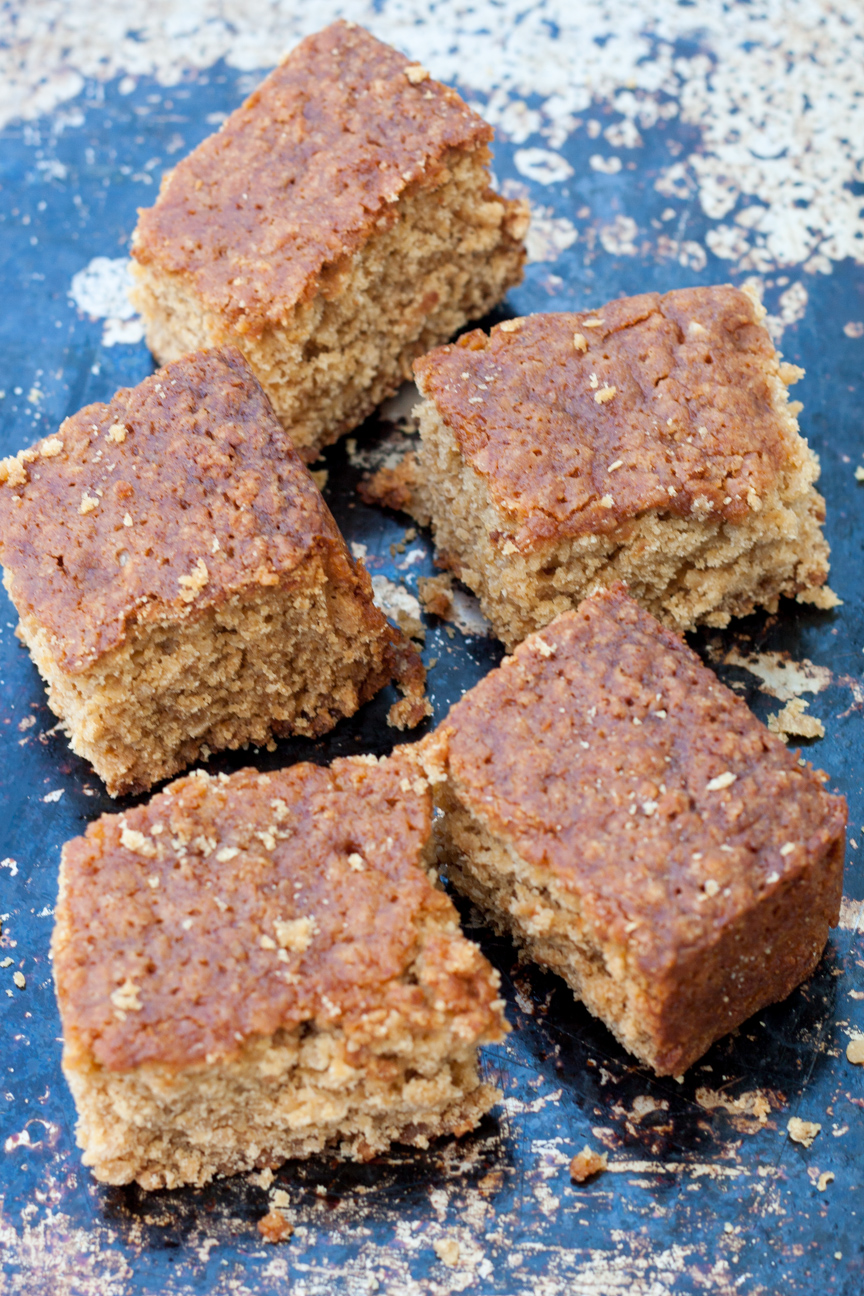
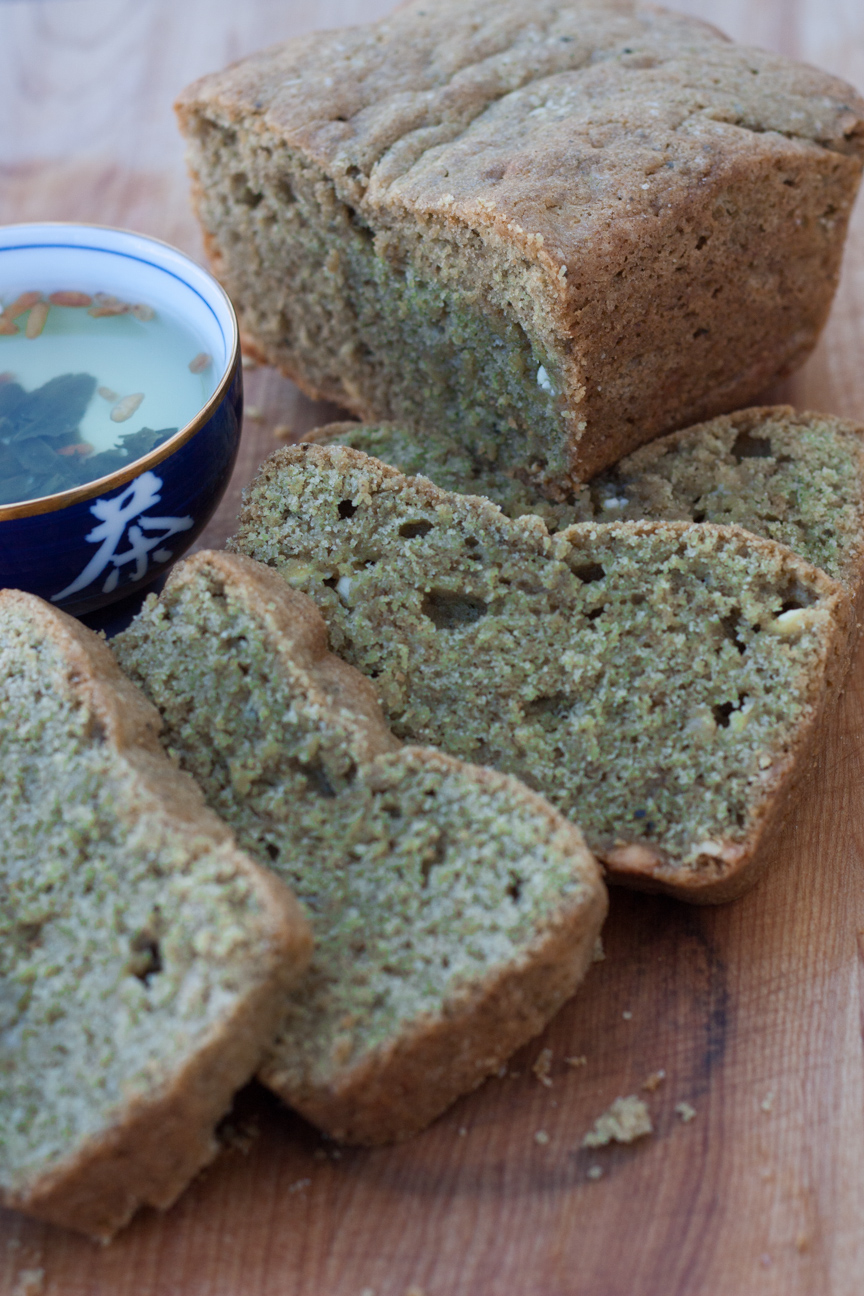
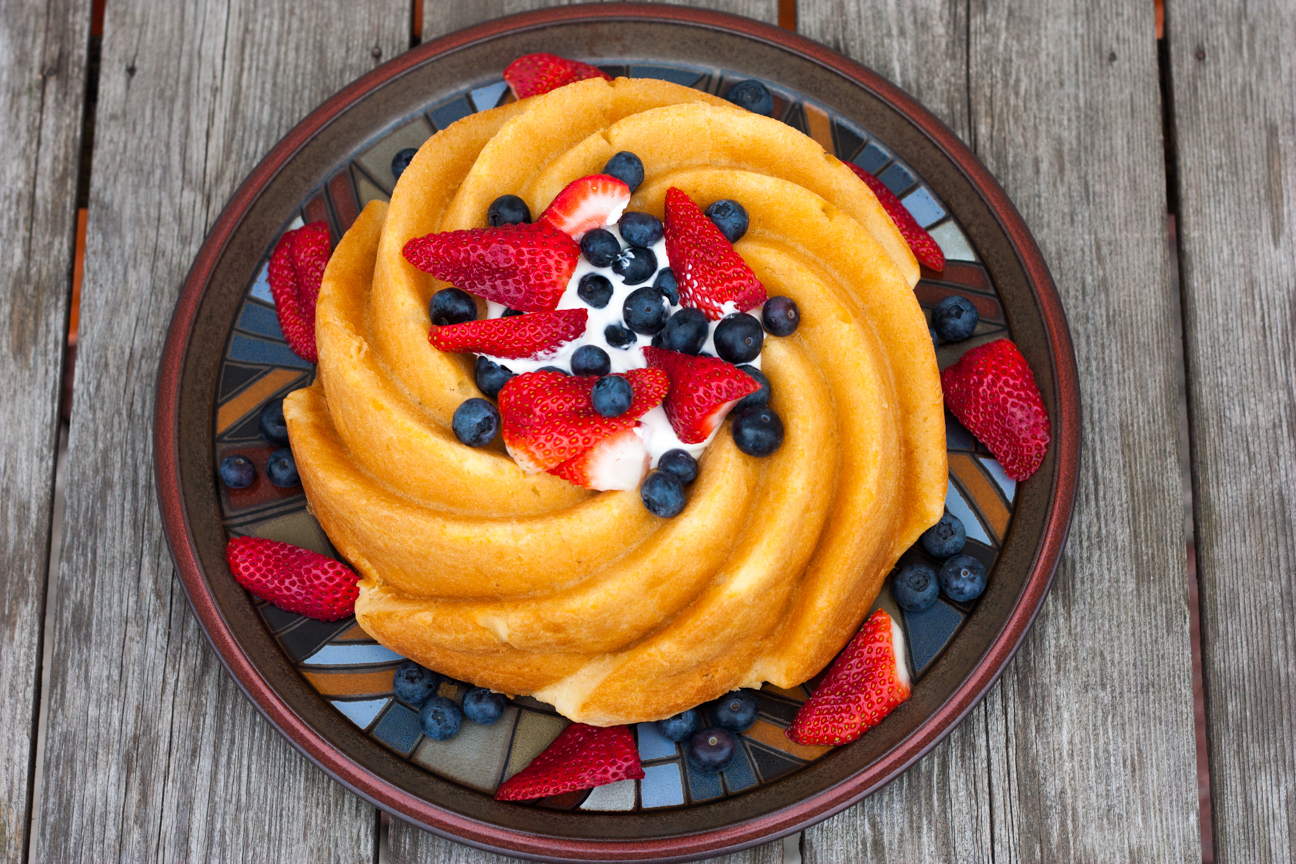
This quick bread has it all; moistness from the bananas; just enough sweetness from white and brown sugars and nutty aromas from the browned butter. And if you slice it up while it’s still warm, the nutella and milk chocolate chips will be warm and molten. Double yum!
This bread is also a great way to use up bananas that are over ripe. This can happen especially quick in the summer. Blackened bananas freeze very well. I used to freeze bananas in their skin. And that technique works just fine, but then you have to thaw them to get the skin off. So, now I peel the overly ripe bananas, chop them up and place them in a freezer bag. And I always label the date and how many bananas are in the bag. So helpful down the road when I pull them out to use them.
I made this bread with browned butter to amp up the flavour components. I have instructions in a previous post on how to brown butter, if you have never done that. It’s really easy, by the way!
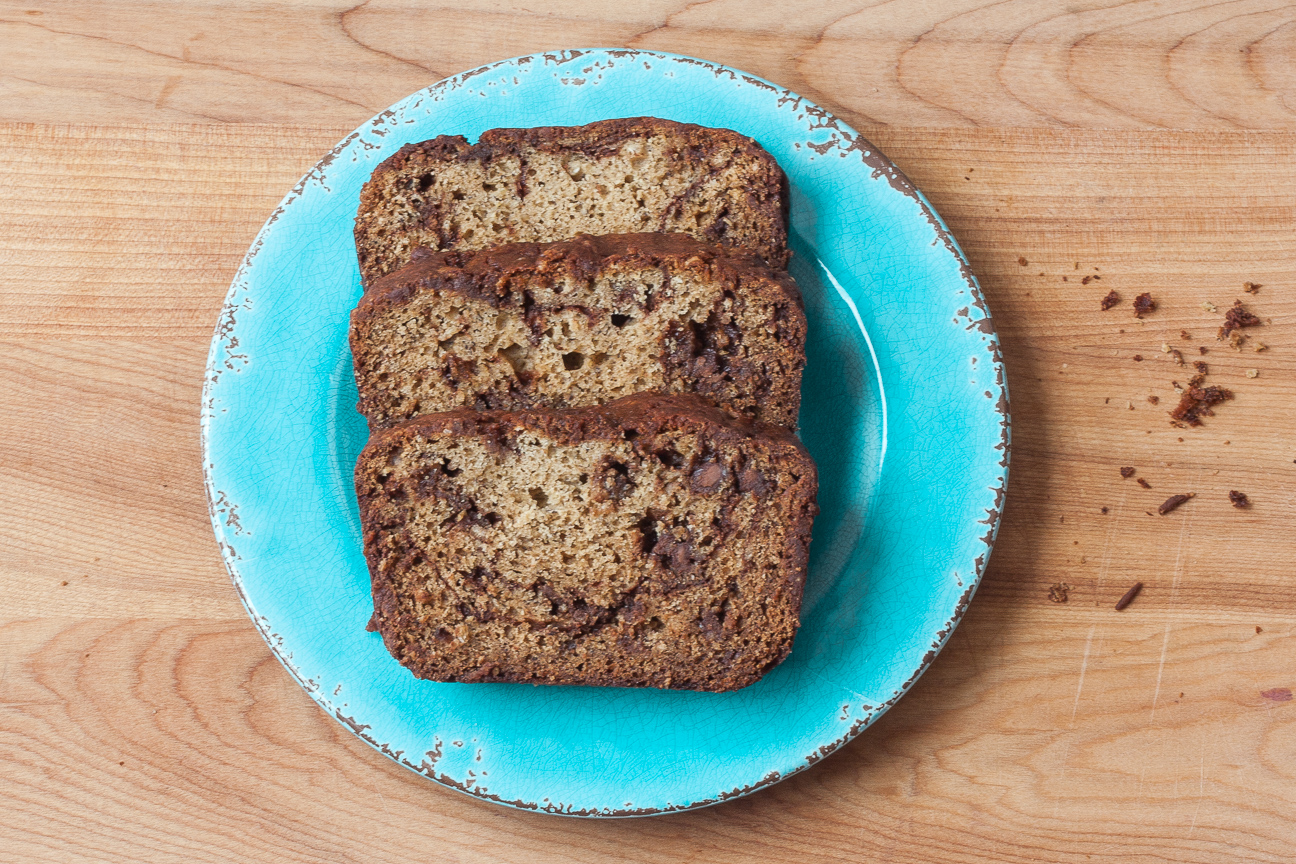
This banana bread is absolutely delicious on its own. You don’t need to add butter or anything. I think it’s absolutely delicious on it’s own. It would be fantastic with a large mug of a spicy herbal tea or a chai latte. So good!
Enjoy!
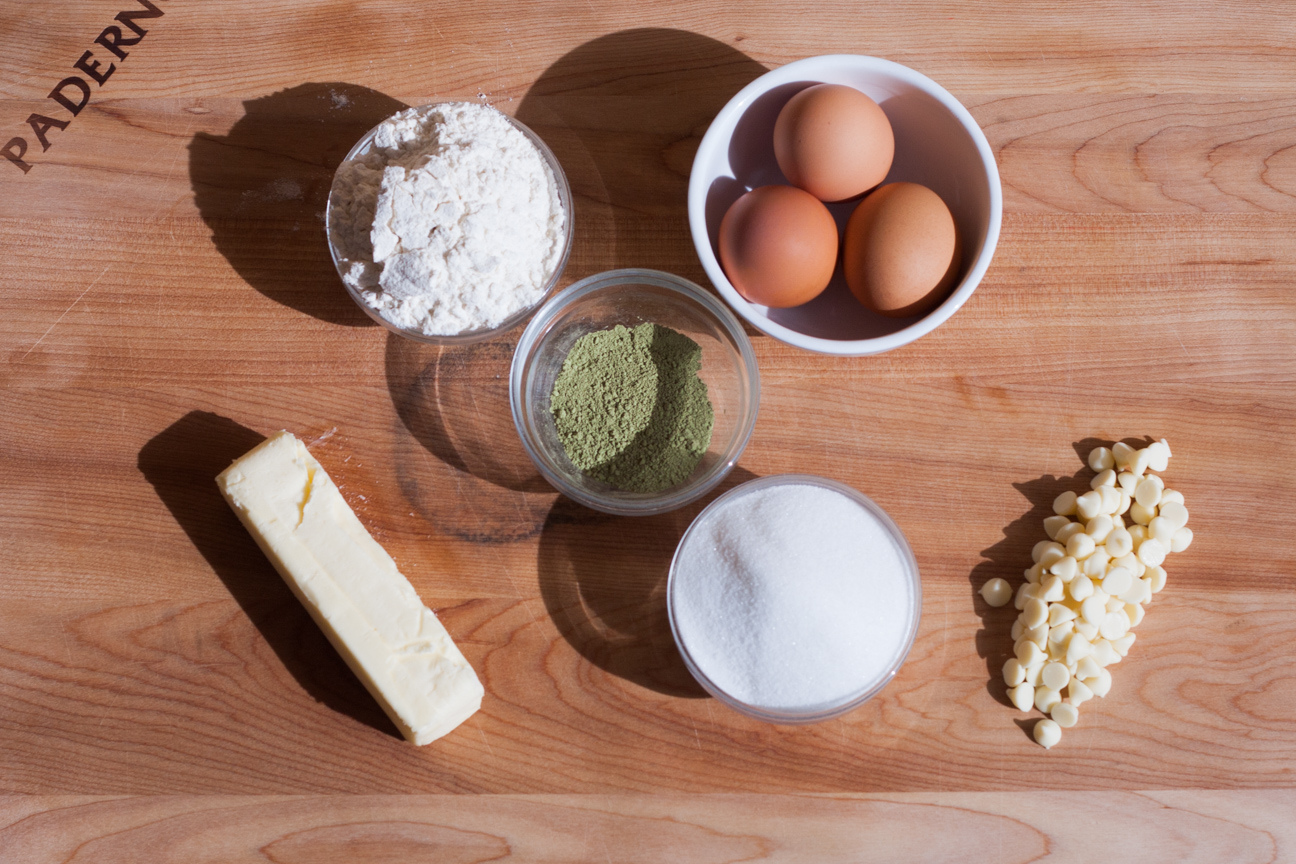
Ingredients
- 3 very very ripe bananas, mashed or pureed
- 1 cup butter (browned)
- 3 eggs
- 1 cup white sugar
- 1 cup brown sugar
- 2 cups white flour
- 1 cup white spelt flour
- 1 cup oat flour (whole oats pulverized in your food processor)
- 2 tsp baking soda
- 2 tsp vanilla
- 1/2 cup plain unsweetened yogurt
- 1 cup chocolate chips
- 1/2 cup nutella (warmed)
Instructions
1
Preheat oven to 350 degrees Fahrenheit.
2
Line two loaf tins with parchment paper.
3
Brown the butter (see instructions above).
4
Add sugar to browned butter.
5
Once the egg and butter mixture has cooled, add in the eggs, vanilla, yogurt and bananas.
6
In a separate large bowl, stir together the flours and baking soda.
7
Add butter and sugar mixture to dry ingredients.
8
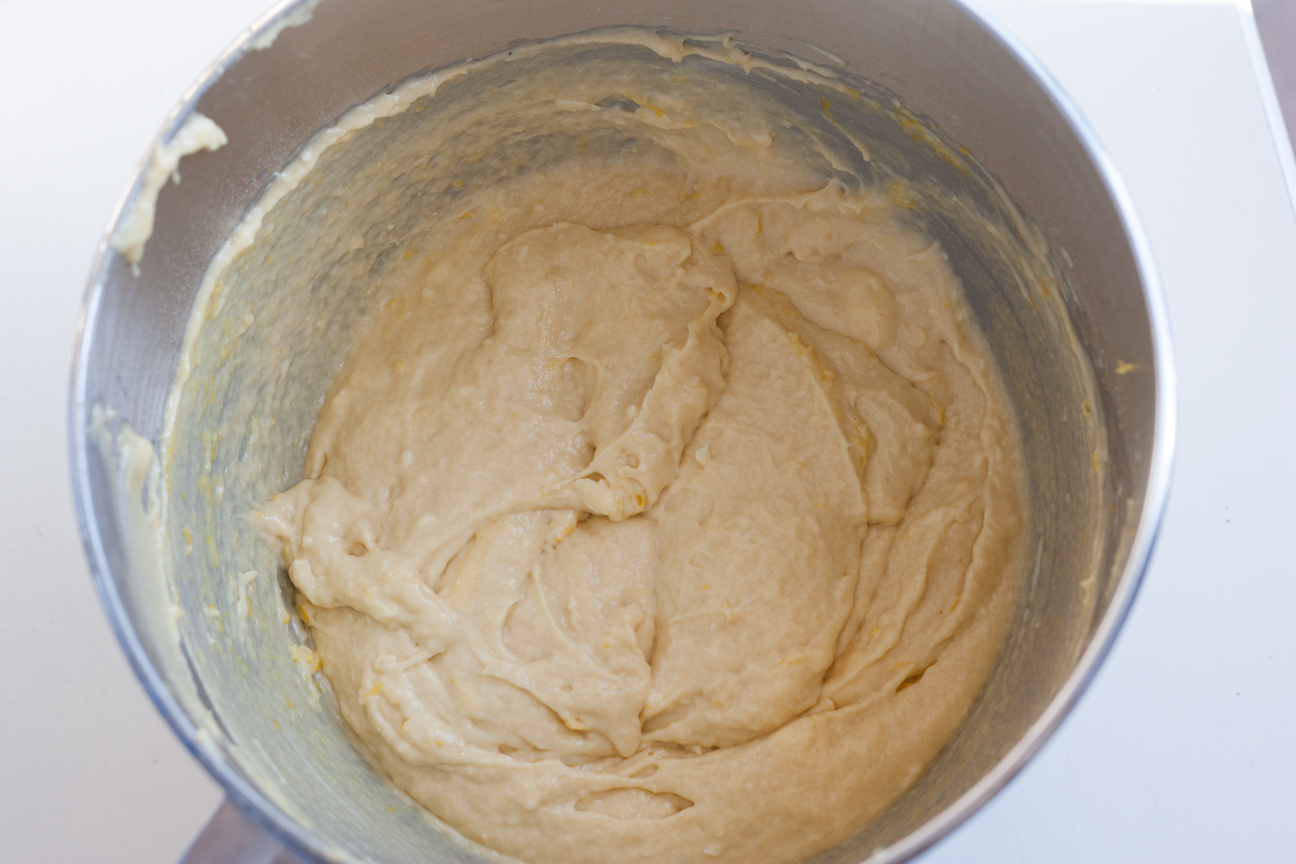
Stir all ingredients together until mixed.
9
Add chocolate chips.
10
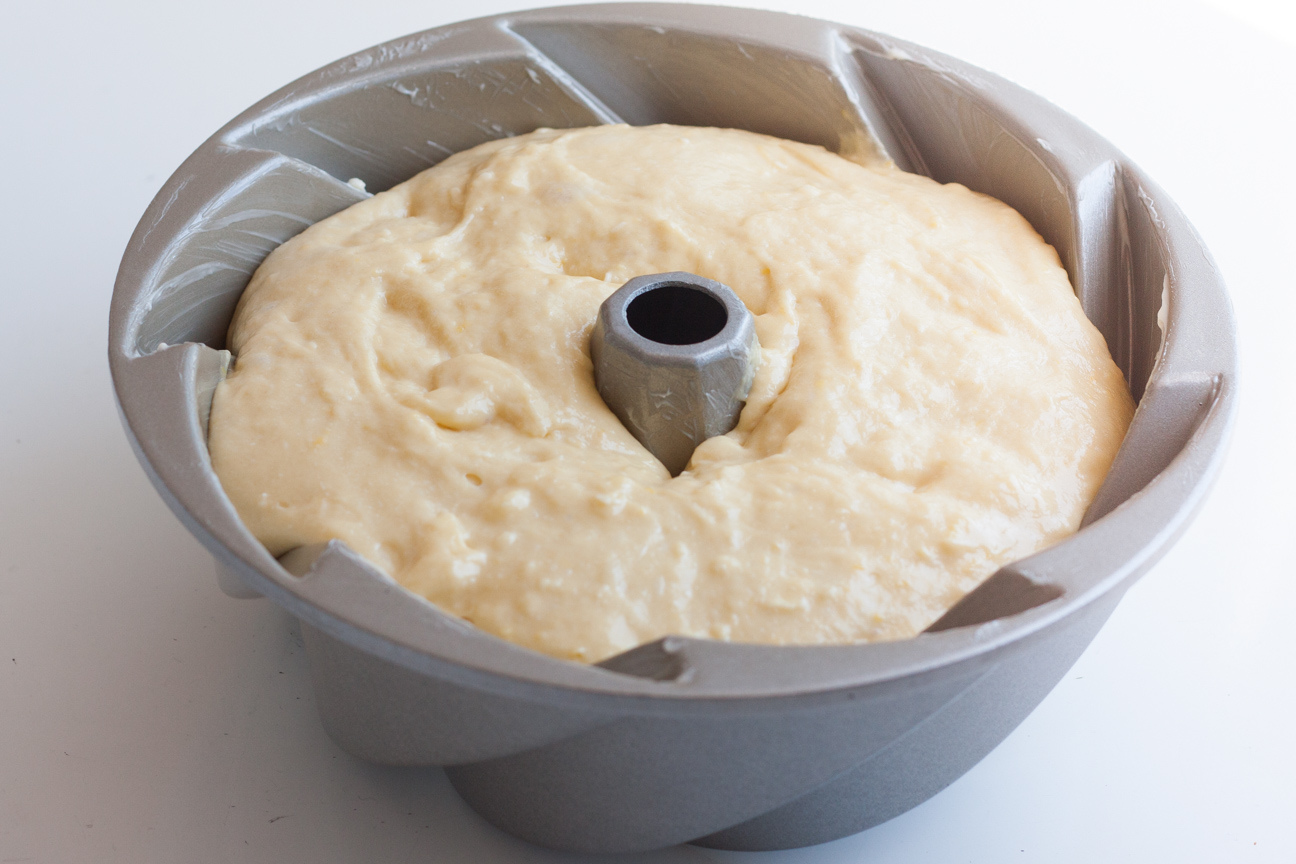
Add about 1/4 of the mixture into each loaf tin.
11
Spread 1/4 cup of the warmed nutella down the centre. Swirl with a butter knife.
12
Add the rest of the batter overtop of the nutella. Then spread another 1/4 cup of the nutella on the top. Swirl with a butter knife, mixing the batter with the nutella.
13
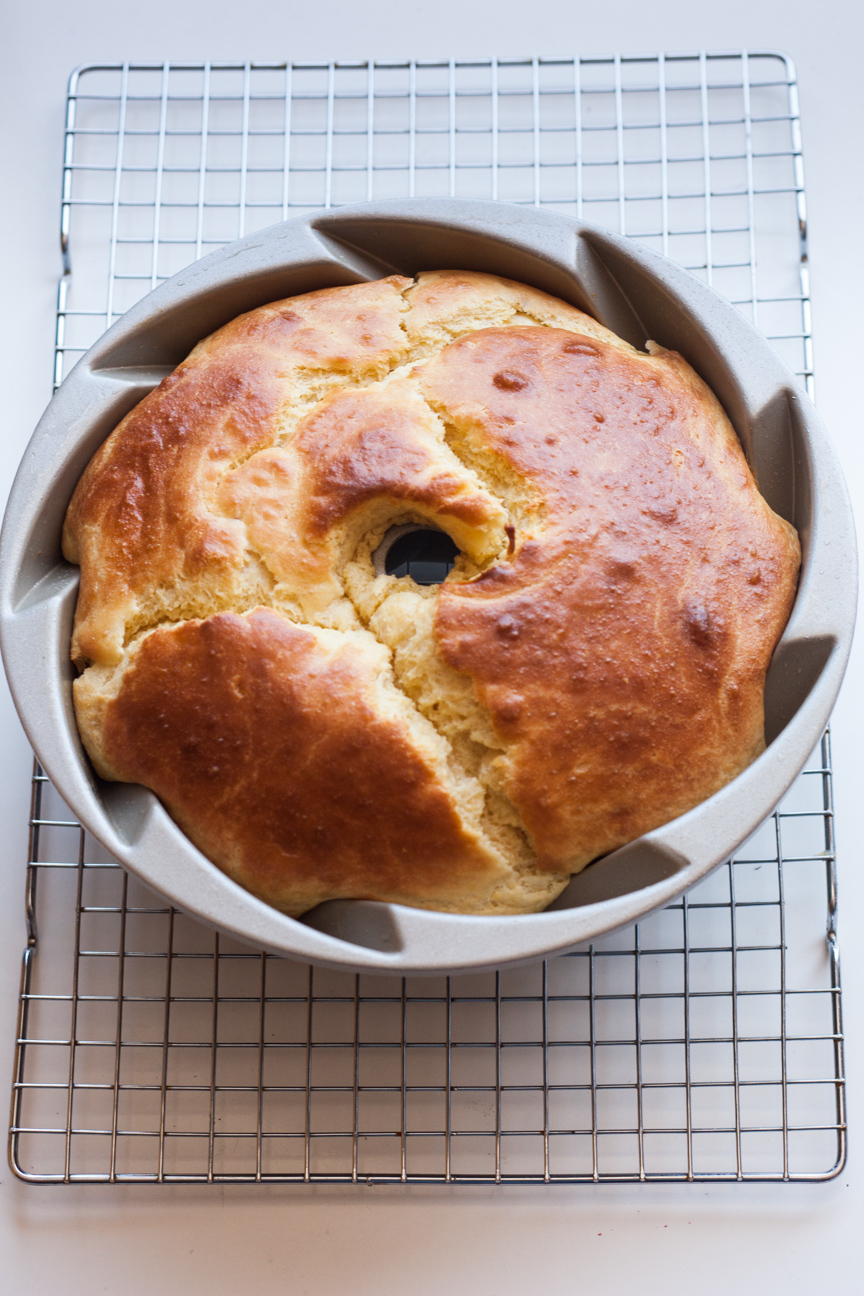
Bake in the oven for about 1 hour, until a cake tester comes out clean.
14
Let it cool in the loaf tins for about 10 minutes. Then remove from the loaf tins and cool on a rack.
Notes
These loaves freeze very well. If freezing, dont forget to label the package with the date and the name of the bread. Use within 3 months.
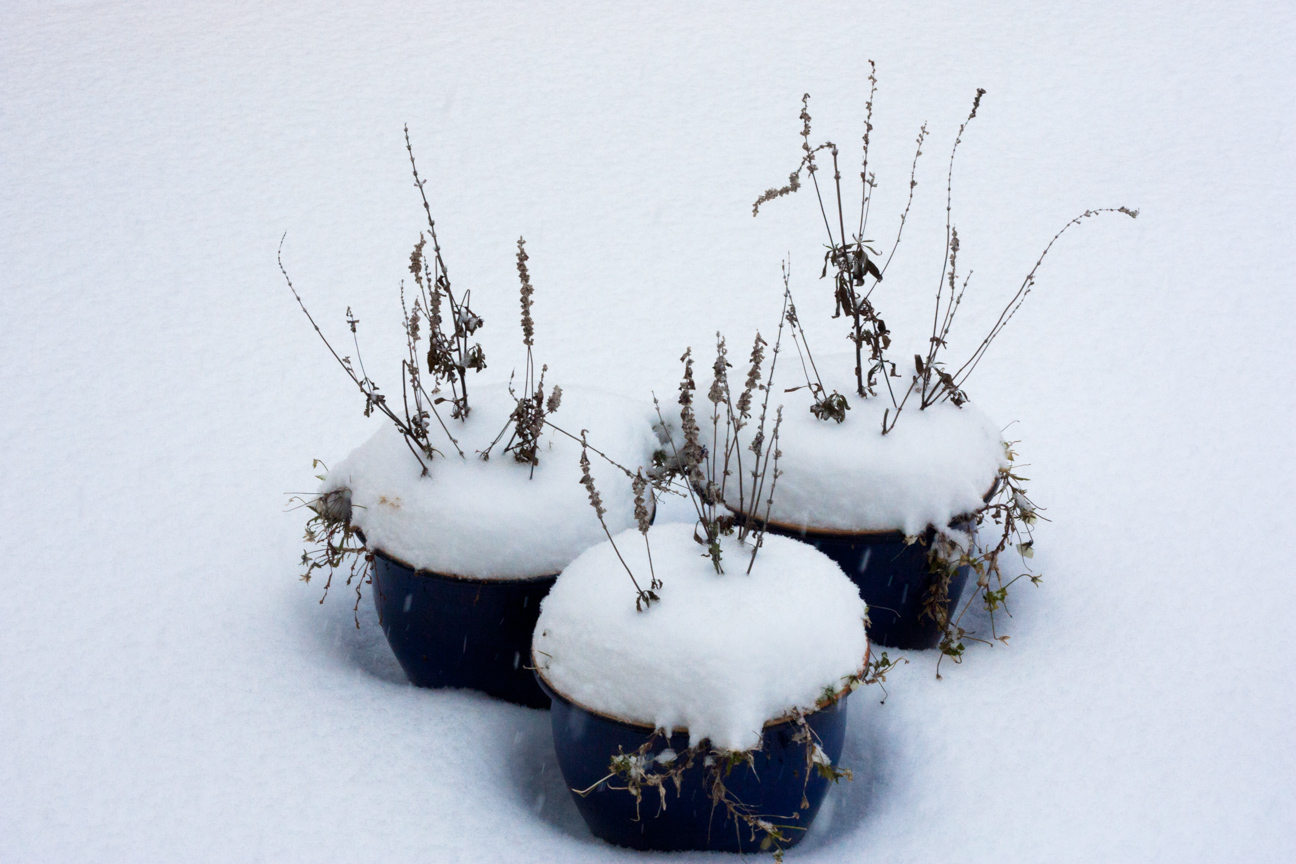 I woke up the other morning to this snowy site and decided it was the perfect day to begin my Christmas Baking.


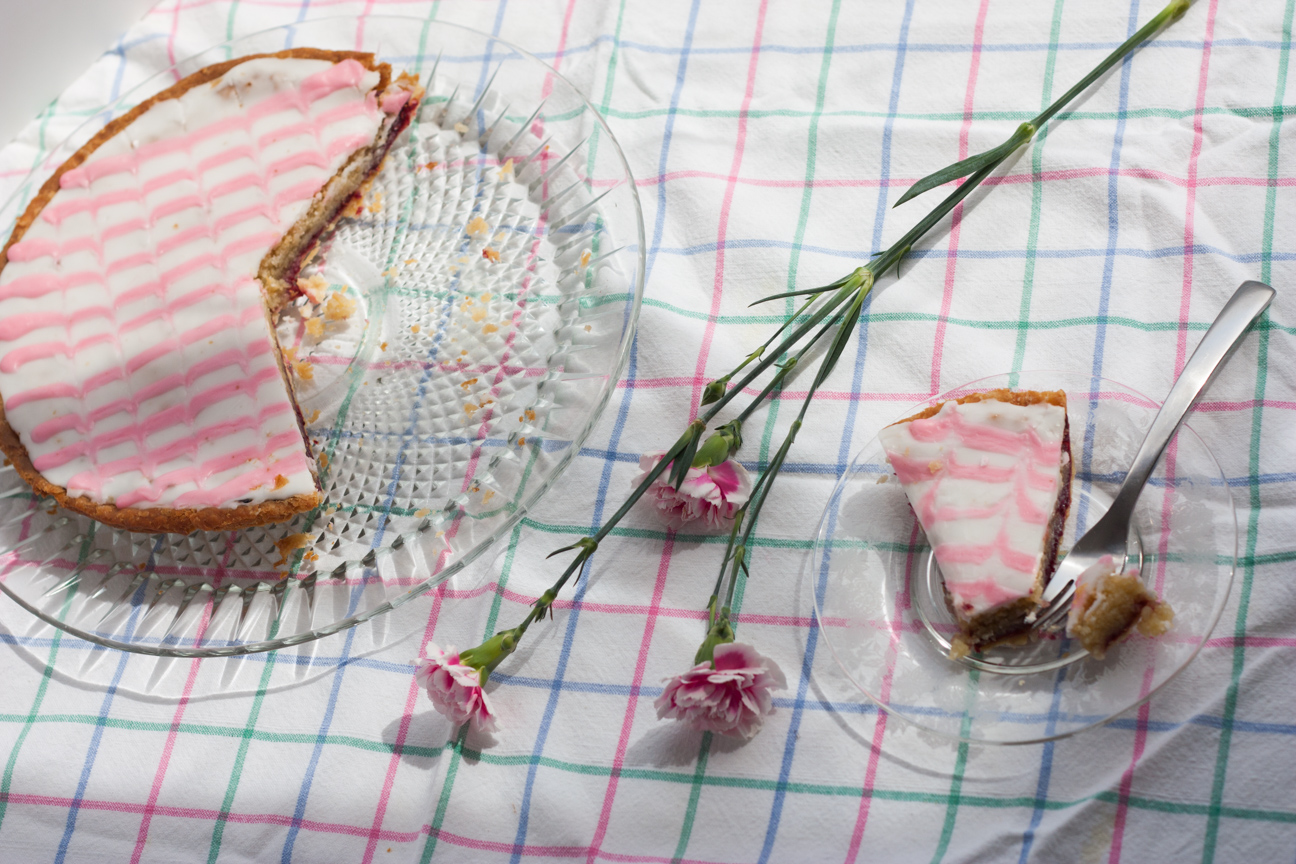
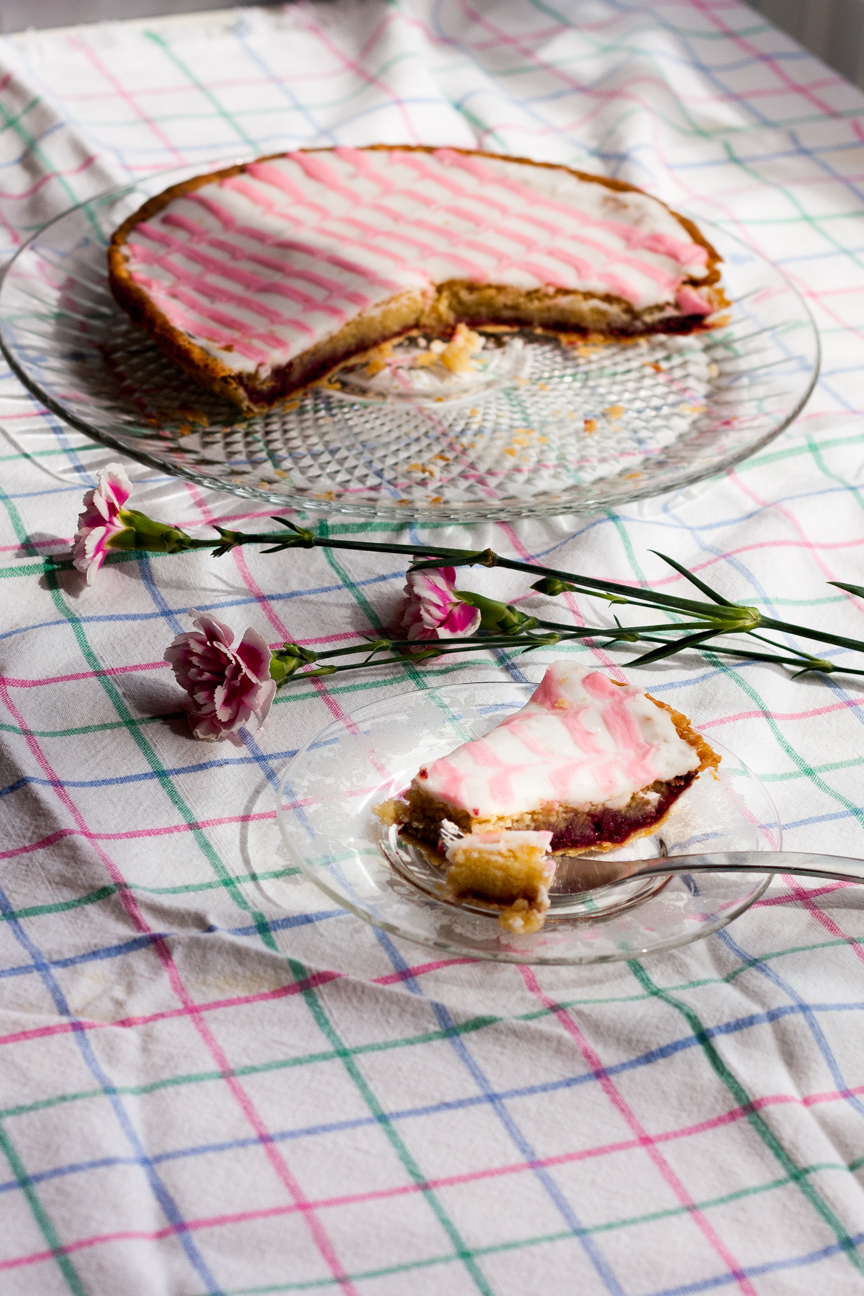 Decorate with icing when the tart is cold.