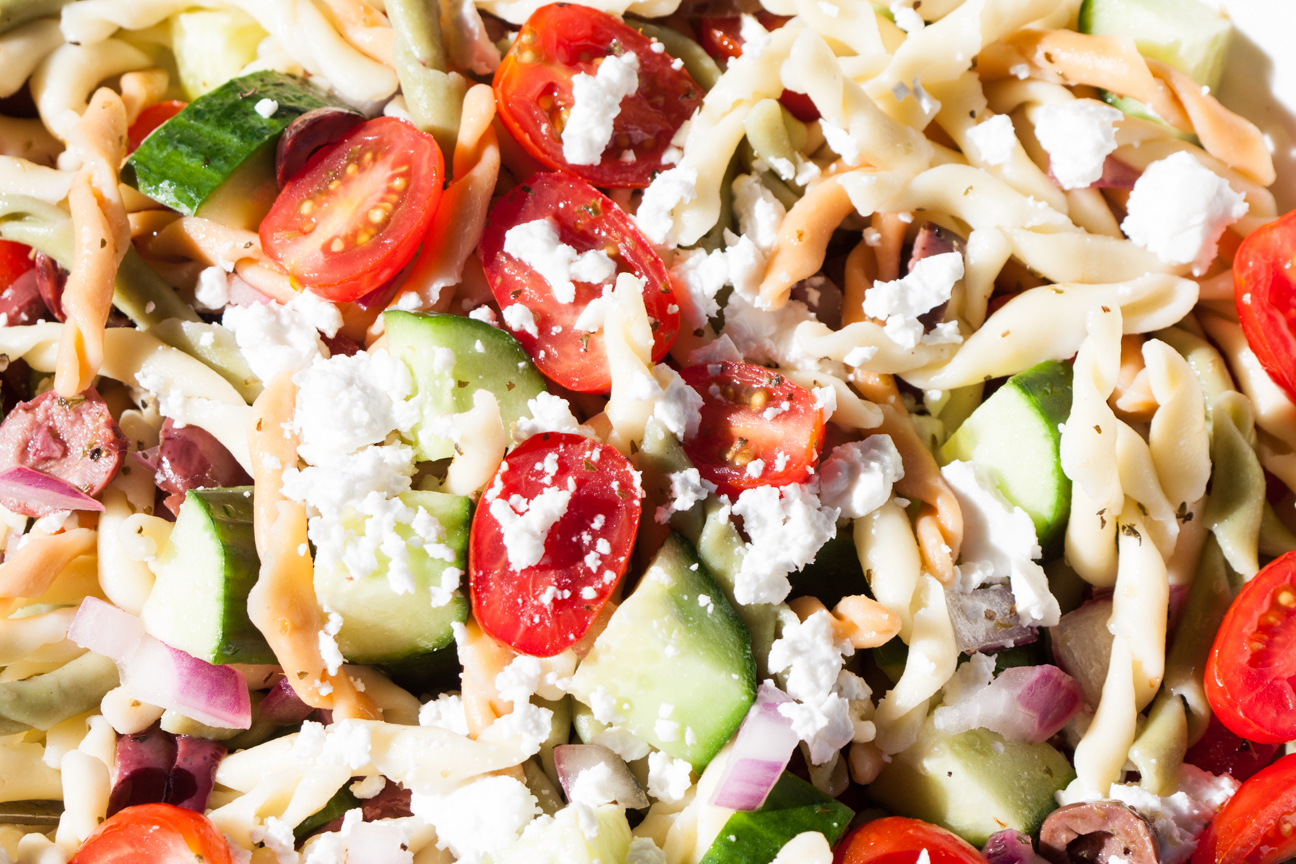
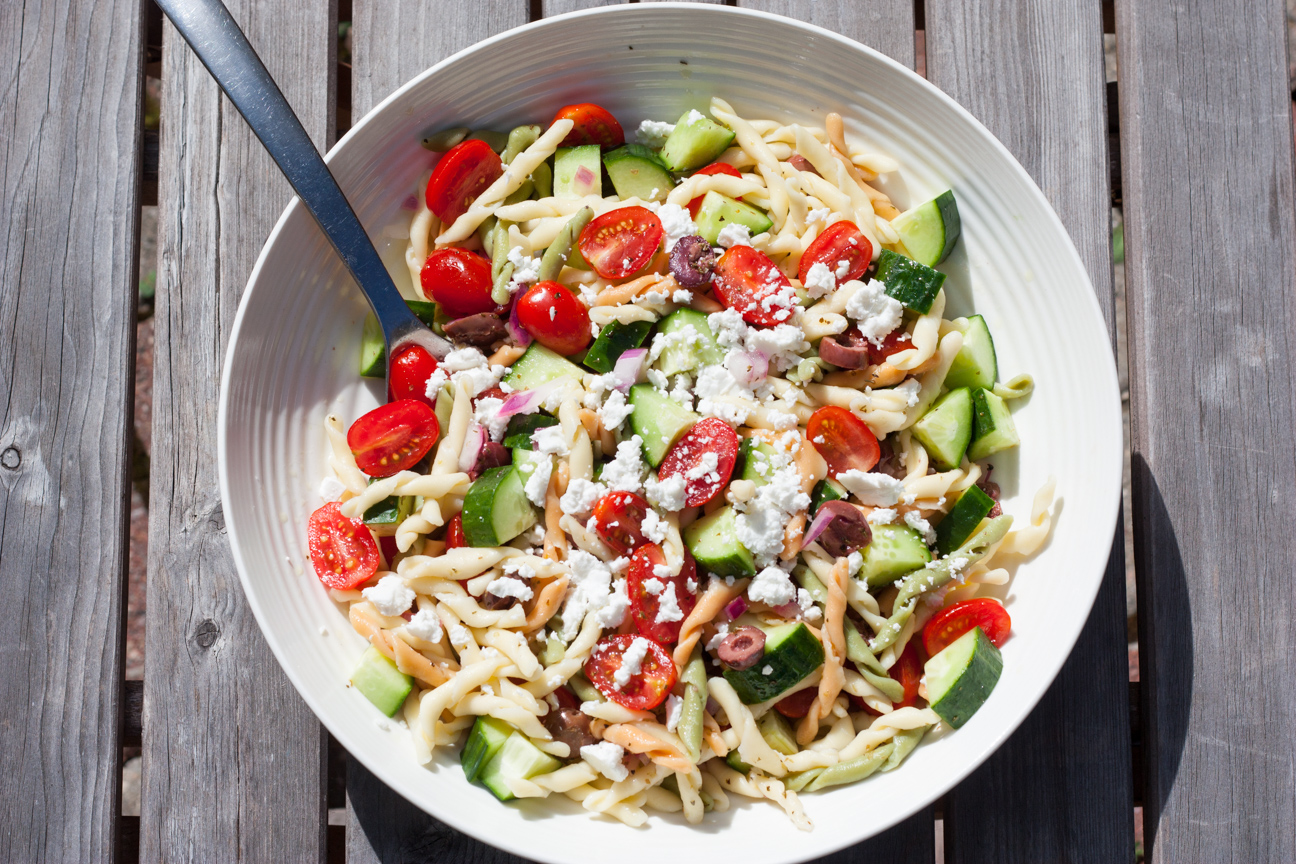
This Fantastic Lemon Greek Horiatiki Pasta Salad fits the bill for a meal anywhere, anytime…but especially picnics. Horiatiki is the traditional greek salad made without lettuce. Many restaurants will list Greek Salad on their menu, but they always contain lettuce. This salad is chock full of crispy red onion, fresh cucumber cubes, briny black olives, salty feta, tangy tomatoes and vinaigrette infused pasta. This salad is sure to have your family reaching for more! It is perfect picnic food, but is also a treat as a packed lunch during the week.
This dish also perfectly solves the dilemma of choosing pasta or salad. So, with this easy to pull-together meal, you get both.
My first introduction to really really good feta cheese
My friend Bonnie and I visited Greece many years ago during our year long adventure. You can read more about our travels in my earlier post about Egyptian Basboussa. I had chosen Greece as the warm place that I wanted to spend my always cold January birthday. I can still recall the briny olives, the anise scented bread and the licorice flavoured ouzo. But what I can still vividly recall to this day was the amazing creamy, salty feta cheese that we ate at many outdoor cafes.
Feta cheese is a very important component of Greek food. And this pasta salad is loaded with it. While we were in Greece, Bonnie and I worked at an orchard near Corinth, Peloponnese picking oranges to make some money so we could continue travelling. After breakfast, we would walk over to the orange orchards from our campground. We always worked alongside a few of the local greek women. Everyday they would bring a packed lunch with them to share with us. Their lunch always included homemade Greek bread and big hunks of creamy, salty sheep’s milk feta cheese for lunch, as well as bottles of red wine. Heavenly! And so kind.
Different Types of Feta
There are many different types of feta cheese available in Canada and other countries around the world. But, it’s very difficult to get true Greek feta cheese outside of Greece as they just don’t produce enough. If you would like to learn more about Greek Feta Cheese or want another delicious recipe using feta cheese, head over to my blog about Alevropita.
A tip for raw red onions
My recipe for this Fantastic Lemon Greek Horiatiki Pasta Salad also has raw red onions in it. If you love onions, but don’t always enjoy them raw, I have included a really handy tip in this recipe for people just like you. If you soak diced red onions for ten minutes in boiled water, it removes the strong, bitter onion flavour, but maintains the crunch and the sweeter milder flavour of onions. I love this technique.
This salad comes together in a snap. While the pasta is cooking, you can slice the tomatoes, cube the cucumbers, crumble the feta and drain the olives. After you have drained the pasta, pour in the lovely veg, drizzle on the vinaigrette and lunch is ready!
You can eat this salad slightly warm or at room temperature.
Kali Orexi!!
Lemony Greek Horiatiki Pasta Salad
Ingredients
- 250 grams pasta
- 200 grams cucumbers, cubed
- 50 grams black olives, sliced and drained
- 150 grams cherry tomatoes, sliced
- 200 grams feta cheese
- 50 grams red onions, chopped fine (soaked in boiled water for 10 minutes)
- Vinaigrette
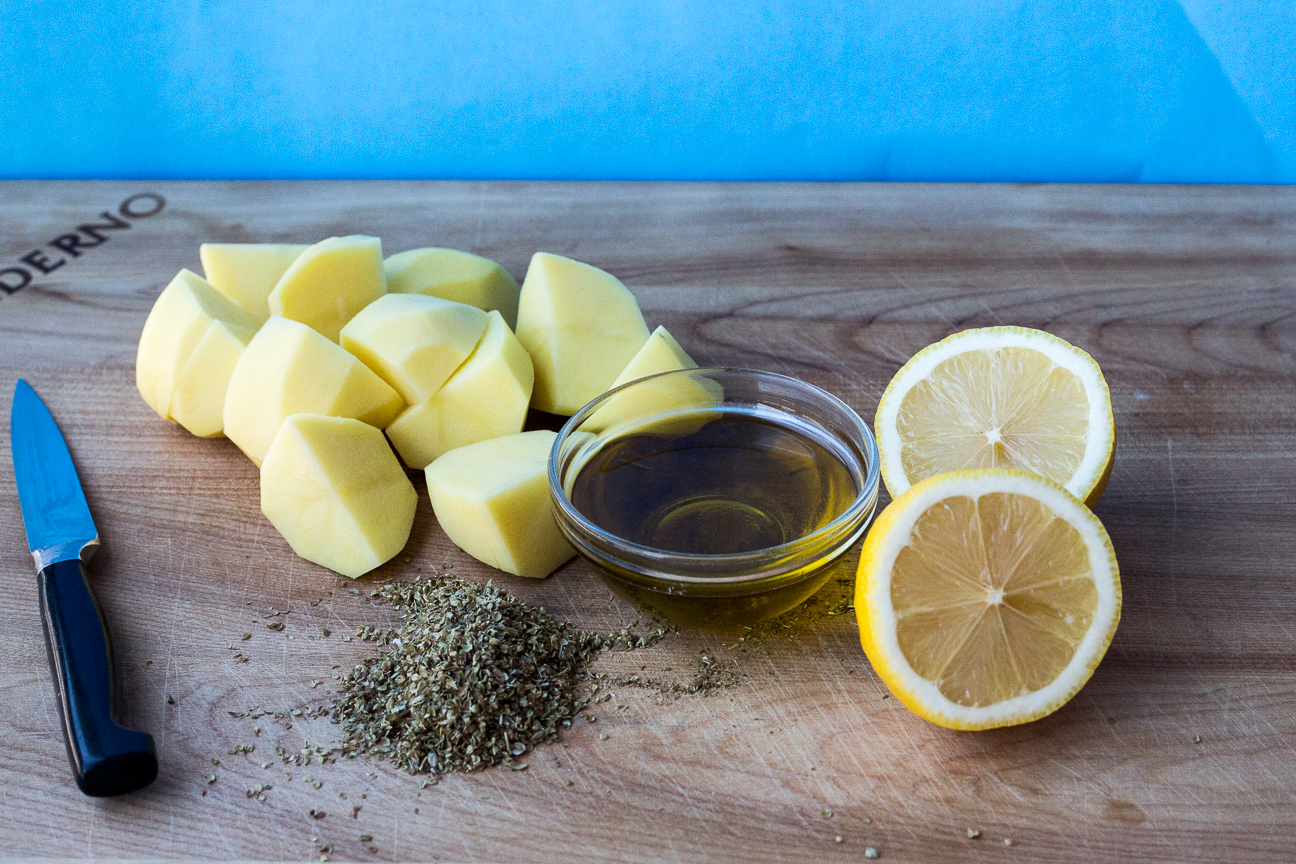
- 3 Tbsp olive oil
- 1 Tbsp lemon juice
- 1 tsp oregano
- 1/2 tsp salt
Instructions
Cook pasta according to package instructions.
As pasta is cooking, cube the cucumbers, drain the black olives and slice the cherry tomatoes.
Soak the red onion in boiled water for 10 minutes. This maintains the crunch of the red onion, but removes the strong onion flavour. Omit if you prefer a strong onion taste.
Mix together vinaigrette.
Once the pasta is cooked, strain it in a sieve and rinse briefly with cold water.
Pour the pasta into a large serving bowl. Add the chopped vegetables.
Drizzle the vinaigrette over the vegetables and pasta. Mix thoroughly with two large spoons making sure that all of the pasta and vegetables are covered with the vinaigrette.
Serve at immediately at room temperature.
Leftovers, if there are any, can be kept in the refrigerator for up to 3 days.
Notes
This recipe will serve about 4 people. If you have some big eaters or soccer players in your family, or really like having leftovers for lunches, please double this recipe.