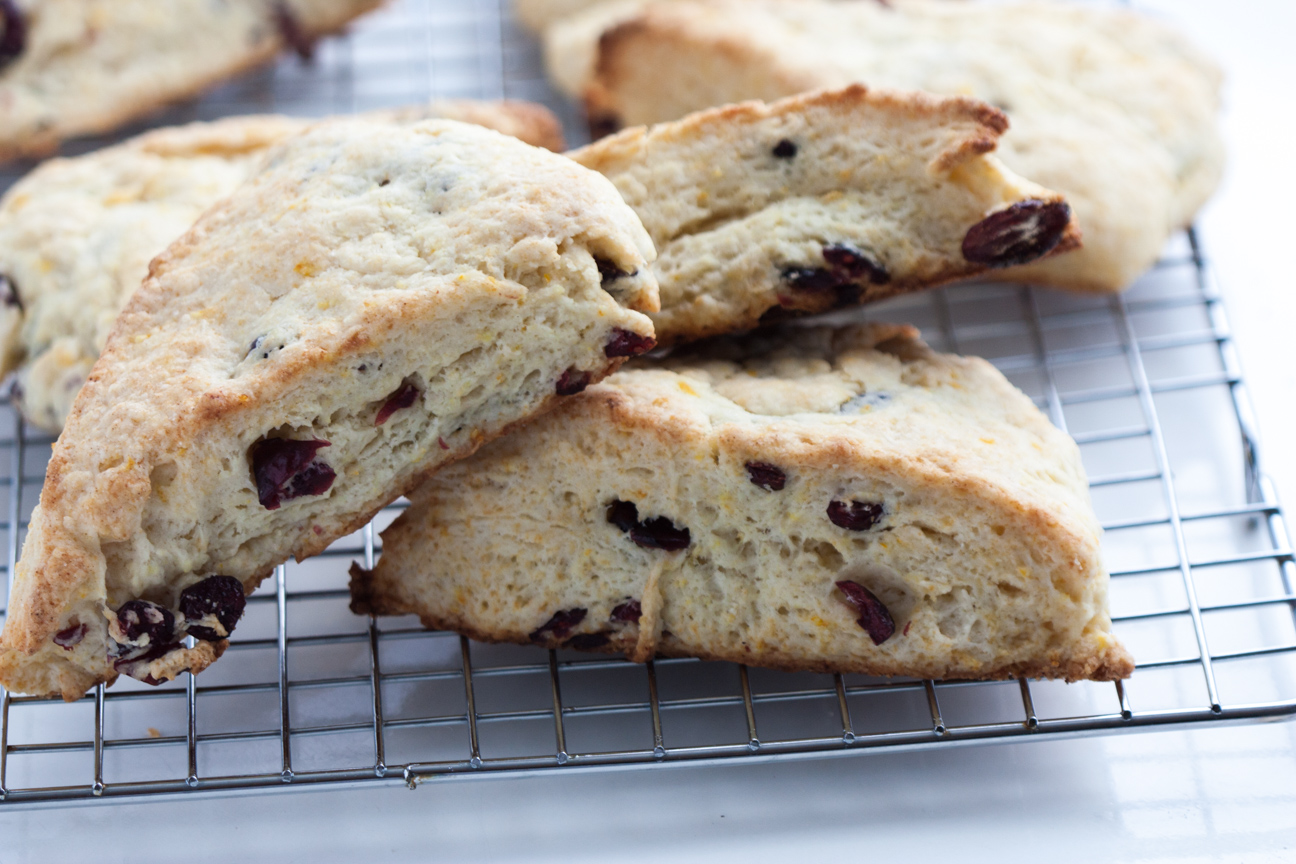
These delicious Classic Cream Scones with Cranberry and Orange are the easiest thing to make. If you are searching for a treat that’s easy to bake either for yourself and your family or as a gift for others, I’ve got you covered with this delicious scone recipe. With only seven ingredients that are mixed together in one bowl, these scones will be ready in no time! (I promise). Plus, there is minimum washing up.
Is it just me, or do you find it’s almost impossible to buy a good scone anywhere. I think, to enjoy a really good scone, you have to make them yourself. This recipe of Classic Cream Scones with Dried Cranberry and Orange Zest are very tender and flaky. And here’s a sweet tip – they’re freezable. If you don’t think your family will eat all of them within 2 days, you can freeze them to enjoy later!
Scones are so perfect with tea in morning, or in the afternoon with a mug of hot cocoa or after dinner spread with jam. I can eat them anytime of day, can’t you?
Because they’re so quick to bake, they make a perfect gift for any occasion. They are the ideal gift for a new mom, a bake sale at your local church or school, as well as an excellent thank you gift for a neighbour who has been collecting your mail, shovelled your driveway after a big snowstorm, or cut your grass when you couldn’t get to it.
I baked a few dozen of these scones last November for my son’s high school Craft Fair and they sold out within a couple of hours. Many people came back to my table to tell me how amazing they were. I made a few different variations but the Cranberry Orange Scones were the most popular. You could also substitute the dried cranberries for raisin, chocolate chip or chopped ginger.
I hope you enjoy my Classic Cream Scones with Dried Cranberry and Orange Zest.
5 tablespoons butter, cut into 1/4 inch pieces and chilled
3/4 cup dried cranberries
1 tsp grated orange zest
1 cup whipping cream
Instructions
1
Line baking sheet with parchment paper. Preheat oven to 425 degrees F.
2
In a food processor, add all of the dry ingredients and pulse 3-5 times, until all the ingredients are mixed together.
3
Add cubes of butter and orange zest to the dry ingredients. Pulse until butter-flour mixture is blended together like bread crumbs. It’s ok to have a few larger pieces.
4
Pour into mixing bowl and add dried cranberries and stir until cranberries are coated in flour, separate any stuck together. Stir in cream until a nice dough starts to form.
5
Place dough and any unmixed ingredients onto table and knead the dough until it all comes together to a nice somewhat smooth dough. Flatten out into a circle, trying to keep edges smooth, until it has a 9 inch diameter.
6
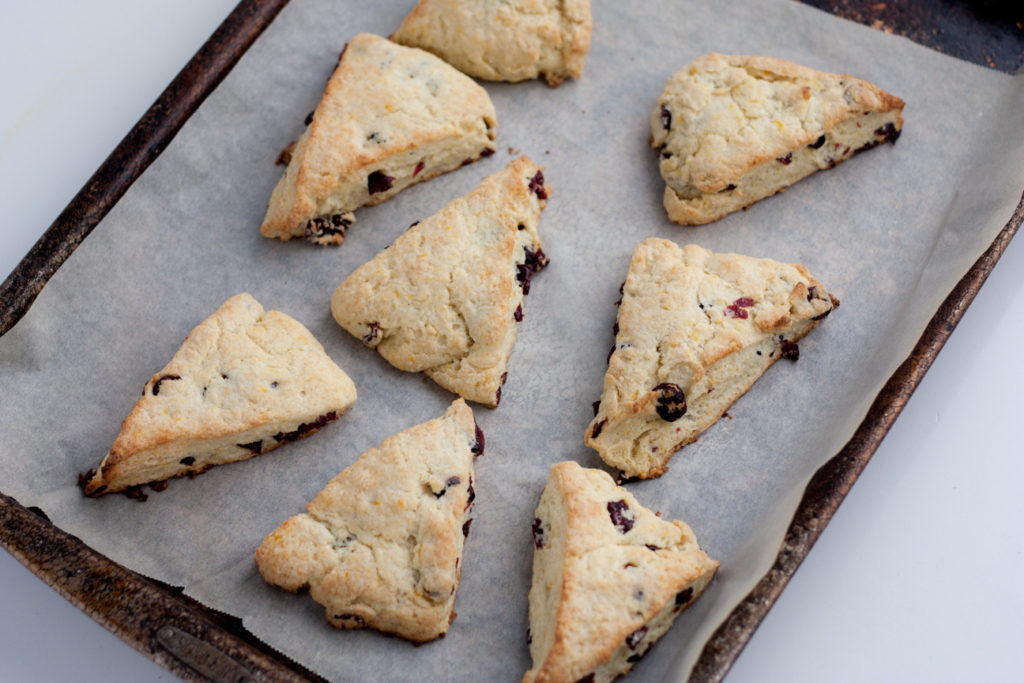
Cut the disc into 8 triangles and place each triangle on parchment paper, about 2 inches apart.
7
Bake for 5 minutes, then turn pan in oven; bake for another five minutes or so, until nicely golden on top.
8
Remove from oven and place tray on a rack. Let scones cool for 5 minutes or so on tray, then remove from tray and place on rack. You can eat them warm or at room temperature. Store in a cool dark place 2-3 days. You can also freeze the scones for about one month.
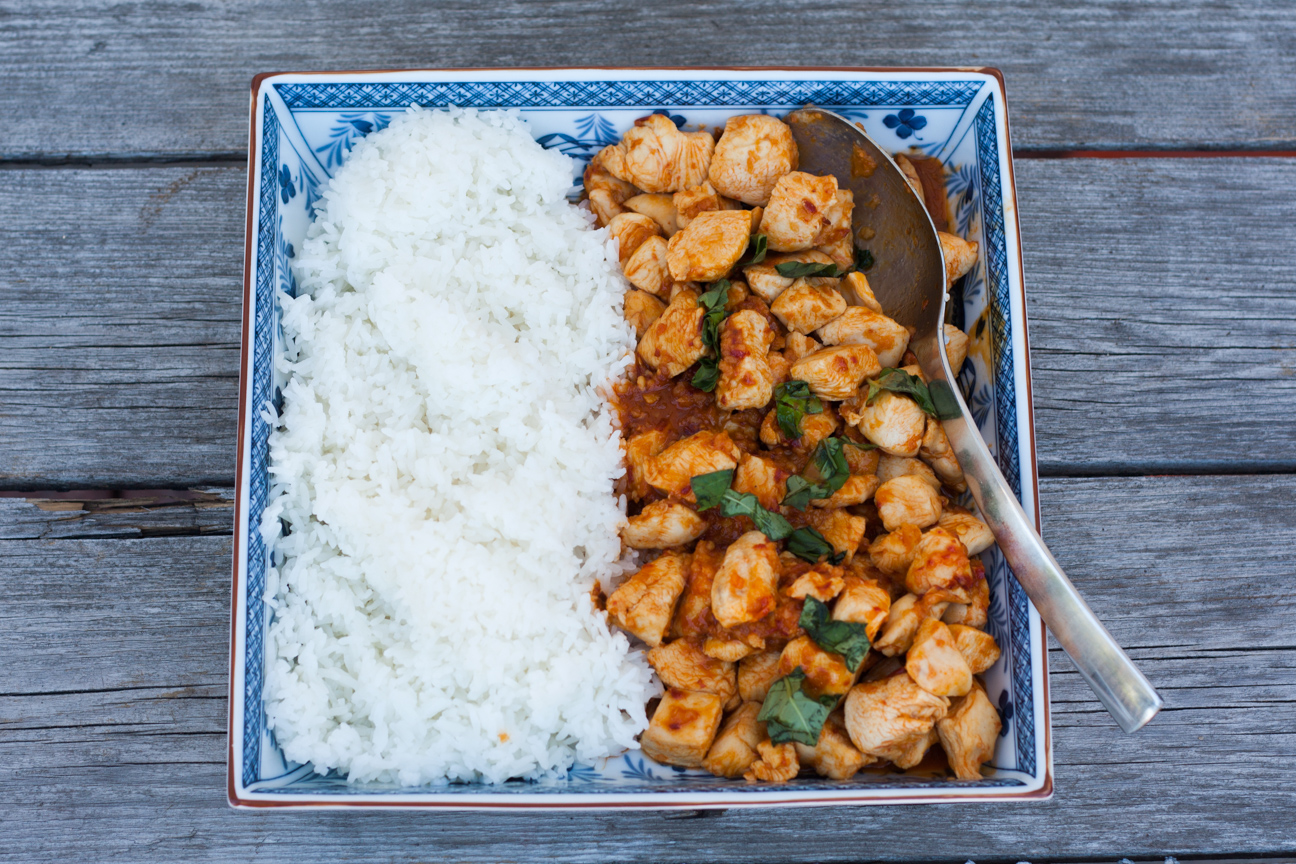
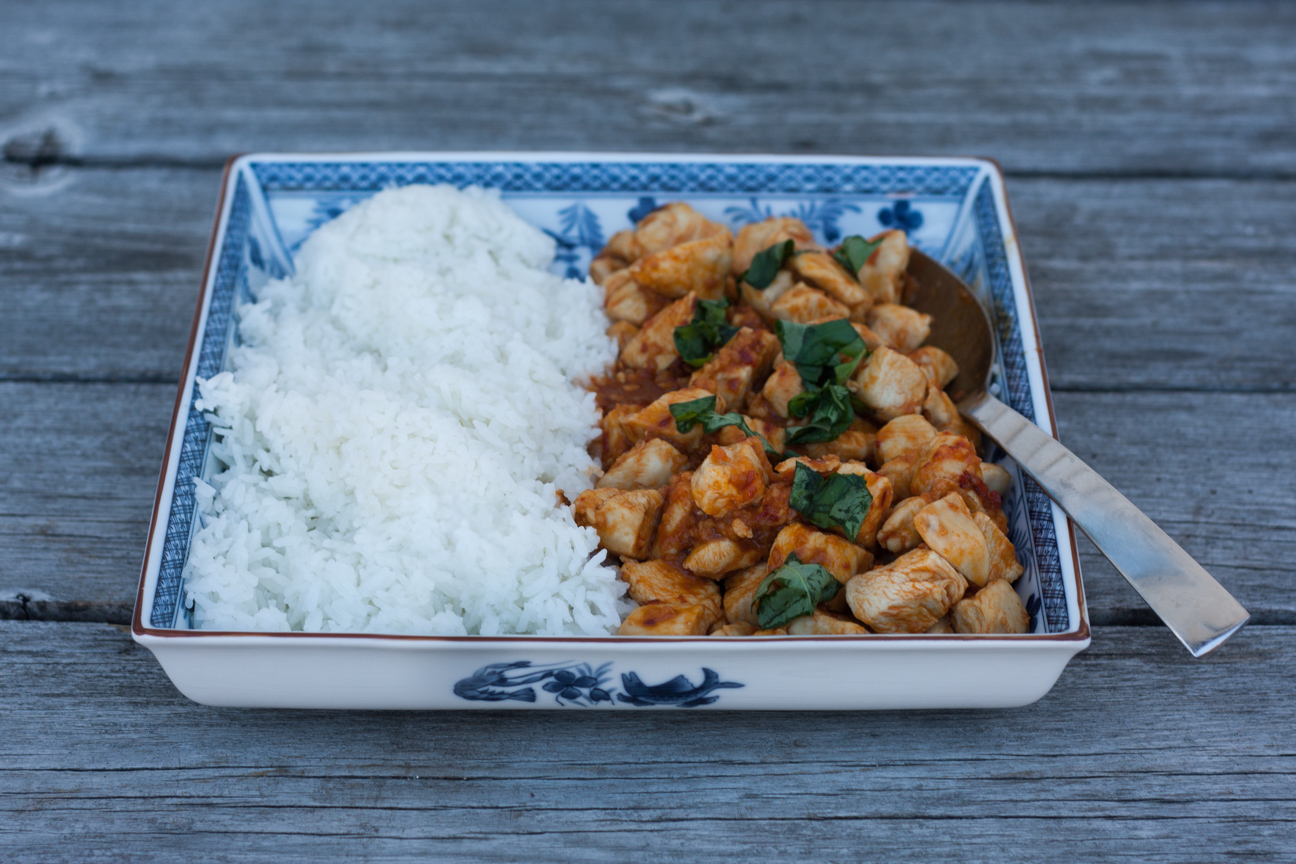
Thai Chicken with Chilies and Basil is the perfect comfort food. Tender pieces of bite-sized chicken nestled in a fragrant spicy sauce with basil added at the end. Served over top of a mound of rice completes this dish.
This dish, Thai Basil Chicken is considered comfort food in Thailand. I read about this dish a few years ago, when I was following the news story about the Thai soccer boys trapped in a cave. One of the boys said that the first dish he wanted his mom to cook for him was ‘Gai Pad Krapow’ (Thai Basil Chicken).
Comfort food is so very personal. We have a few favourites in our house and they always hit the spot when I serve them at dinnertime. Comfort food can be personal or cultural. It can also be sentimental and remind us of dishes our moms cooked when we were little. I often prepare our family’s favourite comfort dishes after a stressful week, during a blustery cold winter day or even for a celebration. And my family is always happy when I do. Even the aroma of these dishes cheers everyone up.
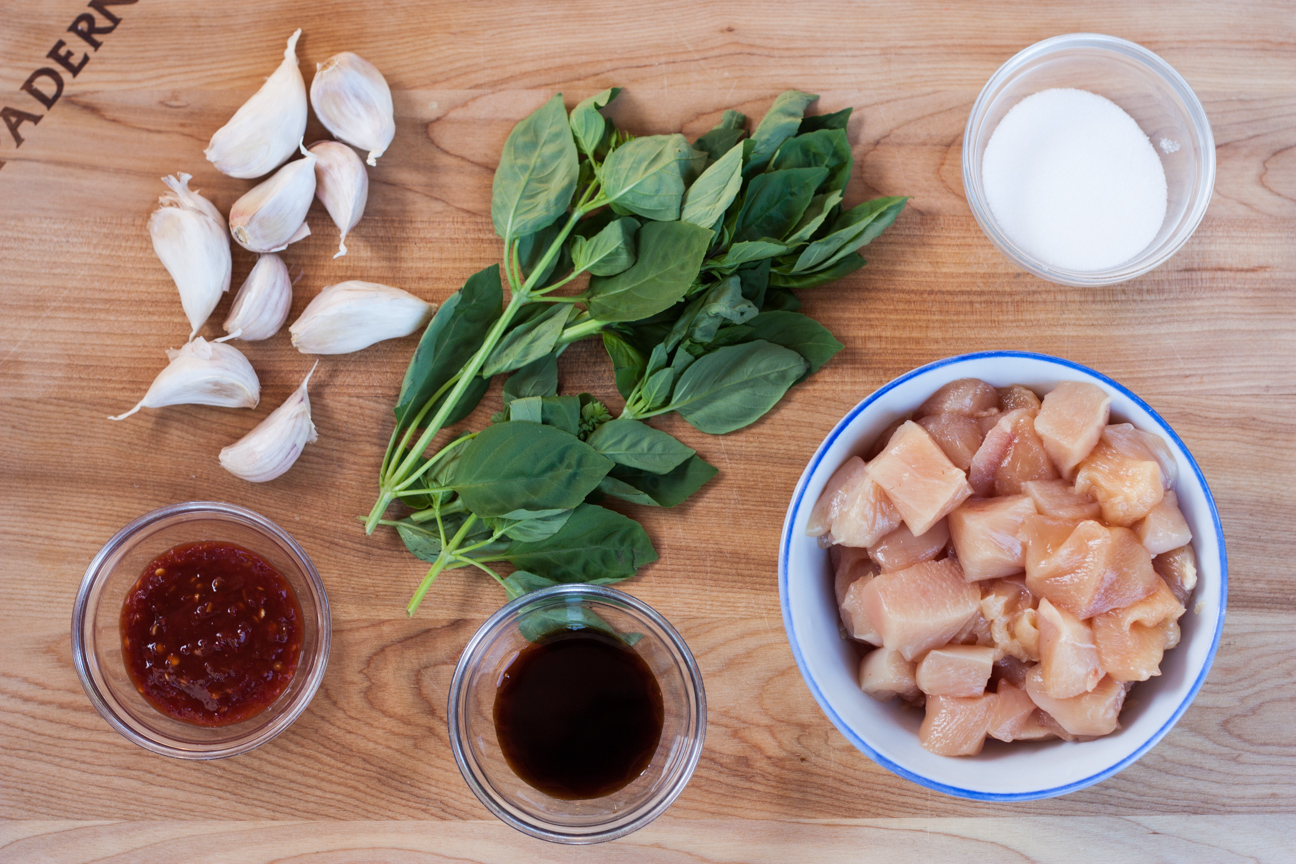
After following the news story of the thai boys, and learning a bit about Thai people, I was eager to sample comfort food from Thailand. This comfort dish is made from garlic, sambal oelek, soy sauce, fish sauce, sugar, chicken and basil. And it’s a snap to prepare. In Thailand, they make this dish with Holy Basil, which is extremely difficult, if not impossible to find outside of Thailand. I used regular basil from the local supermarket and it tasted delicious. In Thailand they also use local chilies, but I like using sambal oelek, as there is no chopping involved and it is very easy to adjust the amount of heat I want to add to the dish.
Thai Chicken with Chilies and Basil is so delicious. One bite combines a hit of chilies, tender chicken pieces, sweet herbal basil, comforting rice and aromatic fish sauce. It may actually become a new comfort food for our family.
What’s your comfort food? Write back and let me know. I’d love to hear from you!
Prep all your ingredients: cut the chicken into bite sized pieces, peel and crush the garlic, measure out the sambal oelek, stir together the soy sauce, fish sauce and sugars and wash and chop the basil.
2
Pour some oil into a frying pan or wok. Add garlic and sambal oelek. Saute until the garlic is fragrant, about 30 seconds or so.
3
Add the chicken. Saute on medium until the chicken is cooked, about 5-8 minutes.
4
When the chicken is thoroughly cooked, add the soy, fish sauce and sugar mixture. Stir this mixture and continue cooking on medium, until everything is mixed thoroughly.
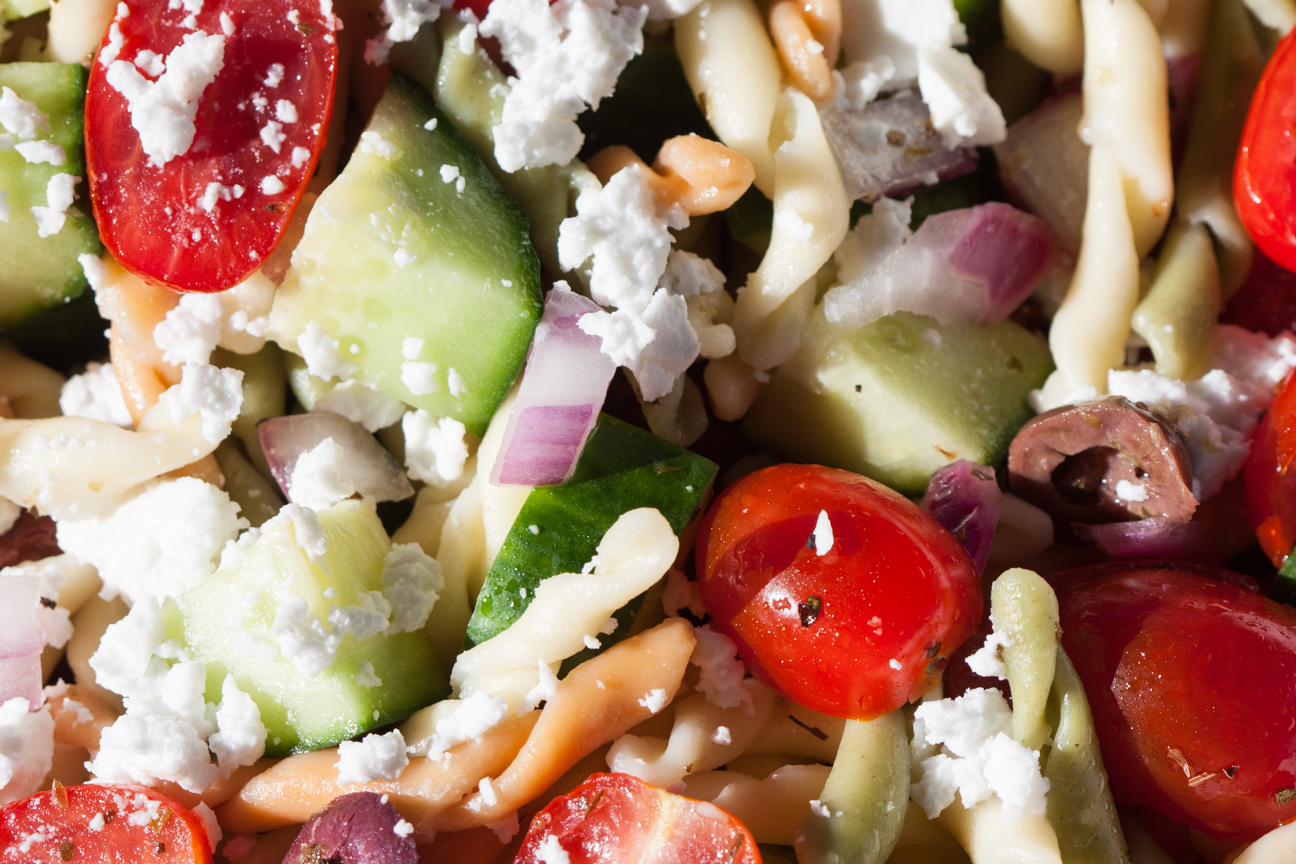
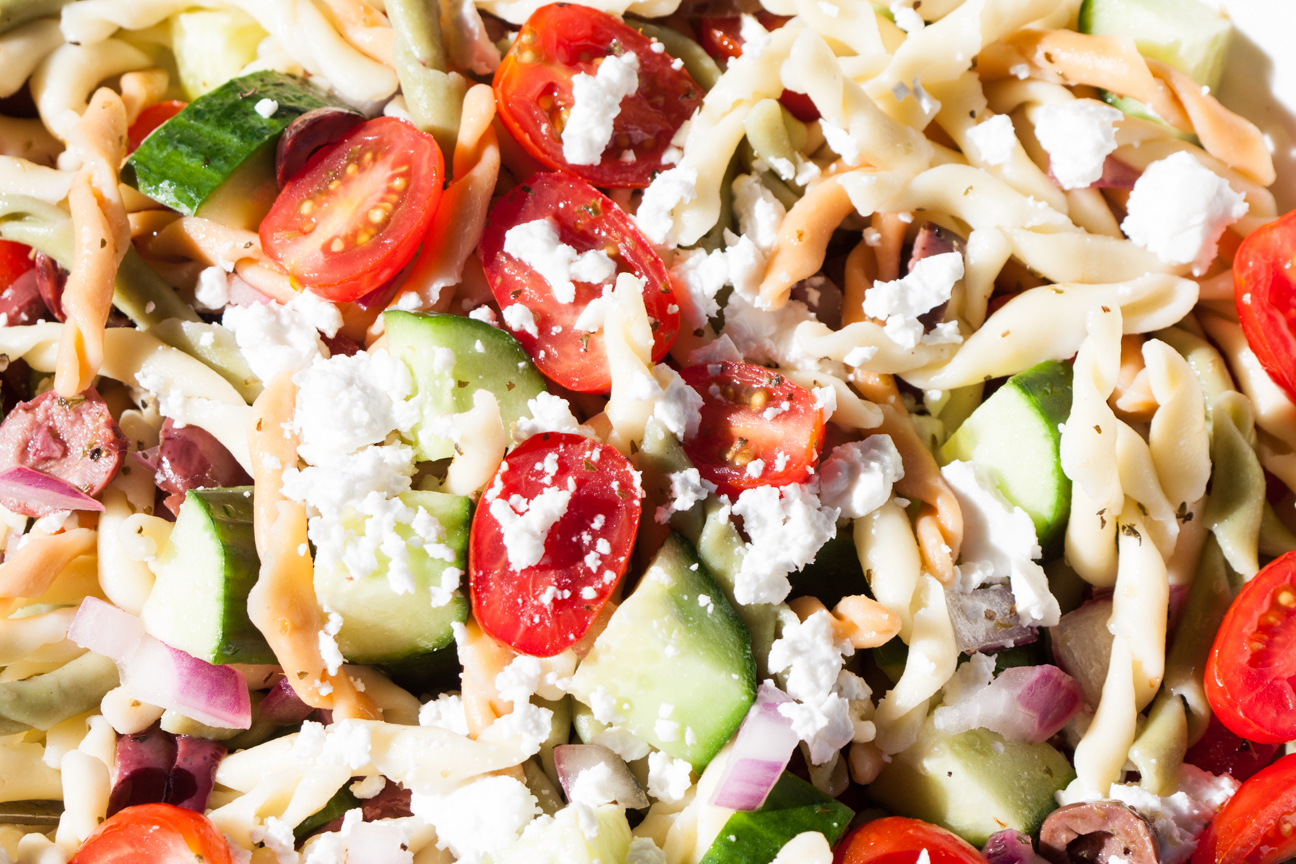
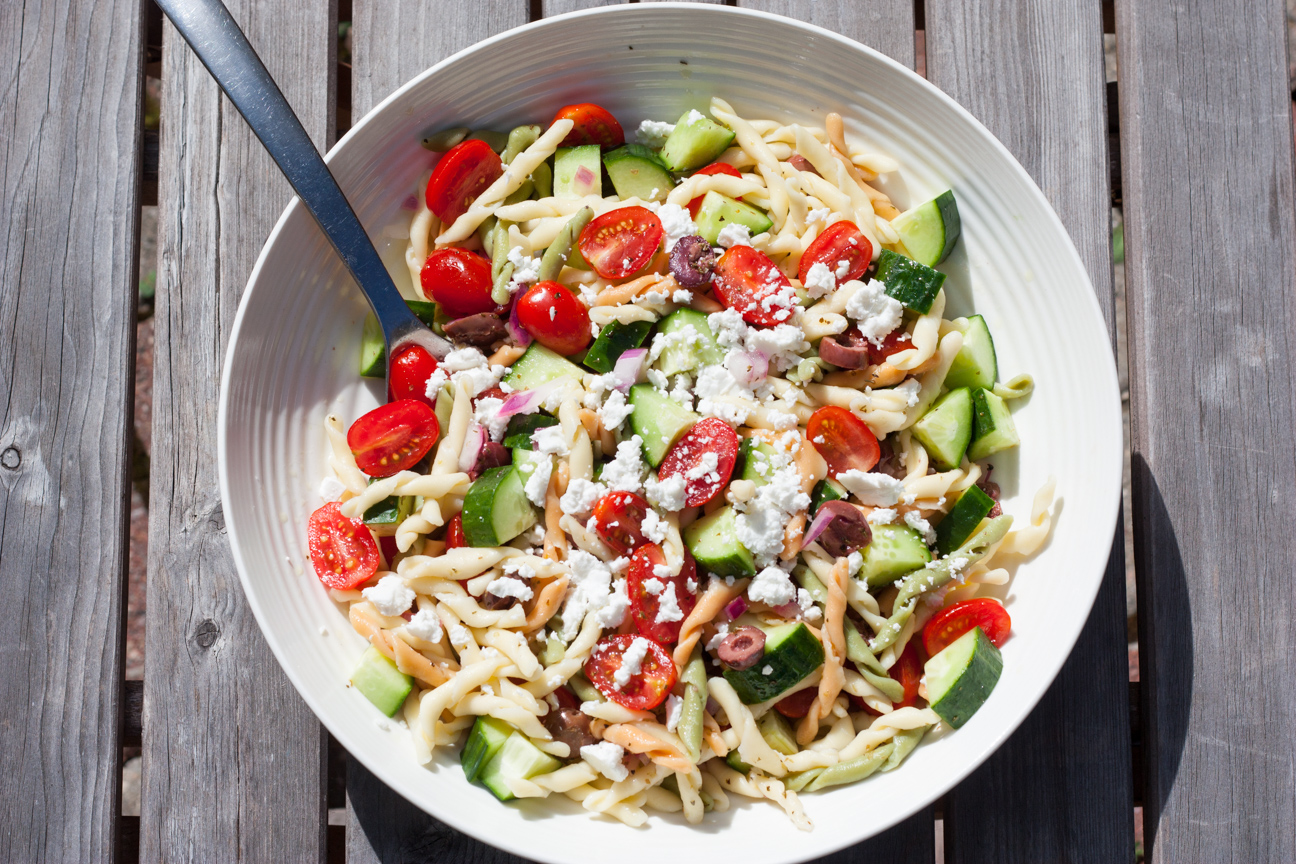
This Fantastic Lemon Greek Horiatiki Pasta Salad fits the bill for a meal anywhere, anytime…but especially picnics. Horiatiki is the traditional greek salad made without lettuce. Many restaurants will list Greek Salad on their menu, but they always contain lettuce. This salad is chock full of crispy red onion, fresh cucumber cubes, briny black olives, salty feta, tangy tomatoes and vinaigrette infused pasta. This salad is sure to have your family reaching for more! It is perfect picnic food, but is also a treat as a packed lunch during the week.
This dish also perfectly solves the dilemma of choosing pasta or salad. So, with this easy to pull-together meal, you get both.
My first introduction to really really good feta cheese
My friend Bonnie and I visited Greece many years ago during our year long adventure. You can read more about our travels in my earlier post about Egyptian Basboussa. I had chosen Greece as the warm place that I wanted to spend my always cold January birthday. I can still recall the briny olives, the anise scented bread and the licorice flavoured ouzo. But what I can still vividly recall to this day was the amazing creamy, salty feta cheese that we ate at many outdoor cafes.
Feta cheese is a very important component of Greek food. And this pasta salad is loaded with it. While we were in Greece, Bonnie and I worked at an orchard near Corinth, Peloponnese picking oranges to make some money so we could continue travelling. After breakfast, we would walk over to the orange orchards from our campground. We always worked alongside a few of the local greek women. Everyday they would bring a packed lunch with them to share with us. Their lunch always included homemade Greek bread and big hunks of creamy, salty sheep’s milk feta cheese for lunch, as well as bottles of red wine. Heavenly! And so kind.
Different Types of Feta
There are many different types of feta cheese available in Canada and other countries around the world. But, it’s very difficult to get true Greek feta cheese outside of Greece as they just don’t produce enough. If you would like to learn more about Greek Feta Cheese or want another delicious recipe using feta cheese, head over to my blog about Alevropita.
A tip for raw red onions
My recipe for this Fantastic Lemon Greek Horiatiki Pasta Salad also has raw red onions in it. If you love onions, but don’t always enjoy them raw, I have included a really handy tip in this recipe for people just like you. If you soak diced red onions for ten minutes in boiled water, it removes the strong, bitter onion flavour, but maintains the crunch and the sweeter milder flavour of onions. I love this technique.
This salad comes together in a snap. While the pasta is cooking, you can slice the tomatoes, cube the cucumbers, crumble the feta and drain the olives. After you have drained the pasta, pour in the lovely veg, drizzle on the vinaigrette and lunch is ready!
You can eat this salad slightly warm or at room temperature.
50 grams red onions, chopped fine (soaked in boiled water for 10 minutes)
Vinaigrette
3 Tbsp olive oil
1 Tbsp lemon juice
1 tsp oregano
1/2 tsp salt
Instructions
1
Cook pasta according to package instructions.
2
As pasta is cooking, cube the cucumbers, drain the black olives and slice the cherry tomatoes.
3
Soak the red onion in boiled water for 10 minutes. This maintains the crunch of the red onion, but removes the strong onion flavour. Omit if you prefer a strong onion taste.
4
Mix together vinaigrette.
5
Once the pasta is cooked, strain it in a sieve and rinse briefly with cold water.
6
Pour the pasta into a large serving bowl. Add the chopped vegetables.
7
Drizzle the vinaigrette over the vegetables and pasta. Mix thoroughly with two large spoons making sure that all of the pasta and vegetables are covered with the vinaigrette.
8
Serve at immediately at room temperature.
9
Leftovers, if there are any, can be kept in the refrigerator for up to 3 days.
Notes
This recipe will serve about 4 people. If you have some big eaters or soccer players in your family, or really like having leftovers for lunches, please double this recipe.
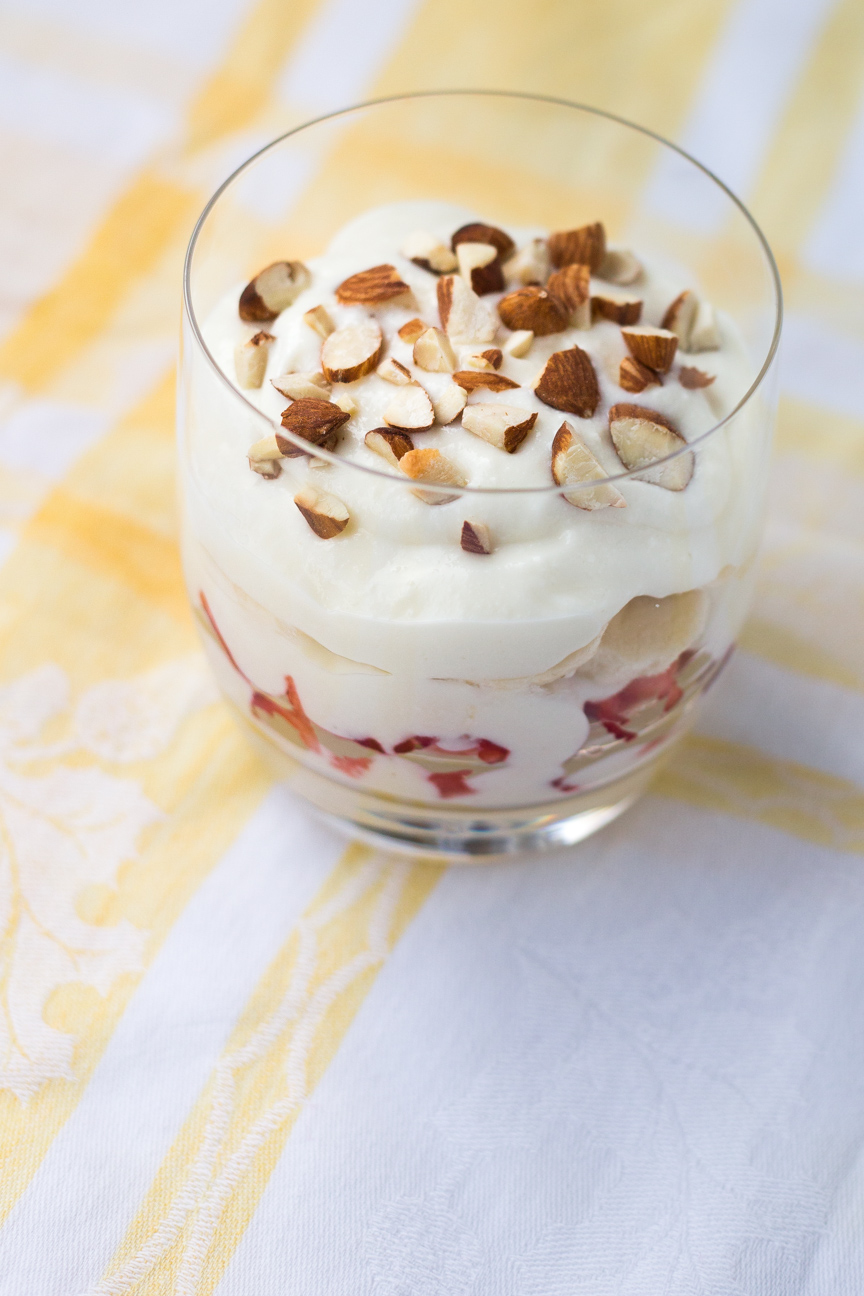
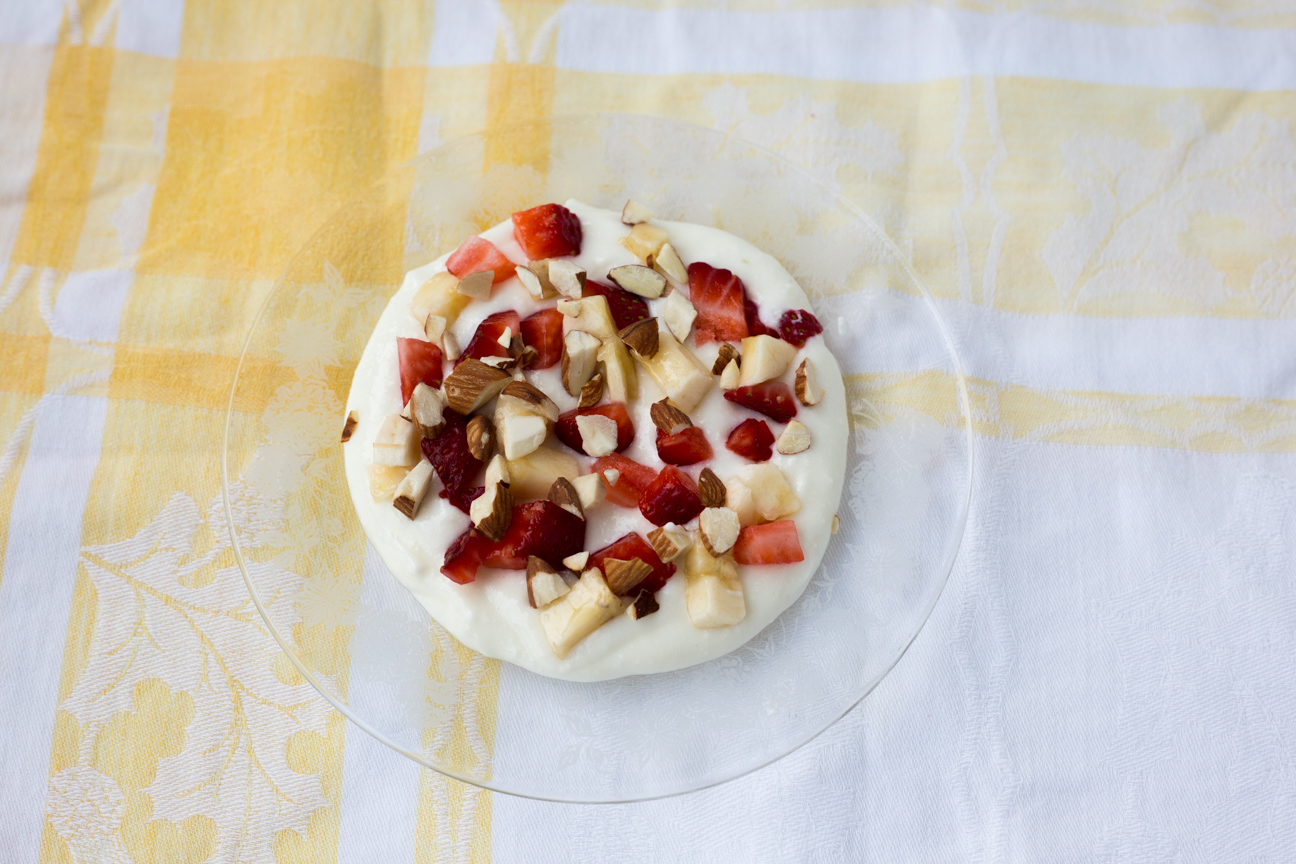
Ashta is a popular middle eastern dessert that is made from homemade ricotta cheese and a thickened milk custard. You can add sweetener, and flavouring including vanilla or orange blossom water or rose water. Ashta is slang for kashta, which means clotted cream. Ashta is used for many fillings of middle eastern desserts. It is the most sublime exotic dessert that you can make at home in a snap. This recipe for Creamy Ashta with Strawberry and Bananas is delicious for breakfast, a midday snack or a dessert. Or all three. Your choice.
I love to learn about traditional dishes from all over the globe. But, I have to say that I particularly enjoy learning new sweet dishes. Because nothing finishes off a good meal better than a lovely eye-appealing dessert.
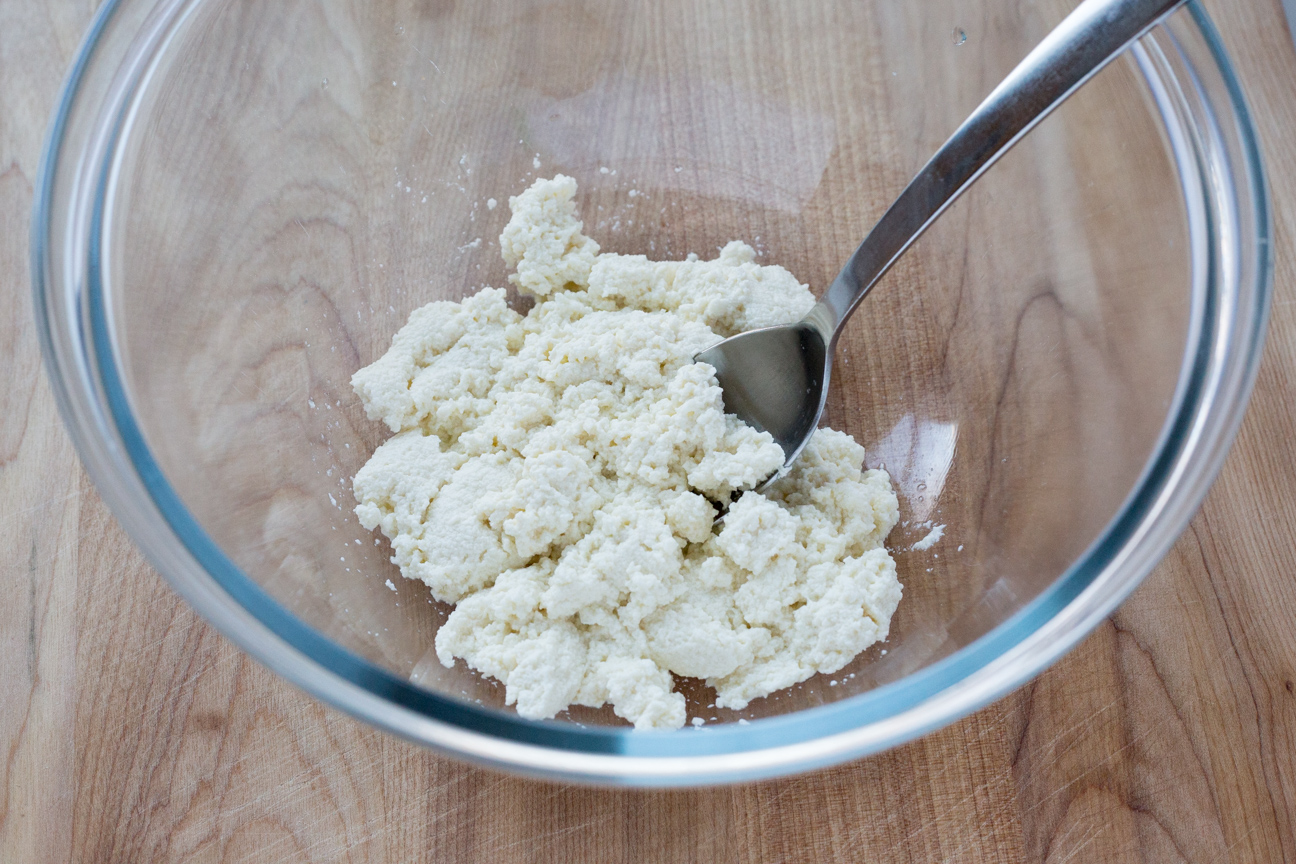
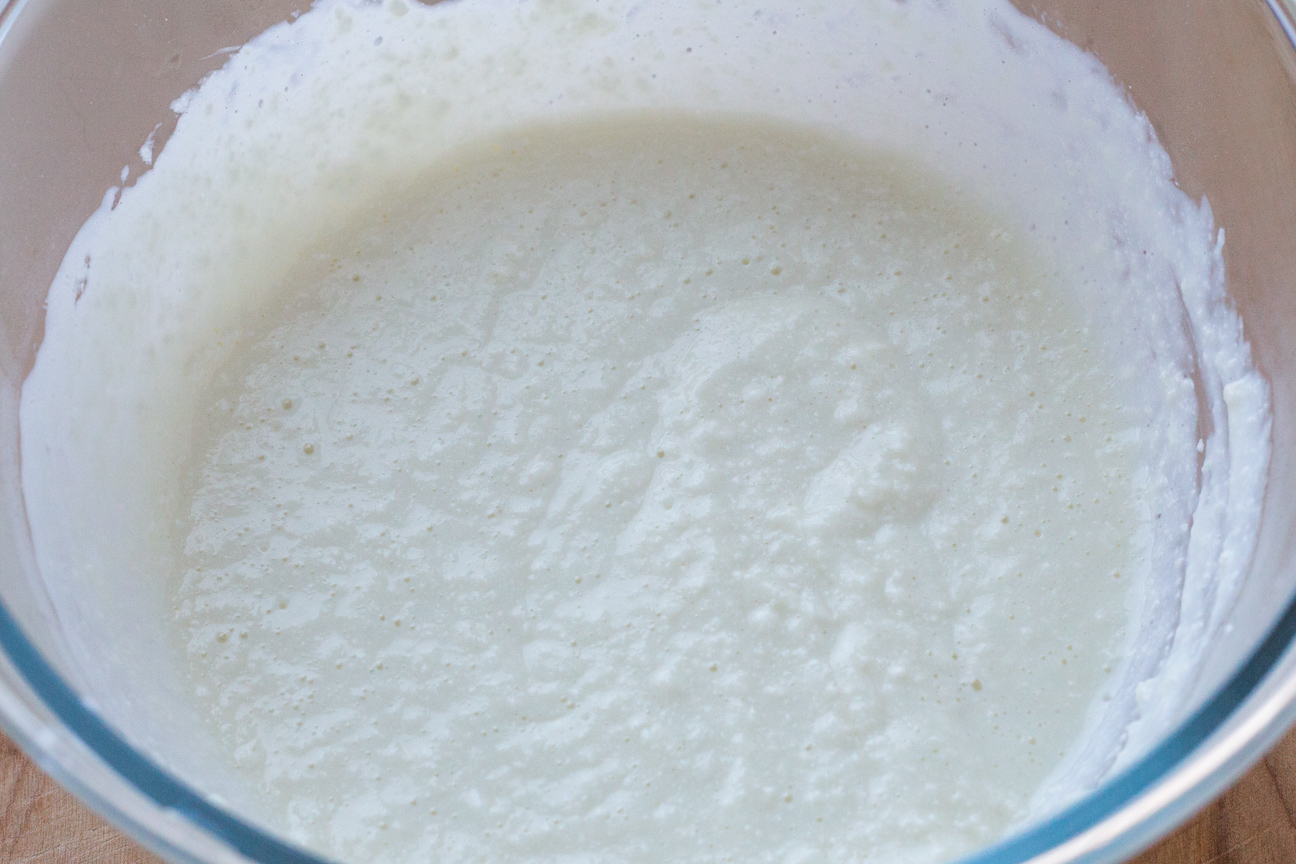
This is what the ashta looks like while the curds are draining in the cheese-cloth lined colander.
The curds will be small and have a milky aroma.
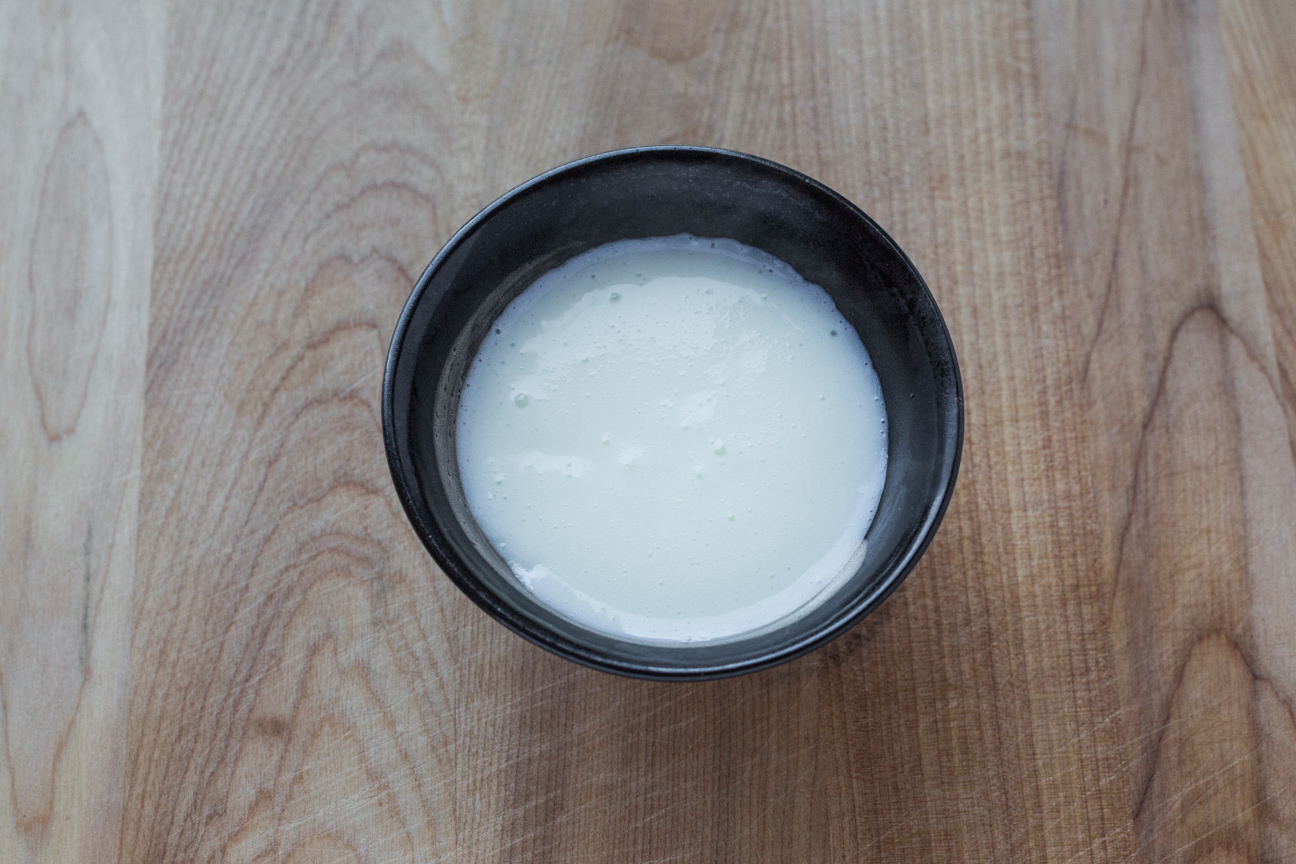
Next, make a custard that will get mixed in with the curds.
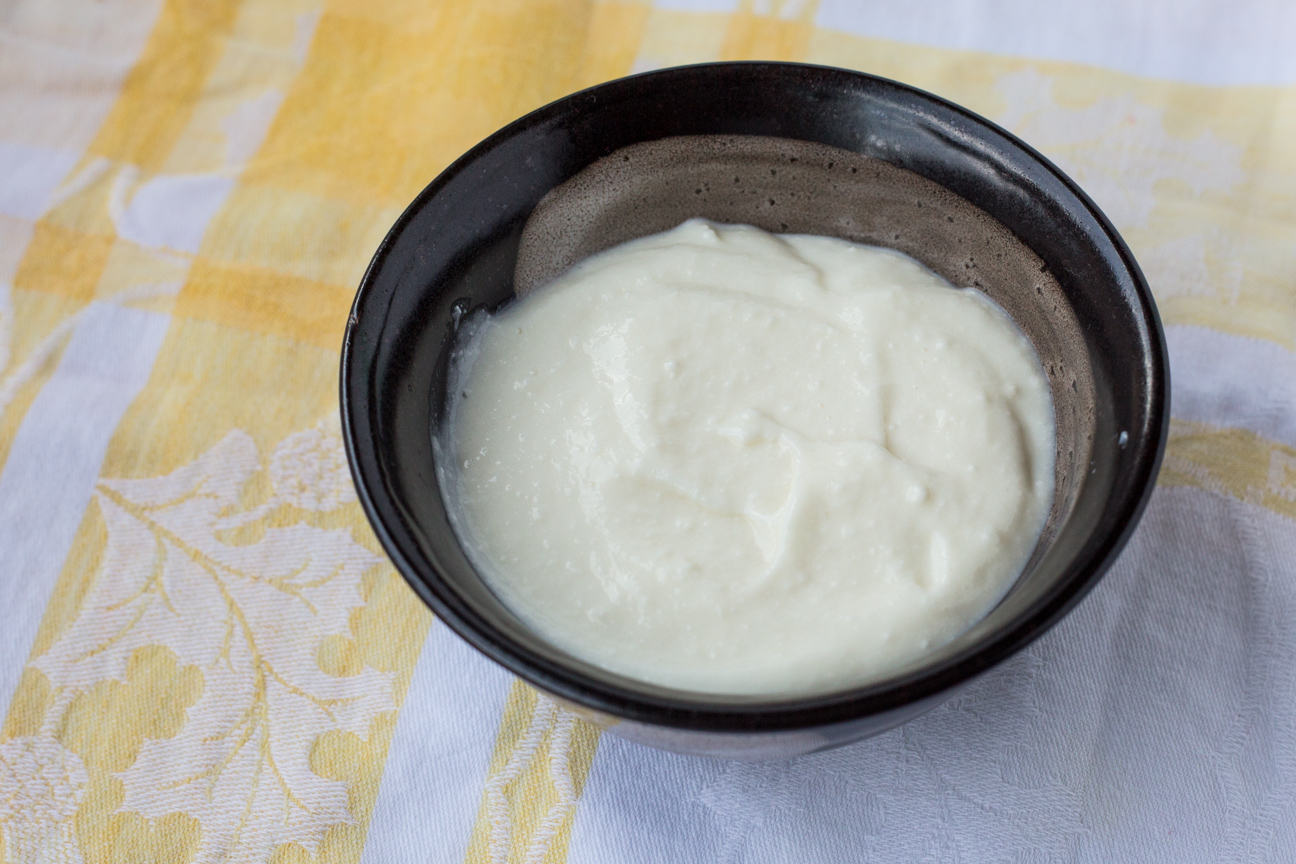
MIx together the curds and the custard. It will still be a bit lumpy. While some people like their ashta a bit lumpy, other people only like it very smooth. You can put this mixture into a blender or food processor and blend it until it becomes smooth.
This is my ashta after I pureed it. It still has some lumps in it, but I prefer it that way.
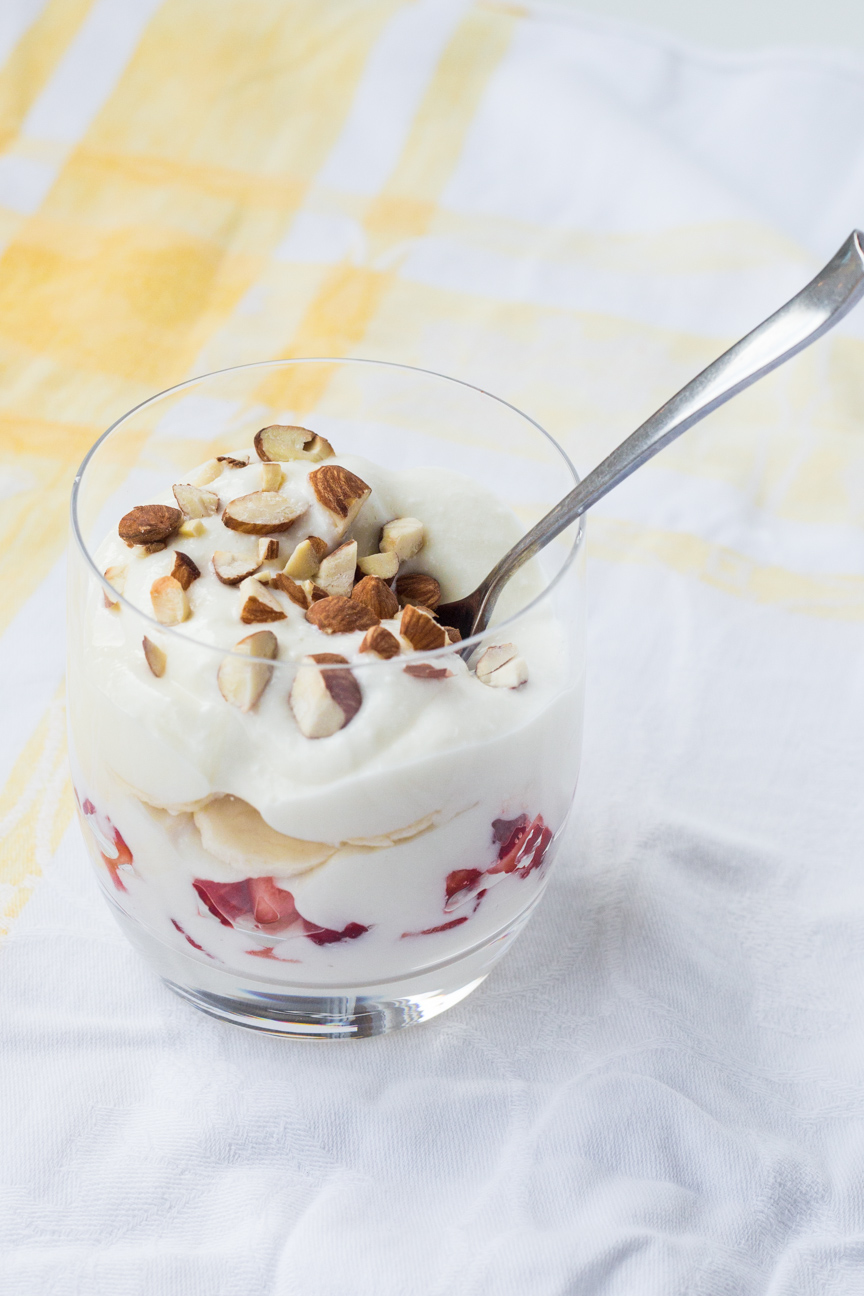
Serve your Creamy Ashta with fruit. It is traditional to serve with nuts on top.
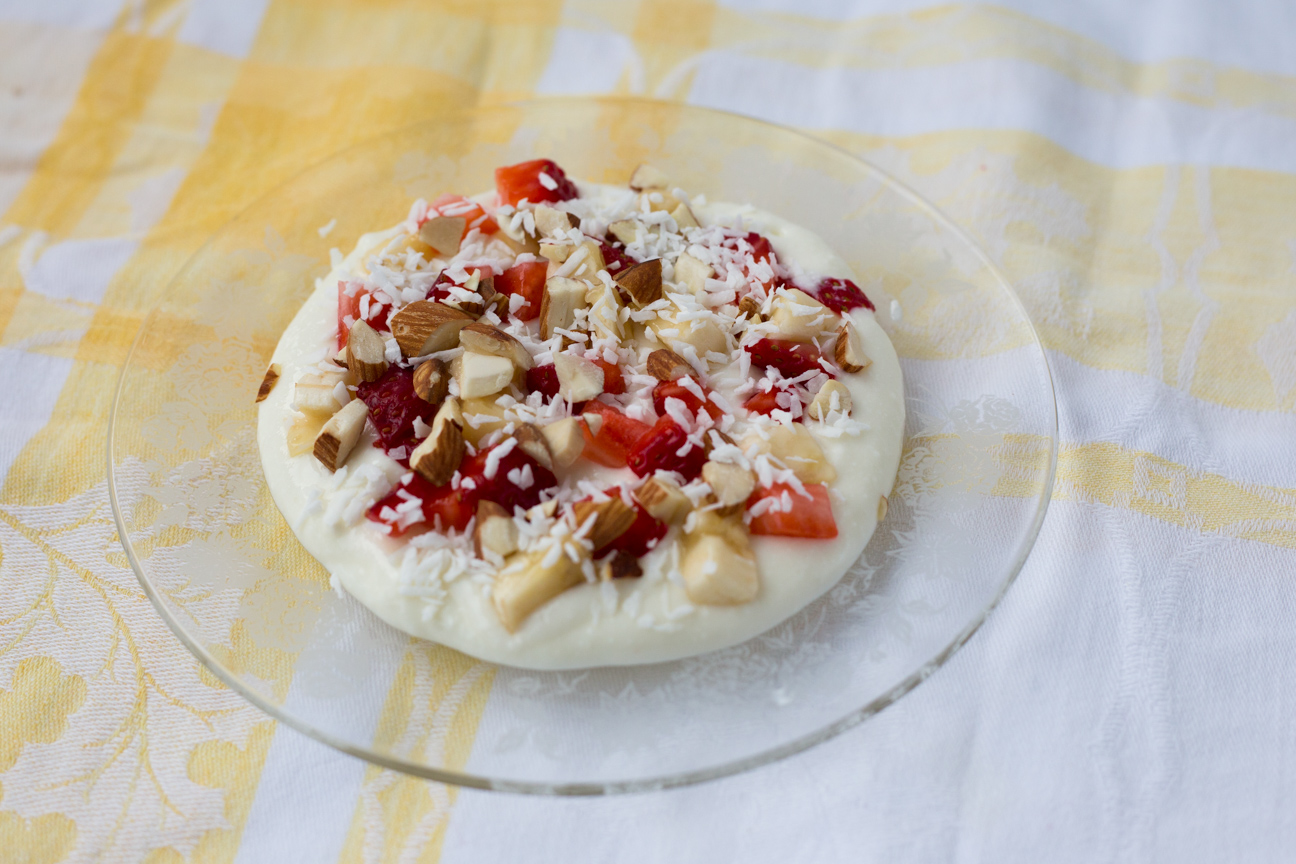
My friend, Eiman, who taught me how to make this lovely dish, serves her Ashta flat on a plate with fruit and nuts sprinkled on top. It looks very pretty this way.
Ashta makes a lovely summer dessert. Although this would also work well for breakfast.
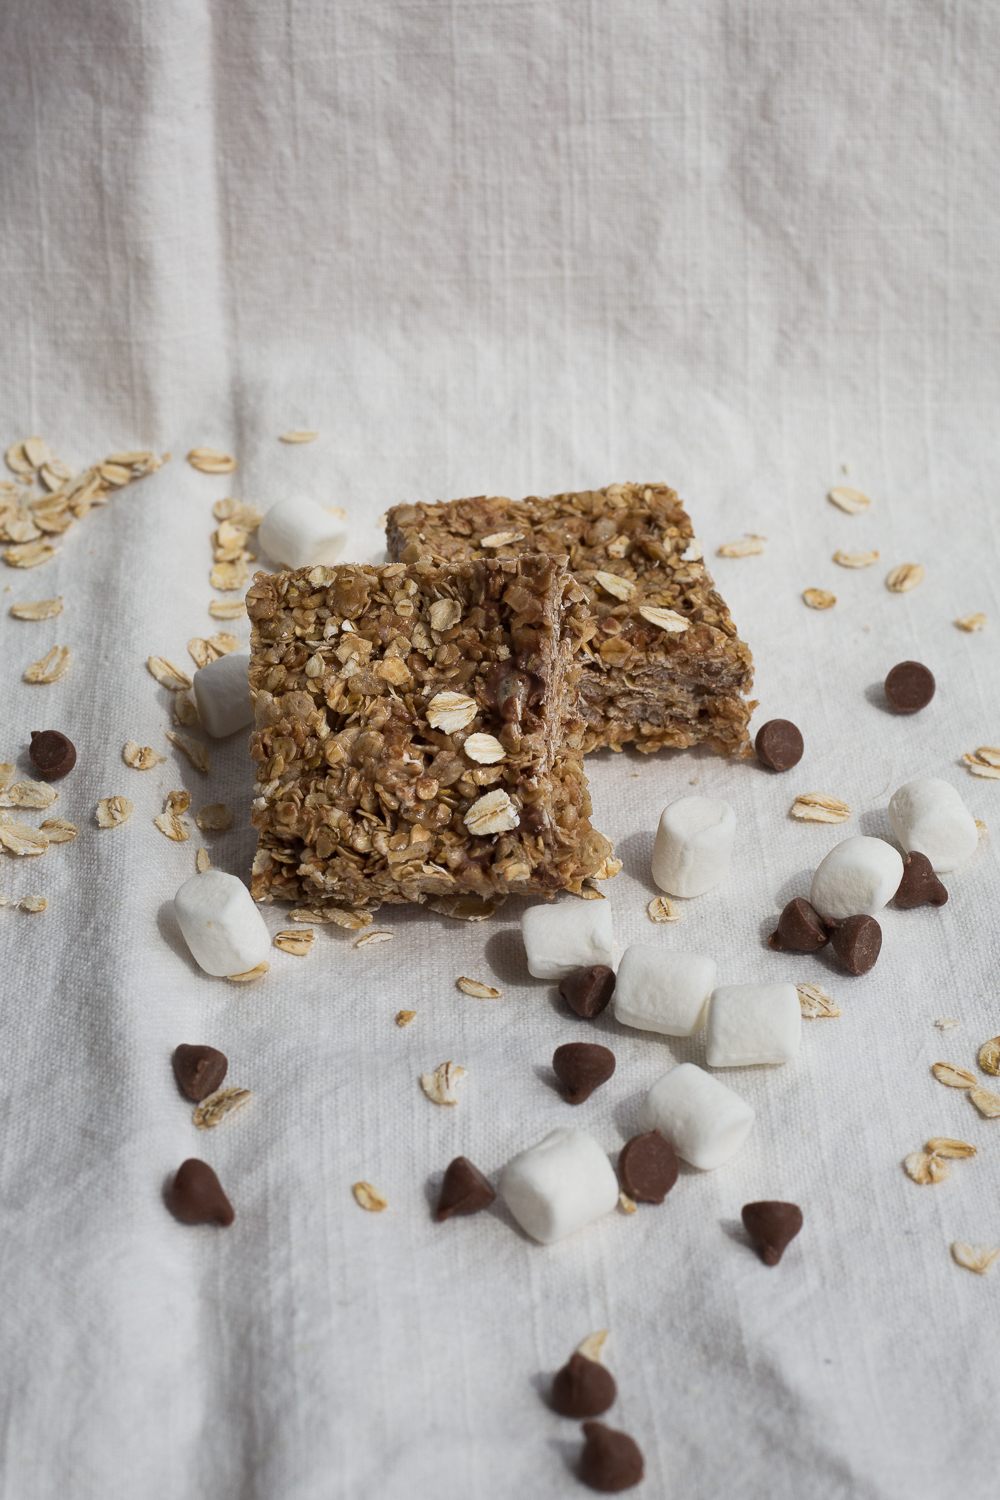
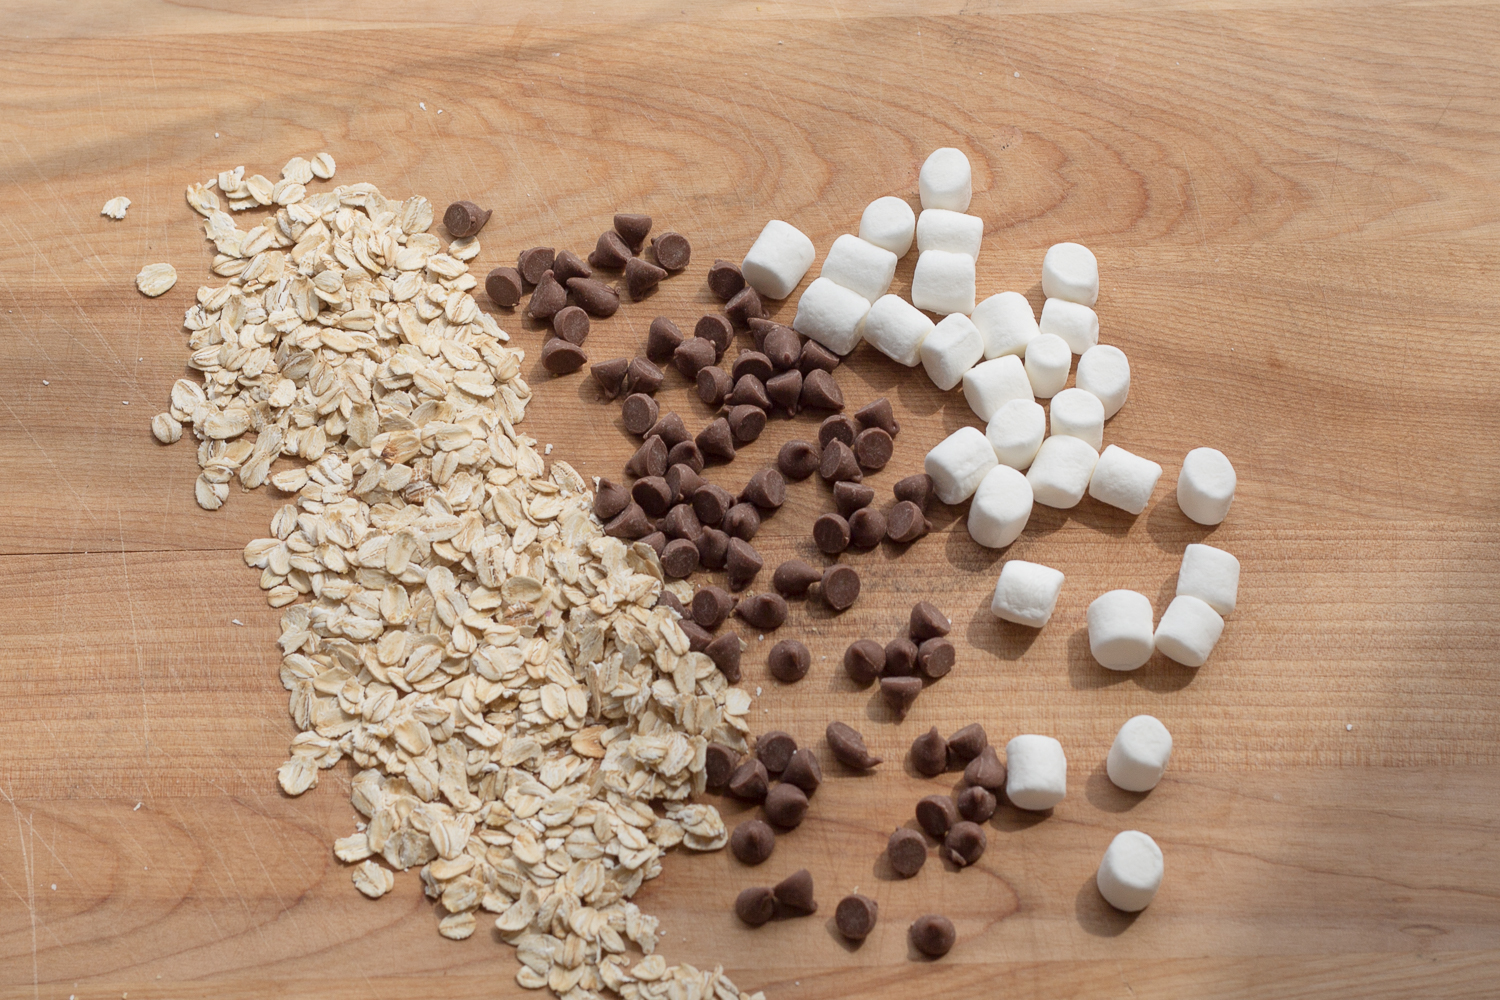
Remember the Rice Crispy Squares that your Mum used to make for you when you were little? Well, these are the grown-up version of Rice Crispy Squares with oats, brown rice crispies, chocolate chips, honey and mini marshmallows that keep it all together. Crispy. Butter. Sweet. And no-bake. These Rocky Road Rice Crispy Granola Squares are the perfect summer treat!
These squares are made with whole oats, chocolate chips and marshmallows. So good.
My Rocky Road Rice Crispy Granola Squares have less than half-a-dozen ingredients. But, that’s not even the best part. The best part is that you don’t even have to put them in the oven. Mix all of the ingredients together. After this, put the pan in the refrigerator where they will firm up. This yummy snack will be ready for your family within a short time.
Add the marshmallows to hot butter and honey. Stir briefly, then add to the dry mix.
5
The melted marshmallows will hold the whole bar together.
Notes
If you want the chocolate chips to remain more intact, and not melted together with the marshmallows, (which is actually super tasty) - add the chocolate chips in at the end, after the hot marshmallow/butter/honey mixture is stirred in.
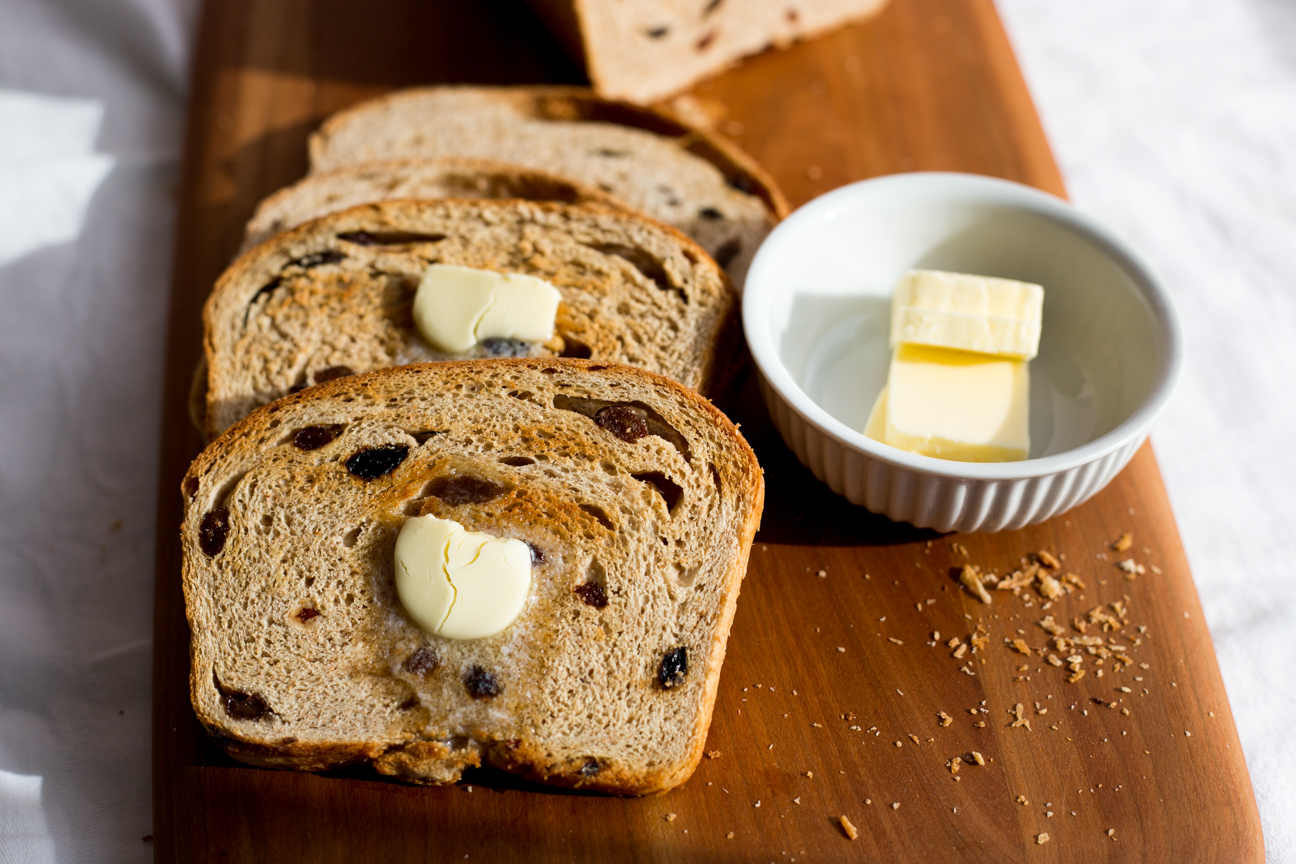
I love making this Cinnamon Raisin Whole Wheat Bread anytime of year. So, I don’t mind baking bread even when it’s warm out. It’s comforting, fills the house with yeasty cinnamon aromas. And toasted cinnamon raisin bread is always good as a a snack. Store bought bread is no comparison, once you have tasted homemade bread. Anyhow, that’s why I’m posting this recipe this time of year. I figure, if I love baking bread in all weather, then someone else probably does to.
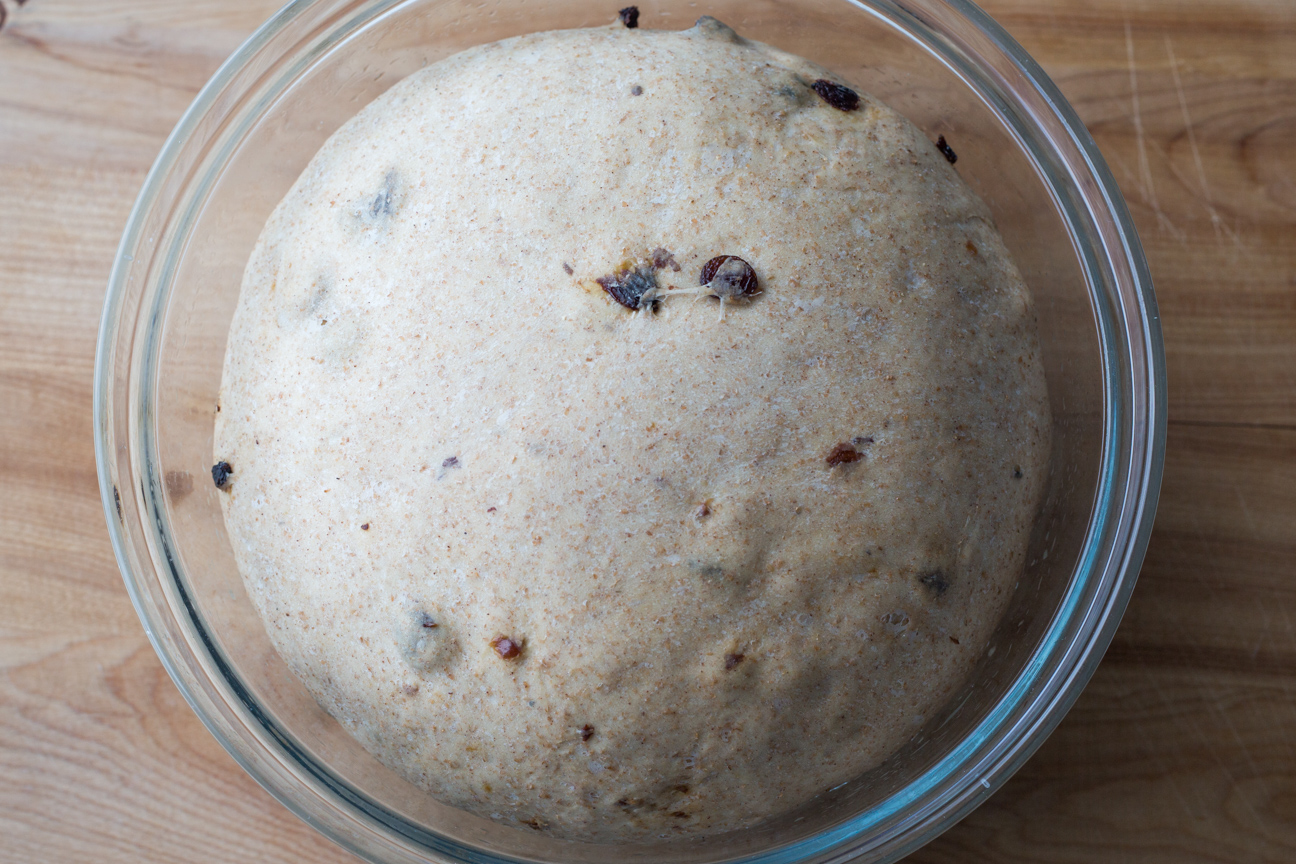
This is the dough just getting ready to rise for me.
And here is my bread after it has been rising for about 90 minutes.
This photo shows both of my loaves in their loaf pans ready to go in the oven. The loaf on the left has been brushed with butter, but not the loaf on the right. You can see the glossy coating. You don’t have to add the butter, but it adds more flavour and softens the crust.
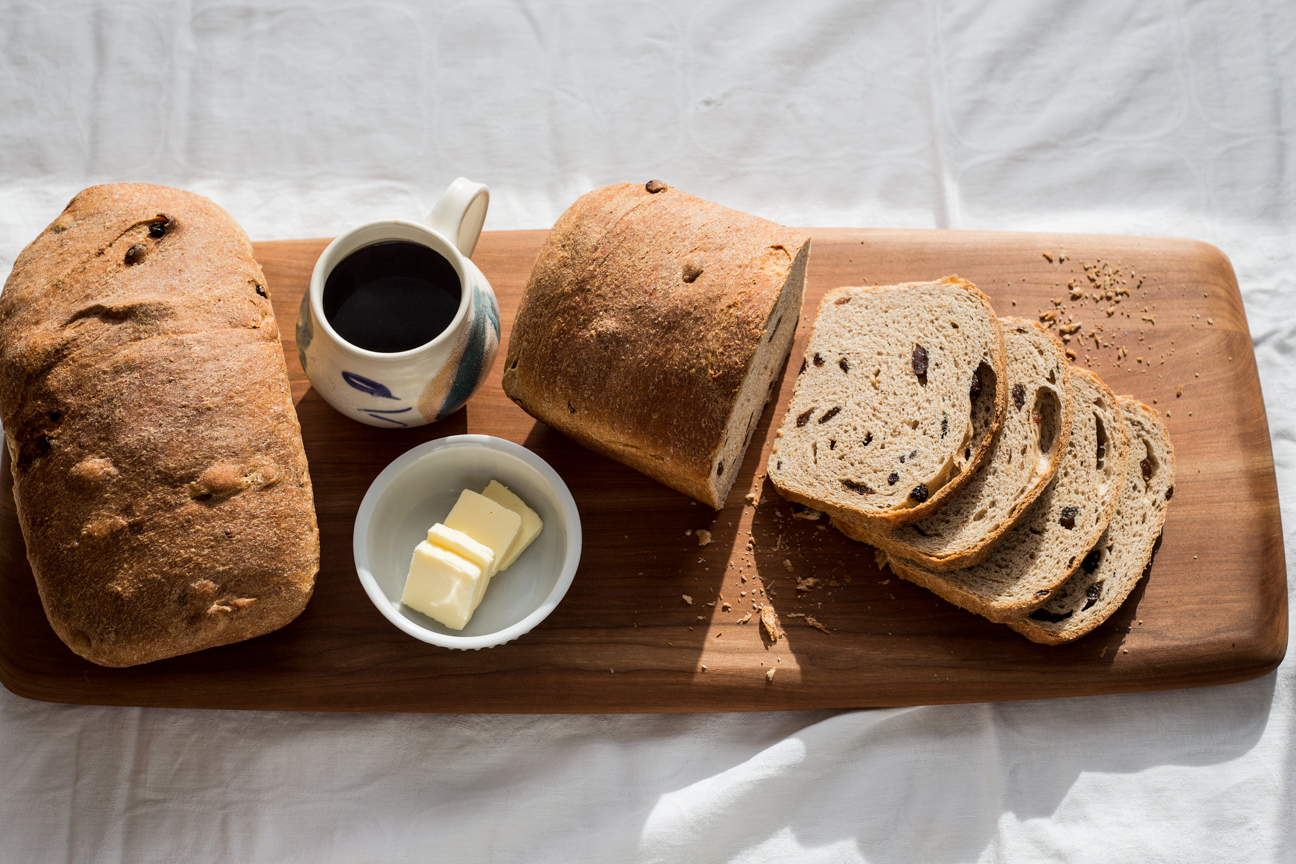
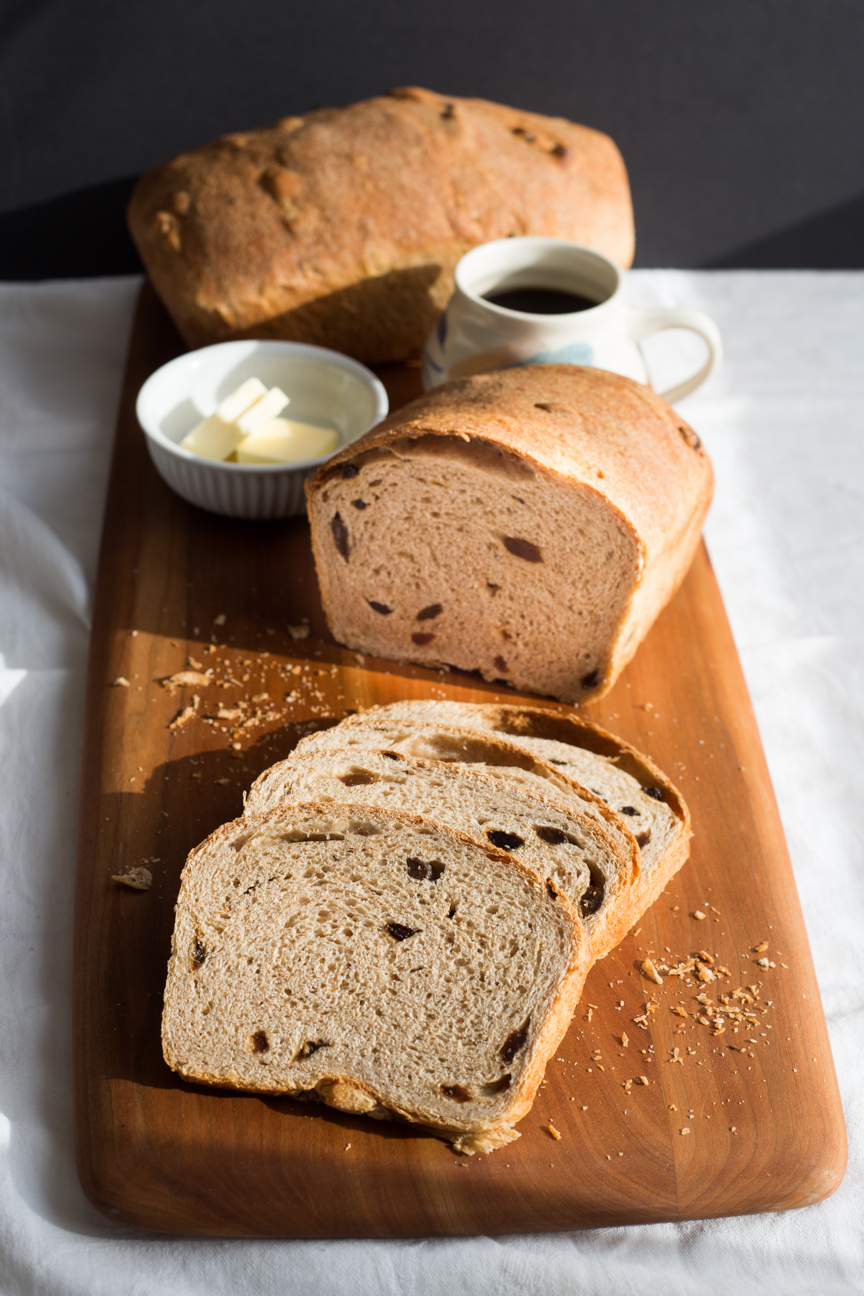
The bread looks so nice after it comes out of the oven. The crust should be a nice deep golden colour.
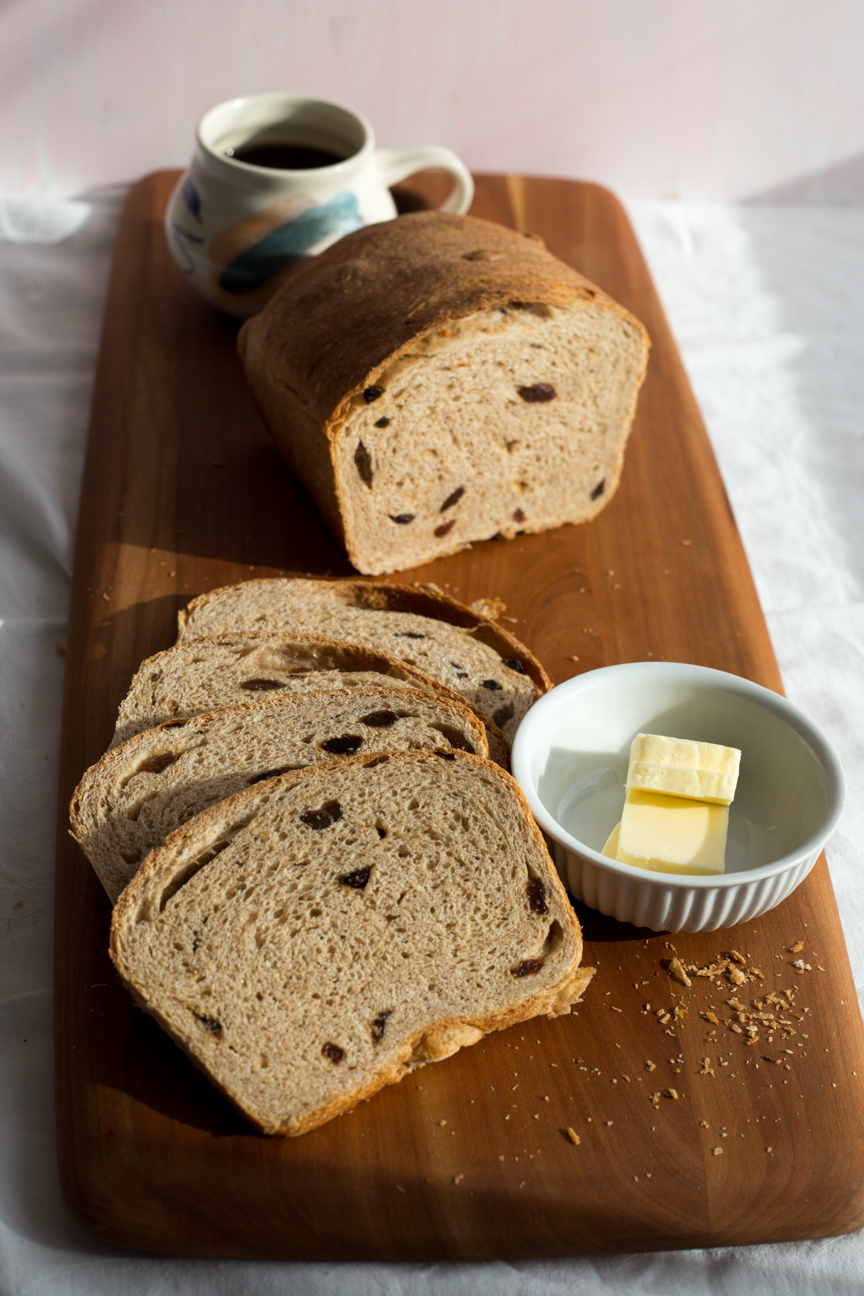
Imagine someone bringing you a tray like this for your weekend lie-in. A real treat!
Cinnamon Raisin bread with butter is lovely in the morning, but I like to snack on it anytime of day.
I hope you enjoy my Cinnamon Raisin Whole Wheat Bread!
Add the yeast/water mixture to the liquid ingredients, making sure that the liquids are not too hot as this will kill the yeast. The water should be a tepid temperature.
5
Add the liquids to the flours.
6
Mix the ingredients until they all come together.
7
Knead the bread on the counter until smooth and elastic. About 8 minutes by hand, less time with a mixer and dough hook.
8
Let the dough rise for two hours until it is double in bulk.
9
Press down on the dough to release the gases and shape the dough.
10
Cut the dough in half and place in greased bread pans.
11
Let the dough rise for about an hour, until it has risen just above the sides of the pan.
12
Preheat the oven to 350 degrees.
13
Brush the surface of the dough carefully with an egg wash (1 egg with about 1 tsp water).
14
Place the loaves in the oven and bake for 45 minutes until the tops are very golden.
15
Remove from oven.
16
Leave in loaf tins for about 10 minutes to cool down.
17
Remove loaves from the pan. You may have to slide a knife down the sides if it looks like the bread may have stuck a bit.
18
Leave the loaves on a rack until they have cooled down completely.
19
This bread can be frozen for up to about 2 months.
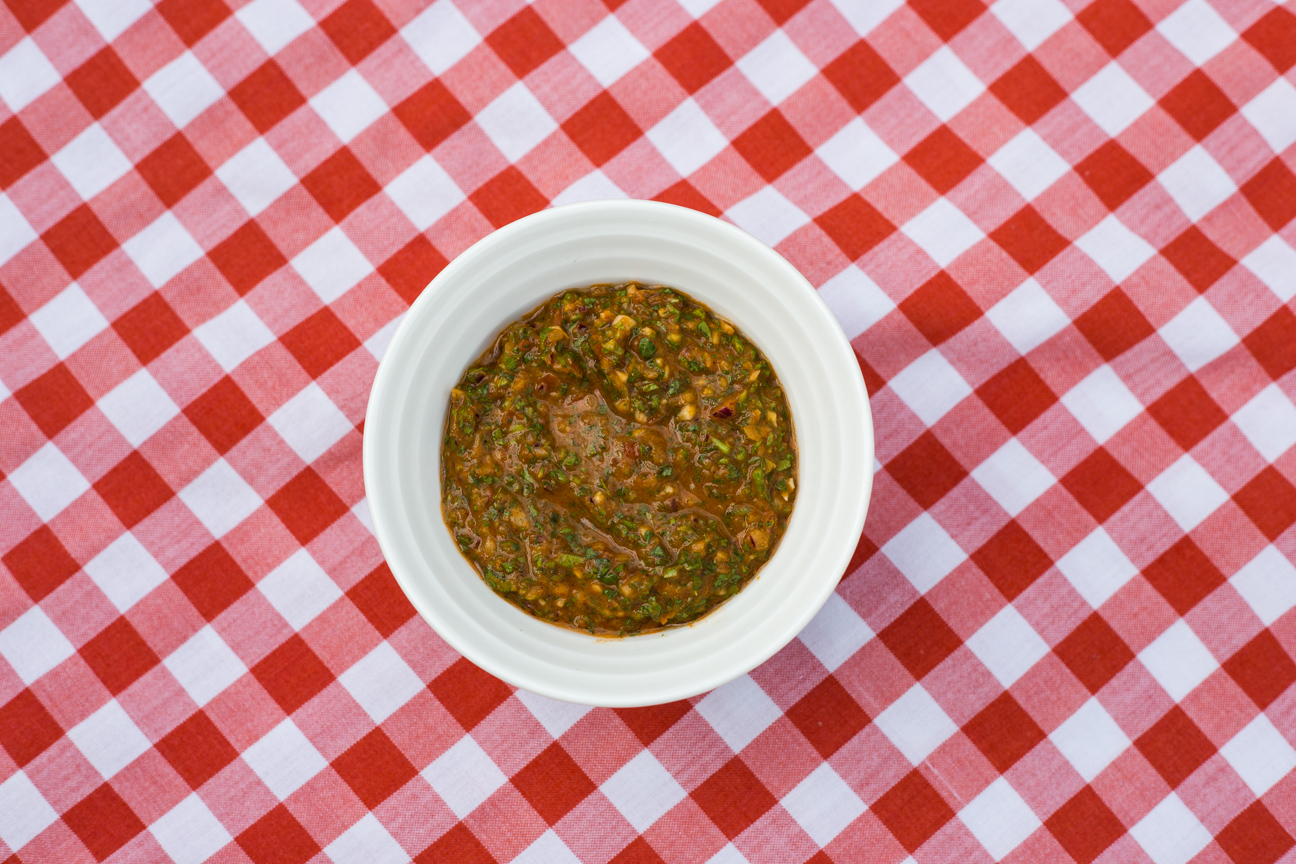
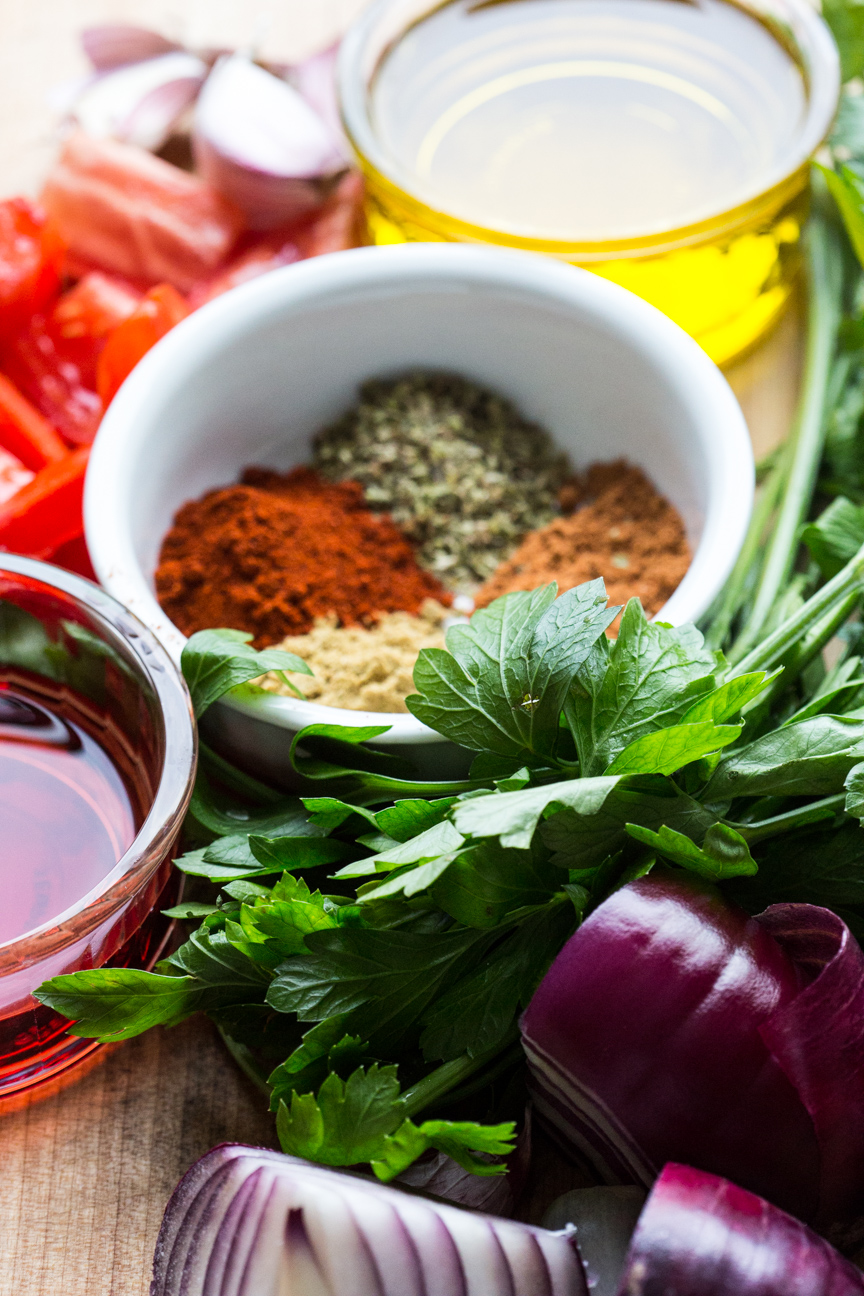
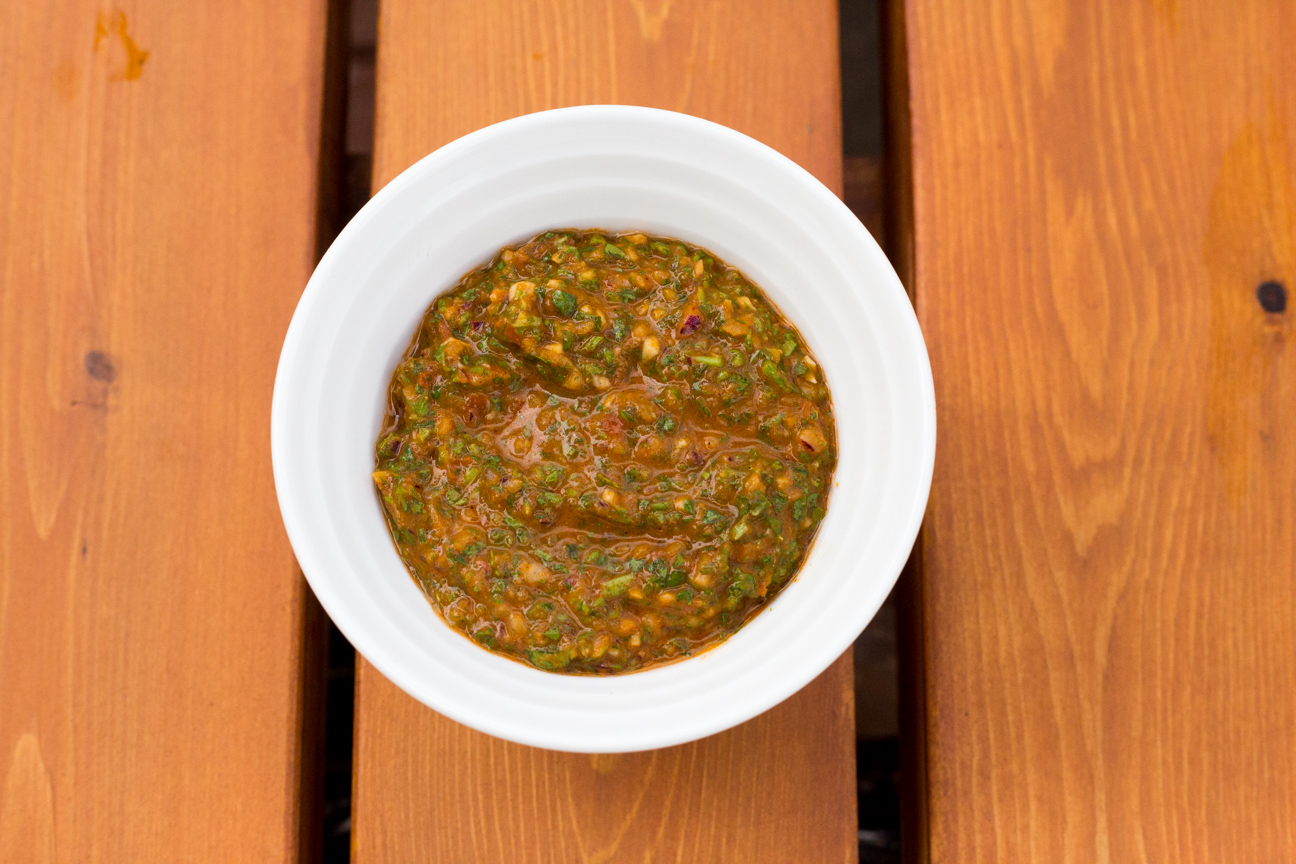
If you’re unsure what to serve up for Father’s Day this year, try making a batch of Chimichurri Sauce. You won’t regret it! Chimichurri is an uncooked Argentinian Sauce that is made from parsley, tomatoes, garlic, olive oil, vinegar and spices. It has an incredible vibrant fresh flavour.
The first time I made chimichurri was about 9 years ago when my husband’s niece and partner came to visit from Vancouver. I bought some really nice strip loin steaks and Luke grilled them on the BBQ. None of us had ever heard of chimichurri sauce before. But since then, it’s the only thing we serve with BBQ steak or chicken. But, it’s also fantastic on a pasta salad.
Nothing is better at our house, on Father’s Day, than some grilled steaks with a fresh batch of this Jamie Oliver-Inspired Chimichurri Sauce. Father’s Day dinners are always fun: with Luke barbecuing in the backyard while I’m bustling about in the kitchen making chimichurri, a special salad and a tasty dessert.
I usually use roma tomatoes, as they are more dense. And I scrape out all the seeds. You don’t want the chimichurri sauce to be too watery from the pulp of the tomato. And make sure you use flat parsley. It has much more flavour than curly parsley. And feel free to adjust the seasoning to your lik8n*. If you want more garlic, some heat or more onion – go for it.
As for spices, try to use the best spices you can find as this dish will taste loads better. I have been ordering spices from The Spice Trader in Toronto, recently. Their spices are really good (this is not a sponsored post), so fresh and full of flavour and they come in lovely little tins. My husband and I love their spices.
In the past, I have always chopped all the ingredients by hand, but if you have a food processor, you can use that. If chopping by hand, try to chop everything as much as you can, so the tomato, parsley, garlic and onion get chopped very small.
This chimichurri tastes best if you make it about 1-2 hours before serving it. Keep it in the fridge to let all the flavours mingle and get to know each other.
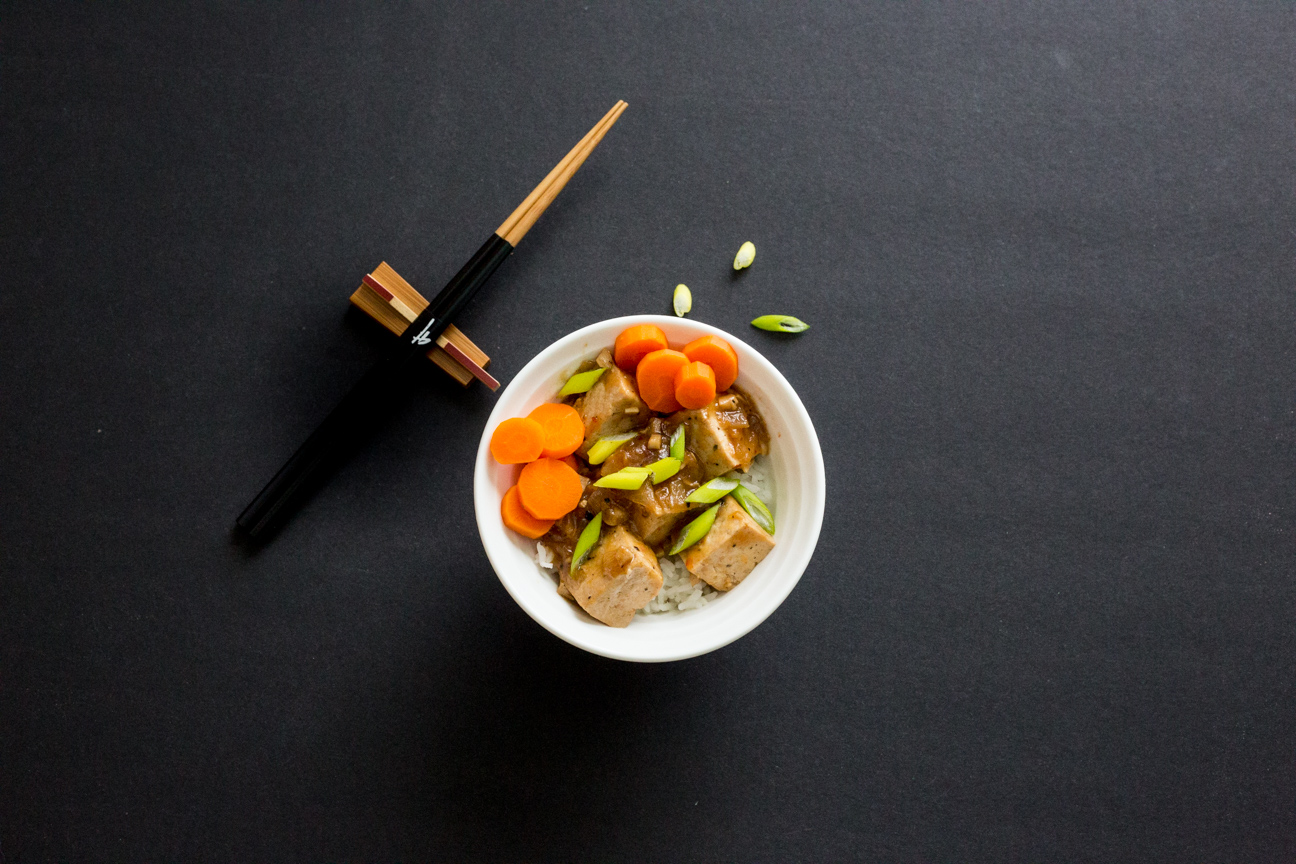
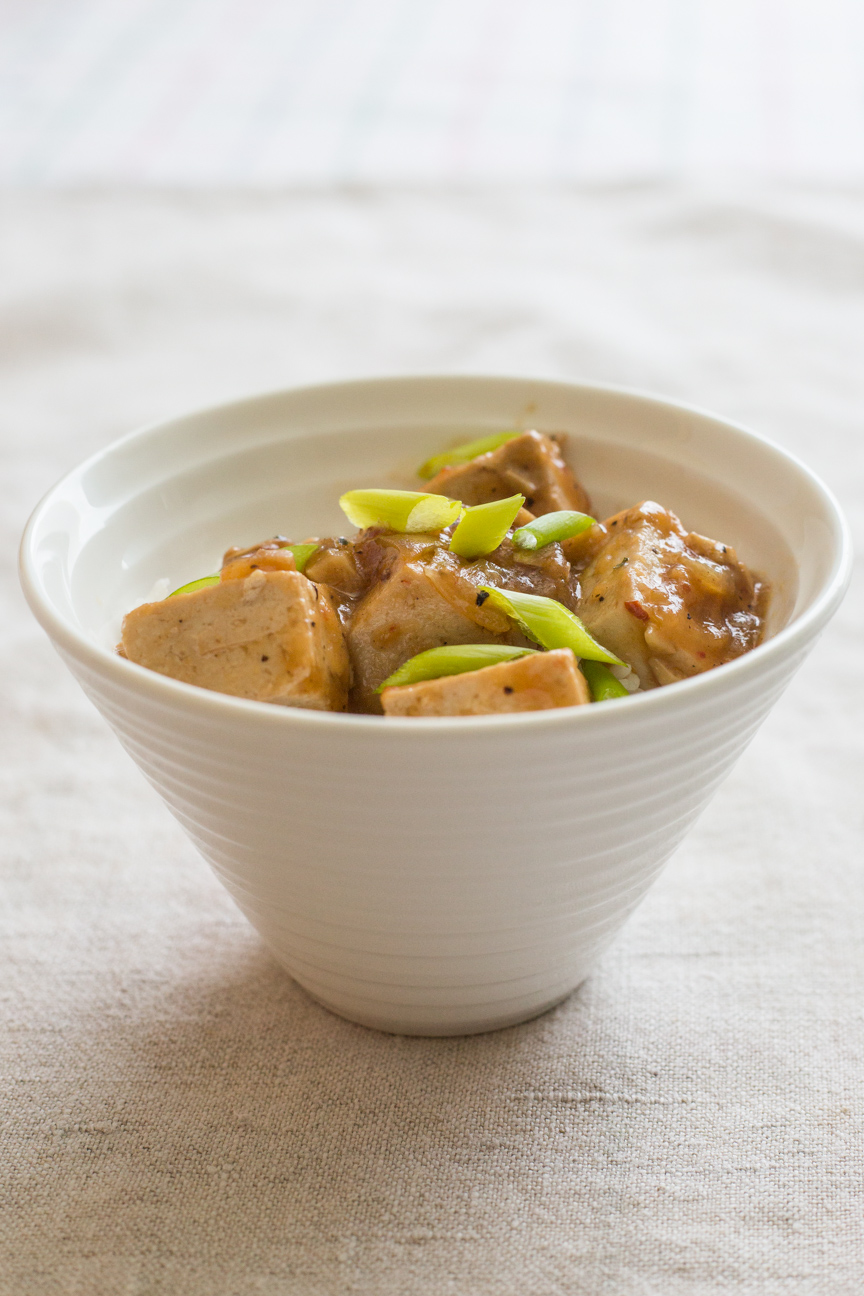
I love this Sizzling Tofu with Ginger Pepper and Garlic. It’s quick and easy to prepare and packed full of deliciousness!
Why I like Cooking with Tofu
A lot of people don’t want to cook with tofu because they think it’s too bland. Well, for me, I love cooking with it because it’s a fantastic vehicle for absorbing flavours. And there are so many flavours that work with tofu: orange, sesame oil, sweeteners such as maple syrup, honey or brown sugar, or spicy flavours like sriracha, or curry.
Tofu is very versatile, like cooking with chicken, if you want something to compare it to as it doesn’t have a strong flavour of it’s own that will compete with other seasoning. You can either cook tofu in a pan after pressing, and it has a lovely soft texture, absorbing all the lovely flavours in your dish. But you can also coat it in cornstarch and whatever seasoning you desire and bake it flat on a cookie tray in the oven. It crisps up nicely with a nice soft creamy centre. This is a nice way to cook tofu for children, especially if they like things served separately on their plate, or they like to eat with their fingers. So yummy!
This dish is made with only 8 ingredients. Most of which you probably have in your pantry. Pick up a block of tofu in the refrigerated deli or produce section next time you do your groceries and you will have everything you need to make a quick, delicious dinner for your family.
How to Press Tofu
I always buy firm or extra firm, but I still press it. You just don’t need to press it for as long as you would with medium or soft tofu.
remove tofu from the package, draining away all of the liquid
slice the tofu through the centre of the block, so you have 2 rectangular pieces
cut each rectangle into bite size pieces (maybe 8 squares for each rectangle)
put all of the tofu pieces on a plate, and cover with another plate
place something heavy (non-breakable) on top of the top plate – a couple of tins of tomatoes, a bag of flour (about 3-4 pounds)
press the tofu for about 1 hour
drain away the liquid that has been pressed out
now you’re ready to cook with your tofu
Nutrition Facts
Tofu is very nutritious. And is a great alternative source of protein.
A 100-gram serving of tofu (about 1/4 of a package) contains:
Protein: 8 grams
Carbs: 2 grams
Fiber: 1 gram
Fat: 4 grams
Manganese: 31% of the RDI
Calcium: 20% of the RDI
Selenium: 14% of the RDI
Phosphorus: 12% of the RDI
Copper: 11% of the RDI
Magnesium: 9% of the RDI
Iron: 9% of the RDI
Zinc: 6% of the RDI
I hope you enjoy my Sizzling Tofu with Pepper, Ginger and Garlic
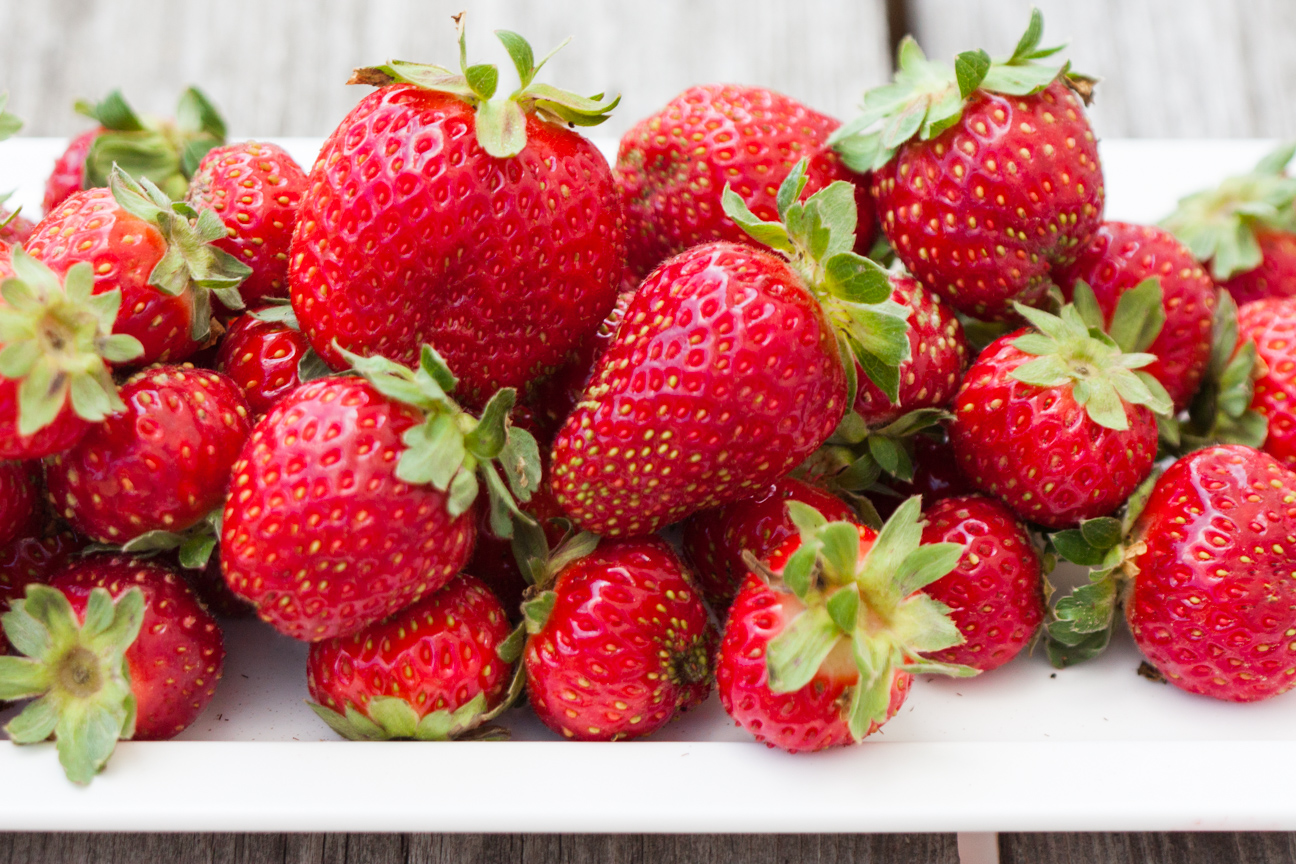
It’s Strawberry Season now, and I just love it. It’s one of my favourite times of the year! I made a few batches of this Summery Strawberry Freezer Jam recently and it is so so so good! The aroma of strawberries and sugar wafted through my kitchen and up the stairs scenting the whole house with sweet strawberries. While I occasionally buy imported strawberries from the grocery store throughout the year and also frozen berries anytime for smoothies, nothing beats fresh local strawberries. They definitely signal the beginning of summer.
I start thinking about local strawberries starting in March when the days start to get longer, the sun feels warmer and the snow finally starts to melt and when I pull out my last jar of strawberry jam from the freezer that I made the summer before. That’s when I start anticipating the beginning of strawberry season. And homemade jam.
Homemade jam is so much better than store bought. I know lots of people think it’s really difficult to make. But it’s not. Especially freezer jam. I used to think that freezer jam was for people that didn’t want to spend the time making real jam. But, that’s not the case. It’s just different. Freezer jam is cooked much less than regular jam and has less sugar (though it still seems like a lot). It is a bit thinner than regular jam, but the flavour is much more fruity and intense. And the colour of the strawberries just pop out at you.
I think I love homemade jam so much because that’s all we had when we were young. My Mum loved making homemade jam, so that’s what was in the refrigerator. Each summer she would make several large jars from the raspberries that my Dad grew in the backyard. She would make 5 large jars and put each of our names on the jar (one jar was for her and my Dad to share). When our own jar was empty – no more jam. I think my sister and I kept our own jars of jam the longest, probably well after Christmas, while our brother, Dave, ate his the fastest, as raspberry jam was his all-time favourite. And Bob would be somewhere in between.
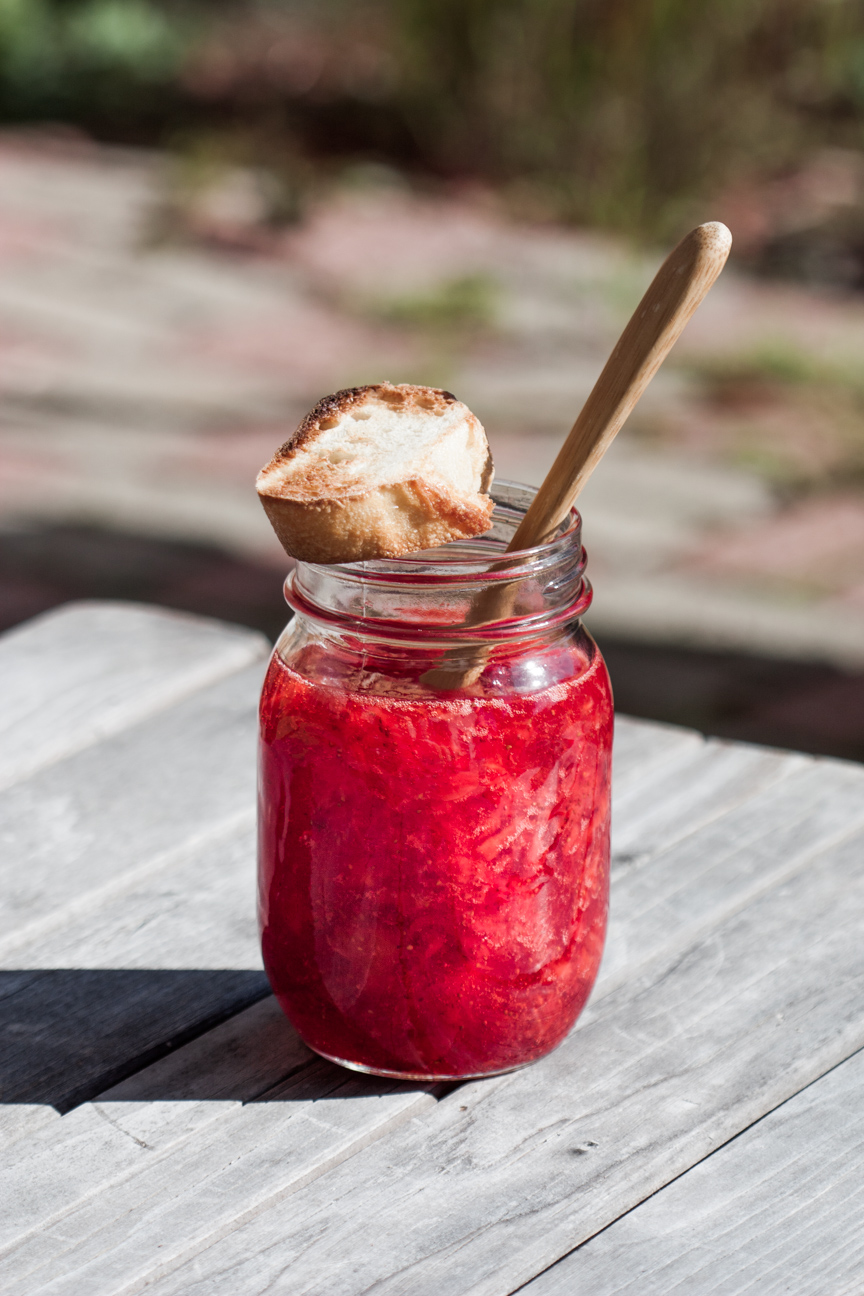
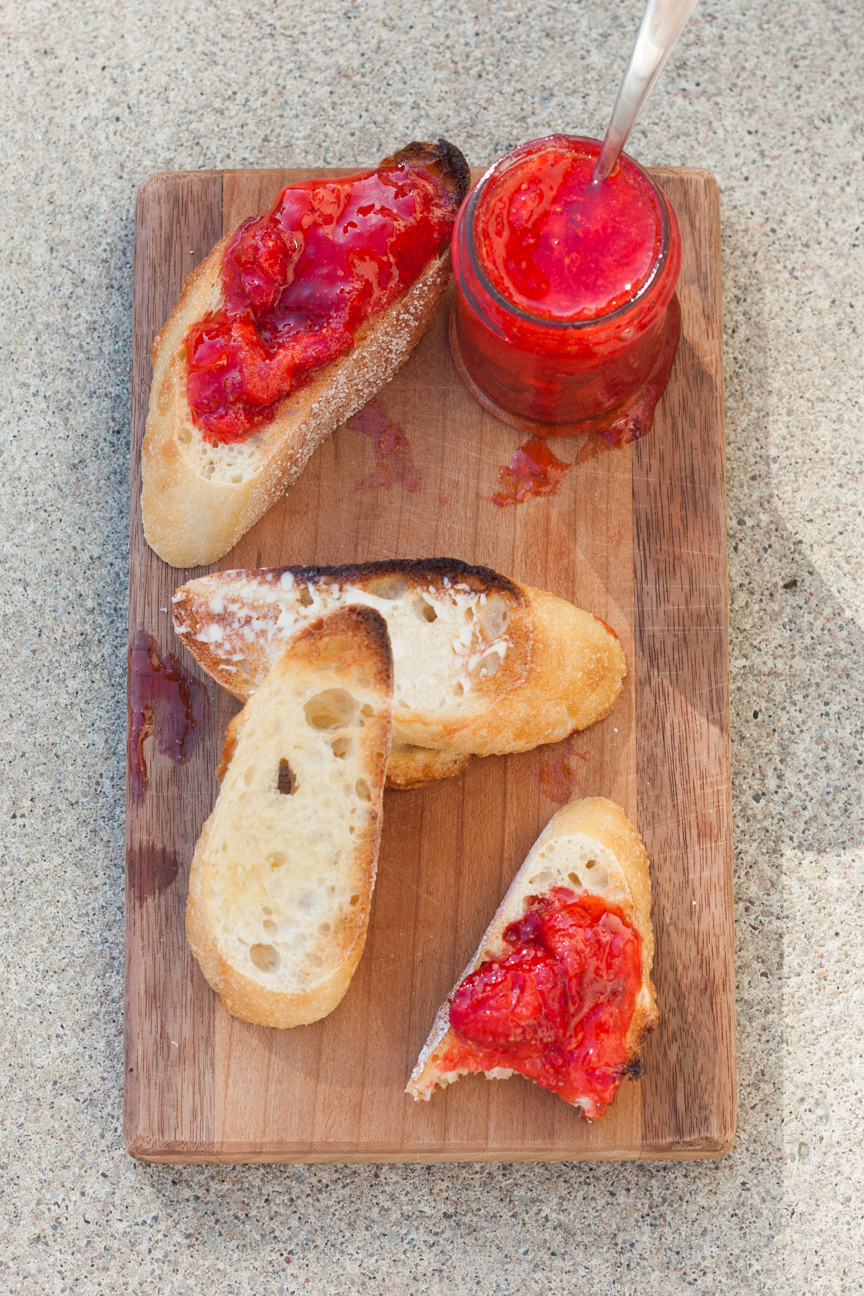
Freezer jam cooks up very quickly. It took about 20 minutes for me to make 3 jars. Done. And the jam tastes so fresh, just like local berries. I put the jam in special plastic jam jars (the glass jar photographed better) and after the jam sits on the counter for 24 hours, in the freezer they go! And oh my goodness! The fresh strawberry taste! So good!
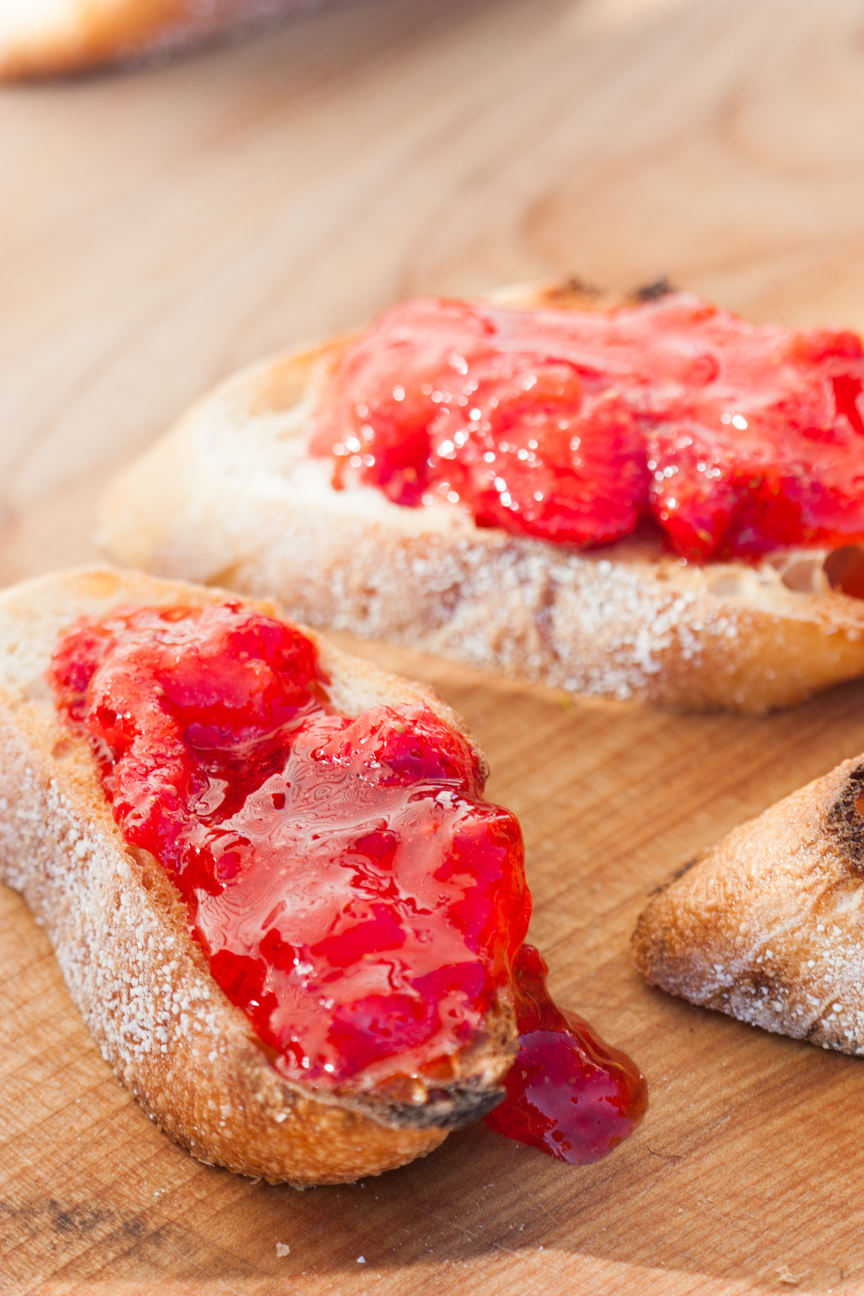
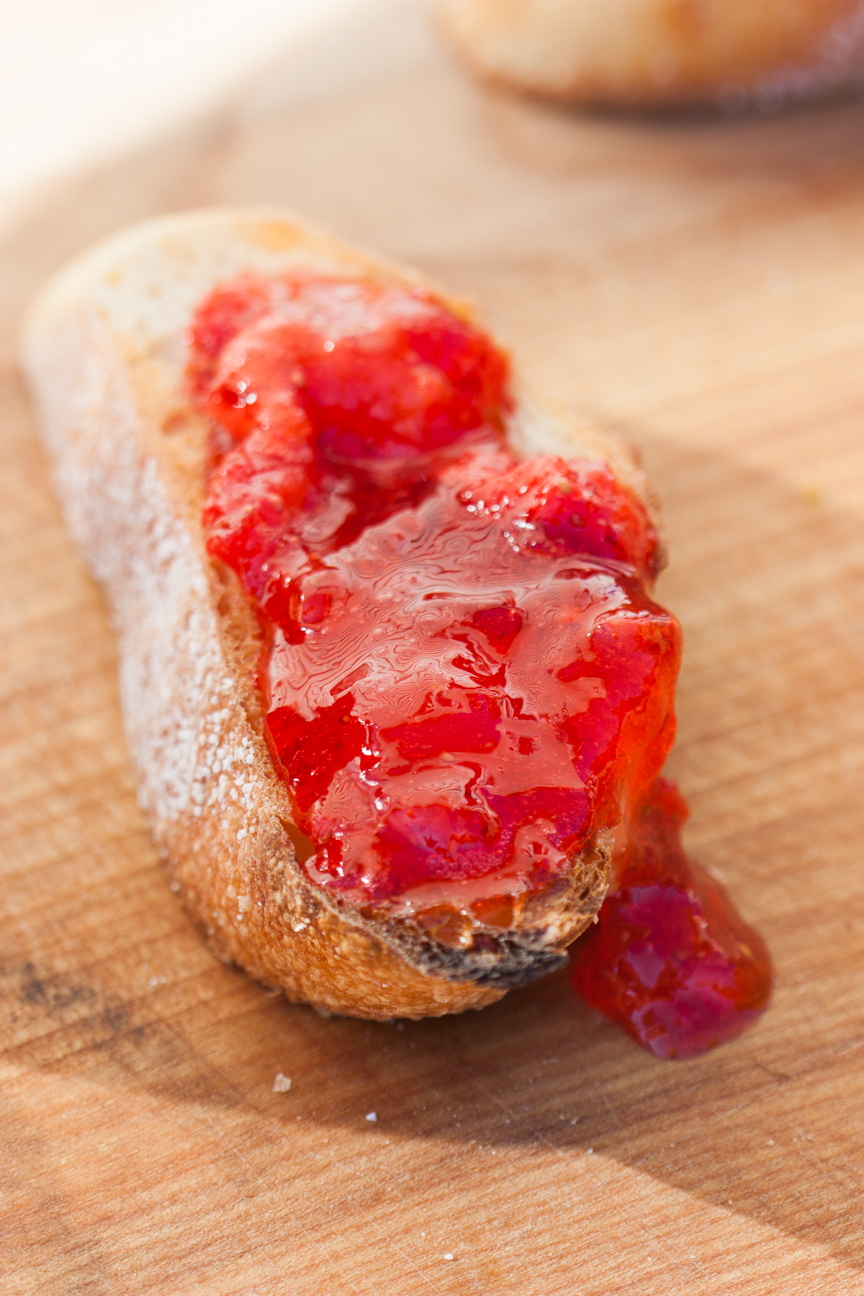
The jam tastes amazing right now, but the real treat is eating Summery Strawberry Freezer Jam on toast in February when it’s snowing outside and the temperature is -25. Just the aroma alone from the strawberries brings back summery memories in an instant and will warm you to your toes.
With all the fresh berries coming into season soon, I hope to make a lot of jam this summer.
Enjoy!
Hey! What’s your favourite jam? Send me a message. I love homemade jam.
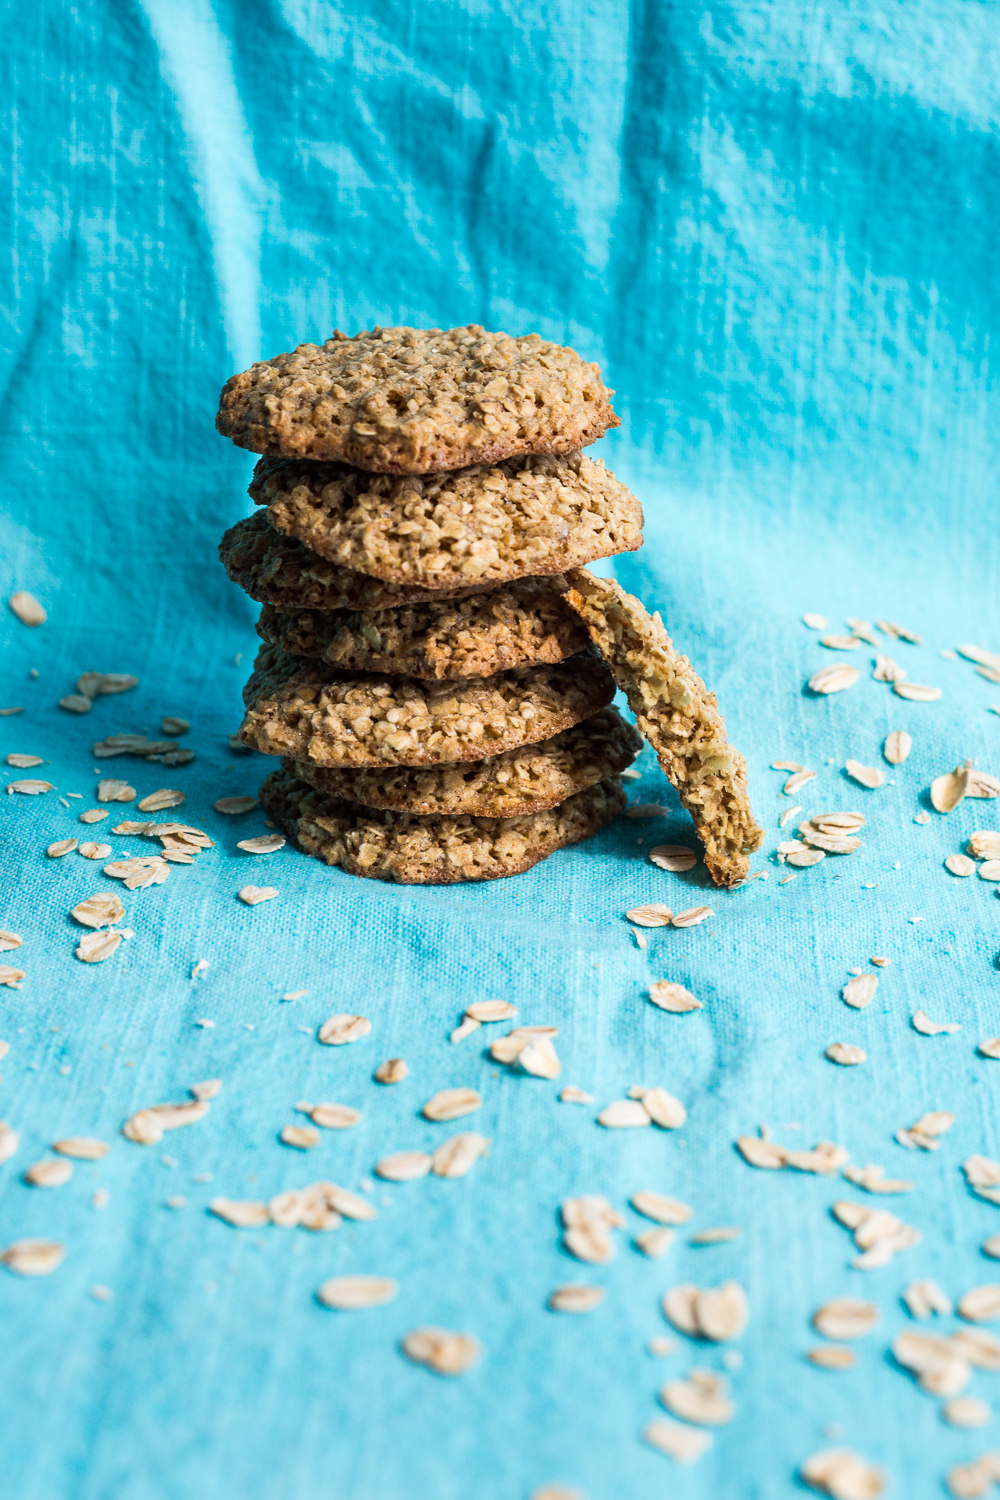
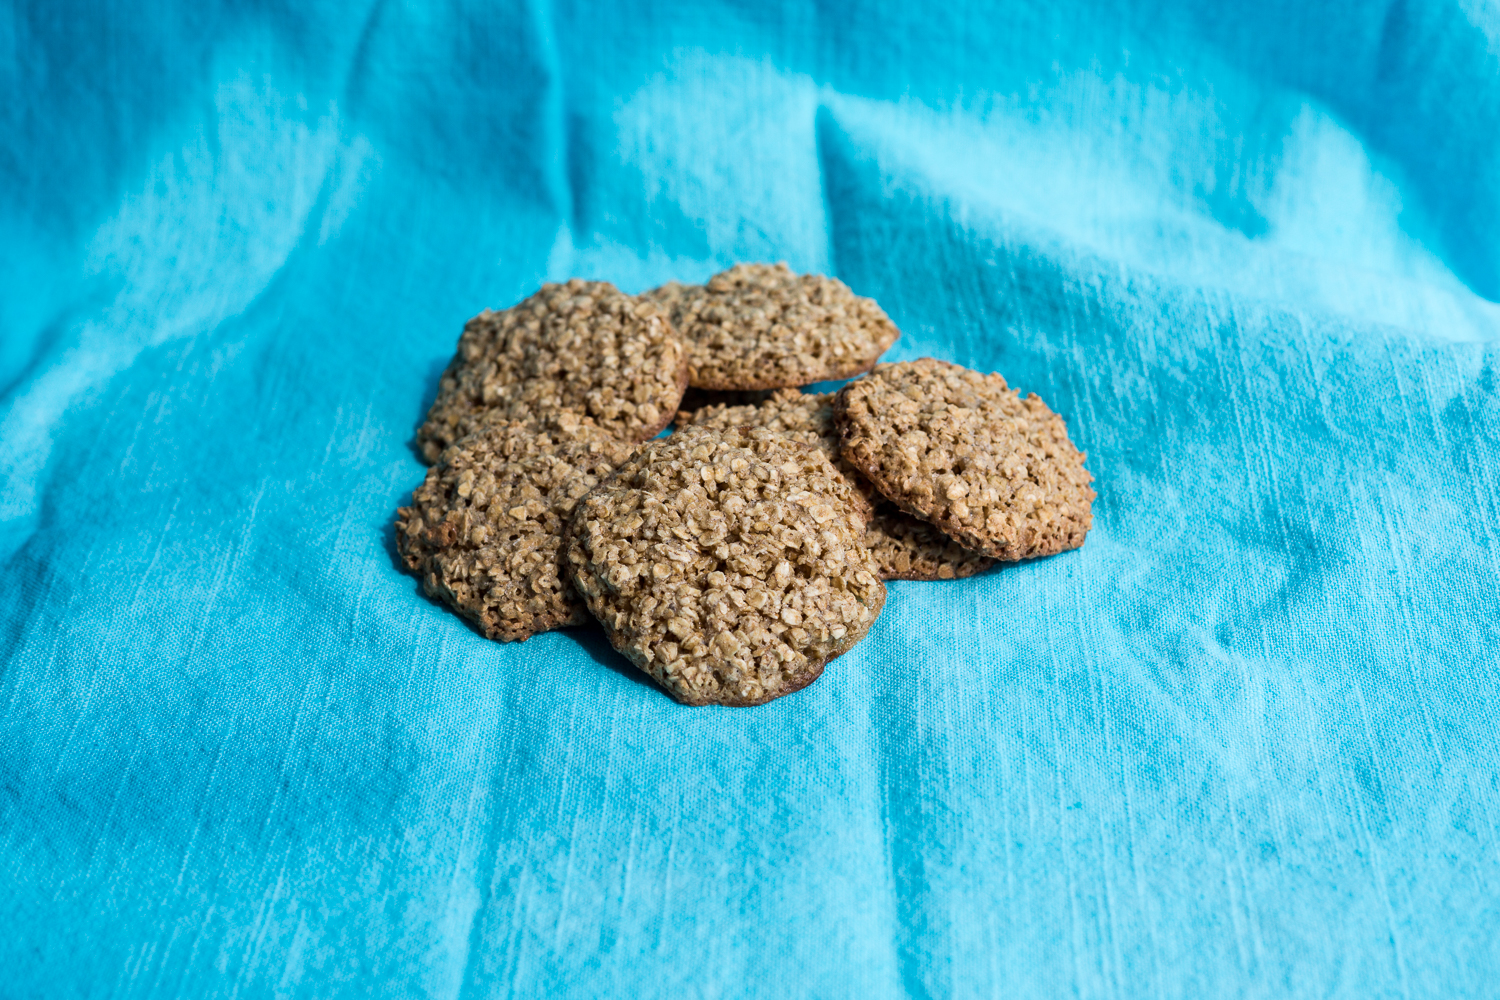
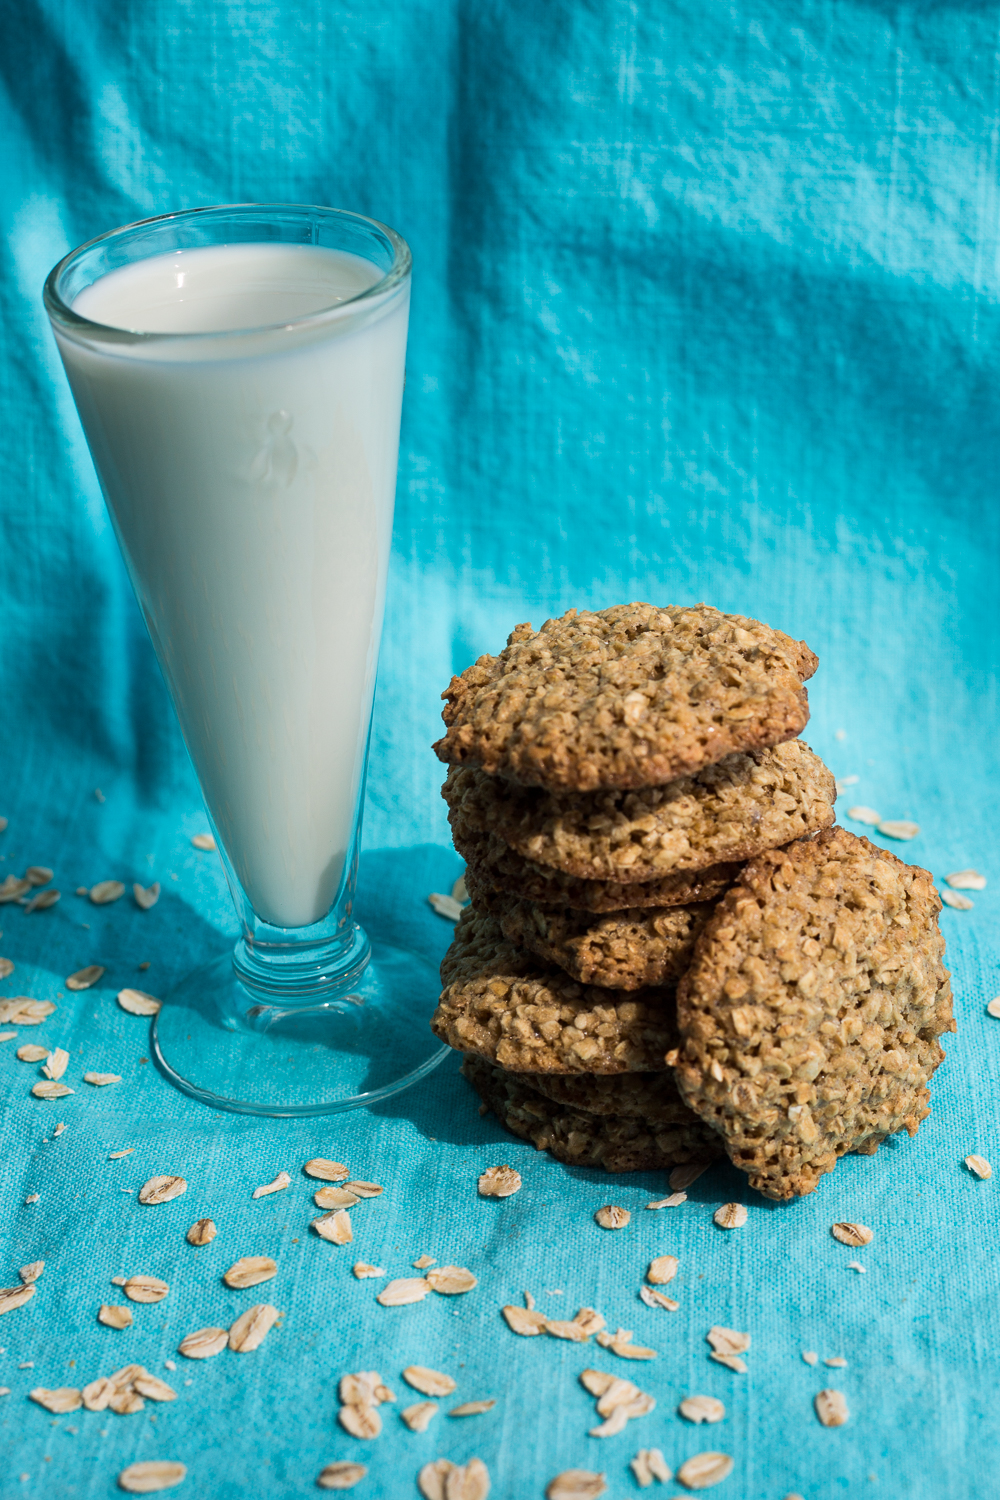
This recipe for Oatmeal Cookies is simple and old-fashioned, like cookies my Mum used to make. They’re very different from many cookies on the internet today. The difference is that they’re very plain and simple. And sometimes that’s just what I want. I don’t want to have to go out to find a myriad of ingredients. Sometimes I just want to bake cookies right away, and have them on the counter to serve my family within the hour. These cookies will do that for you. They’re also gluten-free.
Nutritional Benefit of Oats
Not only are oats delicious they are also super healthy. If you are also an oat lover, here are some cool nutrition facts about oats:
oats are low in calories and they slow digestion which helps you feel full longer.
1/2 cup of oats has 150 calories, 5 g of protein, 27 g of carbs, 2 grams of fat and 4 grams of fibre.
oats help prevent constipation as they contain both soluble and insoluble fibre.
dietary fibres in oats decrease bad cholesterol (LDL) without affecting good cholesterol (HDL)
oats contain enterolactone and other plant lignans which protect against heart disease.
according to the American Cancer Society, lignan in oats also helps reduce the chances of hormone related cancers such as breast, prostate and ovarian cancer.
This recipe only uses five simple ingredients: oats, brown and white sugar (although you could just use white, if that’s all you have), eggs, butter and vanilla. When they come out of the oven the aroma is buttery, sweet and toasted oats. And they only take 8 minutes to bake.
Sometimes I want to bake exotic recipes from all over the globe with new exotic flavours, other times I just want oatmeal cookies like my Mum used to make.
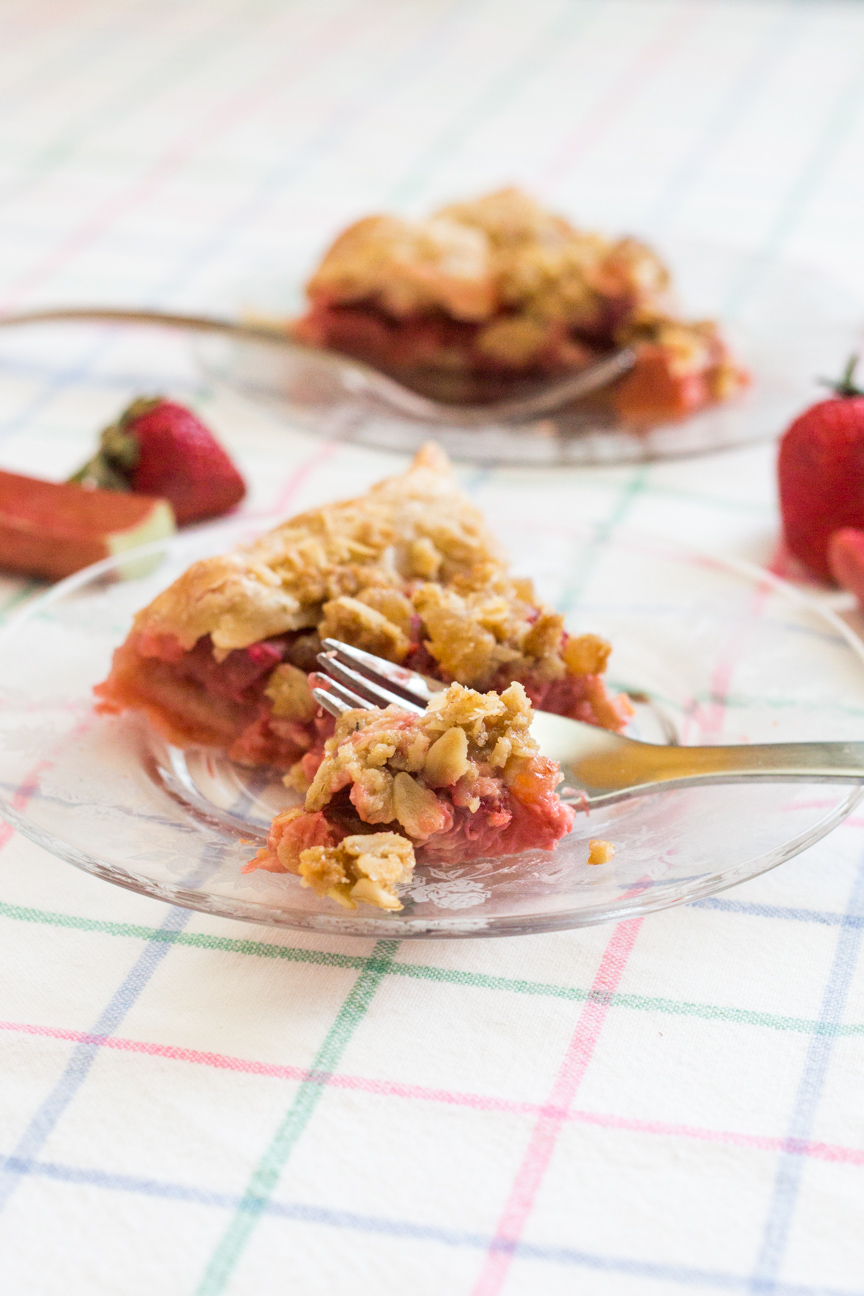
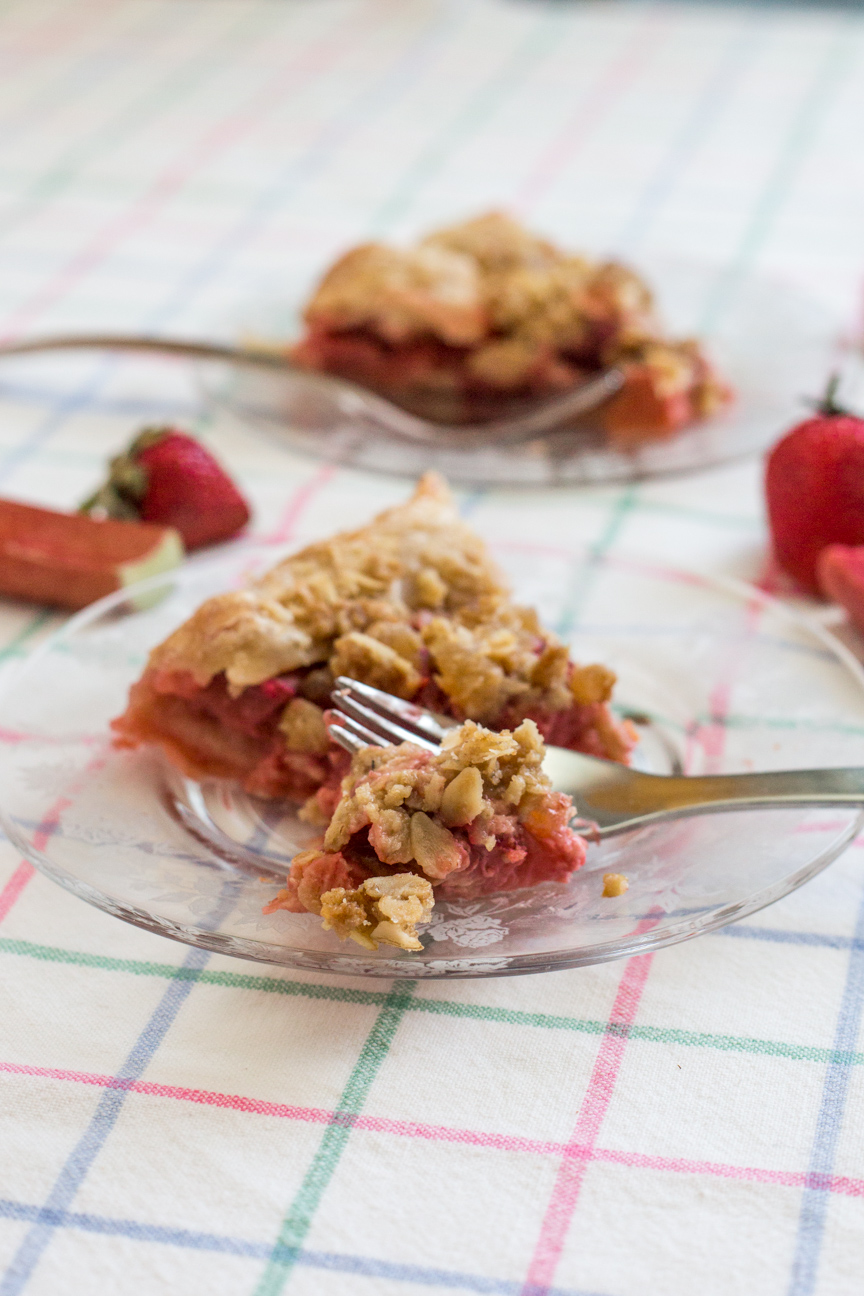
Strawberry Rhubarb Ginger Oat Crumble Galette is just about the nicest spring dessert you could ever have. The combination of fresh tart rhubarb and heavenly sweet strawberries encased in flaky pastry and topped with a crunchy ginger and oat crumble can’t be beat.
Pie, pie, pie. I really do love fruit pies. In fact, they may be one of my favourite all-time desserts. But my husband often says to me, why don’t you ever make pie, if you love it so much! The truth is, I’ve always found pastry making difficult. And I’ve always been terrified of baking a pie for the family, in case it wasn’t any good. But this recipe and a few new tips I’ve learned recently, changed all that. This pastry is super easy to work with and makes this pie as good or better than from a shop. It’s really good!
When I was younger, my Mum made a lot of pies: cherry, pumpkin, apple, rhubarb, even raisin pie. And I do recall her often criticizing her pastry: too tough, not sweet enough, no flavour etc. But her pies always tasted amazing. Actually, it was what we all looked forward to when we came back home for a family dinner: Mum’s pie. Because my Mum would never stop at making one pie. No, for a family of six that each had their own favourite, my Mum would often have as many pies as there were guests. As well as 3 flavours of ice cream to go with all that pie.
Serving up the pie was as enjoyable as eating it. As our family grew, there were sometimes as many as 12 or 13 people at the table with everyone calling out, “I’ll have cherry, raisin and pumpkin”, or ” I’ll have apple, raisin and rhubarb” with a couple of flavours of ice cream to match the pie. Everyone wanted not only their favourite pie, but also a slice of some of the other pies as well. And my Mum never disappointed. Every pie was perfect; the pastry, the filling, the decorations. Each one sprinkled with sugar and sometimes someone’s initial carved into the top.
Pastry actually isn’t that difficult to make. There are just a few little tricks that help make a tender flaky pastry.
Tips for Making Strawberry Rhubarb Ginger Oat Crumble Galette
make sure all of your ingredients are cold – this includes the flour, as well as the butter and water
if you have warm hands, use a pastry cutter to blend the ingredients together (or a food processor)
work quickly, but be relaxed; your pastry will be fine
chill your dough after it has come together
read the recipe from beginning to end
be organized
prepare the filling (add the sugar last), the topping (keep in the fridge until ready) and the pastry and have everything ready to be assembled quickly just before the pie goes into the oven
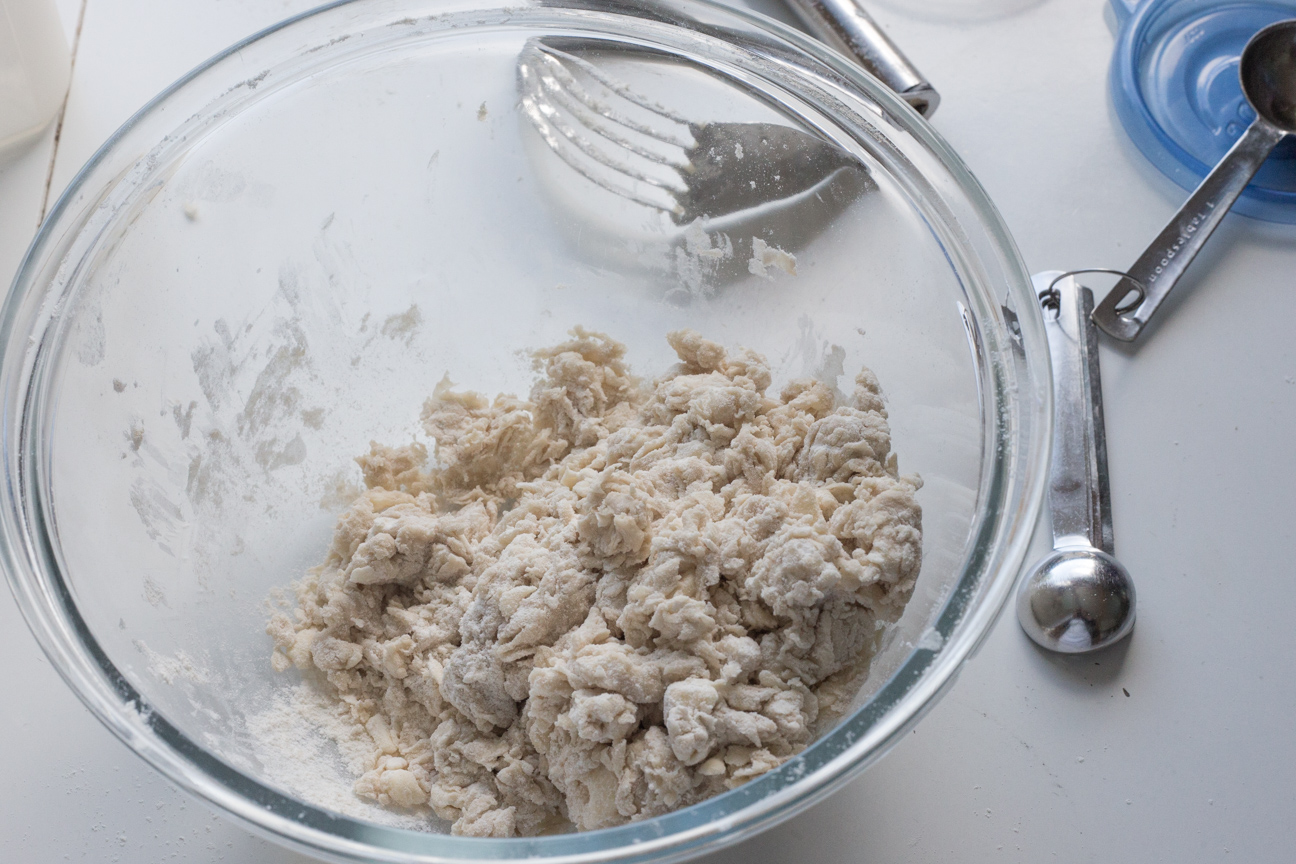
This is how the pastry ingredients look just before you turn it out onto the table to gather all of the pieces together. Once it’s on the table, gather the ingredients together in your two hands, and scrunch everything together. You don’t want to knead it, only gently gather together the stray pieces of dough until you have one ball of dough.
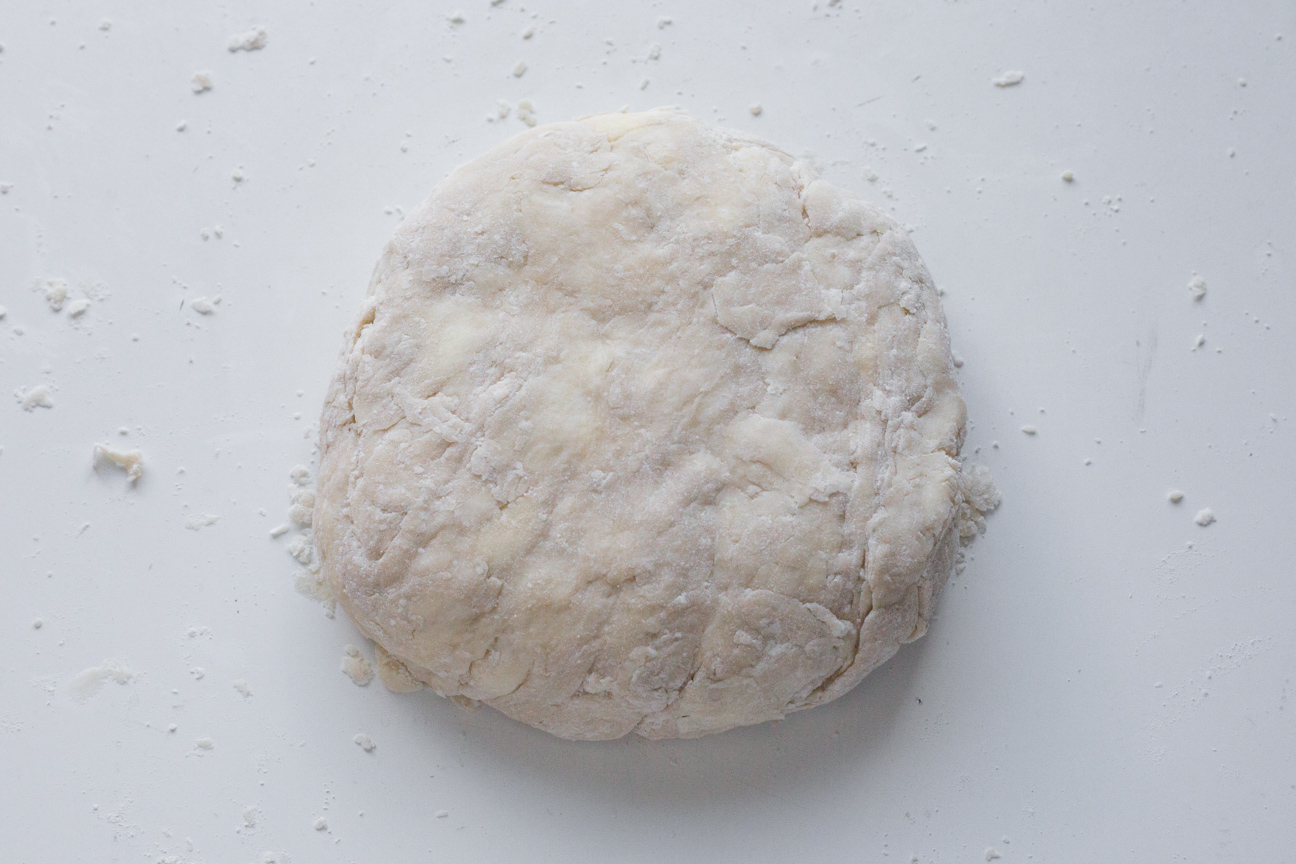
Once all the dough is gathered together into a ball, flatten it into a disc. Wrap in saran and place in the fridge for about one hour. This allows the flour to hydrate as well as to thoroughly chill all of the ingredients.
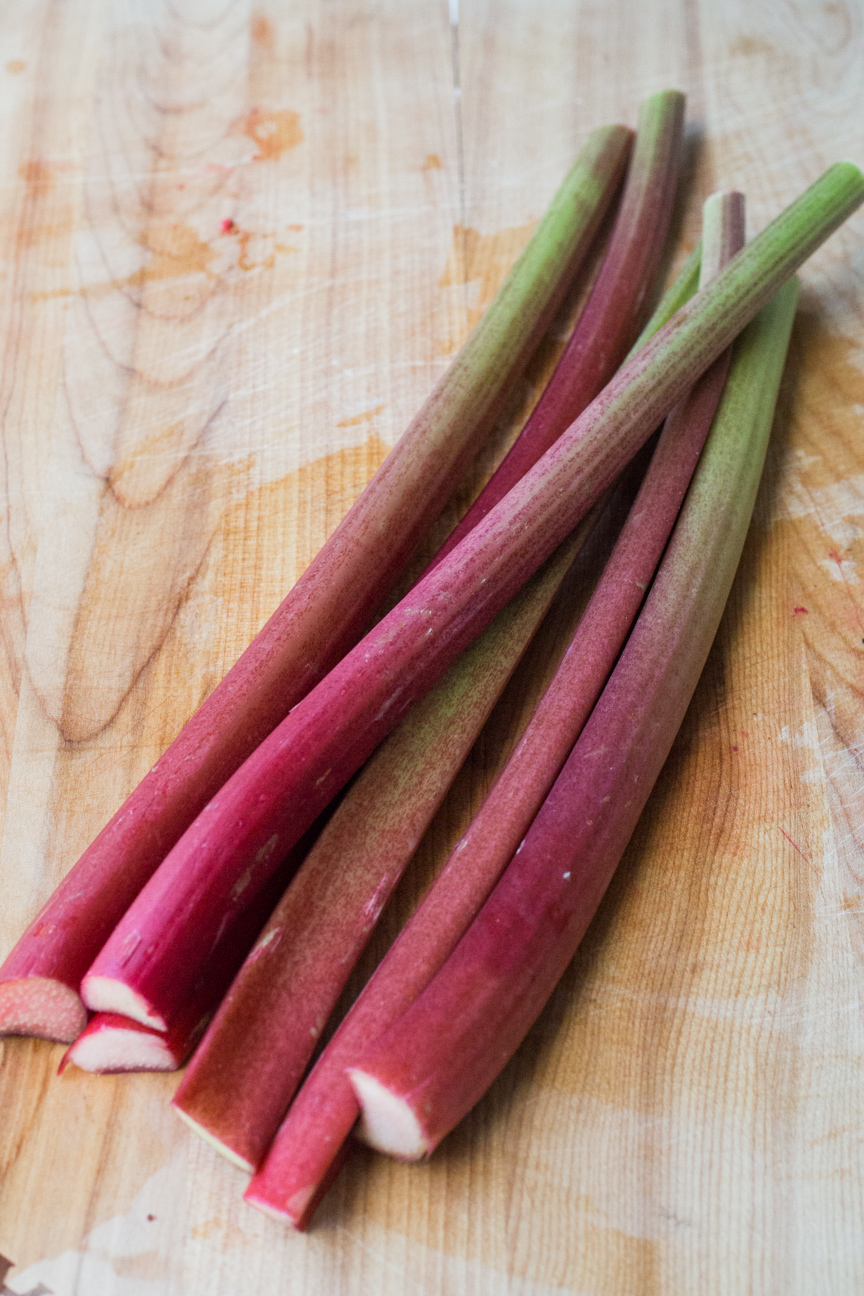
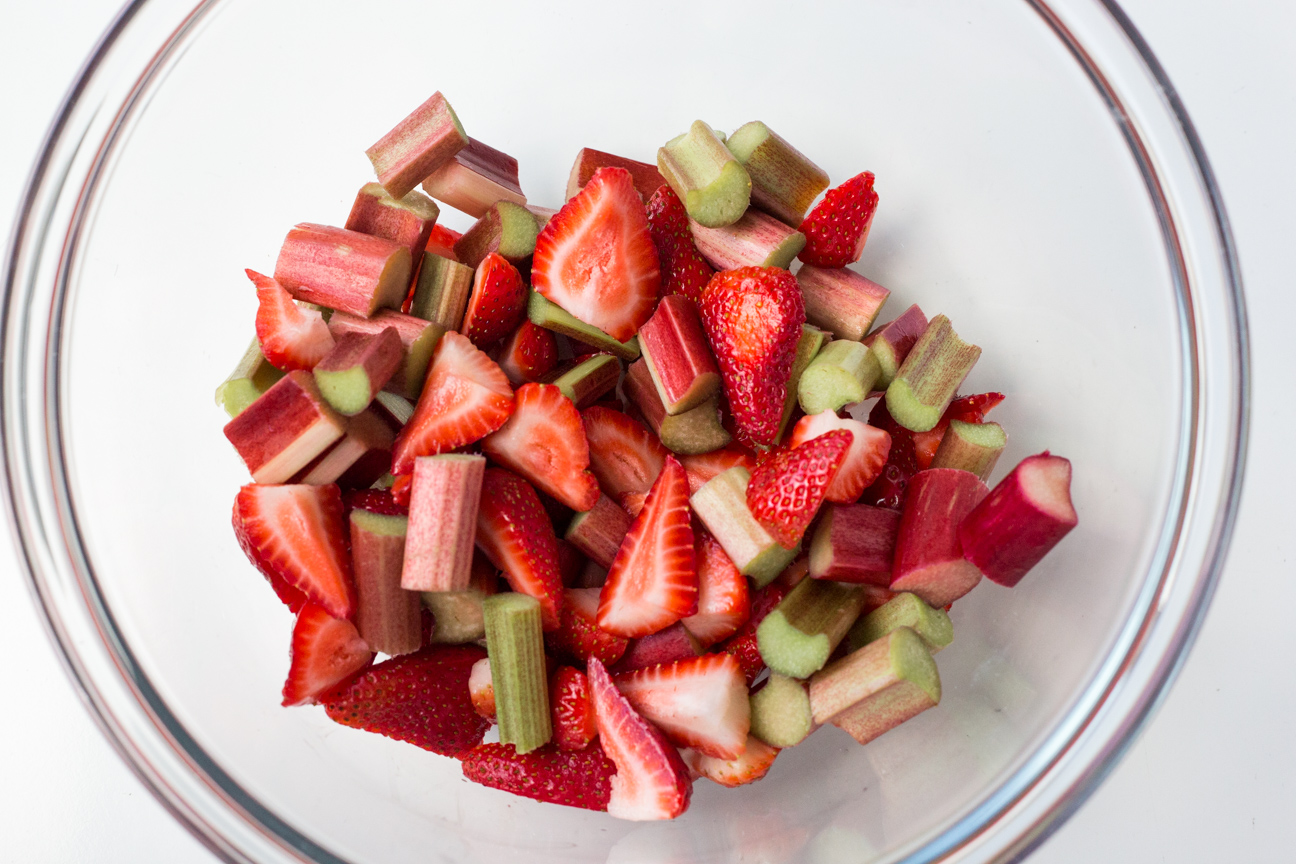
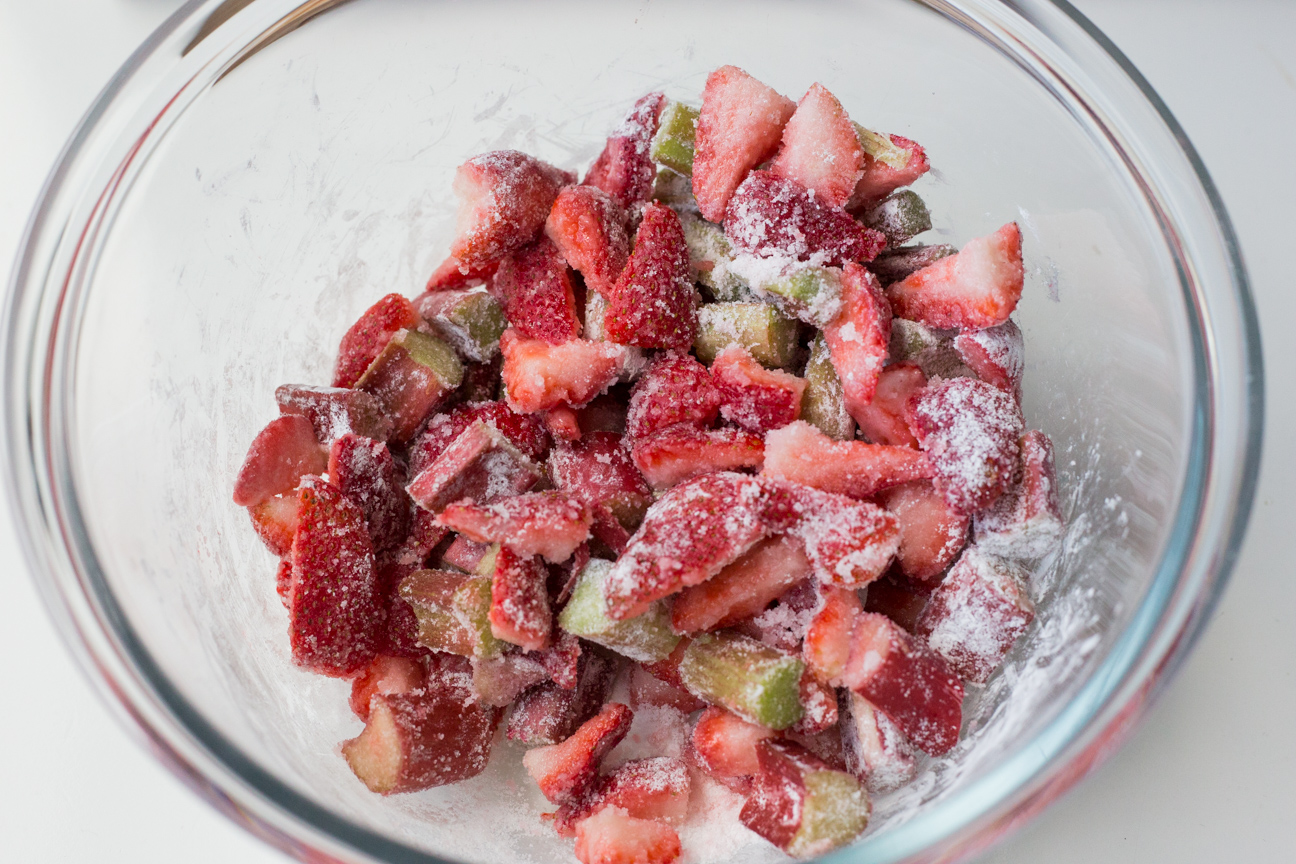
Meanwhile, wash and chop your strawberries and rhubarb.
And mix the fruit together in a big bowl. Don’t add the sugar until later. Cover and continue with the other ingredients.
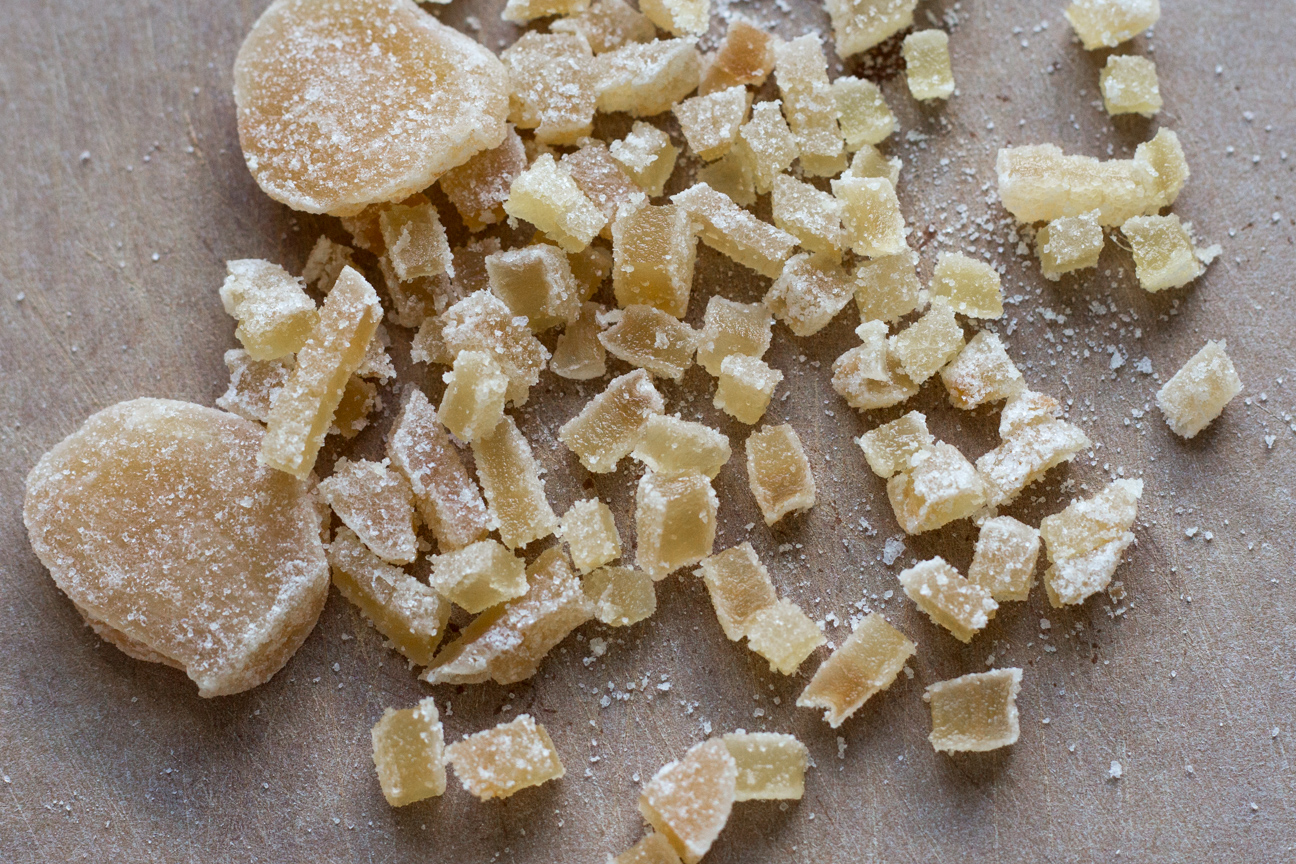
Dice the candied ginger into small pieces. And then mix together all the crumble ingredients.
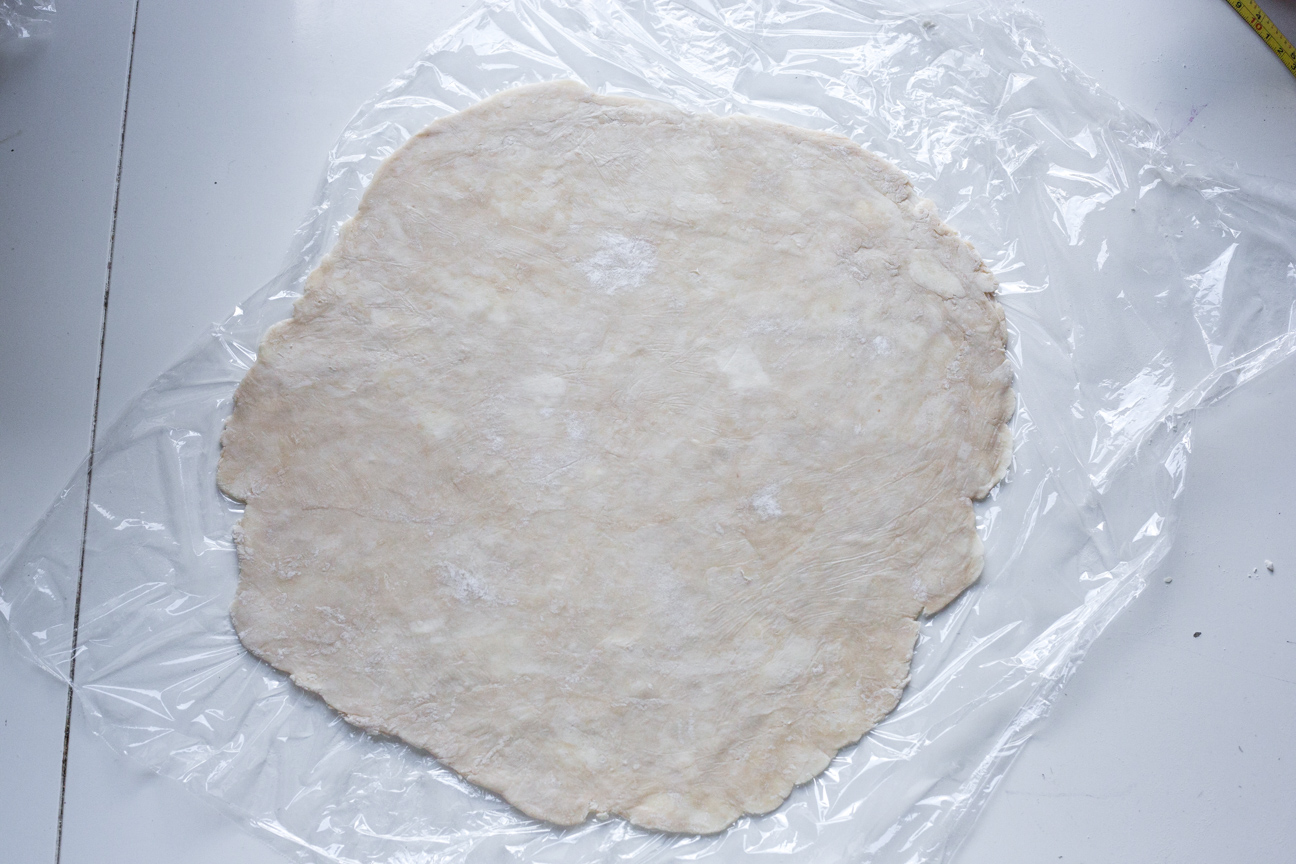
Roll your pastry out on saran wrap until it is a 14 inch circle. Roll the pastry top to bottom, and then on a diagonal: first one side, and then the other. Then repeat this pattern, until you have a circle. Make sure the pie dough is a uniform thickness. For a galette, if it’s too thin on one side, the filling may spill out in that spot. If the edges start to fray while you are rolling, just squish them back together again. Sprinkle the pastry with about 2 Tbsp of panko (this helps absorb excess juice)
Add the sugar and lemon zest to the fruit just before you pour it onto the pastry.
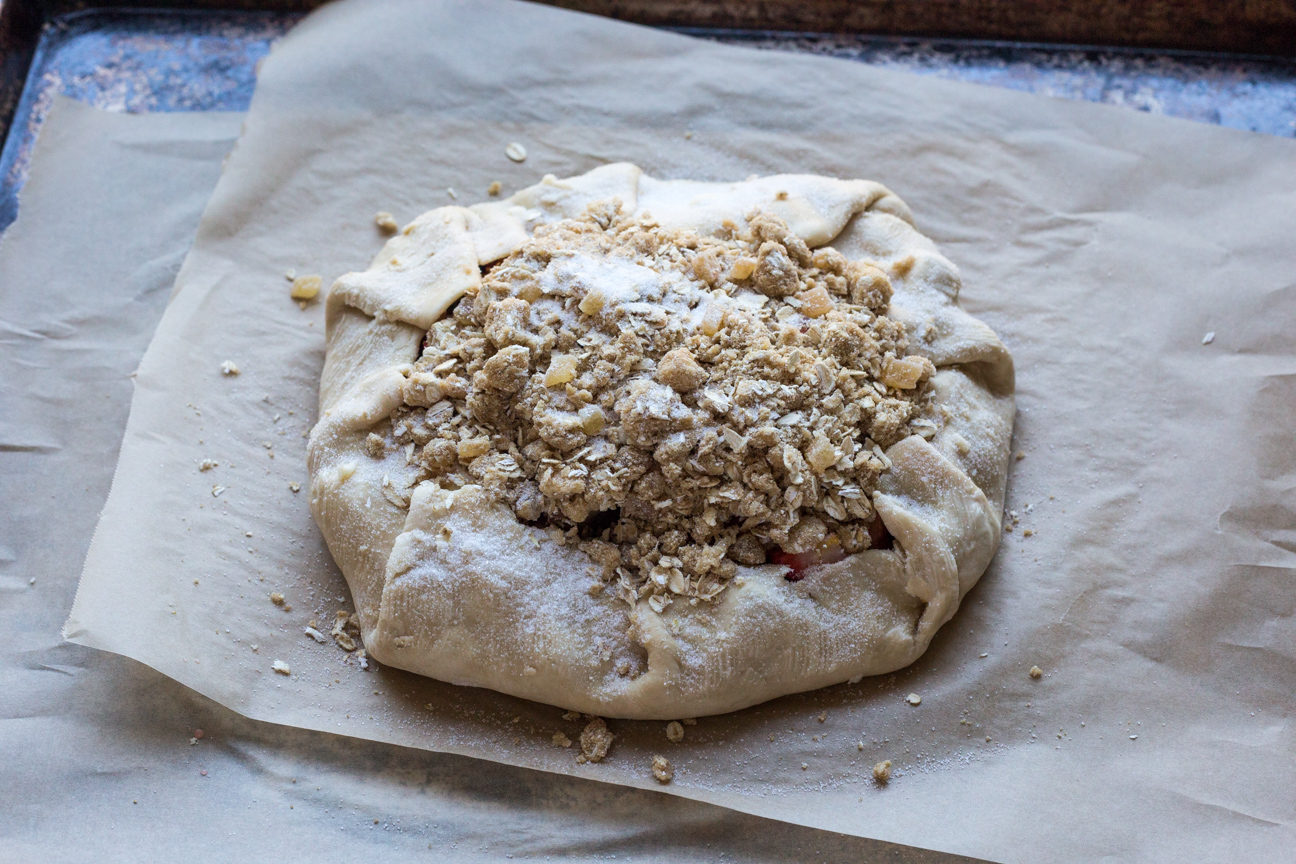
Turn the edges up into the centre of the galette, about 3 inches or so, leaving the fruit exposed on top. Make sure you bring the pastry up far enough, to prevent some of the filling from oozing out. Pour the crumble over the exposed fruit. Use as much as you can, but you may not need all of the crumble. Brush the pastry with butter and sprinkle with sugar.
Bake in a 375 degree F. oven for about 30-40 minutes, until the top is golden brown. This pie is so good.
Serve room temperature or cold. It’s good with ice cream or I also like balkan plain yogurt on top, or, of course it’s also delicious on its own. I hope you enjoy my Strawberry Rhubarb Ginger Oat Crumble Galette.
Pastry (you can also use your favourite pastry recipe)
200 g all-purpose flour
1 Tbsp sugar
1/2 tsp salt
115 g cold butter, cubed
90 g cold water
Instructions
1
Pastry: Make sure all of the ingredients are in the fridge for at least one hour before making the dough.
2
Dissolve the sugar and salt in the cold water in a small bowl.
3
Add cubed butter to flour. With your hands, or a pastry cutter, break the butter into pieces a little bit larger than pea size.
4
Once this is done, add the liquid.
5
With a fork, gently stir, bringing the ingredients from the outside of the bowl into the centre until the mixture is somewhat more cohesive and the ingredients are coming together into a ball.
6
When most of the ingredients have come together, turn out onto a table. Do not add any more flour. You won't even need to sprinkle flour on the table.
7
Gently gather in all the stray clumps of dough, bringing all the loose flour etc. into the dough ball.
8
Continue until the stray bits are incorporated and the dough is smooth.
9
Flatten into a disc. Wrap in saran wrap and place in the fridge for about 1 hour.
10
Filling: Meanwhile, prepare the filling.
11
Wash the rhubarb stalks and the strawberries.
12
Cut the rhubarb into 1" size pieces.
13
Trim the green leaves off the strawberries and slice into quarters.
14
Mix the rhubarb and strawberries together in a bowl.
15
Mix the sugar and lemon zest and cornstarch in a separate bowl.
16
Leave the sugar and fruit separate until just before you assemble the pie.
17
Crumble Topping: Mix all of the dry ingredients together.
18
Add the butter and mix in with your hands or a pastry cutter, until the butter is pea-size.
19
Place the crumble topping in the fridge until ready to assemble the pie.
20
Preheat oven to 375 degrees F.
21
Rolling the dough: Roll out enough saran so that you can roll out a 14 inch circle of dough. Sprinkle some flour onto the saran. Take the disc of dough out of the fridge and place on the saran, and sprinkle the tiniest bit of flour on top of the dough.
22
To roll the dough; roll it top to bottom and then on a diagonal in both directions.
23
If the dough gets shaggy, ragged edges, just press them back together.
24
If the dough starts to stick a bit, just lift it up from the saran.
25
Once the dough is 14 inches from side to side, lift the saran up and place on a parchment lined large baking tray. Slide out the saran wrap.
26
Sprinkle the 2 Tbsp of panko bread crumbs on top of the pastry.
27
Add the sugar to the fruit and stir to combine.
28
Add fruit into the centre of the galette.
29
Fold the edges of the pastry up into the centre about 3 inches, folding the pastry over as you go, to create folds along the outer edge.
30
Brush butter on the pastry and sprinkle with sugar.
31
Pour the crumble over top of the exposed fruit, you may not need all of the crumble.
32
Bake in the oven for about 30-40 minutes until the top is golden.
33
Serve warm with ice cream or I also like balkan yogurt on top.
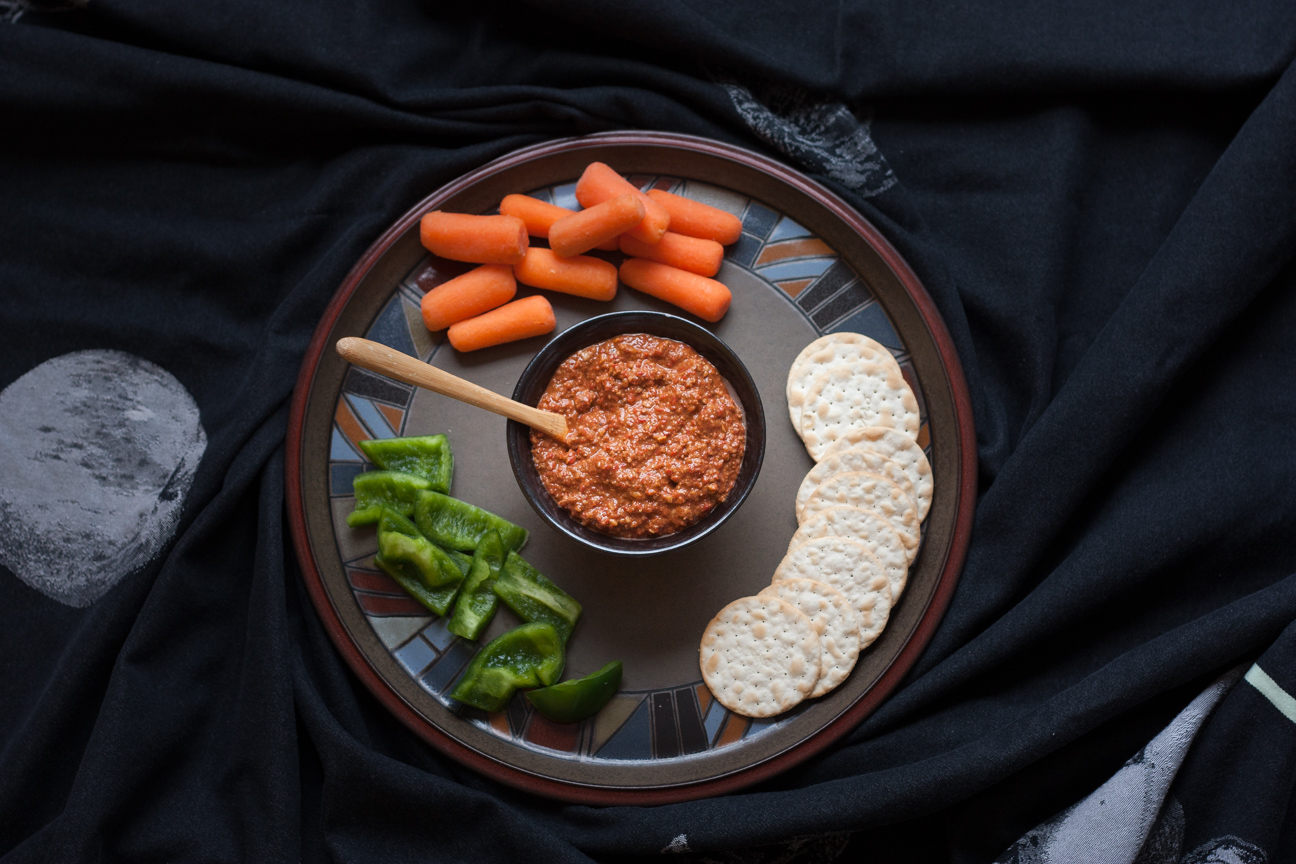
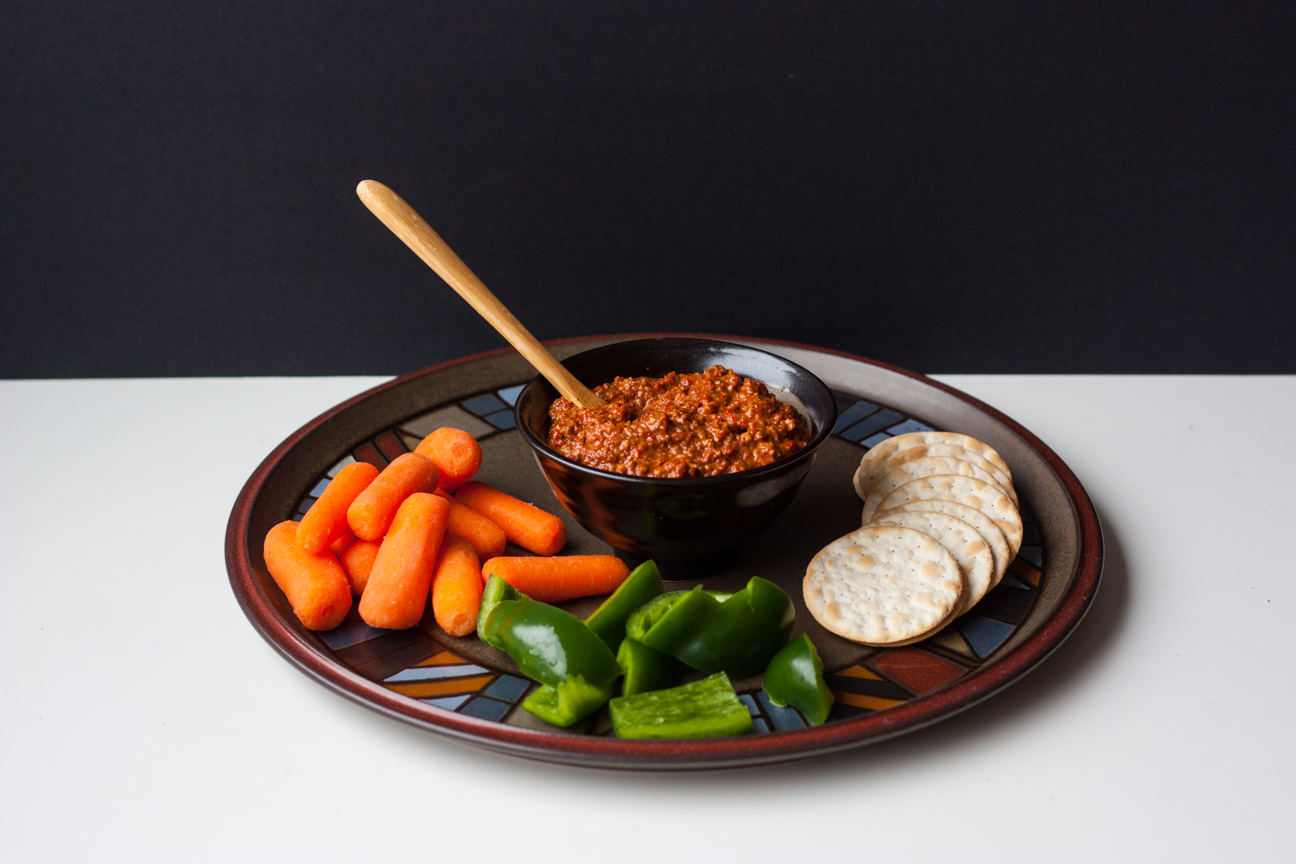
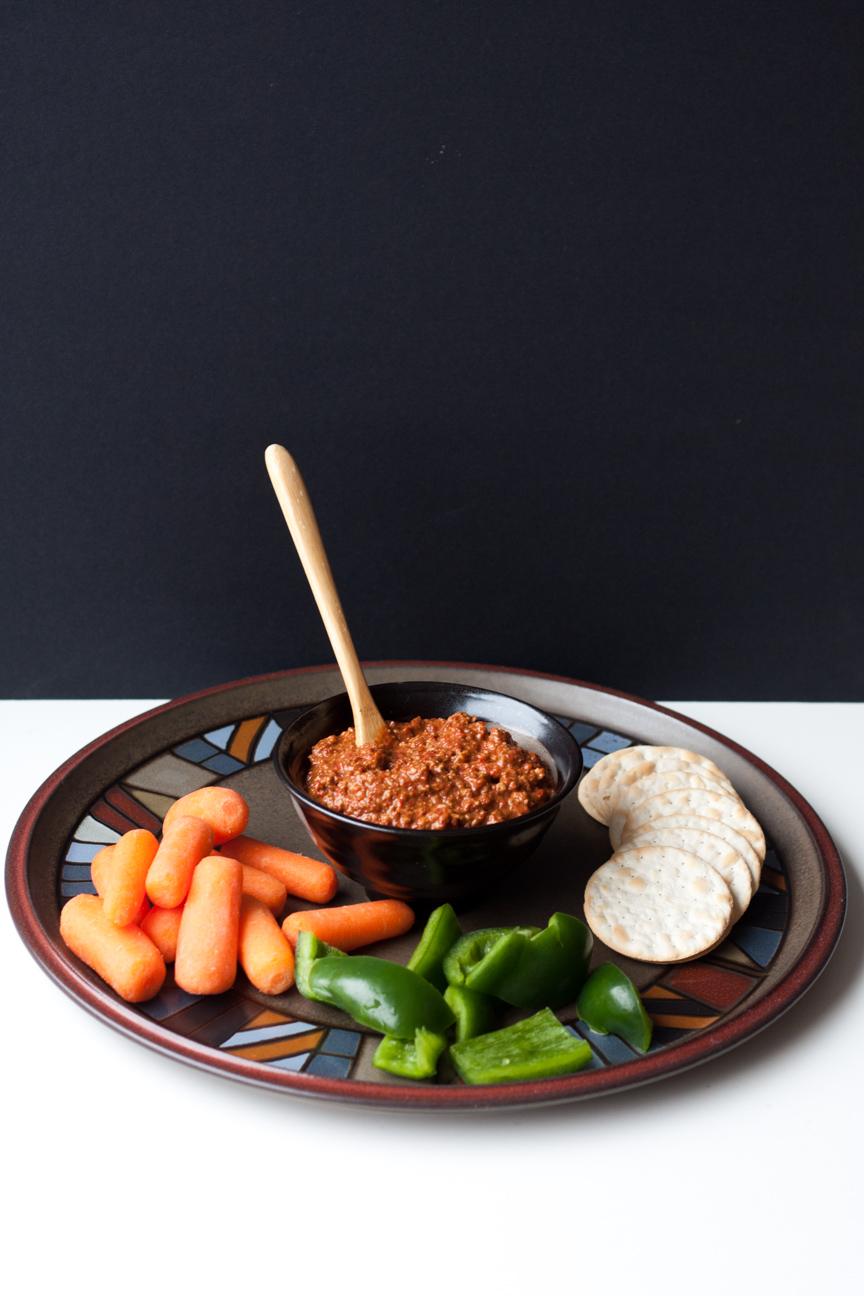
I made this Syrian Muhammara Red Pepper Dip recently for my family and everyone loved it.
With summer weather fast approaching, I am building up my repertoire of dips, spreads and salad dressings etc. for summer barbeque dinners with my family.
This Syrian Muhammara Red Pepper Dip is a surefire winner for summer picnics. This dip has lovely contrasting flavours with crunchy walnuts, smoky, silky smooth roasted red peppers and rich earthy cumin. It also has a luscious red hue. This dip is vegan so is perfect for taking to any potluck (when we’re able to). My recipe is not gluten free, as it has breadcrumbs in it. You could leave them out, the texture would just be a bit different.
This dip is popular in Syria as well as Turkey. Syria, is bordered by Lebanon, Turkey, Iraq and Jordan. These countries blend the cuisines of western Asia, Eastern Mediterranean, northeast Africa and northwest of the Arabian Peninsula which makes the food from these countries very, very interesting. I don’t really know much about this region, but some of the familiar ingredients from these countries motivate me to learn more.
Muahammara is a common dish that many families in Syria or Turkey eat almost daily. Many women in that region keep peppers in the freezer to have on hand so they can whip up this dip if someone pops by for a visit.
Some people make this with garlic, but I decided to leave it out, as I put garlic in so many recipes. I really wanted to taste the other ingredients. But you can add in a chopped clove of garlic if you wish.
Muhammara is seasoned with lemon juice, salt and cayenne pepper. Feel free to adjust those flavours as you like.
I hope you enjoy this dish! Let me know how you like it.


 I made this Syrian Muhammara Red Pepper Dip recently for my family and everyone loved it.
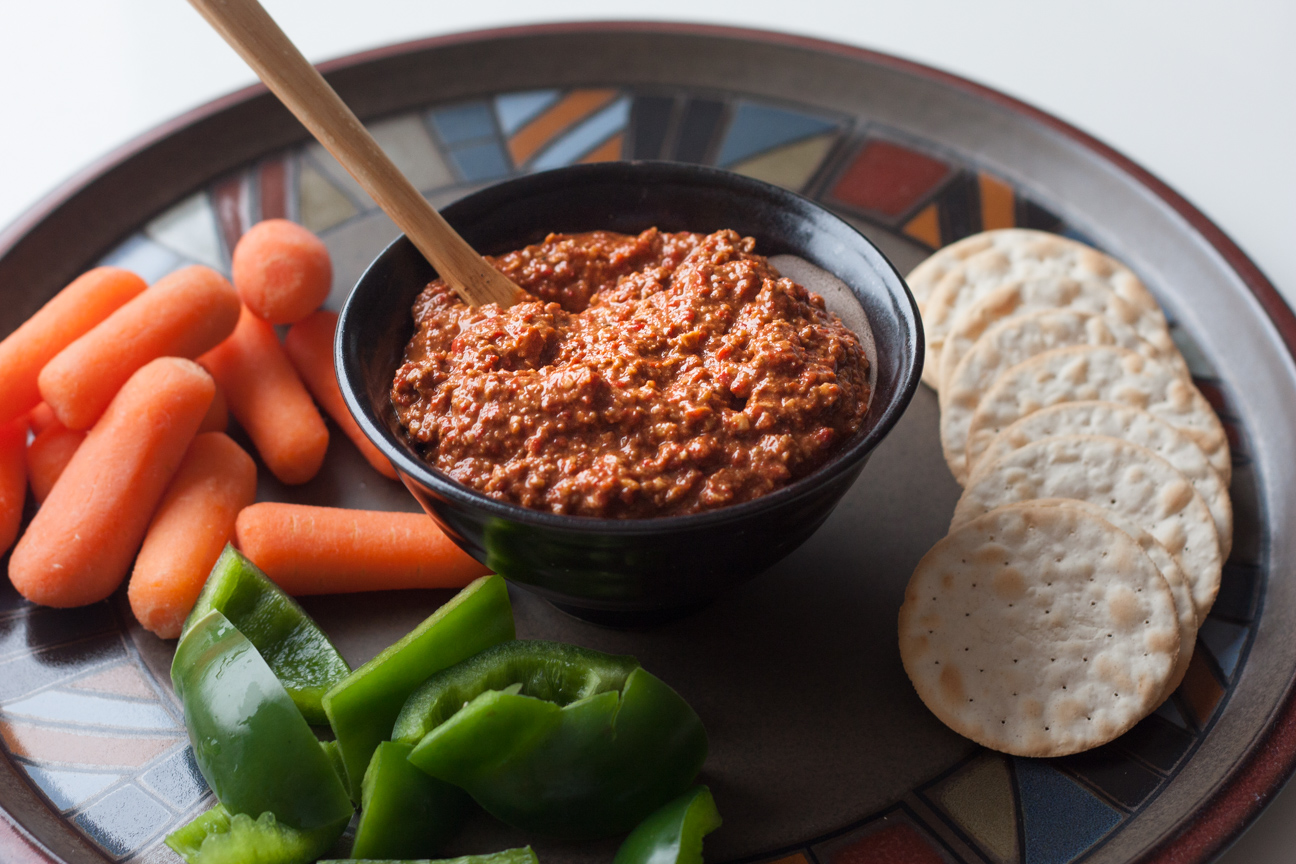
 Some people make this with garlic, but I decided to leave it out, as I put garlic in so many recipes. I really wanted to taste the other ingredients. But you can add in a chopped clove of garlic if you wish.