Browsing Tag:

chocolate

Baking

Fruit and Nut Chocolate Bark

chocolate with dried fruit and nuts

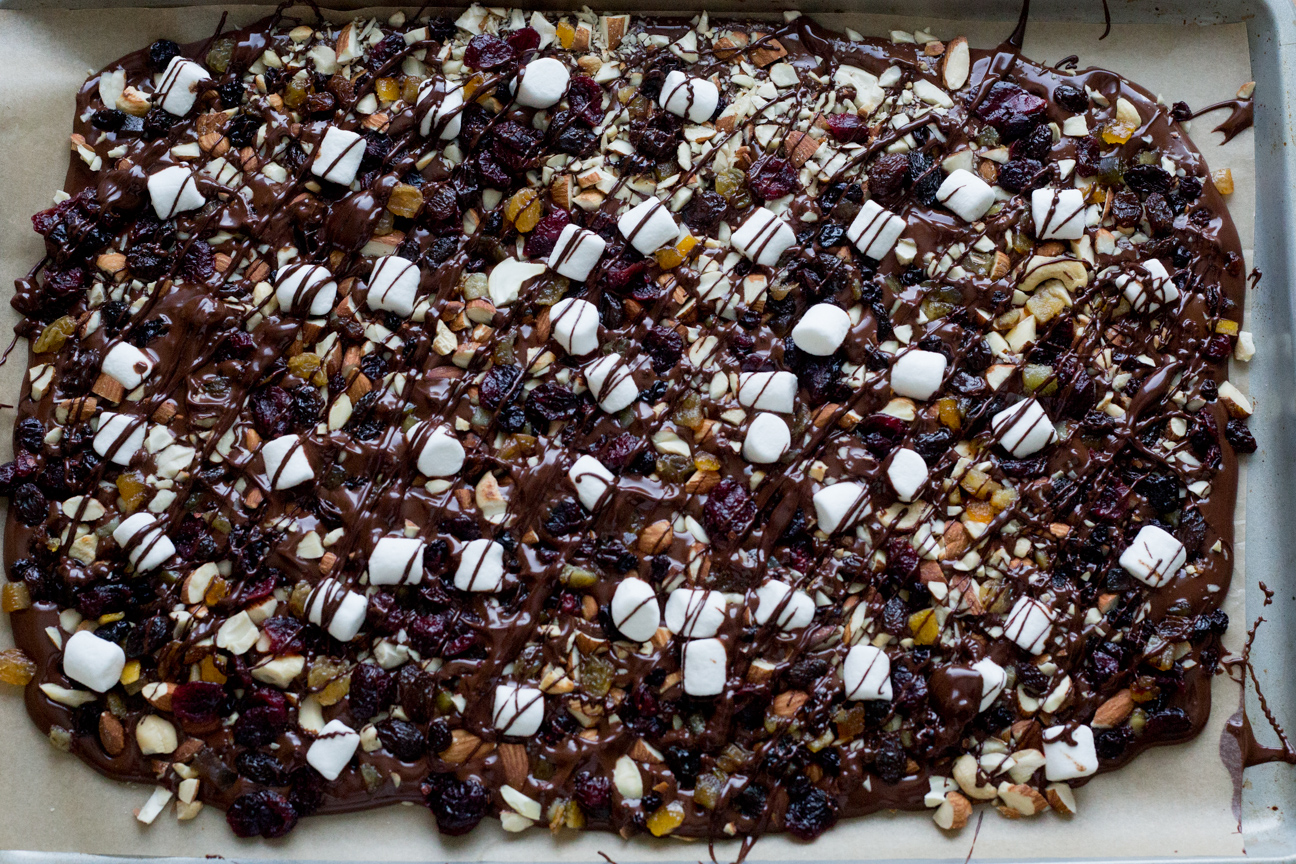
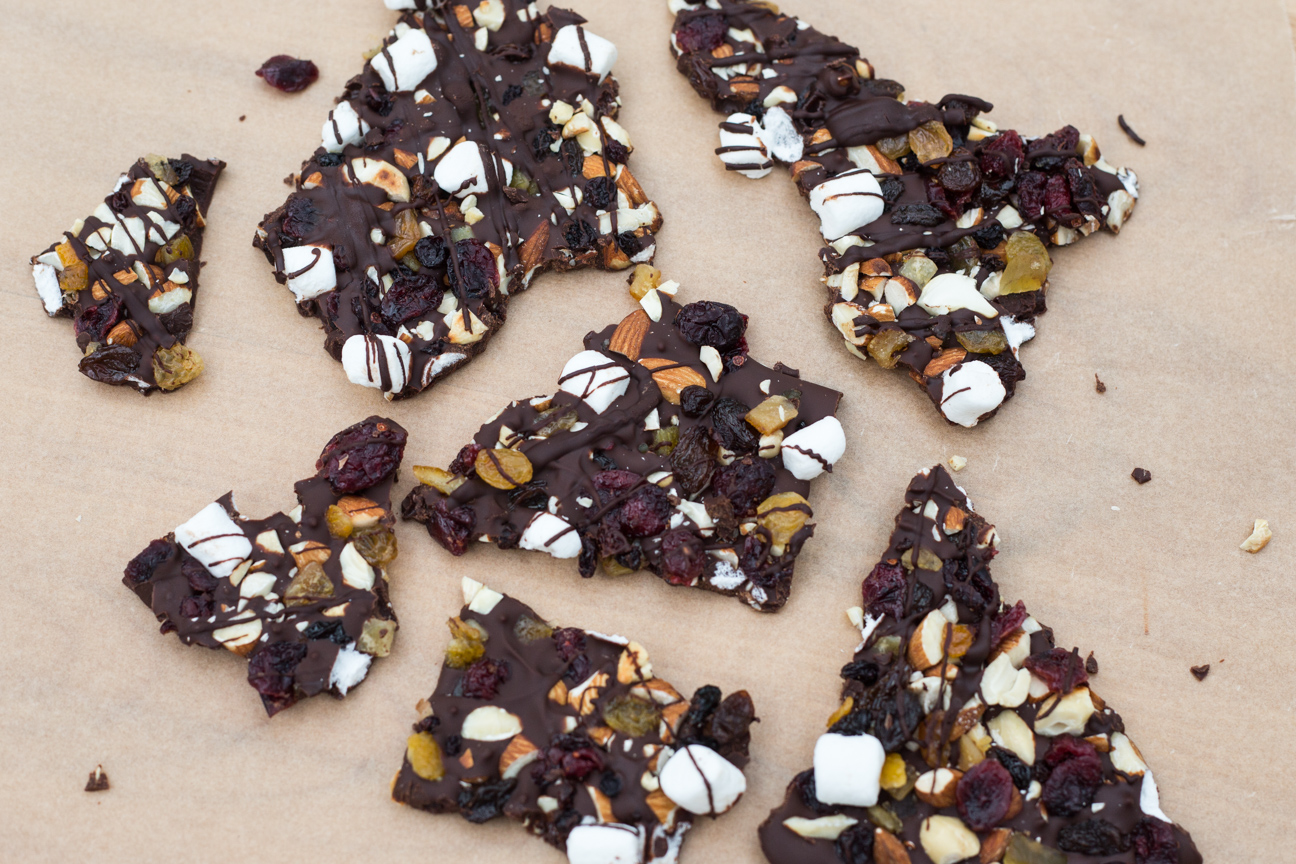
This Fruit and Nut Chocolate Bark is one of my favourite ways to enjoy chocolate. I love the mix of dark and milk chocolate swirled together with dried cranberries, raisins and toasted almonds. It’s so good.

One reason why I like to keep a container of this Fruit and Nut chocolate Bark in the fridge, is because I can just break off a small piece whenever I feel like I need a hit of chocolate. And sometimes a small piece of chocolate is all I need.

I make this bark with loads of fruit and nuts, but with enough chocolate so that I get my chocolate fix. This recipe makes enough so you can share it with the whole family. In this recipe, I used a combination of dark and milk chocolate, because I like the flavour of the two mixed together. But, if you only have milk or you only have dark, that’s fine too. That’s the beauty of a sweet treat like this, you can make it to suit your tastes. If you want it nuttier, or you want to leave out the marshmallows: that’s perfectly fine.

dried fruit and nuts on a cutting board

Tips on melting chocolate

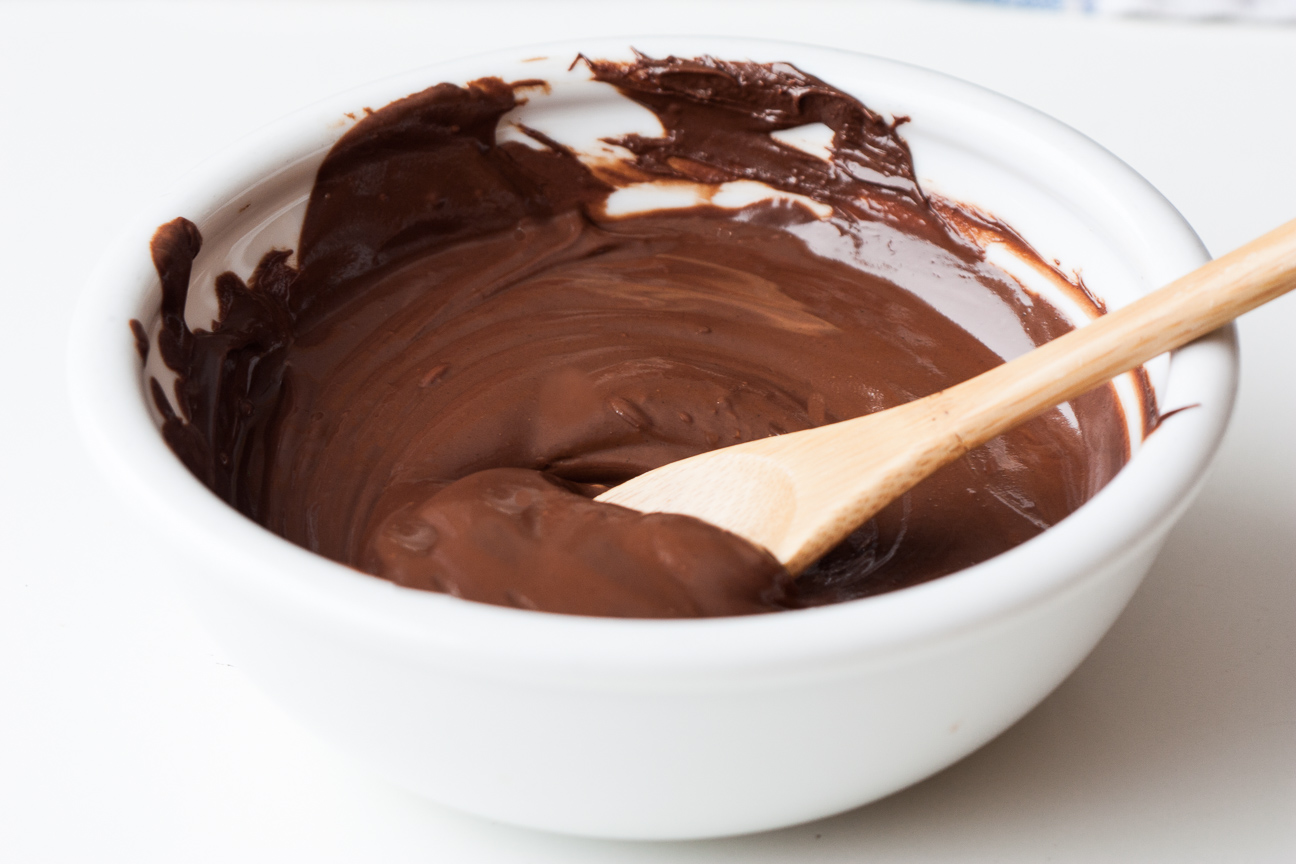
Melting chocolate is super simple. However, you can burn it while melting, if you’re not careful. I always melt mine in the microwave. But, you have to be super careful when melting chocolate this way.

Before you put your chocolate in the microwave, break it up into pieces. It doesn’t really matter what size, but not too small. It’s easier to work with if the chocolate is a decent size. I break my chocolate up into pieces that are about say 8-10 cm. When I melt chocolate in the microwave, I often use 80% power and I start with 30 second intervals. And I stir it in between. Reduce the intervals to 20 seconds once the chocolate is 2/3 melted. And as soon as most of it is melted, but there are a few solid pieces of chocolate in your bowl, you can take it out of the microwave. At this stage, just stir it around until all of the chocolate is melted.

If you don’t have a microwave, or would like to do it on the stove, you will need a medium pot and a heat proof bowl that can sit on top of the pot. Add some water to the pot, and sit the bowl on top of the pot. You don’t want the water to touch the bottom of the bowl. Bring the water to a simmer. Add your chocolate pieces (they can be smaller pieces using this technique) and as the chocolate begins to melt, stir the chocolate continuously until only a few solid pieces remain. Remove bowl (carefully, it will be hot) from the pot and continue to stir until everything is melted.

Pour the chocolate while it is still warm onto parchment paper on a baking tray. Sprinkle with nuts, dried fruit and marshmallows. And drizzle with extra melted chocolate for decoration.

melted chocolate and dried fruit and nuts

Fruit and Nut Chocolate Bark Add-Ins

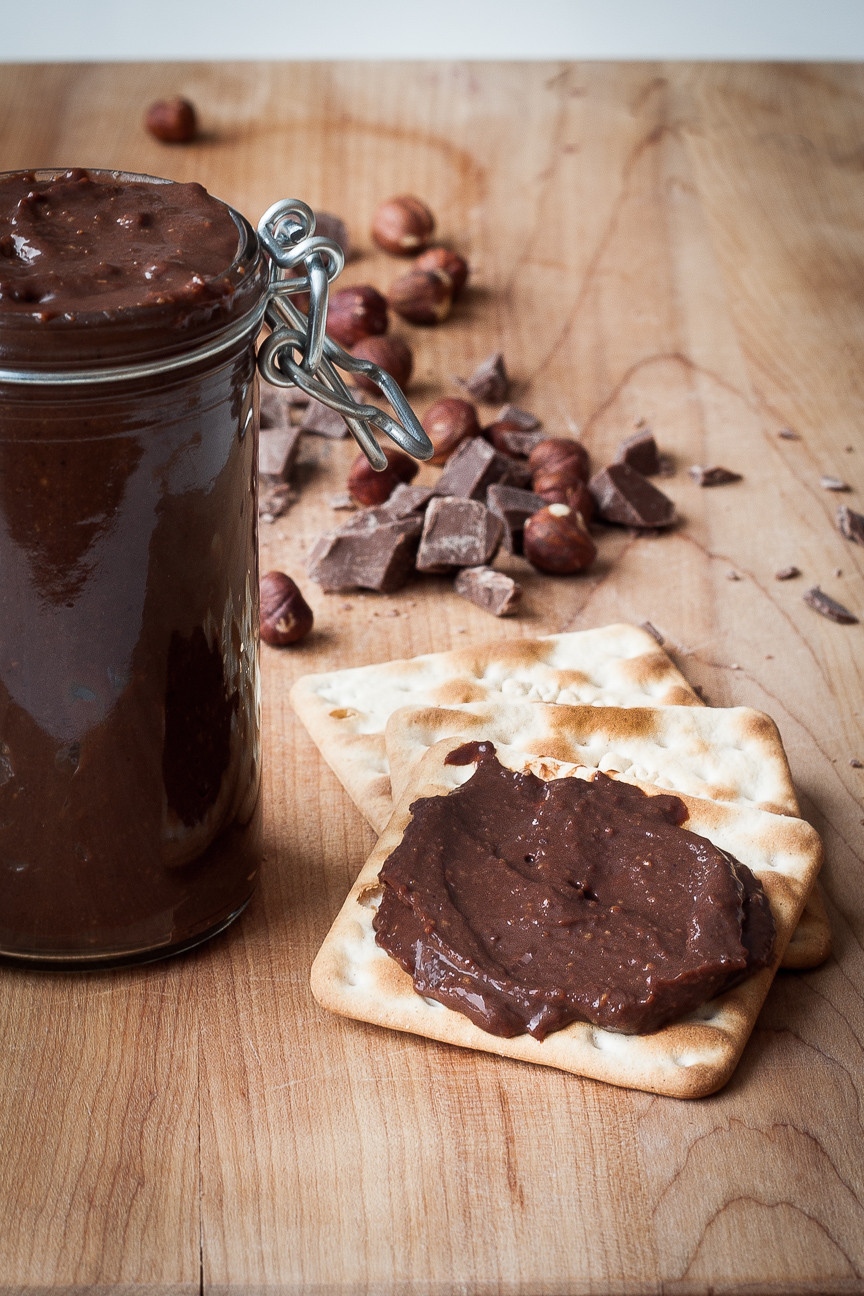
There are so many different combinations of ingredients that you can add to chocolate bark. Here are some of my favourites:

  • try to use an equal mix of dried fruit to nuts, so that its not too sweet. And if you like it really nutty, put in more nuts than dried fruit
  • any of the following fruits go very well with chocolate: raisins, candied ginger, dried mango, dried cranberries, blueberries and cherries,
  • other ingredients that are nice are: pretzels, broken up cookie pieces (not too sweet, something like digestive biscuits, nilla, graham crackers)
  • I used a mix of dark and milk chocolate, because that’s what I had, but you can use just dark chocolate or milk chocolate, whatever you prefer
  • you can use a mix of nuts, like I did, or just one type; it’s up to you. Pistachios are a favourite, as they’re so colourful
  • also, if you like sweet and salty, try adding a sprinkle of flaked sea salt on top. It goes so good with chocolate.
dried fruit and nuts and chocolate

Try making some Fruit and Nut Chocolate Bark for your next family get together or movie night at home. Wherever you serve it, your guests will be glad you did.

Fruit and Nut Chocolate Bark

Serves: 10-16

Ingredients

  • 450 grams chocolate (can be a mix of dark and milk or all dark or all milk); leave 50 grams out to drizzle on at the end, but that's optional
  • 150 grams chopped almonds and cashews, toasted
  • 150 grams dried fruit (I used raisins, sultanas, dried currants, dried cranberries, citron peel)
  • a handful of marshmallows

Instructions

1

Toast the almonds.

2

Toast the cashews separately if using, I find the cashews toast quicker than the almonds, so I do them separately

3

Melt the chocolate. If you do this in the microwave, start at 30 second internals on 80%, stirring in between. As it gets more melted, reduce the time to 20 seconds. When there are still a few solid pieces in the bowl, remove it from the microwave and stir.

4

Line a tray with parchment paper. The tray should be able to fit in your fridge. I used a tray that was about 30 cm X 40 cm.

5

Pour the melted chocolate on the parchment paper.

6

Sprinkle the nuts on the chocolate.

7

Sprinkle the dried fruit on the chocolate. Make sure you go all the way to the edge.

8

Sprinkle a handful of marshmallows on top.

9

Take another sheet of parchment paper, or you could use your hands, if you like. Press everything gently into the melted chocolate. Lift the paper straight up, so as not to make a smeary chocolate mess.

10

Take the remaining 50 grams of chocolate and melt this.

11

Drizzle this chocolate over the entire bark.

12

Place in the refrigerator for about four hours.

13

Once the bark is solid, break it into pieces and serve.

14

If it's warm in your house, store in the refrigerator.

Baking

Double Chocolate Skillet Brownie Cookie

Double Chocolate Skillet Brownie Cookie on cutting board

If you love chocolate and you love brownies, you’re going to love this Double Chocolate Skillet Brownie Cookie. Chocolatey, chewy, dense So darn good!

I love love love this technique for making cookies. It’s so crazy easy. And fun! The cookie dough is placed into an (oven-safe) skillet. And the cookie dough bakes in the skillet to make one big gigantic cookie. There are many people who like to mix up all the ingredients in the skillet to save on dishes. But, I can easily envision myself making a huge mess doing that, so I don’t mind using an extra bowl or two for the mixing. I mean, you still have to wash measuring cups and spoons and stirring spoons, so in my view, what’s another 2 bowls.

This Double Chocolate Skillet Brownie Cookie is one of the easiest cookie recipes that I know. And that’s saying something.

dry ingredients for Double Chocolate Skillet Brownie Cookie

First you measure out all your dry ingredients into a large bowl.

dry ingredients for Double Chocolate Skillet Brownie Cookie

Stir everything around so that all of the flour, baking powder and cocoa powder are well mixed.

raw ingredients for Double Chocolate Skillet Brownie cookie

Mix the egg, oil, and brown sugar together.

raw cookie dough in bowl

Add the wet to the dry ingredients and stir to fully incorporate. Add the chocolate chips at the end.

raw cookie dough in skillet

Pat all of the ingredients into the skillet. No need to oil it, as there is plenty of oil in the cookie dough.

baked cookie in skillet

The cookie dough will rise up slightly and have a dull appearance on the surface when it’s ready to come out of the oven. You don’t want to over bake the dough. It should be a bit fudgy when it’s warm.

Double Chocolate Skillet Brownie Cookie on cutting board

You can eat it warm right out of the skillet if you like. Although if there are young children at the table, it might be better to slice it up and serve it on plates. As the skillet will stay hot for quite a while.

Double Chocolate Skillet Brownie Cookie in skillet

Irresistibley good.

Double Chocolate Skillet Brownie Cookie

Serves: 16
Cooking Time: 25

Ingredients

  • 160 grams butter, melted
  • 160 grams brown sugar
  • 1 egg
  • 1 tsp vanilla
  • 2 tsp instant espresso powder
  • 225 g AP flour
  • 2 Tbsp cocoa powder
  • 1/2 tsp baking soda
  • 1/2 tsp salt
  • 170 grams chocolate chips (I used milk chocolate, but semi sweet would also be nice)

Instructions

1

Preheat the oven to 350 F.

2

Melt the butter either on top of the stove, or in the microwave.

3

Pour the melted butter into a medium size bowl.

4

Add the brown sugar and stir.

5

While this mixture cools for a few minutes, dissolve the instant espresso powder in the 1 tsp vanilla. Stir the espesso together with the vanilla. The espresso may not all dissolve, but that's ok.

6

Add the egg to the butter and sugar mixture once it has cooled a bit. You just don't want it piping hot, or it will cook the egg, when you crack it into the bowl.

7

In a slightly larger bowl, add the flour, cocoa powder, baking soda, and salt.

8

Mix together the dry ingredients.

9

Pour the dry ingredients into the wet ingredients. Stir until it all comes together.

10

Add the chocolate chips. Stir to incorporate.

11

Press the cookie batter into a 9-10 inch skillet.

12

Bake in the middle of the oven for about 25 minutes.

13

How to tell when it's done: It will smell aromatic, it will have puffed up a bit, and the top will dry out a bit and look slightly dull.

14

I'm always terrified of forgetting to use my oven mitts to take the skillet out of the oven. SO, if you also have this fear, keep the oven mitts very handy, close to the stove: do what you need to do to remember to put the oven mitts on.

15

When its done, take it out of the oven with your oven mitts and place on a rack.

16

This cookie is delicious when still warm. But you will want it to cool down for at least 10 minutes, otherwise, it will just fall apart when you try to take it out.

17

Of course, if you like, you could put it in the middle of the table, after dinner, and have every one grab a spoon and just gobble it up straight out of the pan. A couple scoops of vanilla ice cream wouldn't hurt either! (but remember the skillet will stay very hot for 20-30 minutes, so do be very careful).

18

If there are any leftovers, store them in a container on the kitchen counter for a couple days.

19

If its very warm where you live, or you think it's going to take more than a couple of days to finish it off, then you can keep it in the fridge. Let it come to room temperature before serving.

Baking

Energy Balls with Chocolate and Peanut Butter

separate piles of ingredients for chocolate peanut butter energy balls

One of my favourite times of the day is when I sit down and have a cup of tea and a snack, flipping through a new food magazine with the sun shining through the windows. Just heaven to me. For me, a snack could be anything from fruit salad to a bowl of yogurt or a muffin or a cookie, as long as it’s healthy. I love a good cup of tea, but to me, it’s not the same without something to nibble on. That’s why I like these Chocolate Peanut Butter Energy Balls so much. Made with nut butter, dried berries, coconut flakes and just enough chocolate chips to make you want more – they are very very good.

Energy Balls became popular a couple of years ago. They are jam-packed with dried fruit, nuts, raw honey or maple syrup and nut butters. They are easy to make partly because you don’t even have to turn the oven on. So, you can make them any day of the year and not worry about heating up your kitchen. They are excellent power foods. So easy to take on a long hike, a bike ride or even to the beach. And who doesn’t need a snack with any of those activities.

In this recipe, you can use smooth peanut butter or chunky peanut butter. I still add chopped peanuts even when I use chunky peanut butter. Or you could use natural peanut butter as well. You could also use almond butter with chopped almonds if you wanted to change it up a bit.

ingredients for chocolate peanut butter energy balls

Put all the chopped and measured ingredients into a big bowl and give it a stir. Make a wish too if you like, too.

ingredients for peanut butter energy balls in a bowl

Stir everything together with a big wooden spoon until everything is fully mixed together.

chocolate peanut butter energy balls on a wooden board

Then roll them into balls. Easy peasy. I store mine in the fridge, so the chocolate doesn’t melt on me. They keep for ages, but will undoubtedly get eaten up before you know it.

I love energy balls for all sorts of reasons: they’re portable, the combination of dried fruits and nuts is so divine, and because they’re small. You can have one or you can have two and you don’t feel like you’ve broken the bank of your daily calories.

I’m not going to pretend that they are are superfoods and will improve your health in anyway. Although I do believe that they are better than snacking on chips or a chocolate bar. They’re also quick to make, taste delicious and they hit the spot when I need an energy boost.

Can’t wait to put the kettle on, pull out my latest food magazine and have a snack.

Try making some today. I’m sure you’ll enjoy them. Let me know how they turn out.

Energy Balls with Chocolate and Peanut Butter

Serves: 16
Cooking Time: 30 minutes

Ingredients

  • 2 cups rolled oats
  • 1 cup peanut butter
  • 1/4 cup chopped peanuts
  • 1/2 cup raw honey
  • 1/2 cup chopped chocolate chips (milk chocolate or semi-sweet chocolate will do)
  • 1/2 cup dates (or mixed dried berries or chopped raisins).
  • 1/2 cup coconut flakes
  • 2 tbsp cocoa powder
  • 2 tbsp maple syrup

Instructions

1

Chop the peanuts and the dates or dried fruit. Energy balls form better when the individual ingredients are rather small.

2

Mix all ingredients together in a large bowl.

3

Stir very well, so that everything is well incorporated.

4

Divide dough into 30 gram pieces. You should be able to make about 16 balls.

5

Roll each 30 gram piece into a nice round ball.

6

Place in a container.

7

Store in the fridge.

8

Enjoy!

Baking

Delicious Soft Pumpkin and Chocolate Chip Cookies

pumpkin chocolate chip cookies on a plate

Pumpkin chocolate Chip Cookies are one of my favourite cookies of all time. These Pumpkin Chocolate Chip Cookies are just so yummy, we can’t stop eating them! They’re made with a good amount of baking powder which makes them puffy and soft, plenty of pumpkin puree, a kick of spice and lots of chocolate chips too.

With everyone staying home this Hallowe’en, these Pumpkin Chocolate Chip Cookies are the perfect treat to whip up. The recipe is super simple and uses mostly common pantry ingredients. I still had a can of pumpkin puree in my cupboard from our Canadian Thanksgiving weekend, but if you’re all out, the grocery stores still have plenty and they are probably on sale too!

This recipe for Pumpkin Chocolate Chip Cookies is based on one from my very first cookbook: The Peanuts Cookbook. Our Grade 4 elementary school teacher signed us up to a book club and we all ordered 1-2 books to read. My friend, Bonnie got some Nancy Drew mystery books, but I ordered this cookbook. I still have a copy, although not my original copy. The cookbook has lime green and bright pink pages and kid-friendly recipes like Divine Divinity, Lucy’s Lemon Squares, Security Cinnamon Toast and Red Baron Root Beer as well as loads of comic strips.

The first time that I made these cookies was with a friend from school. We were about 9 or 10 and my Mum let us bake some cookies in our kitchen all by ourselves. We thought it would be really cool if we baked them like mini-pumpkins. So we rolled them all into balls and placed a bunch on a cookie sheet. Well, I don’t know what happened, we must have left something out of the recipe, because when we took them out of the oven they had spread out completely so they were one big huge gigantic cookie, and were possibly slightly burnt. We had a good laugh, and so did my Mum. We still ate the cookies and thought they were pretty great! And all these years later, I’m still having fun in the kitchen!

pumpkin chocolate chip cookies on a plate on a table

These cookies are moist, tender and loaded with pumpkin flavour and milk chocolate chips! So autumnly divine! If you bundle up, cookies with hot chocolate or chai tea are lovely outside!

pumpkin chocolate chip cookies

And they’re super easy to make. All you need is flour, brown sugar, butter, eggs, baking powder, pumpkin puree, cinnamon and chocolate chips. All of these could be yours in about one hour! So tempting!

close-up of chocolate chip cookies

Happy Hallowe’en everyone!

Pumpkin Chocolate Chip Cookies

Serves: 50
Cooking Time: 8-10 minutes

Ingredients

  • 1/2 cup butter
  • 1 1/2 cups brown sugar
  • 2 eggs
  • 340 grams pumpkin puree
  • 3 1/4 cups all-purpose flour
  • 1 Tbsp cinnamon
  • 1 Tbsp baking powder
  • 2 cups milk chocolate chips (semi-sweet would work too)

Instructions

1

Pre-heat oven to 375 degrees.

2

Cream the butter and brown sugar together.

3

Beat until light and fluffy.

4

Add the eggs.

5

Add the pumpkin puree. Don't worry if it curdles, it will sort itself out when you add the dry ingredients.

6

Mix together the dry ingredients.

7

Add dry ingredients to wet ingredients. Try not to over mix.

8

Stir in the chocolate chips.

9

Using a small ice-cream scoop, place cookie dough on a parchment paper-lined cookie sheet, approximately 2 inches apart.

10

Bake in oven for 8-10 minutes. They will puff up and be slightly golden on the bottom when they're done.

11

Let cookies cool on baking sheet for about 2-3 minutes.

12

Place cookies on a cooling rack to cool down.

13

Enjoy!

Baking

Sublime Flourless Chocolate Orange Almond Cake

Chocolate Orange Almond Cake

Happy Mother’s Day! This Chocolate Orange Almond Cake is so perfect for Mother’s Day because nothing rounds out a Mother’s Day meal better than cake, but who wants to spend the day baking…not me!!

This cake is perfect for Mother’s Day because it is super easy to make. Because it only has 9 ingredients, it whips together in a jiffy and it only takes 30 minutes to bake. With a simple sprinkle of icing sugar on top, it’s ready to serve. This cake is perfect to make for your Mom, your mother-in-law or for yourself and your family. You could also get your children to help you in the kitchen.

This cake is special because it is made without flour. I love flourless chocolate cake. They are dense and dark and chocolatey. And this cake has the added aroma of orange reminiscent of chocolate oranges at Christmas. The texture from the ground almonds is very appealing as their nuttiness pairs well with the fudgy chocolate. If you’re looking for something to serve this year for Mother’s Day, this cake checks all the boxes: pretty, chocolate, not too sweet and quick to make.

You could serve this cake plain or bring it up a notch and have a dollop of sweetened whip cream on top. Yum!

To make this Chocolate Orange Almond Cake,  you melt the butter and chocolate together (I love this technique – don’t you? No whipping, or trying to get the butter just the right temperature). I grated the orange zest right into the bowl of melted chocolate. The orange-chocolate aroma is so enticing, I had to use all my will-power not to eat cake batter right out of the bowl. Please try to refrain. Your dinner guests will thank you (even when it’s only your family, as is the case everywhere right now).

Some flourless cakes, such as Torta Capresa, don’t add extra leavening, but I have added a small amount of baking powder to this cake. It adds just a bit of lift that I like. And gives the cake a lovely presentation. Enjoy!

slice of Chocolate Orange Almond Cake

Flourless Sublime Orange Chocolate Almond Cake

Serves: 8-10
Cooking Time: 30

Ingredients

  • 200 grams dark chocolate
  • 140 grams butter
  • 150 grams sugar
  • Grated zest from one orange
  • 3 eggs, separated
  • 2 cups ground almonds
  • 1/2 tsp baking powder
  • 2 Tbsp orange liqueur (such as Cointreau)
  • 2 Tbsp cocoa powder
  • icing sugar to decorate

Instructions

1

Preheat oven to 350 degrees F.

2

Grease 8” springform pan.

3

Cover bottom of pan with a circle of parchment paper.

4

Melt the chocolate and butter together in a microwave or a medium pot on the stove.

5

Separate the eggs.

6

Whip the egg whites until stiff peaks form.

7

Beat egg yokes.

8

Add grated zest to melted chocolate and butter.

9

Add sugar, almond meal, and cocoa powder.

10

Once the mixture has cooled to a tepid temperature beforehand, add egg yolks, and orange liqueur.

11

Mix everything together, gently.

12

Fold in egg whites, in two separate batches.

13

Pour cake batter into prepared pan.

14

Bake about 30-35 minutes. Cake will have risen nicely. And the scent of chocolate and oranges will fill the kitchen. A cake tester inserted in the middle should still have a few crumbs on it.

15

Try not to over bake, as the cake will be drier if overbaked.

16

Cool on a rack until quite cool.

17

Remove from cake pan.

18

Let cake cool some more, until cold.

19

Sprinkle with icing sugar just before serving.

Baking

Orange Nutella Alfajores

raw dough for orange nutella alfajores

I have wanted to make alfajore cookies ever since I first heard about them. Their common description of being a melt-in-the-mouth cookie sandwiched together with dulce de leche just seemed heavenly. And they are.

Alfajores Cookies are one of the simplest cookies to make. They are made from just a handful of ingredients; flour, cornstarch, butter, sugar and egg. And they are ready in a jiffy.

The first batch of alfajores that I made was sandwiches together with dulce de leche. Dulce de leche, for those that are not familiar with this unctious spread, is caramelized milk. It is made by baking milk in a low oven for several hours, until it is thick, golden and sweet. You can buy it from Latin American shops, or make your own. Although I always buy mine.  With Valentine’s Day approaching, I wanted a chocolate filling. I added orange zest to the cookie dough, sandwiched them together with Nutella, and Orange Nutella Alfajores were born. And I must say it is a heavenly match.

You can use store-bought Nutella for the filling. Or if you have time, try my recipe for Nutty Chocolate Hazelnut Spread. It is divine.

Alfajores cookies have been popular in Uruguay, Peru and Argentina since the mid 1800’s. Common fillings in alfajores are dulce de leche, chocolate mousse, fruit spreads or whipped cream. Toppings include meringue coating, milk chocolate, coconut or a sugar glaze.

I always find it interesting to read about similar foods in different parts of the world. The word alfajor comes from the Arabic “al-hasu”, which means filled or stuffed. Culinary experts have traced Alfajores to Andalusia, Spain during the occupation by the Moors. There is a strong similarity between alfajores and mamoul, a buttery confection filled with date paste that is popular in the Middle East and North Africa. I can’t wait to make a batch of those.

orange nutella alfajores

Alfajores are so popular in Peru and Argentina, that there are chain restaurants that only sell alfajores. Casa del alfajor is one such chain in Peru. There is also Havanna, in Argentina, which has been around since 1947.

Try making a batch. You will love them!

Orange Nutella Alfajores

Serves: 18
Cooking Time: 10 minutes

Ingredients

  • 200 gram flour
  • 300 gram corn starch
  • 2 tsp baking powder
  • 1/2 tsp baking soda
  • 250 grams softened butter
  • 150 grams sugar
  • 3 egg yolks
  • 1 Tbsp brandy
  • zest from one orange
  • nutella (store bought or my own - see above)

Instructions

1

Preheat oven to 325 degrees Fahrenheit.

2

Line baking sheet with parchment paper.

3

Mix together flour, corn starch and baking powder and soda.

4

Cream together butter, sugar and orange zest for 5 minutes, until pale and fluffy.

5

Add the egg yolks and brandy to the butter mixture.

6

Add in the flour mixture.

7

Mix briefly until well incorporated.

8

Roll out dough until about 1/4 inch thick. Cut out cookies with cutter about 1 1/2 inches in diameter.

9

You can place them relatively close together, as they will not spread.

10

Bake for about 10 minutes, only until slightly golden around the edges.

11

Cool on baking tray for 5 minutes, then place them on a cookie rack to cool.

12

Sandwich them together, when they are cold, with nutella.

Preserves

Nutty Chocolate Hazelnut Spread Recipe

Roasted Hazelnuts for Nutty Chocolate Hazelnut Spread

Nutella!!! This infamous blend of chocolate and hazelnuts not only tastes amazing, but also has quite a lot of history behind it.

World Nutella Day

World Nutella Day is February 5th and was created by Food blogger, Sara Rosso in 2007 to help celebrate this popular treat. She handed the reins of World Nutella Day over to Ferroro in 2015.

I have wanted to make my own chocolate hazelnut spread for quite some time now. This week seemed appropriate with World Nutella Day and Valentine’s Day so close together.

Why make Homemade Nutella?

I love store bought Nutella. But, like most food items, I prefer to make my own: I can use the best chocolate, sweeten it slightly with a small amount of local honey, and use fresh organic hazelnuts. It is also possible to use a variety of nuts, if you prefer.

This Nutty Chocolate Hazelnut Spread is made up of roasted and skinned whole hazelnuts, dark and milk chocolate, honey, milk and milk powder. You can alter the percentage of hazelnuts to suit your taste. This recipe contains 26% hazelnuts, Nutella contains about 13% and some places in Italy use as much as 50% hazelnuts. So, you can make it as nutty as you like.

How easy is it to make Nutella?

My recipe for this Chocolate Hazelnut Spread is so easy to make. All you need to do is roast and grind some hazelnuts, melt some chocolate, heat some milk mixed with powdered milk and honey and then blend them all together.

Store-bought Nutella is nice, but we really love our homemade version. It is nuttier, darker and less sweet than store bought. You can adjust the percentage of nuts, as well as the type of chocolate used.  You will never get the hazelnuts as pureed and smooth as in store bought Nutella, but we actually prefer the crunchy texture.

Can I use other nuts?

If you find hazelnuts too strong, you can substitute part of them with skinned almonds, or macadamia nuts. Make sure you remove the skin from the hazelnuts and/or almonds. It’s not imperative to remove all of the skins, but try to get as much off as possible, as the skins will add a bitter taste.

When you put your nuts in your food processor, try to grind them as finely as possible. Homemade Nutella will not be as fine as store bought. But you will really be able to taste the roasted nuts and heavenly chocolate. That’s the joy of homemade!

bowl of melted chocolate for Nutty Chocolate Hazelnut Spread

This Nutty Hazelnut and Chocolate Spread is a blend of dark and milk chocolate. You can adjust the amounts of each chocolate, as long as the total weight stays the same. My version has some small chunks of hazelnut in each bite. So nutty!

Nutty Chocolate Hazelnut Spread

Besides being so amazingly tasty, the combination of hazelnuts and chocolate has an amazing history.

History of Nutella

In Italy, the combination of chocolate and hazelnuts is called Gianduja. Gianduja was created over 200 years ago during Napoleon’s regency in Turin, Italy in the Piedmont area.

In 1806, Napoleon imposed the Continental System, which prevented British goods from entering European harbours under French control. This created a shortage in cocoa, which was devastating to chocolatiers.

In Turin, a chocolatier, whose chocolate supplies were low, began mixing his chocolate with ground hazelnuts, which are plentiful in this area of Italy. The name Gianduja is named after a popular Carnival marionette that is an archetype of the Piedmontese.

One hundred and fifty years after this crazy time for chocolate lovers, chocolate became expensive and scarce again due to the rationing in Europe during World War II. Pietro Ferrero was a pastry maker in Italy and in 1946 created Pasta Gianduja. His original version was formed into a loaf which was sliced and eaten on bread. In 1949, he accidentally added cocoa butter, which made it soft and easy to spread. It was renamed Nutella in 1964.

I hope you enjoy this Nutella recipe!

Buon Appetito

Nutty Chocolate Hazelnut Spread

Serves: 12-16
Cooking Time: 10 minutes

Ingredients

  • 240 grams dark chocolate
  • 150 g milk chocolate
  • 2 Tbsp honey
  • 300 grams 2% milk
  • 50 grams milk powder
  • 150 grams hazelnuts

Instructions

1

Preheat oven to 350 degrees.

2

Roast hazelnuts on an ungreased cookie sheet for about 10 minutes, do not burn. When they are fragrant and the skins seem loose, they are ready to take out.

3

Rub the warm hazelnuts in a clean tea towel, until most of the skins have rubbed off.

4

Add the hazelnuts to the food processor and grind until fine.

5

Warm the milk with the honey and powdered milk.

6

Melt the chocolate in the microwave. I melted it at 30 second internals, stirring in between. Do not overheat, or it will burn and you will not be able to use it.

7

Add the warm milk, and chocolate to the hazelnuts in the food processor.

8

Combine until everything is mixed together.

9

Scrape into a clean container.

10

Keep in the refrigerator for one week.

Baking

Festive Mocha, Almond, Brandy Strazzate

Mocha, Almond, Brandy Strazzate

Christmas Cookie baking has begun! I started my baking season with these Vegan Mocha, Almond, Brandy Strazzate. This cookie is normally made with Strega, a herbal liqueur from the Basilicata Region of Italy, which supposedly goes really well with chocolate. That liqueur is difficult to find where I live, so I used brandy, which I always have on hand this time of year., and which also works well with the mocha, almond flavours in this cookie.  This is a super delicious cookie, made without eggs or butter.


Mocha, Almond, Brandy Strazzate
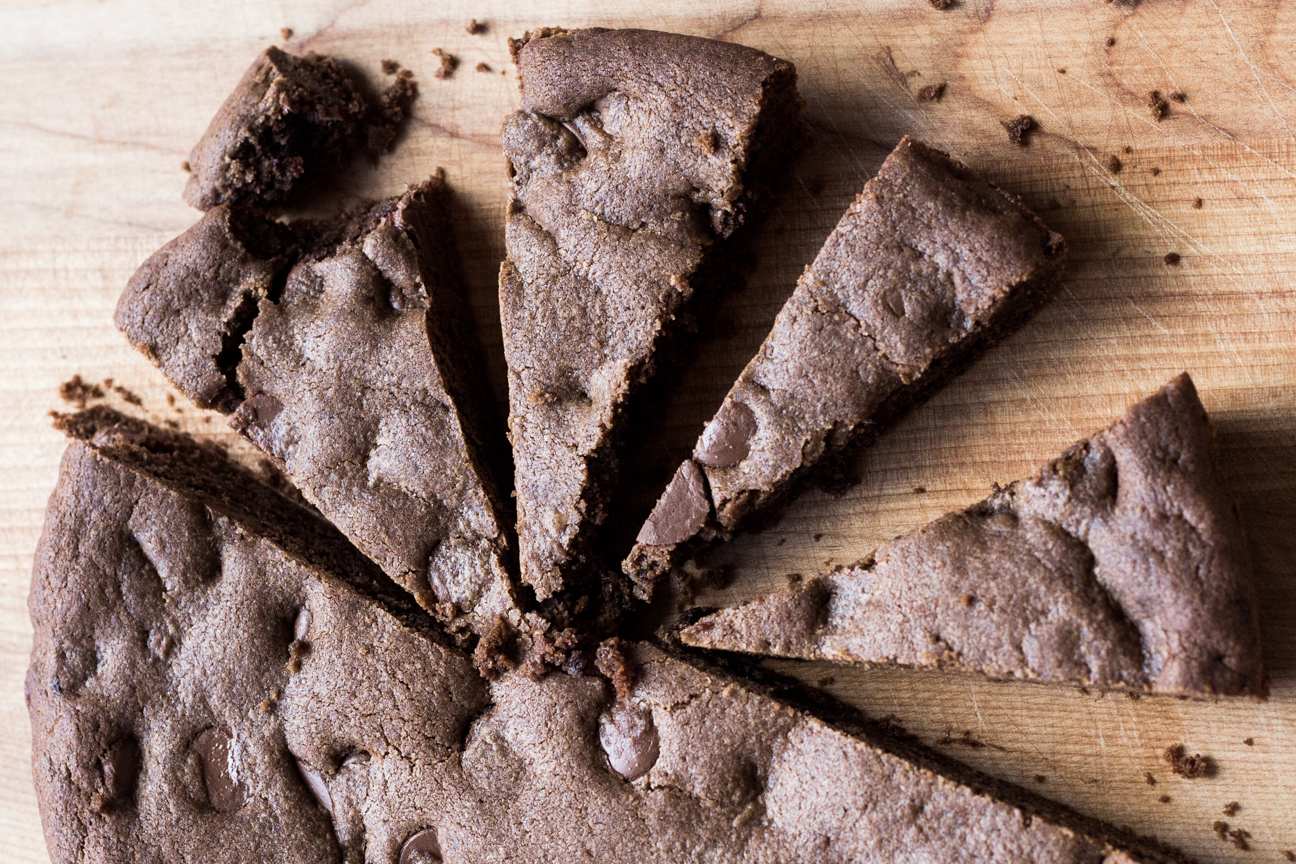
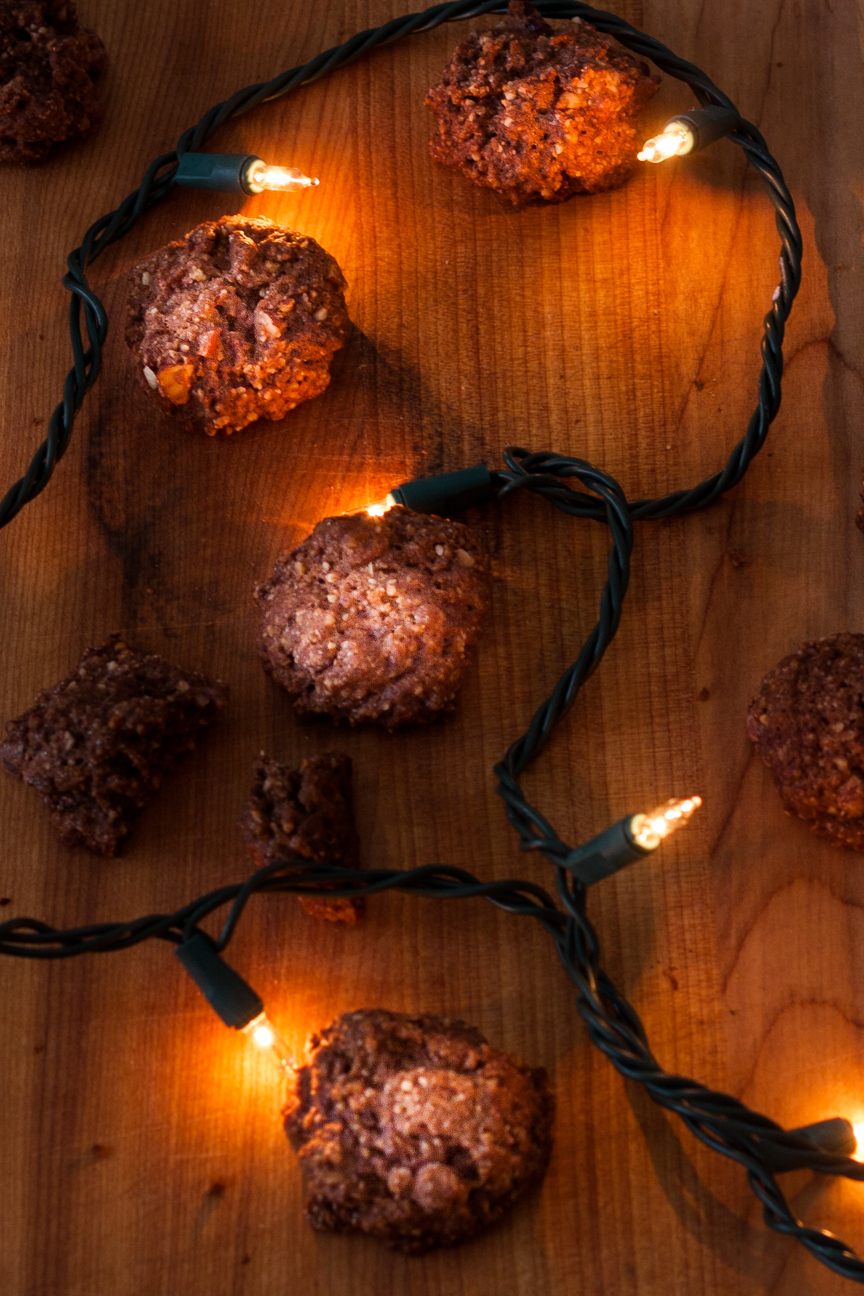
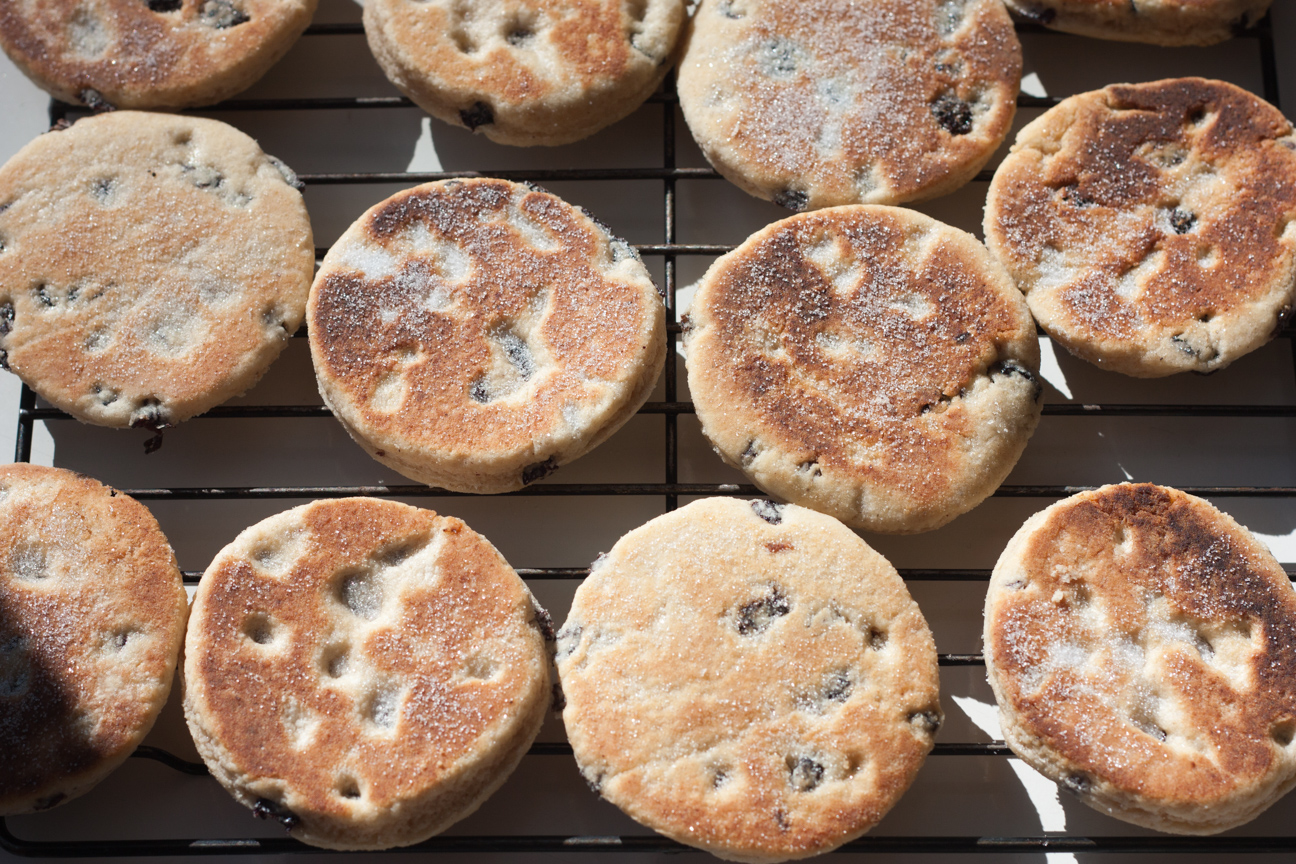
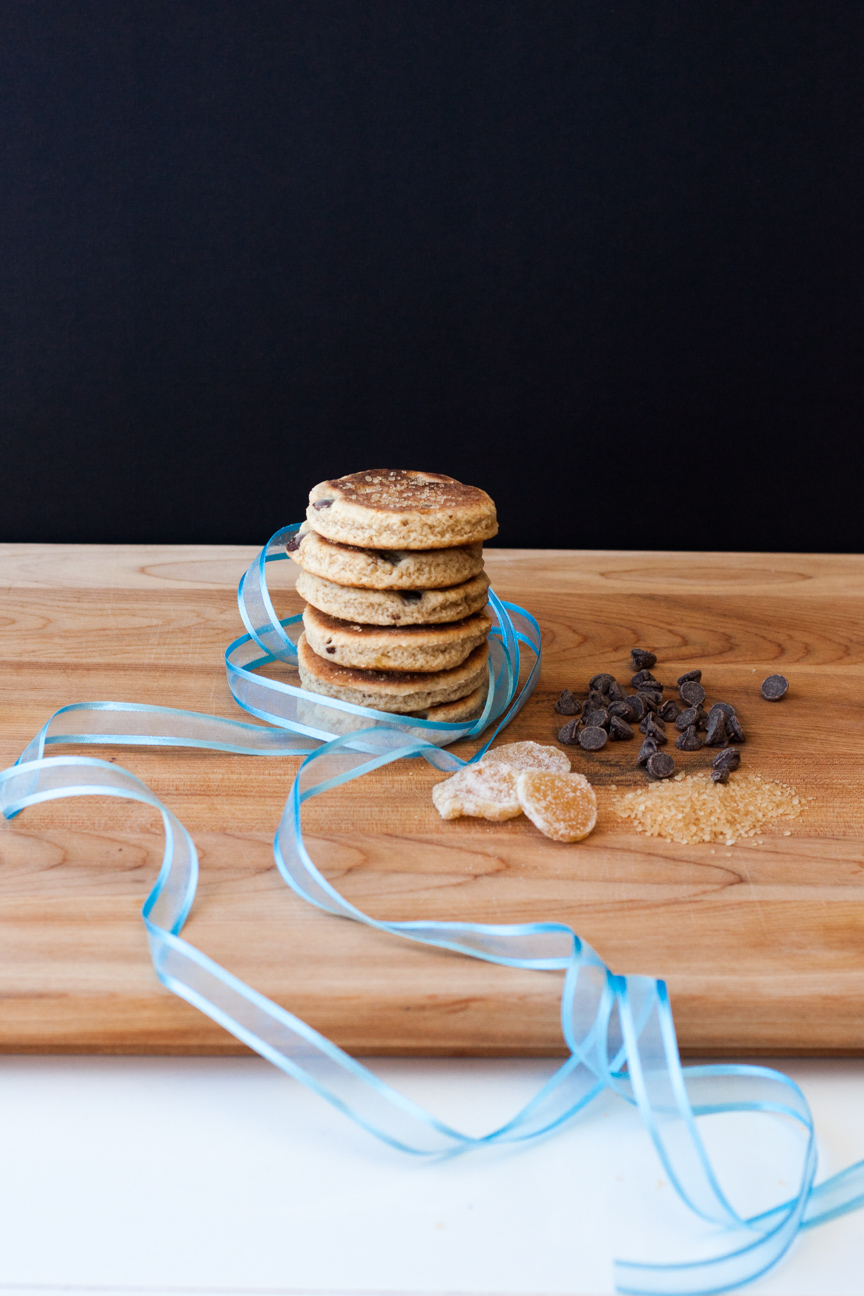
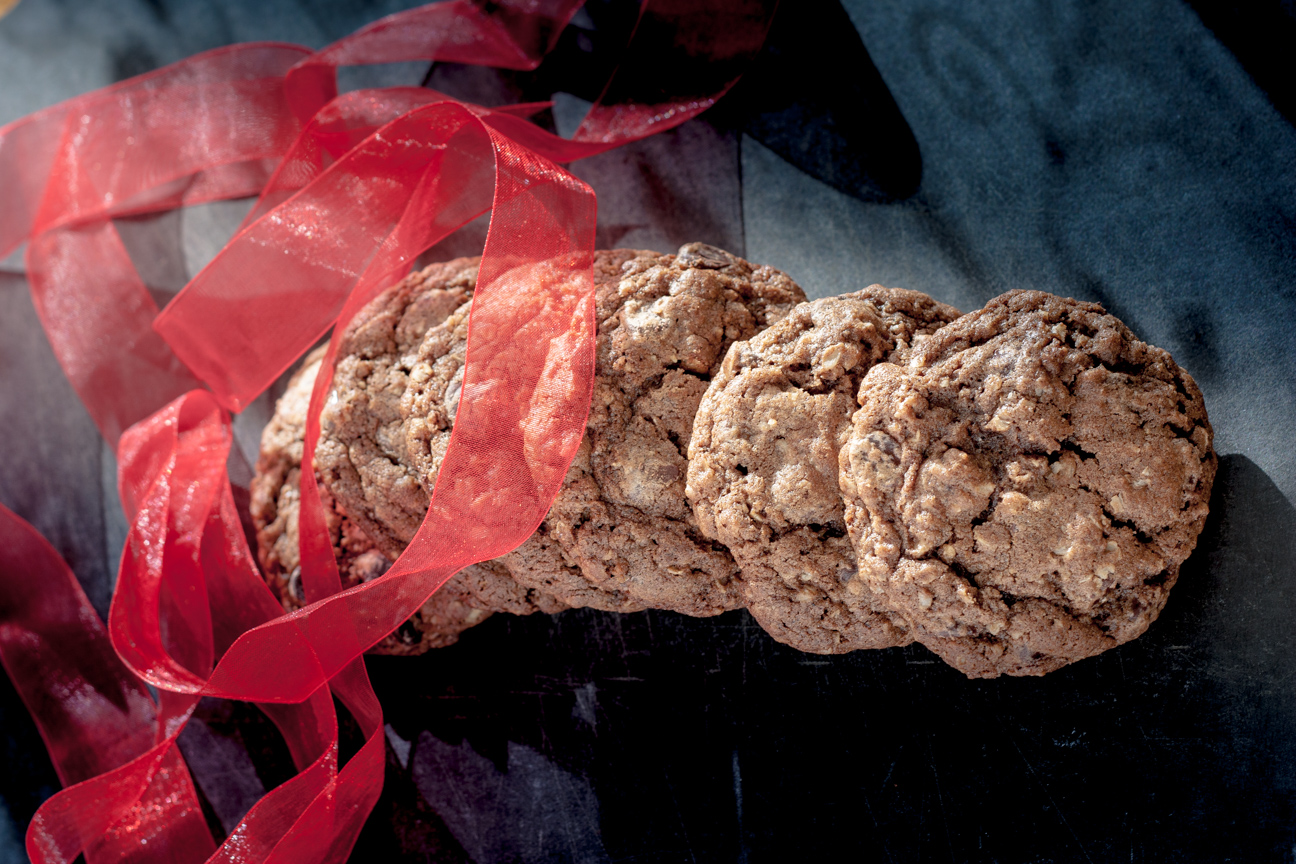
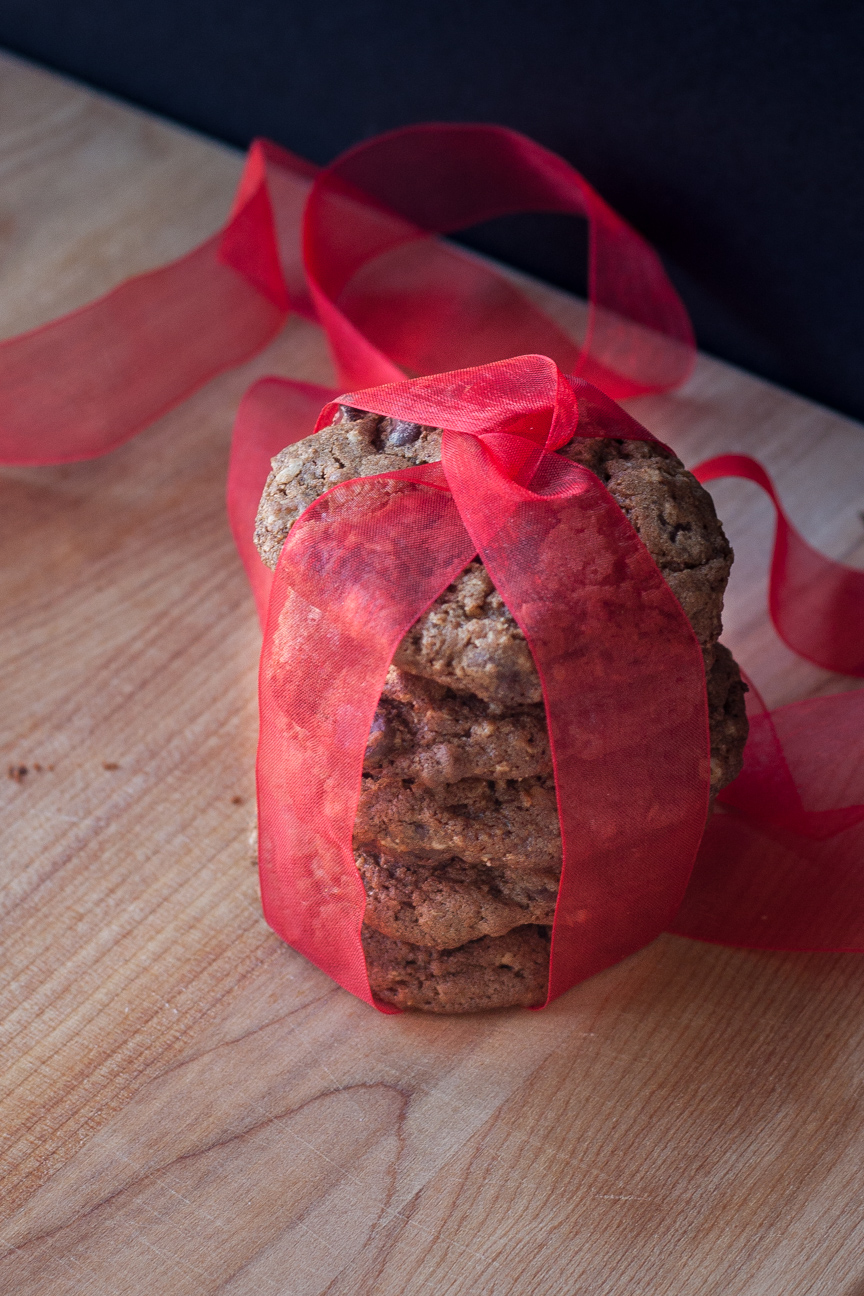
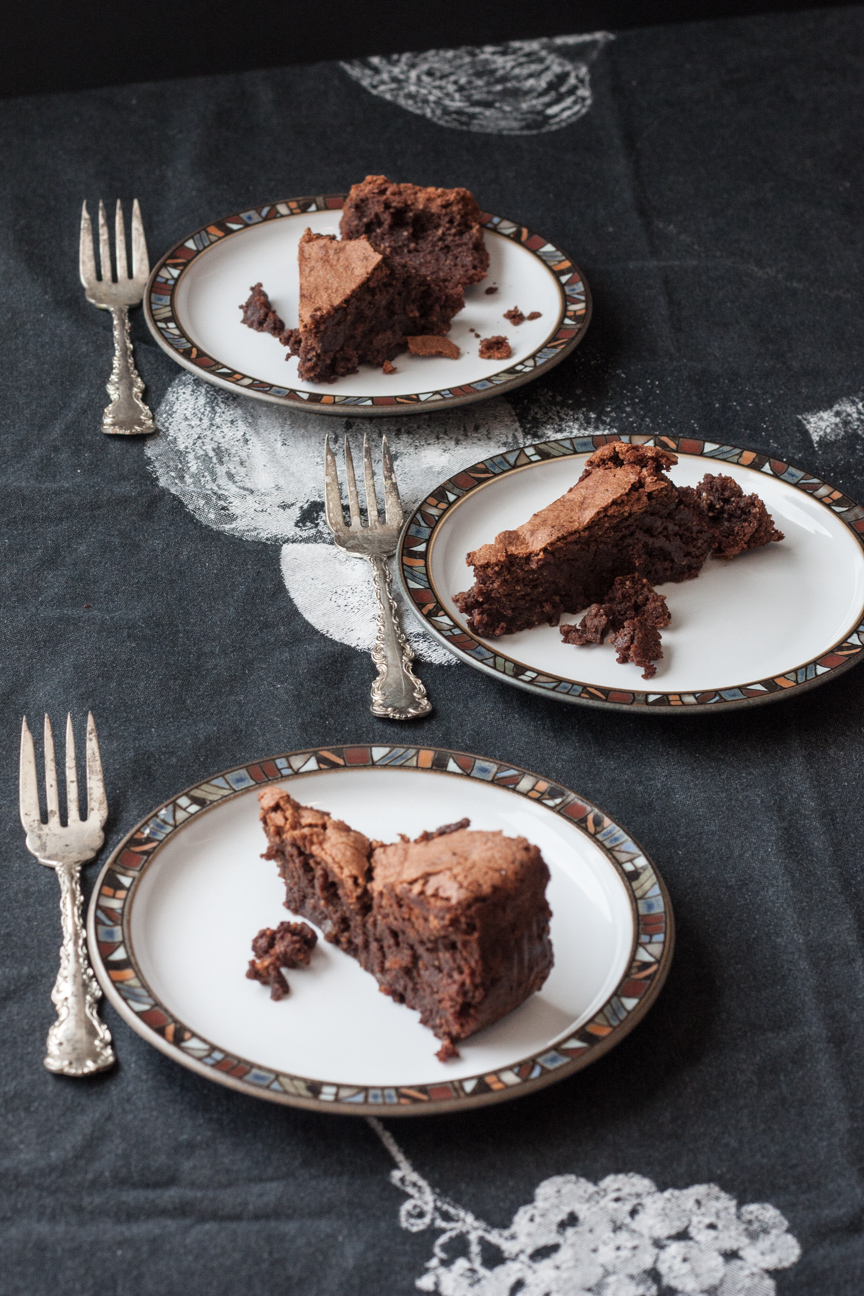
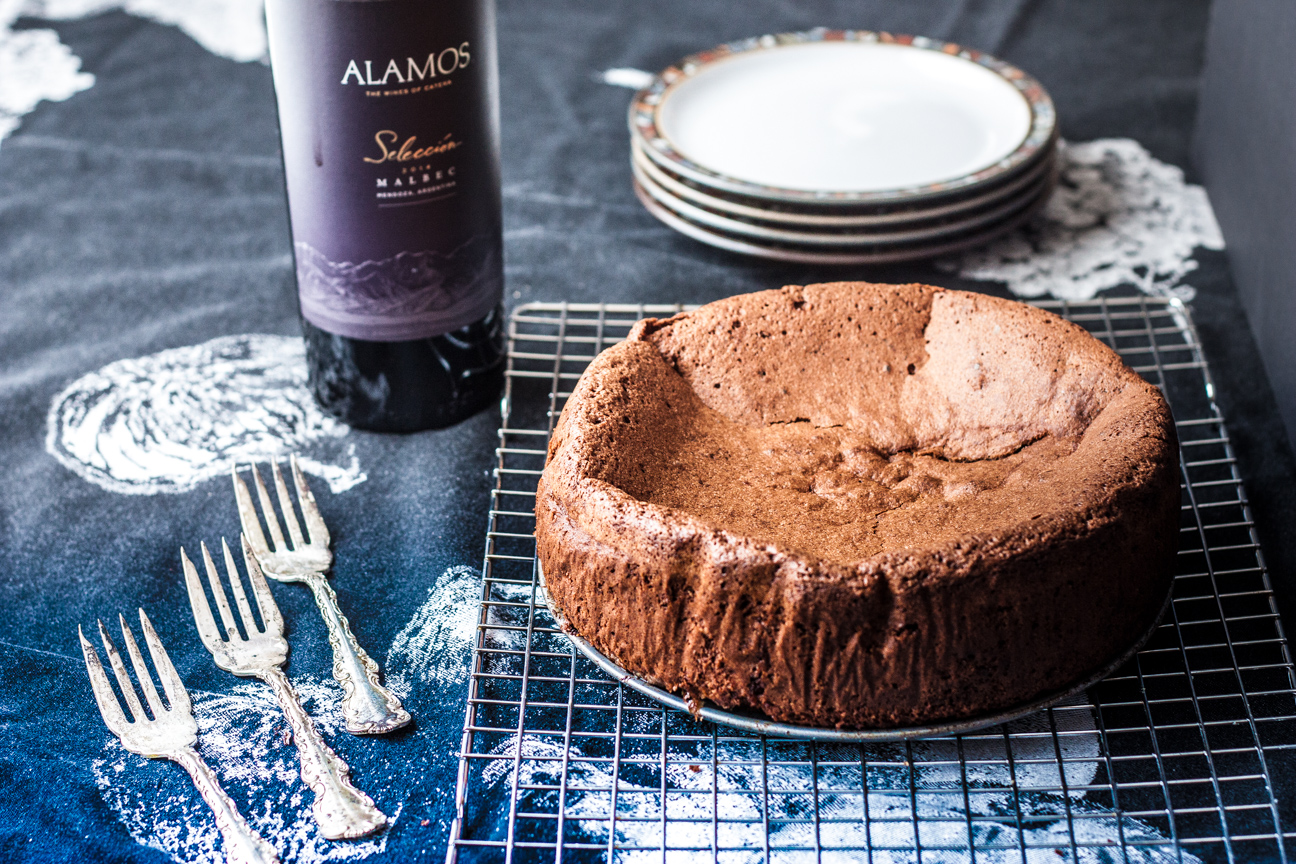
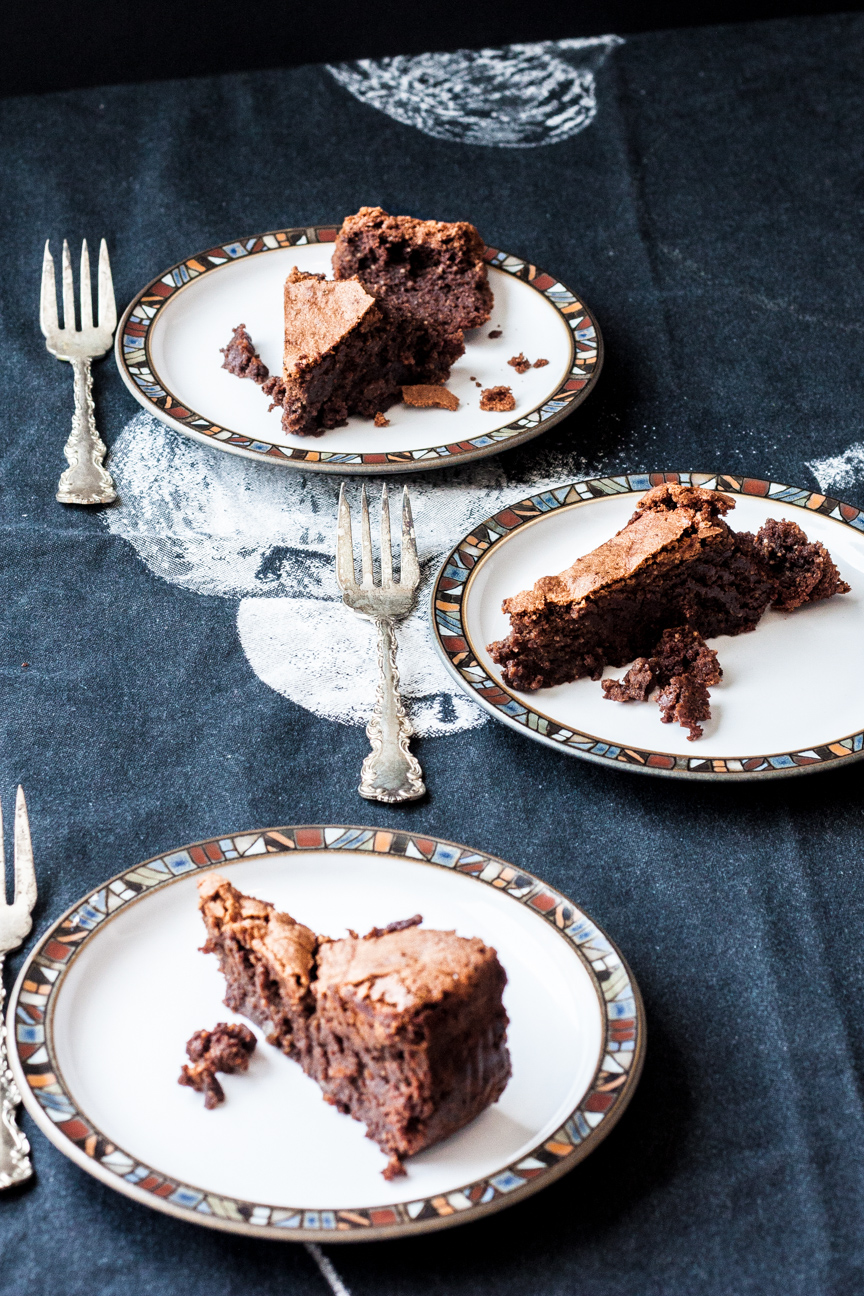
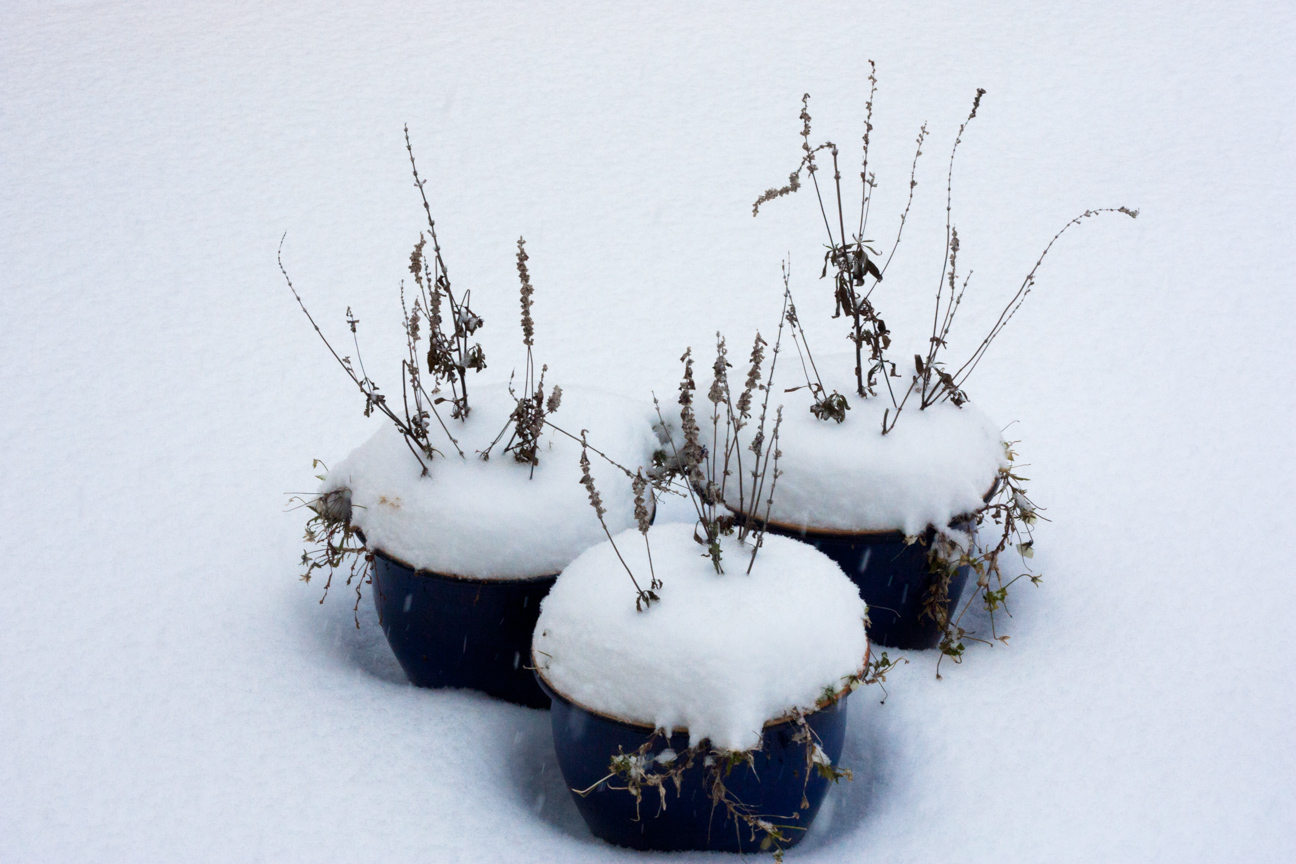
I woke up the other morning to this snowy site and decided it was the perfect day to begin my Christmas Baking.

Mocha, Almond, Brandy Strazzate

It’s never too early to start baking Christmas cookies or playing around with Christmas lights: two of my favourite winter activities.

These Mocha Almond Brandy Strazzate cookies come together very quickly. And the taste is divine. A cookie dough made with cocoa powder and chocolate chips so you get chocolate goodness in every bite. The dough also contains ground almonds + chopped almonds – double goodness again! And the espresso coffee blends with the chocolate to create than umami mocha flavour that is so powerful.

Like I mentioned above, this cookie is traditionally made in the Basilicata Region of Italy where Strega is made. I think any liqueur/liquor that goes with mocha and almonds would work. If you don’t drink alcohol, try a strong spiced herbal tea or chai. Those would work too.

Mocha, Almond, Brandy Strazzate

You can eat them plain, or sprinkled with some icing sugar. So tasty. Make a splash with your Christmas Baking this year. Try something new.

Mocha, Almond, Brandy Strazzate

Serves: 16
Cooking Time: 30

Ingredients

  • 1/4 tsp baking powder
  • 3/4 cup + 2 tbsp finely ground almonds
  • 1 tbsp roughly chopped almonds
  • 3/4 cup + 1 tbsp white flour
  • 1/2 cup dark brown sugar
  • 1 tbsp chocolate chips
  • 1/2 tbsp cocoa powder
  • 2 tsp olive oil
  • 1/4 cup brandy
  • 2 tsp espresso powder, dissolved in 1/4 c. boiling water

Instructions

1

Preheat oven to 325 degrees F.

2

Mix together the ground almonds, chopped almonds, flour, brown sugar, chocolate chips and cocoa powder and olive oil.

3

Dissolve the baking powder in 2 teaspoons of hot water.

4

Add baking powder solution, coffee, and liqueur.

5

Give it all a good brisk stir. The dough will be very wet.

6

Form into 30 gram balls (or 1 ounce).

7

Place on parchment paper about 1 inch apart.

8

Bake in oven for 30 minutes, until dried out and set. The bottom will be slightly golden.

9

After 30 minutes, remove from oven.

10

Let dry on baking tray for 2-3 minutes.

11

Remove from baking tray to cool on a rack.

12

Enjoy!

Notes

These cookies will keep in a coo, dry place or 3-5 days. Or you can freeze them for up to one month.

Recipe slightly adapted from Saveur Magazine February 4, 2013.

Baking

Chocolate and Ginger Welsh Cakes

traditional welsh cakes

I absolutely love Welsh Cakes, such a delicate taste and subtle sweetness. They are the perfect treat to have with tea or coffee. And these Chocolate and Ginger Welsh Cakes are truly divine.

chocolate and ginger welsh cakes

Welsh cakes are a cross between a scone and a cookie but cooked like a pancake in a hot skillet on top of the stove. They are slightly crisp on the outside but tender and crumbly inside. I love making welsh cakes because I usually have all the ingredients on hand.

I first had Welsh Cakes in Wales, years ago, during my year long adventure with my friend, Bonnie. We stayed with Bonnie’s Aunts (Aunt Betty and Aunt Betty) for a whole month in the small town of . They lived in a small village near Swansea on a hilly street lined with row houses – each one a different colour. Each day, Bonnie’s Aunts set out a proper tea for us. By 4 pm, their wood kitchen table was completely laden with a variety of utterly delicious tea items: cheese and crackers, cakes, bread and butter, fruit and devonshire cream, tea and of course, welsh cakes.

chocolate and ginger welsh cakes

Welsh cakes (or pice ar y maen – cakes on the stone, in Welsh) are so fast to whip up, you won’t believe it. They take, at the most, an hour from start to finish. They are fantastic for the beginner baker as they are so simple to make. And they have ‘homemade’ written all over them, as I can’t imagine too many bakeshops spending time cooking these up individually on a stovetop.

Try to make these cakes on the day that you want to serve them. As they only keep for 1-2 days before tasting a bit stale. You can also cut some out and freeze them uncooked until you are ready to cook some more.

chocolate and ginger welsh cakes

I love Traditional Welsh Cakes, but I was eager to try some a flavour. So, I added some dark chocolate and chopped crystallized ginger. I love eating these Chocolate and Ginger Welsh Cakes warm from the skillet. The chocolate inside is slightly molten and the ginger is soft and lightly scented.

traditional welsh cakes

The origin of Welsh Cakes is very interesting. Years ago, miners would carry freshly made cakes down into the mines. A hearty snack and a taste of home while they were working in the cold, dark mines down below. Try popping one into a loved ones’ lunch kit to brighten their day.

chocolate and ginger welsh cakes

Below are a few variations of Welsh Cakes that you can find around the country.

  1. Jam Split: Popular in South Wales, the cakes are split open and spread with jam inside:

2. Apple Dragon: Add some grated apple to the mixture to make your cakes more moist.

3. Newport Lovely Welsh Cakes made by men in the City of Newport for their girlfriends as a wedding gift or engagement gift.

4. The Welsh Mountain (Mynydd Cymreig) has two times the amount of baking powder in them, for loftier cakes.

If you try a different variation, let me know. Enjoy!

Chocolate and Ginger Welsh Cakes

Serves: 15-18
Cooking Time: 10-12 minutes

Ingredients

  • 250 grams white unbleached flour
  • 120 grams butter, cold, diced
  • 1 tsp baking powder
  • 55 grams white sugar
  • 45 grams cyrstallized ginger, chopped fine
  • 25 grams dark chocolate chips
  • 1 egg
  • 1-2 tbsp strong coffee
  • 1/4 tsp vanilla powder
  • 1/4 tsp ginger
  • 1/4 tsp cardamom

Instructions

1

Stir together the dry ingredients: flour, baking powder, spices

2

Add the butter and rub into the flour mixture until the mixture resembles coarse breadcrumbs

3

Stir in sugar and ginger and chocolate chips.

4

Mix in the egg.

5

Add coffee until a nice soft dough is formed.

6

Roll out on a tabletop sprinkled with flour.

7

Cut out welsh cakes with any round shape approximately 7.5 to 8 cm in diameter. I used a drinking glass.

8

Heat a skillet on the stovetop on medium heat. Add a very tiny amount of butter.

9

Place a few welsh cakes in pan, with some space surrounding each one. Do not overfill skillet. You need room to flip them over.

10

When the underside is a nice golden colour, flip over and cook the other side.

11

Remove from skillet when both sides are done.

12

Let cool on a baking rack.

13

Sprinkle with demerara sugar. You can do this either in the pan while the second side is cooking, or while they are on the baking rack. Either will work fine

14

Serve warm or room temperature.

Notes

If you want to freeze some welsh cakes for later, you can either freeze some cooked welsh cakes in a ziplock bag. Or you can cut them out and freeze the uncooked cakes. To do this, cut out the welsh cakes, place them on parchment paper on a tray and freeze until firm. Then place them in a ziplock bag or plastic container, layered with parchment paper in between. To cook, simply defrost the cakes and then cook following the instructions above.

Baking

Mocha Chocolate Chip Oat Cookies Recipe

mocha-chocolate-chip-cookies-with-red-ribbon

With Valentine’s Day just around the corner, I thought I would post this fantastic recipe for Mocha Chocolate Chip Oat Cookies. They are super chocolate-y and the espresso powder gives them a great oomph of flavour. And what could be a better gift for someone than a bunch of cookies all bundled up in red ribbon. These Valentine Day Mocha Chocolate Chip Oat Cookies would be a nice surprise in your partner’s lunch box, a sensational gift for your son or daughter’s teacher, or put some out on the table after dinner at home. Sweet Sensation!

I really love cookies. I love them for many different reasons: the endless flavours and varieties, they’re quick to make, they’re not very big but hit the spot without breaking the calorie bank and they are ubiquitous. Every culture makes cookies.

When I was little, my mom only made three types of cookies: sugar cookies, peanut butter cookies with raisins and oatmeal cookies that came from a package (all you had to do was add water and an egg). She never used a timer and always set the oven at 350 ° F. And, unlike my Mum’s Date and Oat Squares, my mom couldn’t finish a chapter of her book in the time it took to bake some cookies. So, we had our fair share of burnt cookies.

There are far too many varieties of cookies out there these days, for me to only make three types of cookies. So, my family is lucky in that way. I love trying new recipes. I made these Mocha Chocolate Chip Oat Cookies recently and they were a hit with everyone. They didn’t last long.

It doesn’t take very long to put together a batch of cookies, but, in order to do it properly, you do need to follow a few basic techniques.

  • make sure all of your cookies are the same size (I weigh mine. And most of the cookies that I make weigh between 30-35 grams)
  • use a timer (a kitchen timer, your microwave, your stove or your iphone)
  • cookies are done when they are dry on top and just a hint of golden brown on the bottom (to check if they are ready to come out of the oven, flip one over onto your oven-mitted hand and see if it has turned golden)
  • after you take the cookies out of the oven, place the cookie tray on rack for 1-5 minutes. The cookies will continue to cook. After that time (the recipe usually states how long to cool on the tray) place them directly on a rack to cool. They will firm up quite a bit.
  • almost all cookie doughs freeze very well (before they are baked).
  • I quite often will make some cookie dough, shape it into a flat disc, and freeze until I’m ready to bake the cookies. Let the dough thaw overnight in the fridge and then the next day, form into cookies and bake as usual.
  • You can also shape the cookie dough into cookies and freeze on a flat tray until hard, and then place in a ziplock bag. Bake the cookies from frozen (add 1-2 minutes to baking time).


stack of mocha-chocolate-chip-oat-cookies

Mocha Chocolate Chip Oat Cookies

Serves: 36-40
Cooking Time: 9-10

Ingredients

  • 1 cup butter
  • 1 cup brown sugar
  • 1/2 cup granulated sugar
  • 2 eggs
  • 1 3/4 cup flour
  • 1/4 cup cocoa
  • 1 1/4 cups quick oats
  • 1/2 tbsp instant espresso powder
  • 1 tbsp vanilla
  • 1 tsp baking soda
  • 1 tsp baking powder
  • 2 cups chocolate chips (dark or semi-sweet)

Instructions

1

Beat softened butter with sugars until light and fluffy.

2

Add eggs one at a time.

3

Dissolve espresso powder in the vanilla. Add to the egg/sugar mixture.

4

In a separate bowl, mix the dry ingredients: flour, cocoa, oats, baking powder and baking soda.

5

Add dry ingredients to wet ingredients. Mix gently until combined.

6

Stir in chocolate chips

7

Weigh out approximately 35 grams of cookie dough. Roll it into a ball and place on a parchment lined baking sheet about 2 inches apart.

8

Baking in 375 ° oven for 9-10 minutes until dry on top and slightly golden underneath.

9

Remove from oven, place on wire rack for 1 minute. Remove cookies from tray and place directly on rack to cool.

10

Makes about 36-40 cookies.

Baking

Chocolate Ginger Hazelnut Torte Recipe

chocolate ginger hazelnut torte on a plate

If you have never had a torte before, you must try this one. Made from eggs, ground nuts, sugar, chocolate chips and ginger marmalade, this Chocolate Ginger Hazelnut Torte is a treat! And so simple to make. It rises up beautifully as it bakes and then after you take it out of the oven, it slowly starts to deflate until the centre is quite sunken in. The texture is more like a brownie, than a regular chocolate cake: the torte sort of falls on top of itself and all the layers and flavours pack themselves together beautifully. This torte is delicious served with sweetened whipped cream or ice cream, if you must.

Torte, in german, means cake. But the difference is that tortes use ground nuts instead of flour. I love the combination of flavours in this Chocolate Ginger Hazelnut Torte. If you don’t have any hazelnuts in your pantry, ground almonds would work fine.

I don’t feel that it’s necessary to have dessert every evening as it wouldn’t seem special. And I think desserts should be special. I love the idea of having something to look forward to on the weekend. And a weekend sweet treat is sometimes all I need to brighten up my week. I made this  Chocolate Ginger Hazelnut Torte recently for a weekend dinner just for our family. A little chocolate boost, a mid-winter perk when the days are starting to shorten, but still seem so long and dark. This torte is the perfect end to a cozy comforting meal: whether you wish to try something new or perhaps serve a gluten-free dessert to your dinner guests, this torte will end the evening on a high note.

Let me know how this recipe turns out for you. We all think it’s one of the best flavour combinations around.

whole chocolate, ginger and hazelnut torte with wine bottle

Chocolate Ginger and Hazelnut Torte

Serves: 10-12
Cooking Time: 1 hour

Ingredients

  • 175 grams dark chocolate
  • 175 grams butter
  • 5 eggs, separated
  • 175 grams granulated sugar
  • 150 grams hazelnuts, ground
  • 200 grams ginger marmalade

Instructions

1

Preheat oven to 190 degrees Celsius.

2

Line a 9 inch round springform pan with parchment paper.

3

Melt chocolate and butter together in microwave, in 30 second intervals, stirring inbetween. Add ground hazelnuts and marmalade. Stir and allow to cool.

4

Beat egg yolks and sugar together with mixer until soft yellow and mousse-like consistency.

5

Whip egg whites until stiff peaks are formed.

6

Add egg yolk and sugar mixture to the chocolate/butter/nut and marmalade mixture. Stir until well incorporated.

7

Now add the egg whites, in 3 stages, very carefully. Fold the egg whites in carefully in order not to knock the air out of the batter.

8

Pour the batter into the prepared cake pan.

9

Bake at 190 degrees Celsius for 20 minutes. Then turn the oven down to 170 degrees celsius and continue baking for another 35-40 minutes. The cake is done when a cake tester, inserted into the middle of the cake, comes out clean.

10

When done, remove the cake from the oven and place on a rack. Let cool for about 10 minutes, then remove sides of cake pan and continue to cool. The cake will sink. this is normal.

11

enjoy!

Recipe adapted from Rachel Allen’s cookbook, ‘Bake!‘.