Browsing Tag:

easy

Cooking

How to Make Creamy Ashta

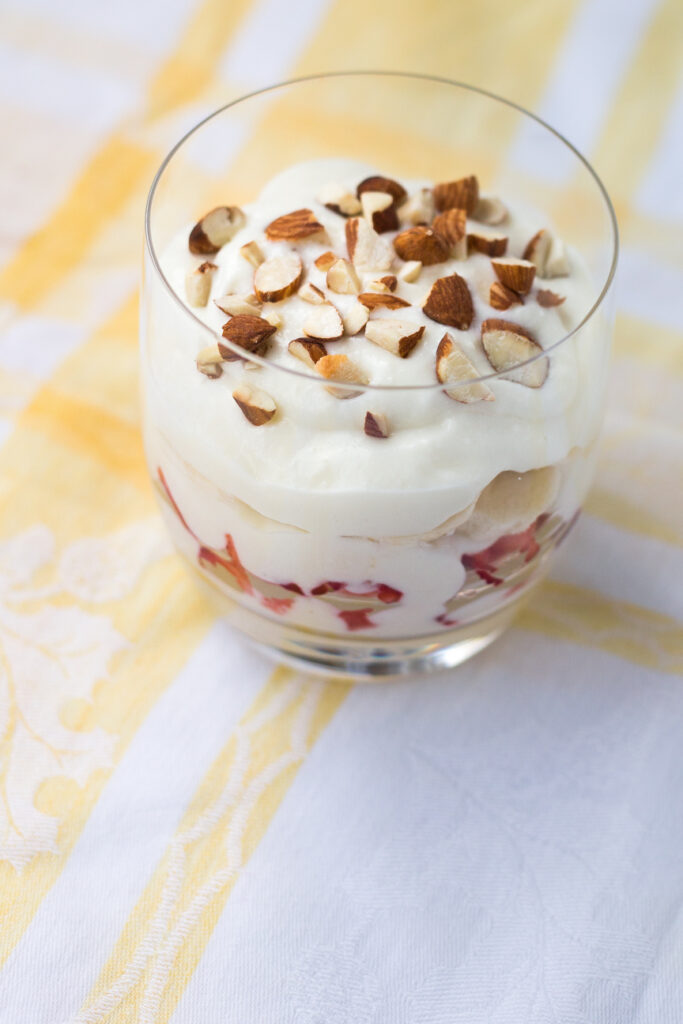
ashta and fruit and nuts in a parfait glass

Ashta is a popular middle eastern dessert that is made from homemade ricotta cheese and a thickened milk custard. You can add sweetener, and flavouring including vanilla or orange blossom water or rose water. Ashta is slang for kashta, which means clotted cream. Ashta is used for many fillings of middle eastern desserts. It is the most sublime exotic dessert that you can make at home in a snap. This recipe for Creamy Ashta with Strawberry and Bananas is delicious for breakfast, a midday snack or a dessert. Or all three. Your choice.

I love to learn about traditional dishes from all over the globe. But, I have to say that I particularly enjoy learning new sweet dishes. Because nothing finishes off a good meal better than a lovely eye-appealing dessert.
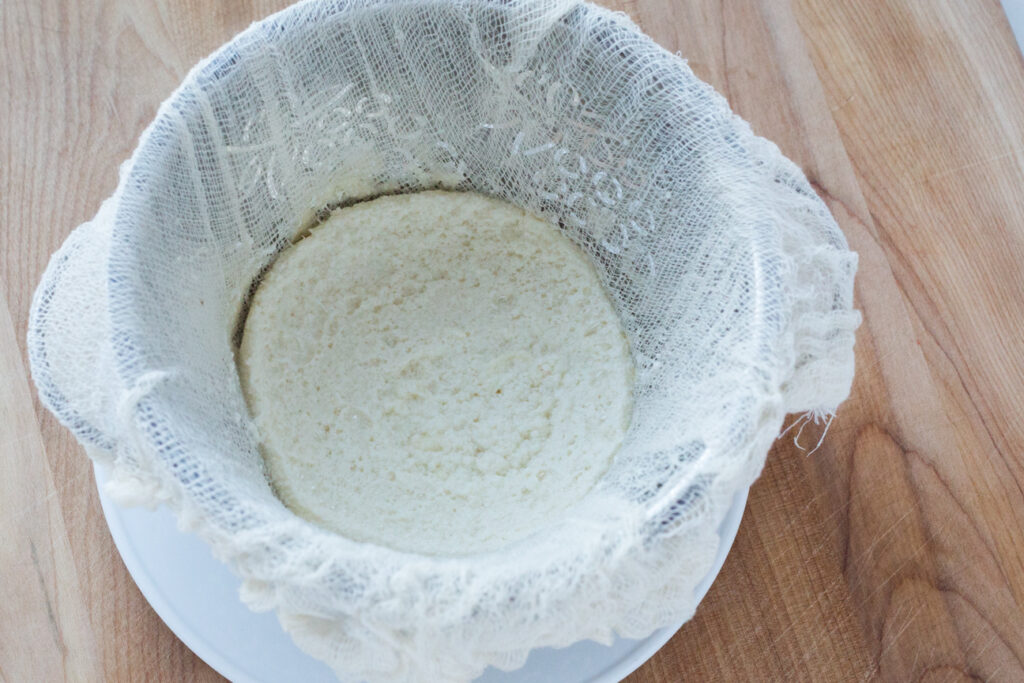
cheese curds in cheesecloth

This is what the ashta looks like while the curds are draining in the cheese-cloth lined colander.
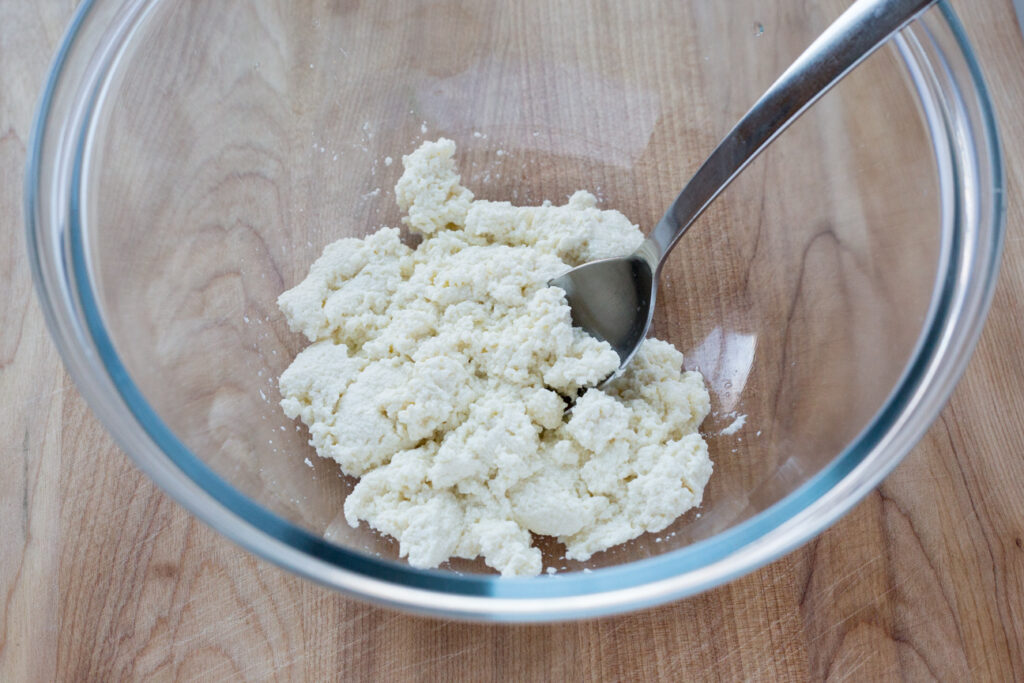
cheese curds in a bowl

The curds will be small and have a milky aroma.
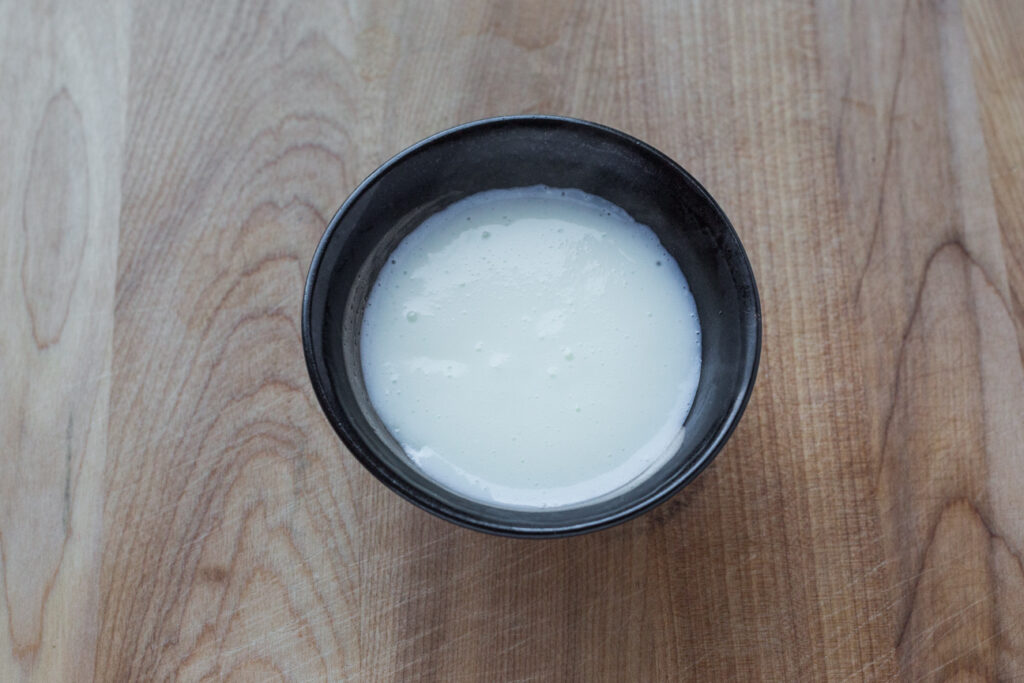
custard in a bowl

Next, make a custard that will get mixed in with the curds.
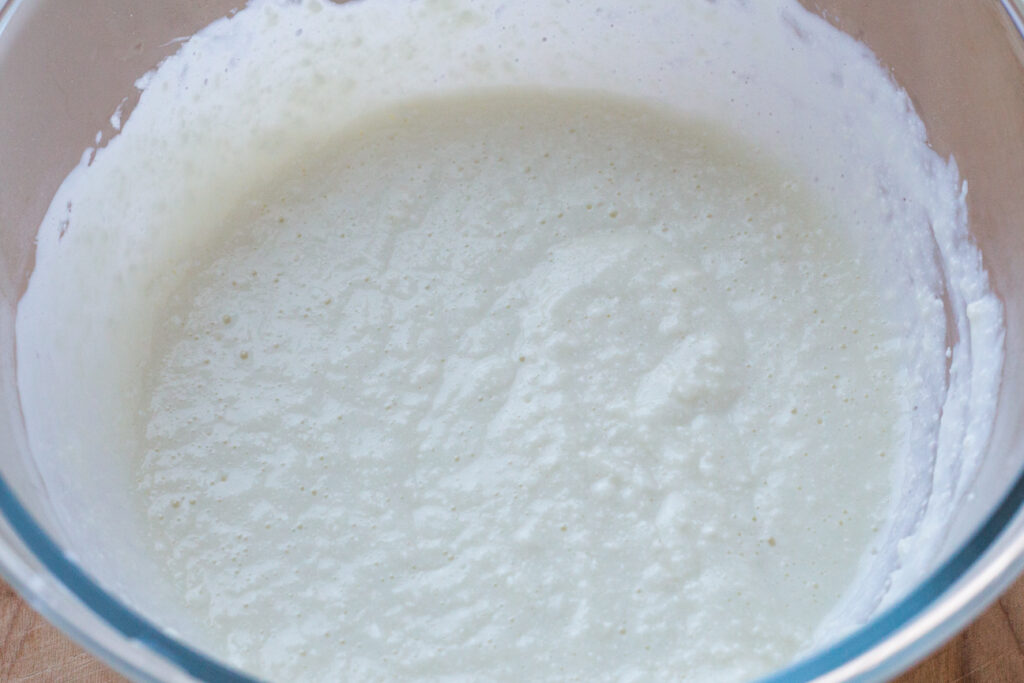
ashta in a bowl

MIx together the curds and the custard. It will still be a bit lumpy. While some people like their ashta a bit lumpy, other people only like it very smooth. You can put this mixture into a blender or food processor and blend it until it becomes smooth.
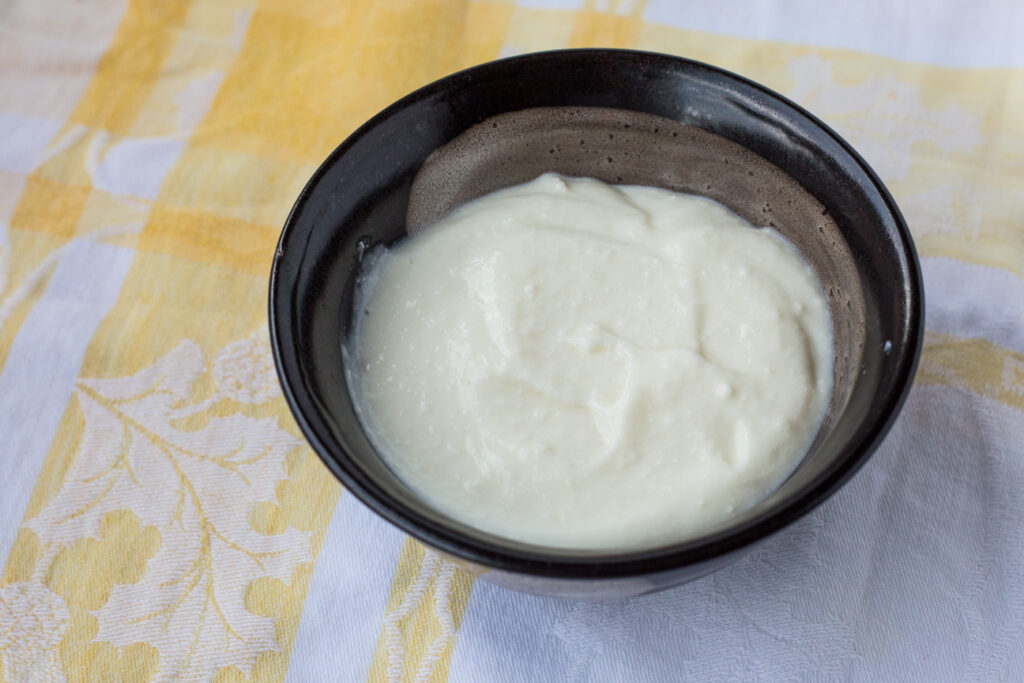
ashta in a ceramic bowl

This is my ashta after I pureed it. It still has some lumps in it, but I prefer it that way.
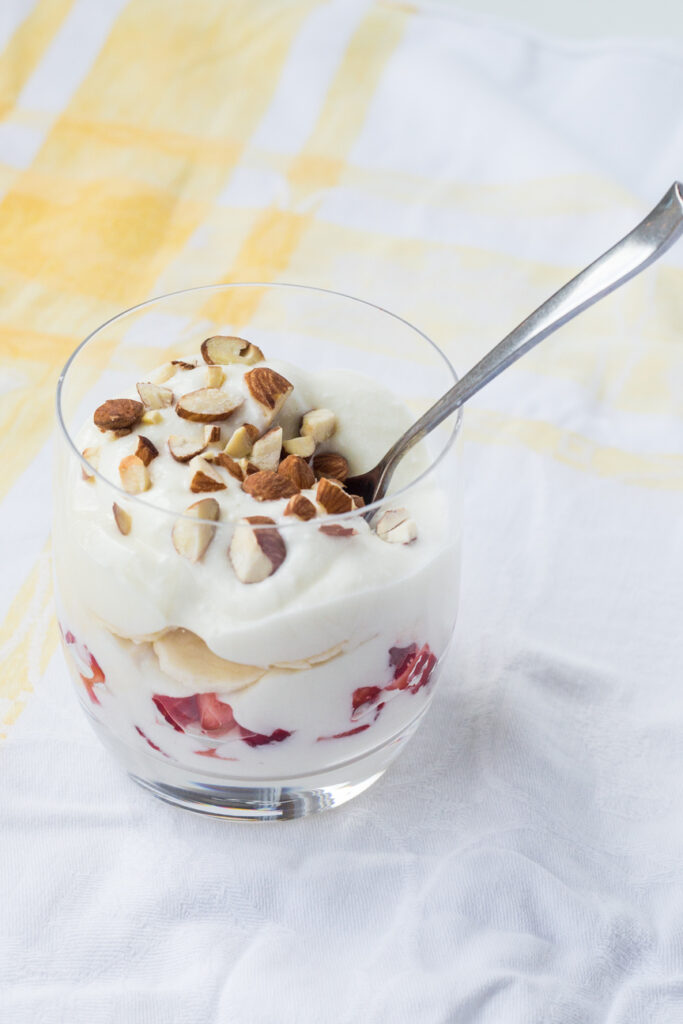
ashta and fruit and nuts in a parfait glass

Serve your Creamy Ashta with fruit. It is traditional to serve with nuts on top.
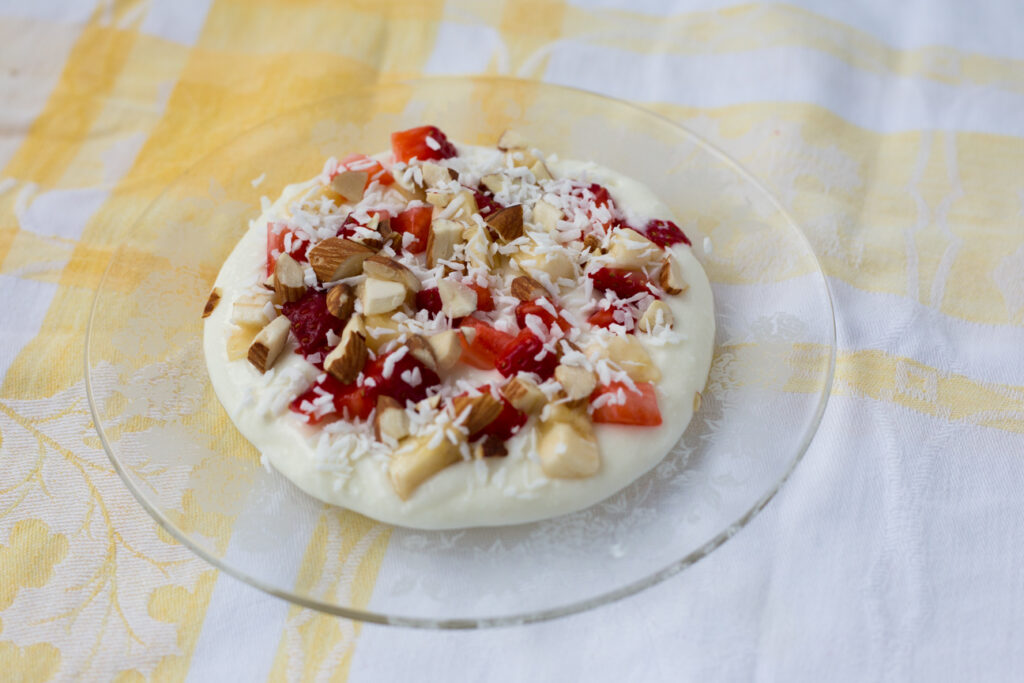
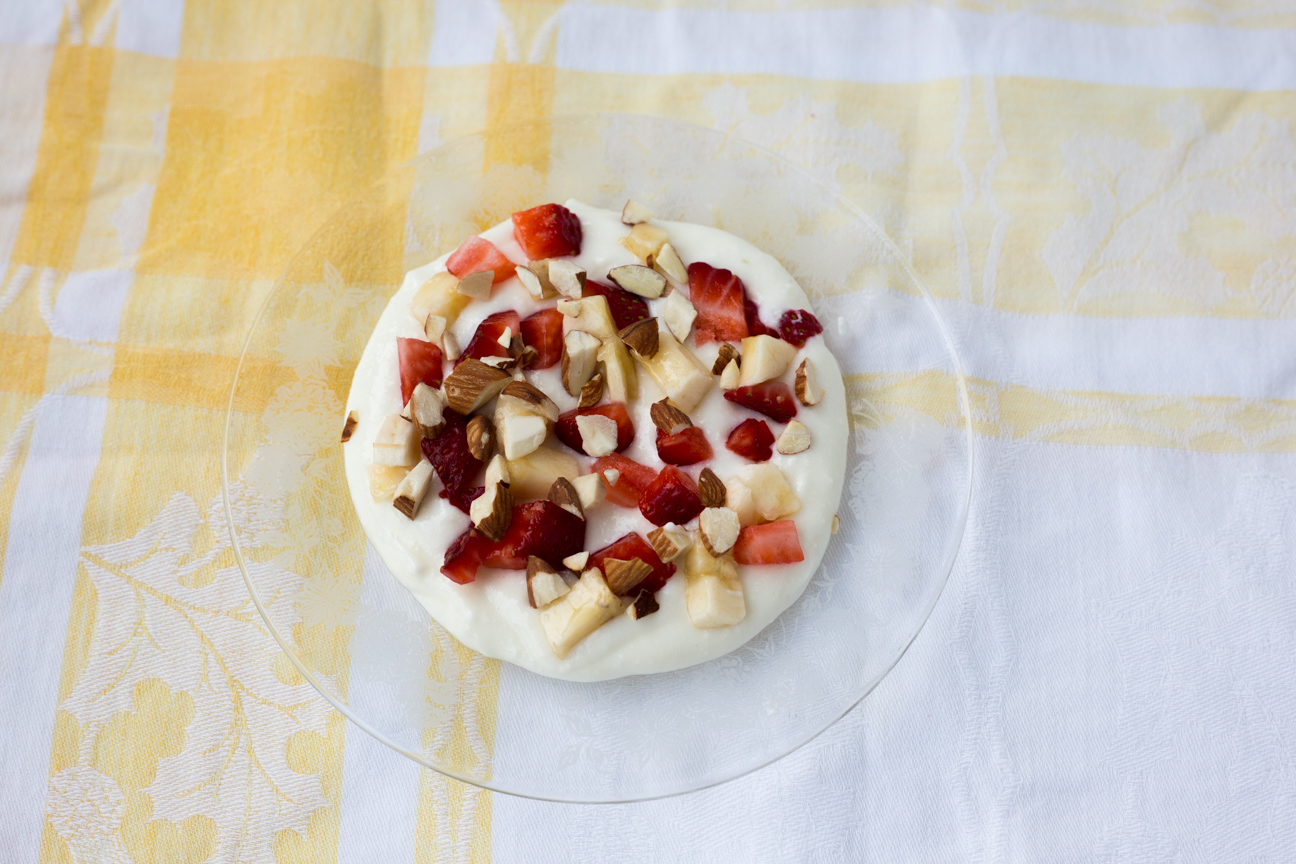
ashta on a glass plate with nuts and fruit on top

My friend, Eiman, who taught me how to make this lovely dish, serves her Ashta flat on a plate with fruit and nuts sprinkled on top. It looks very pretty this way.

Ashta makes a lovely summer dessert. Although this would also work well for breakfast.

Delicious Vanilla Ashta with Strawberries and Bananas

Serves: 6
Cooking Time: 20 minutes

Ingredients

  • Homemade Ricotta Cheese
  • 3 litres of whole milk
  • 2 Tbsp sugar (optional)
  • 1 cup white vinegar
  • Thickened Milk
  • 2 Tbsp cornstarch
  • 2 Tbsp sugar (optional)
  • 2 cups whole milk
  • 2 tsp Vanilla (or other flavouring, or none...it's still delicious)

Instructions

1

Bring the 3 litres of milk to a boil.

2

When the milk starts to boil, add the vinegar.

3

Turn the heat down to low-medium.

4

Stir the mixture. The milk will start to curdle. It will smell very vinegary at first.

5

Continue to stir until the milk is fully curdled and the liquid is more clear. It won't go completely clear.

6

Line a sieve with cheese cloth, or use a strainer, if it's fine enough.

7

Pour the liquid through the sieve. Now it should smell more creamy.

8

Leave this to drain while you make the thickened milk.

9

Put the cornstarch and sugar into a pot.

10

Add the milk and vanilla or other flavouring.

11

Stir on medium heat until the milk starts to thicken.

12

Once the milk is thickened, turn the heat off.

13

Stir the curds that are draining in the sieve into the milk/cornstarch/sugar mixture.

14

Use a whisk and mix really well.

15

There will be small bits of curd throughout the mixture, this is fine.

16

Some people prefer their ashta more creamy.

17

To make it more creamy, place the ashta in a blender, food processor or use a hand-held blender.

18

Blend until the mixture is more fine and creamy.

19

Place in a container in the fridge for a few hours, until cold.

20

How to Serve Ashta

21

You can eat Ashta plain, as is.

22

You can layer it like a parfait with strawberries and bananas. And top with chopped nuts. (Almonds or pistachios are very nice).

23

Or you can experiment with other fruits such as blueberries, kiwi, mango etc.

24

Or you can serve it on a nice platter, like my friend Eiman.

25

To do this: spread the Ashta evenly on a flat platter. Arrange chopped fruits over top.

26

Sprinkle with chopped nuts and/or coconut.

27

Serve cold.

28

Delicious! Enjoy!
Preserves

Summery Strawberry Freezer Jam

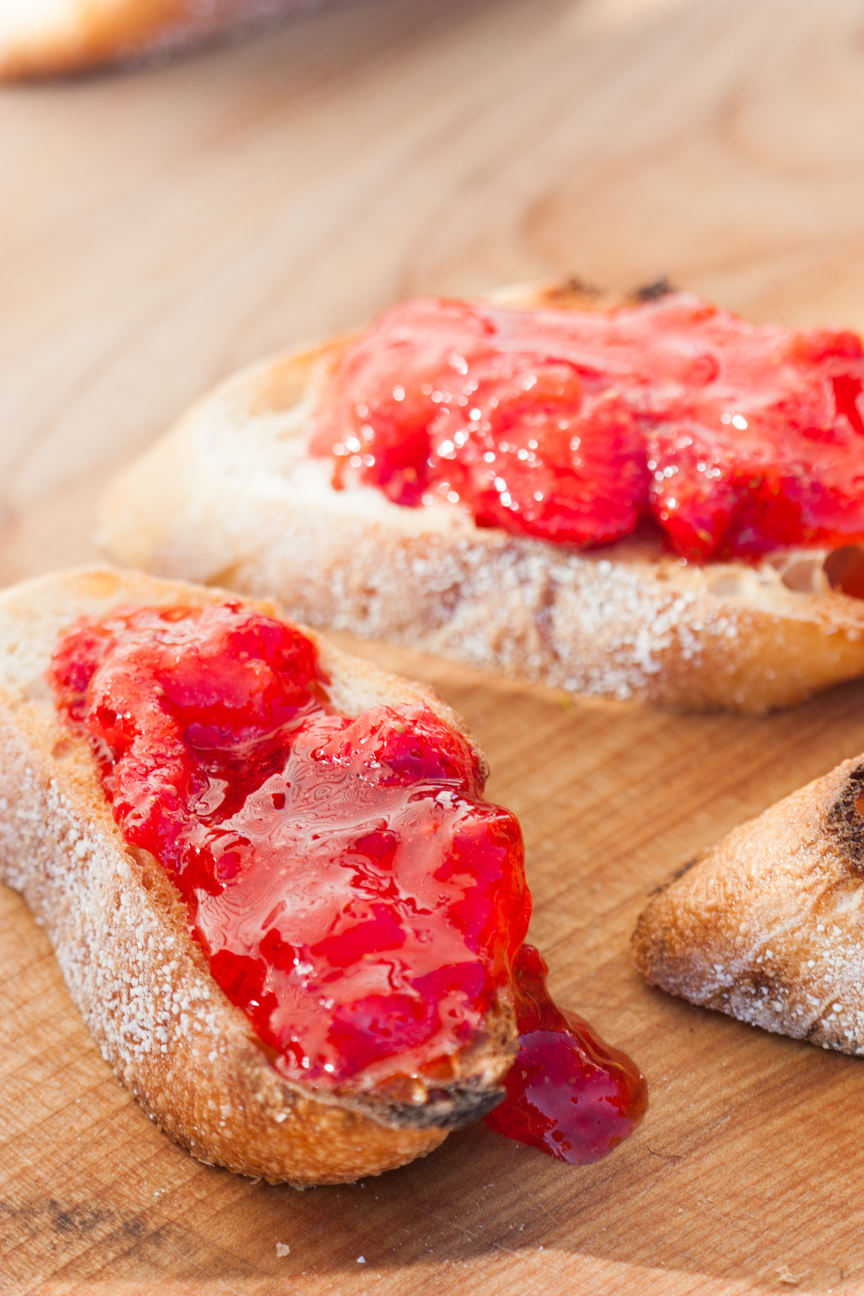
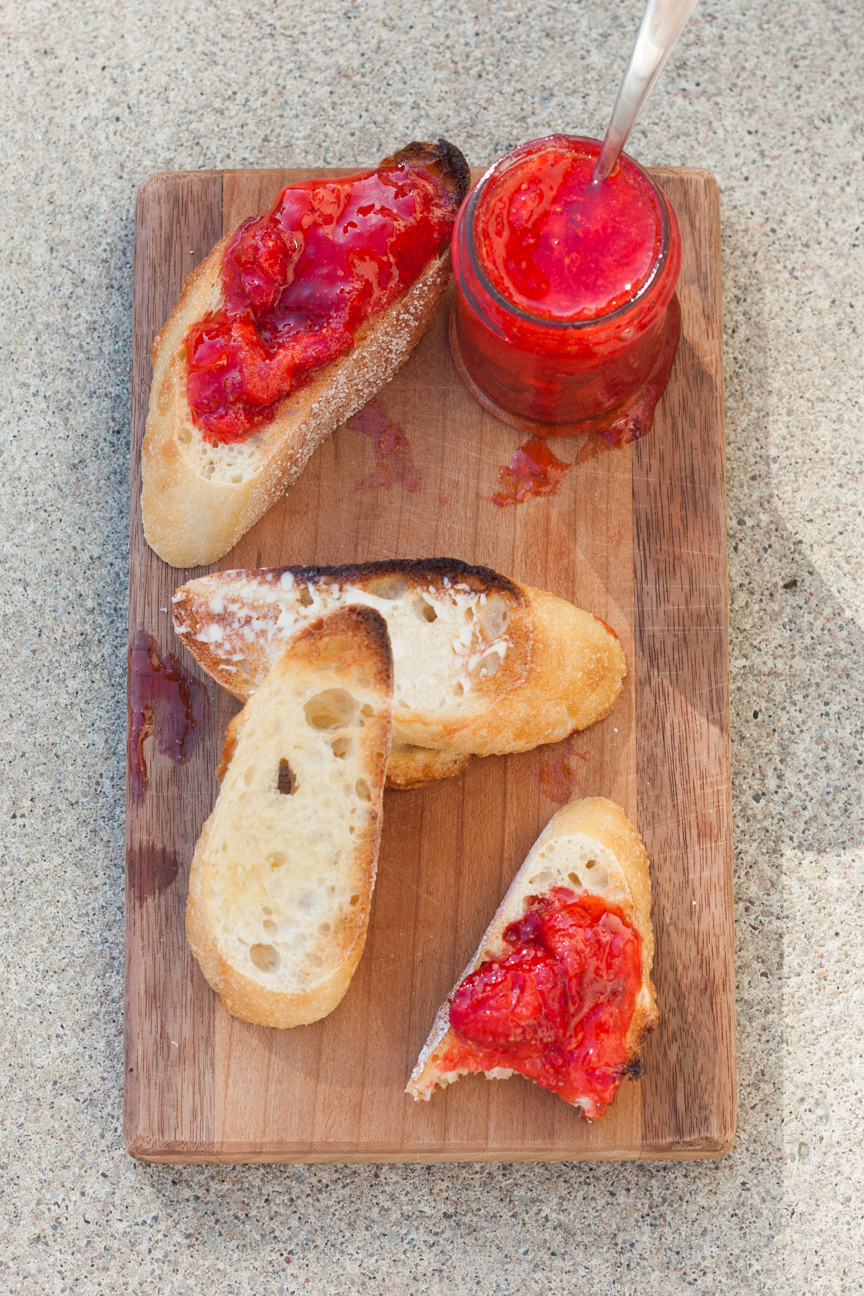
strawberry freezer jam on toast

It’s Strawberry Season now, and I just love it. It’s one of my favourite times of the year! I made a few batches of this Summery Strawberry Freezer Jam recently and it is so so so good! The aroma of strawberries and sugar wafted through my kitchen and up the stairs scenting the whole house with sweet strawberries. While I occasionally buy imported strawberries from the grocery store throughout the year and also frozen berries anytime for smoothies, nothing beats fresh local strawberries. They definitely signal the beginning of summer.

I start thinking about local strawberries starting in March when the days start to get longer, the sun feels warmer and the snow finally starts to melt and when I pull out my last jar of strawberry jam from the freezer that I made the summer before. That’s when I start anticipating the beginning of strawberry season. And homemade jam.

Homemade jam is so much better than store bought. I know lots of people think it’s really difficult to make. But it’s not. Especially freezer jam. I used to think that freezer jam was for people that didn’t want to spend the time making real jam. But, that’s not the case. It’s just different. Freezer jam is cooked much less than regular jam and has less sugar (though it still seems like a lot). It is a bit thinner than regular jam, but the flavour is much more fruity and intense. And the colour of the strawberries just pop out at you.

I think I love homemade jam so much because that’s all we had when we were young. My Mum loved making homemade jam, so that’s what was in the refrigerator. Each summer she would make several large jars from the raspberries that my Dad grew in the backyard. She would make 5 large jars and put each of our names on the jar (one jar was for her and my Dad to share). When our own jar was empty – no more jam. I think my sister and I kept our own jars of jam the longest, probably well after Christmas, while our brother, Dave, ate his the fastest, as raspberry jam was his all-time favourite. And Bob would be somewhere in between.

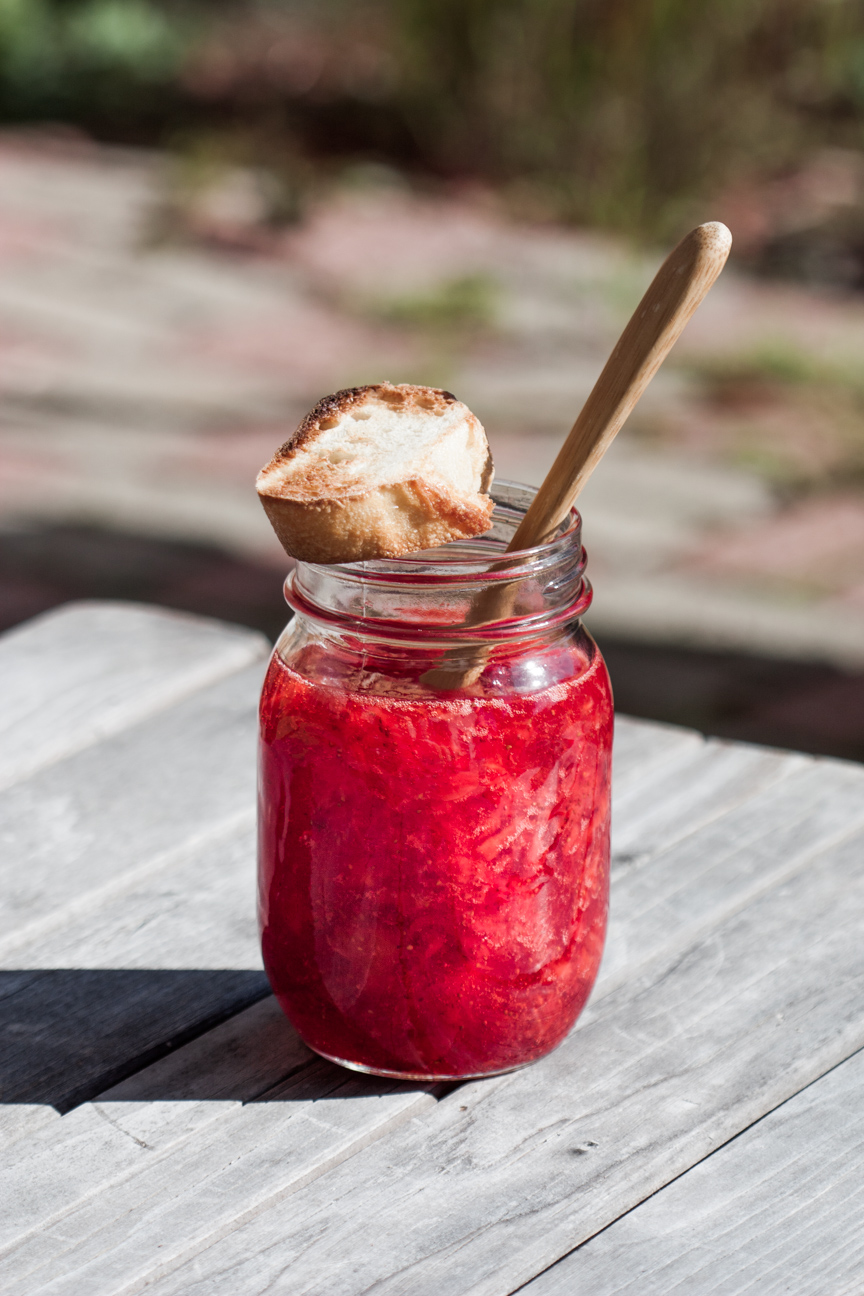
strawberry freezer jam in a jar

Freezer jam cooks up very quickly. It took about 20 minutes for me to make 3 jars. Done. And the jam tastes so fresh, just like local berries. I put the jam in special plastic jam jars (the glass jar photographed better) and after the jam sits on the counter for 24 hours, in the freezer they go! And oh my goodness! The fresh strawberry taste! So good!

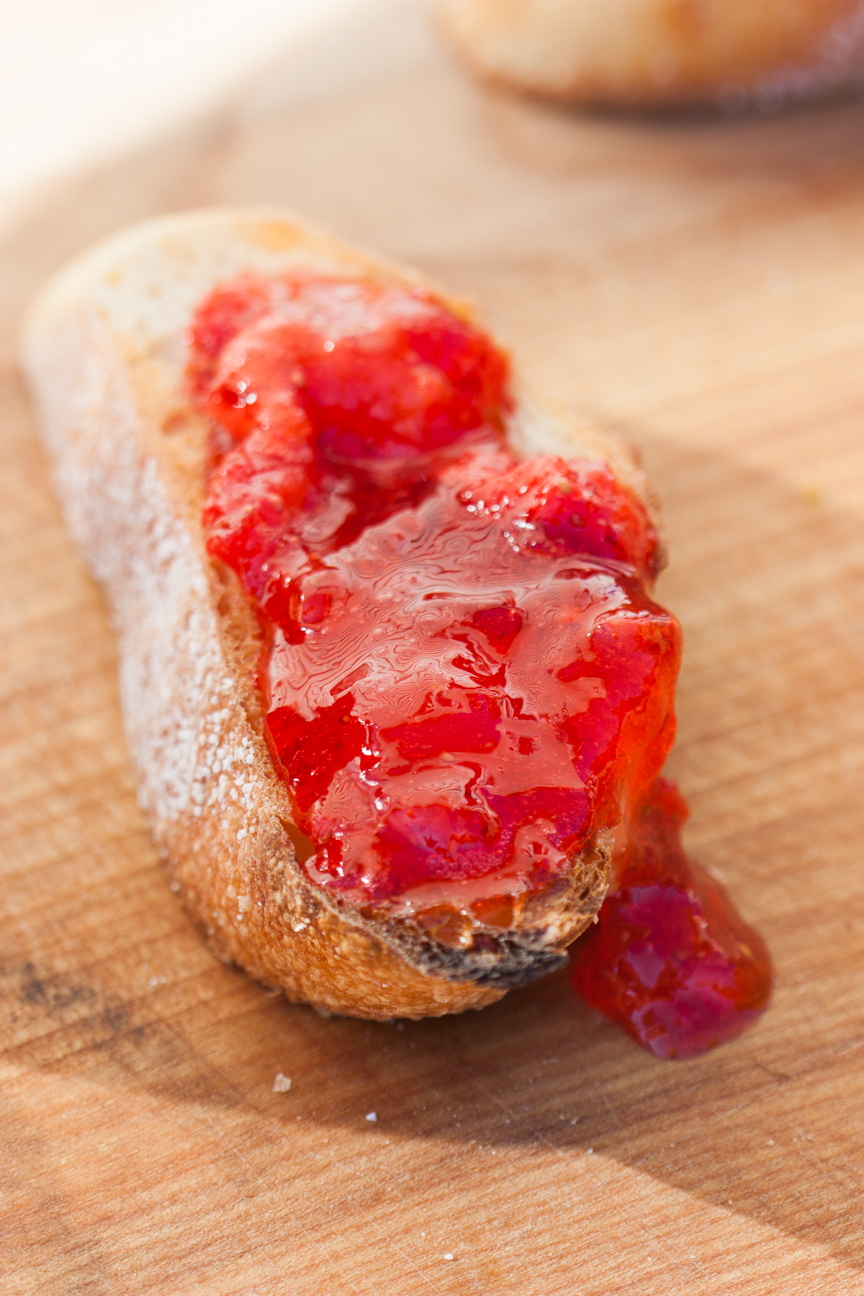
The jam tastes amazing right now, but the real treat is eating Summery Strawberry Freezer Jam on toast in February when it’s snowing outside and the temperature is -25. Just the aroma alone from the strawberries brings back summery memories in an instant and will warm you to your toes.

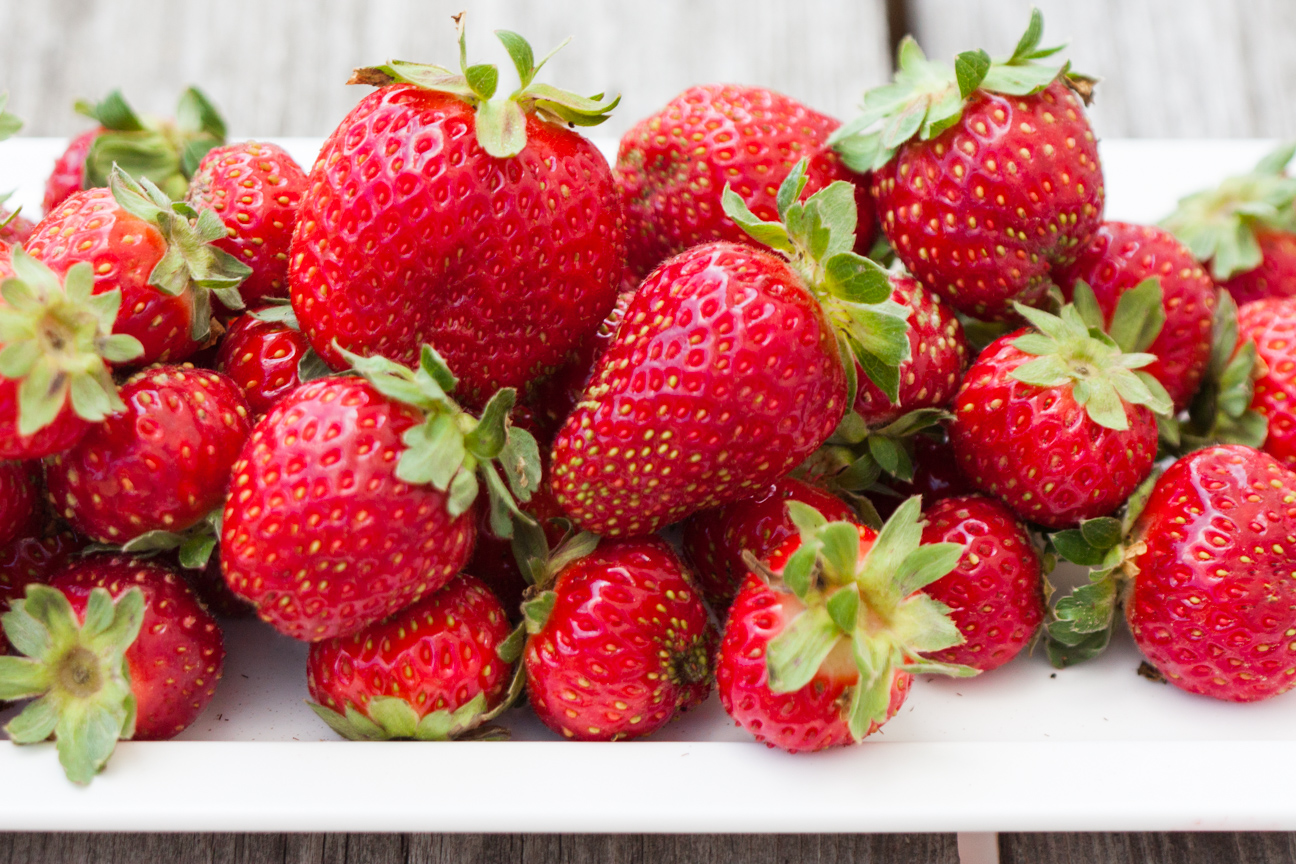
strawberries for strawberry lime elderflower granita
strawberry freezer jam on toast

With all the fresh berries coming into season soon, I hope to make a lot of jam this summer.

Enjoy!

Hey! What’s your favourite jam? Send me a message. I love homemade jam.

Summery Strawberry Freezer Jam

Serves: 3 jars
Cooking Time: 10 minutes

Ingredients

  • 1 box certo
  • 2 litres strawberries (to make 3 cups of crushed strawberries)
  • 4 cups sugar

Instructions

1

You will need two pots to make this jam.

2

Wash and hull the strawberries. Slice them and place in a bowl or if you have an 8 cup measuring cup, that works great!

3

When you have one layer of strawberries, crush them with a pastry blender, or a fork.

4

Continue adding and crushing the strawberries until you have 3 cups of crushed berries.

5

Pour the berries into a large pot. Add the sugar. Heat until the sugar is dissolved.

6

Meanwhile, place 3/4 cup of water and one pouch of powdered certo in a small pot.

7

Bring to a boil, and boil for 3 minutes.

8

Pour certo mixture into warm strawberries and sugar..

9

Stir until all ingredients are well incorporated.

10

Bring to a boil for about one minute.

11

Let the jam cool down a bit.

12

Pour into plastic jam jars, make sure all the fruit is well distributed.

13

Let the jars sit on your counter for 24 hours. Then place in refrigerator or freezer.

14

Don't forget to label the jars with the name and the date.

Notes

These instructions are different than on the certo box, but they work the best for me.

Cooking

Greek Lemon Chicken with Oregano

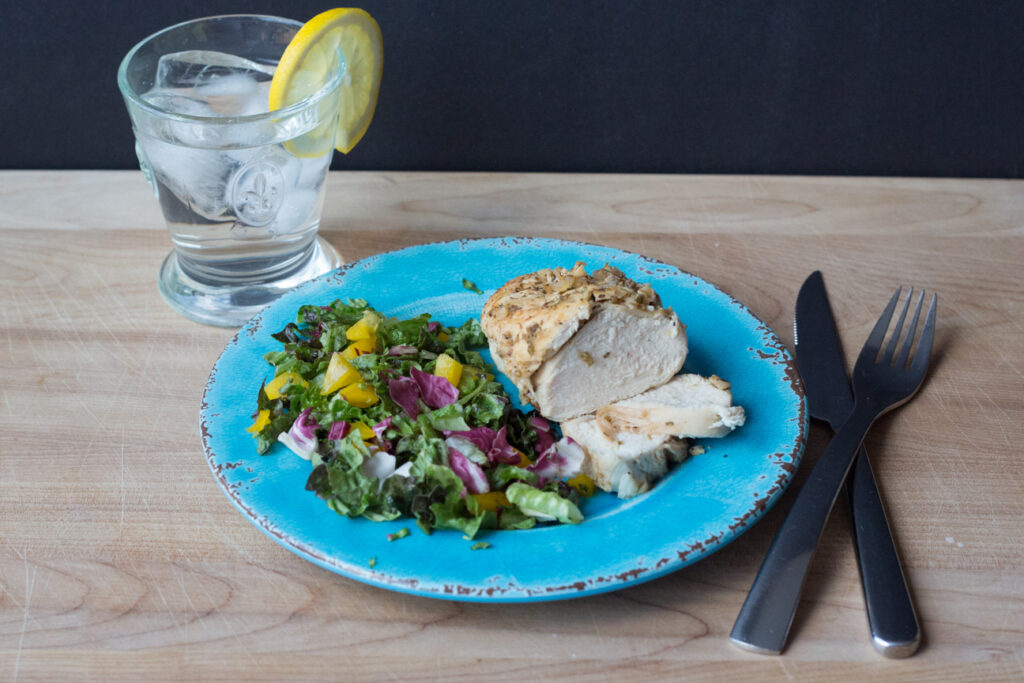
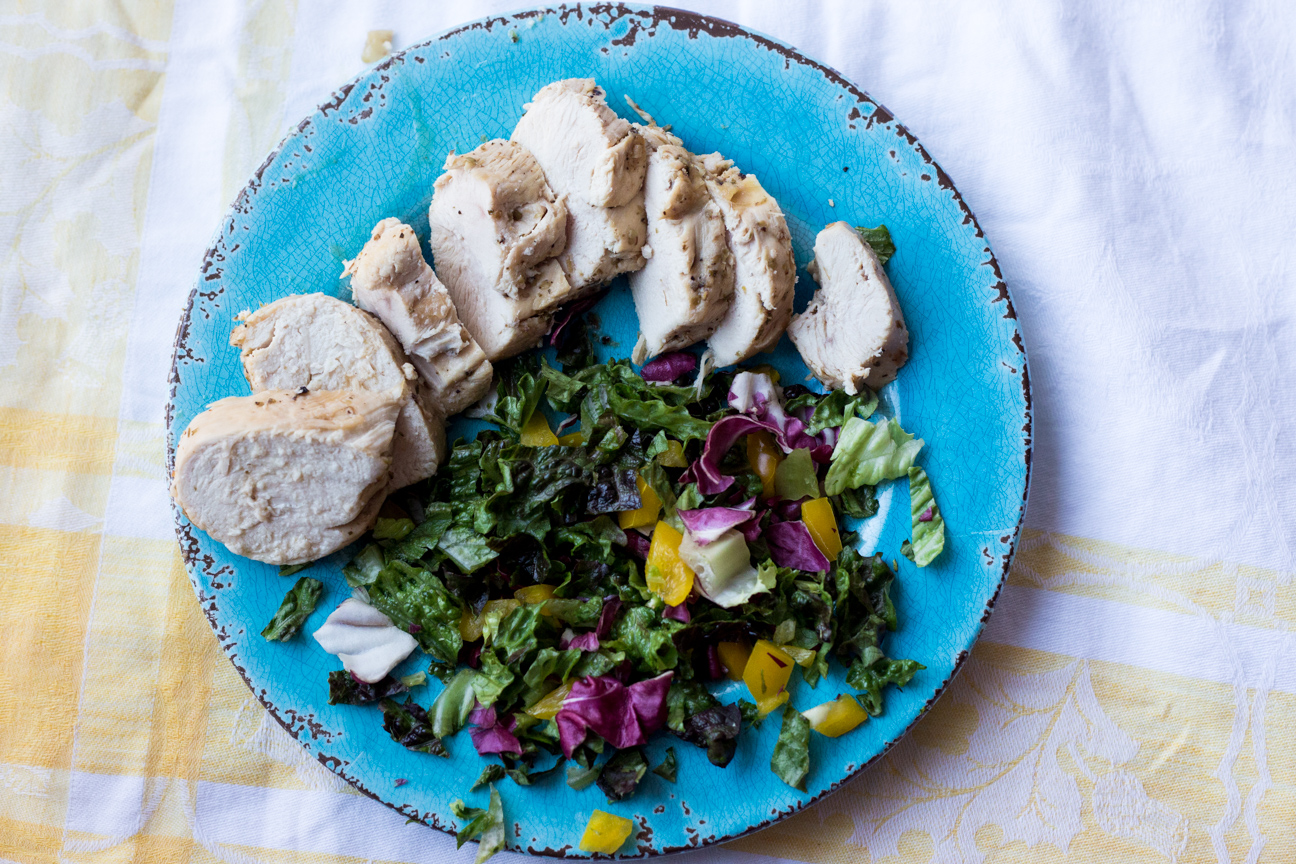
chicken and salad on a blue plate with a glass of water

I have marinated and cooked a lot of chicken throughout the years, but this Greek Lemon Chicken with Oregano is one of my favourite recipes. The chicken comes out very tender and so full of flavour. If you love lemon, you are going to love this! This dish would be perfect for a special occasion with my Greek Horiatiki Salad, Greek Lemon Potatoes with Oregano, or Persian Barberry Rice. It would also be fine alongside a bowl of plain rice and steamed vegetables.

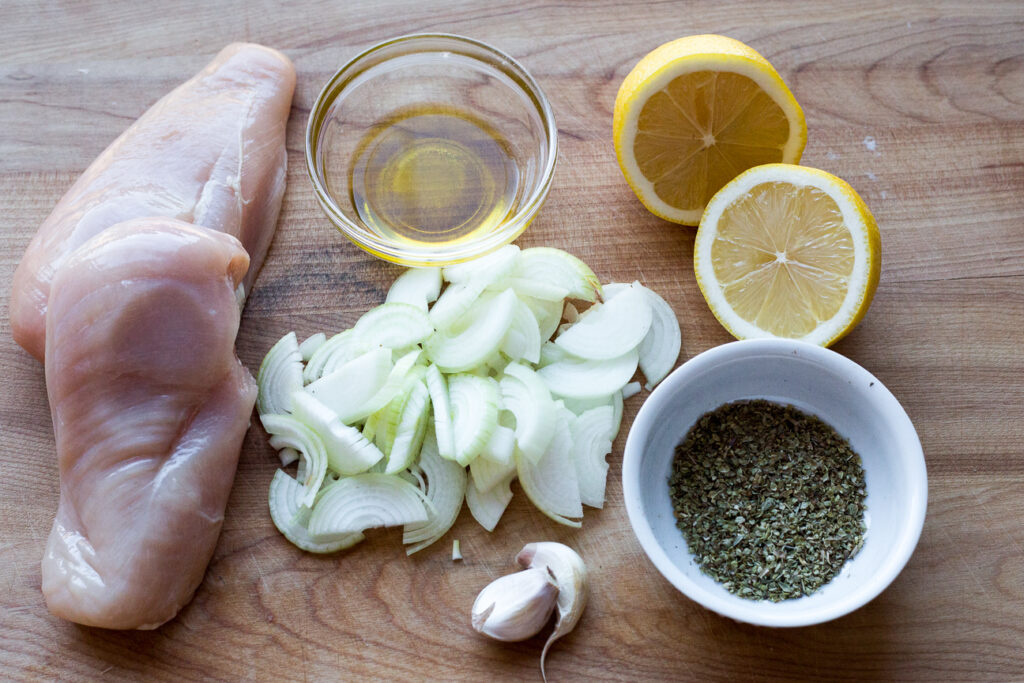
raw ingredients for lemon greek chicken

Marinate the chicken for about 2 hours in lemon juice, olive oil and oregano. Marinades always have an acidic component in them such as citrus juice, wine or vinegar. It’s the acid in the marinade that helps to tenderize the meat. The lemon juice in this recipe not only adds loads of lemony flavours, but also makes the chicken very tender and moist. After marinating, cook the chicken in a pan with a fresh batch of marinade ingredients plus garlic.

This dish only has five ingredients but they really pack a punch. I love the combination of lemon, onions and garlic. And the oregano just takes it to a whole new level. Try to find the best oregano that you can. I personally love buying my spices from Penzey’s if you live the States (the shipping is astronomical for Canada. I’m still looking for an amazing spice shop in Canada. If you know of one, please let me know.) (PS – This is my personal opinion, I do not get paid for writing that.)

If you wanted to, you could barbeque the chicken and cook the onion etc. in a pan in the house. I think that would be delicious. Then you could serve it up with a delicious potato salad, and a fresh salad with vegetables from your local farmer’s market and you would have a very nice summery meal.

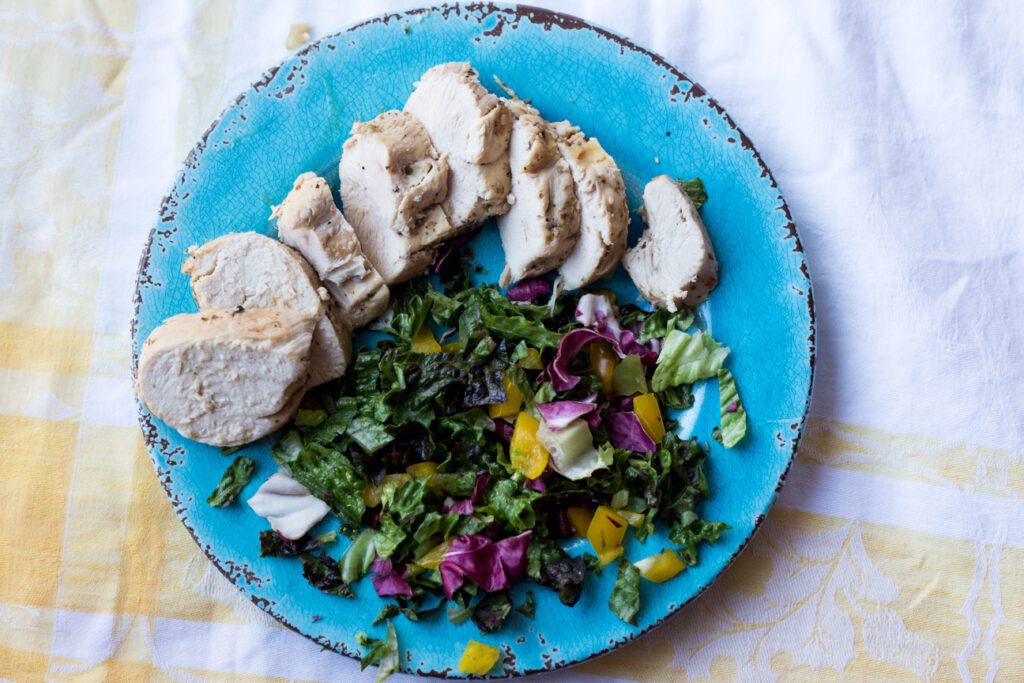
chicken and salad on a blue plate

Let me know how you enjoy this dish?

What’s your favourite way to serve chicken?

Greek Lemon Chicken with Oregano

Serves: 2
Cooking Time: 30 minutes

Ingredients

  • marinade
  • 1/4 cup lemon juice
  • 1 Tbsp olive oil
  • 1/4 tsp salt
  • 1/4 tsp pepper
  • 1 tsp oregano
  • 2 chicken breasts (season with salt and pepper)
  • 2 Tbsp olive oil
  • 2 garlic cloves
  • 1/4 cup lemon juice (fresh or from a good quality bottled lemon juice)
  • 2 tsp oregano
  • salt (to taste)
  • freshly ground pepper (to taste)
  • 1 medium onion, diced

Instructions

1

Mix marinade ingredients together.

2

Add chicken breasts.

3

Marinate for 1-2 hours.

4

Dice the onion.

5

Add olive oil to the pan.

6

Heat until shimmery on a medium heat.

7

Add the onions.

8

Saute until the onions are semi-soft (they are going to cook lots more with the chicken, so they don't need to be fully soft).

9

Add the garlic, cook for 30 seconds until aromatic, then add the seasoned chicken.

10

Nestle the chicken into the pan in amongst the onion. The onion will continue to cook around the chicken. You can push the onion to a cooler part of the pan, if its cooking too quickly.

11

Sear the chicken on both sides, until lightly golden.

12

Add the lemon juice, 1/4 cup water, and oregano. Put a lid on the pan and let the chicken continue to cook.

13

Cook until the chicken registers 165 F or 74 C, or until it is cooked through to the center.

14

Season with additional salt and pepper, if desired. I don't use much salt in cooking, but do enjoy a good amount of pepper. So, it's personal preference with salt and pepper.

15

Serve hot with the sauce poured over top.

Baking

Big and Chewy Orange Coconut Anzac Cookies

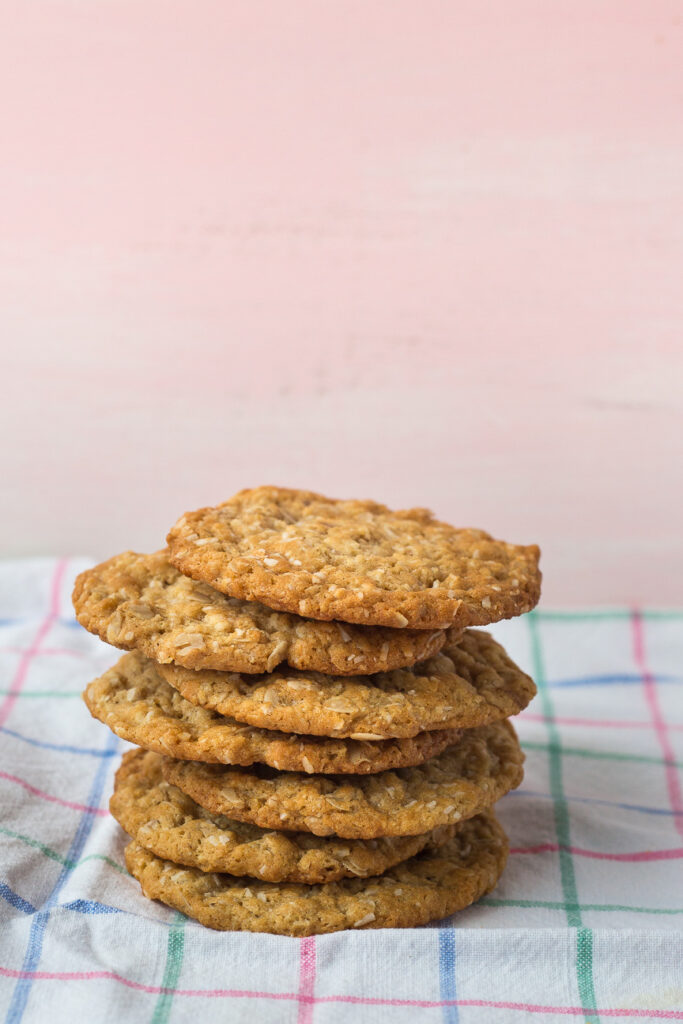
stack of Orange Maple Anzac Cookies

Anzac Cookies are a delicious mixture of oats, flour, coconut, dark brown sugar, maple syrup plus a few more things. I have added orange extract to brighten up the nutty flavours. In the middle of winter I just love a burst of orange! These Orange Coconut Anzac Cookies have a nice sweet, nutty taste.

Anzac cookies originated in Australia and New Zealand and were made popular during World War I. I had read for years that women would bake these cookies and send them to soldiers fighting on the front lines and that’s how they came by that name. However, this appears to be a myth. They were, however, baked for fundraisers back home to raise funds for the war effort. A connection was made between these cookies and soldiers fighting during the war, so they became known as Anzac Cookies.

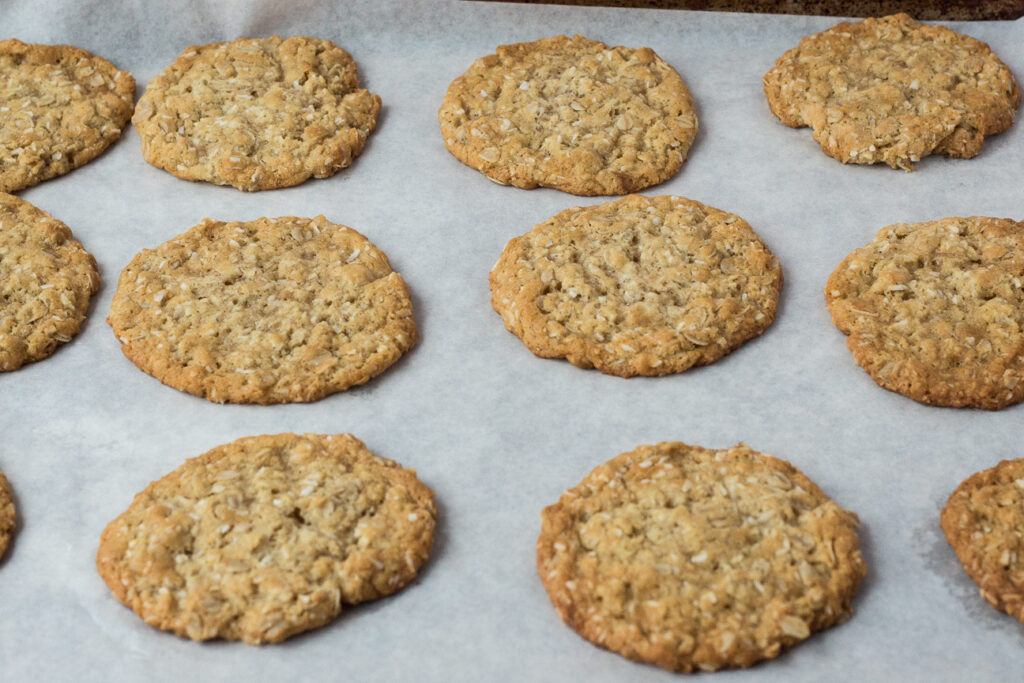
orange maple anzac cookies on baking tray

Anzac stands for Australian and New Zealand Army Corps and is protected under Australian law. Anzac cannot be used in Australia without permission from the Minister of Veterans Affairs, especially for commercial purposes.

These Big and Chewy Orange Coconut Anzac Cookies are made without eggs, and therefore keep quite well. You can make them chewy or crisp, but this recipe makes quite chewy cookies.

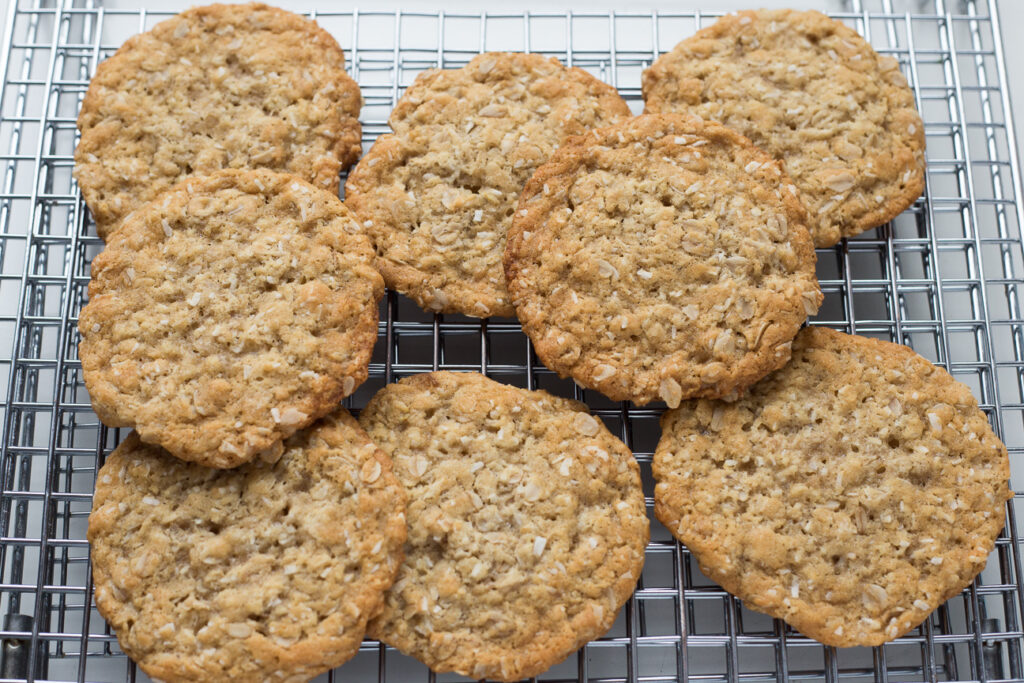
orange maple anzac cookies on cookie rack

After the cookies have cooled on the baking tray, you can transfer them to a cookie rack until they are completely cold.

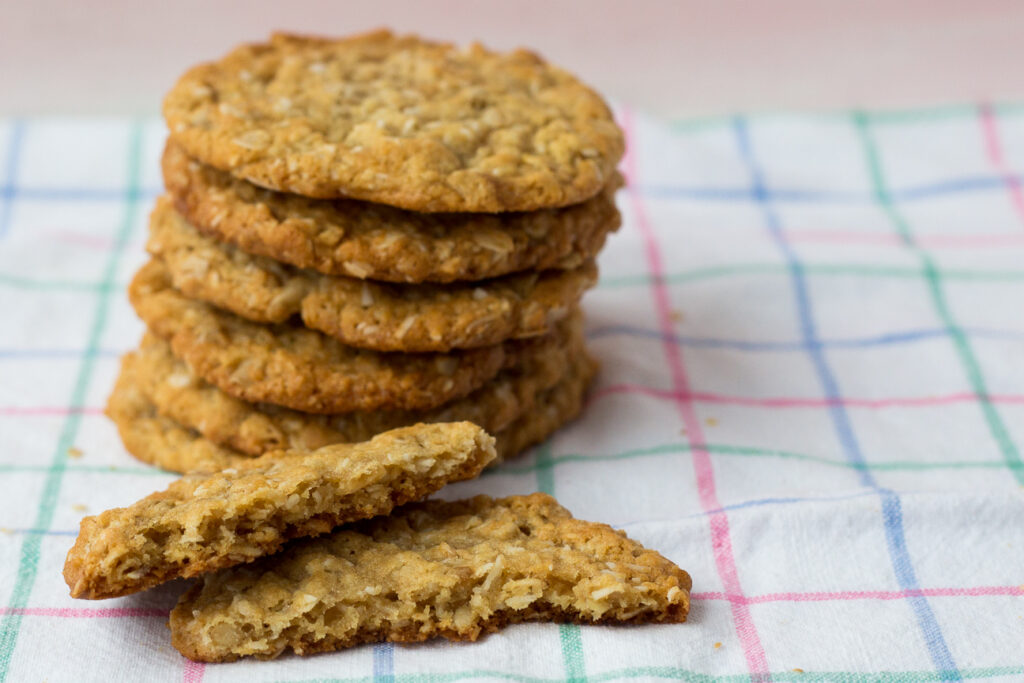
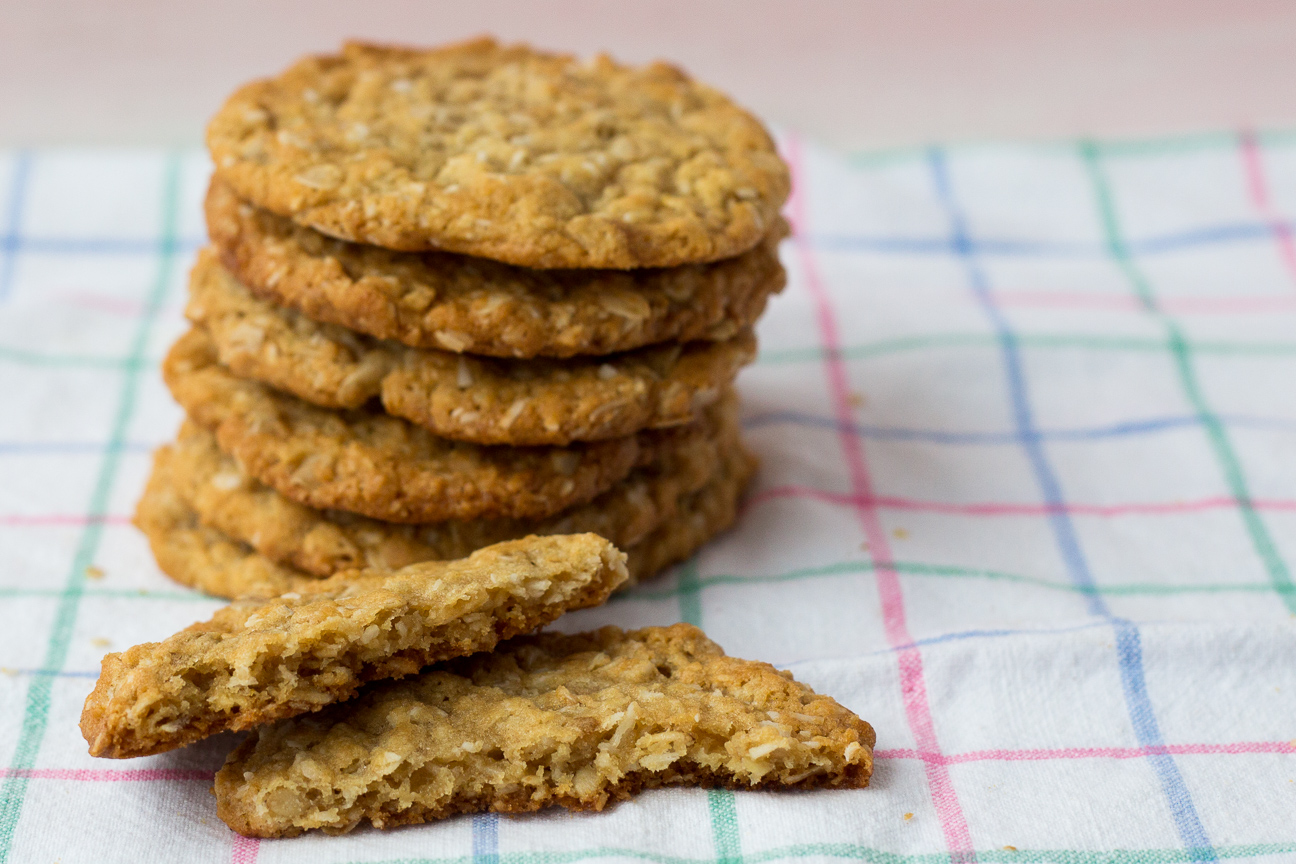
stack of orange maple anzac cookies with one broken in half

So yummy. I make them big, so they’re quite chewy and almost bendable. They’re a perfect treat when you’re in the mood for something nutty and sweet. If you want to make vegan Orange Maple Anzac Cookies, swap up the butter for vegetable oil.

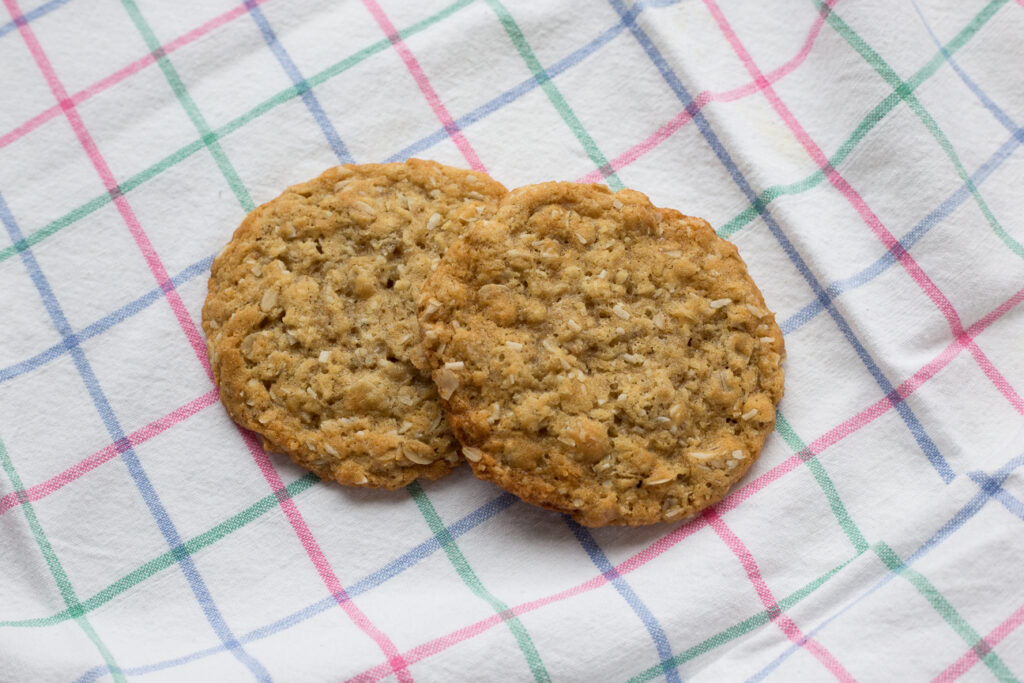
two Orange Maple Anzac Cookies

Super simple.

 One of these cookies goes very well with a hot beverage on a cold wintery day.

Enjoy!

Suzanne

Orange Coconut Anzac Cookies

Serves: 12
Cooking Time: 12-15 minutes

Ingredients

  • 1 cup rolled oats
  • 1 cup flour
  • 3/4 cup unsweetened coconut
  • 2/3 cup dark brown sugar
  • 100 grams butter
  • 2 Tbsp maple syrup
  • 2 Tbsp boiling water
  • 1 tsp baking soda
  • 1 tsp orange extract

Instructions

1

Preheat oven to 350 degrees fahrenheit.

2

Stir together the dry ingredients.

3

Melt the butter in a small pot or in the microwave.

4

Add maple syrup to butter.

5

Add baking soda to 2 Tbsp boiling water.

6

Pour baking soda mixture into butter and maple syrup.

7

Add the orange extract to liquid ingredients.

8

In a large bowl, add wet ingredients to the dry ingredients.

9

Stir well to incorporate.

10

Divide dough into 12 pieces, around 48 grams each.

11

Shape each piece into a ball and place on lined baking sheet.

12

Leave 1.5" inches between cookies, as they will spread.

13

Flatten slightly.

14

Bake for 10-12 minutes until lightly golden around edges and slightly soft in the middle.

15

Leave on baking tray to cool.

16

Then transfer to wire rack.

17

After they have cooled they should be bendable and soft and chewy.

Notes

To make this recipe vegan or dairy-free, replace the melted butter with a liquid oil of your choice.

Cooking

Beet Carrot and Feta Salad with Lime Honey Dressing

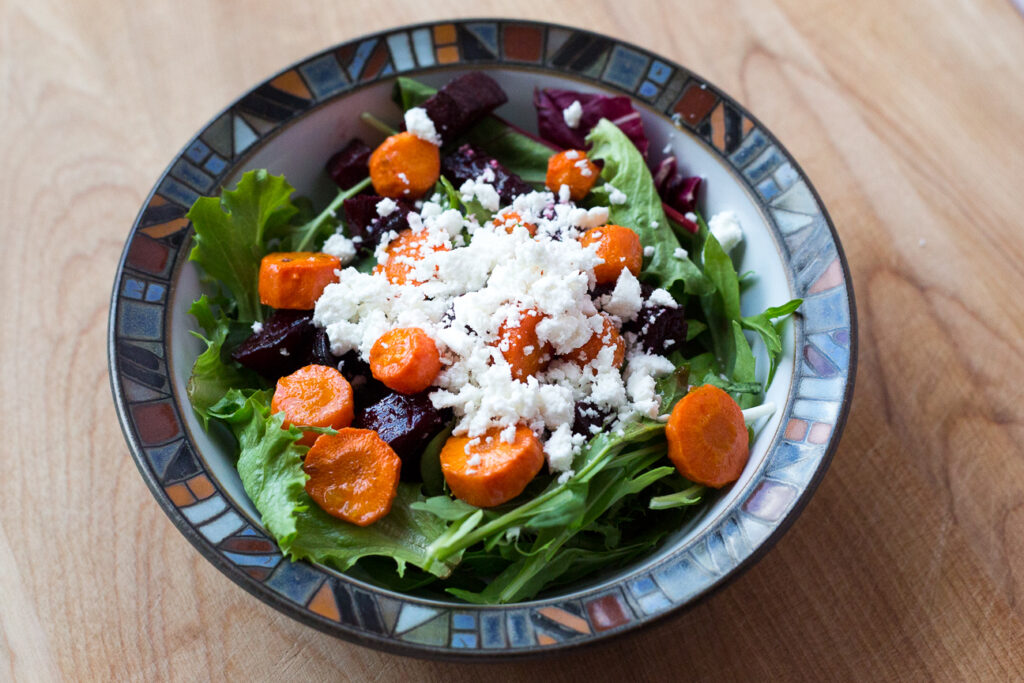
close-up of salad in a bowl

This Beet, Carrot and Feta Salad is fantastic to make anytime of the year – summer, winter, spring or fall, and is full of contrasting flavours and textures. Because the beets and carrots are roasted in the oven, this salad is great as a transitional salad between seasons. It has nice soft sweet roasted vegetables in the middle which contrast nicely with the bitter greens on the bottom and the salty creamy feta on top. This salad ticks off all the boxes of tasty, delicious, and beautiful to look at. Oh, and I haven’t told you about the dressing yet: tart heavenly lime juice and zest sweetened with honey and smoothed out with olive oil. Doesn’t that sound amazing?

My friend, Philippa gave me this recipe a few summers ago. The first night that I made this salad, my family went completely quiet, as we savoured it, enjoying all the different flavours. It has become a regular menu item ever since.

In the summer, salads are the mainstay of our dinner menus. I love salads because they are super nutritious and quick to put together for an evening meal. With a bed of fresh greens, chopped fresh veg, a source of protein from tofu, chicken, eggs or beef…the world is your oyster for choices. And homemade dressings are a snap to shake together: oil + vinegar, creamy herby dressings etc. So easy.

While it is super easy to create your own salad, some combinations are better than others. This Beet, Carrot and Feta Salad is most definitely one of those combinations. You definitely want to have this one on your menu roster.

Creating summer salads is fun in the summer months, when you don’t want to be doing much cooking. Here are some tips for creating a summer salad the whole family will love.

Tips for creating your own summer salads

  • use a mix of colours such as various leafy greens, radicchio, cherry tomatoes, yellow, red or purple peppers
  • try to incorporate a variety of textures such as soft avocado, leafy greens, crunchy fruits or vegetables,
  • make a contrasting dressing; consider dressings such as oil and vinegar vinaigrettes, creamy herby dressings or a spicy dressing with siracha, or pickled jalapeno peppers
  • To make a salad a full meal, consider adding some protein: sauteéd tofu, chicken, beef, edamame, legumes, canned fish

This Beet Carrot and Feta Salad works best if you can find really good feta cheese.

Tips on buying good feta

  • Make sure the feta is made from sheep’s milk, or at least a combination of sheep’s and goat’s milk. Feta made from cow’s milk will be too dry.
  • buy feta in a block and crumble it just before serving, so it’s not dry
  • store the remaining feta in the original container with the brine, including any extra crumbled feta.
  • if you would like to read more about feta cheese, click here
  • and if you love cooking with feta, here is another recipe for you to try

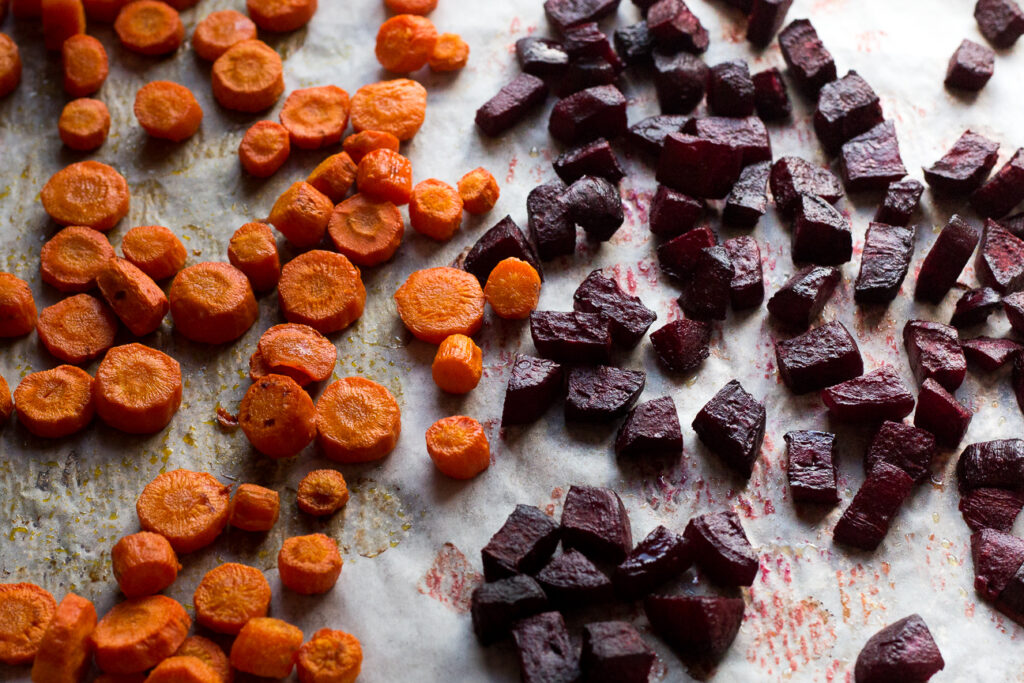
roasted beets and carrots on a tray

First, roast the beets and carrots. Roasted vegetables develop a nice caramelization which augments their complimentary flavours.

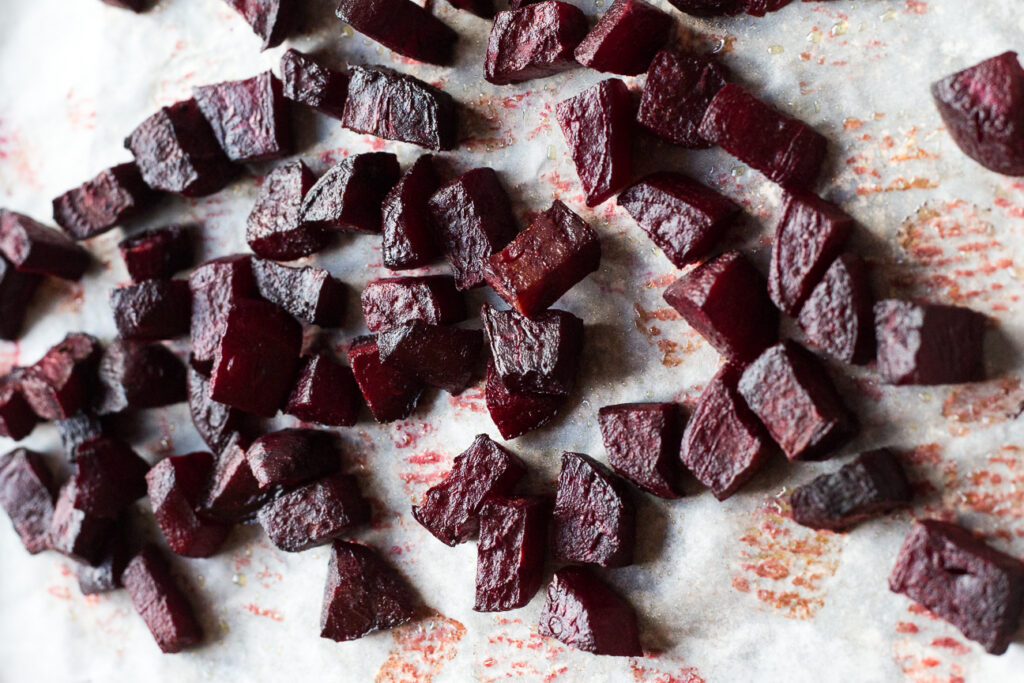
roasted beets

The beets looks exceptionally lovely after roasting: all deep purple with a lovely soft almost creamy texture.

Tips on Roasting Vegetables

  • cut the vegetables into medium bite-sized pieces
  • slightly coat them in olive oil before roasting
  • have all the vegetables in uniform sizes
  • give them a good stir around after about 20 minutes
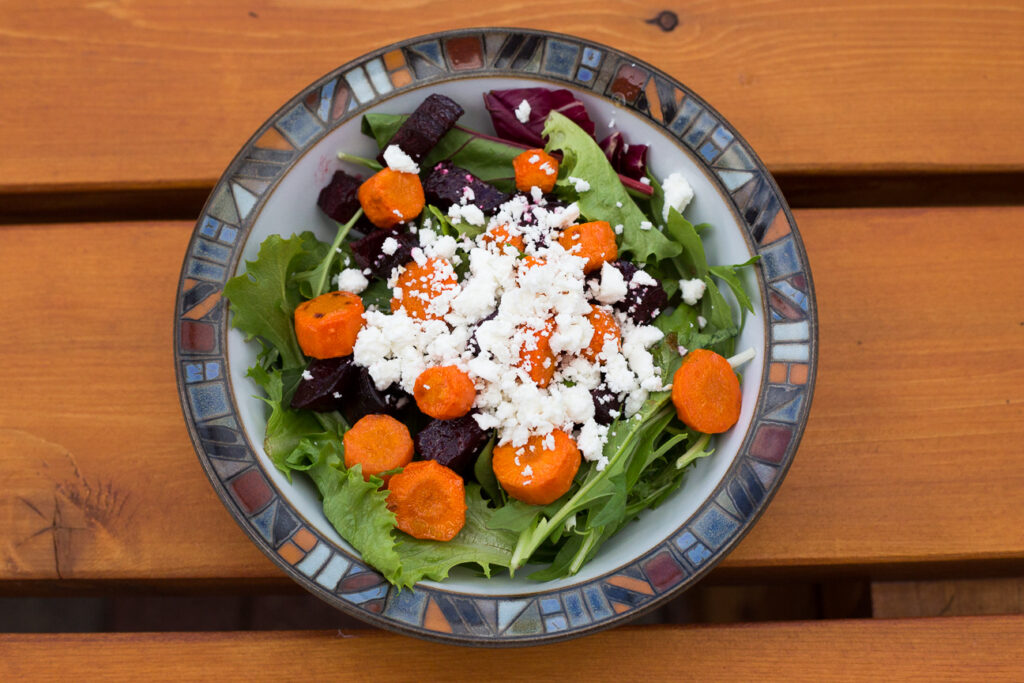
beet, carrot and feta salad in a bowl

Bon Appetit!

Suzanne

Cooking

Greek Lemon Potatoes with Oregano

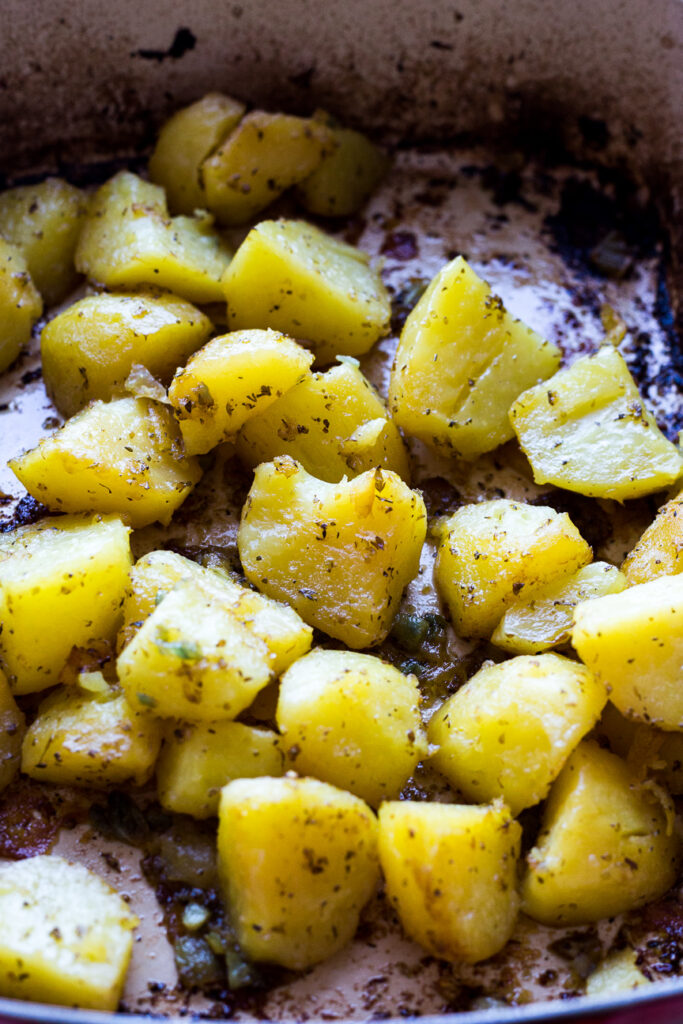
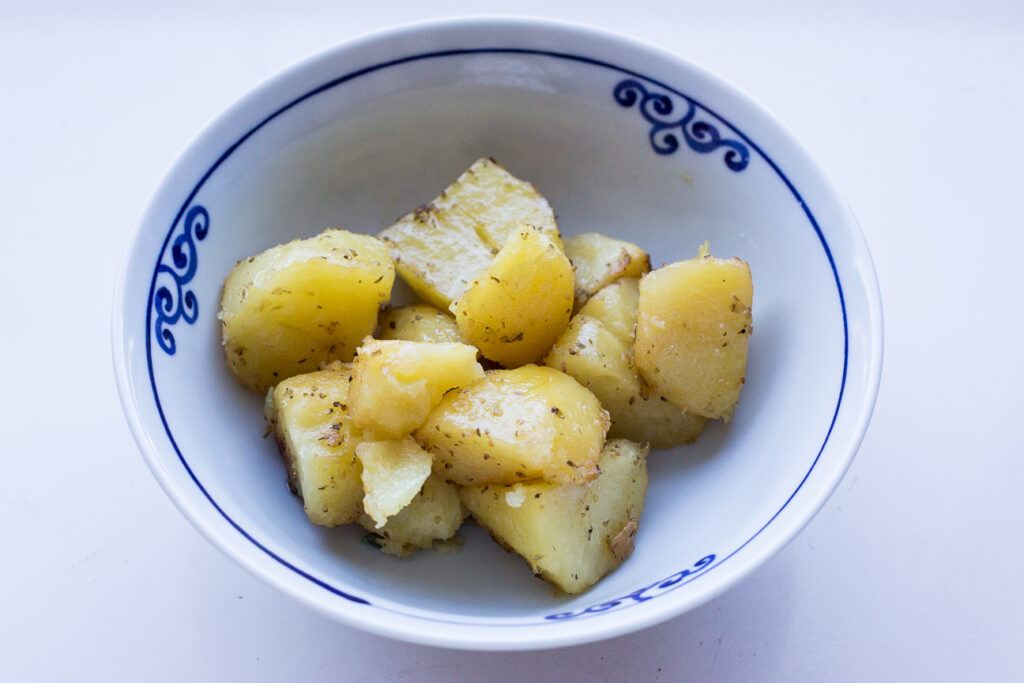
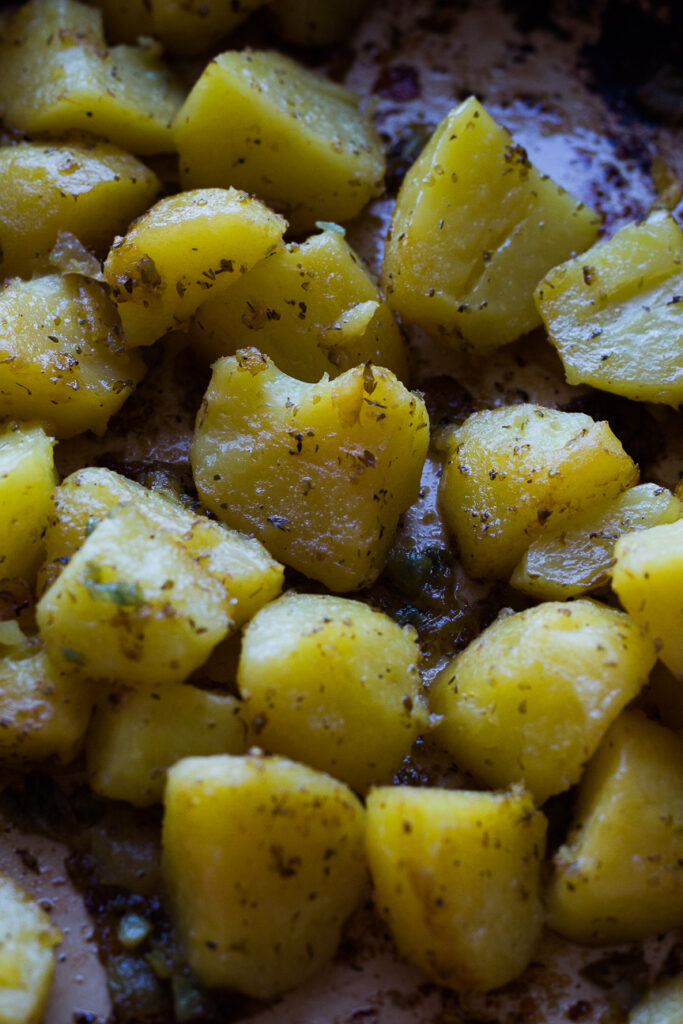
lemon potatoes baked in a pan

Happy Easter! Lately, I have been really craving potatoes. I love potatoes any style: baked, boiled, fried or roasted. But, I have to say, these Lemon Greek Potatoes are one of my favourites. They have a lovely creamy texture. And they are loaded with lots of lemon, oregano, and garlic flavours. So good.

I’m a huge fan of Greek food; greek salad, feta cheese on anything, oregano, olive oil, lemon, garlic flavours. I love all of those. If you are too, then you might want to check out my Greek Horiatiki Pasta Salad or my Alevropita Feta Tart.

My Lemon Greek Potatoes are quite simple to make, but you do need a bit of time. They are baked in the oven for a little over an hour. Of course, the great thing about baking in the oven is that it’s hand-free and you can spend that hour washing up, setting the table, finishing dinner or relaxing while someone else does all of that.

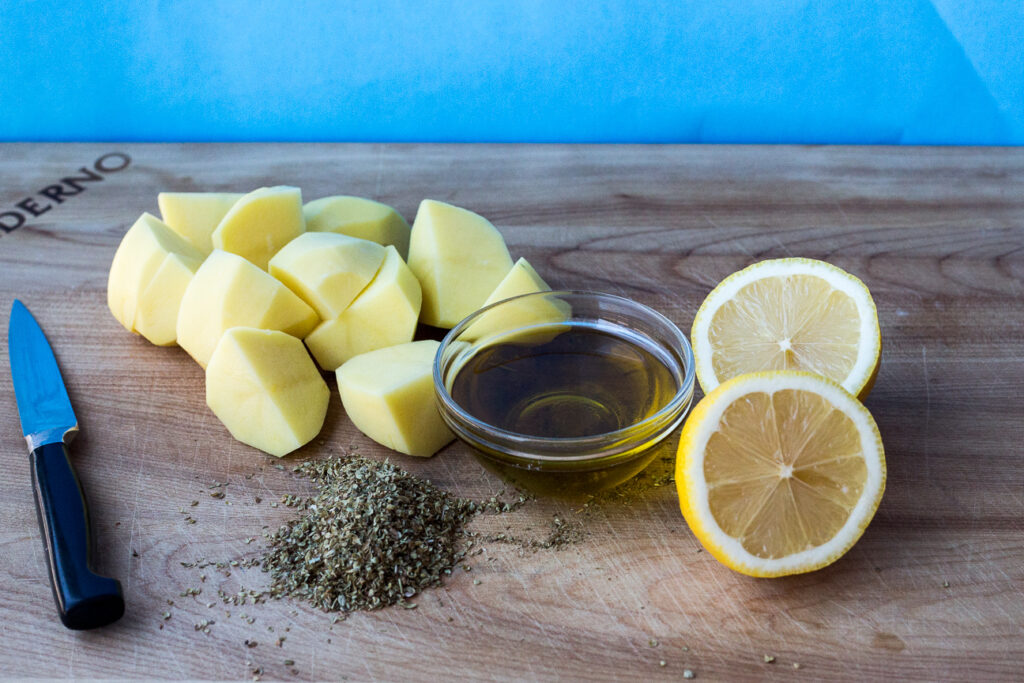
With only a few ingredients, this dish is so so simple to prepare. I like to use yukon gold potatoes because they turn out soft and creamy without falling apart.

What’s the difference between Yukon Gold Potatoes and Russett Potatoes?

Yukon Gold Potatoes are waxy potatoes. They are slightly sweet and have a creamy, moist texture. Yukon Gold potatoes are good for roasting, making french fries or just boiling. They retain their shape well. A very good, all-purpose potato.

Russett Potatoes have a neutral flavour. Russett Potatoes are considered starchy potatoes. They are best for baking, french fries or mashed. But they do not hold their shape very well, for example: for gratins or potato salad.

How do I know when my potatoes are done?

They are done when the potatoes are very soft. You can test this by poking them with a butter knife. There should be no resistance.

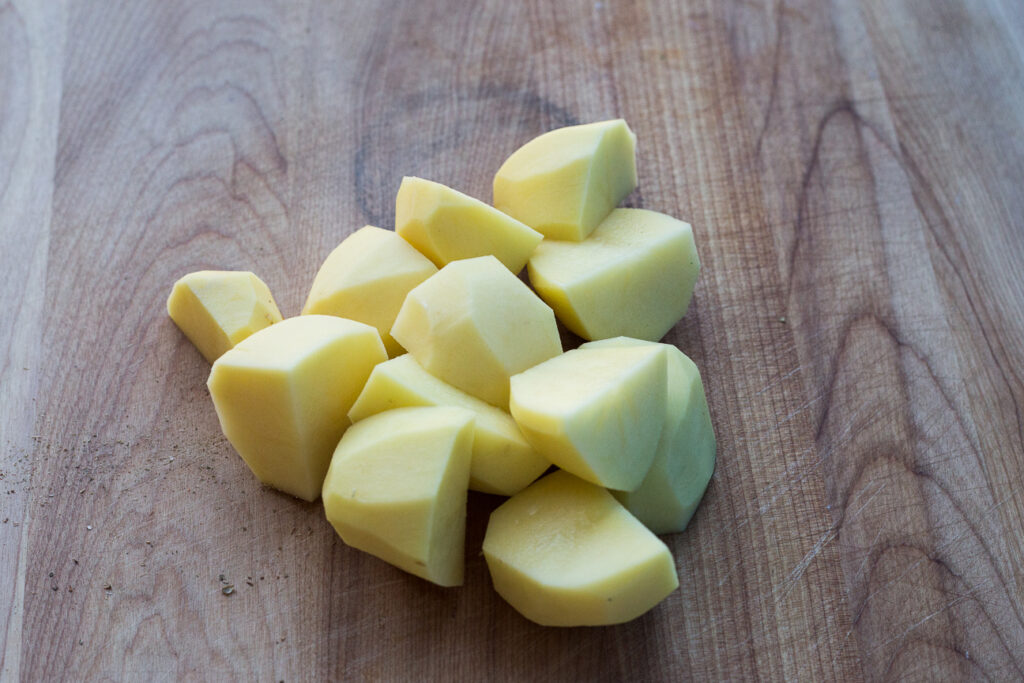
I cut each of my potatoes into quarters. I like this shape because the potato pieces seem to cook evenly. You could also cut them lengthwise, if you prefer. But, it’s personal preference. If you do cut them lengthwise, they may cook quicker.

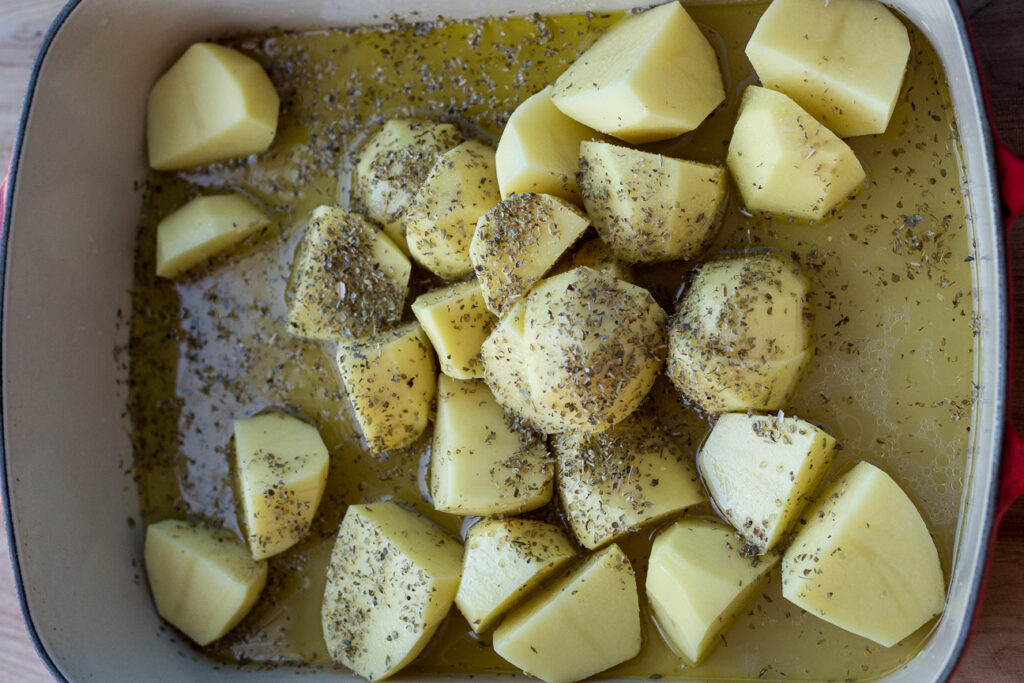
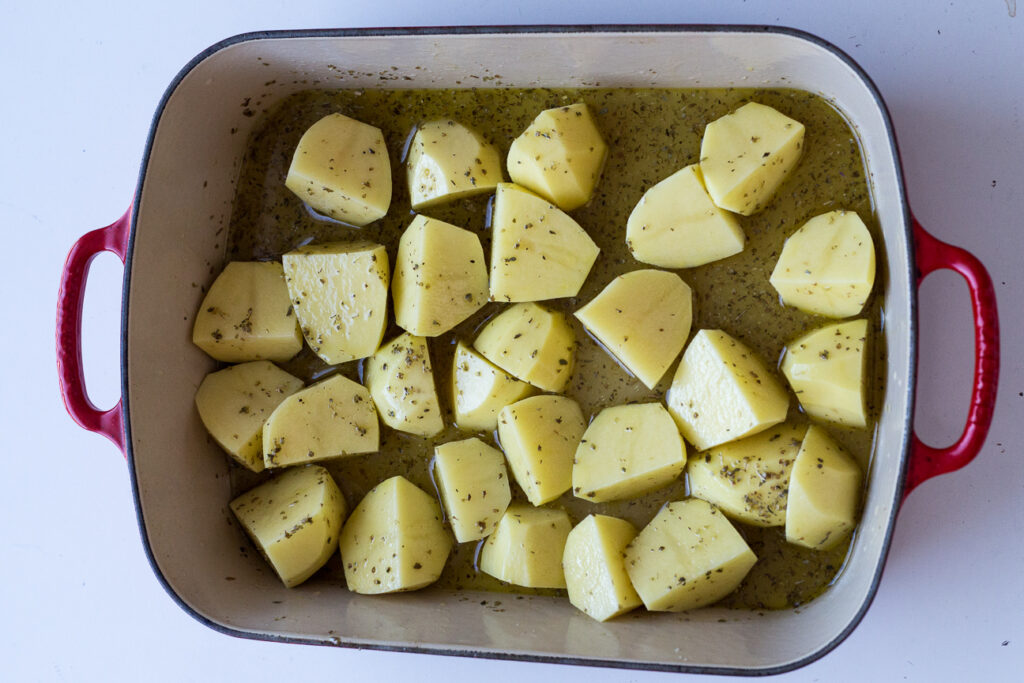
Place all of your ingredients in the baking dish. Stir everything all around (I used my hands).

After a good mixing, all of the ingredients will be uniformly spread out in the pan. Cover your pan completely with tin foil and then pop it in the oven and check on it after about 45 minutes.

After about 45 minutes, the potatoes should be very soft and a fair bit of the liquid evaporated. If this is not the case, cover your pan back up and place in the oven until the potatoes are very soft (check them every 10-15 minutes, until very soft).

Remove the tin foil when the potatoes are very soft. Place the uncovered dish back in the oven for about 20 minutes. Continue to cook until the potatoes are starting to dry out and most of the liquid has evaporated.

Lemon Greek Potatoes go well with a number of dishes, but I especially like them with pork or chicken or vegetarian entrees.

If you’re a real potato lover like me, here is a great post to read about all the different types of potatoes.

A guide to every type of potato you need to know

Enjoy!

Baking

Delicious Soft Pumpkin and Chocolate Chip Cookies

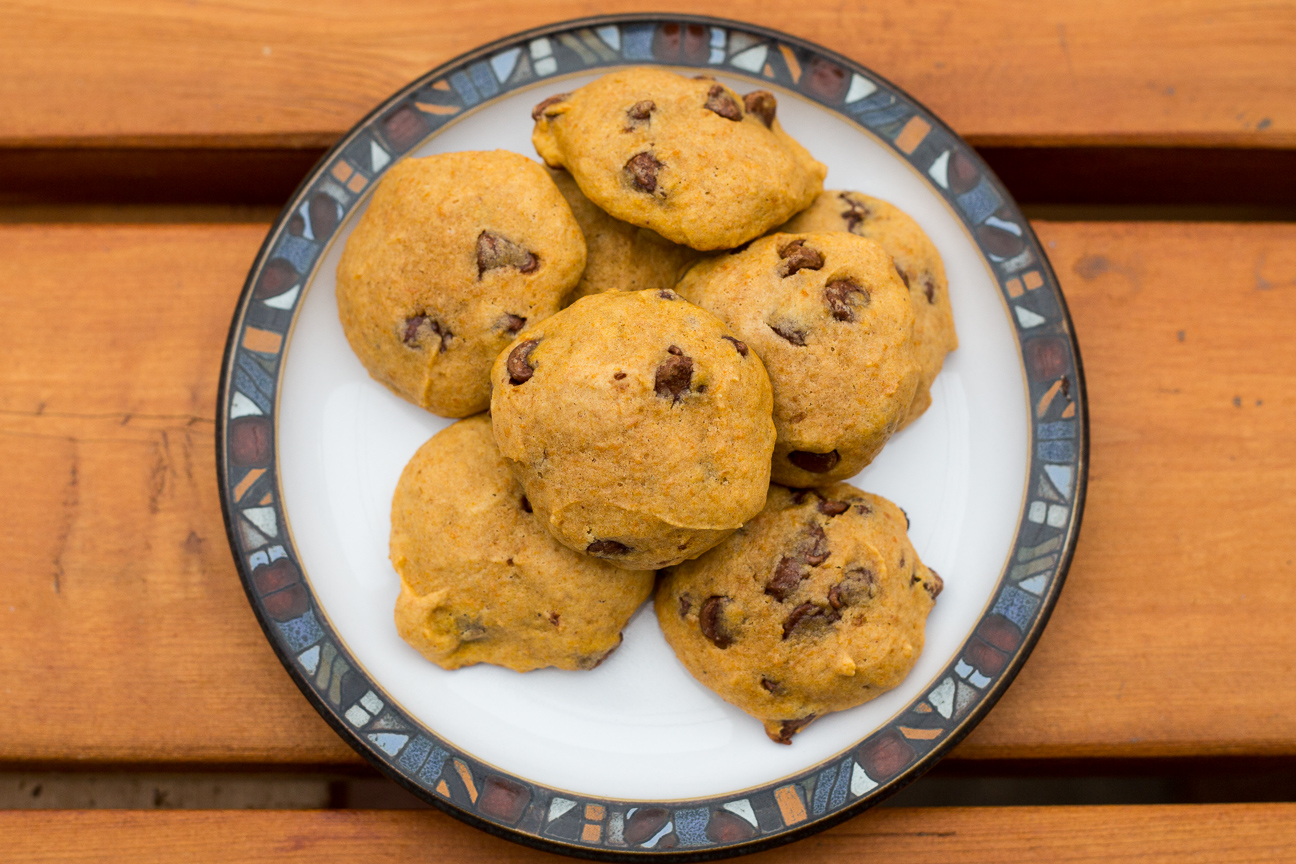
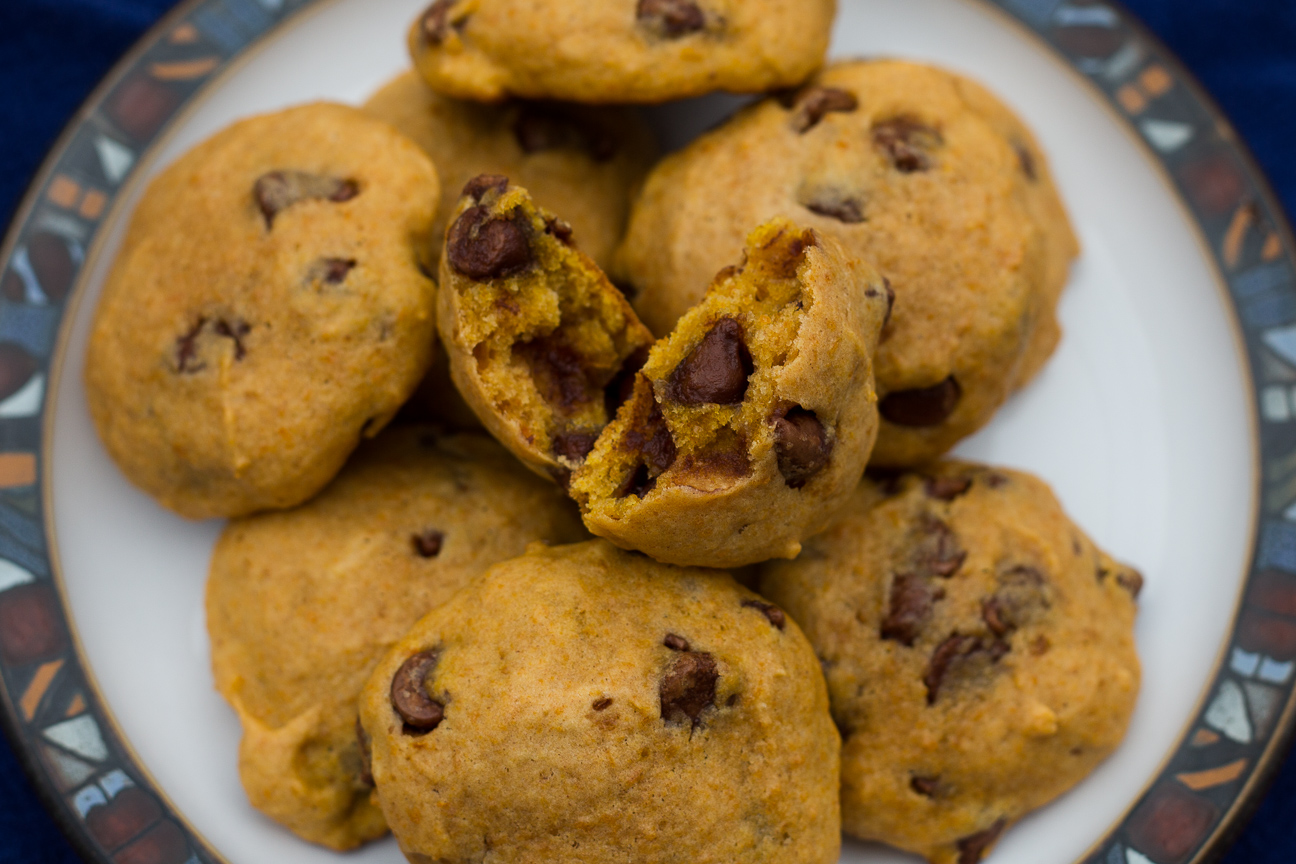
pumpkin chocolate chip cookies on a plate

Pumpkin chocolate Chip Cookies are one of my favourite cookies of all time. These Pumpkin Chocolate Chip Cookies are just so yummy, we can’t stop eating them! They’re made with a good amount of baking powder which makes them puffy and soft, plenty of pumpkin puree, a kick of spice and lots of chocolate chips too.

With everyone staying home this Hallowe’en, these Pumpkin Chocolate Chip Cookies are the perfect treat to whip up. The recipe is super simple and uses mostly common pantry ingredients. I still had a can of pumpkin puree in my cupboard from our Canadian Thanksgiving weekend, but if you’re all out, the grocery stores still have plenty and they are probably on sale too!

This recipe for Pumpkin Chocolate Chip Cookies is based on one from my very first cookbook: The Peanuts Cookbook. Our Grade 4 elementary school teacher signed us up to a book club and we all ordered 1-2 books to read. My friend, Bonnie got some Nancy Drew mystery books, but I ordered this cookbook. I still have a copy, although not my original copy. The cookbook has lime green and bright pink pages and kid-friendly recipes like Divine Divinity, Lucy’s Lemon Squares, Security Cinnamon Toast and Red Baron Root Beer as well as loads of comic strips.

The first time that I made these cookies was with a friend from school. We were about 9 or 10 and my Mum let us bake some cookies in our kitchen all by ourselves. We thought it would be really cool if we baked them like mini-pumpkins. So we rolled them all into balls and placed a bunch on a cookie sheet. Well, I don’t know what happened, we must have left something out of the recipe, because when we took them out of the oven they had spread out completely so they were one big huge gigantic cookie, and were possibly slightly burnt. We had a good laugh, and so did my Mum. We still ate the cookies and thought they were pretty great! And all these years later, I’m still having fun in the kitchen!

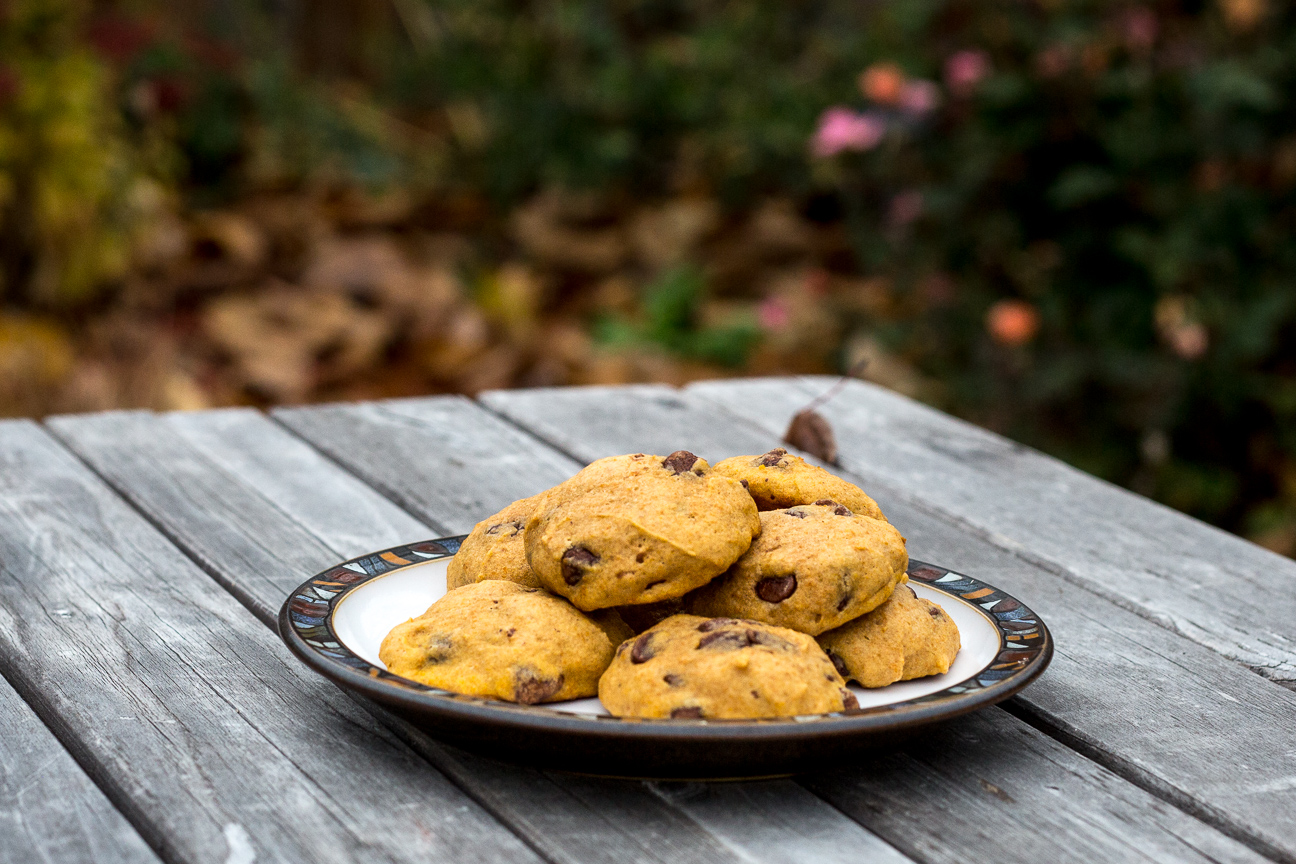
pumpkin chocolate chip cookies on a plate on a table

These cookies are moist, tender and loaded with pumpkin flavour and milk chocolate chips! So autumnly divine! If you bundle up, cookies with hot chocolate or chai tea are lovely outside!

pumpkin chocolate chip cookies

And they’re super easy to make. All you need is flour, brown sugar, butter, eggs, baking powder, pumpkin puree, cinnamon and chocolate chips. All of these could be yours in about one hour! So tempting!

close-up of chocolate chip cookies

Happy Hallowe’en everyone!

Pumpkin Chocolate Chip Cookies

Serves: 50
Cooking Time: 8-10 minutes

Ingredients

  • 1/2 cup butter
  • 1 1/2 cups brown sugar
  • 2 eggs
  • 340 grams pumpkin puree
  • 3 1/4 cups all-purpose flour
  • 1 Tbsp cinnamon
  • 1 Tbsp baking powder
  • 2 cups milk chocolate chips (semi-sweet would work too)

Instructions

1

Pre-heat oven to 375 degrees.

2

Cream the butter and brown sugar together.

3

Beat until light and fluffy.

4

Add the eggs.

5

Add the pumpkin puree. Don't worry if it curdles, it will sort itself out when you add the dry ingredients.

6

Mix together the dry ingredients.

7

Add dry ingredients to wet ingredients. Try not to over mix.

8

Stir in the chocolate chips.

9

Using a small ice-cream scoop, place cookie dough on a parchment paper-lined cookie sheet, approximately 2 inches apart.

10

Bake in oven for 8-10 minutes. They will puff up and be slightly golden on the bottom when they're done.

11

Let cookies cool on baking sheet for about 2-3 minutes.

12

Place cookies on a cooling rack to cool down.

13

Enjoy!

Baking

Fantastic Cheddar Jalapeno Corn Bread

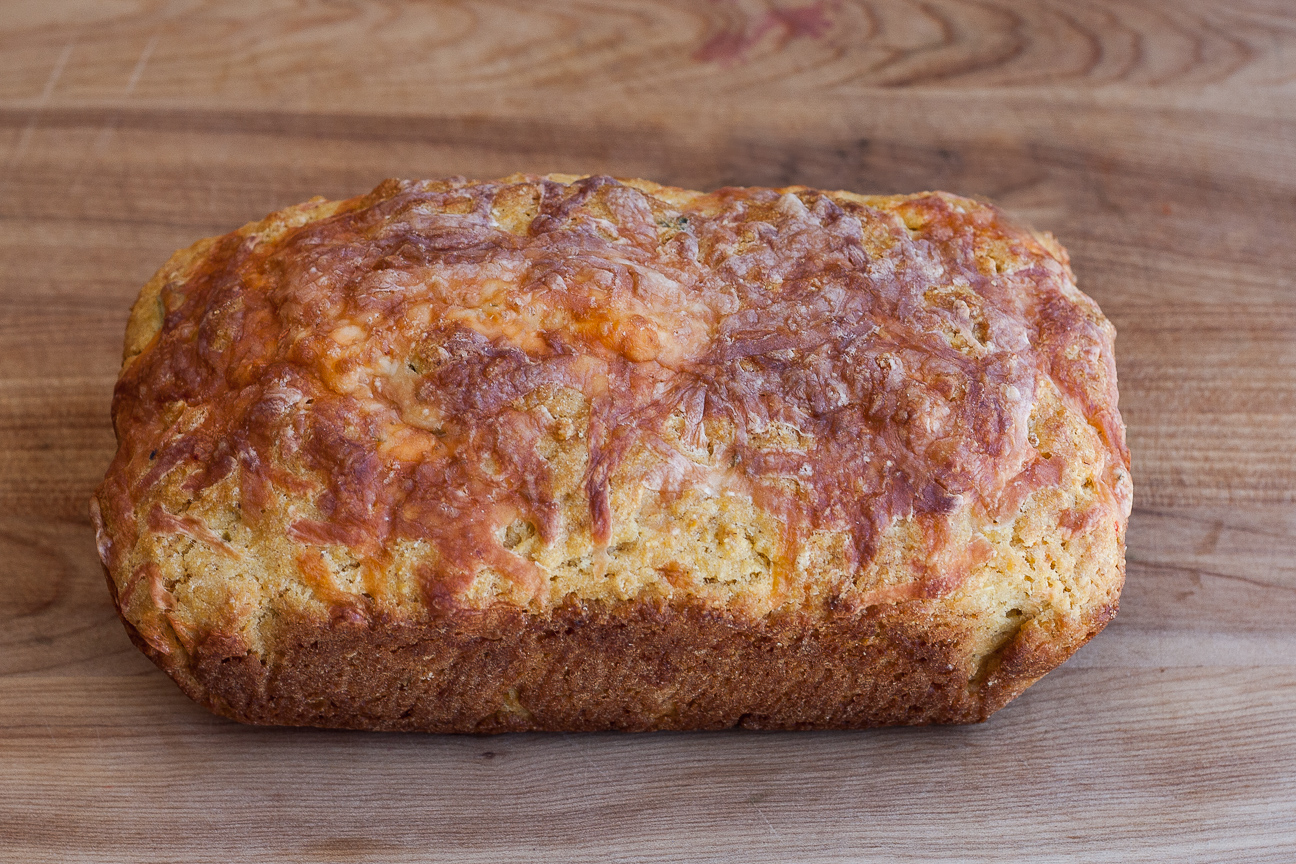
Cheddar Jalapeno Cornbread

I love love love cornbread, and this Cheddar Jalapeno Corn Bread has it all! This corn bread is going to take any meal up a notch with its A-list of ingredients: corn kernels, buttermilk, loads of cheddar cheese and a few nice spoonfuls of pickled jalapeno peppers.

I don’t know if you’re like me, but for some dinners, I just love having bread on the table. I don’t really have time to make yeasted breads everyday, and I don’t necessarily need that kind of bread every meal. Quick breads are amazing, because not only are they quick, but they are often fill with amazing flavours! For us, this quick bread really hits the spot. You can have it ready for dinner in about one hour. And it’s just so darn good.

Cheddar Jalapeno Cornbread

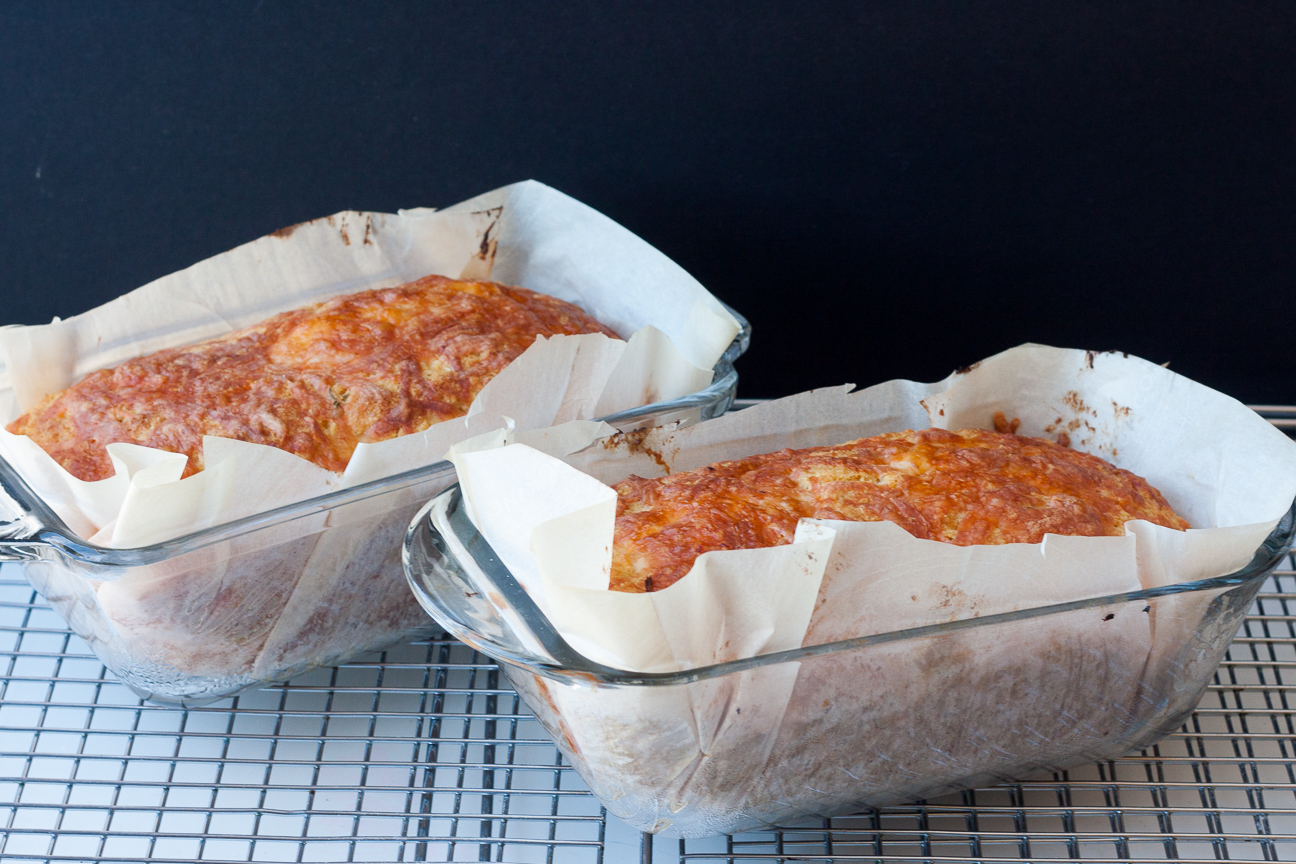
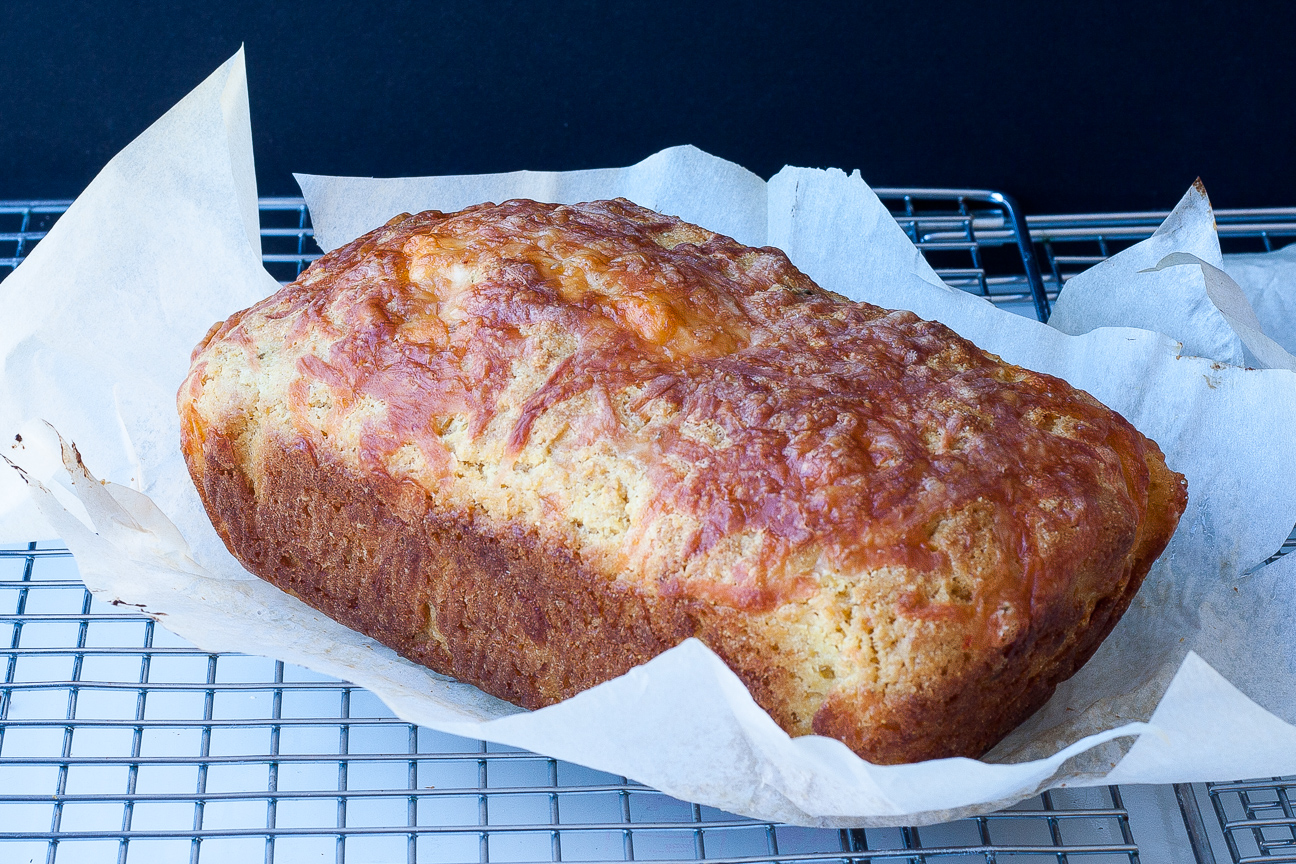
Let the cornbread cool on a rack until it’s just slightly warm…but without the parchment paper!

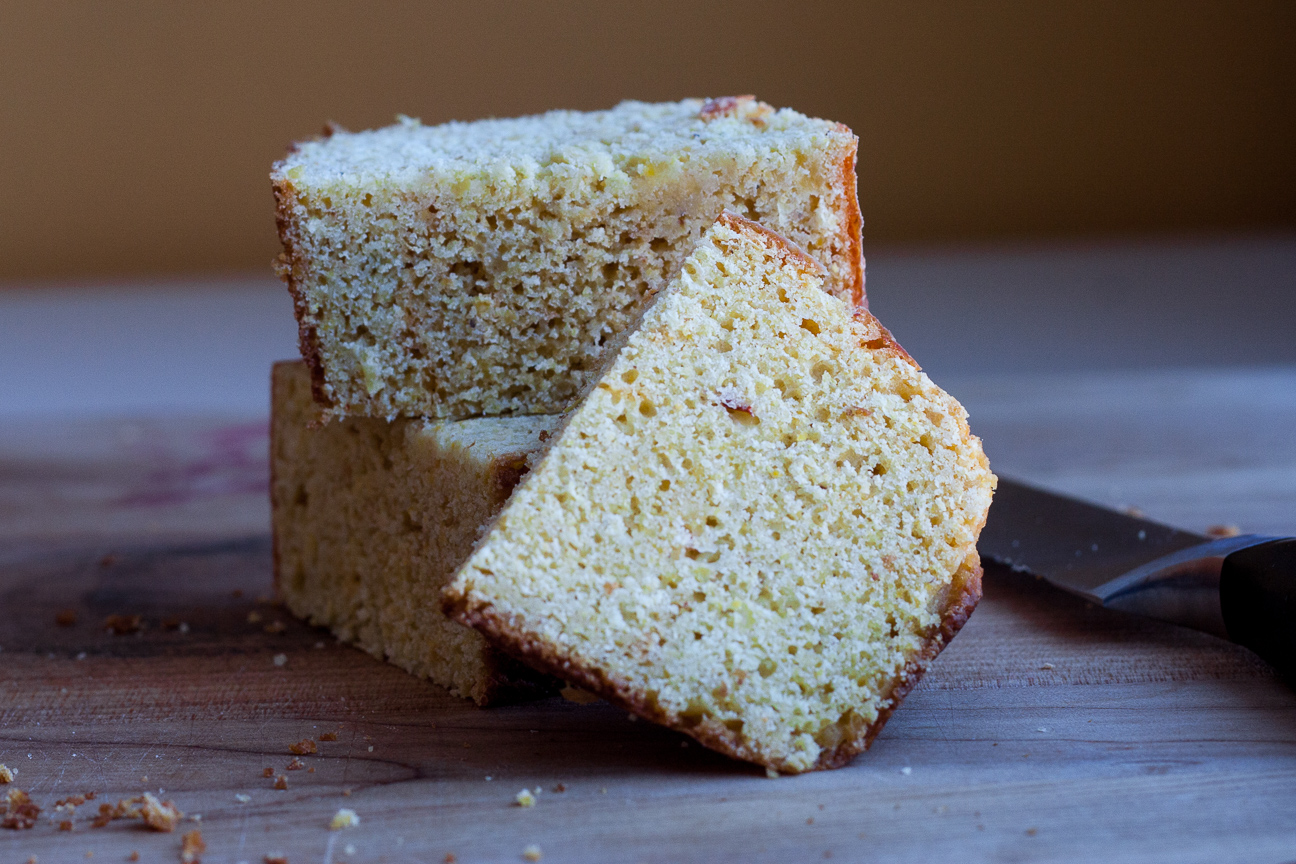
Cheddar Jalapeno CornbreadAll ready for slicing up!

Cheddar Jalapeno Cornbread

This cornbread has a nice amount of cheddar cheese and just the right hit of jalapeno peppers. It has a bit of brown sugar in it, but it’s just enough to give this cornbread a nice mellow flavour.

You can also bake this cornbread in a square 8 inch pan, if you like. I personally like using loaf tins, especially glass ones. The outside of the cornbread browns up really nicely in a glass pan.

This cornbread is delicious on its own, or you can spread it with butter if that’s what you prefer. Also, if you have a favourite flavoured butter recipe, now would be a good time to pull that out and whip some up. Not that this cornbread needs anymore flavour, but there are some great flavoured butter recipes that could take this up a notch.

Cheddar Jalapeno Corn Bread can accompany so many dishes: soups, chili, ribs or stews. Easy to make, and so nice to enjoy.

Let me know how yours turns out!

Enjoy!

Cheddar jalapeno Corn Bread

Serves: 12-16
Cooking Time: 25-35 minutes

Ingredients

  • 3 cups all-purpose flour
  • 2 cups corn meal
  • 4 teaspoons baking powder
  • 1/2 tsp baking soda
  • 1/4 cup brown sugar
  • 1 1/2 cup frozen corn, thawed
  • 2 cups buttermilk
  • 4 large eggs
  • 1 cup melted unsalted butter, cooled
  • 1/2 tsp cayenne pepper
  • 2 cups shredded cheddar cheese, divided
  • 3 pickled jalapeno peppers, finely minced

Instructions

1

Preheat oven to 400 degrees fahrenheit.

2

Line two bread loaf pans with parchment paper.

3

Whisk together the flour, cornmeal, baking powder, baking soda, cayenne pepper and 1 cup of grated cheese.

4

In a food processor, add the brown sugar, corn, and buttermilk and blitz for about 5 seconds. Add eggs and blitz another 5 seconds.

5

Stir the jalapeno peppers into this mixture after it has been processed.

6

Pour the wet ingredients into the dry in a big bowl.

7

Fold the ingredients together, until just combined.

8

Add the melted butter and fold some more until the mixture looks moistened.

9

Pour the batter equally into the two lined bread pans.

10

Sprinkle the remaining cheddar cheese on top of each loaf.

11

Bake until the cornbread is a nice deep golden colour which should be about 25-30 minutes.

12

Let the loaves cool in the pans on a rack for about 10 minutes.

13

Then remove from pans and let the loaves cool for another 10 minutes.

14

Serve warm or at room temperature.

Notes

These loaves freeze up beautifully. Wrap the loaves well, pop in the freezer and use within one month.

slightly adapted from Cook’s Illustrated Baking book

Baking

Salted Caramel Blackberry Cake – So Darn Good

salted caramel blackberry cake with yogurt

I love blackberries. they have just the right sweetness and are a delicious combination of raspberry and blueberry flavours – two of my favourite berries. But, they have always been hard to buy as well as super expensive here in Ottawa. So, I was super excited to to find them frozen in my local grocery store. So exciting! Fresh blackberries also don’t last very long, so having access to frozen berries is fantastic. Plus, they work a charm in this delicious Salted Caramel Blackberry Cake.

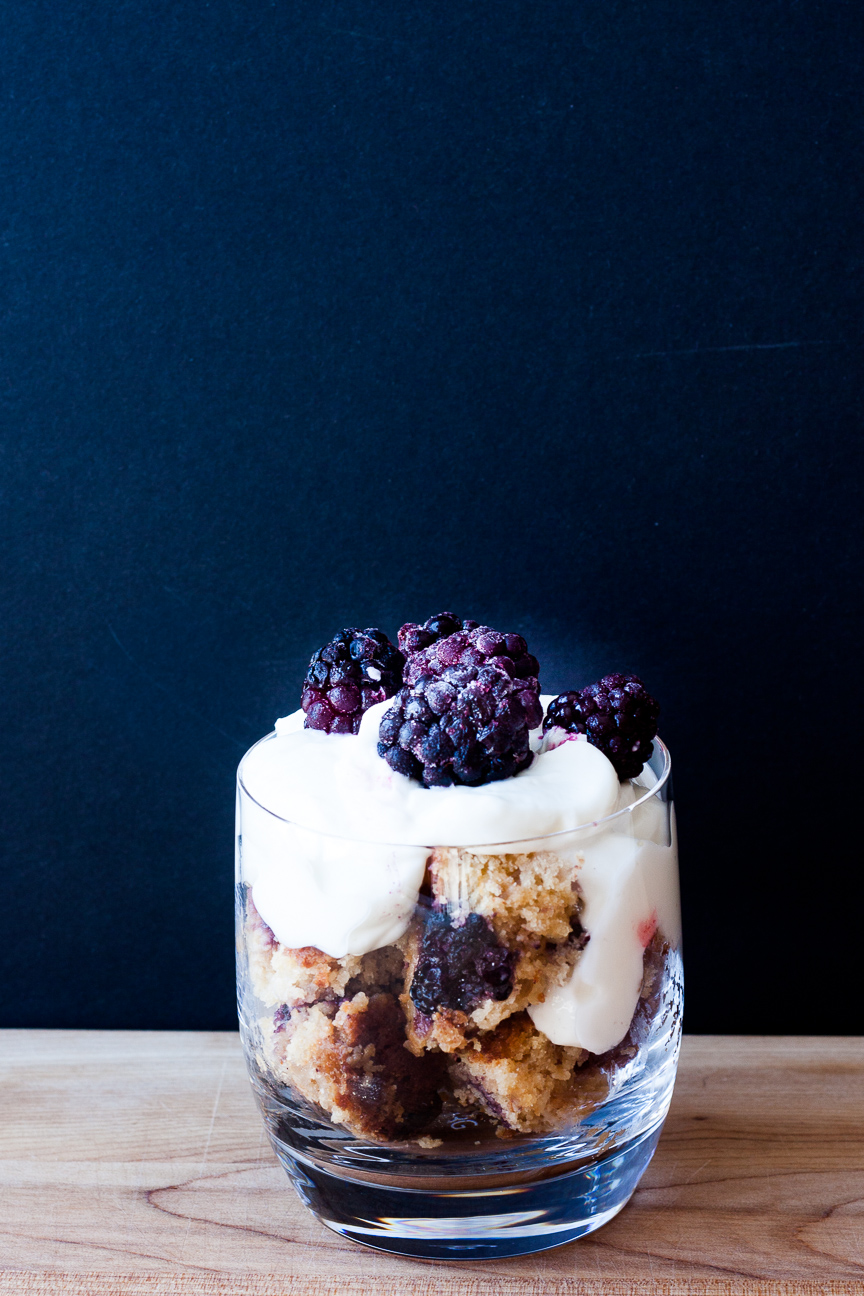
This cake is a delicious rich cake overflowing with jammy blackberries and rich caramel notes from the brown sugar and salted caramel chips. As it’s also made with ricotta cheese, it’s an excellent snack cake to be served with either your favourite hot beverage or layered in a glass with yogurt and more blackberries.

The other reason to love blackberries, is because they are also super healthy. They are high in antioxidants, fiber, and vitamin C.

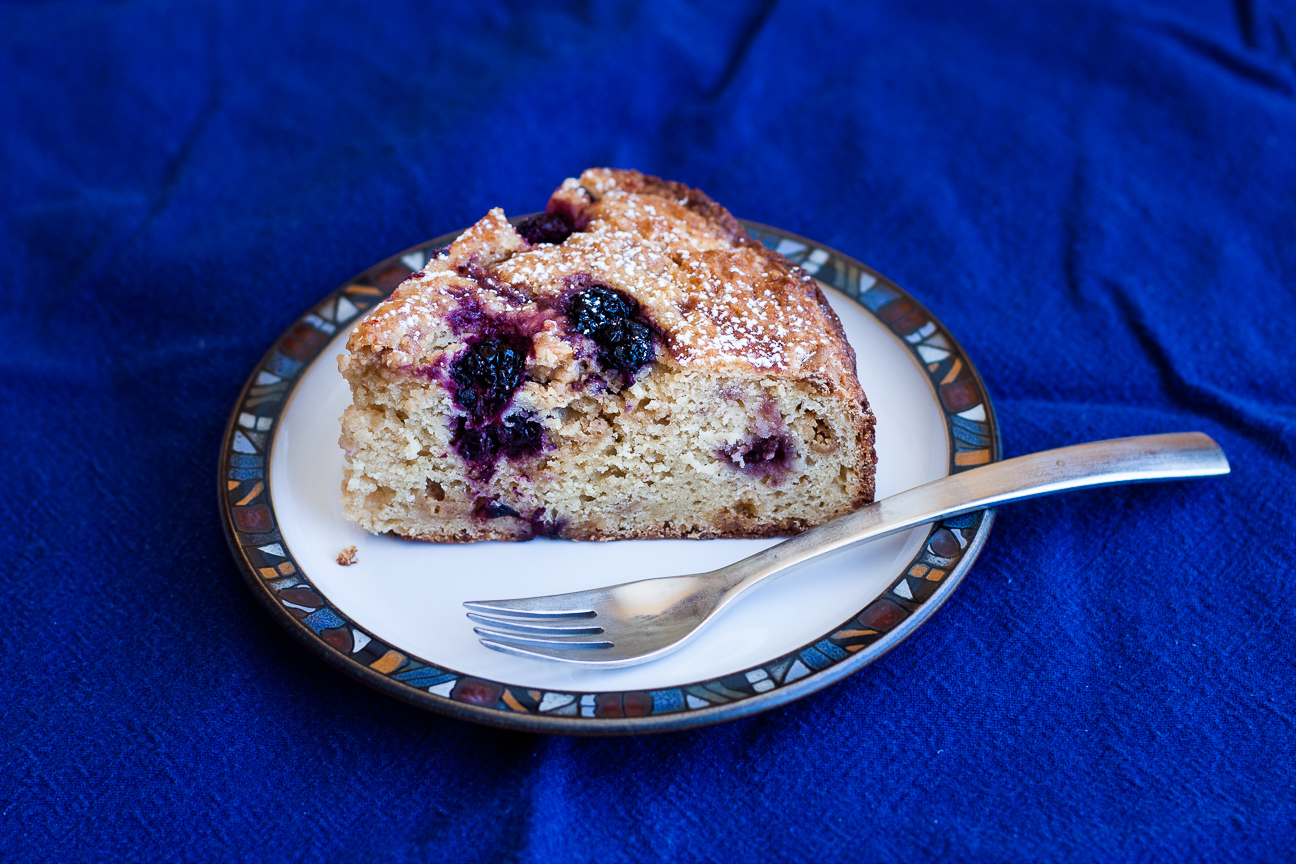
salted caramel blackberry cake

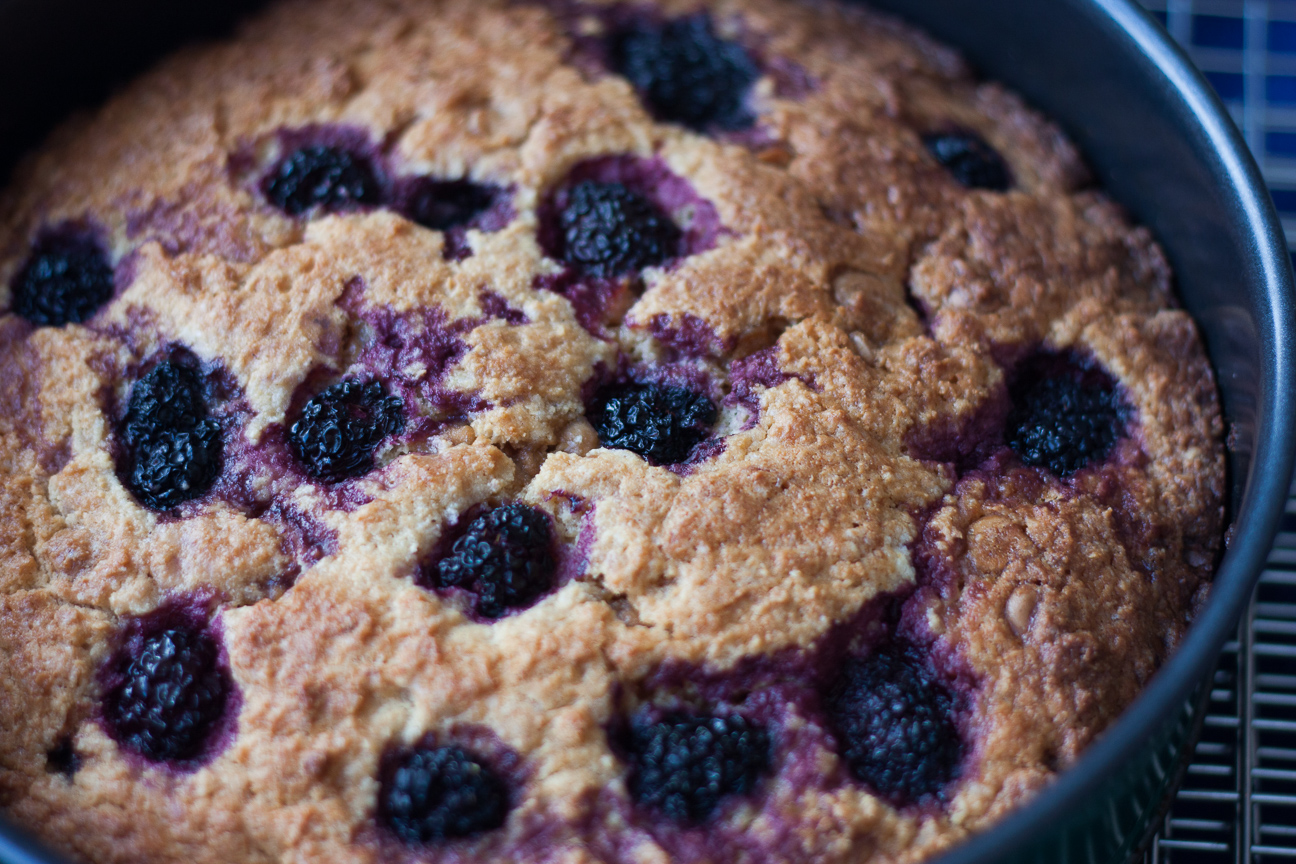
This Salted Caramel Blackberry Cake bakes up really well and quickly, and smells divine in the oven.

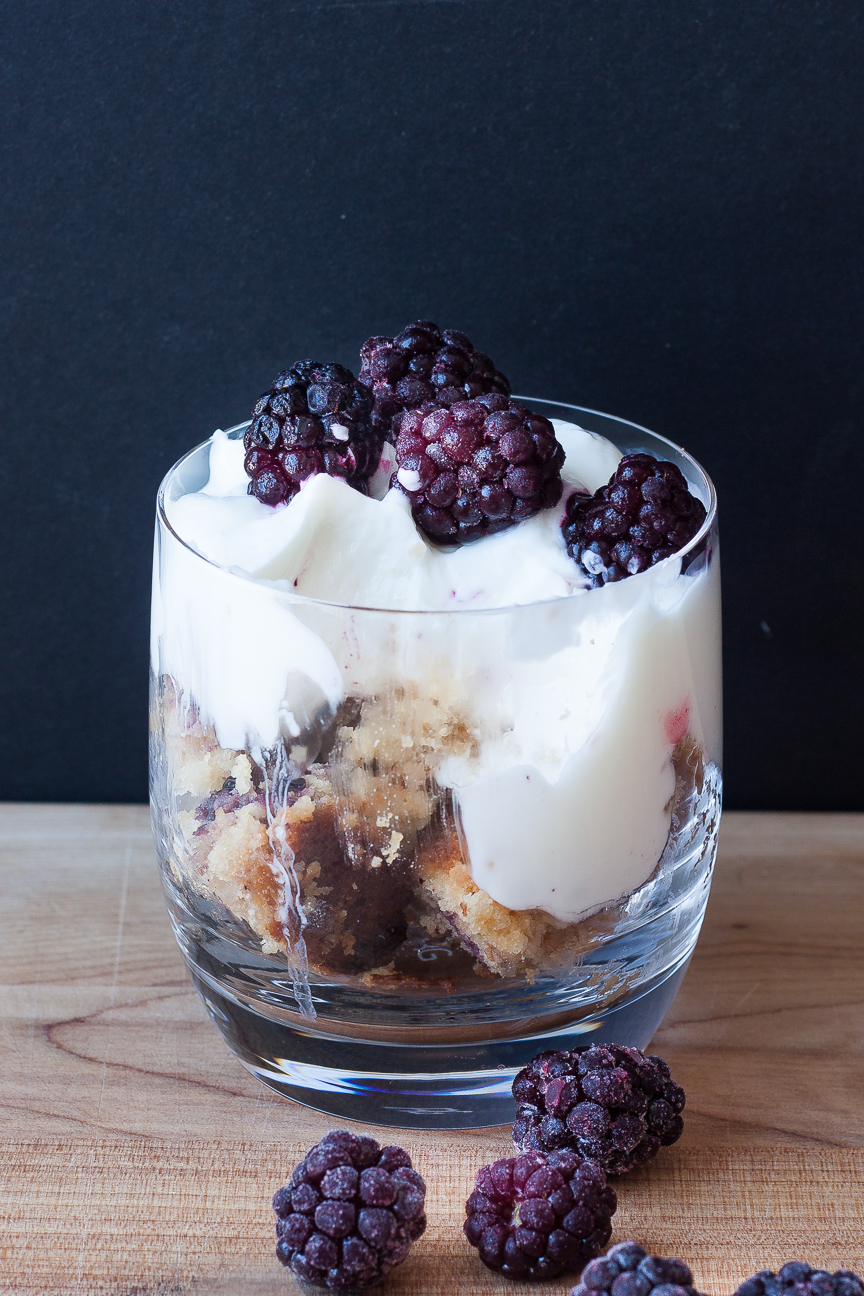
salted caramel blackberry cake with yogurt

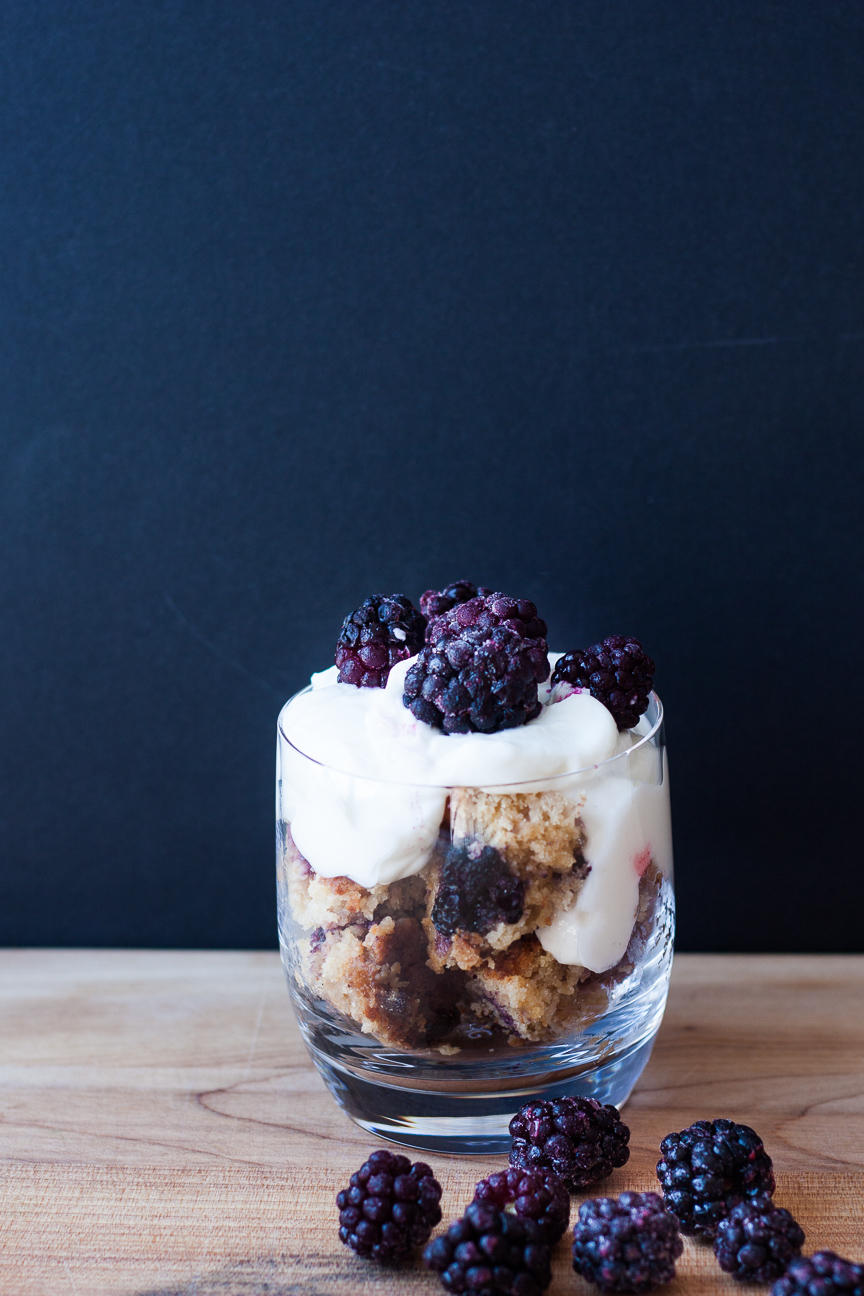
Cake, yogurt, berries…triple yum!!!

salted caramel blackberry cake

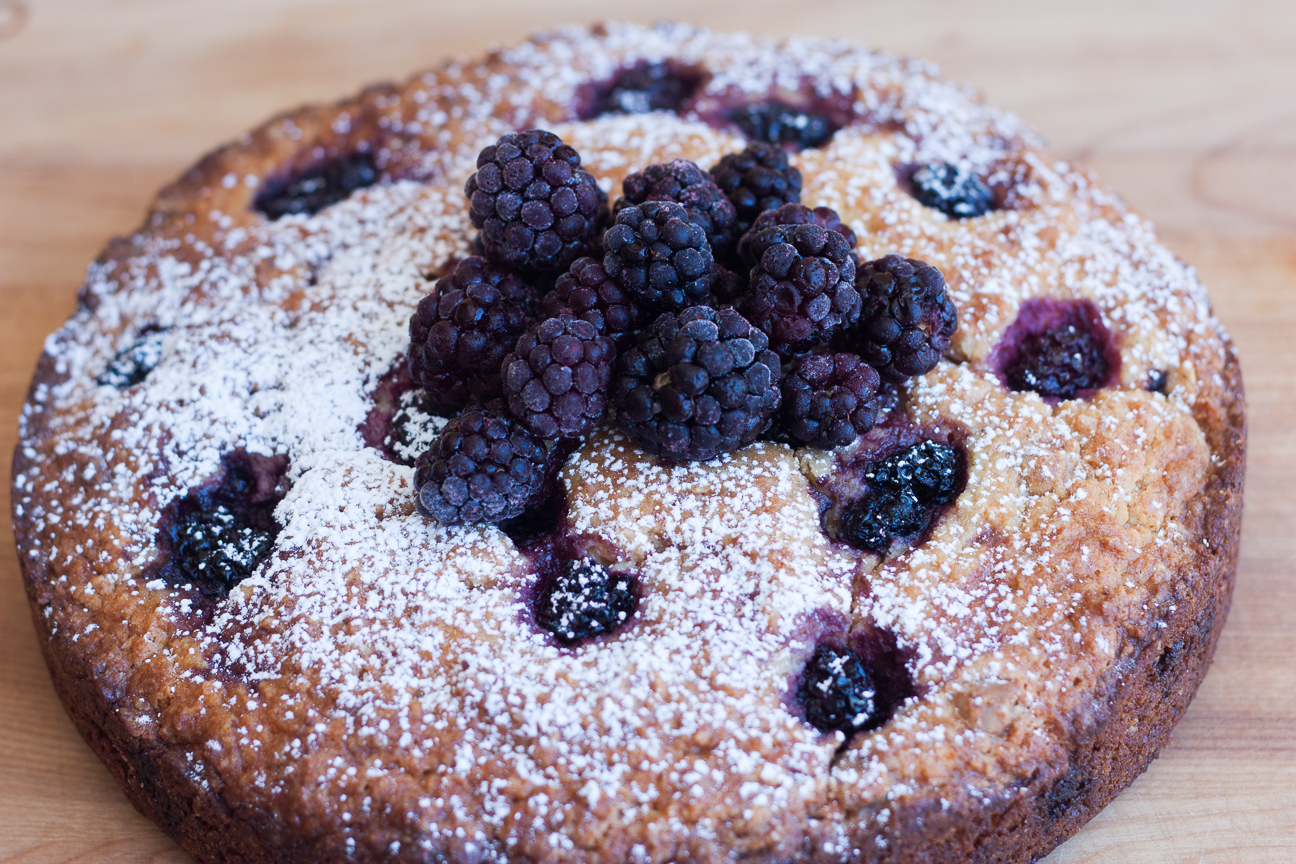
Add extra berries on top if you like. It makes for a beautiful presentation.

salted caramel blackberry cake

This cake is so rich with ricotta cheese and jammy blackberries, it would be good enough for breakfast with yogurt and more berries! Or pack it up for lunch. And while you’re putting together your lunch kit, why not add an extra slice for a friend and make someone’s day extra special!

salted caramel blackberry cake

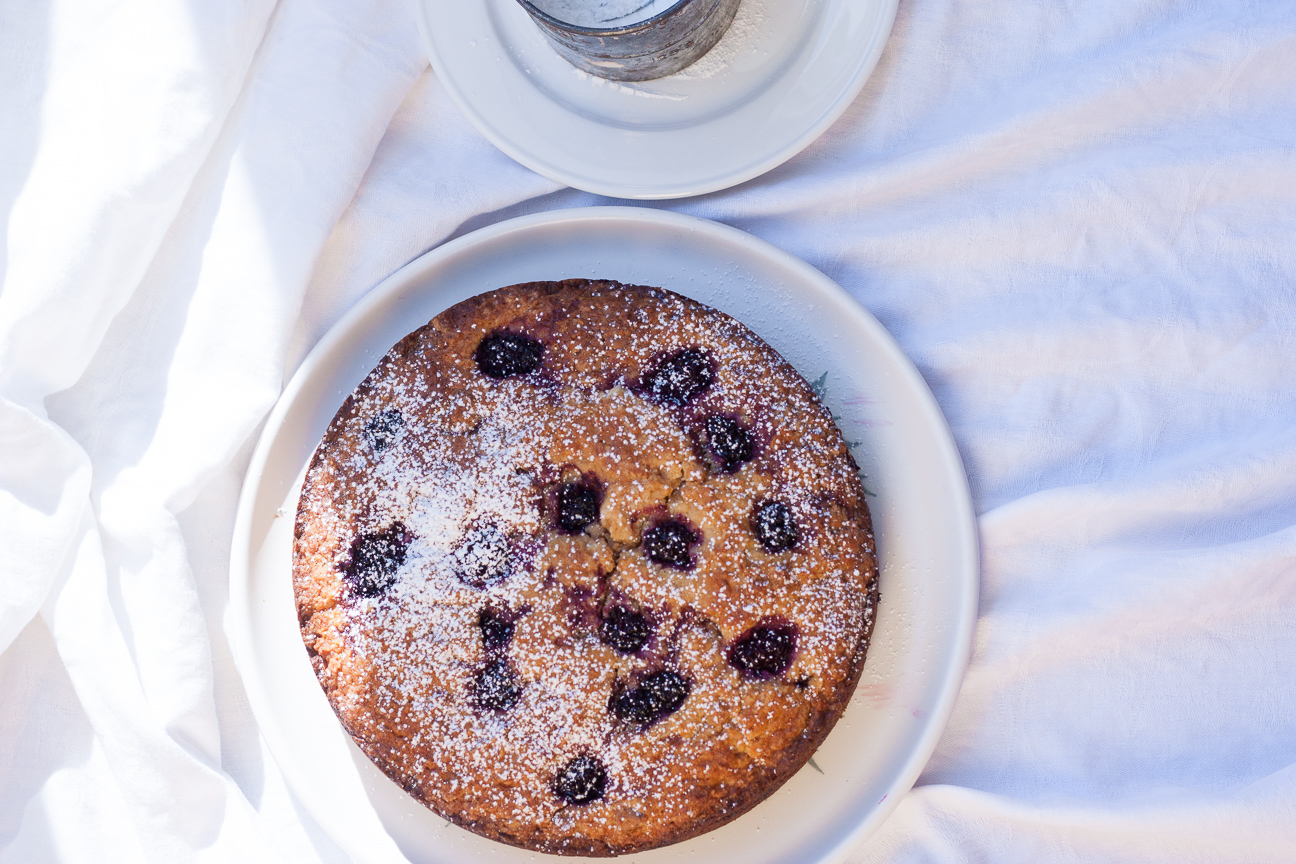
This cake slices up very well, has a good crumb, lots of berry flavour and a few nice hits of salted caramel sweetness! The blackberries and salted caramel chips provide enough sweetness that this cake doesn’t need any icing. Which is a plus for me!

salted caramel blackberry cake with yogurt

So so so good! Try cutting up some cubes of cake and pile on some delicious yogurt and extra berries. Yum!

Salted Caramel Blackberry Cake

Serves: 10-12
Cooking Time: 50-60 minutes

Ingredients

  • 1 1/2 cups flour
  • 1 cup brown sugar
  • 2 tsp baking powder
  • 3 large eggs
  • 1 1/2 cups ricotta cheese
  • 1/2 tsp vanilla
  • 1/2 cup butter, melted
  • 1/2 cup salted caramel chips
  • 1 1/4 cup blackberries (frozen or fresh)

Instructions

1

Preheat oven to 350 degrees F.

2

Line the bottom of a 9" round cake tin with a circle of parchment paper.

3

Lightly grease the sides of the cake pan.

4

Whisk flour, brown sugar and baking powder together.

5

Mix together the eggs, ricotta cheese, vanilla and melted butter.

6

Add dry ingredients to the liquid ingredients.

7

Lightly stir in about 3/4 cup of blackberries.

8

Pour the batter into the cake pan.

9

Sprinkle the remaining blackberries on top of the cake.

10

Bake in the preheated oven for 50-60 minutes.

11

When done, the cake should be lightly golden on top.

12

Remove from the oven and let it cool on a rack in the cake pan for about 10 minutes.

13

After 10 minutes, remove from the pan and let it cool down completely on a wire rack.

14

Enjoy!
slightly adapted from epicurious.com

Baking

Orange Nutella Alfajores

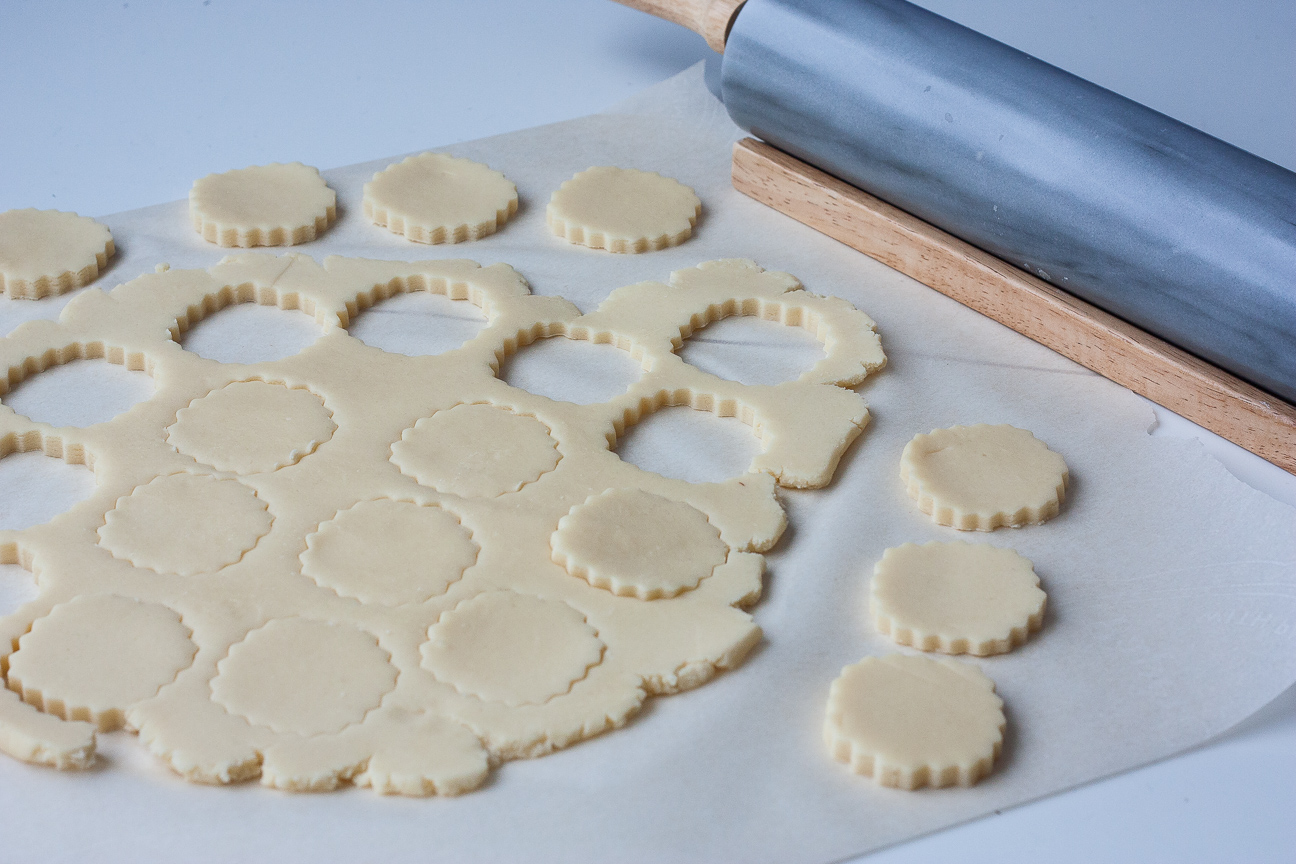
raw dough for orange nutella alfajores

I have wanted to make alfajore cookies ever since I first heard about them. Their common description of being a melt-in-the-mouth cookie sandwiched together with dulce de leche just seemed heavenly. And they are.

Alfajores Cookies are one of the simplest cookies to make. They are made from just a handful of ingredients; flour, cornstarch, butter, sugar and egg. And they are ready in a jiffy.

The first batch of alfajores that I made was sandwiches together with dulce de leche. Dulce de leche, for those that are not familiar with this unctious spread, is caramelized milk. It is made by baking milk in a low oven for several hours, until it is thick, golden and sweet. You can buy it from Latin American shops, or make your own. Although I always buy mine.  With Valentine’s Day approaching, I wanted a chocolate filling. I added orange zest to the cookie dough, sandwiched them together with Nutella, and Orange Nutella Alfajores were born. And I must say it is a heavenly match.

You can use store-bought Nutella for the filling. Or if you have time, try my recipe for Nutty Chocolate Hazelnut Spread. It is divine.

Alfajores cookies have been popular in Uruguay, Peru and Argentina since the mid 1800’s. Common fillings in alfajores are dulce de leche, chocolate mousse, fruit spreads or whipped cream. Toppings include meringue coating, milk chocolate, coconut or a sugar glaze.

I always find it interesting to read about similar foods in different parts of the world. The word alfajor comes from the Arabic “al-hasu”, which means filled or stuffed. Culinary experts have traced Alfajores to Andalusia, Spain during the occupation by the Moors. There is a strong similarity between alfajores and mamoul, a buttery confection filled with date paste that is popular in the Middle East and North Africa. I can’t wait to make a batch of those.

orange nutella alfajores

Alfajores are so popular in Peru and Argentina, that there are chain restaurants that only sell alfajores. Casa del alfajor is one such chain in Peru. There is also Havanna, in Argentina, which has been around since 1947.

Try making a batch. You will love them!

Orange Nutella Alfajores

Serves: 18
Cooking Time: 10 minutes

Ingredients

  • 200 gram flour
  • 300 gram corn starch
  • 2 tsp baking powder
  • 1/2 tsp baking soda
  • 250 grams softened butter
  • 150 grams sugar
  • 3 egg yolks
  • 1 Tbsp brandy
  • zest from one orange
  • nutella (store bought or my own - see above)

Instructions

1

Preheat oven to 325 degrees Fahrenheit.

2

Line baking sheet with parchment paper.

3

Mix together flour, corn starch and baking powder and soda.

4

Cream together butter, sugar and orange zest for 5 minutes, until pale and fluffy.

5

Add the egg yolks and brandy to the butter mixture.

6

Add in the flour mixture.

7

Mix briefly until well incorporated.

8

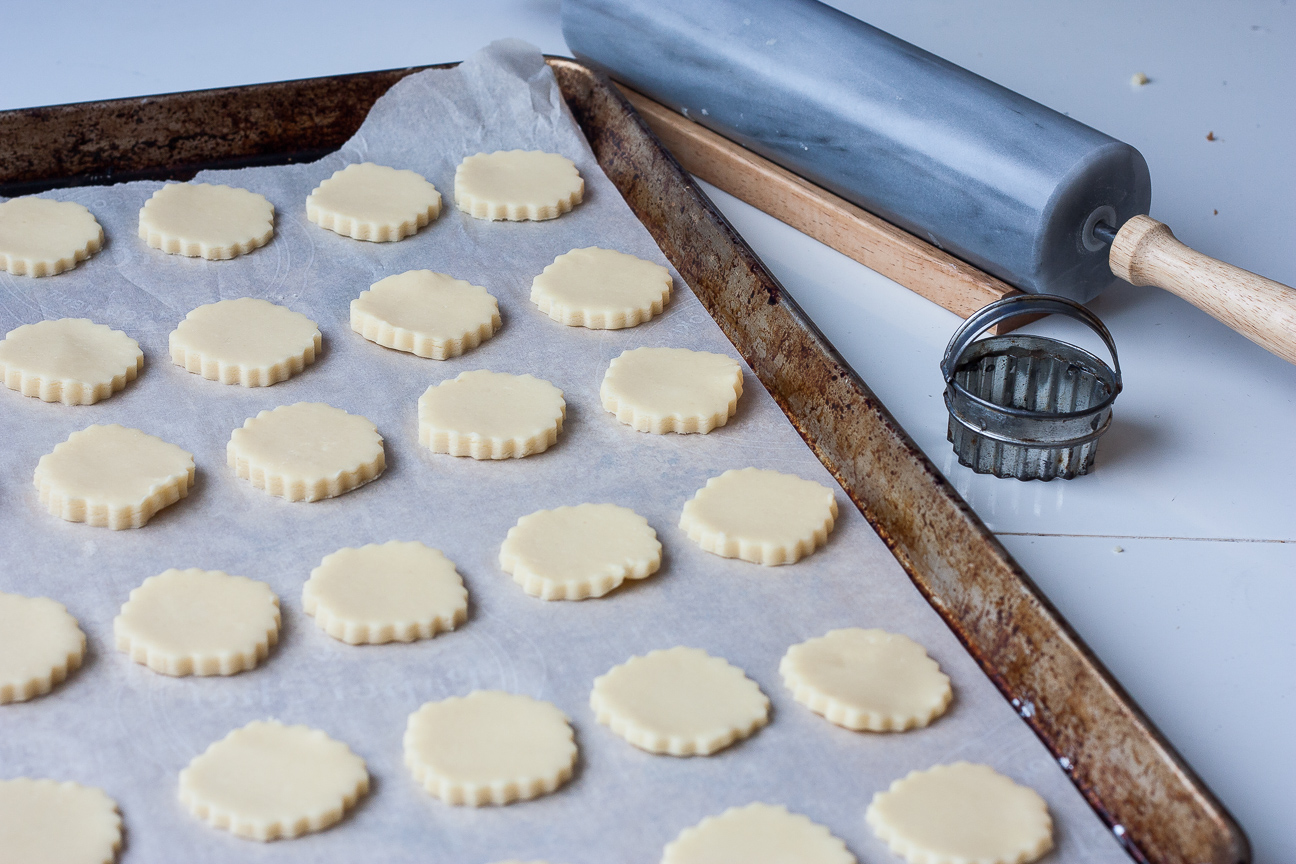
Roll out dough until about 1/4 inch thick. Cut out cookies with cutter about 1 1/2 inches in diameter.

9

You can place them relatively close together, as they will not spread.

10

Bake for about 10 minutes, only until slightly golden around the edges.

11

Cool on baking tray for 5 minutes, then place them on a cookie rack to cool.

12

Sandwich them together, when they are cold, with nutella.

Cooking

Easy Chicken Thighs in Peanut Sauce and Cookbook Review

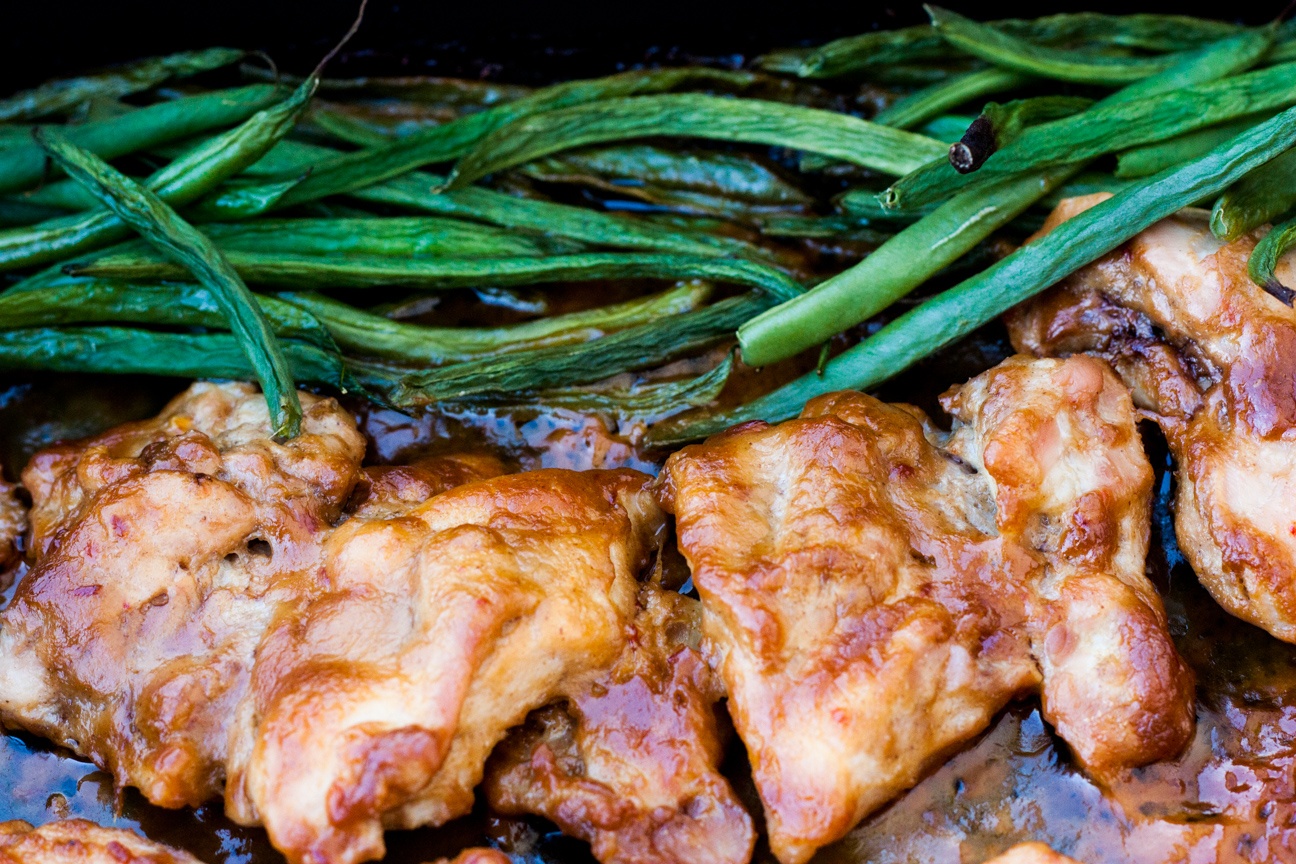
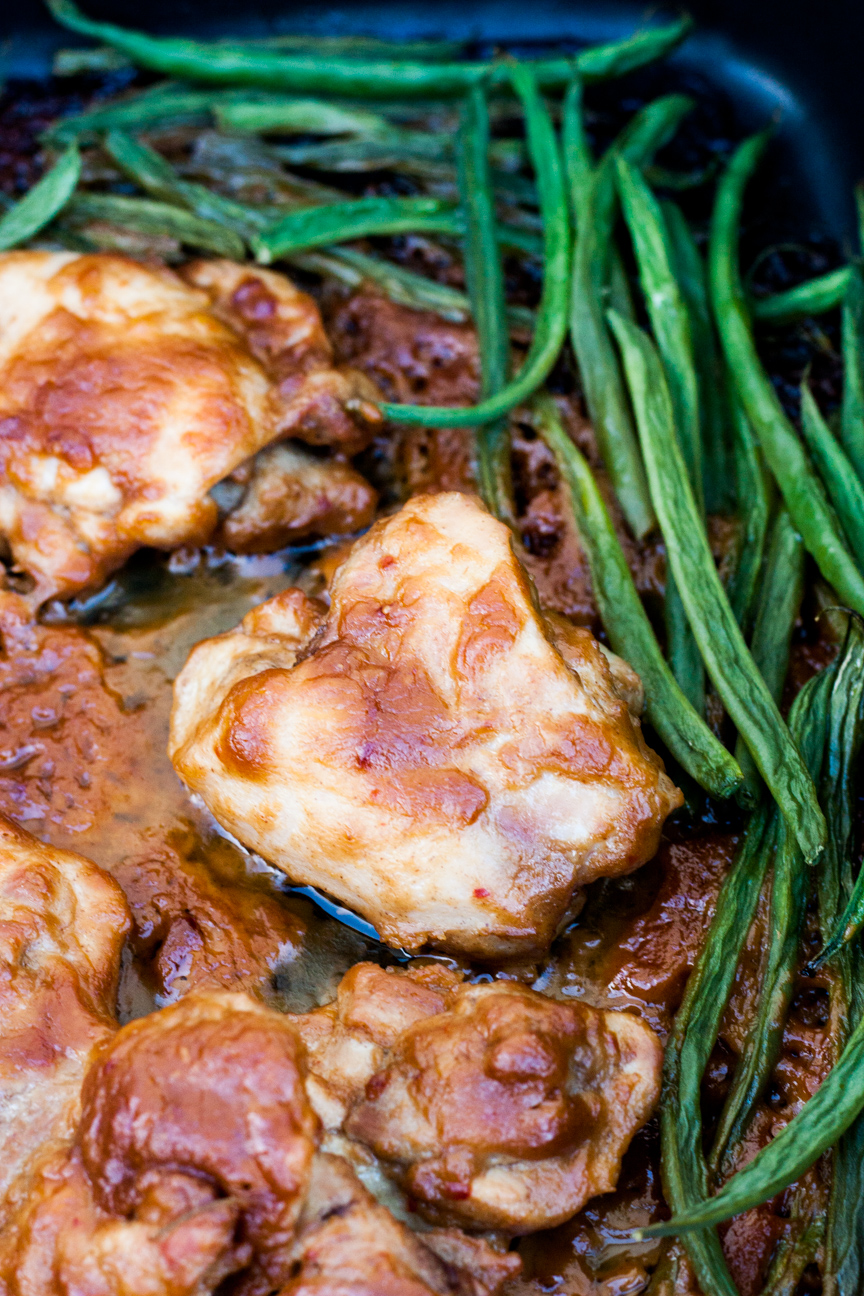
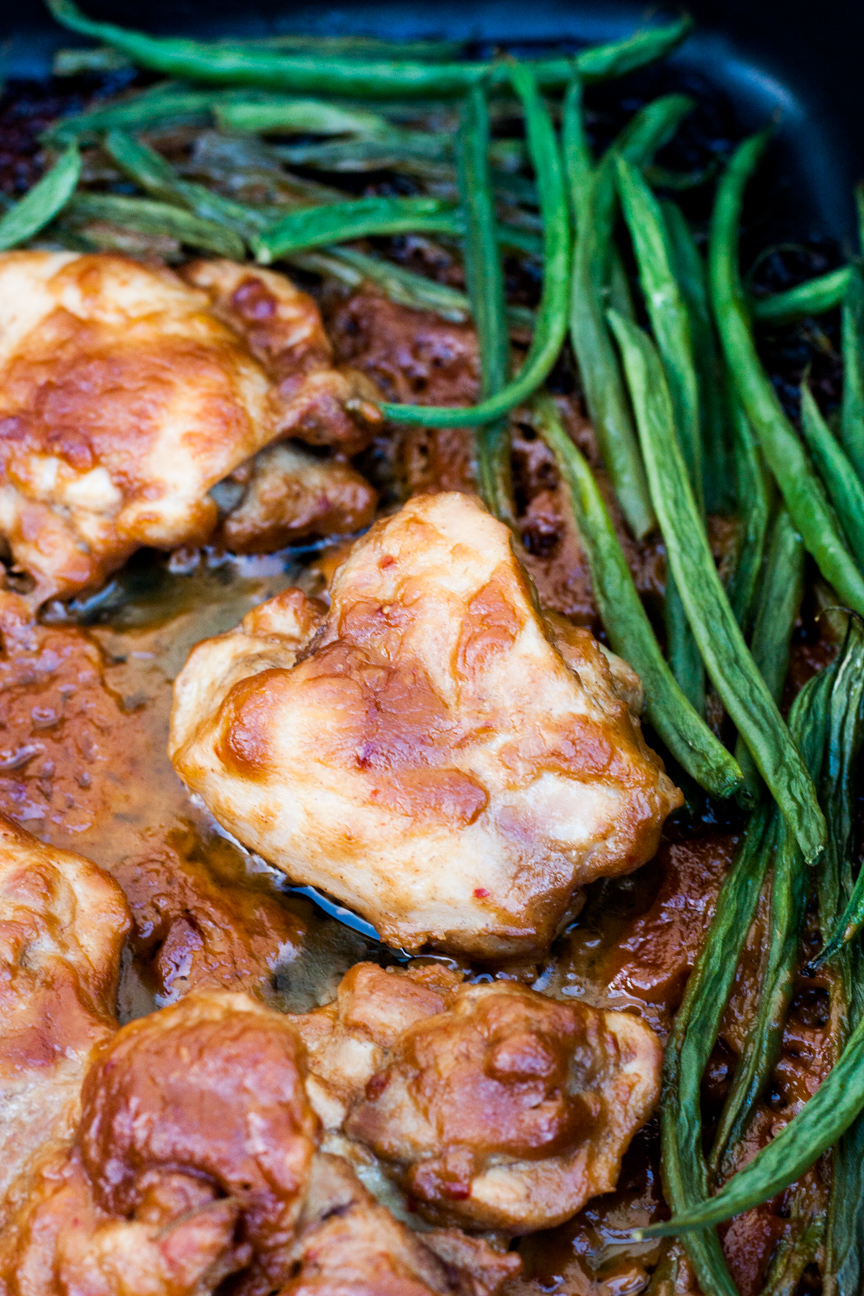
chicken thighs in peanut sauce with green beans

The Ultimate One-Pan Oven Cookbook – Book Review

I recently had Julia Konovalova’s cookbook, The Ultimate One-Pan Oven, sent to me to review from Food Bloggers of Canada. I prepared one dish from the book for my review: Easy Chicken Thighs in Peanut Sauce with Green Beans. It was soooo good. I’ve tried a lot of homemade peanut sauces over the years, with most recipes being duds, but this one was tasty and full of flavour. If you’re interested in family-friendly, easy and delicious recipes, read on.

The Ultimate One-Pan Oven Cookbook was written by blogger Julia Konovalova, creator of Imagelicious. I have to admit, this is my first cookbook review. I have been reading cookbooks since I was a little girl, and somehow thought this would be a fun and easy activity. Well, of course, browsing through any cookbook is fun, but reviewing one is not as easy as I thought.

I realized as I was going through this book, that there is a lot more to a good cookbook than just the recipes. Everything about the book has to make you want to use it: the photos, the names of the recipes, the layout of the book, the style of writing, the categories of recipes and of course, the recipe instructions.

I will break my review down into the categories mentioned above.

The Photos

Every recipe in this book is complimented with an eye-popping, mouth-watering photograph. I love that the photographs are light and bright and really expose the natural look of each dish and are not over edited. The dishes look just the way they would on your kitchen table at suppertime. And that’s nice.

Recipe Names

While browsing through the cookbook, I was drooling over the food adjective-heavy names. She includes recipes such as Cocoa-Rubbed Pork Back Ribs with Chocolate BBQ Sauce, or Roasted Berries with Orange Mascarpone. The names, ingredients, accoutrements – so simple, so delicous-sounding.

Layout

I really like the layout of this book. The book starts out with a short two-page intro of how Julia got interested in cooking, as well as what she likes and doesn’t like. This helps the reader decide quite early on if they’re on the same page as the author. Julia doesn’t like stress in the kitchen. She likes healthy family-friendly recipes with minimal effort and washing up. Also, the abundance of photos really entices the reader to use the book.

Writing Style

Julia’s experience as a food blogger is evident in the personal anecdotes she includes at the beginning of every recipe. She always has a nice paragraph at the beginning of every recipe explaining what she loves about a particular ingredient in the recipe on the page. Her comments and dialogue are very insightful and help us get to know her and learn what is important to her: her family, fresh produce and a no-muss no-fuss style of cooking. This book is so perfect for people that love home cooked meals, but don’t want to spend hours in the kitchen preparing and cooking dinner.

Categories

I love the categories in this book. Because this book is primarily savoury dishes, with ten sweet dishes at the end, all baked in a pan in the oven, it could be challenging to divide the recipes into interesting and different groups. But her categories are brilliant: Oven-Made Breakfasts, Complete One-Pan Oven Meals; Hands-Off Main Dishes, Simple Soups, Salads and Sandwiches, Easy Sides, One Pan, Many Nibbles and ending with Delicious and Unique Desserts.

Recipe Instructions

The instructions are clear and precise. I like how she uses metric and imperial measurements, as we Canadians still use a mix of both.

She also has many helpful Notes at the bottom of the recipe.


chicken thighs in peanut sauce with green beans

If you’re looking for a cookbook as a gift this Christmas, definitely have a browse through this book. It is full of imagination, creativity and some very delicious meals anyone would be happy to prepare for suppertime.

Here’s a link to her cookbook on Amazon.ca The Ultimate One-Pan Oven Cookbook by Julia Konovalova.

Easy Chicken Thighs in Peanut Sauce with Green Beans

Serves: 4
Cooking Time: 30

Ingredients

  • 2 tbsp (30 ml) olive oil, divided
  • 1/4 cup 45g smooth peanut butter
  • 2 tbsp (30 ml) lemon juice
  • 4 tbsp (60 ml) orange juice
  • 2 tbsp (30 ml) Sriracha (I used Sambal Olek)
  • 8 skinless, boneless chicken thighs
  • 3/4 lb (340 g) green beans
  • salt and pepper to taste

Instructions

1

Preheat the oven to 425 degrees F (218 C). While the oven is preheating, mix 1 tbsp (15 ml) of the olive oil with the peanut butter, lemon juice, orange juice, soy sauce, and Sriracha in a bowl. (Julia mentions that she likes to use a small glass jug for this. She recommends heating the sauce ingredients, as it's much easier to mix when the peanut butter is warm).

2

Place the chicken thighs in the middle of a 11 X 17 inch or 28 X 43 cm nonstick baking pan. You need room for all the ingredients to spread out. Make sure that the chicken thighs are fully flattened. Pour half the sauce over the thighs, then flip and pour the rest of the sauce, making sure that it fully covers the chicken. Alternately, you could mix the thighs in a bowl with the sauce. However, that would add one extra dish to your washing up.

3

Spread the green beans around the chicken thighs in one layer. Pour the remaining 1 tbsp (30 ml) of olive oil over the green beans, season with salt and pepper to taste and lightly mix with your hands or tongs to cover them with oil and seasoning.

4

Roast for 30 minutes, or until the chicken thighs are cooked to 165 degrees F (74 C) and the sauce is thickened.

5

Serve with rice, if desired, or double the amount of green beans and cook on a separate pan.

Cooking

Awesome Turkey Meatballs with Roasted Vegetables

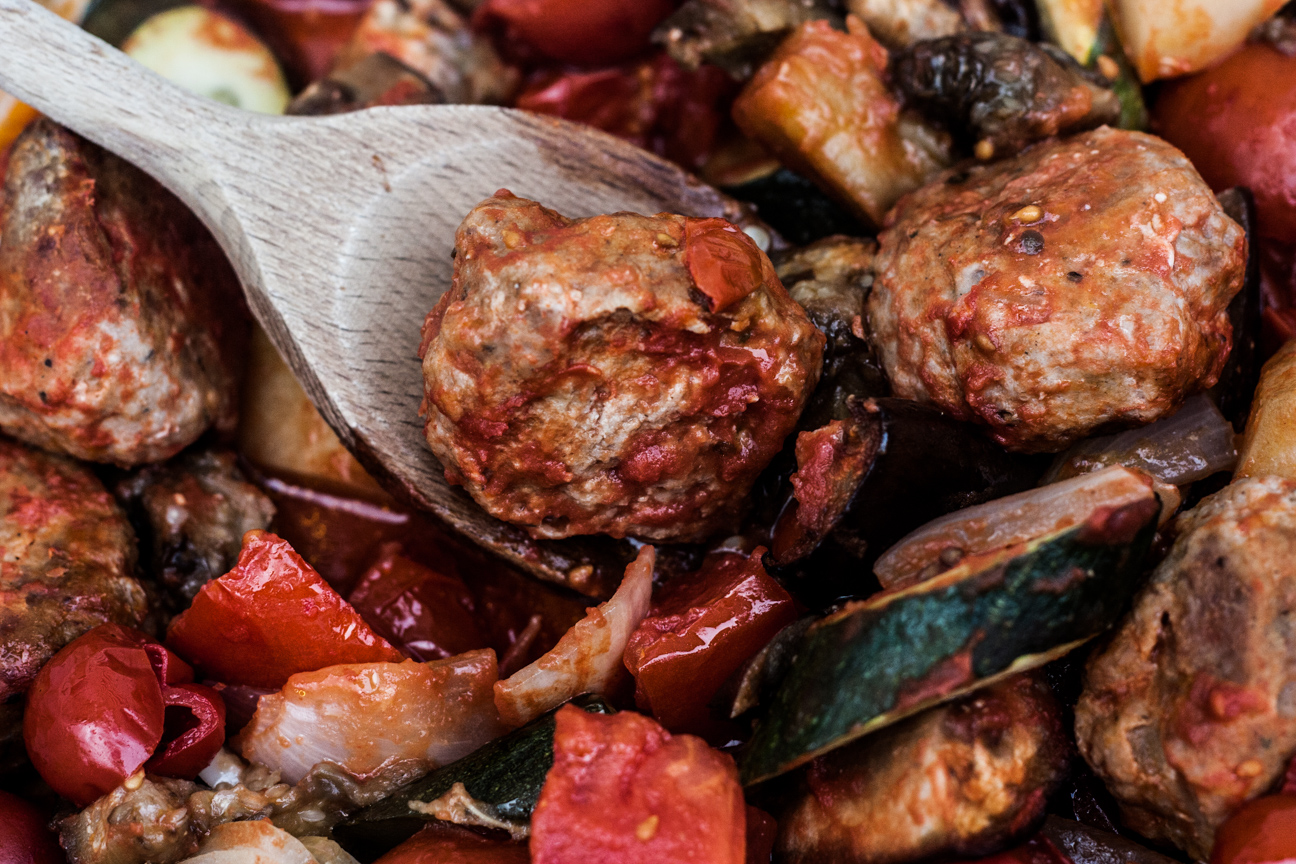
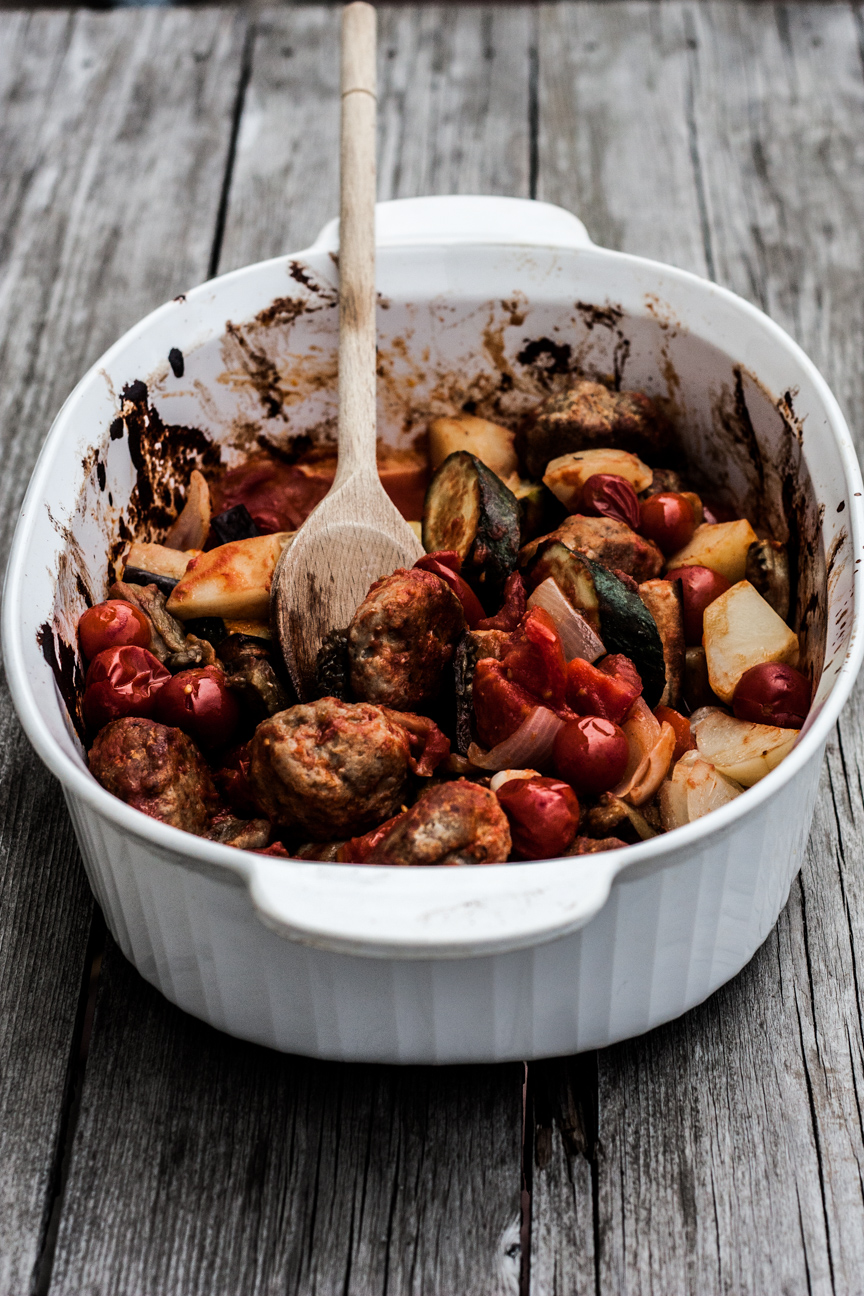
turkey meatballs with roasted vegetables

I love turkey dinners. But it seems that major holidays are the only times that I think of serving it for dinner. And yet there are plenty of ways to cook turkey without having to roast a whole bird. This recipe for my Awesome Turkey Meatballs with Roasted Vegetables is easy and nutritious. Plus, as it bakes in the oven you can sit back and relax and let the oven do all the work for you!

I really like using ground turkey (ground chicken would also work if you can’t find turkey).  Turkey is very versatile and has a delicate flavour so it will compliment many other flavours.

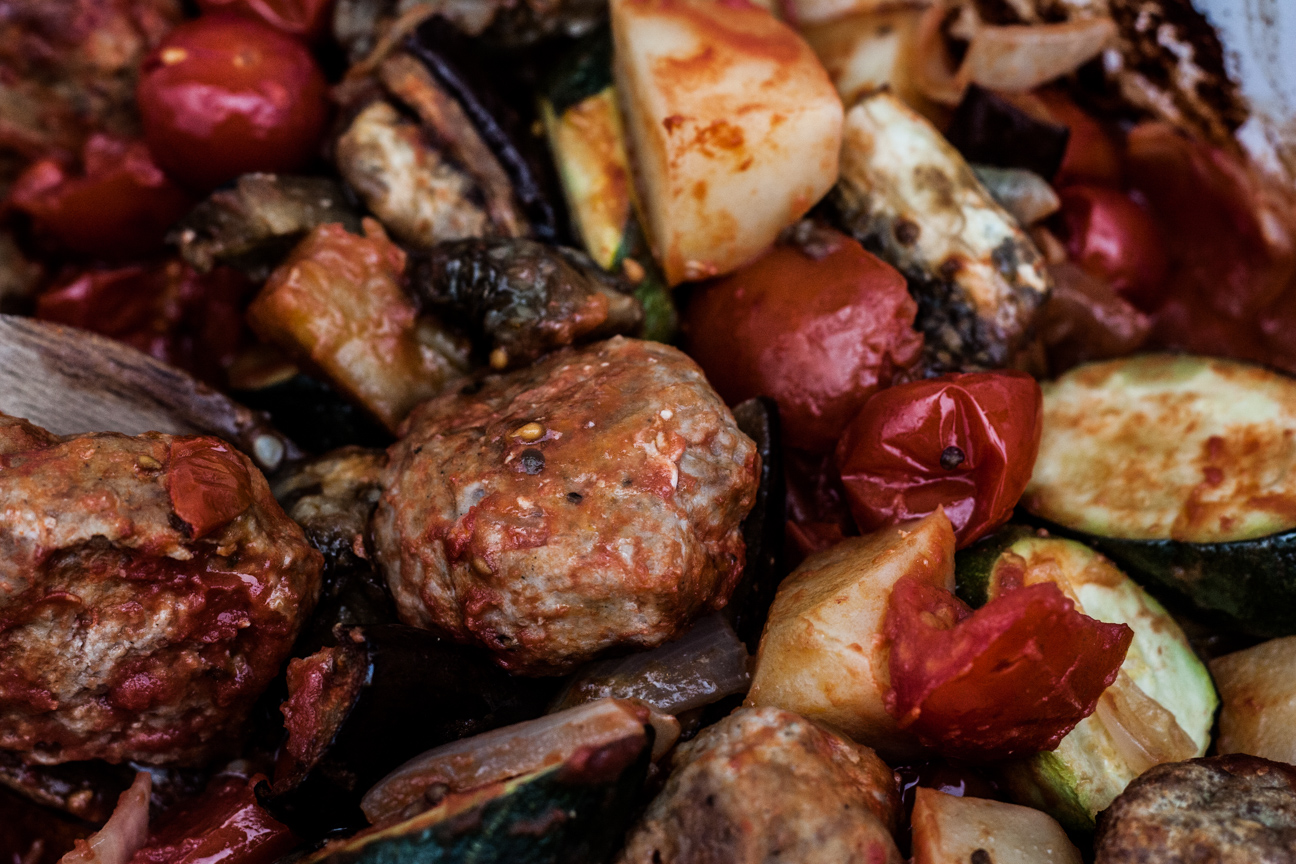
turkey meatballs with roasted vegetables

This turkey meatball dinner is an easy healthy one-pan dish that you will want to make again and again.

All of the ingredients are cooked all together in one pan: potatoes, autumn vegetables and turkey meatballs. I love dishes like this. While everything is baking in the oven, I can set the table and get drinks ready or sit for 30 minutes and read another chapter in one of my on-going reads.

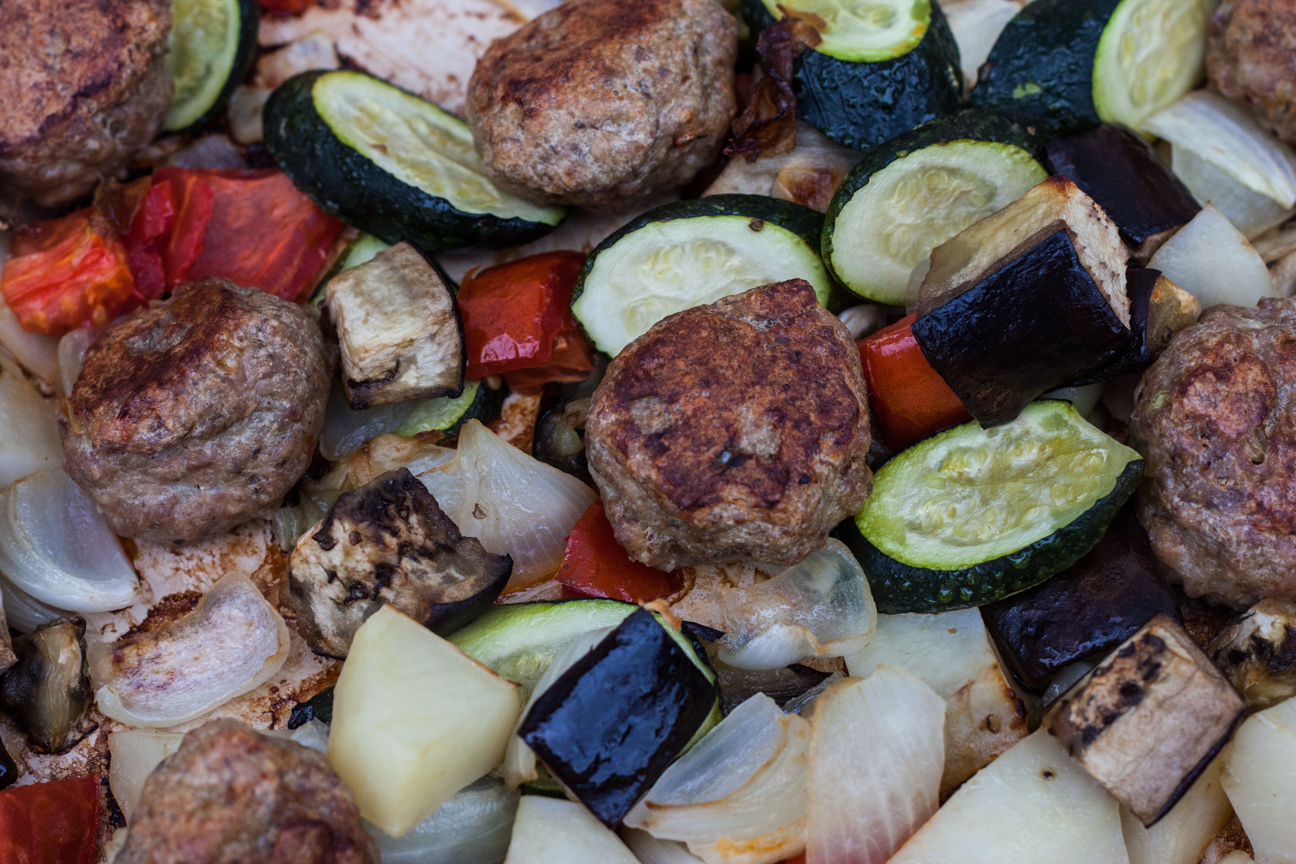
turkey meatballs with roasted vegetables

The vegetables caramelize slightly in the pan while the turkey meatballs bake to a nice golden brown. Halfway through baking, pour over a tin of cherry tomatoes to create a scrumptious thick tomato sauce.

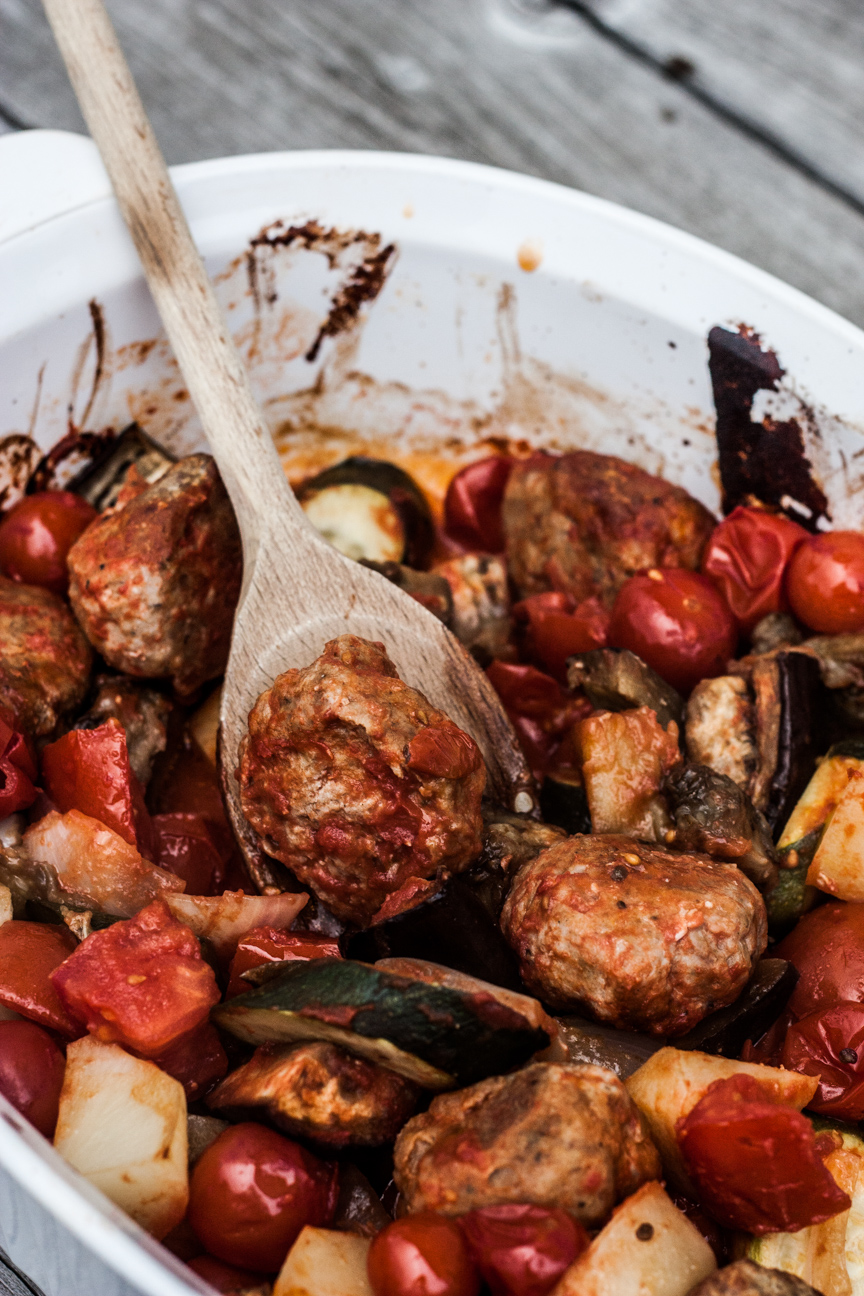
turkey meatballs with roasted vegetables

This dish is also tasty without the tinned cherry tomatoes…just turkey, veg and potatoes!

With or without the tinned tomatoes, this one-pan dish comes together in a flash and is just SOOOO yummy!

turkey meatballs with roasted vegetables

Serve this dish up with a glass of your favourite wine, some baguette and jazz music in the background.

Enjoy!
Totally Awesome Turkey Meatballs with Roasted Vegetables

Serves: 4
Cooking Time: 45 minutes

Ingredients

  • 450 g ground turkey
  • 75 g dry breadcrumbs
  • 2 eggs
  • 1 tsp oregano
  • 1/2 tsp thyme
  • 1/2 tsp salt
  • 1 eggplant, cubed
  • 3 medium zucchini, sliced thickly on diagonal
  • 3 plum tomatoes, cubed
  • 1 onion, chopped roughly
  • 2 garlic cloves, sliced
  • 4 medium potatoes, cut into 1" cubes
  • olive oil
  • 1 14 ounce can of cherry tomatoes (optional, but we preferred this dish with the extra tomatoes)

Instructions

1

Oil two 9 X 13 inch trays.

2

Mix together meatball ingredients. Form into 12-16 meatballs.

3

Place meatballs on trays.

4

Place prepared vegetables around meatballs.

5

Drizzle everything with olive oil (about 2 Tbsp)

6

Season with salt and pepper.

7

Bake at 375 degrees F for 25 minutes. If you want, pour one 14 ounce can of cherry tomatoes over all of the vegetables and meatballs.

8

Continue to cook for another 20 minutes. Meatballs and vegetables will be golden brown.